Did you guys happen to catch this post from last week?
I thought I’d post a really quick alternate finishing option.
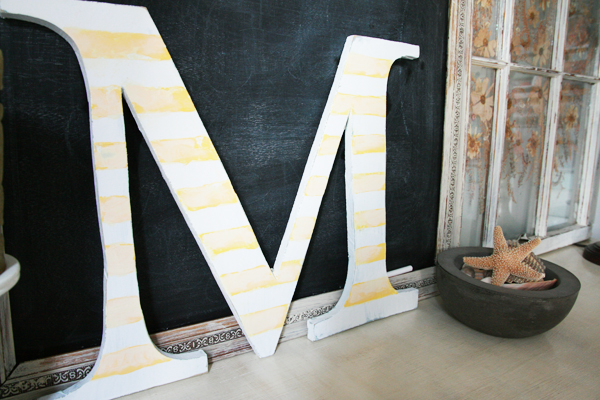
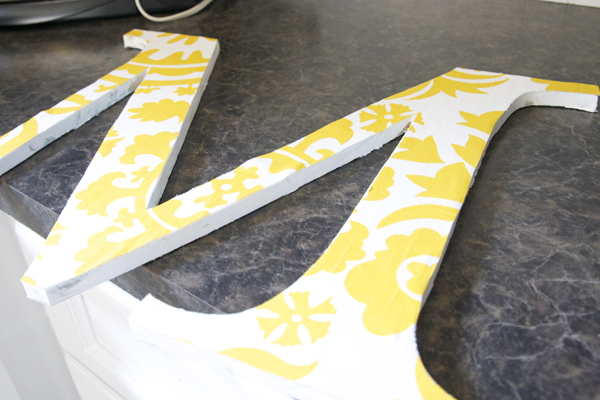
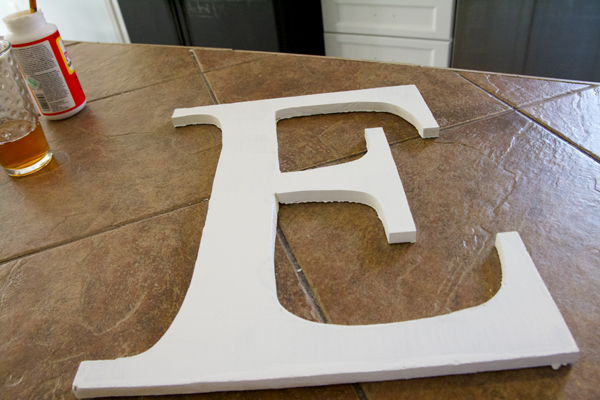
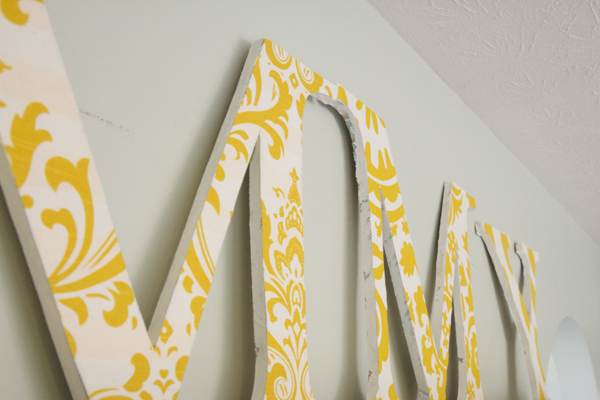
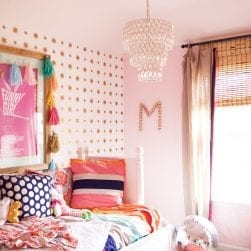
When I sat down to paint all ten giant wooden letters {in separate yet coordinating and complimentary patterns} I realized, much to my dismay, that I just wasn’t up for the job. I’d finished the one above as an example for the post, but I still had nine more to go. This intricate project on top of building a door, installing schoolhouse lights, painting cabinets, trim, backsplash, sewing curtains, painting the fridge and installing a monstrocity of a new farmhouse sink…{SHEW!-yeah, we’re over it} kinda had me not so excited.
I mean let’s be honest…Sometimes enough is enough.
I wanted an easier route and a simple way to unify the letters. Painting is usually always my first preference. But not today, suckas. 😉
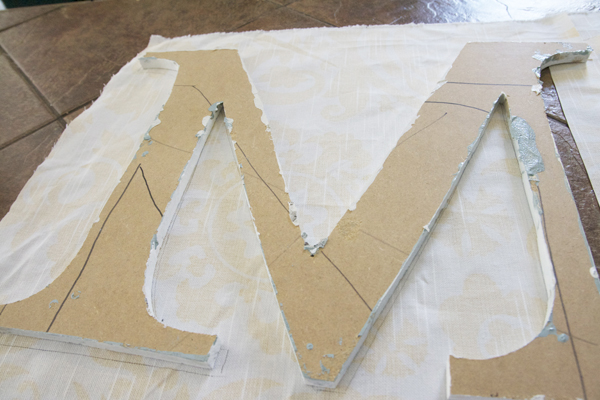
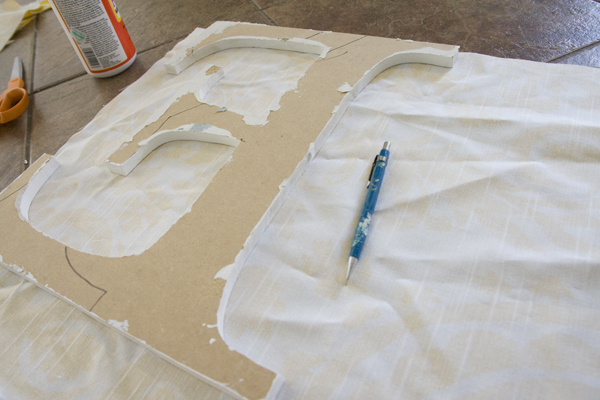
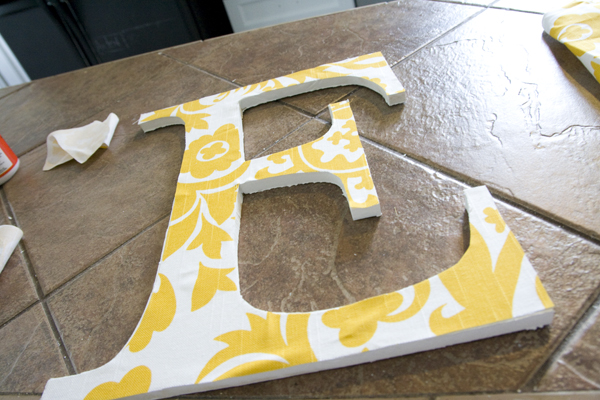
I tend to spaz every time I have a sewing project, and completely over order on the fabric side of things. This time I was glad I did, so instead of Emmy having 50 spring dresses in a hauntingly familiar shade of yellow, I had more than enough for each letter. I placed each one face down on the wrong side of the fabric, and traced it with a pencil.
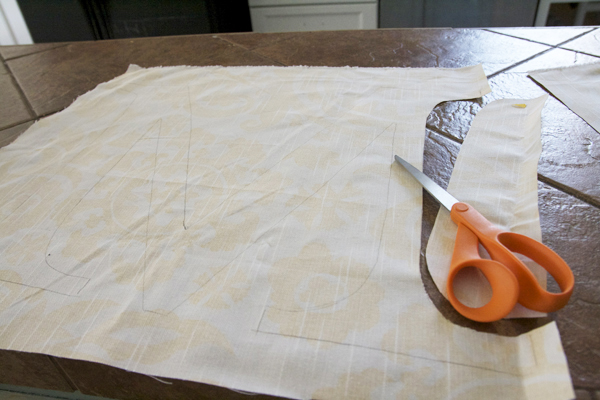
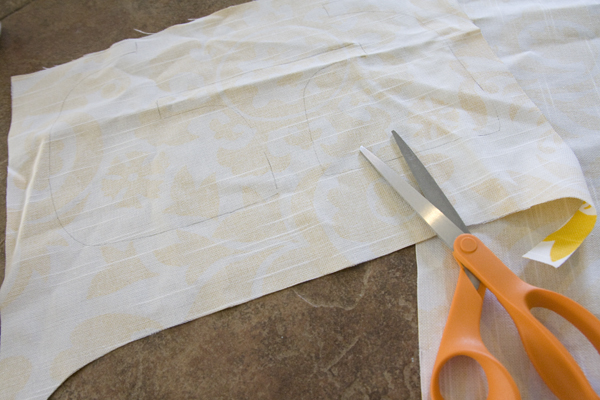
After cutting it carefully, I placed it flat on the letter.
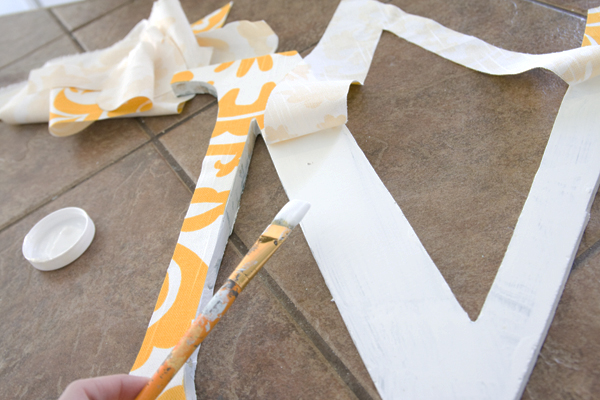
Breaking out the mod podge, I put a thin layer on top of the letter, and basically lifted and adhered as I went, careful not to stretch the fabric beyond its original shape. I went easy on the podge, as sometimes when saturated, it can affect the colors of the fabric. Just a dab’ll do ya for this look.

LOVE it! I have been toying around with doing this very thing to something in my Emmie's room, gonna do it now fo' sho'! Can't wait to see the final images!!!
Palm to the forehead, why didn't I ever think of this?! What a great idea…so much easier than painting and even easier than scrapbook paper. LOVE it, thanks so much for sharing. I am going to make one soon!
I actually like these even more! Thank's for the easier version… I'd NEVER get round to all those layers of painting.
Where did you get the letters? What size are they? My daughters name is Emmy too. 🙂
I made them! there’s a tutorial linked to this at the top! 😉 How sweet you have an Emmy too! is it short for anything?
Did you buy the fabric online or find it locally? I would like to get something similar and haven’t seen anything close to it at my local shops. Thanks!
hey! try fabric.com and search for yellow under premier prints. I have dumped the local places here, as well. never any luck.
good luck!
LOL…I know how you feel…I frequently set overly lofty craft goals and then get tired of it in the middle! I love the fact that you made your letter though, that’s awesome! I made my niece a fabric covered a wooden peace sign but I attached the fabric with Heat-n-Bond Ultrahold (only on the top…I painted the sides). It came out great and the fabric is still soft since I didn’t use glue. Eventually I’ll get around to posting the project… 🙂
jamie @ sewrockin.com
So dang cute! Thanks for the inspiration and the instructions to make it happen! 🙂
These are super darling! Can’t wait to make some of my own. Thanks for sharing:)
Just curious how big the letters ended up being…
Thanks