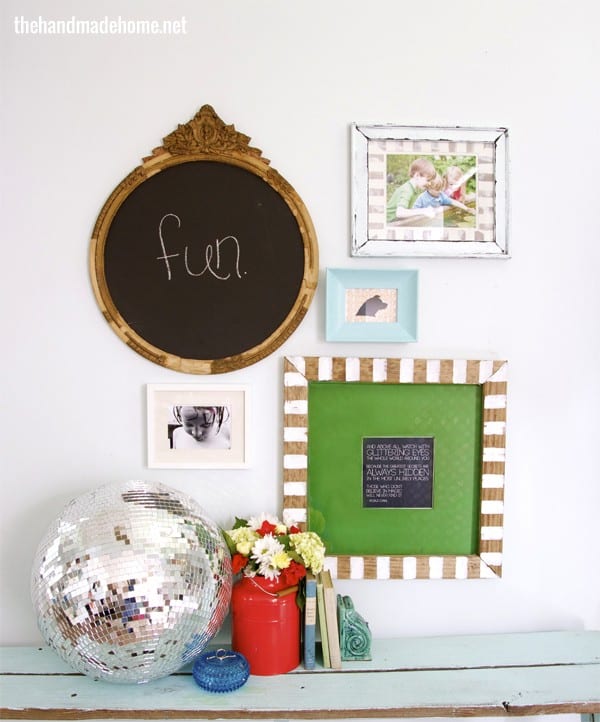
Hello sweet friends! Today, we’re back with a super fun project with our partner 3M for the home. A few weeks ago, we decided it was time to spruce up our entryway space, and wanted a fun versatile mix of things in our foyer. So we shopped our home, and decided to sprinkle in a newly made frame with one of my favorite quotes from one of our fave childhood authors.
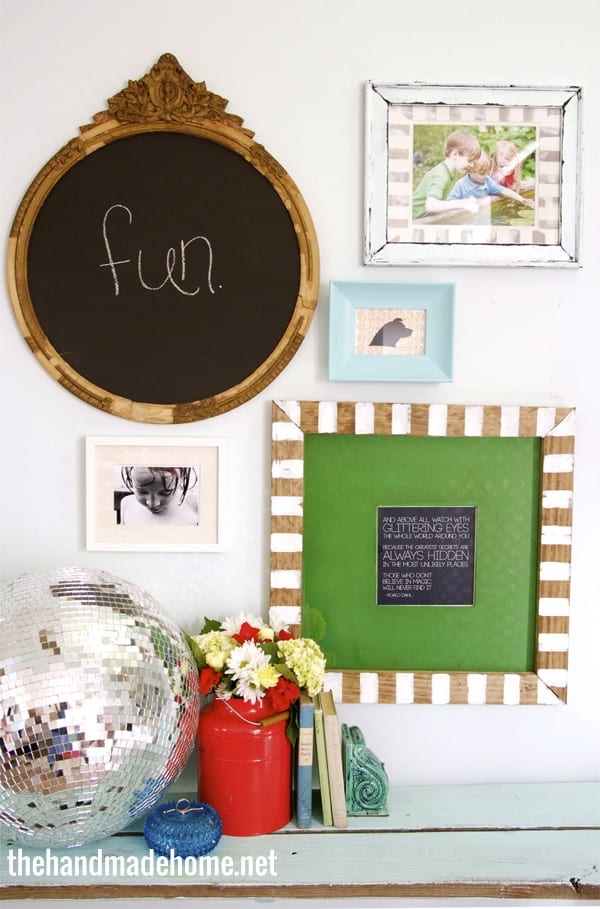
The quote is from Roald Dahl {Charlie and the Chocolate Factory, Matilda + James and the Giant Peach, anyone?} It says :
And above all, watch with glittering eyes the whole world around you because the greatest secrets are always hidden in the most unlikely places. Those who don’t believe in magic will never find it.
Its reminiscent of the simplicity of childhood. We tend to lose a little bit of that as adults, don’t we?
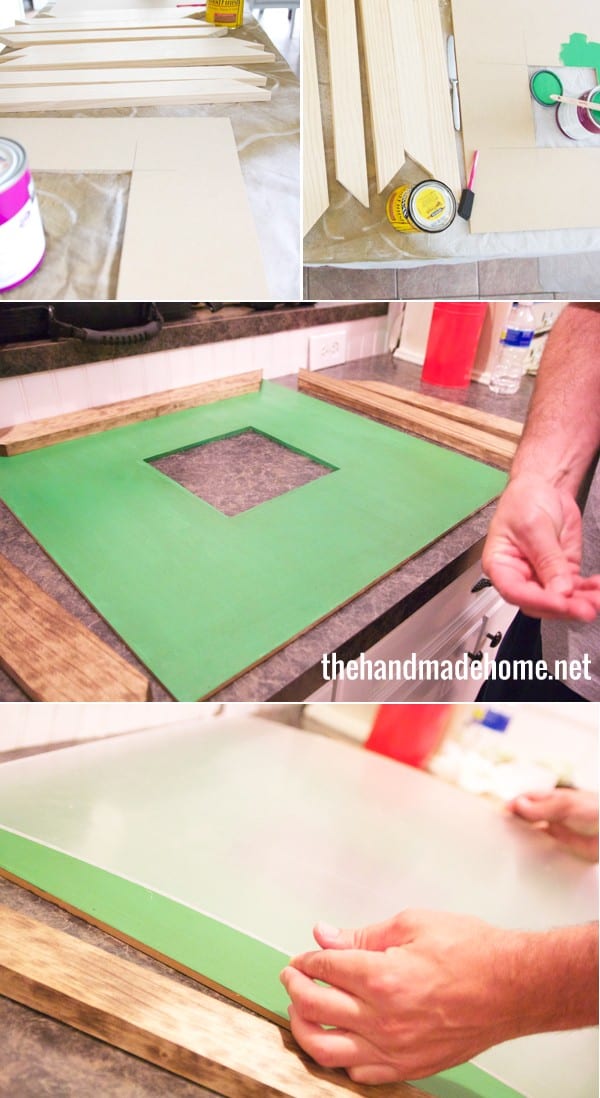
Here’s how we made the frame. Once the pieces are cut to size, it’s a simple process of layering.
We cut four 1 x 3 pieces of wood to 24 inches. The ends were cut at a 45 degree angle. {You don’t have to have a shmancy miter saw to do this… a miter box will also suffice. Also, you always have the option of leaving the planks as is, and simply letting them meet on the ends for a super simple rustic look.}
Next in this process, we had some plexiglass cut to 23 x 23 inches at our local glass store. {Always shop for plexiglass at your glass store, first. Their prices are usually better.}
We then took the thinnest MDF we could find {1/4 in} and cut it to 23 x 23.
Cut your hole in the middle to 7 1/2 x 7 1/2. {Helpful hint: measure in 7 3/4 inches from all sides, and draw lines on your cut MDF. This should give you a 7 1/2 x 7 1/2 box in the center}
Cut out the box using a combination of your skill and jig saw.
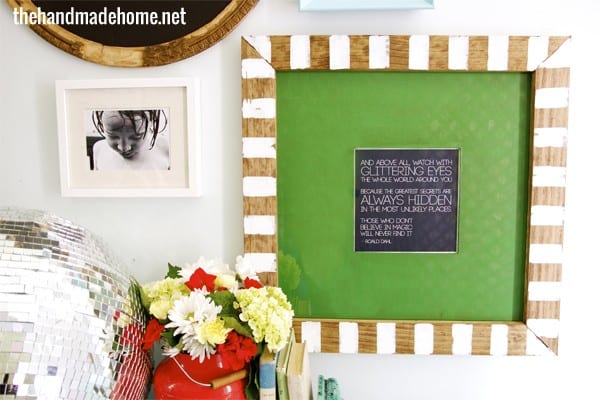
For these colors, we used: (On the MDF) Benjamin Moore’s Once Upon a Time (On the frame) 2 coats of Minwax’s Early American + stripes {marked off with our painter’s tape} with our trusty Benjamin Moore’s Chantilly Lace.
Here’s the part where we totally cheated to keep things simple and easy to manage: We used hot glue to layer and bond everything together. On the very edges, we placed the glue on the MDF, then on top of the plexiglass for the wood. This kept it simple and easy – just pay attention to where the glue is going, and place it on the very edges so it can’t be seen. (If you would like to secure the frame a little more shoot a nail through the ends of the 1 x 3 frame going both ways on all four corners. Also, you can drill a small pilot hole through the MDF and plexiglass and screw them into the wood frame. This just offers an extra peace of mind.)
Then we placed our art from the back, and secured it with a protective layer of cardboard to cover it.

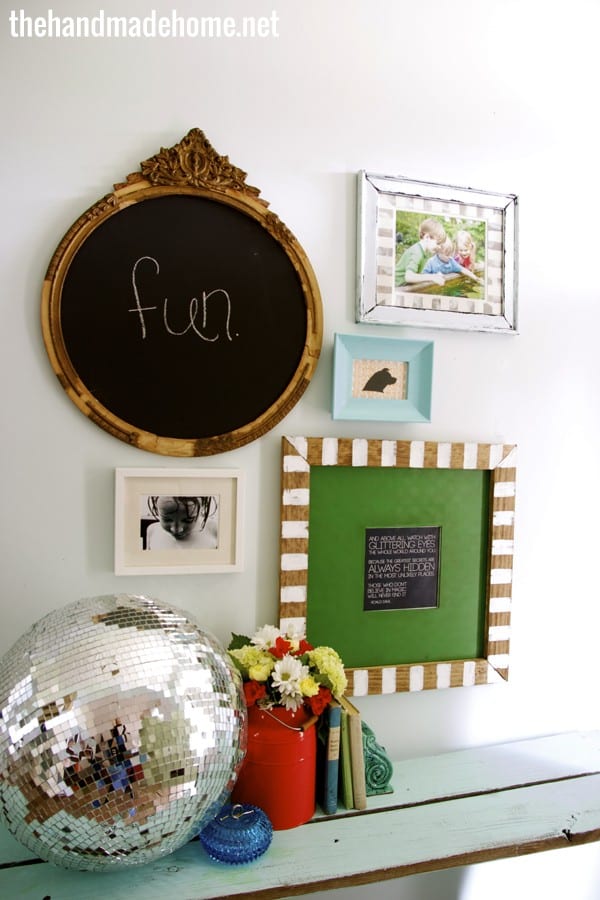
For hanging this little gallery wall, we used something we’ve never tried before. We’ve just repaired this wall from years of frame placement after frame placement… so this simple solution was a welcome change.
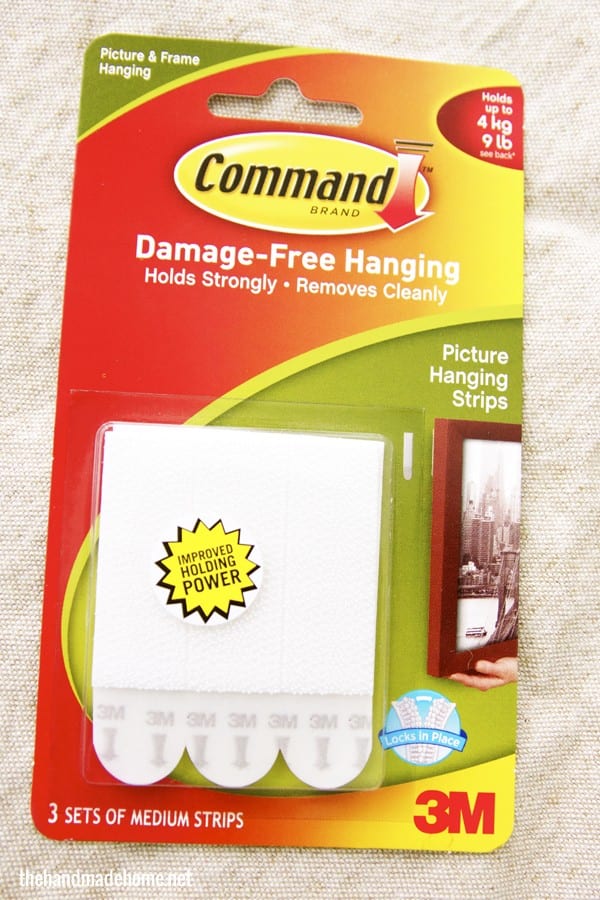
We simply unwrapped the package of 3M Command Strips…
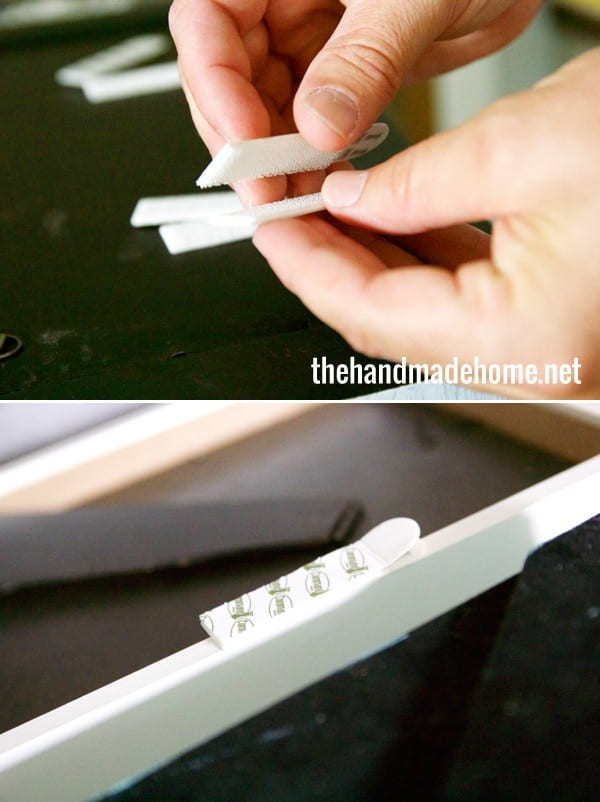
Placed the velcro together, and stuck them on one side of the frame. When we were ready to hang, we removed the paper on one side, and placed it on the wall.

Tada! It was that easy.
From their site, their product in a nutshell: Command™ Products give you damage-free ways to organize, decorate and transform your spaces and events.
We loved it. On a few pieces, we used more than one for extra security. And we definitely recommend you make sure that your frame does not exceed the recommended weight limit. It’s a great, simple solution for hole-free walls.
Oh, and one more thing – since we love that quote so much, we thought you guys might want one as well.
Simply click on over to our freebies page and look for Glittering Eyes. (The download is watermark free.) We hope you enjoy this little freebie!
 If you try out these simple 3M Command Strips, be sure to let us know. We’d love to hear how they worked out for you!
::This post was brought to you in partnership with our partner 3M, please read our full disclosure pertaining to partnerships and construction here.::
Follow Command brand:


I love this look! It’s so fresh and fun. Way to go Handmade Homies! 😀
I am sad that you’ve become a big commercial for stuff. I know this is a business, but all these posts/commercials are a bit dissappointing and a bit of a turnoff. 🙁
Tammy, I apologize if you don’t see the value in us exposing our readers to some wonderful products. We are selective about the products we allow on our site and you’d be highly surprised at the number we turn away. We make no effort to hide our relationship with partners and we believe in their products. If you choose not to read our site because of our relationship with a company, we understand. We hope you have a great day.
Wow. People have way too much time on their hands. Tammy, are they supposed to never say yes because it bothers you? You are being ridiculous. There are bigger problems in the world. Kudos to your response, Jamin, because you have much more patience than I would. I love this project. It was relevant and creative. I’m so making this frame. Thank you for sharing.
Love this! It’s beautiful. What a great idea! And I love 3M too 😀
Ugh, I have a love-hate relationship with Command strips. I bought the wall hooks to hang my keys up under this little random window/nook we have in a wall and I find them on the floor every day. They don’t stick!
Then I tried hanging July 4th lights up on my window with the smaller ones. They would stick to one window, but instantly fell off when I used them on the other window. So weird!
Hopefully you have better luck with them 🙁
Ooooo such a cool frame! And thank you for the printable. I love this quote and this author. He is so great! I am making this frame. Yesterday.
Thank you! This is perfect for hanging things in our bedrooms – where we’ve got “paneling” that our landlord doesn’t want us to punch holes in!
and the printable is perfect for my growing dining-room gallery wall. Thank you!
Awe so glad you can use it, Emily! It really is a great product when the holes just can’t be used. Be sure to double up or even triple. We found that super helpful in what we used on our walls! ;}
I’m so paranoid I’ll probably put one on each corner of the frame. Thanks for the heads-up!
What a pretty green color with that navy and the stripes. I will have to try that. And in response to Tammy’s comment? Rude and uncalled for. I actually find you guys very balanced and lovely and inspiring. All at the same time. And that’s a very hard thing to do, or else everybody would be doing it.
I love this! So pretty. What a pretty frame! Matilda was one of my favorite childhood stories. He was a great writer.
Thank you! Me too.
Oh I’ll have to try this, my walls are full of holes.
I use those strips a lot because we move a lot for work and stay in rentals. I was so disappointed when I rehung my pictures after we moved and one of my pictures (not too heavy) came crashing down shattering glass on my little girl who happened to be walking underneath. I won’t be using them again, and I’m changing everything back to nails even if it means repairing all the holes when we move. The only difference I can think of is that I’ve always used them on concrete with plaster walls and now we have drywall.
Im sorry to hear that, Sam. I hope your daughter is okay. I always stress whenever I hang anything on our walls. Sometimes things are just so unpredictable.
I have used these strips,sometimes with great success,other times ,not so much. I found just letting them stick to the wall without anything on it yet for a day or 2 ,helped it not fall off the wall.
Great suggestion, Elizabeth!
Command strips and hooks are so great. I use two hooks in the laundry room to keep the laundry basket put away up near the ceiling and two more to hold the broom and mop.
I love those 3M Velcro strips. We’ve lived in 7 houses in 6 years of marriage, so it’s nice to be able to put up a collage without having to worry about repairing so many holes in the wall.
My advice is to make sure you follow the instructions on the back. (I know, I don’t like to read either, but it’s important!) They say to clean the walls/frames with alcohol first and then press firmly on both sides for 30 seconds before you stick them on. I’ve had them hanging for over a year without a budge!
You’ve saved me from bugging my husband to drag out the hammer drill to hang all kinds of things (double brick & plaster walls in my part of the world). He felt redundant, I felt empowered 🙂 I followed the instructions to the letter and added extra sets for peace of mind. Everything’s still on the wall so far, here’s hoping the wall paint wont come off with it when its time for a change. Anyway, thanks for the intro!
Hey to you both! Love your blog! And I love that you introduce us to new things or new ways to use things or new ways to look at things. And I haven’t seen these 3M hangers yet – but they will come in handy for my daughter at college who is supposed to NOT hang anything up with a nail or thumbtack and she must also pay a fine if any paint comes off the wall! What’s a young college girl to do! These will be PERFECT!!! And better than the 3M hooks that I have used and loved – but not so much for pics. Keep bringing us this info – Please! 🙂
What thickness of plexiglass do you use?
Hey Stacey! Usually it’s 1/8 of an inch for basic things like frames, etc. I hope that helps! ;}