Happy Wednesday, guys! Jamin here today with a little post – a really a simple project to tackle and a great one for beginners. It’s kinda like a jigsaw puzzle, once you know the pattern, it’s an easy peasy project with great storage.
So let’s get to the things you’ll need.
Supply list (for one crate)
• (1) 1 x 12 x 3 • (1) 1 x 2 x 8 • (2) 1 x 6 x 6
1 box of #6 1 & 1/4 inch wood screws
• drill • drill bits • miter saw or some type of saw to cut the wood.
Cut list (for one crate)
• cut the 1 x 12 down to 16 inches • cut both 1 x 6’s down to (2) 16 and (2) 12 & 1/2
• cut the 1 x 2 into (8) 11 inch pieces
Now that all the pieces are cut, let’s get building.
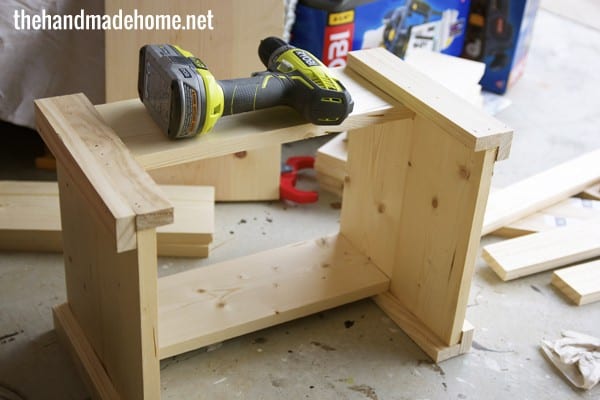
To start, gather (2) 1 x 6’s cut to 16 inches (2) 1 x 6’s cut to 12 & 1/2 inches and all (8) of your 1 x 2’s. Line the edge of the 1 x 2 up with the edge of your 12 & 1/2 inch 1 x 6 and screw it in using a 1 & 1/4 inch screw. Repeat this on both sides so that both 1 x 6’s cut to 12 & 1/2 inches have (2) 1 x 2 secured on them.
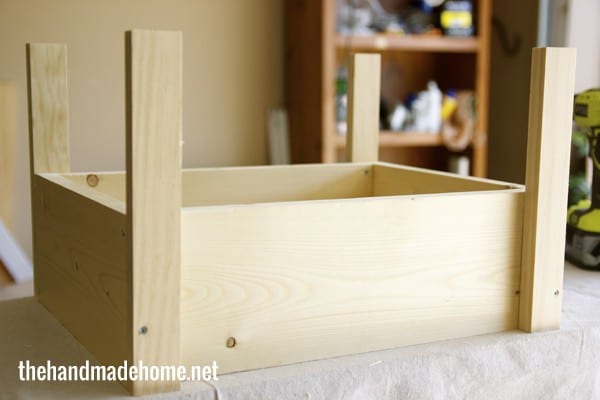 Slide the 16 inch 1 x 6 in between the (2) pieces you just completed, and from the inside screw them to the 1 x 2. Do this on both sides.

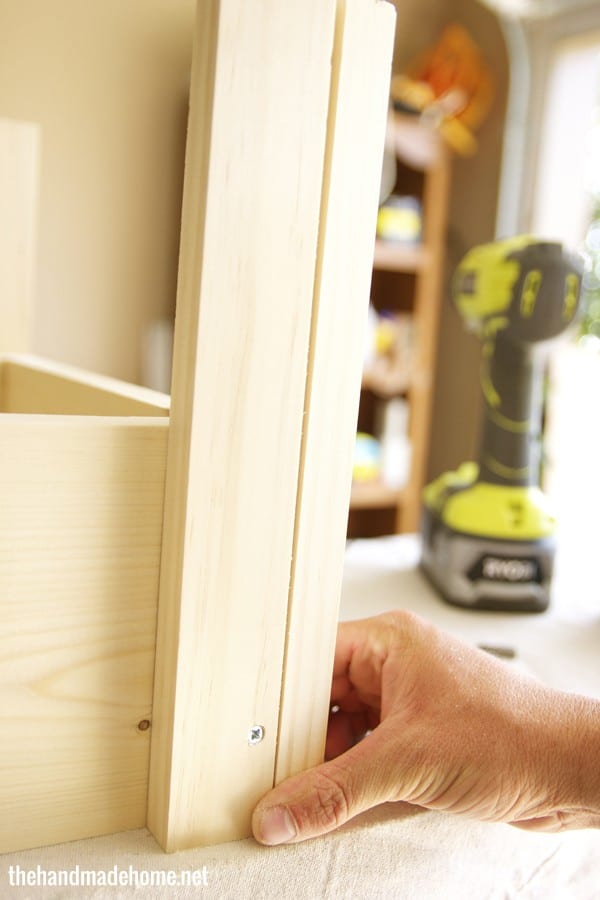
Next, take your other (4) 1 x 2’s and screw them to the boards. Do this in the same manner that you did before.
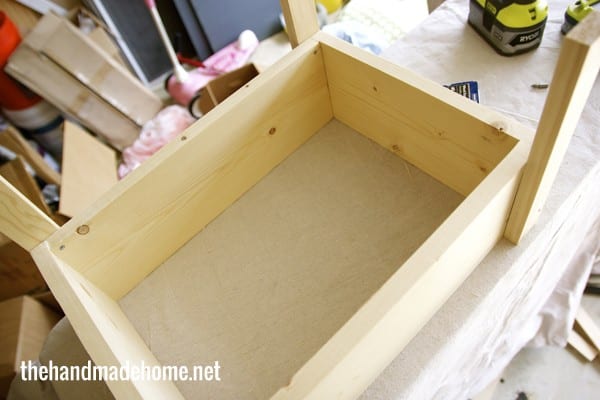
No slide in your remaining (2) 1 x 6’s cut to 12 & 1/2 inches, as shown below and screw them into place. Do the same thing with the 1 x 6’s cut to 16 inches. Finally insert the 1 x 12 into the opening and level it with the bottom of your box. Screw it into place and most of the work is done.
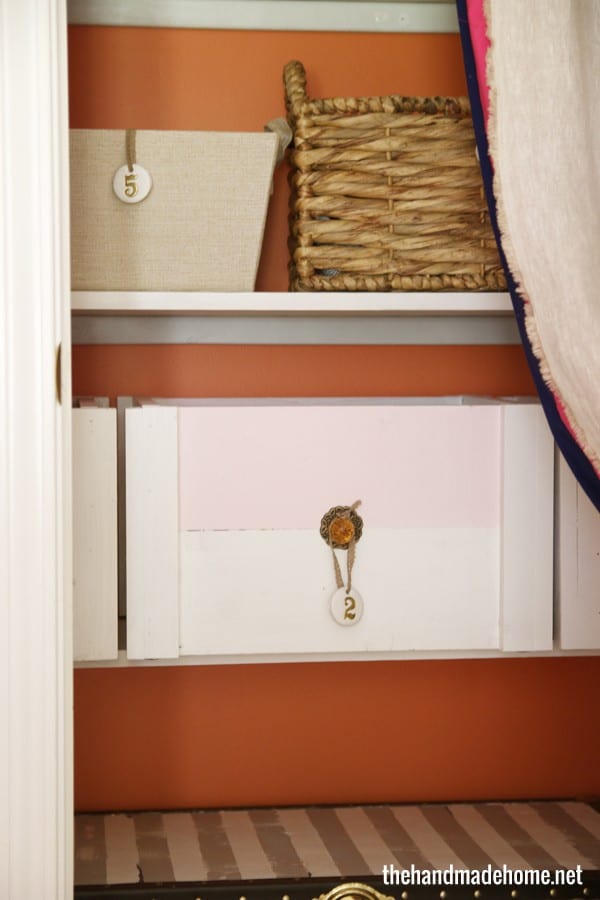
No simply paint your crates, drill a hole in the center and attach hardware. Repeat the process until you have all the crates your little heart desires.
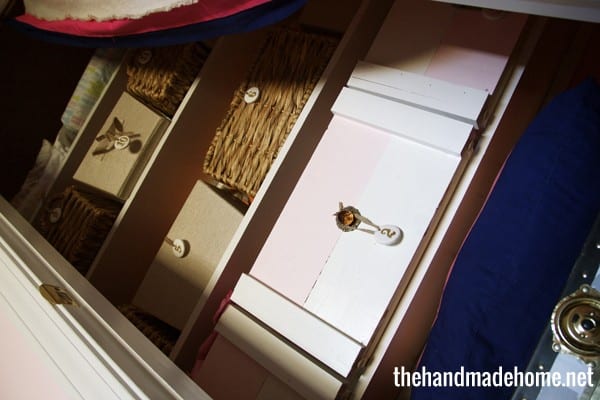
These crates are pretty sturdy, and very hefty. We keep them on the bottom of Emerson’s closet shelves for large items, so we don’t recommend stacking them in a high place. These also serve as the perfect floor crates for toys or whatever it is you want them to hold!

Tada! There you have it. A simple DIY wooden crate. As always, let us know if you make it! Have an inspired day, friends!


This is a great tutorial, I have always wanted to make some of these. Yours looked fabulous!!
xo, Tanya
I’ve been meaning to try this! 😀
These are precious. I love the two tone you did with these!
I’m from the UK and have no idea what 1 x 12 x 3 means,,, what sizes are these pieces of wood?
Chris, those are measured in inches, pre-milled. Hope that helps.
Seems to be missing steps unless it is bottomless
Sam, If you will read closely the 1×12 that is referenced is the bottom of the crate. Thanks, hope that helps.