Hey Friends! We hope this Monday finds you doing well and ready to tackle the week!
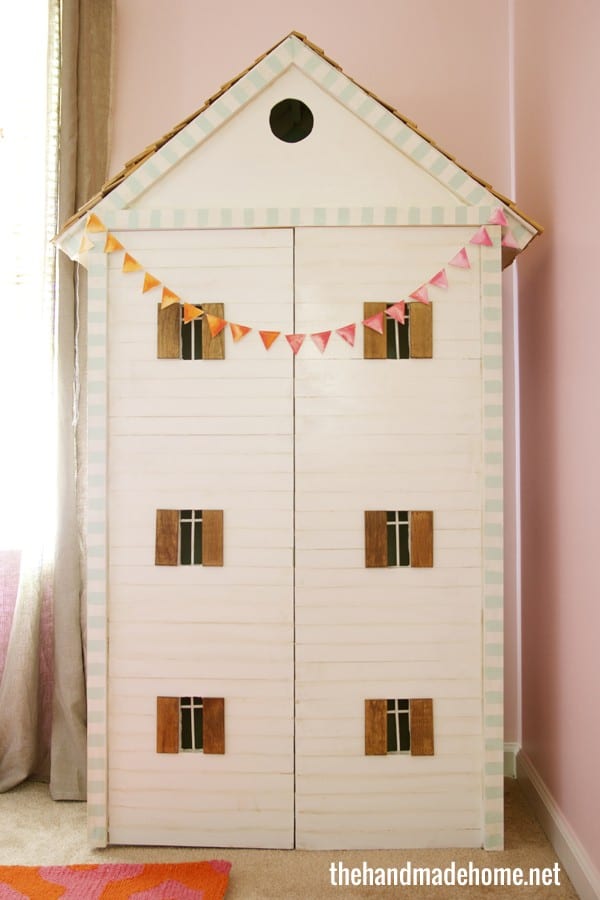
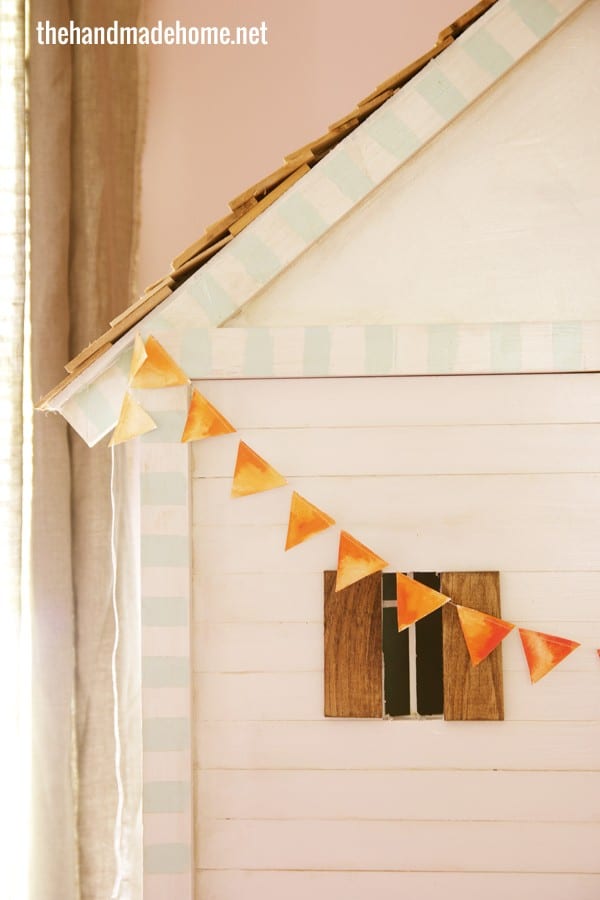
We have a lot more of those detailed how-to’s coming for Emerson’s space, but today, I wanted to share a simple little project we did to add a little pizazz to her dollhouse.
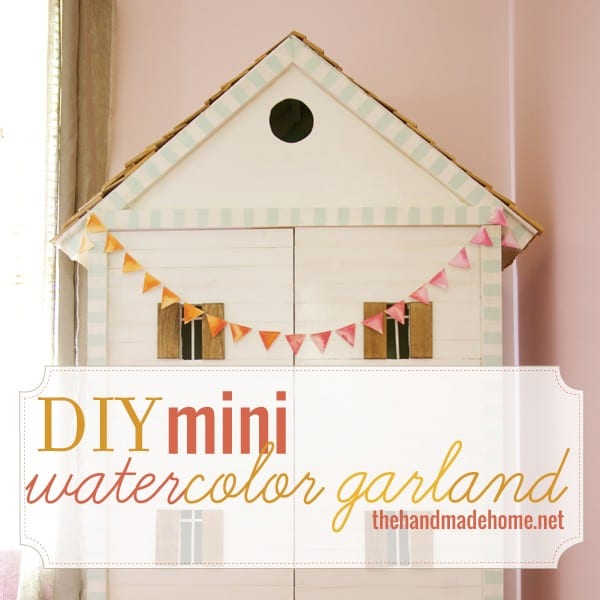
Because sometimes I think it’s fun to share the little things, too. You could do a lot of different versions of this little garland in various sizes. From parties, to room decor, to cake toppers… It’s an easy (1 hour, tops) project with lots of character.
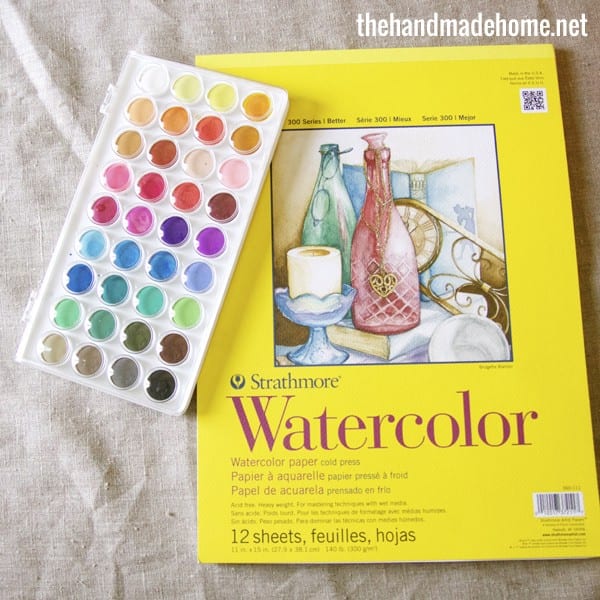
Here’s what you’ll need: I grabbed up a watercolor pad + watercolors at my local art store.
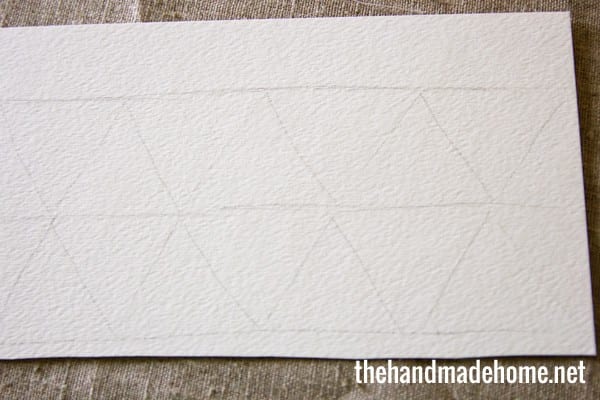
On a sheet of paper, I drew two parallel lines. From there, triangles in between the two lines. {Basically, X’s} Free-handing should be fine, but if it makes you feel weird, grab a ruler.
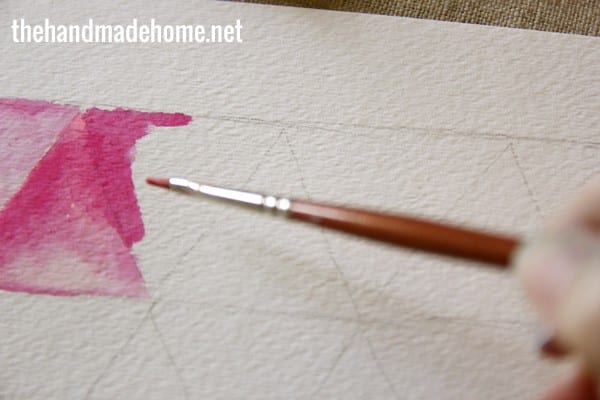 Playing with dark and light… more and less water… I started with pink, and moved to orange by slowly adding shades of yellow to the pink.

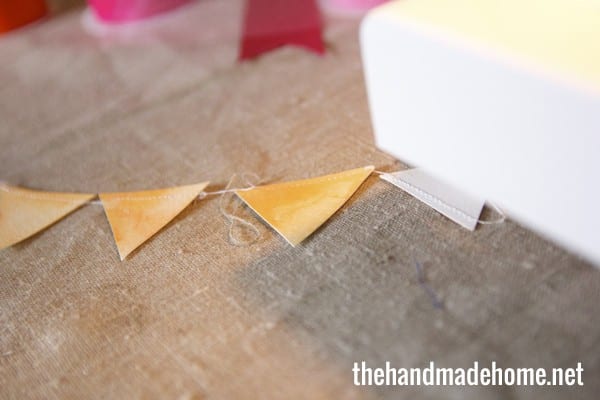
When I was finished with the paint, I went back and cut out each triangle. I laid them all out on a table and rotated them, deciding which order they should go in. It gave me a bit of an ombre/watercolor effect.
Here’s the fun part. From here, you can tape it to a piece of twine, but I found that to get them to hang correctly, I stacked them in order, and then simply ran each triangle carefully through my sewing machine. The nice thick watercolor paper held up perfectly against the needle.
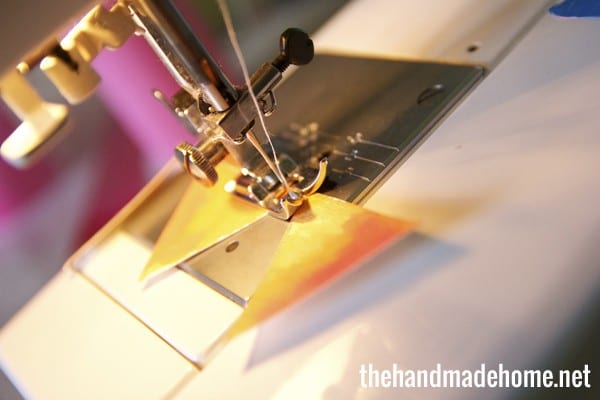
If I messed up, or the thread snagged, I trimmed it, backed up and ran it back through.
Tada! A fun little project with lots of possibilities.
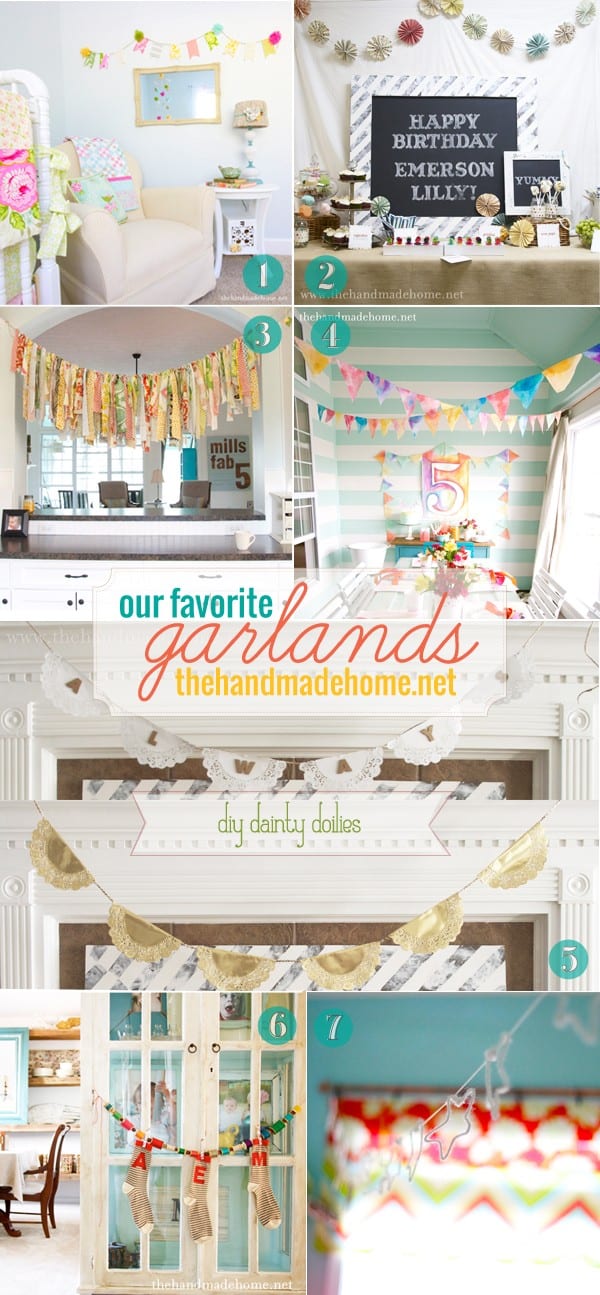
Want to see more of our garland projects? We have a bit of a weakness for their fun, easy factor.
 Have an inspired day, and as always, let us know if you try it!


This is great! Can’t wait to do this with my little girl
OOOOOO! I love how simple this is. I’ve never thought to sew them before. And I love your round up. So perfect! We have some birthday parties coming up. Will have to try!
I share the same weakness for buntings, and this one is darling, love it!
xo, Tanya
This turned out great, I can’t wait to try it! I am looking forward to the dollhouse diaries, I would love to know more about how the house was designed and constructed. I would love to try building something amazing like this for my daughter. Thank you for always taking time to break down all of your tutorials. Inspires me to want to try things myself! Thanks again!
Hey Sheila! Definitely. It’s coming up soon! ;}
Super fun idea! Love it 🙂
New to your site via Jones Design … so glad I am here !! Would love more info on the doll house too! Enjoying catching up on your beautiful posts!