Hello to all our favorite people! We’re so thrilled to be participating in Knocktoberfest today! If you’re hopping over from the fab Mandi of Vintage Revivals, Welcome!
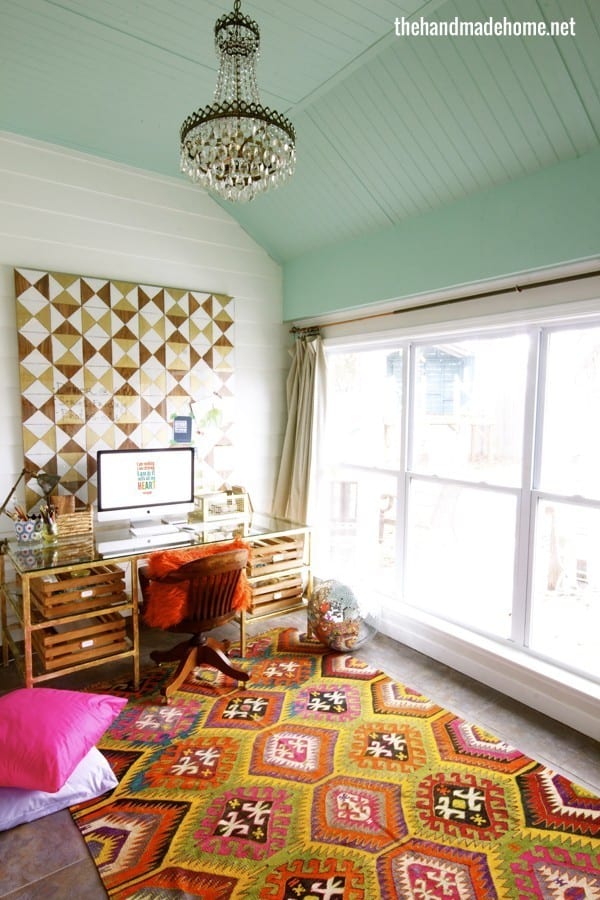
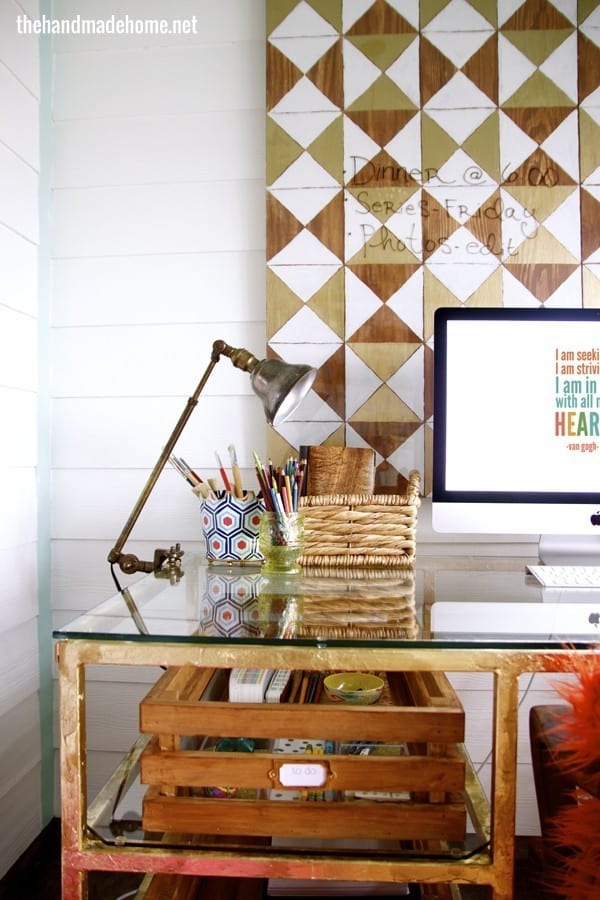
We’re here today to talk about how we made this desk for our new studio. I knew I wanted a space for me our family with ample workspace, that fit nicely, stayed organized, held a ton of stuff and had awesome style. The only problem? I couldn’t find one that fit the bill.
 I was totally inspired by this amazing Blair Desk from Pottery Barn. Another problem? It wasn’t large enough. I wanted gold. And I wanted a more modern shape. Oh, and this model was about 800 dollars with delivery charges, too.
 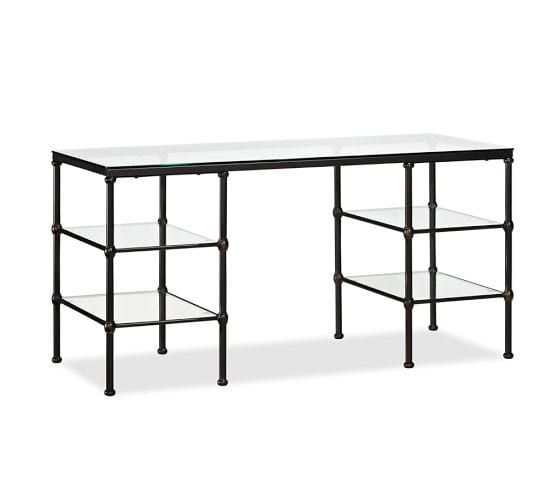 So (per our usual mode of operation) I decided to take issues into my own hands.
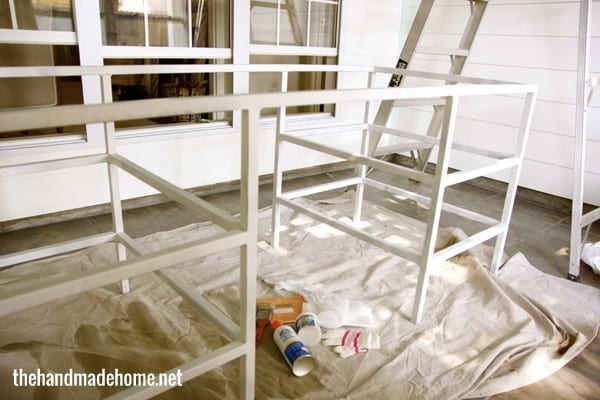
First things first: We have a friend who welds. I wanted a metal desk for many reasons. One being that it is super durable. Also, (just from personal experience) when you’re making a lot of handmade things in your home, it’s also good to mix it up, to keep things versatile in the materials department. I don’t want everything to be made of wood, unless it’s a completely different look. I also don’t like to be limited by my knowledge and surroundings. It’s always good to go outside the box with projects for your home.
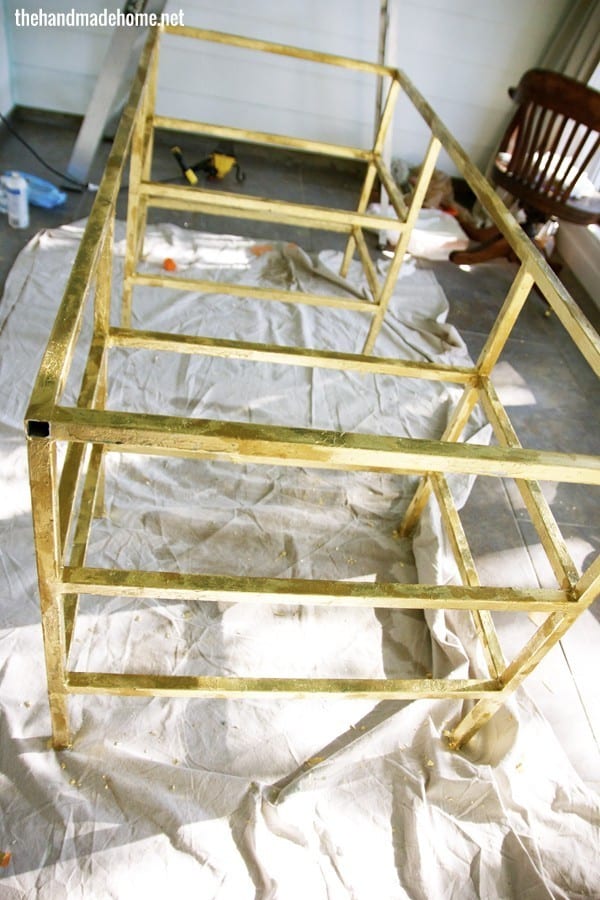
Our final size for our desk was 70L x 30H x 30D. This was to fit the end of our space well. It also provides a lot of storage, and a nice work area. If we want to turn the desk around and use it as a two-person option later, we have that. It’s a great, classic, durable piece for our home that we can use for years to come, even if we choose a different finish, purpose… etc. Metal helps with that.
If you’d like to find a welder, definitely ask around. It’s not usually a convo that comes up in regular, every-day kind of situations. We have our wonderful friend who has hooked us up in the past, but just asking around recently, we now officially know three additional people who weld. Ask anyone who works on cars, as a good starting place. Basic projects like this are so simple based on what they usually do, it’s pretty simple for an experienced welder. Jamin is thinking of taking this little hobby up, and I wouldn’t mind trying out a blow torch either. ;}
We recommend contacting your local steel company or ironworks for metal. They’re usually very helpful with great prices.
So for our shopping list {Yours will be different based on your specific sizes} here’s what we used to create this desk from 1 inch metal tubing:
• Two (top bars) @ 70
• Ten @ 28 (depth bars-the bars that give the desk their depth measurements)
• Eight @ 29 (these will be your legs)
• Eight @ 18 (these will be your width bars)
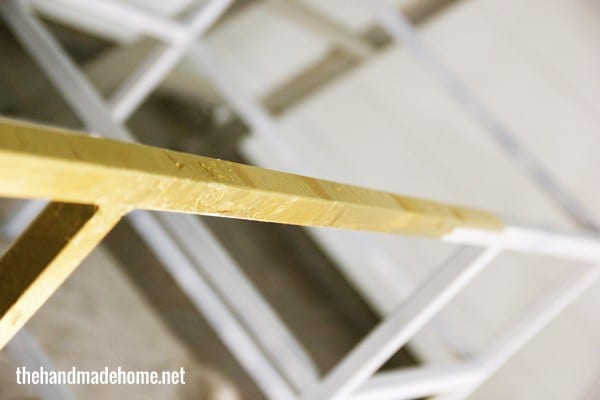
Once we had our metal back, it was time to prime and gold leaf it. If you read our reveal post, then you know that I momentarily lost my mind. In the end, I had epic Walmart feet, and was basically glued together after ruining a perfectly legit pair of yoga pants. It’s not perfect. But it was worth every moment. Here’s what we did:
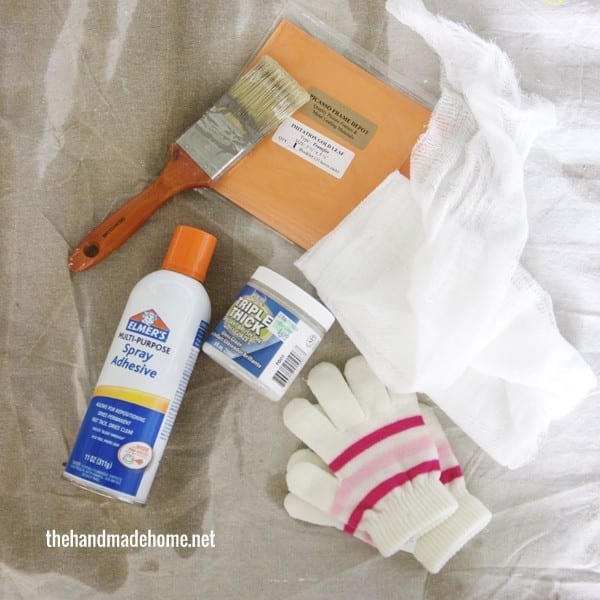
I scored ten booklets of gold leafing off of this vendor on Ebay. The more you order, the cheaper they are, and they have the tissue paper in between, which made them easier to grasp. I cut them down into strips. Per Kristin’s recommendation, we decided to go with spray adhesive. Honestly, I’ve never done this before, and had wanted to try it forever. So I did what any normal person would do and tried it out for the first time on a huge desk. Like I said – I had no idea how big of an undertaking it would be. For a large project like this, the spray adhesive probably made more sense.
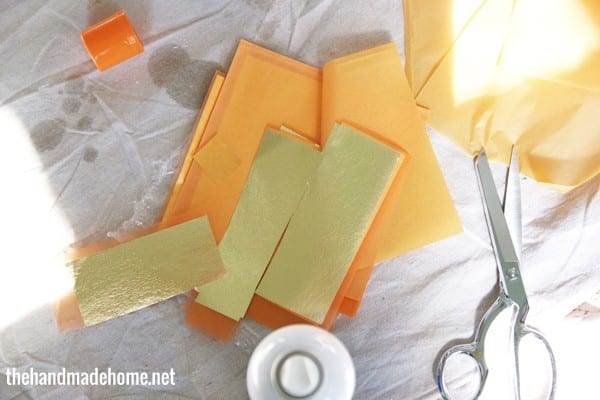
So cutting up my strips, I worked in sections. Spritzed, waited for a few, and then placed it. I started out with white gloves, because that’s what they recommended. See: daughter’s mittens (because I was too cheap to purchase the all out kits, and wanted to piece it together for price efficiency). I ended up ditching the gloves half way through, and using my hands, avoiding the metal.
Oh-so-helpful side note: If you take on something big like this, know that whatever you’re wearing will be ruined. Emerson can’t find her gloves now, and mama has ordered a new pair. ;}
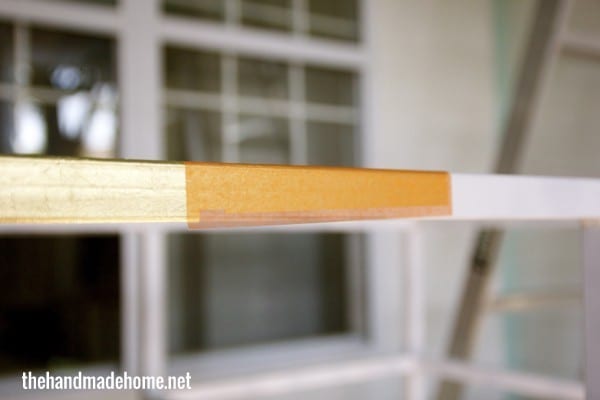

Lift it off, and this is what it looks like. I recommend letting one side dry, before you start working on the opposite side. Since you guys get to learn from my stupid mistakes, switch up sections and then come back to one area when it’s completely dry.
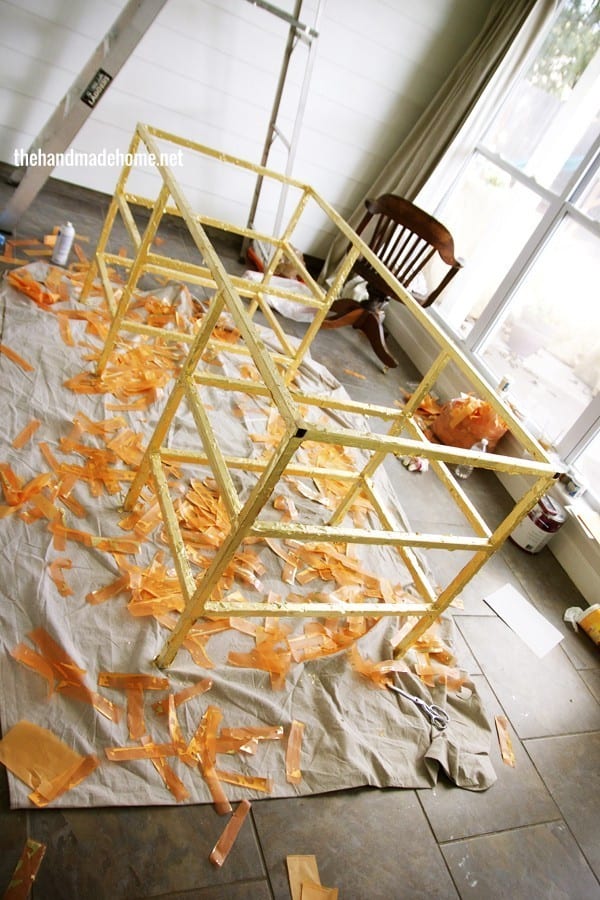
When all pieces were dry and placed the desk looked a lot like this. So I went back and burnished the “gold” by cutting up pieces of a white tshirt and neatly pressing all of them down to make sure they were stuck properly. Just like you would with normal foil. My areas weren’t perfect, and some started to come up.
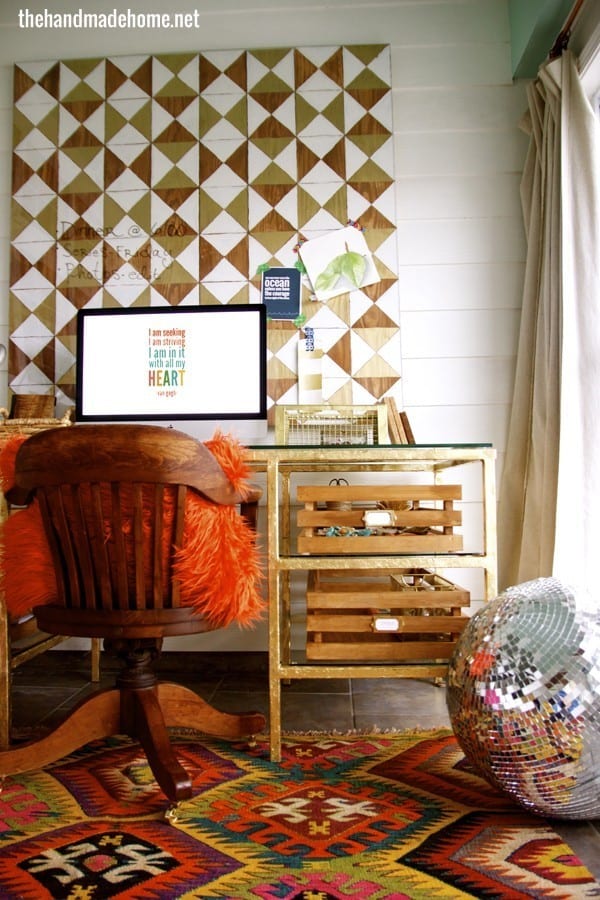
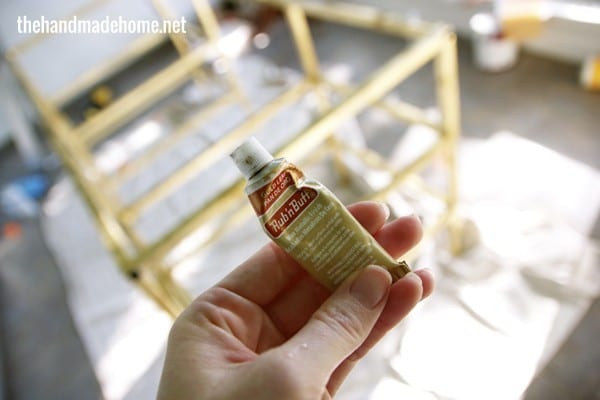
I sealed it in (you’re supposed to use acrylic sealer) but I used some weird stuff that I thought was acrylic. It aged my “gold” a bit, and I guess you could call that an extremely deliriously happy accident, because it might not have ended so well for me if I didn’t want it that way. The next morning, I went back, and since you will have some areas that are mess-ups, I decided I was over the gold leafing, and busted out some rub-n-buff for some of the bare areas. Between the aged spots, and the rub-n-buff, it kind of gave the desk this awesome vintage brass feel.
I wanted to claw out my eyeballs but in the end, the desk is oh so pretty and I truly love it. The best part? When I’m tired of all this gold stuff, I can just sand it down and find another color. Oh the beauty of metal. And happy accidents. And overly enthusiastic non-expert bloggers who have no idea what they’re doing. (According to Martha.) Sigh. If only I’d worked at Vogue. It’s a real shame. ;}
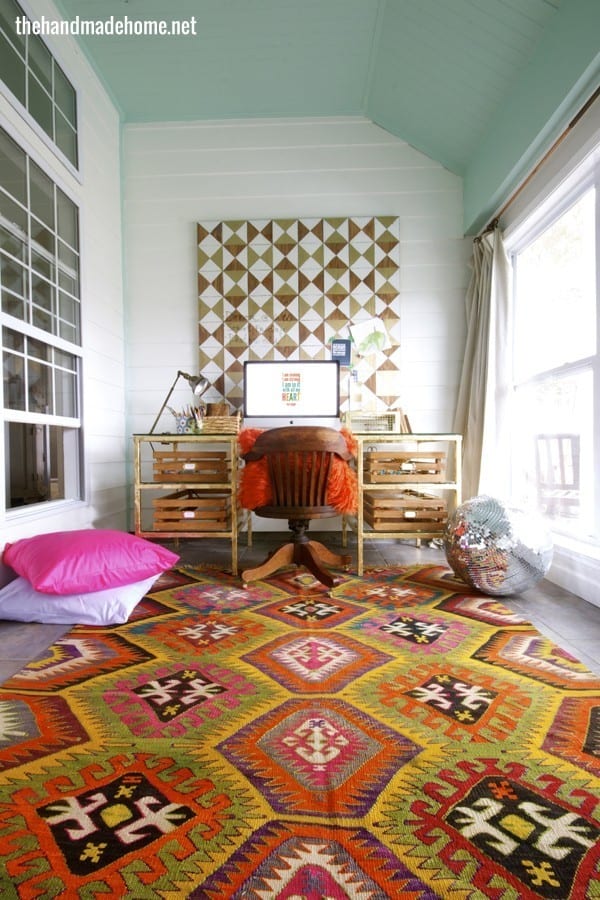
We love this area, and the desk had one happy ending!
Next up in the Knocktoberfest round up: Stacy from Not Just a Housewife!
 Have you guys checked out the rest of Knocktoberfest? Be sure to see all these amazing bloggers participating, here!
Have an inspired day, y’all!

Ashley and Jammin, this is BEYOND cool. You guys rock.
Tom really wants to take a welding class, too. He’s been talking about it for years. Perhaps I’ll push him into it now. 🙂
That is awesome! Love it!
WOW! What a show stopper. I love it 🙂
I totally thought of you when I saw Martha’s interview. I think she feels threatened. 😉 Great desk. It’s beautiful!
HAHA! You know what? I wrote that in a silly moment from a hotel we’re staying in this week, and then took it out. It saved one version, and not the edited one. SO I totally forgot I wrote that! I didn’t realize she’d said it ’til a few days ago. Oh well! And I agree. ;}
Love this idea. I love that you take handmade to the next level by using an unexpected material. Mixing it up makes everything so much more fun!
Very very cool! This is taking DIY to a whole new level. It’s awesome!
Dang, sure wish I knew a welder! Good suggestions for finding one though. And your desk came out beautifully, even if it was painful getting there 🙂
It’s beyond amazing! I need a friend who knows how to weld stat!
Ashley, This desk is beyond amazing. Thank you so much for sharing the how to!
This desk IS amazing! I have what is obviously a novice question and please don’t internet slap me: the gold leaf looks great but could you have spray painted it with a matte gold color? (waiting for slap now) LOL
Seriously, I am a major beginner when it comes to all this DIY stuff and I love and follow your blog for inspiration, but I guess I am always looking for the quickest, cheapest way to do things. Would spray paint have come out weird looking?
Thank you!
Hey girl! You’re hilarious. No slaps here! Thats a great question! The gold leaf have it a genuine metallic sheen. Gold spray paint is fabulous and a totally awesome choice. We were going for a different look, with a true vintage appeal and this gave us that. 😉 either is a great choice, and one is much easier. I hope that helps!
Love it! Do you mind sharing what the cost came out to? We have a joke “Why buy it for $30 when you can make it for $50?!” so just wondering how ahead of the game over the pottery barn desk you ended up coming out??
Hey! When we made it, we added everything up and came under a little over 200. (More than 200 under the PB price). I’ve wanted a fun desk forever and saved up for this project to get exactly what I wanted, so for the materials, size, finish, etc. it was very much worth it! Glass adds up quickly, so price some out at your local glass cutters if you’re interested, based on the size you choose. Sometimes DIY can be pricier, though most of the time it’s not… But it’s usually worth it to get exactly what you want (in our book ;))
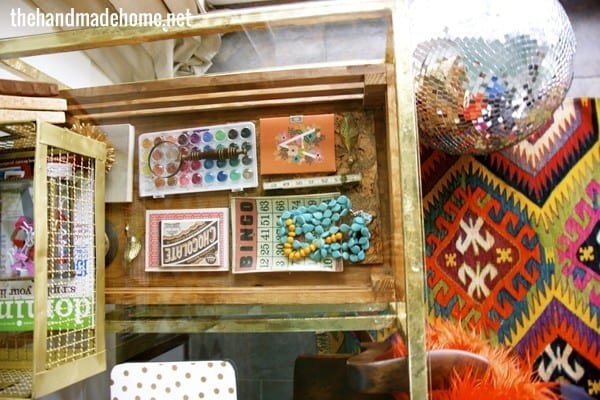
this turned out beautiful. Glad you didn’t settle for the PB one! Your version is so much cooler. I want to try that gold leaf! I have seen it everywhere. I love the bins you used with it too. Gives it that glam and rustic look, the perfect eclectic piece.
It’s so pretty and looks perfect in your space. Gotta love DIY, especially when “not according to plan” turns out better than planned. Love it!
Absolutely stunning!!!! Love!!
That is really amazing! Love that you have a welder friend. I have one too! But, never knew what I could ask him to work on for us!
This desk is insanely cool! Makes me want to learn how to weld even MORE if that’s possible! Love the basket drawers! That is one amazing room!
Thanks so much, Donna! ;}
Hey girl – this desk is amazing! So cool you had the help of a friend. My husband told me the other day we should lean how to weld, it seems like a handy skill!
Looks great, a perfect statement kind of piece for sure.
I’m seriously OBSESSSSSSED with that rug. I love it. It’s so bright, and fun, and different. It’s absolutely perfect for that already beautiful space. Every time you post a new photo of this room I can’t help but stare at the rug for a bit. Well played!!
Where did you get the crates/drawers? The rug? We need more details!! 🙂
Hey Deena! You can read all about the deats here! tutorials coming soon! (see: as fast as we can get them out :}) Thanks so much!