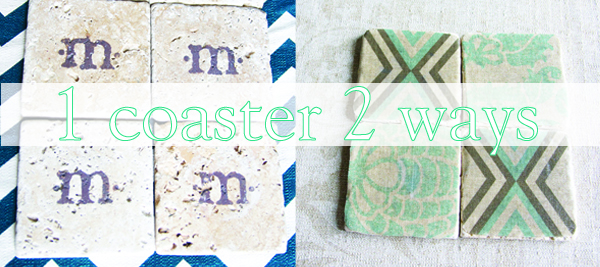
Really long, unrelated side note: I made this little photo at the top: an easy photo-shoppy combo of the two lil projects I was going to be touching on, and I don’t know if I’ve just seen too many movies lately (all three kiddos sick=planted in front of the teli) or I’ve just been completely out of touch with reality, but it seemed a little overdramatic. {Cue the cinematic overtures: ONE man…TWO identities…} And then I decided to leave it, since I’m too lazy to change it…MEH. What can I say? I’m a little punchy tonight.
But coasters are the simplest thing to create for your home…and I’m about to show you two seperate how-tos to try, from the same basic element: tiles.
For our first take, here’s what you’ll need:
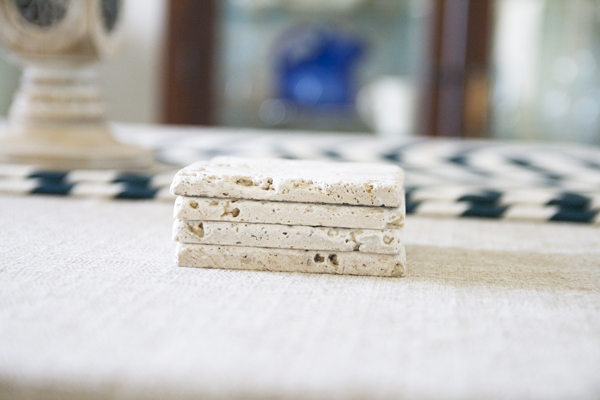
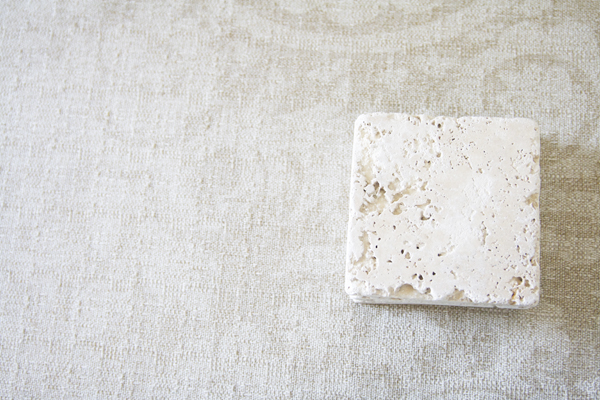
• Tiles {like the kind in the tiling department of your local home improvement store-these little squares come in boxes of eight, and I think that’s the perfect number for gift giving purposes…}There’s a number to choose from, but I prefer the powdery substance of these…they absorb liquids better.
• mod podge
• fabric of your choice
• scissors
• paintbrush

lay your tiles out and cut the fabric around them.
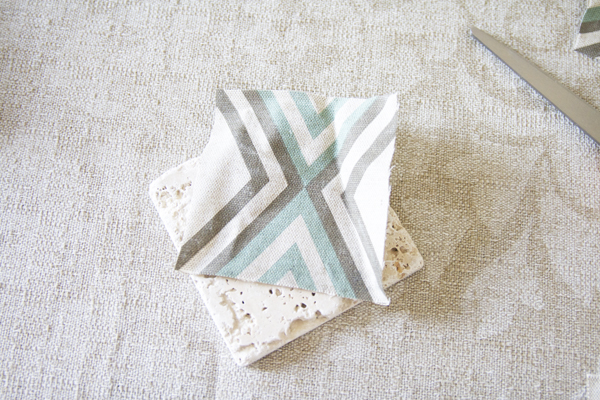
I slowly trim all my corners with the scissors to match the curvature of the tile. I simply eyeball: no need to fret on perfection…from there, bust out the mod podge.
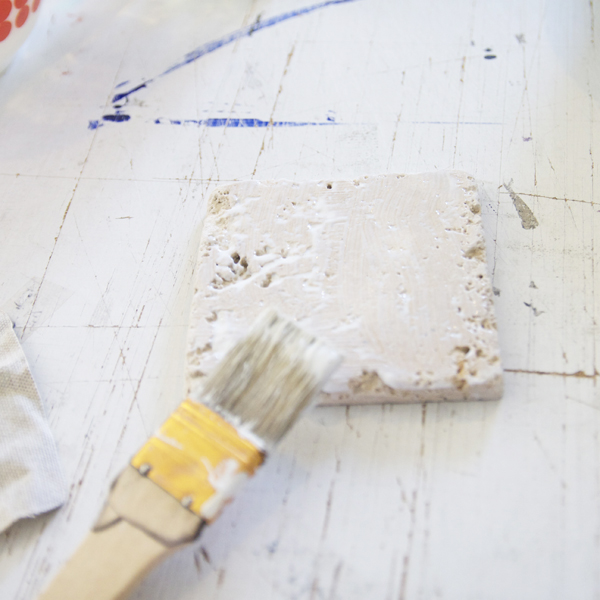
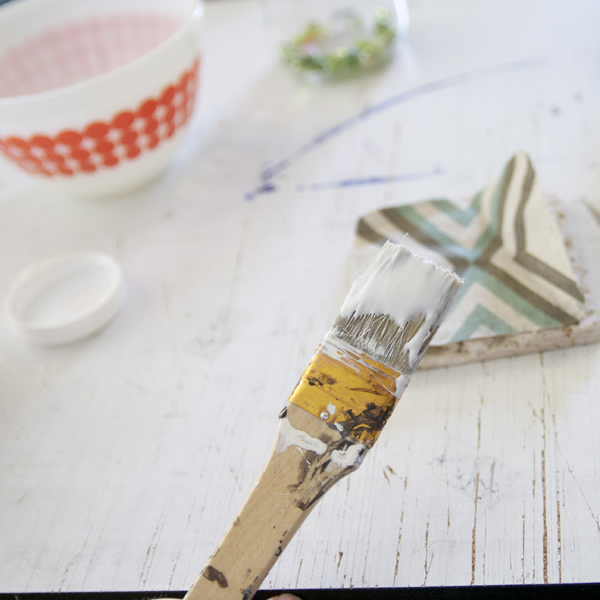
Put a coat on top (I fill in all the extra crevises) and then when you lay the fabric on top, cover it again.
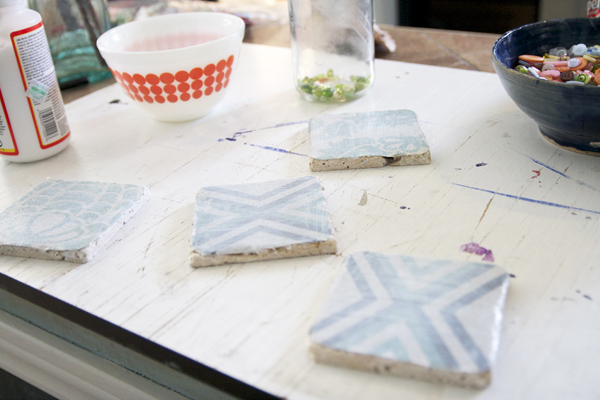
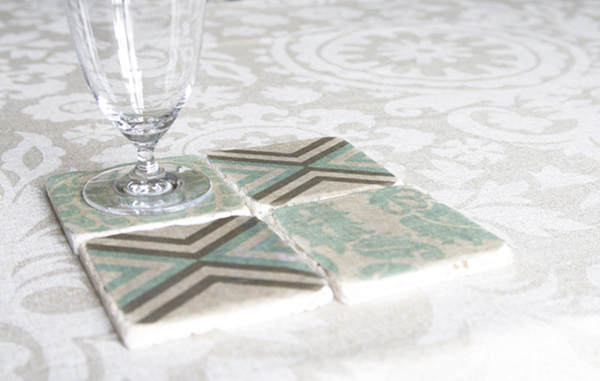
Keep putting a couple of coats on the top and let them dry…and TADA!
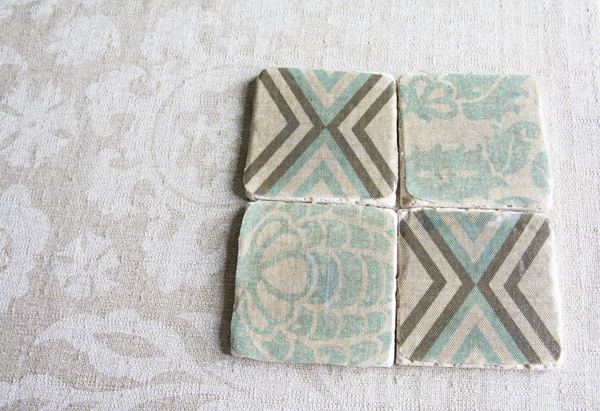
Your very own little matching set.
Now you can wow people with your awesomeness at dinner partays. They won’t really notice when you freak on them for their thoughtless moisture ring on your killer console table, because they’ll be too distracted by your awesome creativity in the coaster department while you desperately wipe. *fist bump*
For the second (monogrammed) kind:
The very same tiles
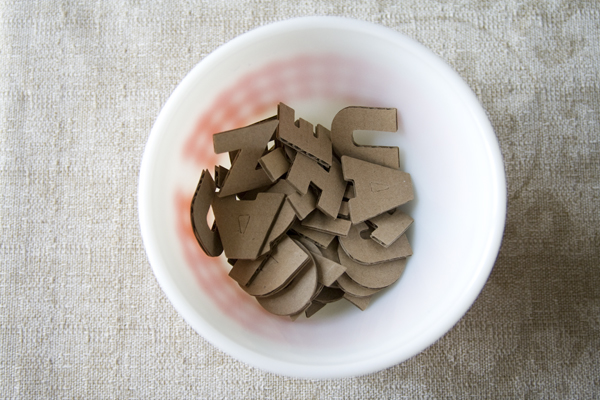
Either: the chipboard letters found at your local scrap booking dept. or a stencil. {bonus if they come as both as seen here. You can thank me later.}
{yes. I keep coming back to the chipboard letters. It pays to have a lil stash of certain things, I’ve decided…)
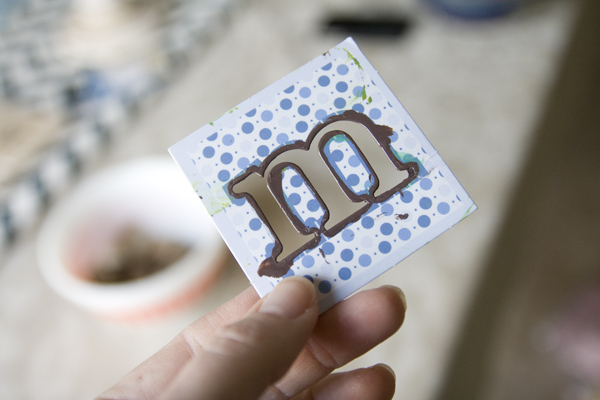
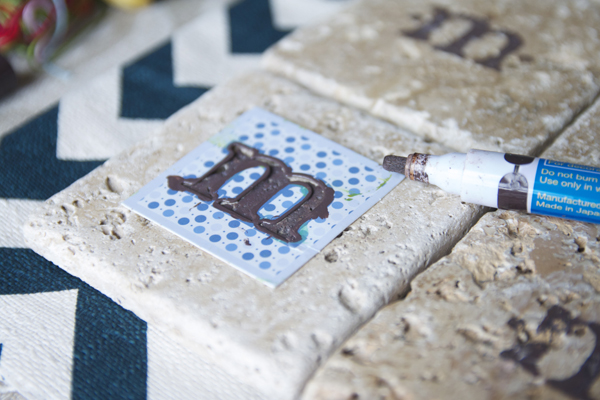
Centering the letter on your tile, either trace the chipboard letter, or lie your stencil flat, and after positioning your art, go to town with that painty pen. Not really. Be careful and blot slowly, or it’ll bleed. Then finish it off with two simple dots on each side for a completed look, if you wish.
helpful hint: wait for drying time, in between each tile, if using a stencil. The bleed will spread onto your next tile from the back of the stencil you just used, and that will not a happy tile designer make.

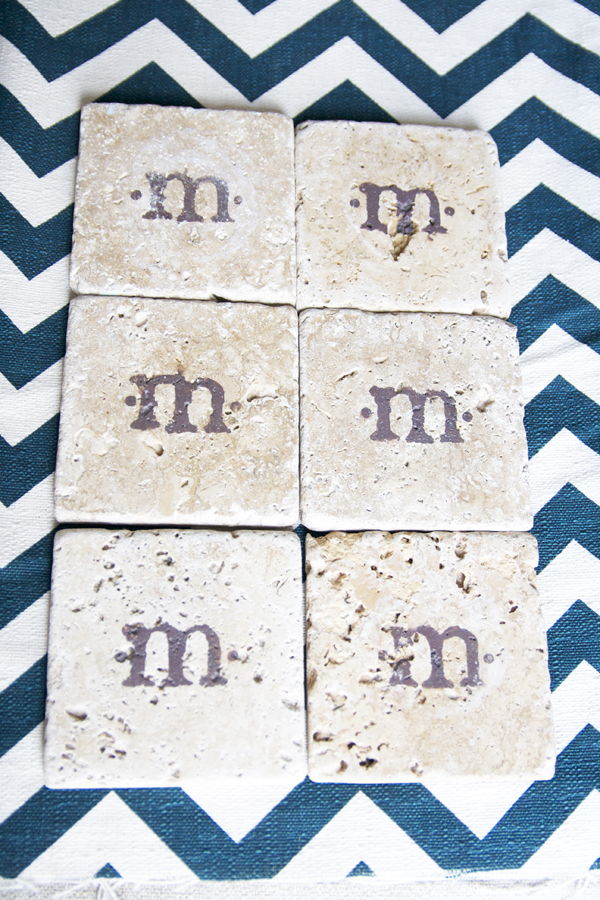
TADA! (no. 2!)
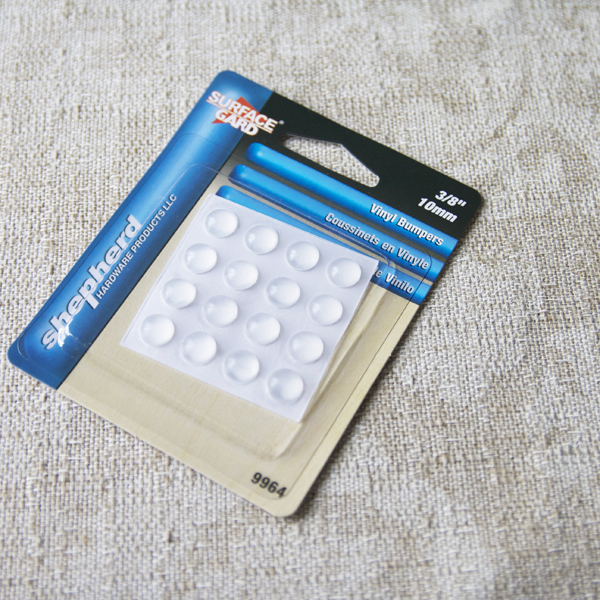
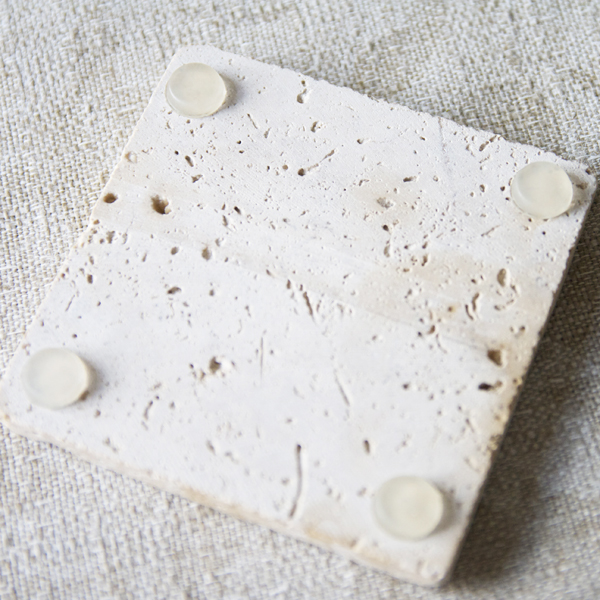
To make it super finished, grab these little vinyl bumpers up, as well, right after you scoop up your tiles at the home improvement store. Simply adhere to each corner of each tile. These things can be found near the hinges and the furniture sliders. It’s kind of pointless to have a coaster, if it won’t also NOT scratch your furniture.

Simply stack your creations up, and wrap with a ribbon. The perfect, supa thoughtful lil gift.
{Or keep them for yourself, because you’re awesome and you made them.} Who can’t use more coasters? I never have enough. There’s always some guest somewhere sent here to terrorize my furniture, while I try not to look like a jerk and discreetly hand them a coaster, even though they never asked and just put it there. Yeah. May be a pet peeve of mine.
Just sayin. It never fails.
Let me know if you make some! I’d LOVE to see!
ppssstttt: don’t forget to enter our shabby apple giveaway!

Sweet and Simple. Love it! Great idea. 🙂
This is simple and brilliant. I love this idea!
I am totally going to try this. Can you just come and do my entire house? That would be greeeaaaattttt!
I LOVE all your tutorials. They are the best! PLEASE keep doing these.
Love these! We have a triplet of wedding showers next month…..these babies might just be my gifts. 🙂
It's always the simplest things that escape me. I never would have thought to use the little bumpers… I'd be cutting out a zillion squares of felt and attempting to adhere them in an eye-pleasing and permanent way, all the while cursing the recipient for forcing me to give them a handmade present. lol
This is the best little project I have seen in a really long time! I think I will be making some of these for Christmas gifts! Thank you for such a great how to post!
Bella – that’s what I originally used them for! They’re a big hit and a great budget saver for the holidays, for sure! 😉
Great project!! I am definetly making these for gifts! Thanks for sharing!!
These are lovely! Any ideas for a storage box?
Do you have to seal it if you are just putting the letters on the tiles? If not is there a certain type of paint pen that needs to be used.
Thanks!
Hey! I have never had any problems with just a regular old painty pen (any kind you can find because those are permanent) and a tile. My M’s have never come off. No seal, because the water from your beverage is soaked up by the powder on the tile. I hope that helps!