We’re back with another post in this series, and this time we’re partying it up uh, I mean walking like the Egyptians.
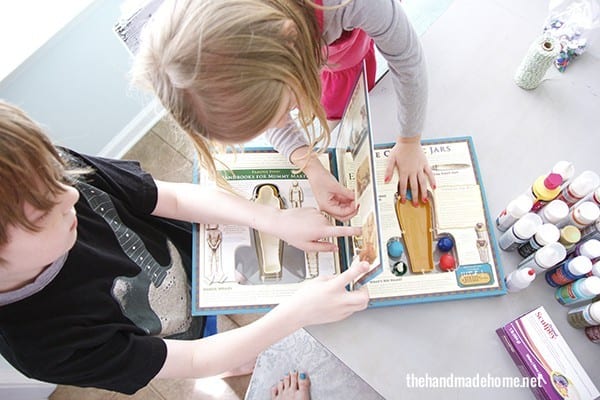
Next up in our timeline in artists through the ages were the people of Egypt. And honestly, their lifestyles were so intriguing that everything they did was art. But we chose two simple activities for the kids to do, while introducing a few concepts as well.

For your kiddos, we have a few videos on the Egyptian culture, here and here (for another look at the pyramids and what it might be like to tour them).
If you’ve studied the Egyptians before, you know they were a culture very much into their appearances, and the afterlife. So we decided to focus on two iconic items that they were famous for: Collars + Canopic Jars.
If you’re looking for a great source for educational material on their burial rituals, I scored this book at a sale, but there’s available copies here. It peels back the process of Mummification, layer by layer page by page, and it’s a great interactive book with your kiddos. Obviously you don’t have to own that one for this project, but we thought it was worth mentioning because our kids love it so!
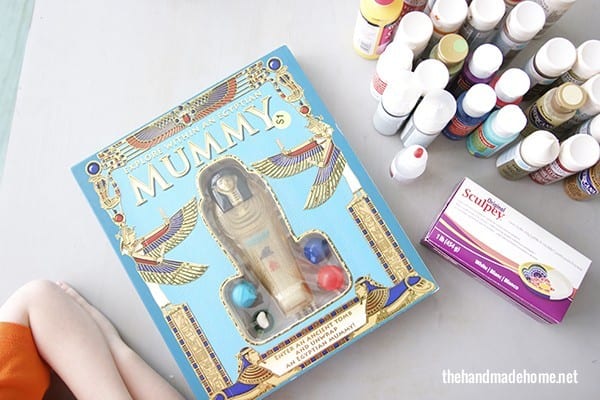
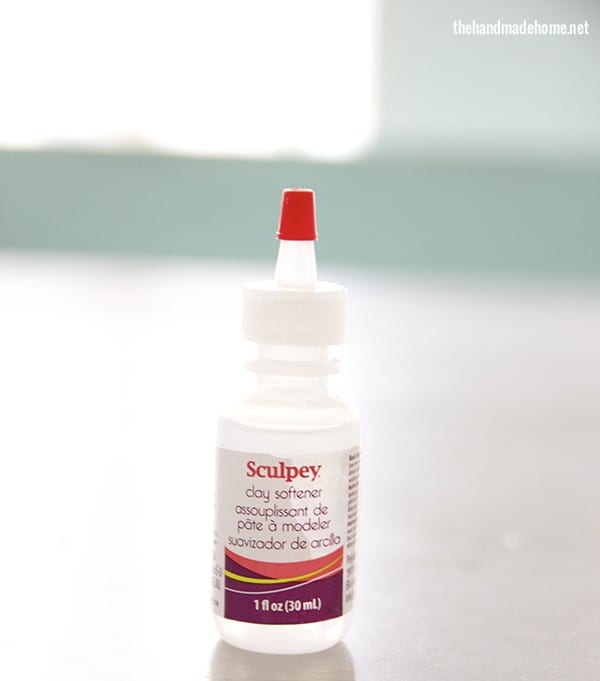
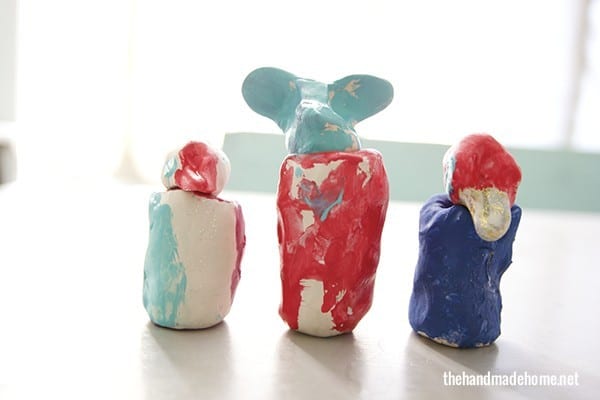
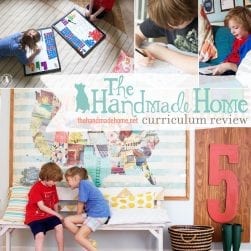
For our first project, we started the canopic jars. Here’s a great overview of them here. We used some sculpey clay + paint.
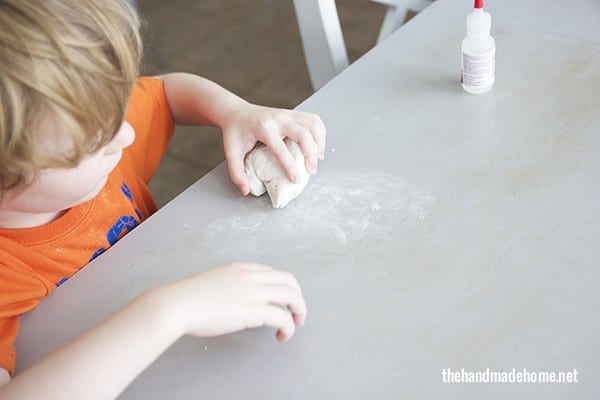
Little tip: I have a love hate relationship with Sculpey… it can be a great material but it’s so hard to get started. Be sure to try this stuff out when you pick some up at the store… it’s a major frustration and time saver with little hands! {A little bit goes a long way}
We based our designs loosely (very loosely) on the ancient designs of Egypt, but really it was all about a good overview of history {they love the idea of weird burial rituals} with their chance to get their hands on some clay and practice their fine motor skills. (Along with various artistic liberties, of course.)
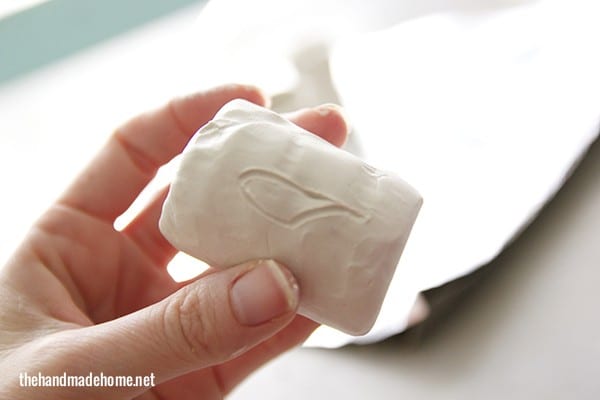
For the jar: we rolled them into a fat little cylinder shapes, and poked a hole in the middle with our fingers, so it could serve as a ‘container’. Then, {see below} I molded the tops into a circle shape with animal characteristics {bird, etc.} to sit on top, like a little lid.

We basically rolled the clay into smaller pieces {see the traditional animal shapes} so that it was more like a little head that sits right on top of the “jar”.
Just make sure the bottom jar opening is small enough to hold the top so it can sit on top once baked. It helps to bake it standing up, to make sure the bottom piece sits right once it’s baked.
We looked up hieroglyphics, and used the symbol for the beginning of each of their names, on the front for a design.
We popped them in the oven {According to the instructions on the back} and while those were baking, we started a super simple project that they really enjoyed.
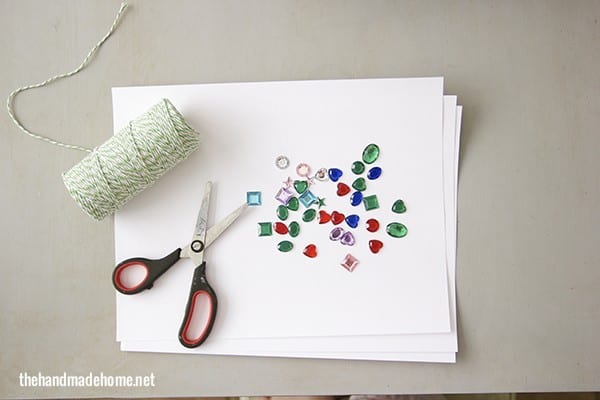
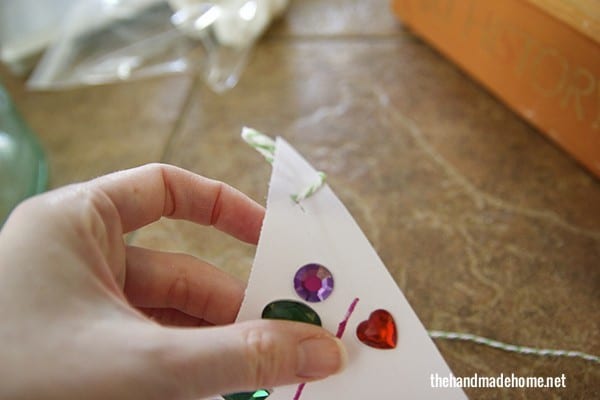
What you’ll need is some thick card stock or cardboard. Twine, scissors, and any decorative elements you want to use. We used stick on jewels we had leftover from a previous project (but they needed a little help with a glue stick).
The Egyptians were known for their elaborate jewelry, and one of the most famous were their collars. Check out more on that, here.
So we cut their card stock into a lose “collar” shape on a curve.
 And the kids had a blast decorating their own.
Side note: I didn’t think the boys would like it very much at first, but they were all about it. Especially when I referenced photos of male Egyptians sporting collars as well. And ‘skirts’. (I didn’t show them photos of naked Egyptian children. It’s all the reinforcement they’d need. Shirts and pants are usually optional as it is…)
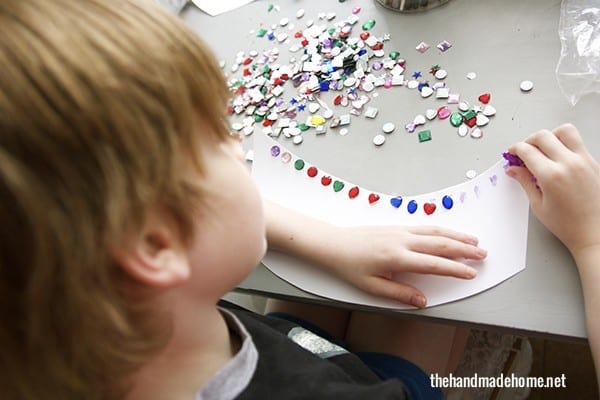
You can use a hole punch or scissors, but I made a place on each end with some twine, so they could wear them around their necks.
They had a blast making their own designs, and embellishing them with markers, etc.
 Here we are, modeling it with Cleopatra, herself.
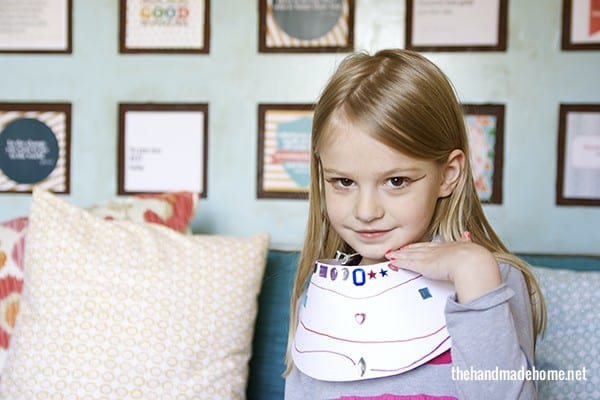 She was most excited over her excellent choice of eyewear.
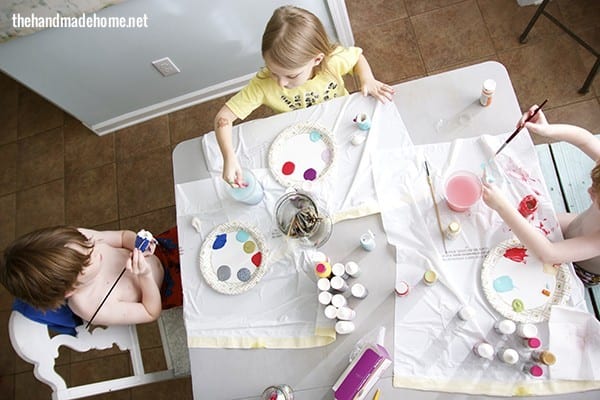
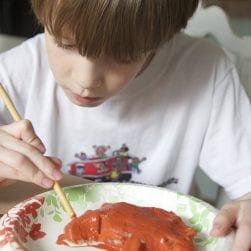
When those were finished, it was perfect timing for the {cooled} clay to be painted.
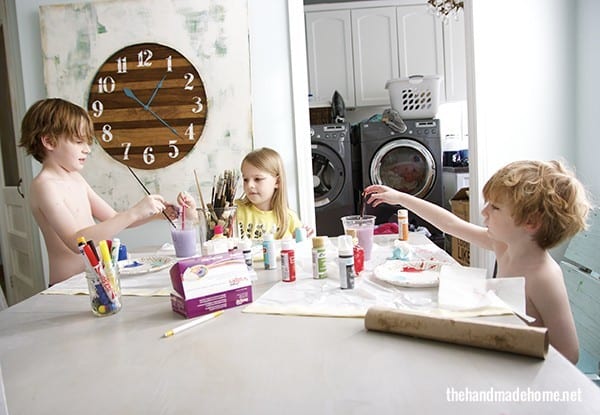
They had a blast choosing their own colors, and decorating them up. We had two falcons and a rabbit jackal. Or something. (mouse?) They kind of made up their own shapes and I rolled with it.
(Also, no judging of the dirty laundry room in the background, now that I’m pointing it out awkwardly on our site. It’s how I’m rolling this week.)

These particular canopic jars are decked out with neon colors and glitter.
I can’t wait to see what treasures I find in them later, when cleaning the house.
They loved these little projects, and getting their hands dirty to make some awesome creations and learn a little about the ancient Egyptian cultures!
Is there anything sweeter than little artwork created with innocent hands? In the future, I want a wall large enough to showcase all of their work through time. Even little things like this. It’s my favorite.
If you’re interested in following along, be sure to check out our last post on The Cave Dwellers, here.
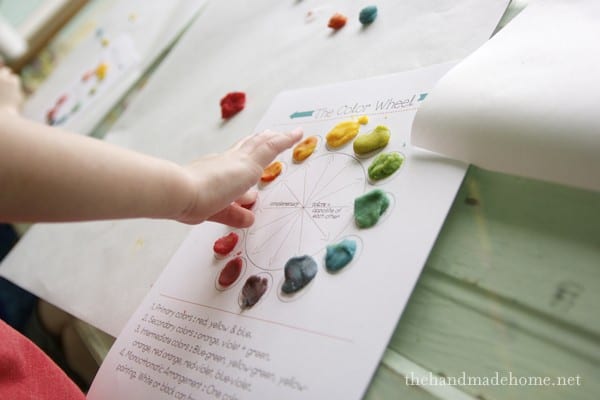
 And our color series for children, (all of our series so far) here.
As always, let us know if you try any of these! It’s easy, educational fun with your kiddos. A great way to do some hands on lessons!
Have an inspired day, y’all!

THANK YOU AGAIN!!! Another awesome history – come to life – through art day of school! THANK YOU!!! I LOVE LOVE LOVE this approach to history – the art of the time tells us SOOOOO much of what the culture of the time was! I LOVE THIS – again – cannot WAIT to do this with my son!!!
Thank you SO much, Ann! We were doing them anyway, and I thought… why not share? I am so glad someone can use them! Lots of fun was had by all – stay tuned for more coming up – I hope to have them a little more often than the last two were, spaced out ;} Going all the way through history!
This is such a lovely idea! I adore how fun that looks. Thank you for inspiring me.
Fantastic!