If you’ve been tuning in for a while, you may know we have quite a few tutorials on how to build a frame on our site.
It’s been our biggest money saver over the years, and the quickest way that you can get a lot of bang for your buck in the DIY department, and a super custom look. Today, we wanted to talk about border frames since we’ve gotten quite a few questions about them recently, throughout our home.
These are fairly simple frames, that can either be made with simple 90-degree angle cuts, or 45-degree miter cuts.
You can also choose to glue everything together, or simply use melding plates to secure them.
You can be a fancy woodworker or this can be the first time you pick up a saw, because it’s a great project for all skill levels.
Either way, you can add that extra something to your art.
What you’ll need:
• Some type of saw (duh) – the best to options are a miter saw or a miter box.
• Table saw or you’ll follow the option of cutting mdf strips.
• 1 x 2’s – {How much depends on the length and width of your frame for whatever you’ll be framing in the art department. For this tutorial, we’re going to work on a 3′ x 4′ frame} We’re framing a flat board, that makes an excellent canvas for our art. Thus the supports in the back. If you’re doing this to a canvas though, you’d want to adjust accordingly. We even have another tutorial for framing canvases here.
For a 3′ x 4′ frame we will need (2) 1 x 2 x 8 and (2) 1 x 2 x 6 {If you don’t have a table saw, you’ll want to get a 2 x 4 piece of 3/4 inch MDF and ask the good people at your hardware store to cut it into strips of 1 3/8 inches.
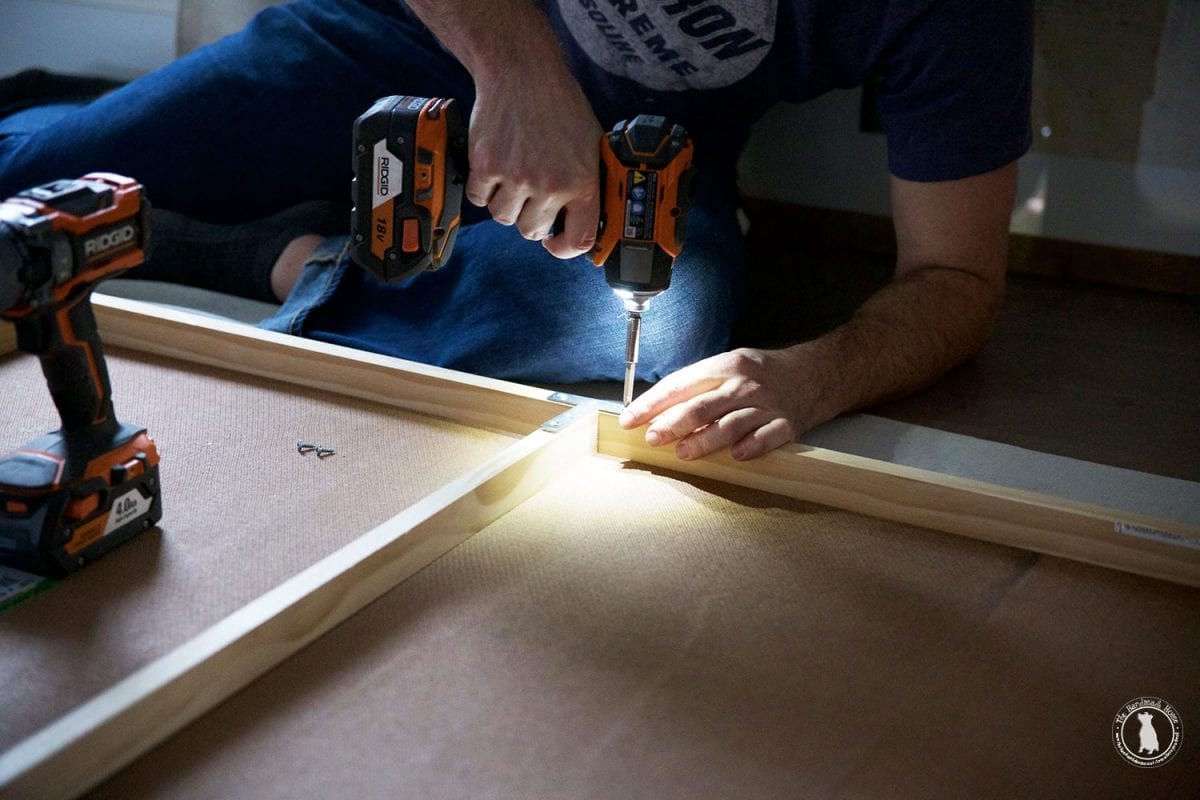
• (8) T shaped mending plates
• (4) corner braces
The first step will be to measure your art.
As mentioned, we’re basing this off a 3′ x 4′ piece. We’re also going to make this with straight 90 degree cuts. So we’ll cut one 1 x 2 x 8 into (2) 4′ pieces and another 1 x 2 x8 into (2) 3′ 1 1/2 ” pieces. We need to add the extra 1 1/2″ to these to cover the overlap of the pieces joining together. I simply choose to do it with the 3′ side over the 4′ side to save on lumber costs.
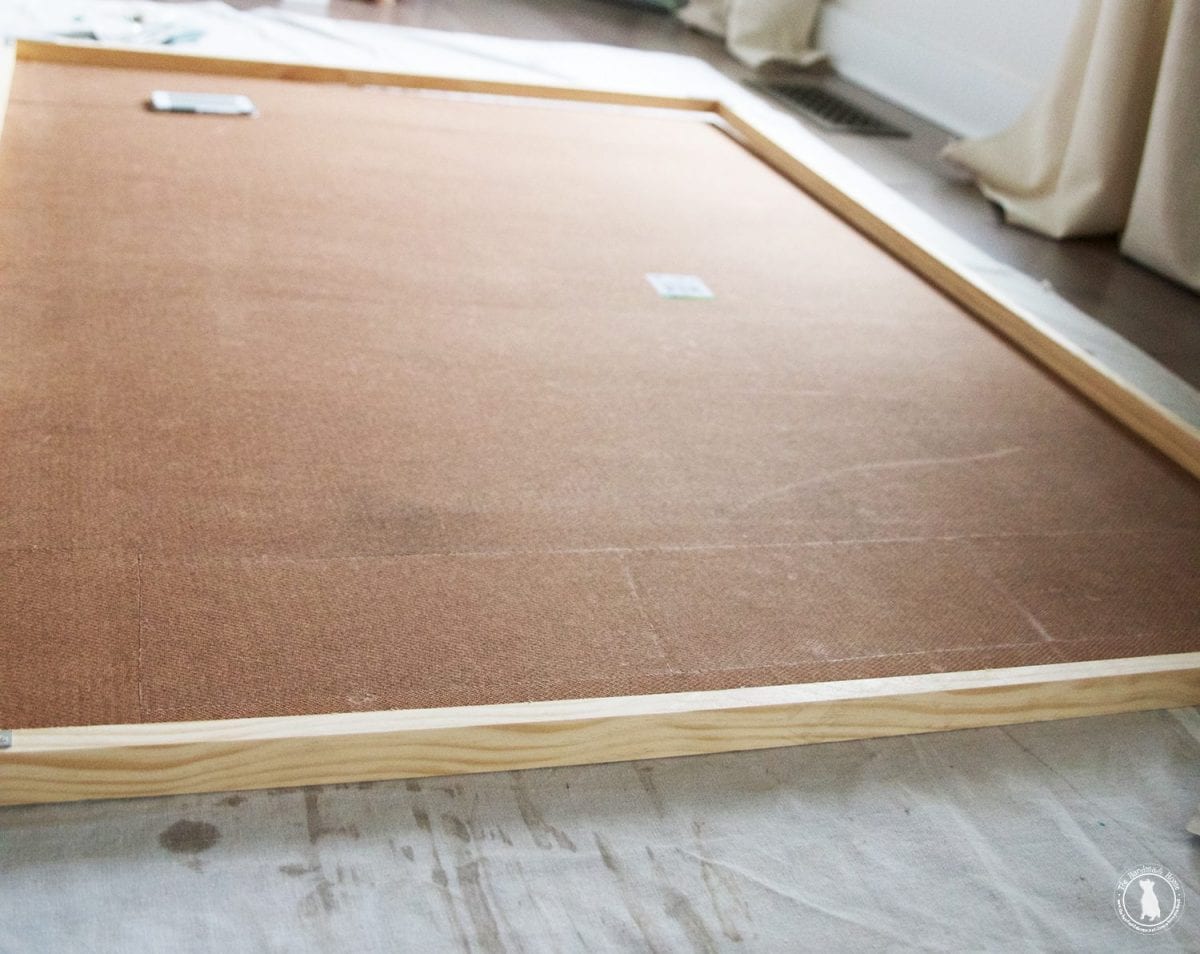
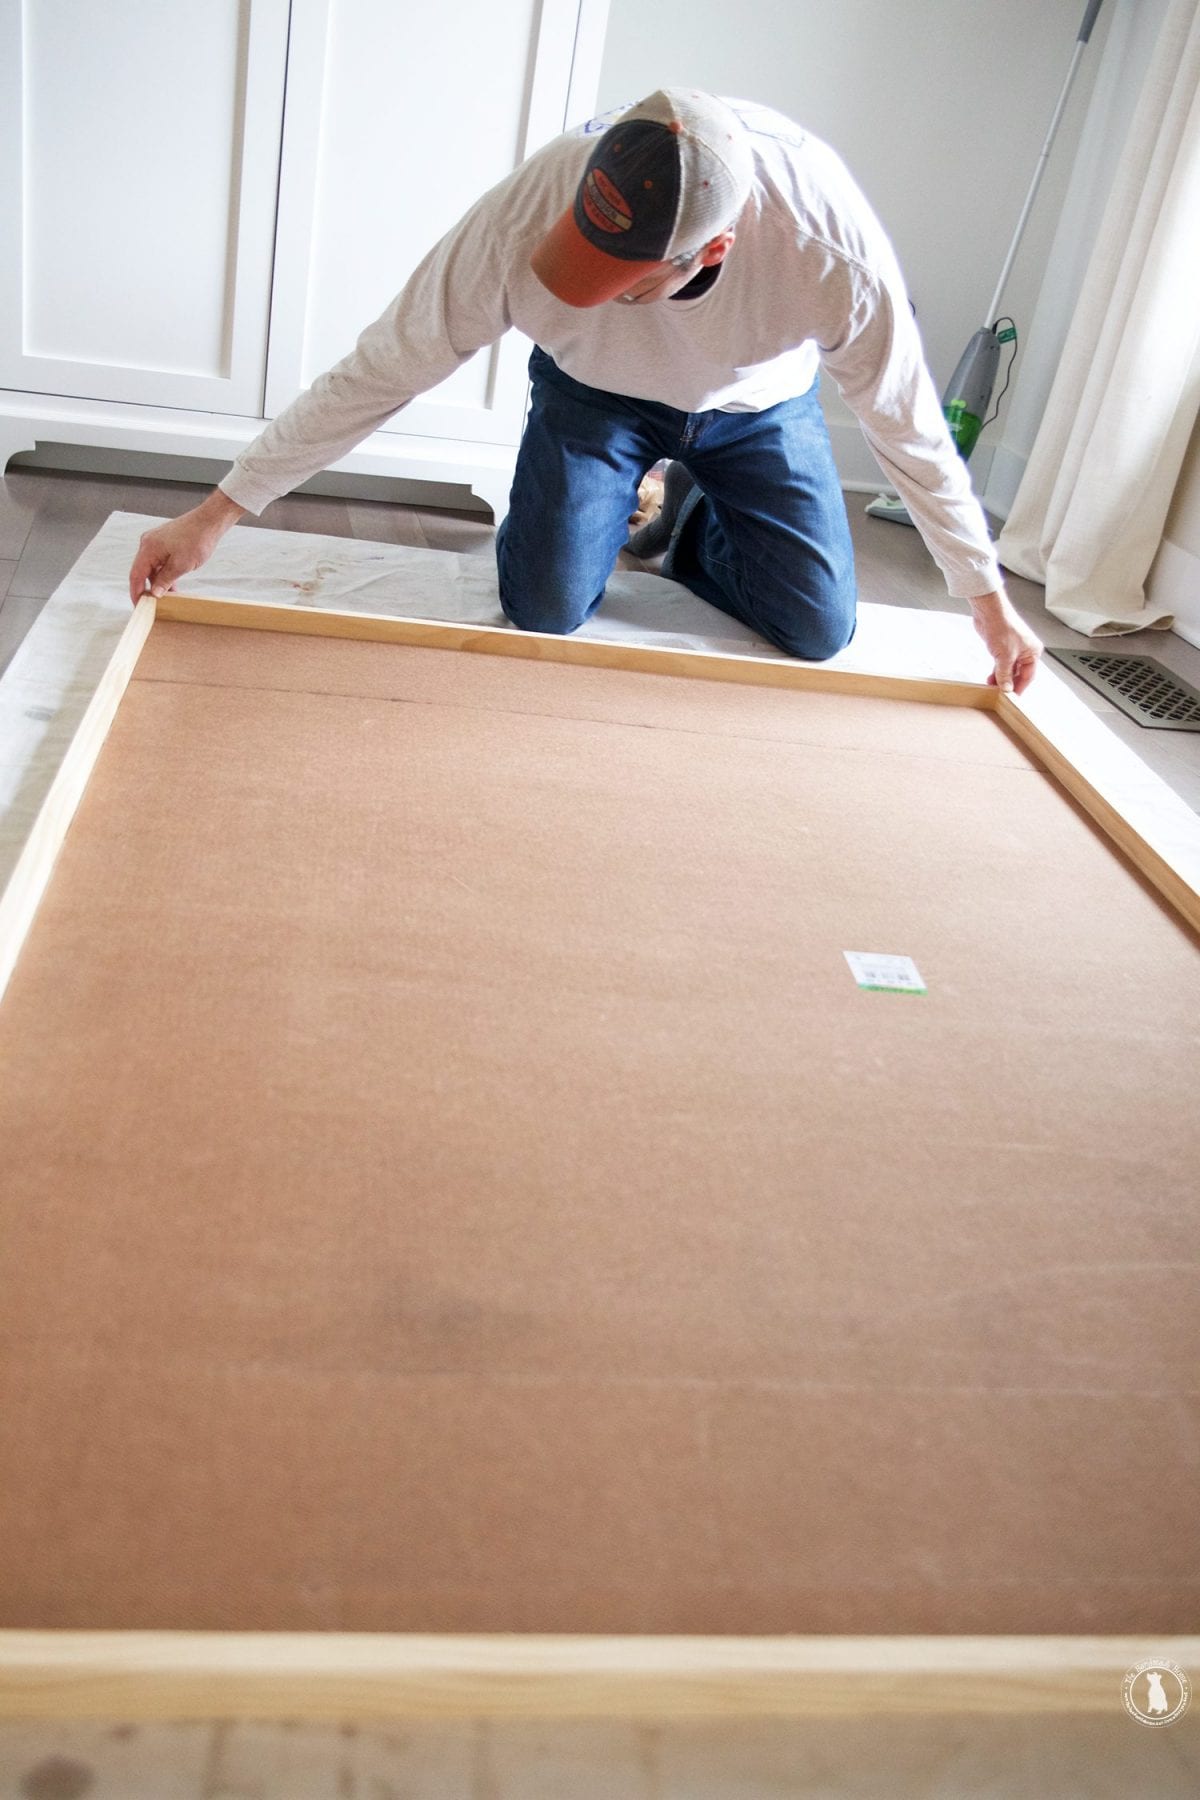
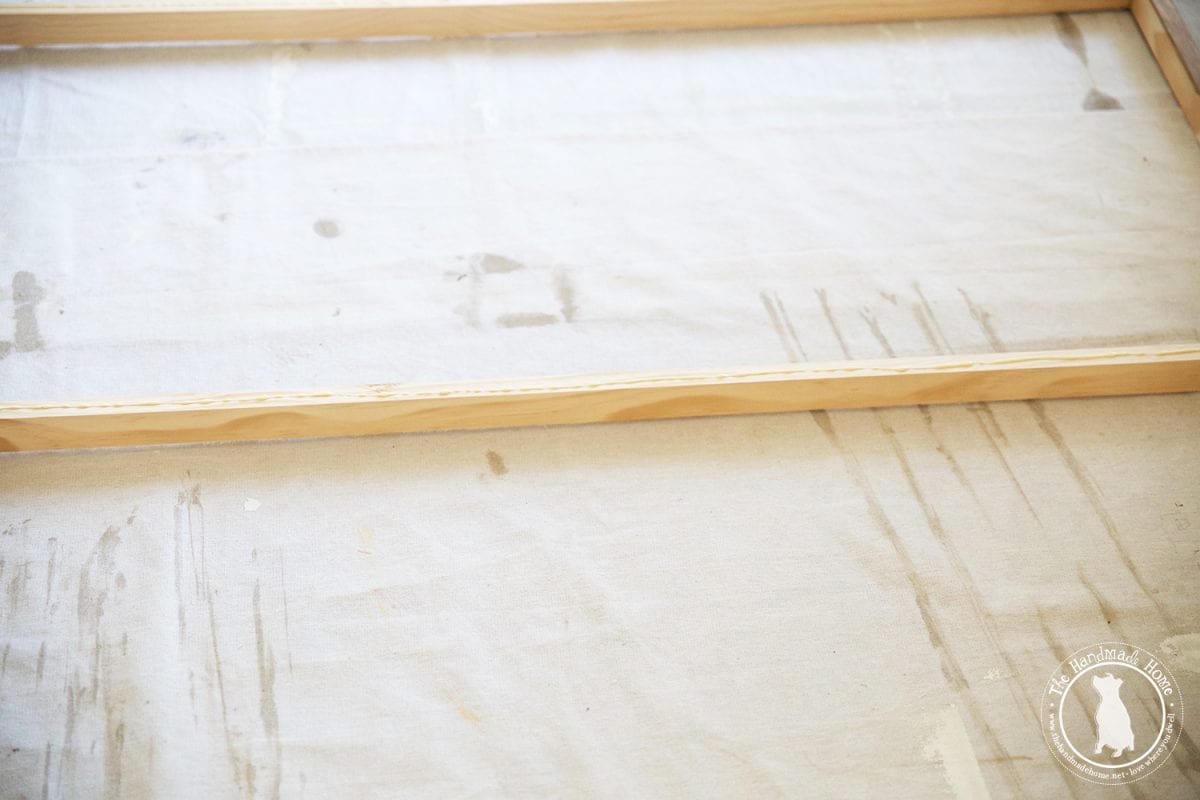
Once you have those cut, lay the art face down, and line up the frame pieces on the art to make sure they’re flush.
Then simply use the corner braces to secure the pieces together. You can have either side showing on the edge of the frame, but we choose to have the 3/4 inch side showing next to the art.
So that would put the 3/4″ or smaller side flush to the ground when securing the pieces.

Simply work your way around the frame. securing all four sides.

Once those are secure, you’ll want to cut your 1 x 2 x 6 with the table saw, unless you are using cut MDF from the hardware store.
These pieces will be used to help brace and secure the art.
Secure the pieces with the T braces. We generally space the 4 pieces out, but try to get one close to each edge and two in the middle.
(Your braces should be flush with the frame you built if everything was cut correctly.)
Next, you’ll want to stain your frame. We love Minwax Early American, it has a great classic feel to it and is super easy to work with as a pretty, earthy tone.
Once the frame is dry, run some beads of wood glue on all 4 supports and lay the art into place.
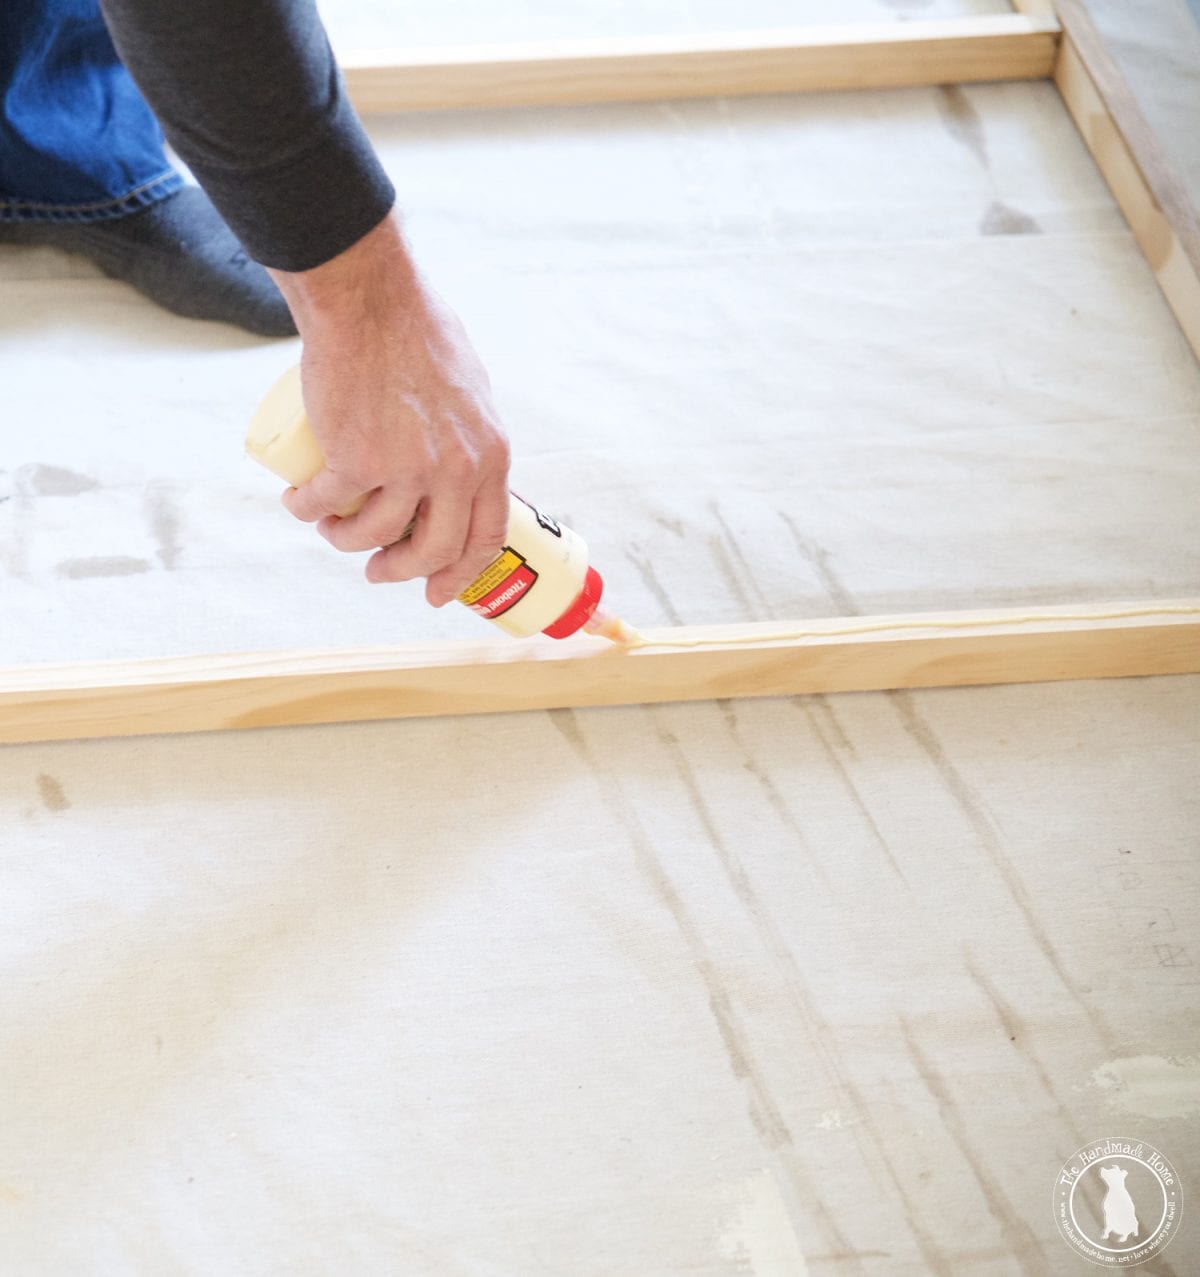
You might have to play with it a bit to get to fit. Once it’s in, place some weight on the braces to help set the glue.
We simply use books or anything else we can grab for weight, nothing fancy.
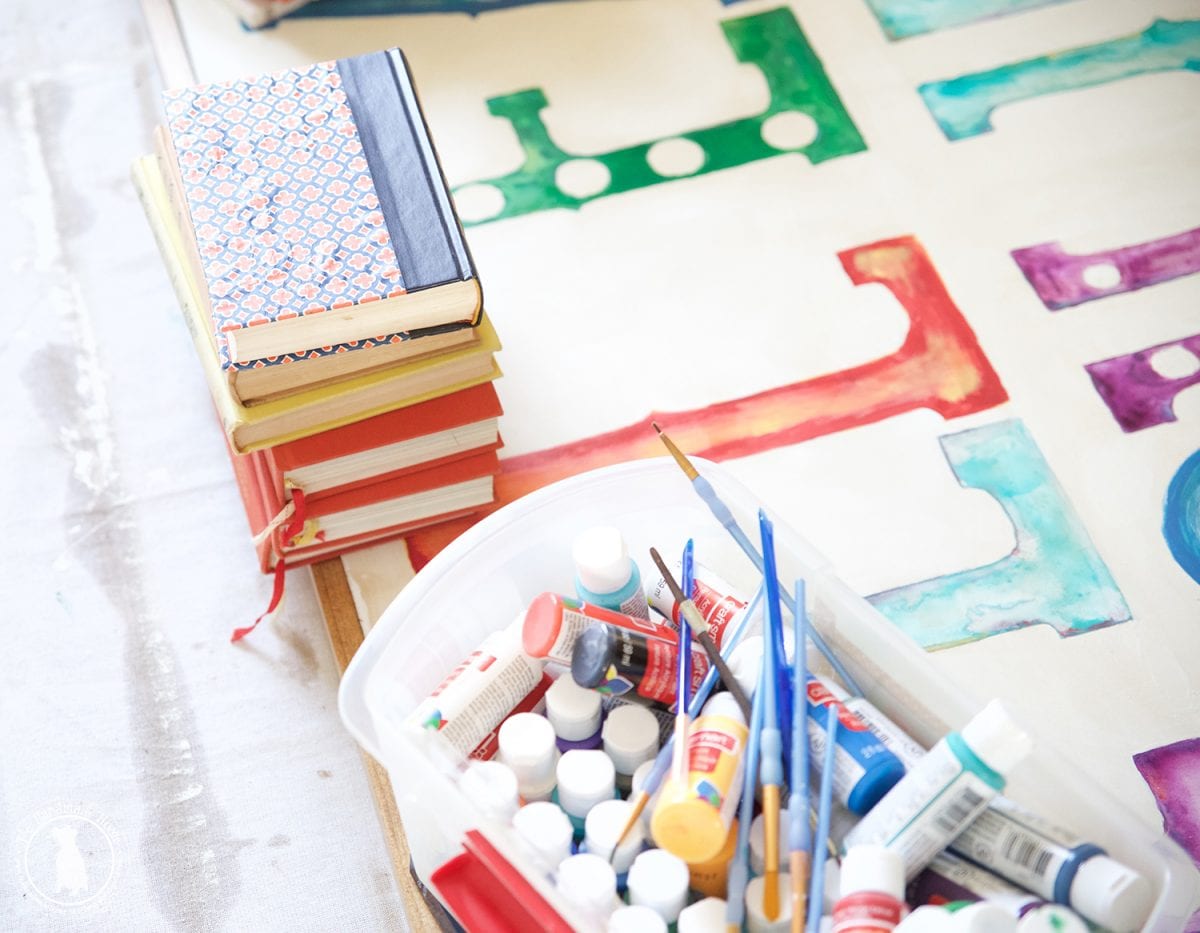
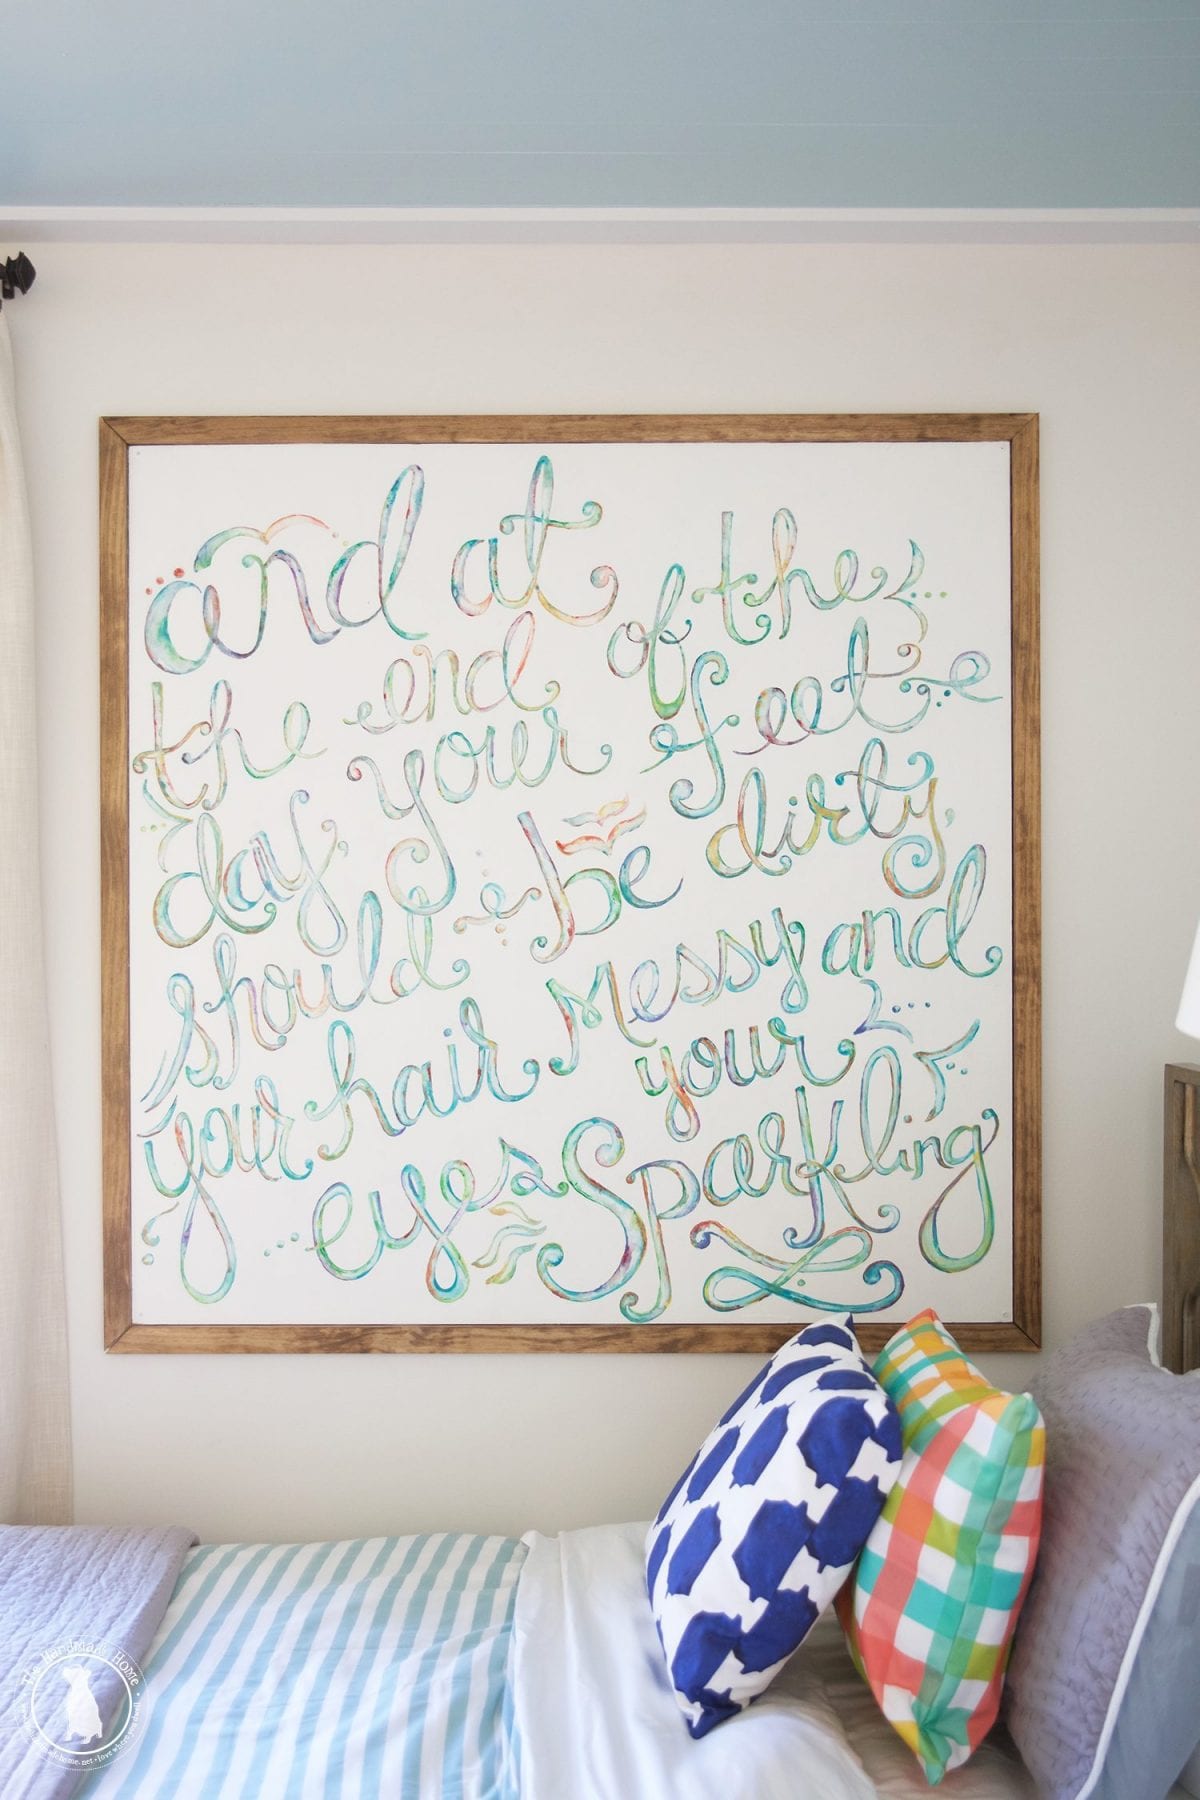
This one’s a sneaky peeky of the piece we just painted for House for Hope. ;}
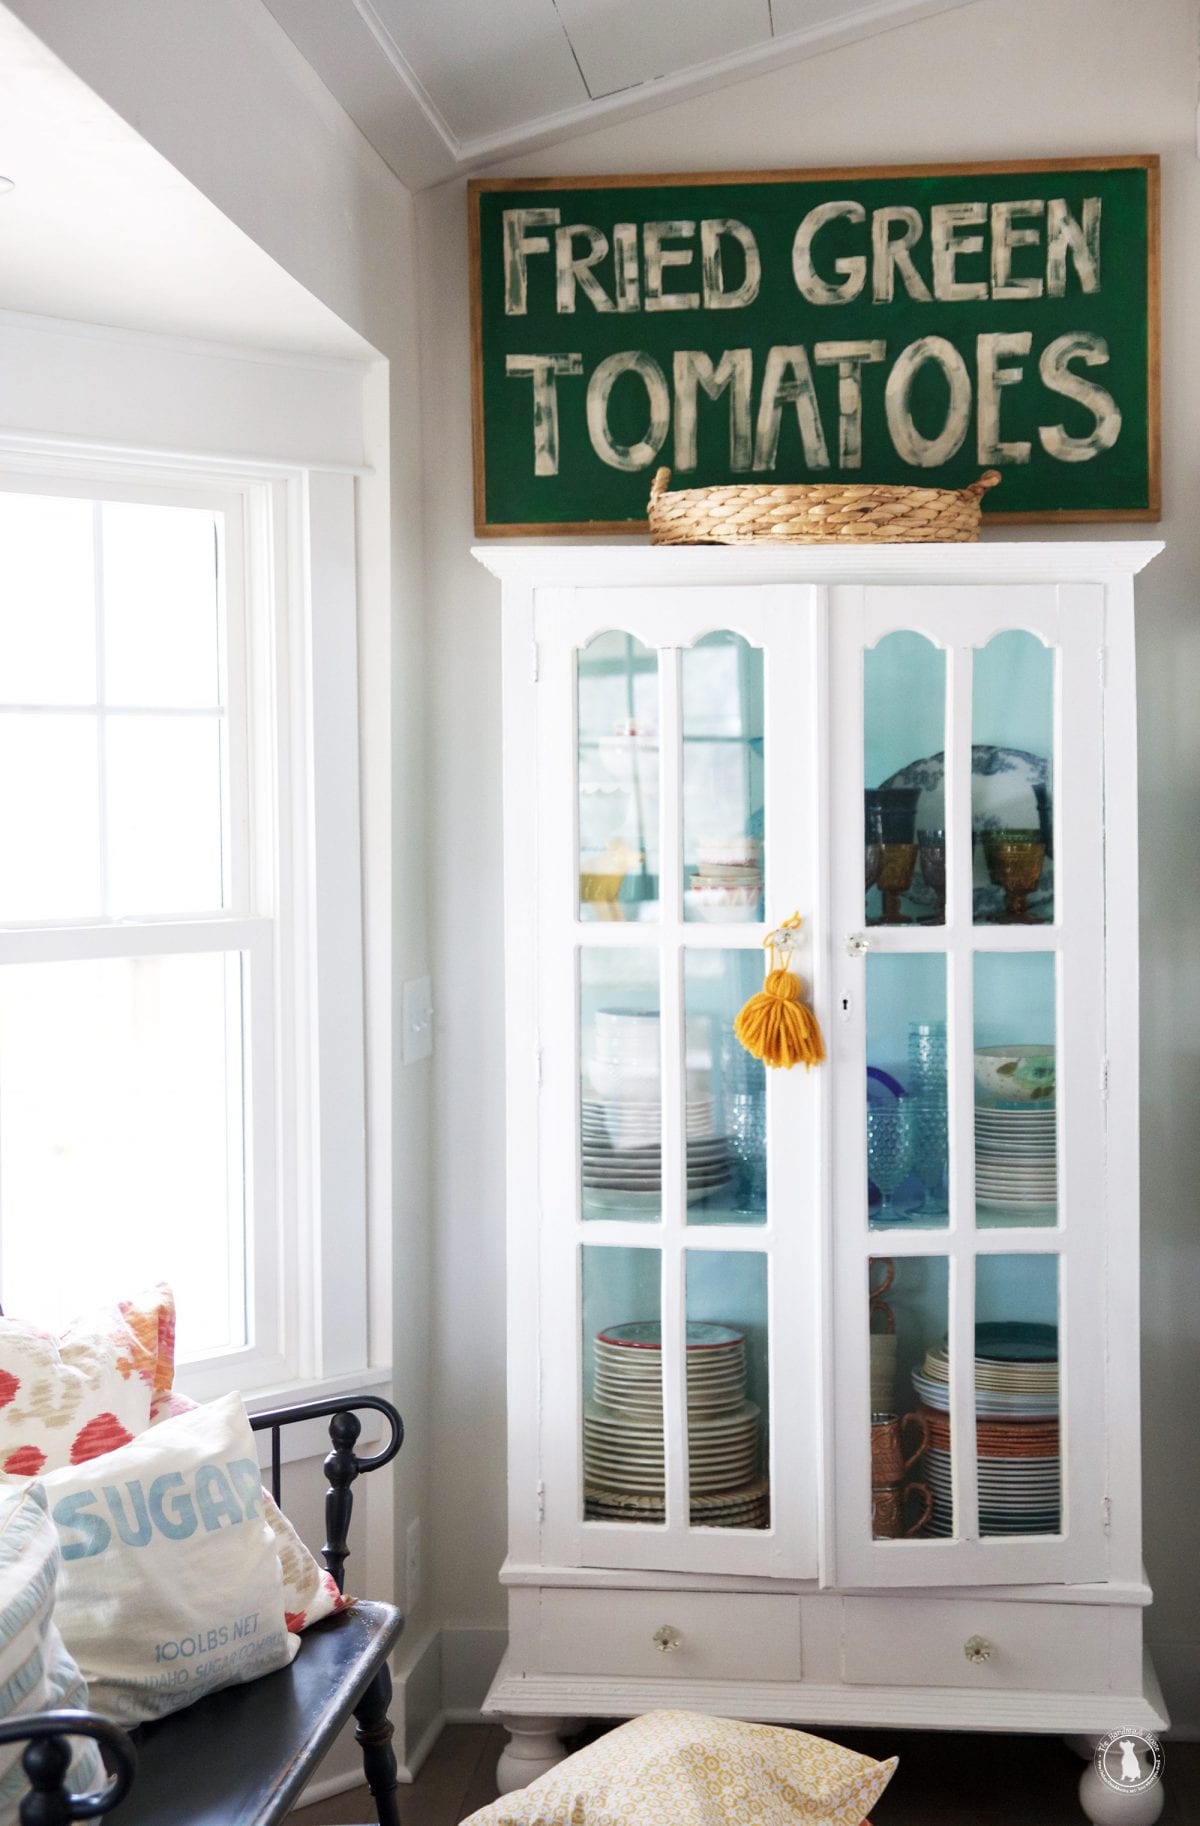
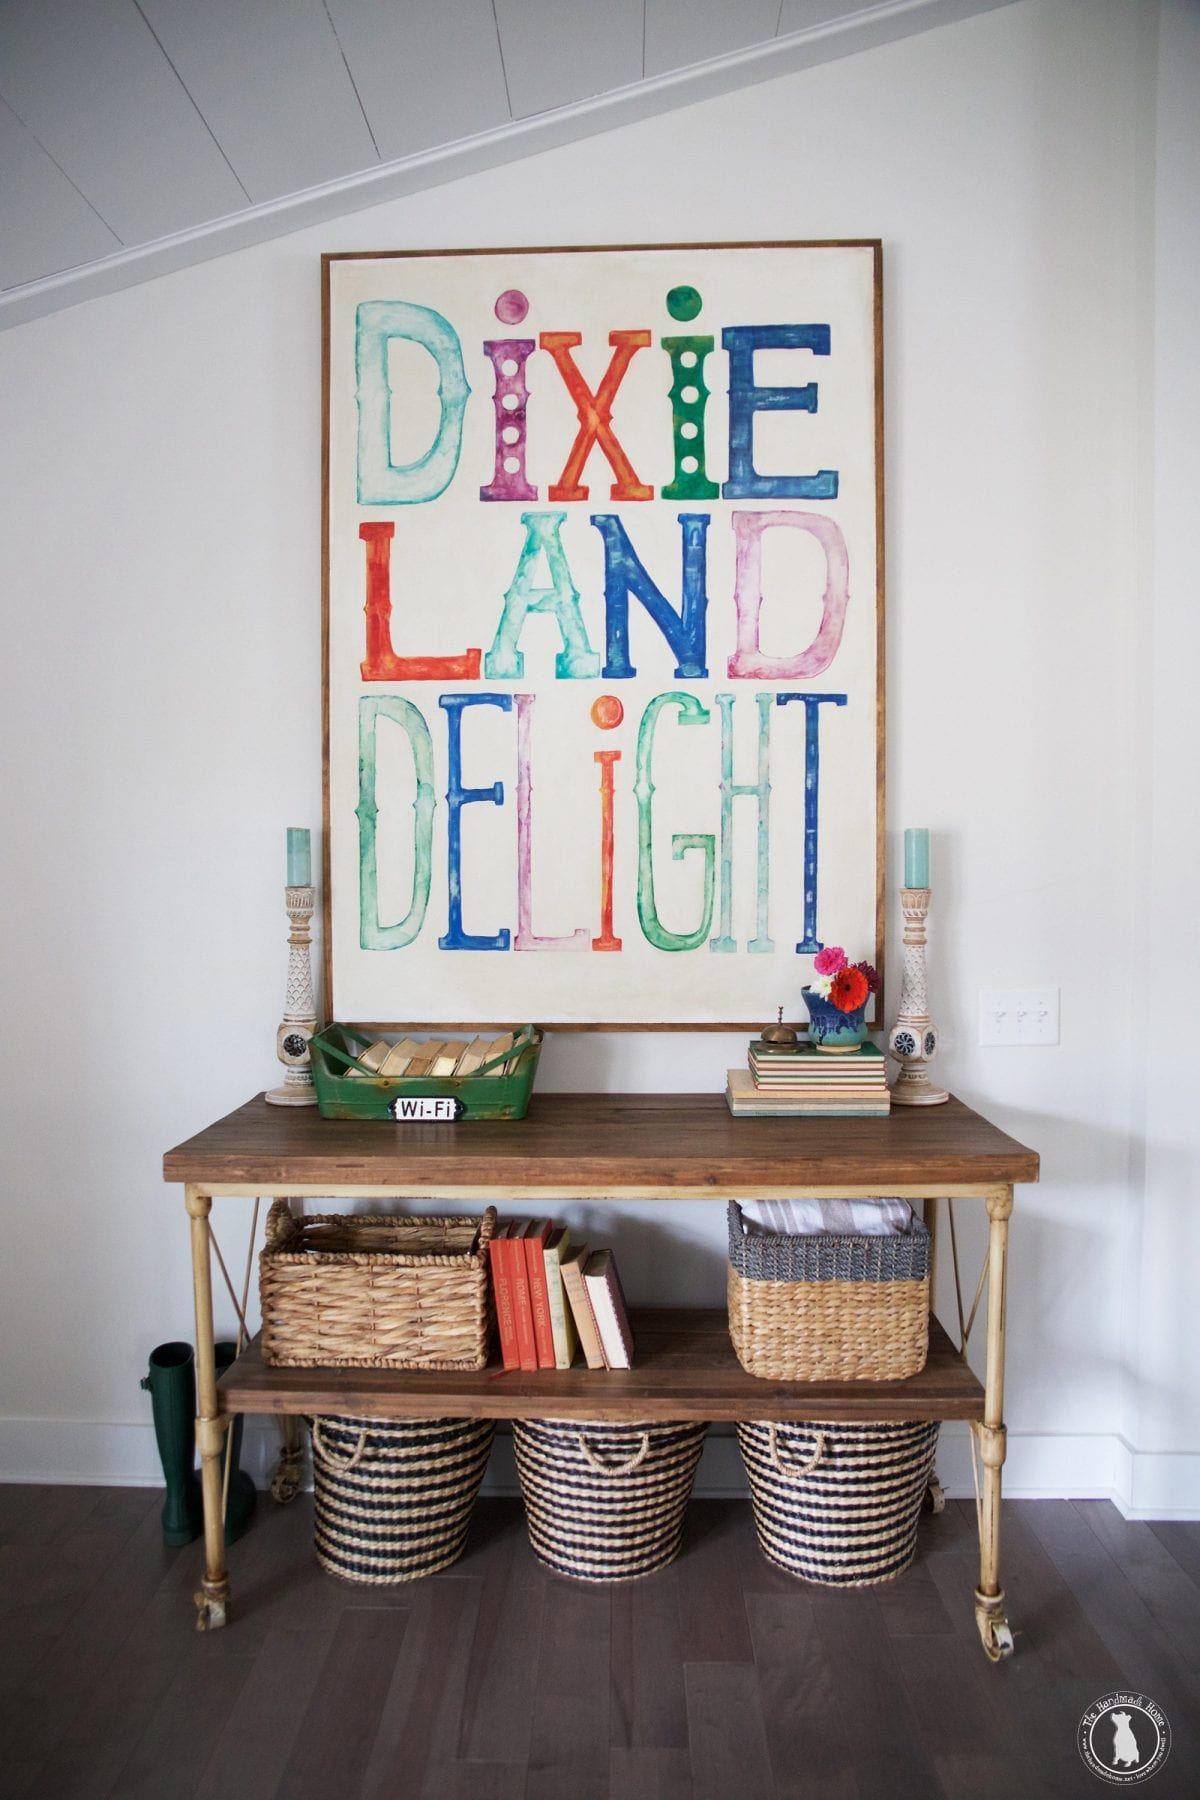
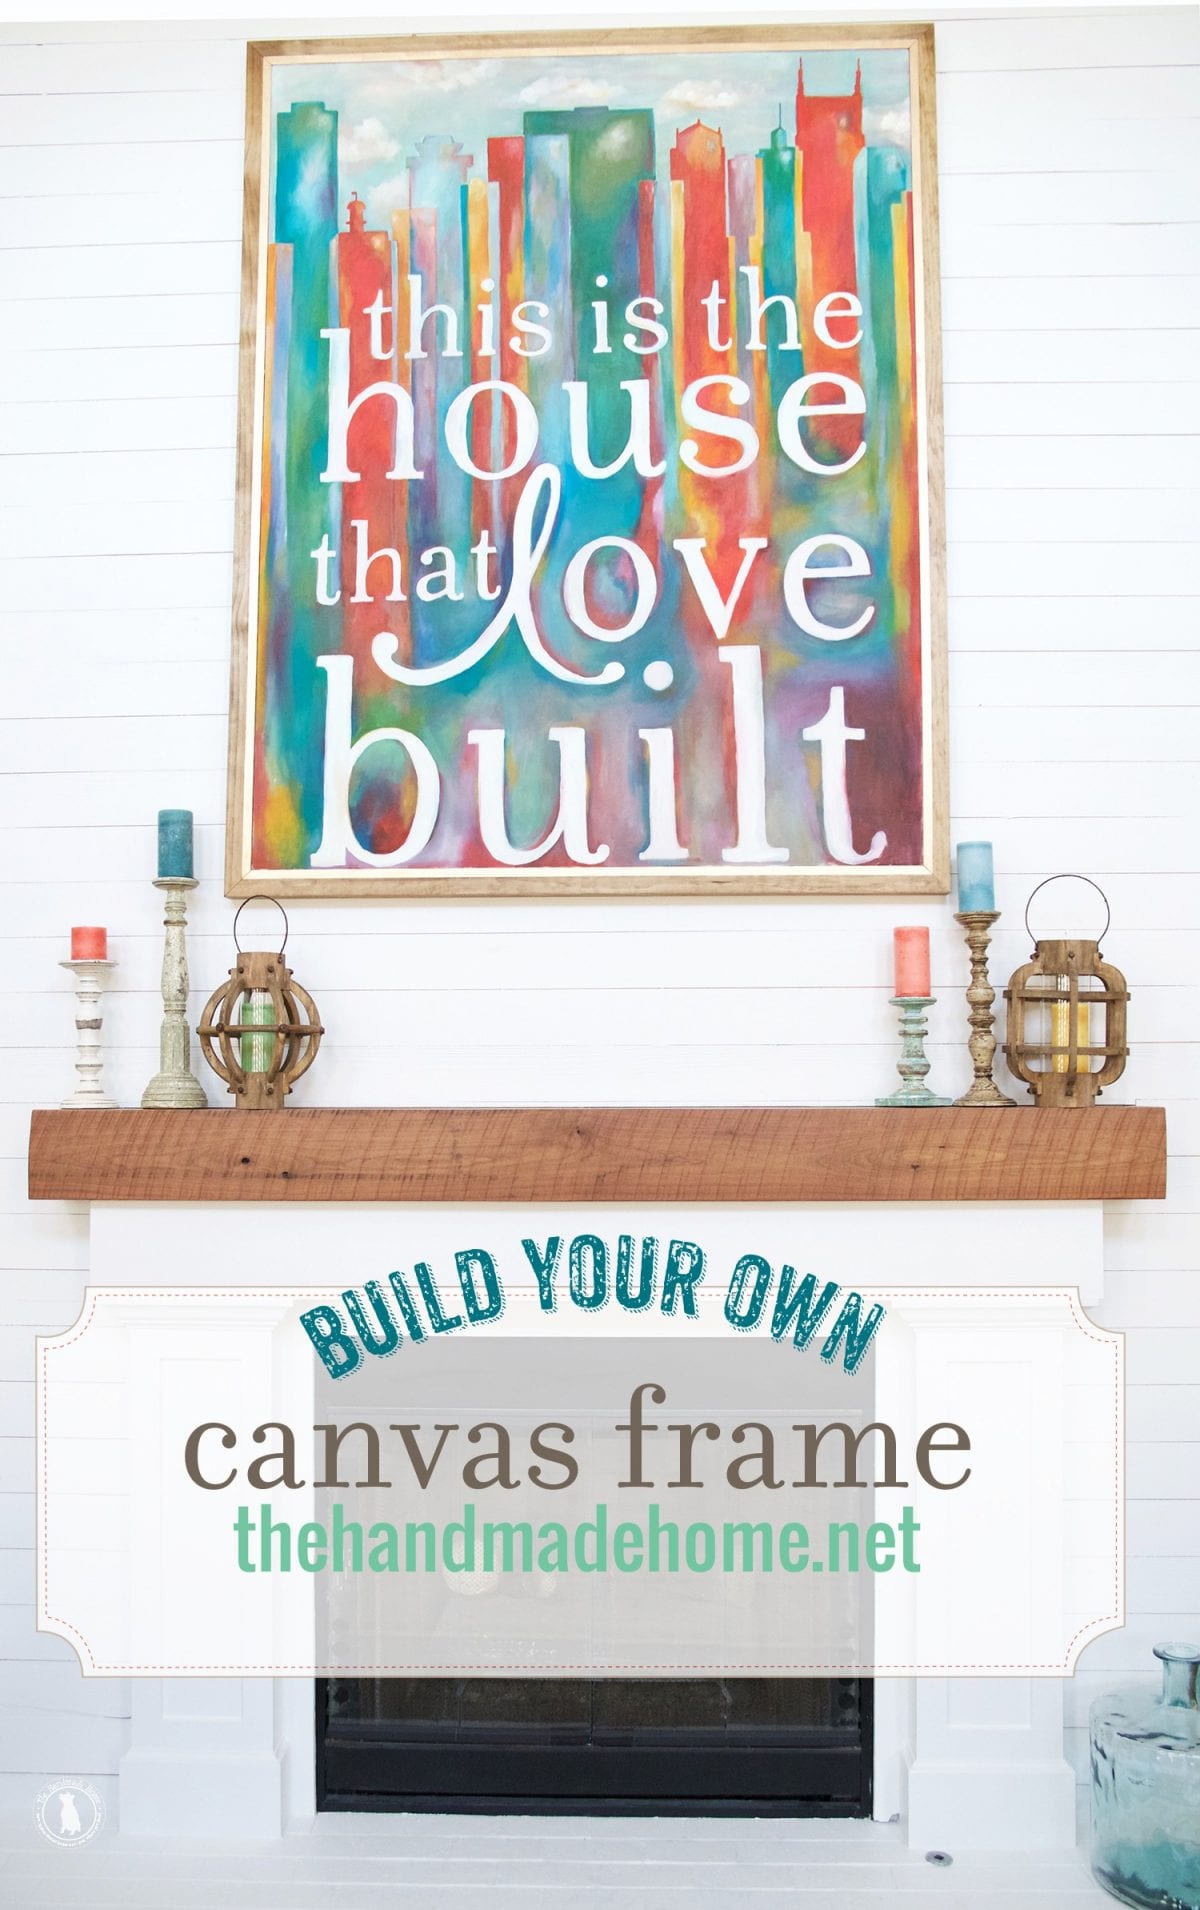
Tada! You have a frame around any of your art, for a great one of a kind look. It’s awesome to use throughout your home!
As always, let us know if you make them… we can’t wait to see what you create!

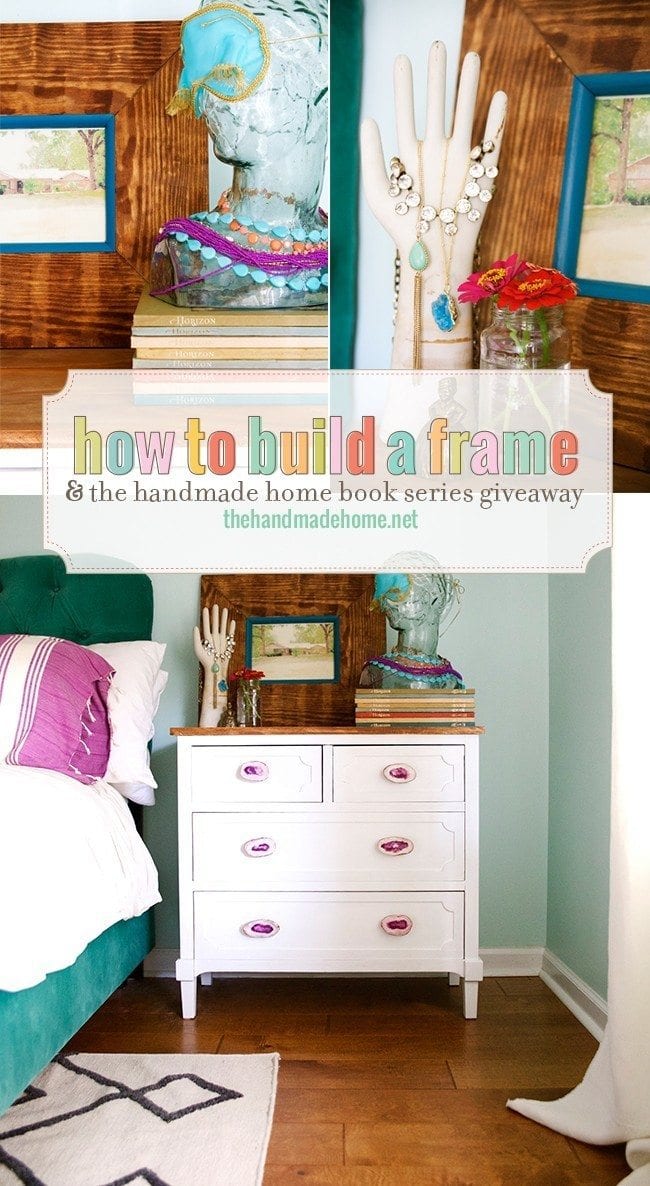
Be sure to check out our other tutorials here:
How to build a frame for a canvas:
How to make a frame: {With matting, layers and everything!}

How to build a basic frame:
Handmade layered frames:
And more articles on all things frames…
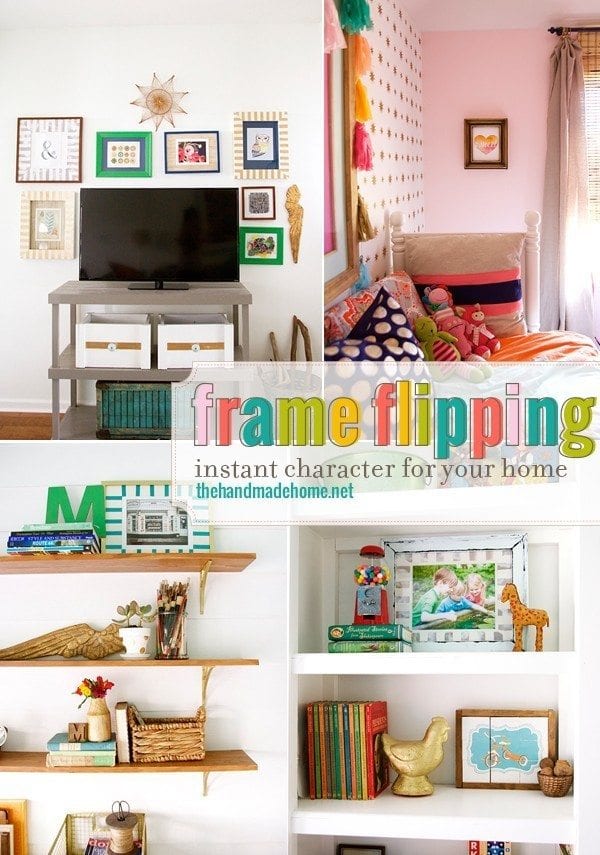
Frame flipping
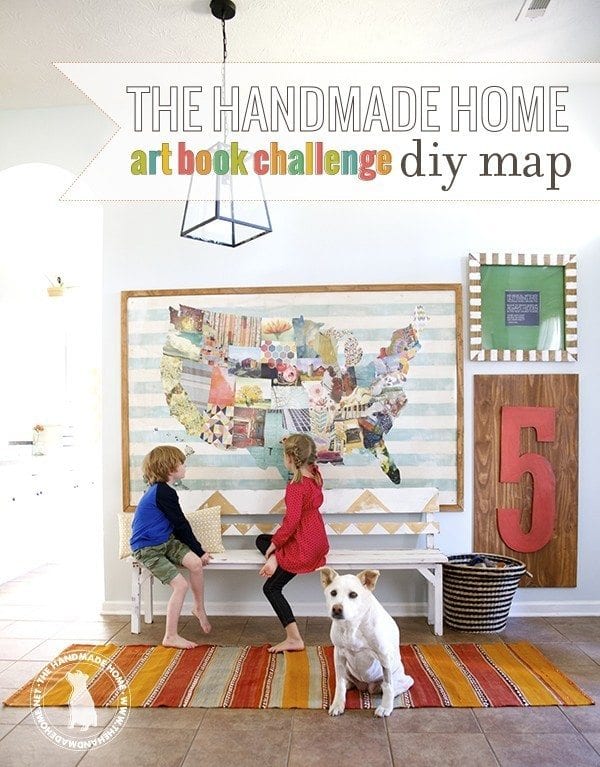
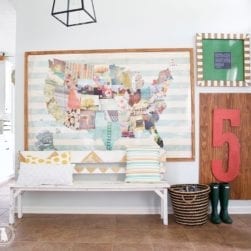
This DIY map:
How to frame a mirror

And as always, you can find more frames and awesome art for your walls in our book, handmade walls! Available in the studio.

Happy building!

I want to make a large frame for a canvas that I was given. Thanks for the great tutorial!
What an amazing idea! This post is so great. Thank you for sharing this with us! I’m definitely going to try to make one of my own. A much cheaper option than the store.