Recently, we had a few of you lovelies inquire about our new coffee table top. You may have noticed it on our Christmas tour. So I thought we’d cover that one today… ps no judging – I totally took these how-to photos at Christmas, and the decor came down yesterday. I feel like I can breathe again. If yours stays up ’til february, you are my hero. I started to twitch. The tree began to itch. Digression.

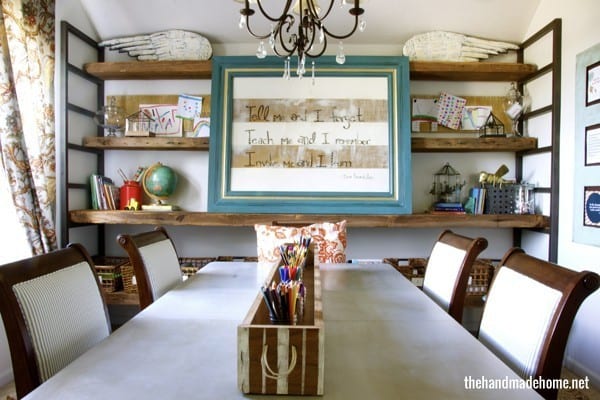
Once upon a time, before we were really writing on the site for home purposes, we had a friend weld some metal for us because we wanted to make our very own coffee table. {I ended up explaining myself later – that link contains the not-so-secret formula. (We also recently sweet-talked him into doing a desk for us, and that fab shelving that holds everything in our home school room.) He’s awesome.}

Side note: If you’re searching for a welder friend of your own, be sure to ask around. You never know who has secret powers. And if all else fails, your local mechanic should be able to help point you in the right direction.
But first, let’s take a moment and appreciate how far we’ve come in the living room decor department.
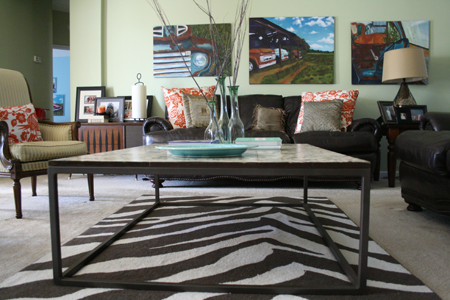
Yeah… Those sofas are a really long story.
The original plan for this coffee table, was that I could change out the top on a whim and give it something fresh when we were ready.


And eventually, we did.

Recently, we’ve started a few changes to our living room – (tutorial on this one coming up soon, as well.) and we wanted to give that coffee table top a fresh, cheap change. Again. Once you have the base made, for the cost of lumber or MDF + some paint, you have a completely different look. We tend to update ours every few years. – And it’s completely affordable in comparison to the Restoration Hardware one. (We spent around 70 dollars for this metal- other coffee tables like this run upwards of 1000+)

We took our base, and gave it a fresh spritz (that statement makes spray paint sound so glamorous and easy) with some gold spray paint.

And here’s how we did the top: Our overall dimensions of our coffee table are: 59″ W x 43″ D x 18″ H.
It will be different, depending on what size you want yours… but we cut some planks to size, and added some stain to them. (Cabot’s Cinnamon Toast). We joined them together on the back with two more pieces of wood.
We then cut a triangle out of cardboard to use as a template. To make it alternate, we started with half of a triangle, and then a full triangle at each end.

We penciled them in at first, but then went back with chalk so we could see better when filling them in.


We just chose which triangles to fill in, a bit randomly. This is kind of all based on your own personal preference, but alternate the colors and have fun with it! We wanted a lot of the stain to show through. So we used some liquid gold leaf we had on hand, along with Benjamin Moore’s Chantilly Lace, Once Upon a Time, and Pacific Palisades. (These may sound familiar because they’re paint we have in other spaces of our home. Read: if it’s not broken…)

When the paint was dry, we went back with a wet paper towel and cleaned up the chalk. Adding the chalk for your lines gives it the perfect little edges for that stain to show through where two paint edges meet.
When we were finished, to give it a bit of an aged look, we went back over it gently with more Cabot stain on a rag, wiping it away as it went. This way the white wasn’t too stark on the stained wood. We tend to lean toward just a touch of modern.


Tada! A fresh new look to ring in the new year.
Pennies on the dollar, y’all. (And other overly-used, clever money phrases, here.)
I hope this helps clarify some of your questions – This coffee table has been so much fun over the years – even a great way for the kids to build a tent underneath, or inside when I remove the top. ;} Because that’s the important part, right?
It’s versatile and affordable + was definitely worth the time investment to find someone to weld.
A clean modern look to last for years! Let us know if you have any questions.
Have an inspired day, y’all!


This is an AMazing idea. Thank you so much for sharing this-I was curious! So smart & it can really be timeless.
Great idea on the table with these triangles. I am glad that you describe step by step how to do such a thing 🙂
So pretty! I love the color pallet of blues and greens. 🙂 I need to find a welder friend!!
I love this post. The table is beautiful! Thanks for sharing.