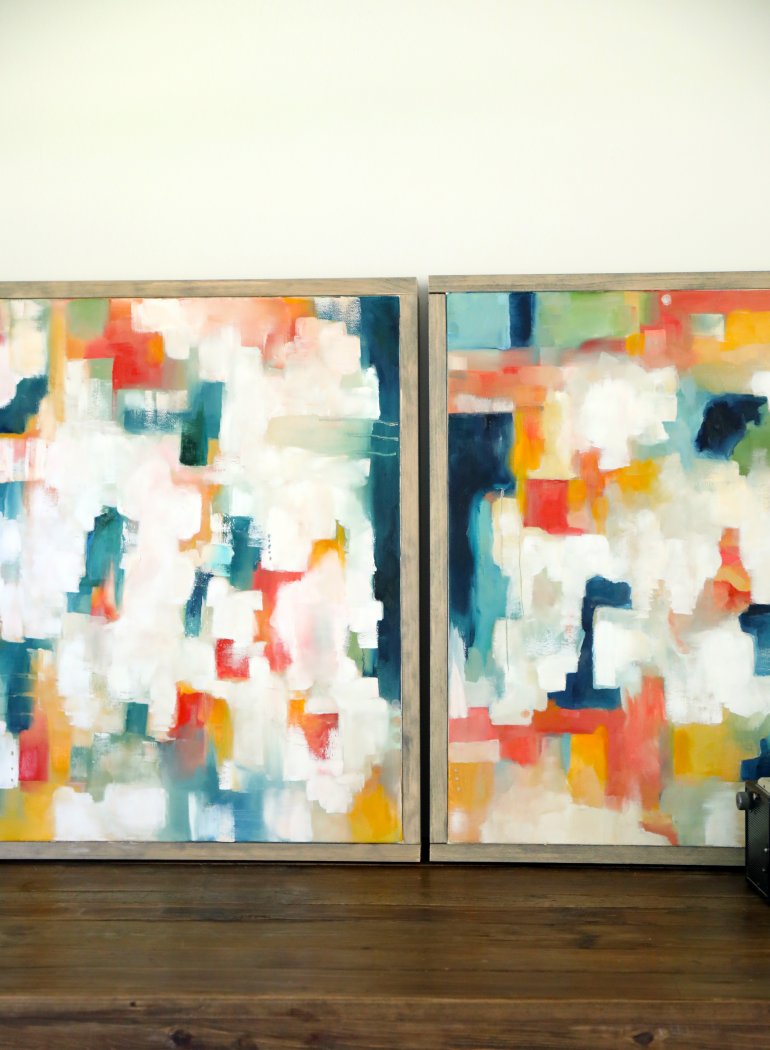
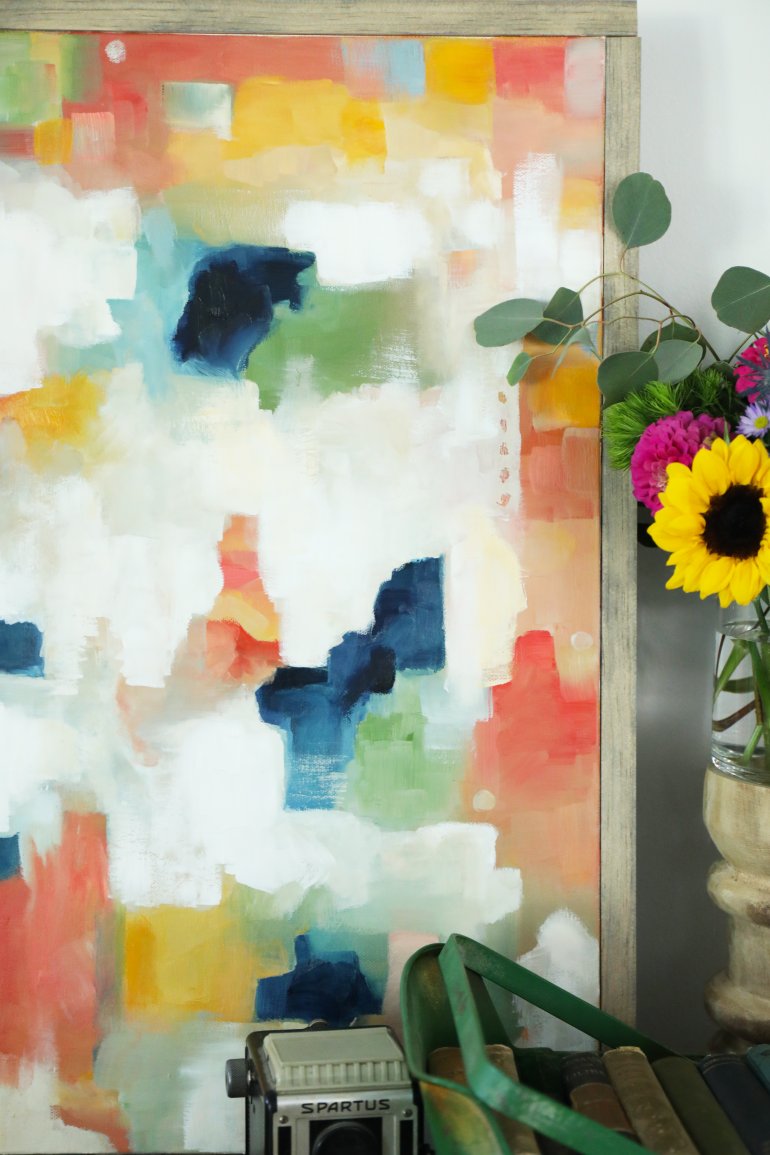
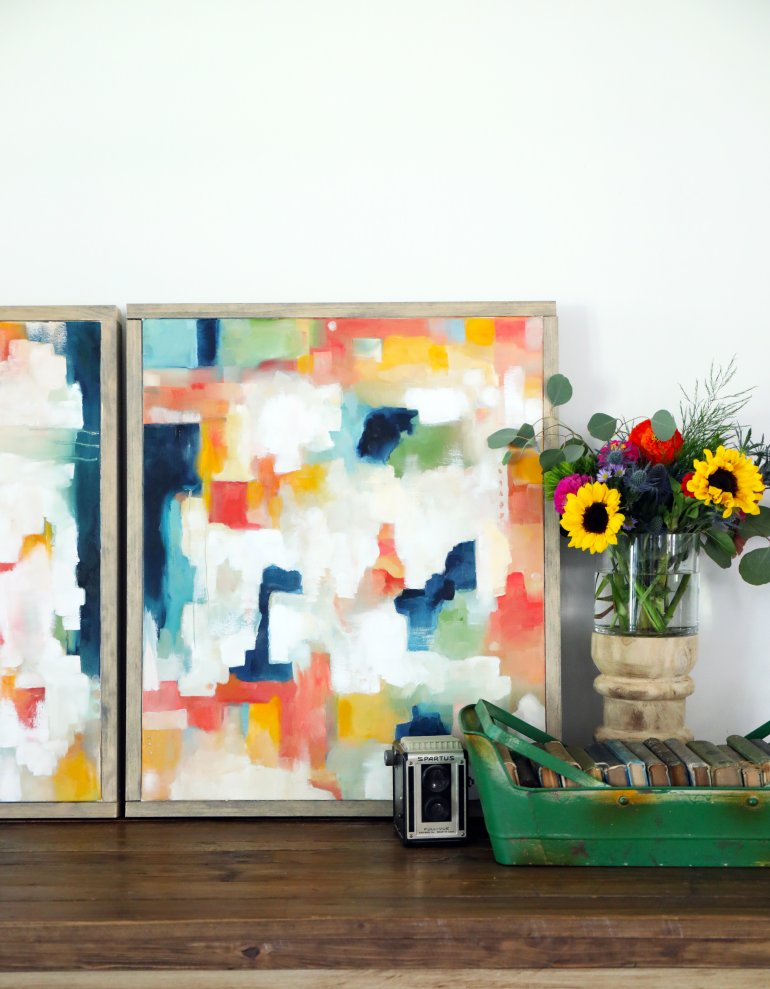
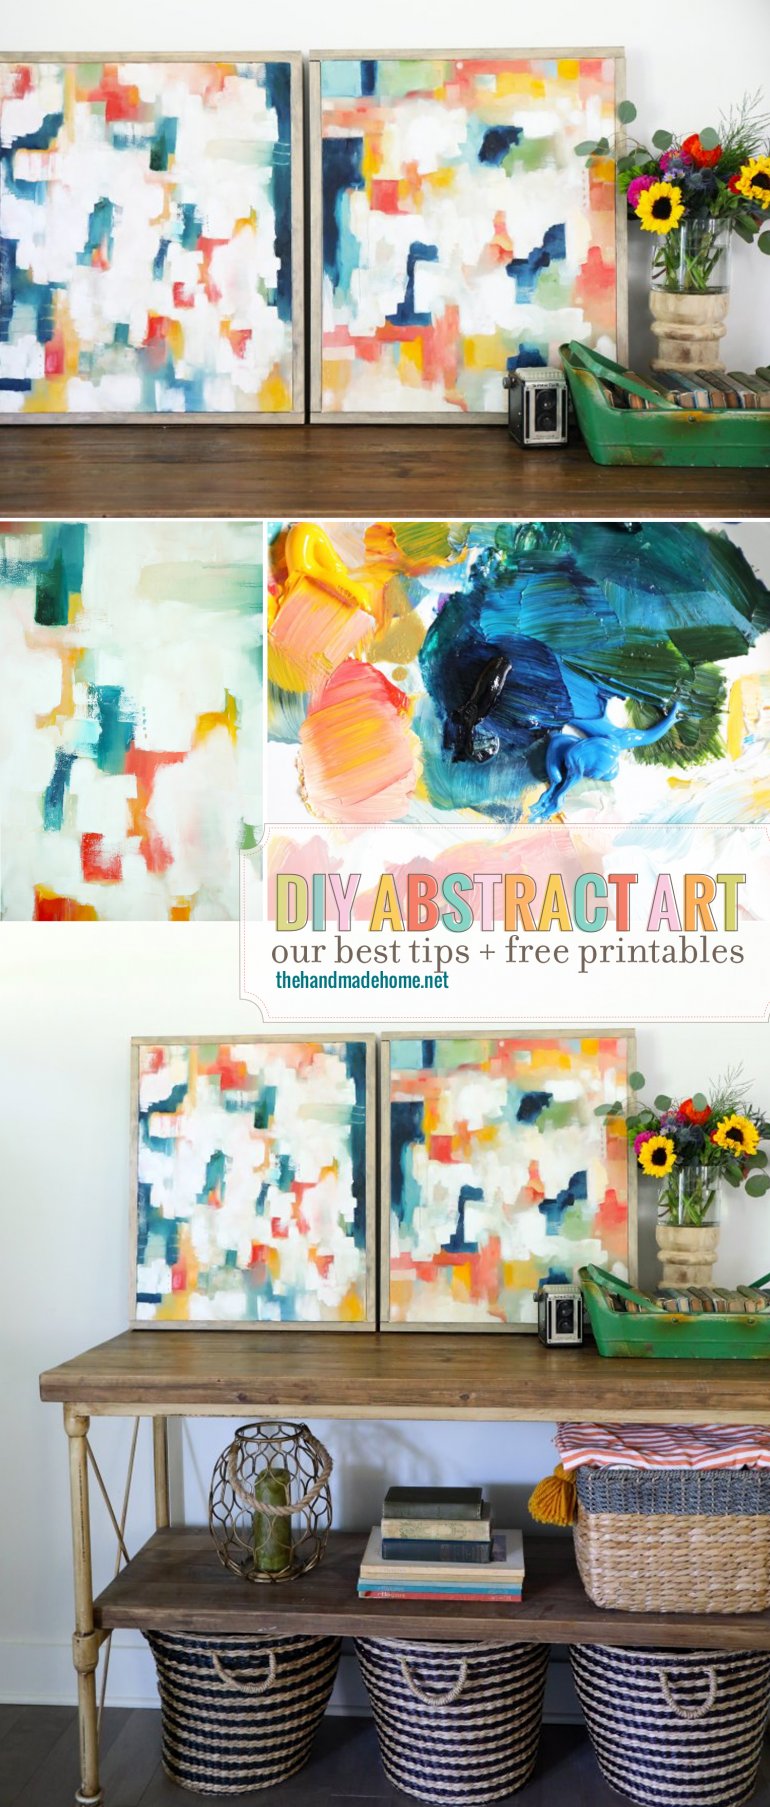
We’re thrilled to be here with some of our favorite sites today, to share some of our favorite fall projects. I know that technically, oil painting is year ’round. But I decided I’d create some simple abstract art for the cabana, and thought that starting with the basics is a great jumping off point with a good place to share some of my favorite tips. Because there’s no time like the present, to get started with something new. And in the fall, nothing beats a perfect Saturday like a good podcast or audio book, some coffee, and a chilly day with some oil paints. Ahhh perfection.
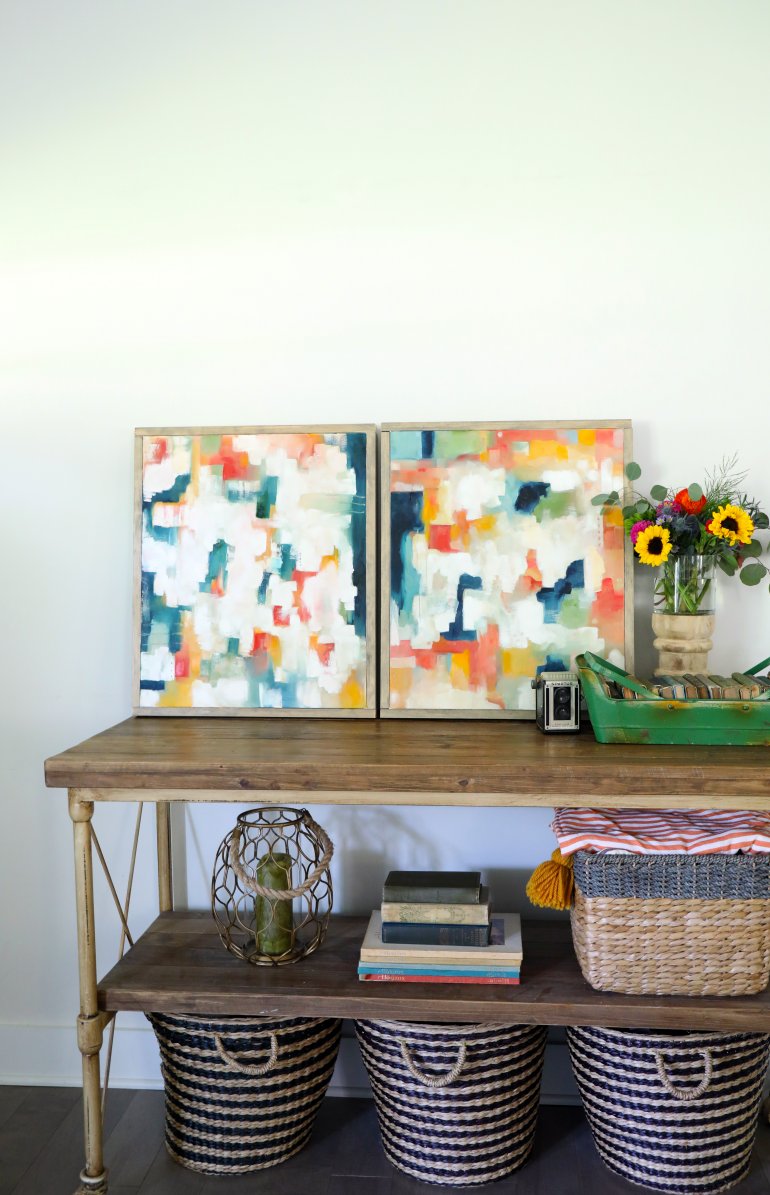
{Pssst… don’t feel like creating your own just yet, but like these? Check out the freebies below! — just click and print.}
Why am I starting with abstract as the subject matter? It’s a great opportunity to play with the materials, process and colors that come with painting in oils, without the commitment or pressure to also produce an actual image. Depending on your skill level, this is a great safe space to start. Though an abstract is harder than you’d think, it’s just a nice exercise in general.
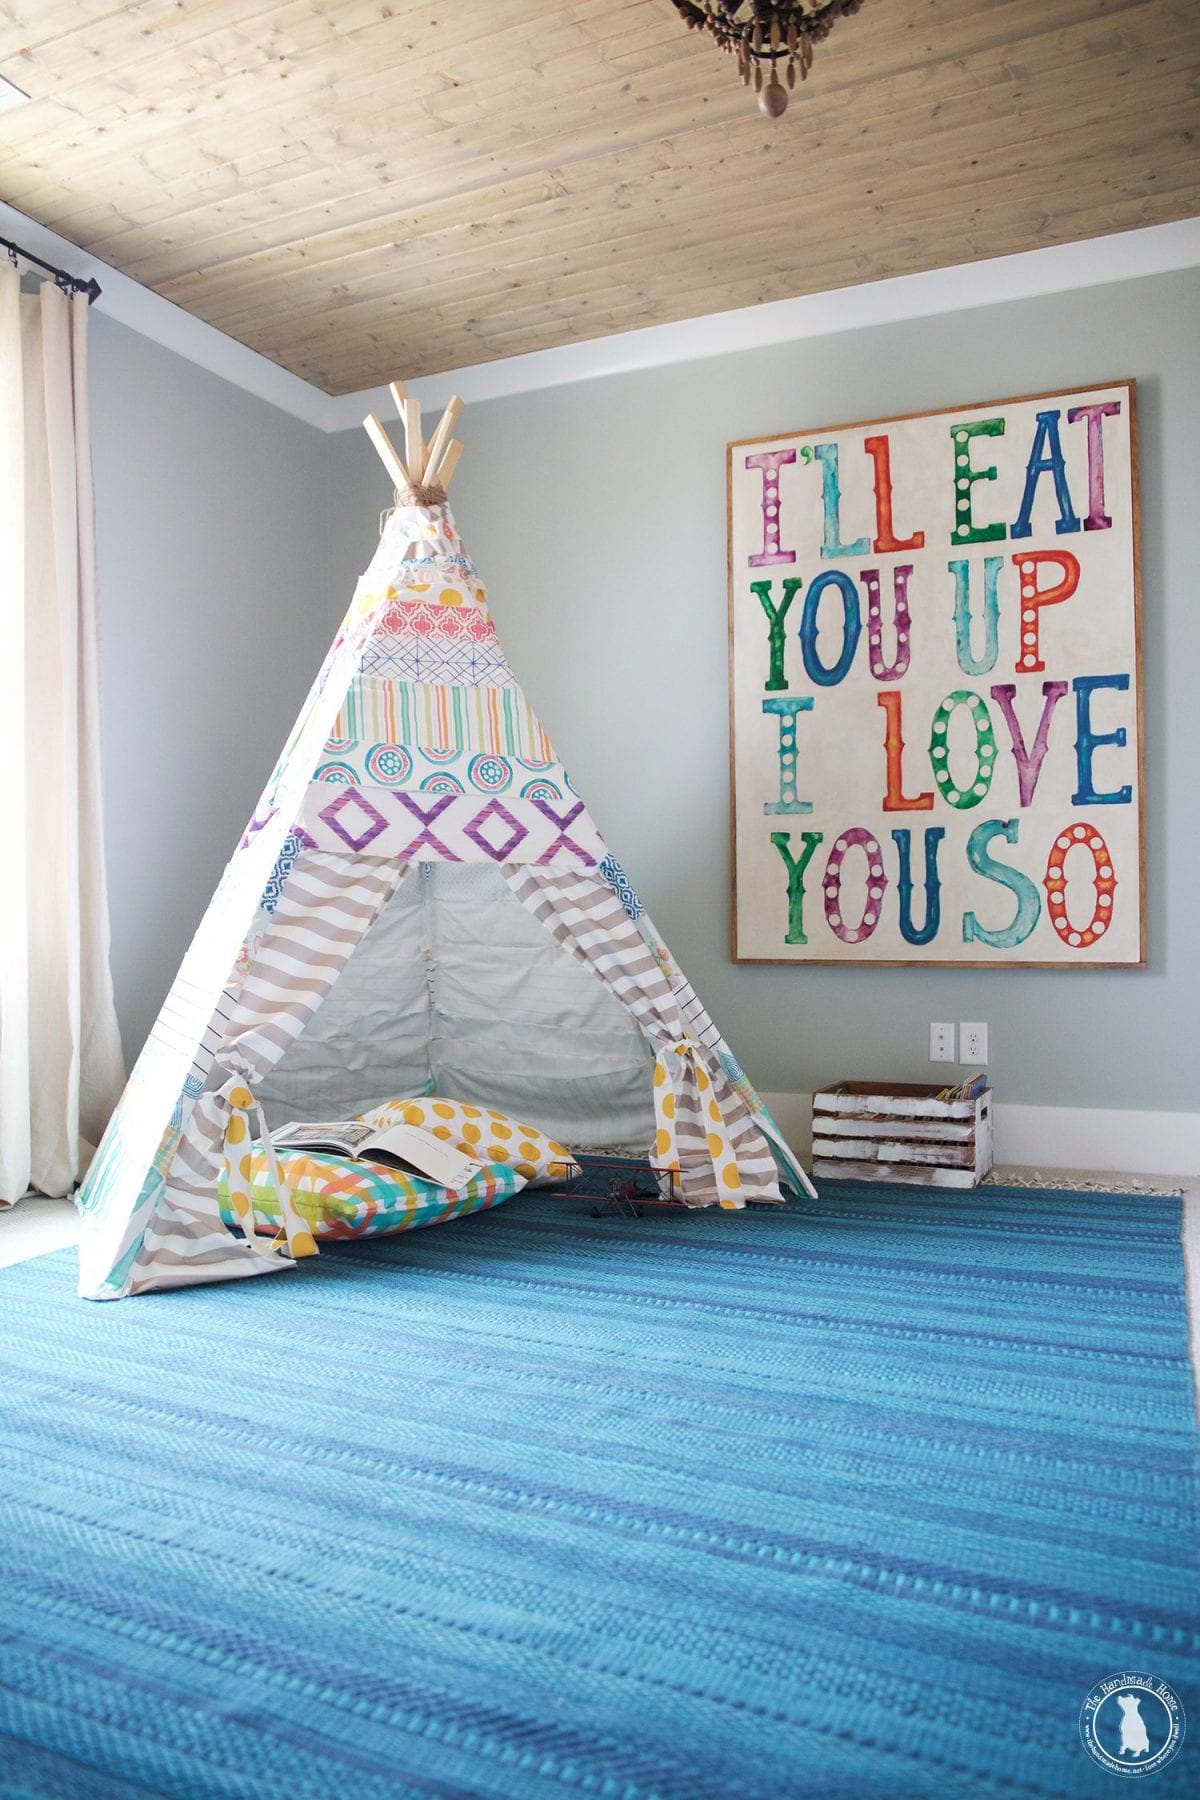
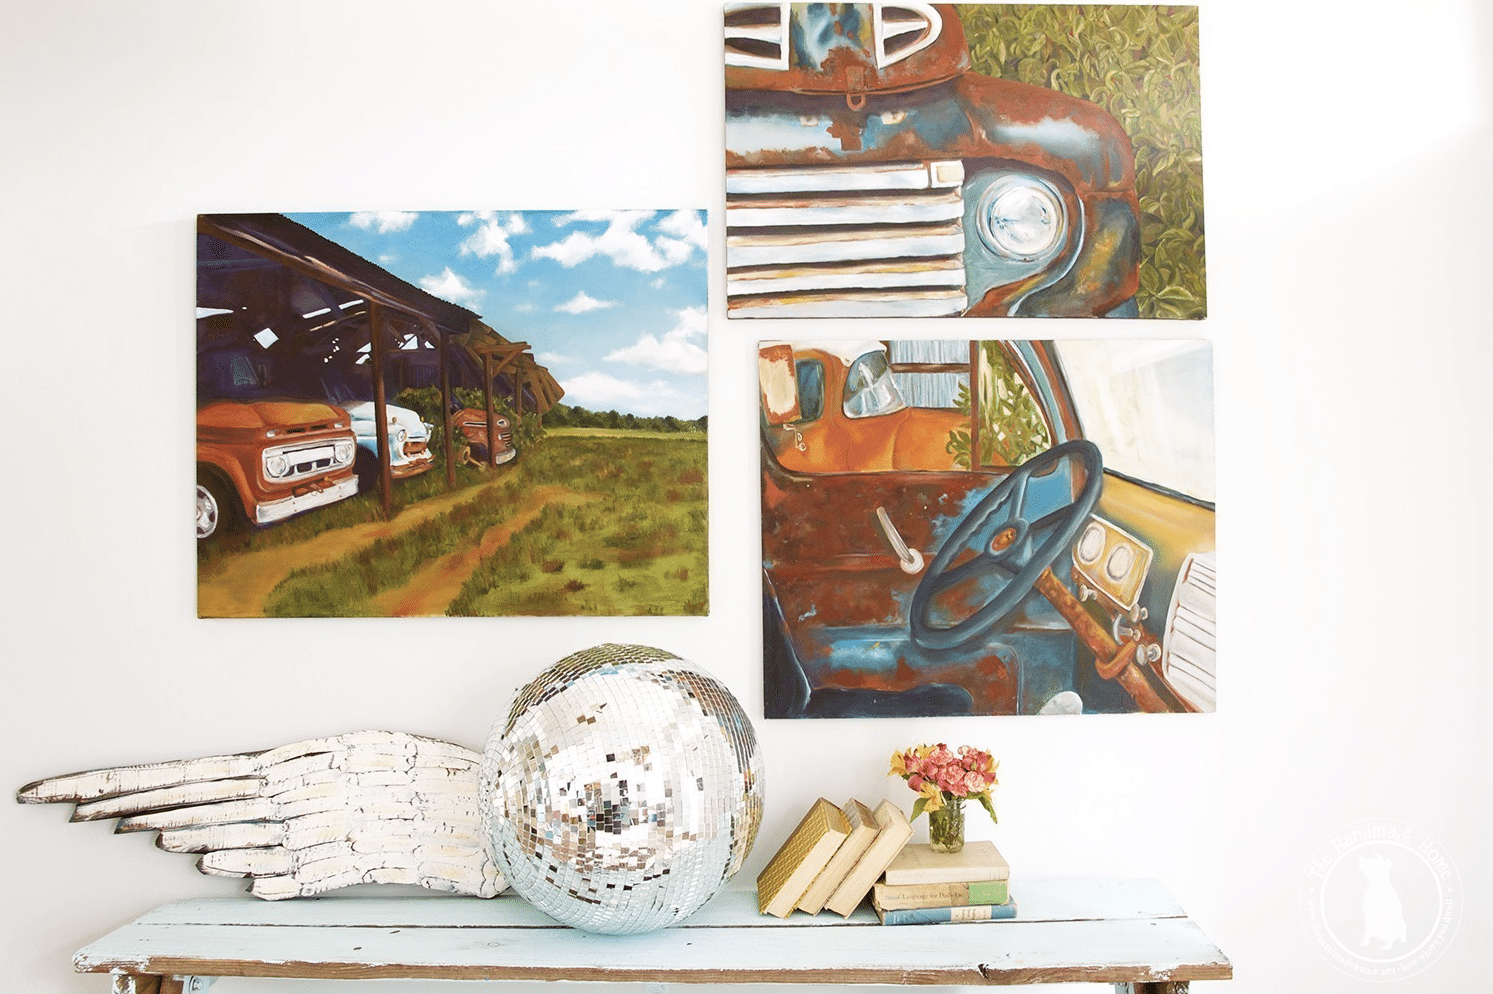
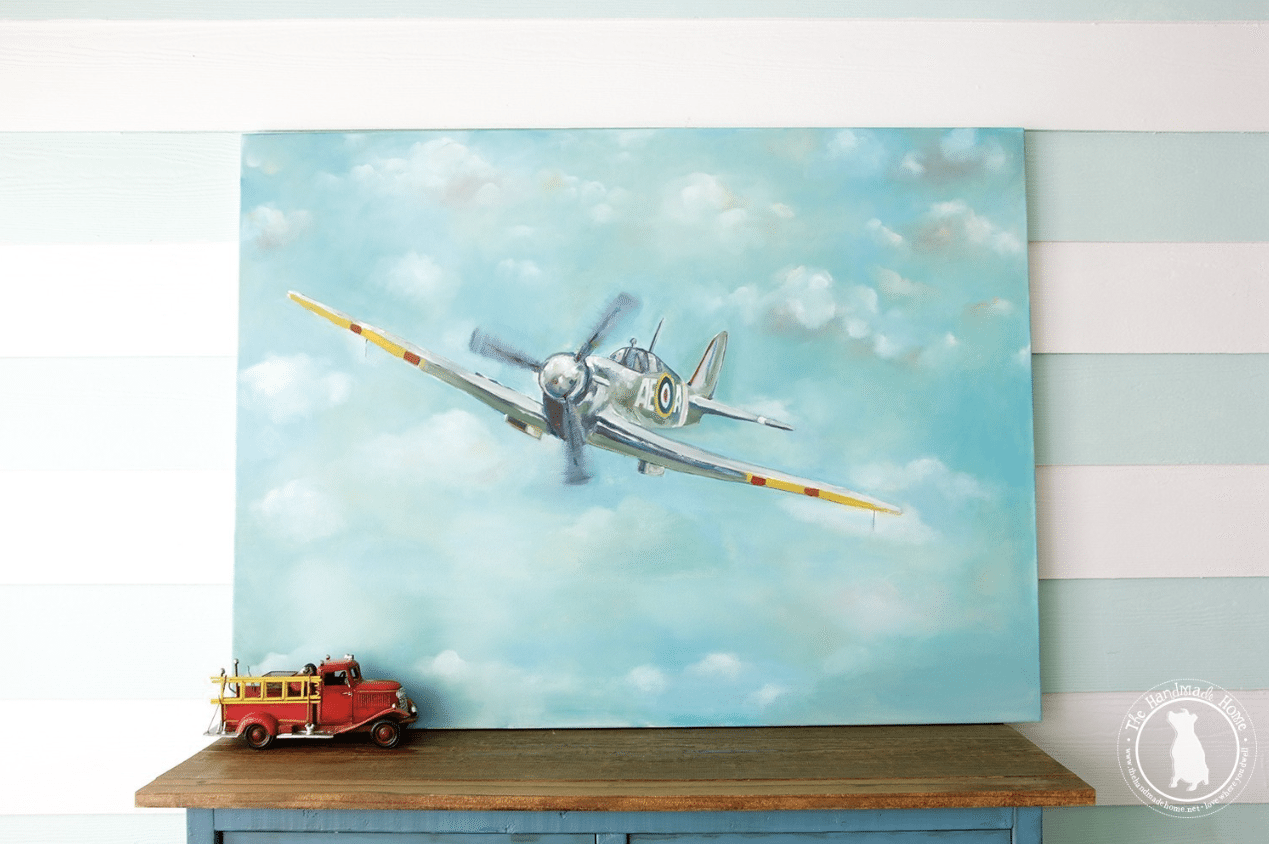
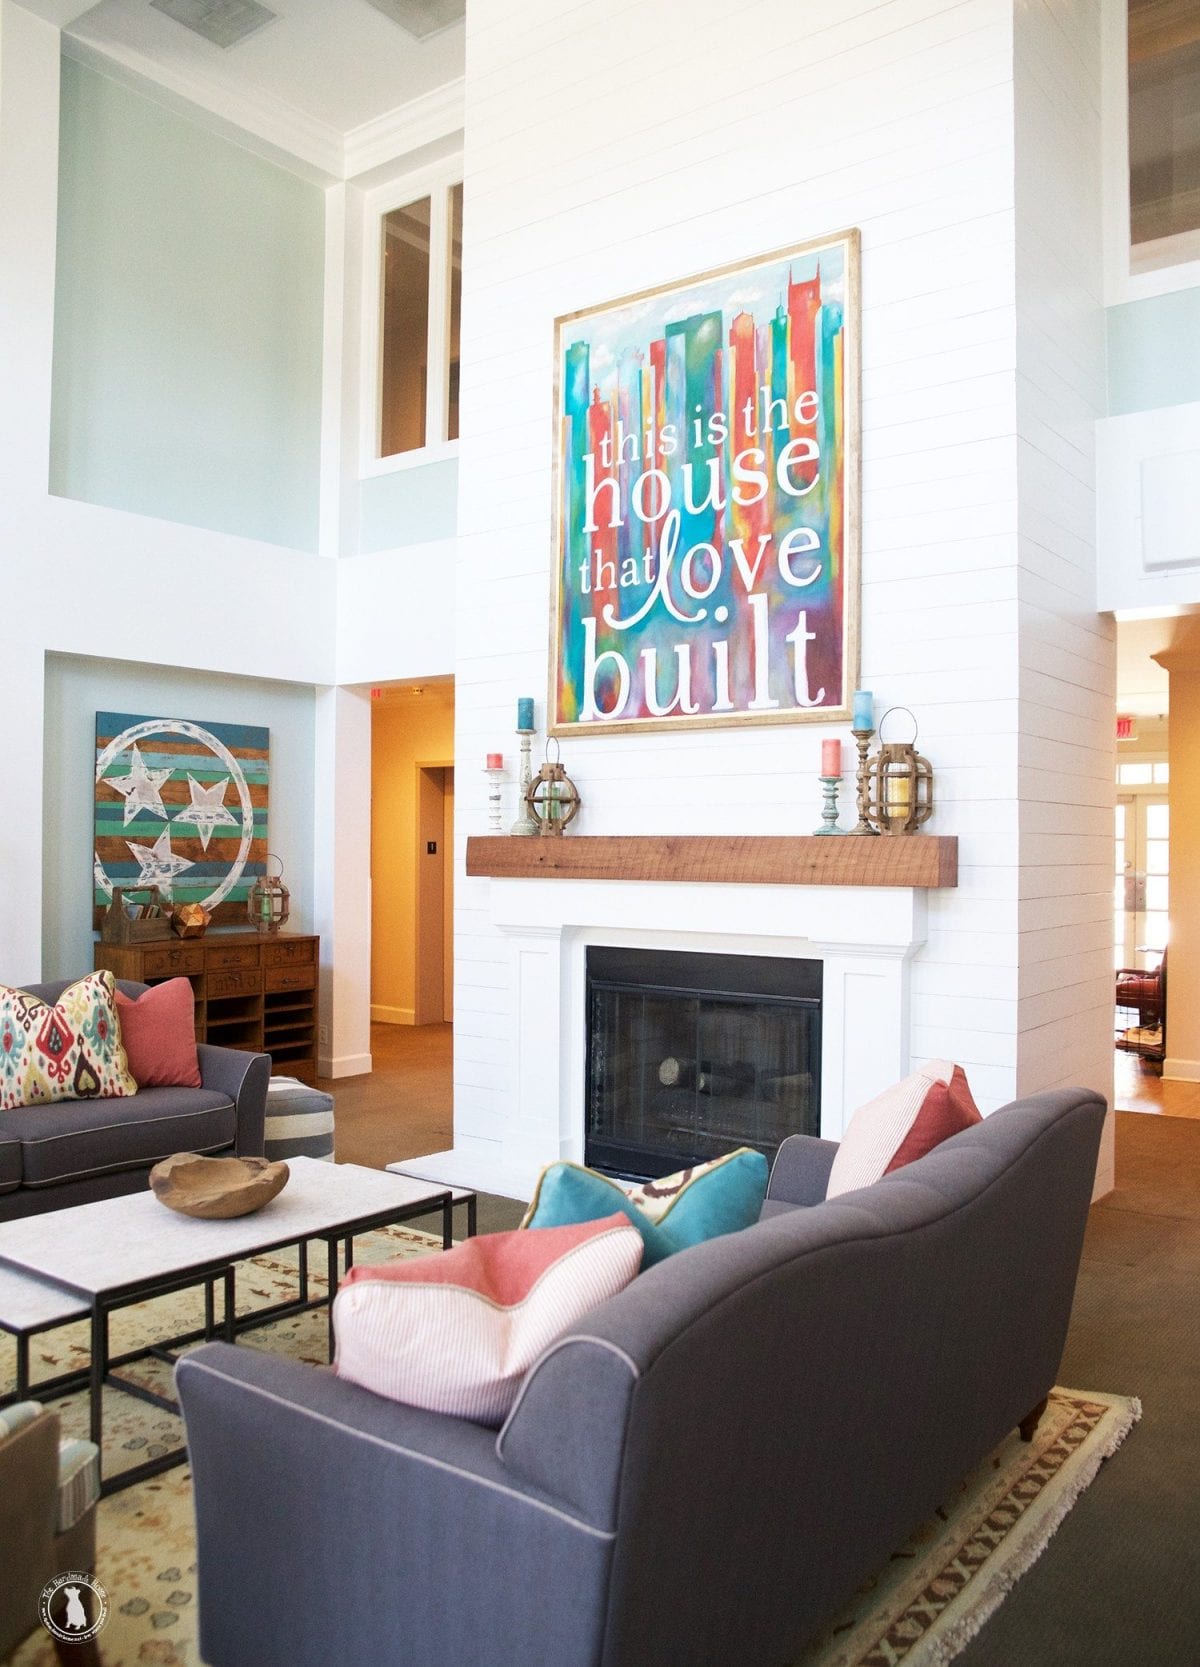
I love a good piece of art, and it’s a great way to bring so much one of a kind character to your home.
I’ve dabbled in a bit of everything from fun vintage elements to pieces with wording over the years, when I feel the whim. And I only wish I had more time to really commit to it. But I do what I can, and I find that I love it more every time. Like coming back to an old, safe friend.
They’re a key element in a lot of our designs, and it’s truly my favorite thing to do.
I told Jamin that if I could just write and paint for the rest of my life, I’d be happy. Maybe that, and yoga. ;} #suchanenneagram4
It’s just a great, versatile tool to utilize in your own home, and if you’ve been meaning to dabble, I want to encourage you to get started.

It’s an issue of just becoming familiar with a few key things, and exploring from there. I was always intimidated by the cost and process and chemicals, until it was all, required for a class. Otherwise, I don’t think I would have jumped in like I did.
And then I absolutely fell in love. With all of it.
From watercolor to oils. Brush to canvas/paper/mdf whatever I can get my hands on… is the very best part.

It’s also a great opportunity to learn more about color and how it all works, but I’ll share more on that below.
The basics: here’s what I would recommend to get started.
Granted, the more experienced you become, the more you may want to spend. But these are a great starter list. And I still stick with a lot of these main supplies.
• Canvas – look for sales at your local craft store.
Note: You can also make your own, to really save if you plan to be working in multiple quantities or REALLY large sizes. I love this source for that, but this is a whole post all it’s own. You basically need canvas on a roll, oil based primer, framing pieces, a staple gun and large paint brush. — see our full tutorial here
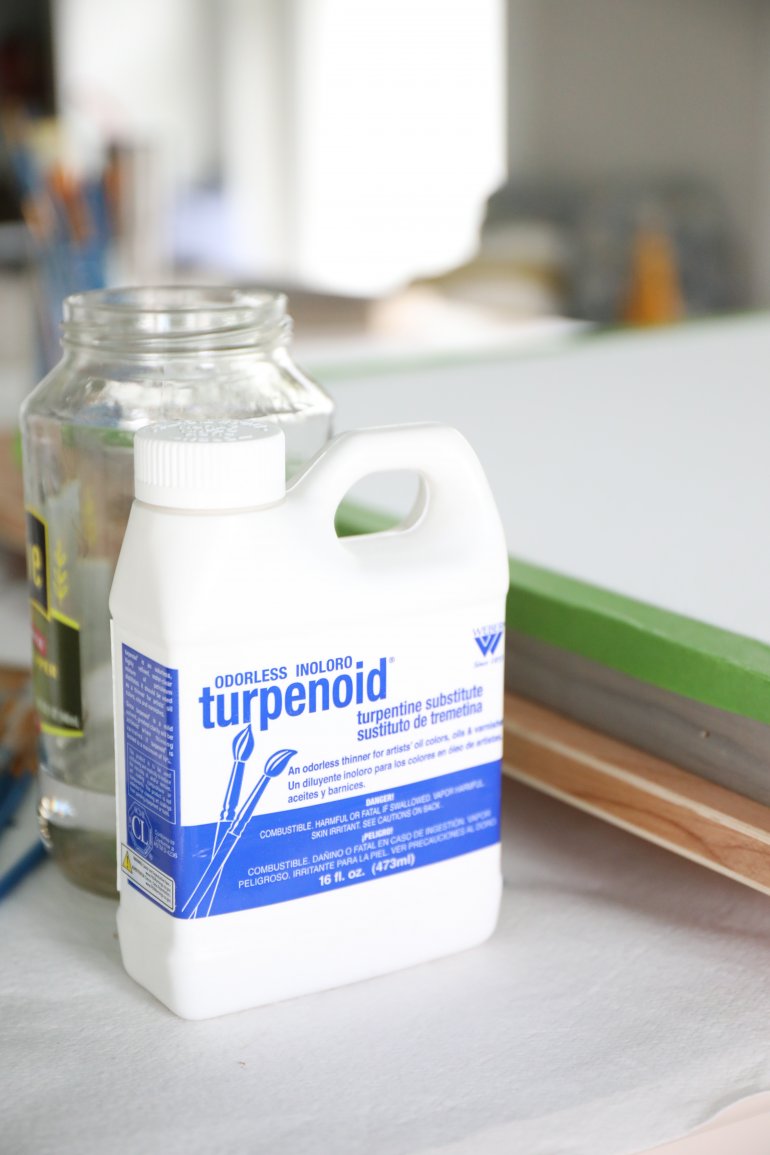
• Turpenoid – don’t be afraid of it. It has less toxins than the other stuff and is relatively easy to work with. The only issue is having a place to safely and properly dispose of it when you’re finished. This will be the same place you can get rid of old paint cans, or even a local college to safely dispose.
• Jars with lids – Recycled – anything from pickle jars to jelly jars. At least two. We’re always washing them out and saving them when empty at our house. You’ll use those to store the Turpenoid and to paint with. I’ll give more tips on those below.
• Brushes – These don’t have to be pricey or even fancy the first or tenth time around. Not to sound old or anything, but I feel like brushes have come a long way since I was in school. The more experienced you get, sure. Splurge. But I’d start with something simple like this.
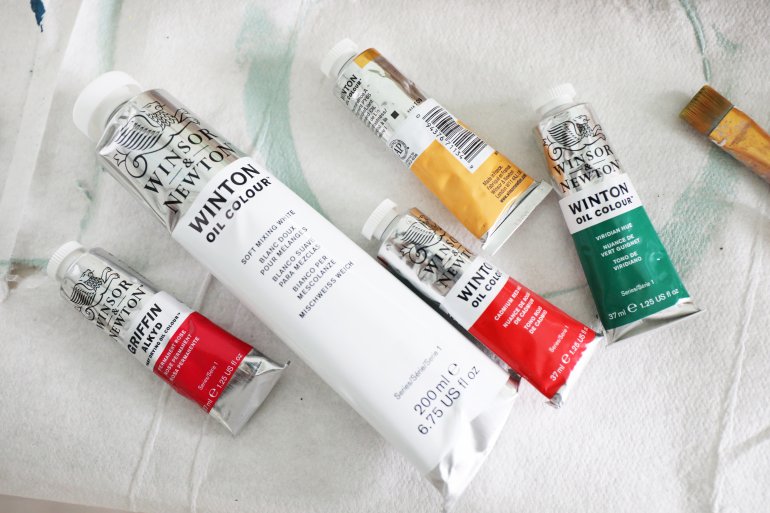
• Paint – lately, I’ve been stumbling upon kits of oil paint which really make starting up, a lot easier. You can save there but here’s a good starting point of a list for colors you’ll want.
• Titanium White- get it in the largest tube. You’ll use this more than you know.
• Ivory / lamp black
• Cerulean blue {Cerulean blue hue is fine too}
• Ultramarine blue
• Burnt umber
• Alizarin crimson
• Cadmium red or Cadmium red light
• Raw umber
• Burnt Sienna
• Yellow ochre
• Cadmium yellow or lemon yellow
Regarding greens – I try to mix them from blues + yellows but sap green is good for all things landscape.
• Paper palettes – can be thrown away after one use, but I also cover them with foil in between sessions. Sometimes I just use paper plates that are waxy on the bottom to keep from saturating it.
• Easel – I also use a drop cloth when painting inside {home depot} , along with a large easel. If I’m working smaller, I also use this simple table top easel.
• Storage – I’d also recommend a tackle box or old caboodle {wheee!} to store your paints
• Towels or paper towels – I end up using both
Regarding all things Turpenoid:
Keep your empty container to re-transfer your used turpenoid back into, when you’re finished with the entire container of fresh turpenoid. This way you can carry it to a proper waste disposal until it’s time. NEVER pour it out or down your drain. Also, You’ll use two jars because you’ll basically transfer old turpenoid into one, and use the other to pour out/wipe down in between each session.
Oil paints tend to settle on the bottom like sand on the ocean, but are stirred up again. So start with about 1/4 of a jar, to work with, and then when it becomes to muddy in between switching colors, pour it into your jar with the lid. Then pour fresh turpenoid from the container. So forth and so on, until the original container is empty, and you can pour it all back in. I always do this over a towel or some sort to keep it from damaging anything.
I use it to clean up my brushes at the end, then swirl it around in the jar. After pouring it into the temporary storage container with the lid, wipe it out with your towel and the jar will be fresh.
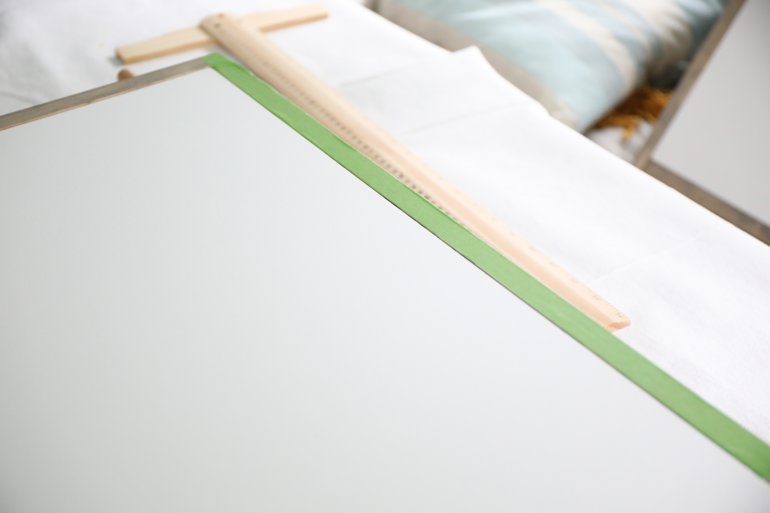
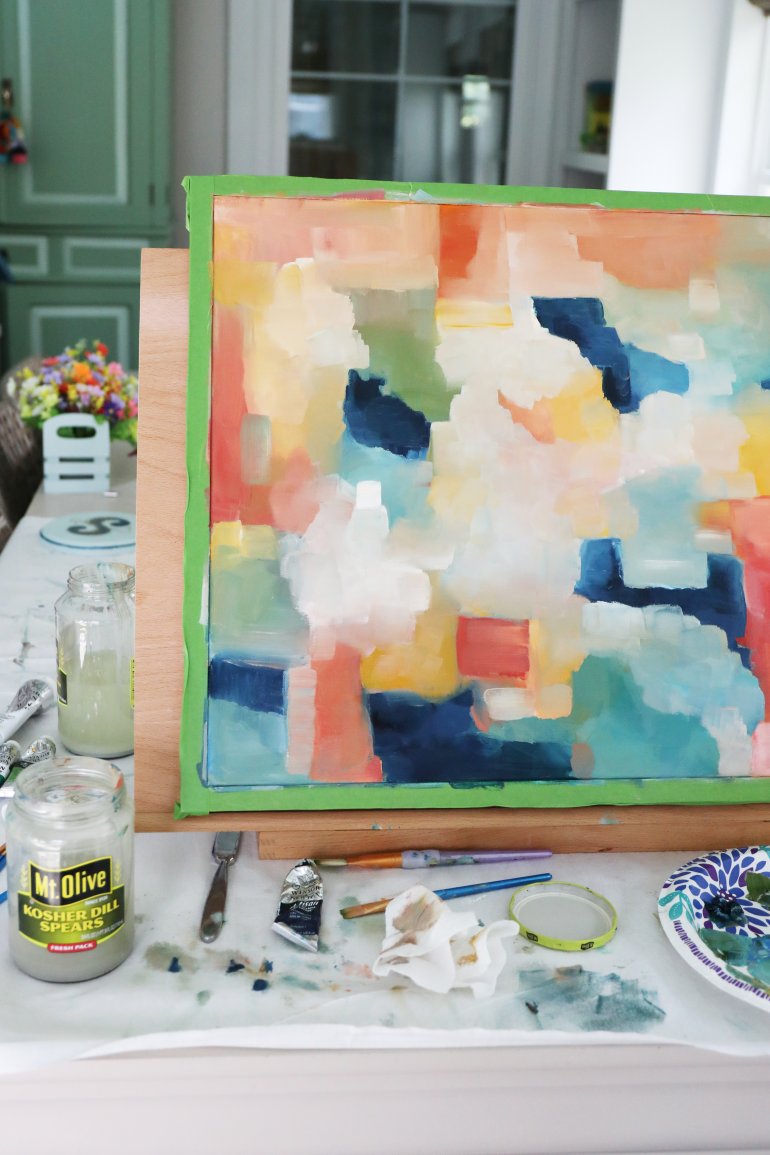
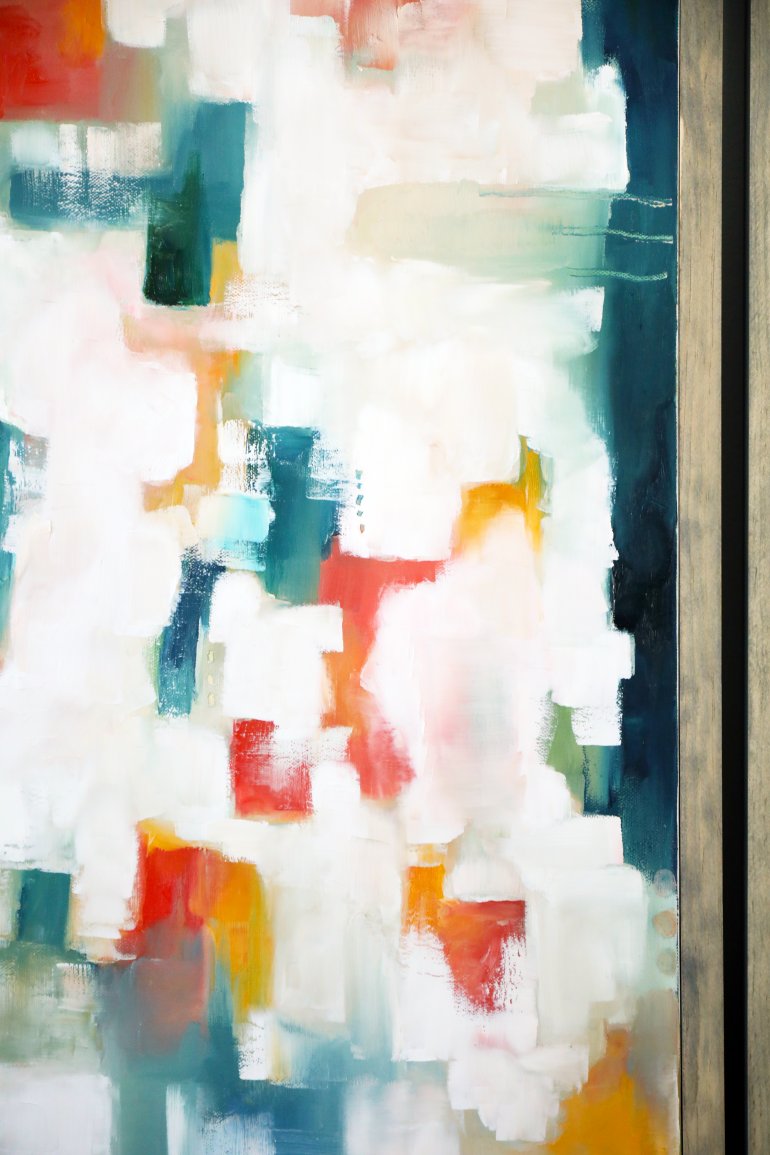
PS. You may have noticed the frames covered in Frogtape® on these. I don’t usually go ahead and frame, but if you need to for time constraints, etc. it’s a great tool to use while the oils dry.
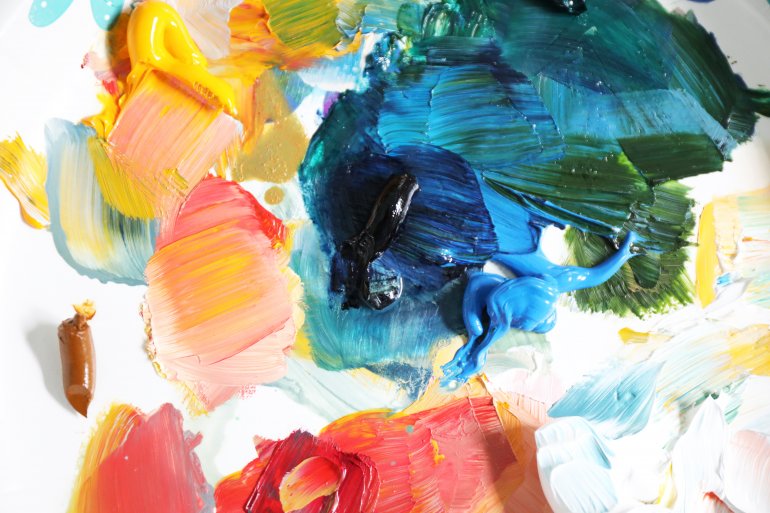
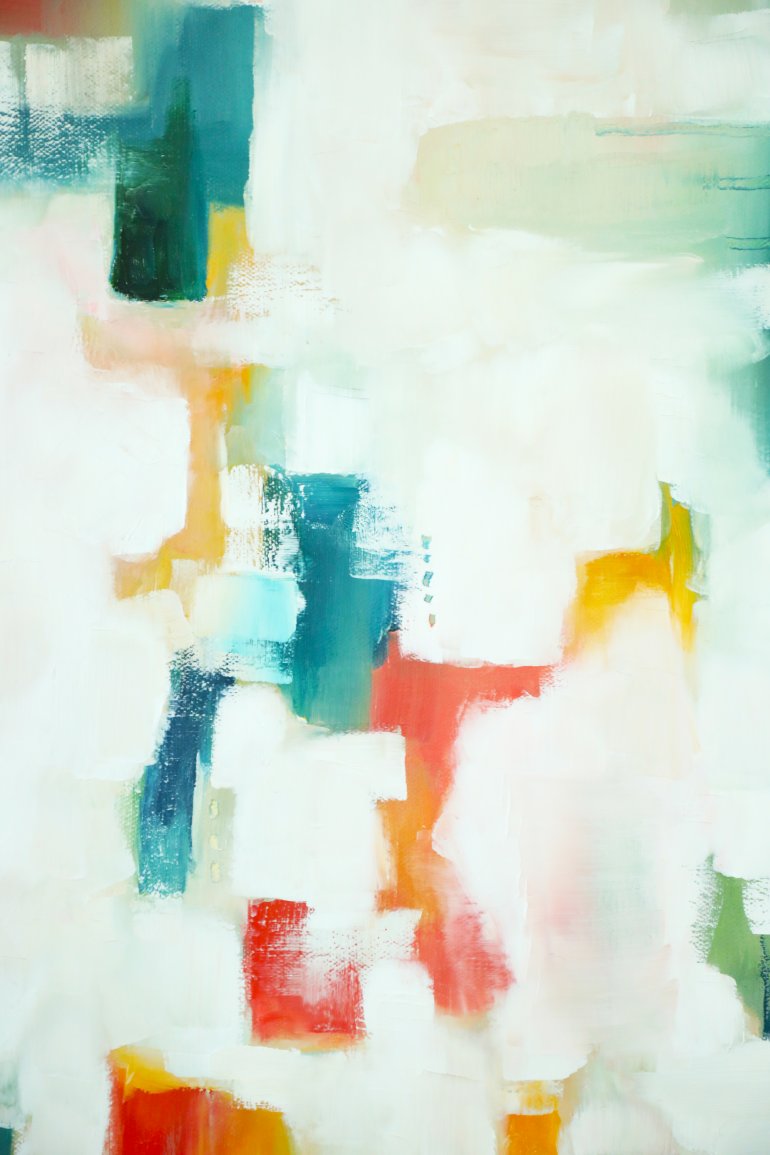
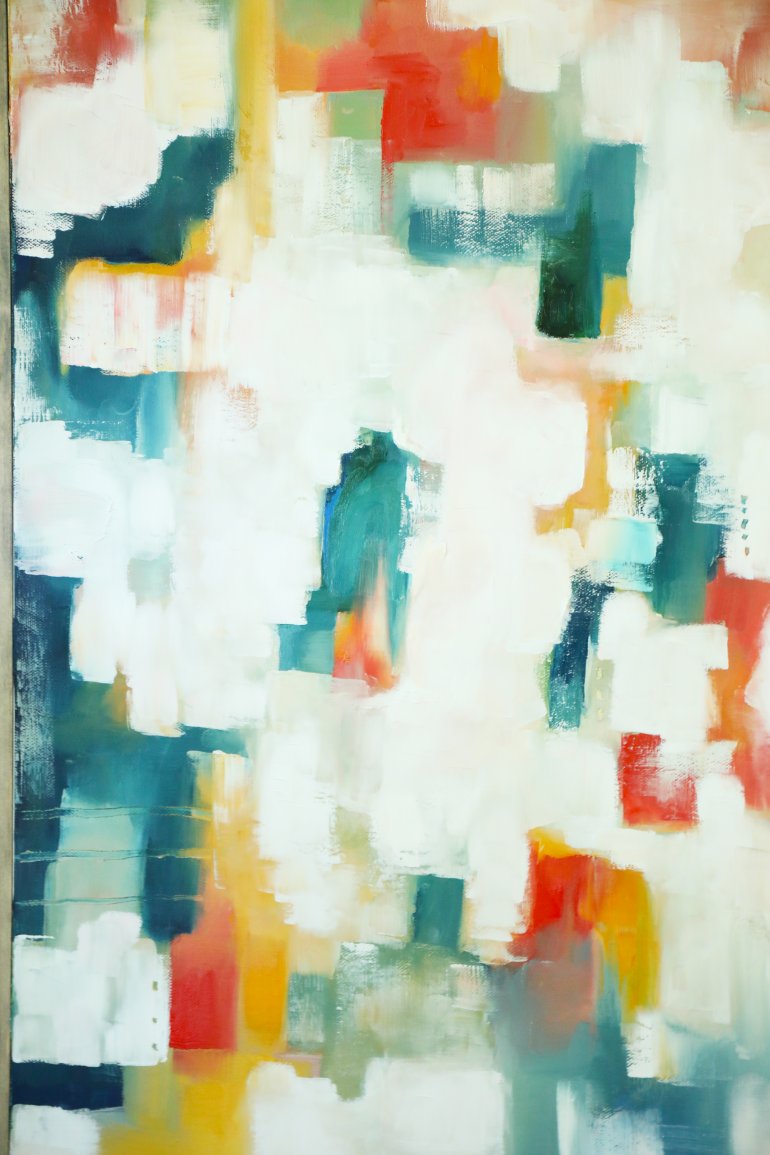
Arrange your colors on your palette from dark to light, and in groupings of colors. I like to arrange mine like the color wheel. Do just a little of each paint color, working as you go. This way once you start, you’re not starting and stopping constantly, trying to get the right amount of color.
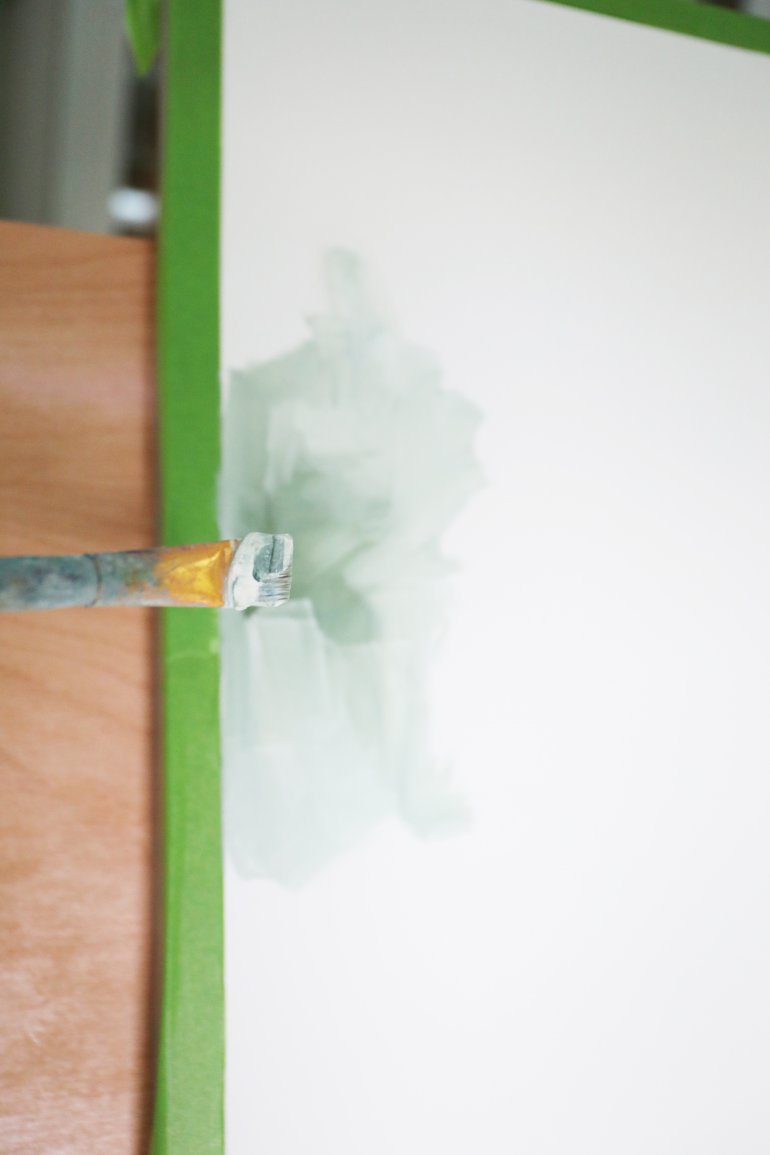
Underpainting
A great place to start, is with an underpainting. I usually have a plan before I begin, but in this case it was an abstract. The adventure was seeing where it might take me. A white canvas can be daunting, so the first day, do washes of paint underneath, and this will help blend your colors, and get a feel for the paint. It also gives it a nice intensity, with opposite colors often underneath. That way you’re not fighting the white the entire time, and you can add depth to your colors.
All about Oils
One of the beauties of painting with oils, is that they take a while to dry. This is what makes oil so much fun. It’s hard to describe until you’ve tried it, but it takes a little getting used to. Now when I go back to acrylics, I often get frustrated because there’s nothing to work with anymore. This takes a little understanding of all things color, and knowing how they will react when with each other. They call this alla prima, or direct painting.
Indirect painting is waiting for certain layers to dry in between. It helps to do both. And the latter requires some patience, and knowing when to take a break to let the paint colors settle.

Now that we’ve gotten a few basics down, I’ll share some of my favorite tips for all things abstract.
I think it’s really all about diving in and seeing what works for you, but this is some of my best advice. Most of this applies to other paintings, as well.
Work dark to light
It’s easier to build up depth and volume in a painting, when working from dark to light. You can always go back later and add more, but I’d recommend starting there.
Don’t get stuck
In one section of the canvas. Work around in different areas, and seek balance with your color applications.

Vary your colors
Think in terms of warm and cool tones + how they work together. Some of the best and most interesting tension on a canvas can come from the way those colors play together. I love mixing a yellow into a blue, and watching green appear in between, in a really fun organic way.
Avoid “bottled” or “tubed” colors
I had a painting professor tell me once that the most interesting paintings come from the nuances of color. The individual hues that you create by mixing the on your palette. I couldn’t agree more with that. Go for it, and see what you learn about colors, while you’re at it. You’ll be amazed by what you can apply to your home in terms of knowledge.
Heiarchy
Every painting and piece of art has it. Whether its the dominance of one color or shape, or something else, play with that in your canvas, and see what you get.
Points of interest
Look for points of interest within your paintings. Opportunities to create interesting shapes or color combos or all of the above.
Finger painting
You’re not above it. sometimes it’s great to mix it up so that you can get a smoother result. Play with that when it comes to thicker areas to smooth it out. You’ll be surprised with what you can create.
Texture
Bring it in with the applications of your paint. Wet paint vs. dry paint is a great place to start. Dry brushing on top of dry layers is awesome for those points of interest I was talking about, above.
Rotate
When it comes to abstract pieces, sometimes those happy accidents a-la Bob Ross happen when you least expect them. Play with your canvases and see which orientation becomes more interesting. With these creations, we started out one way and ended with another because they were fun, and it was a great way to help keep those brush strokes fresh {aka becoming too uniform or predictable.}
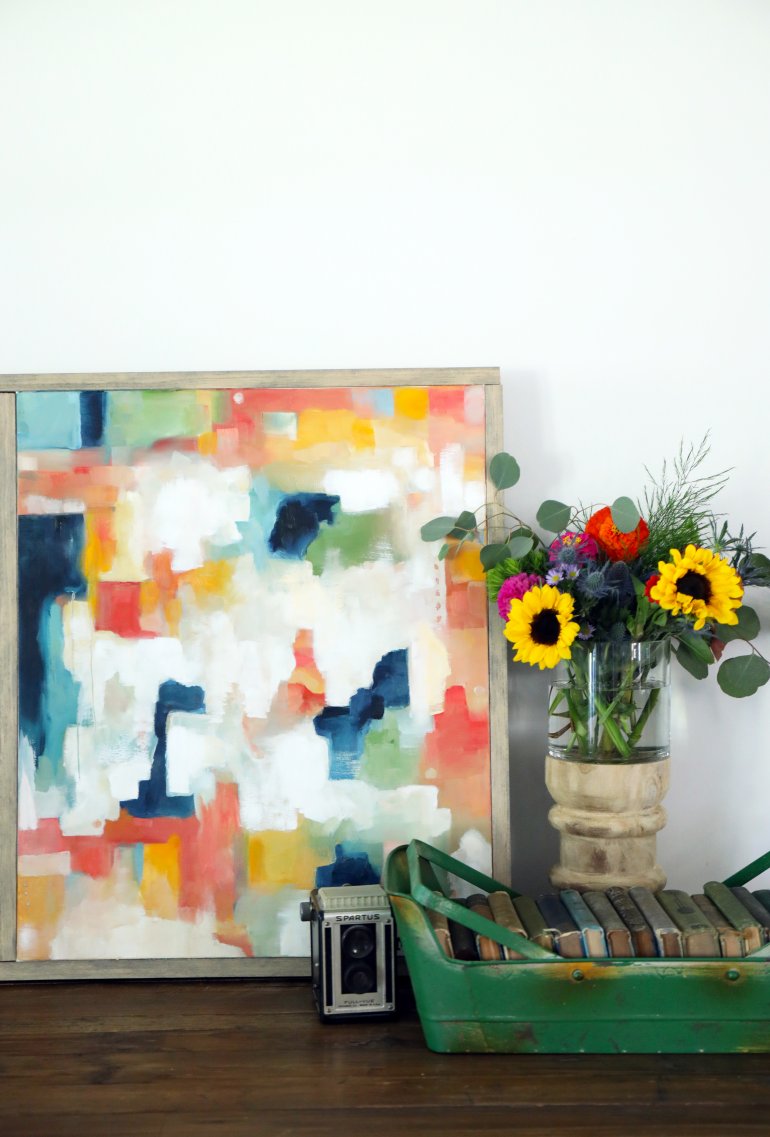
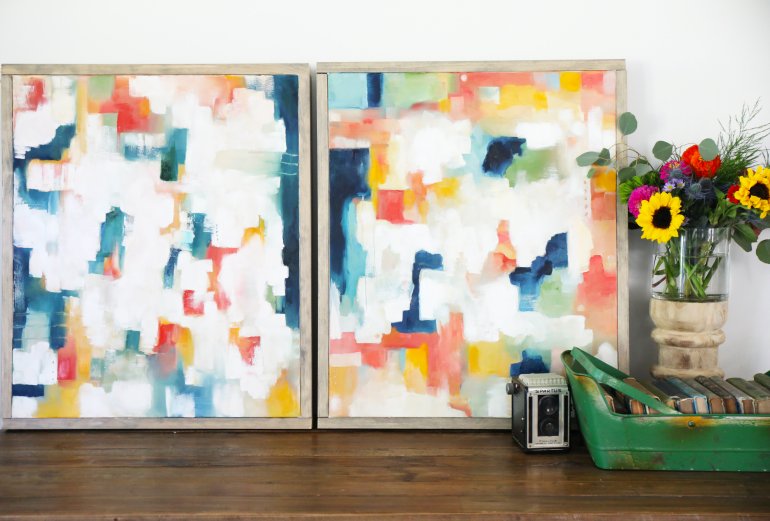
We hope this gives you a great starting point with all things oil painting! I’m seeing you now with a cup of your fave warm drink and a good e-book on a quiet Saturday morning. Dive in, and you certainly won’t regret it. Just in case you only wanted the free printable, you can get both paintings here
Just click and download for all the fun colors!
I think you can get these pretty large, and we recommend taking them to your local printer for a format other than 8 x 10.
Have an inspired day!
Oh, and want to add a frame to your own project when you’re done?
Be sure to check out our simple, all encompassing framing guide here for some affordable solutions.
Be sure to check out more of our amazing friends who are sharing their fall projects today!
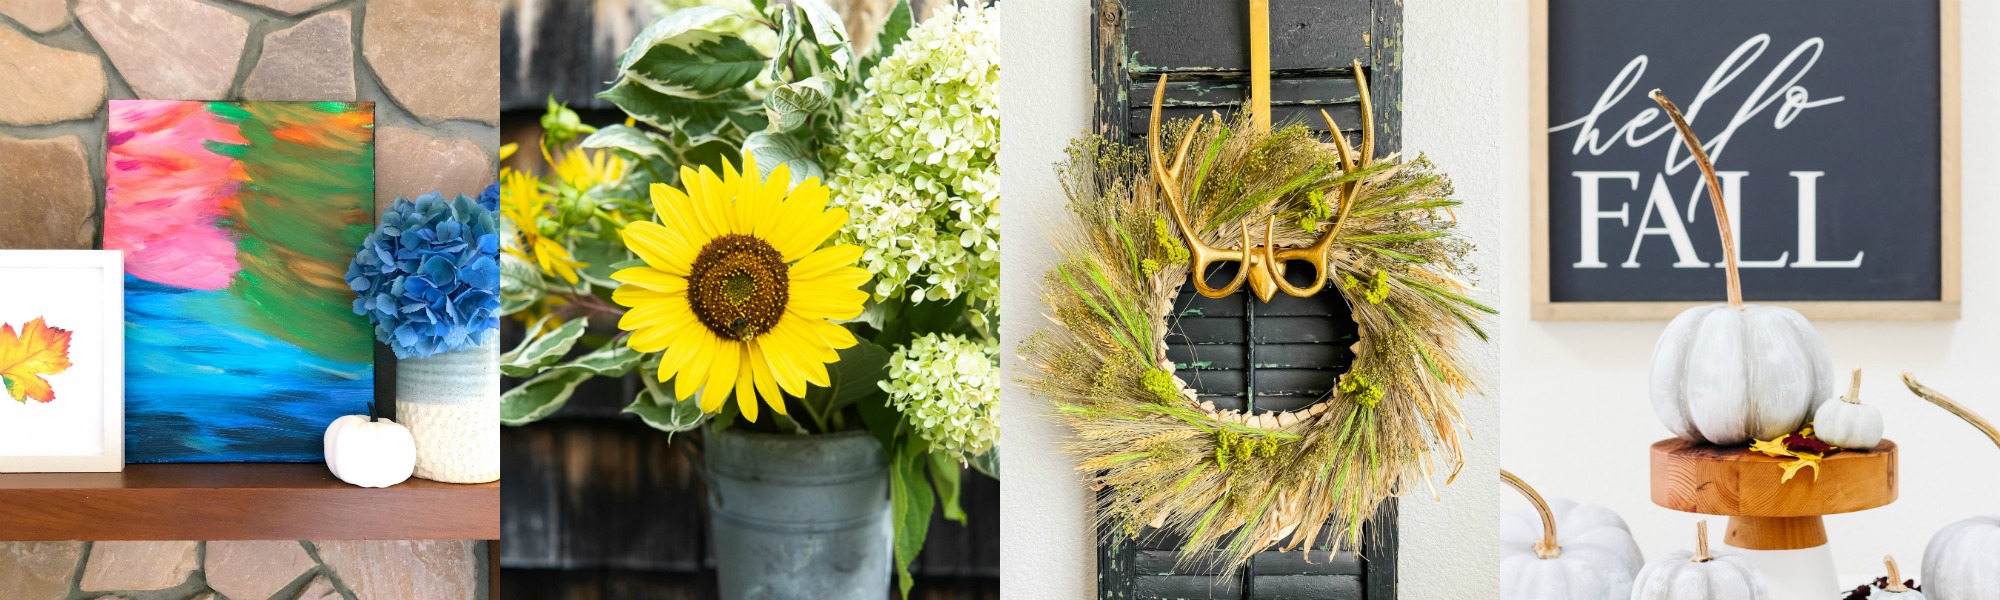
DIY Fall Acrylic Abstract Landscape Painting at The Happy Housie
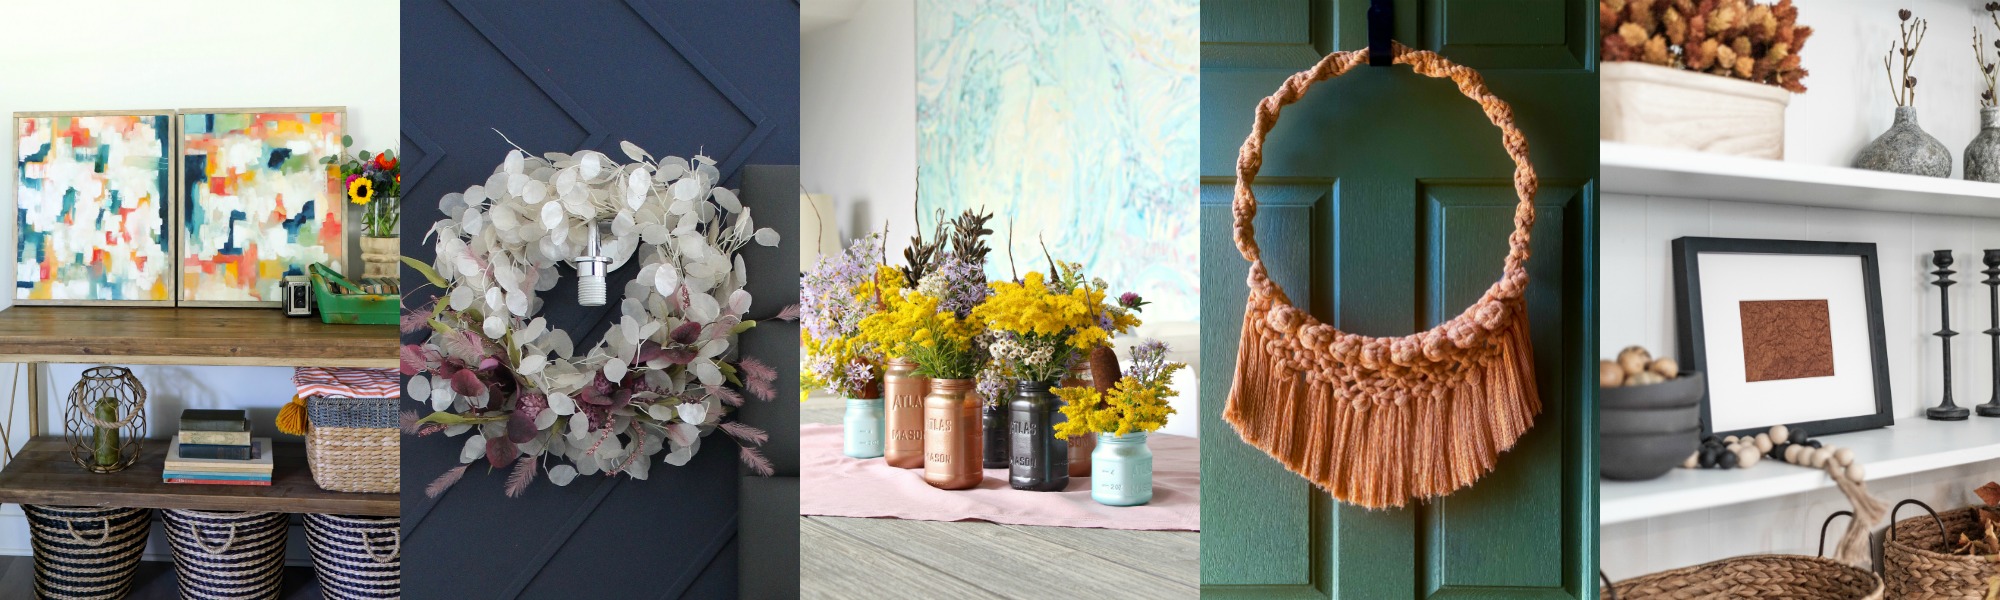
Five Fun Fall Arrangements at Finding Silver Pennies
How to Make a Dried Floral Wreath at the Tattered Pew
DIY Painted Pumpkins that Look Like Cement at Modern Glam
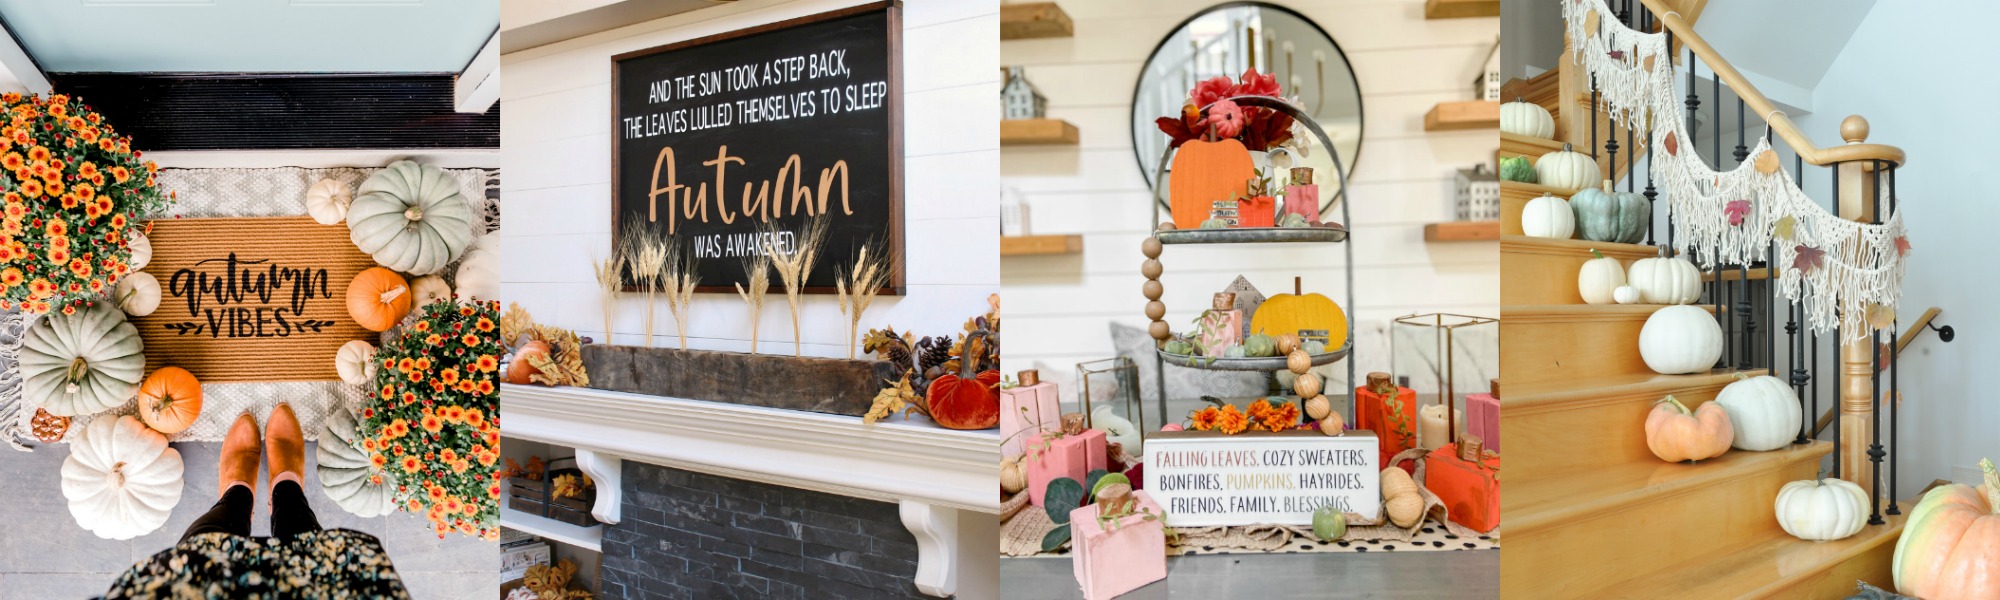
How to Make a Doormat with a Cricut at The DIY Mommy
DIY Fall Sign at Clean & Scentsible
Scrap Wood Fall Pumpkins at Tatertots and Jello
Macrame Garland at Life is a Party
DIY Abstract Art Our Best Tips at The Handmade Home
Modern Fall Lunaria Wreath at This is Simplicite
Painted Mason Jars at Dans le Lakehouse
Fall Macrame Wreath at Place of My Taste
Easy DIY Fall Shelf Decor at Cherished Bliss
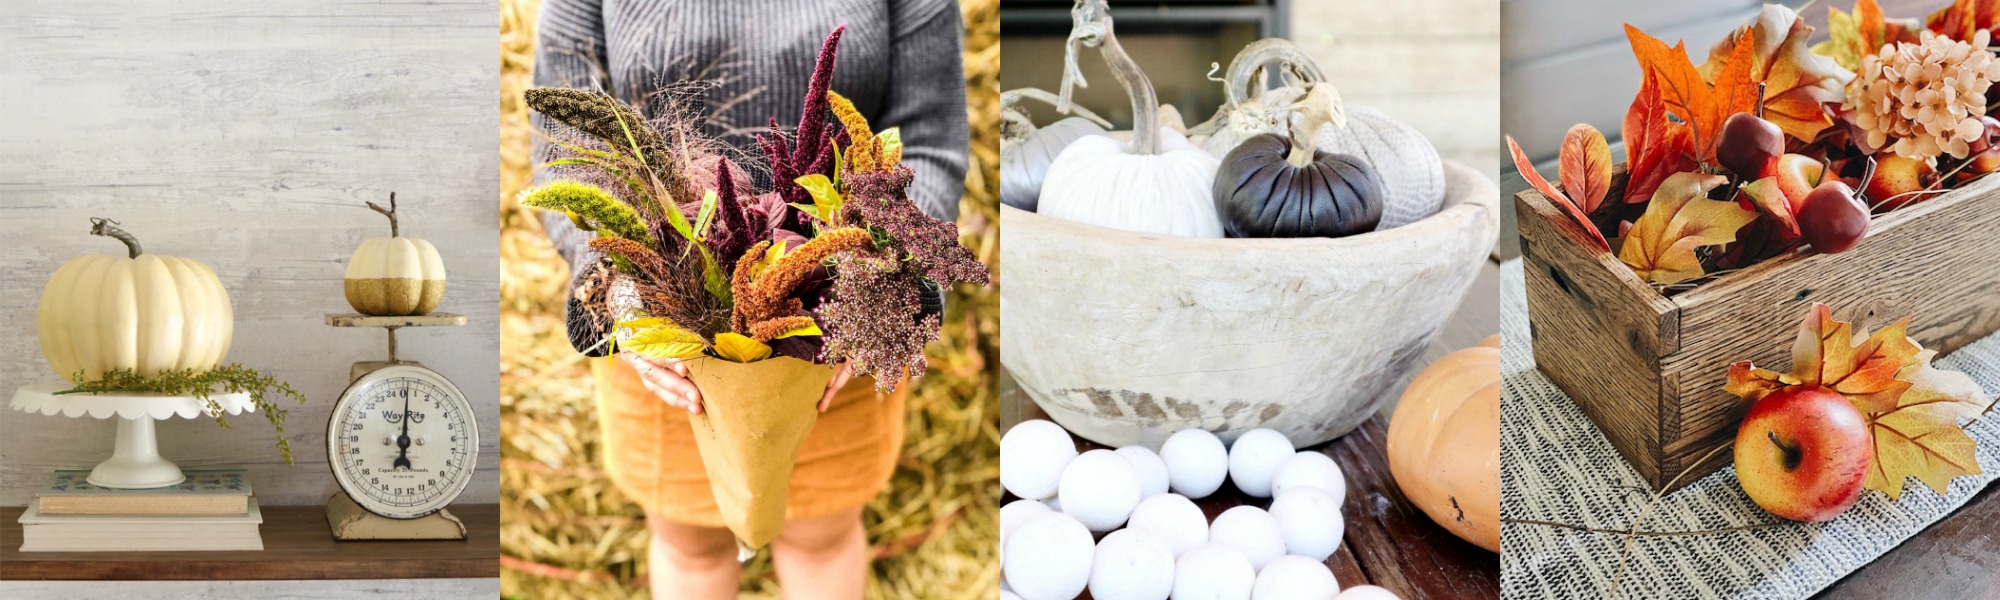
DIY Glitter Pumpkins at Lolly Jane
DIY Rustic Fall Flower Arrangement at Pretty Life in the Suburbs
How to Make a Handmade Clay Bead Garland at My Sweet Savannah
DIY Rustic Wood Centerpiece Box at She Gave it a Go
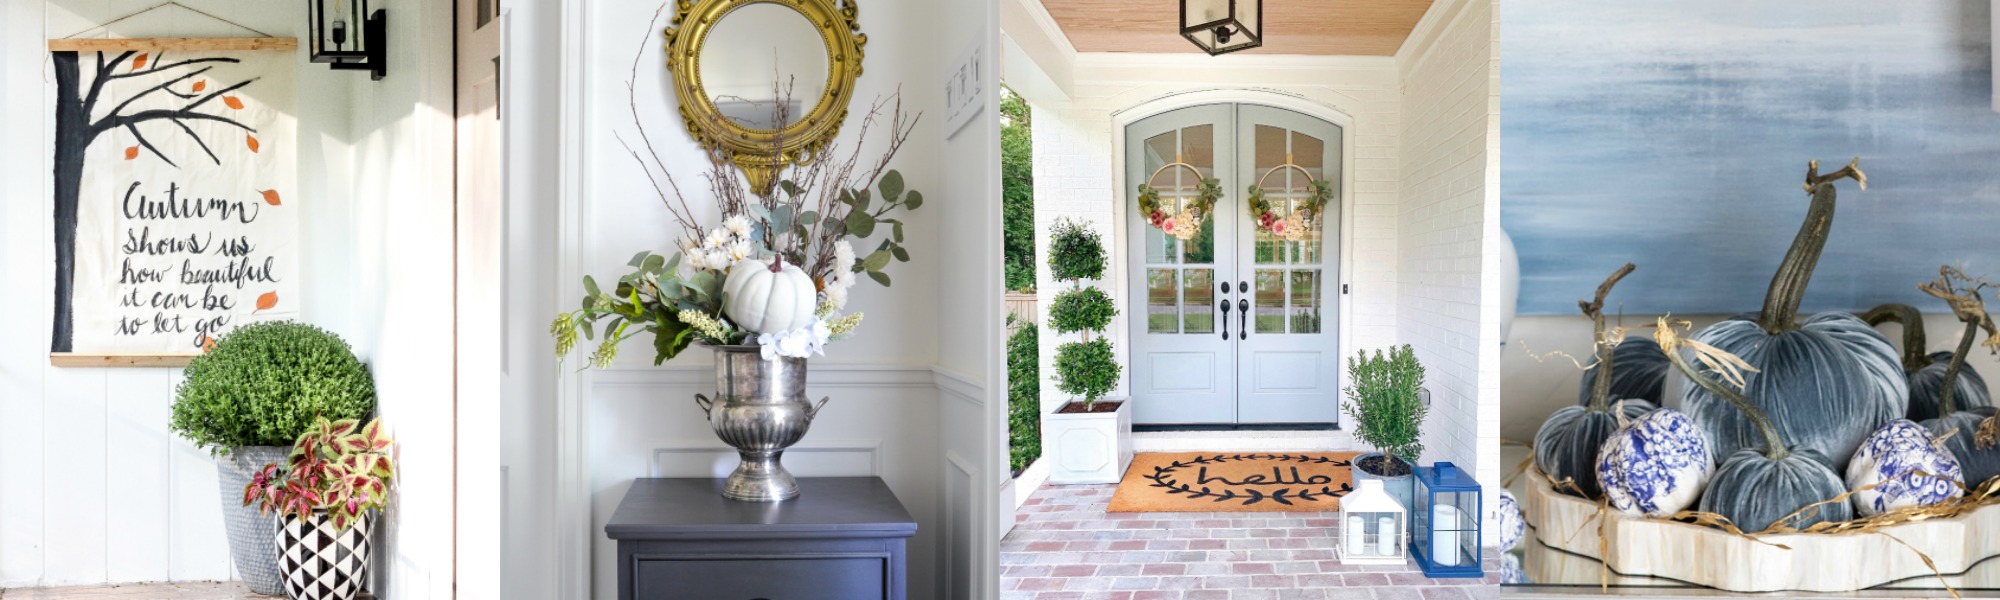
How to Make a Fall Wall Hanging at Cassie Bustamante
Elegant Fall Flower Arrangement at Rambling Renovators
Blush Fall Hoop Wreath Tutorial at Chrissy Marie Blog
DIY Blue and White Chinoiserie Pumpkins at Jennifer Maune


You are so incredibly talented. I miss oil painting. I used to do it so much in high school and college. You have me itching to get back to it! Thanks for the inspiration! xo
You are so amazingly talented my friend!! I love them all! Love the colors in the abstract.
I love this! Thanks so much for sharing. I know Abstract art looks so simple, but is deceptively NOT. So I have been intimidated to give it a try. But you may have convinced me to play with it a bit and see where I go.
awe thanks so much! I hope it helps and that you have so much fun!
Wow so many great tips! I felt like I was in art class and wanted to take notes. SO much goodness. Thanks fro sharing and for the free printable too. Beautiful artwork my friend!
These paintings are SO fun, and I love seeing all of the colorful art in your beautiful home- you are so talented!
This is incredibly inspiring and it’s clear you have put a lot of time and effort into everything you do. Thanks for the free download as well!