Our basement is slowly but surely coming together, and in the middle of overhauls and revamps and client projects, sometimes, it’s fun to sit down and make a little handcrafted goodness for your own home.
I’m seeing our space come together, and one of my favorite parts about projects like this, are the little things that really make it special.
I had some old pillows that we were kind of missing some of their corners, and decided to spiff them up with a little color. I know that this project may be embarrassingly easy or obvious for some – but sometimes it’s the simplest that make the best projects. Or give you a little inspiration of your own.
Especially when upcyling an old pillow.
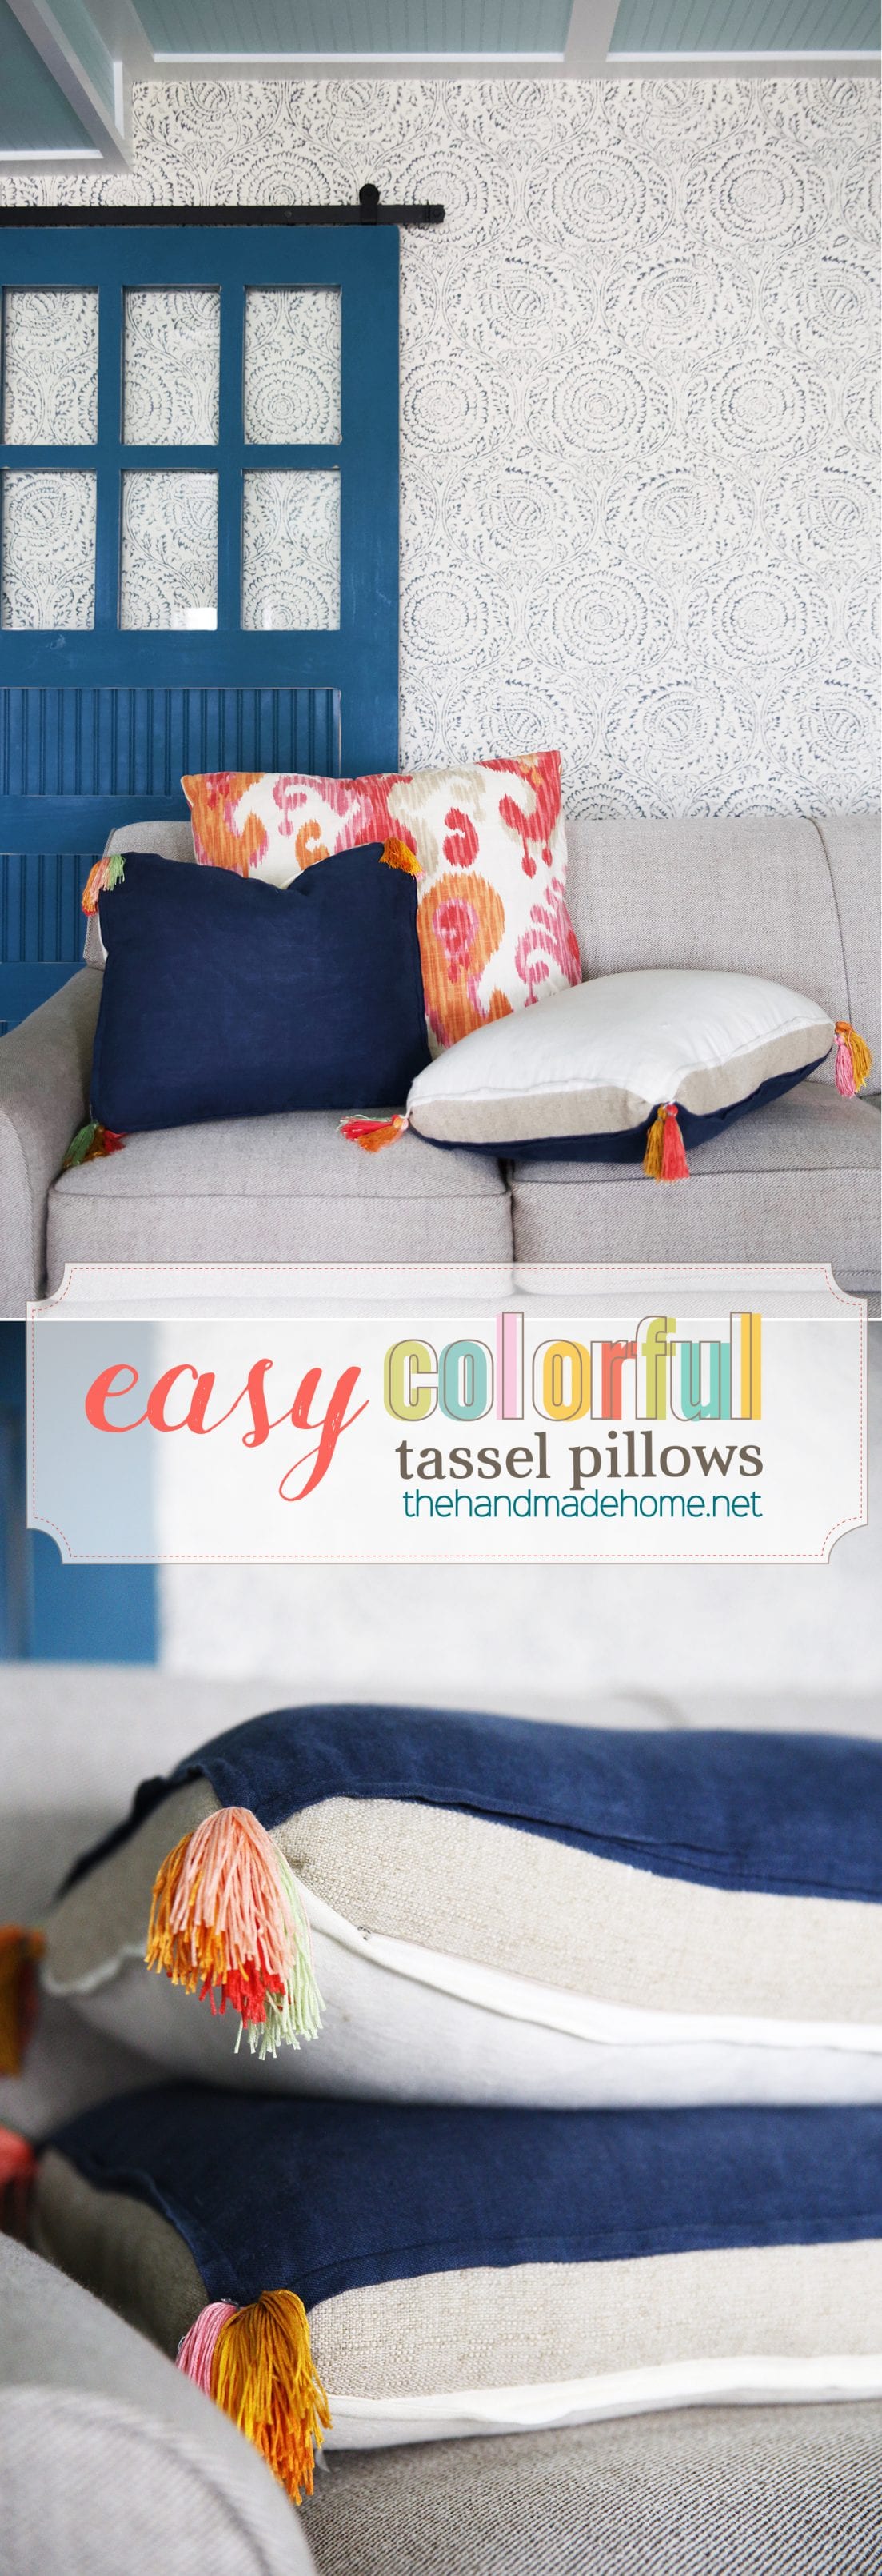
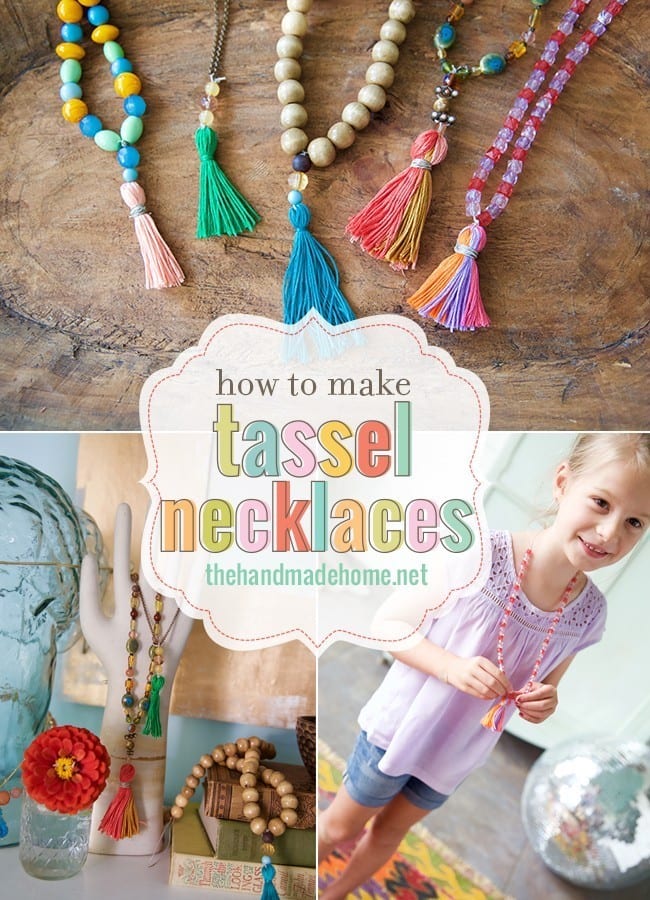
So without further ado, diy colorful tassels for pillows.
So these were some of my favorite pillows.
But when the little cloth tassels started to fall off, I held on to them for a while, and then put them away. I actually packed them up before moving to Nashville, and had completely forgotten about them until I looked into Emerson’s chest the other day, where one was stashed. Only 1.75 years later. Shameful, I know. But when in the middle of a renovation, not everything gets unpacked. I knew exactly where they were going, and sometimes there’s no better feeling than reusing something you already have, in a fresh way.
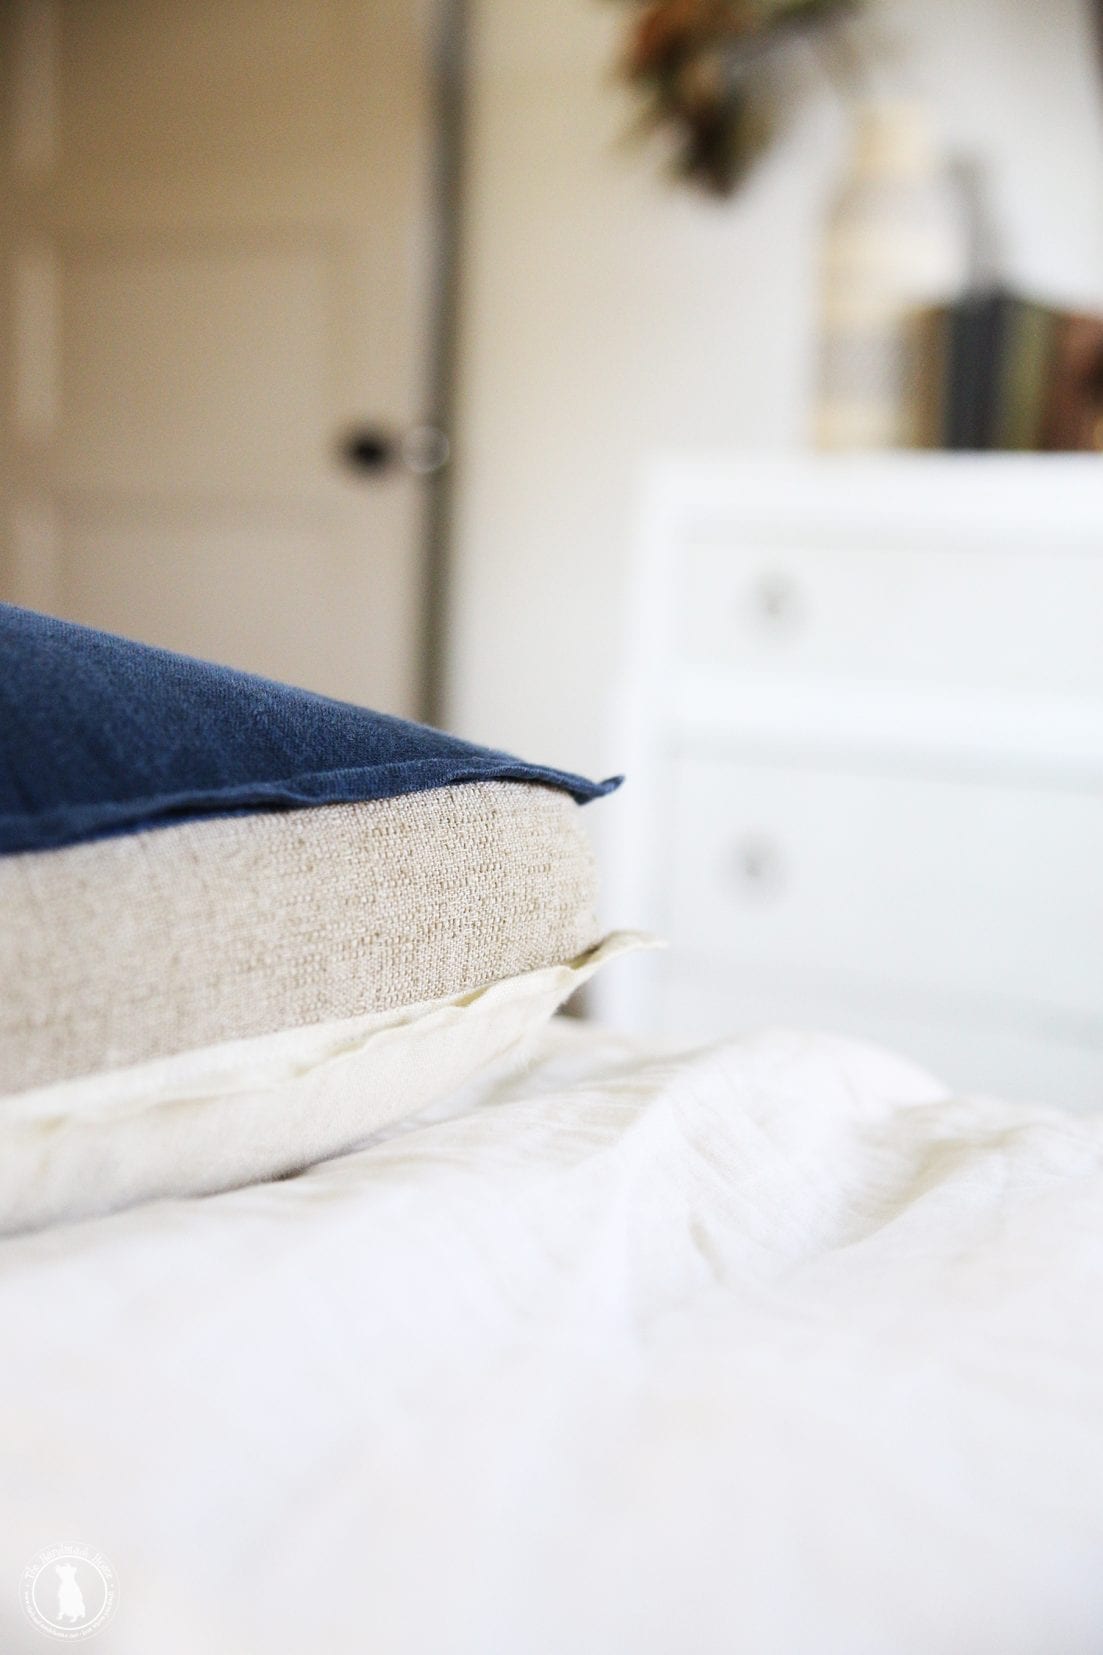
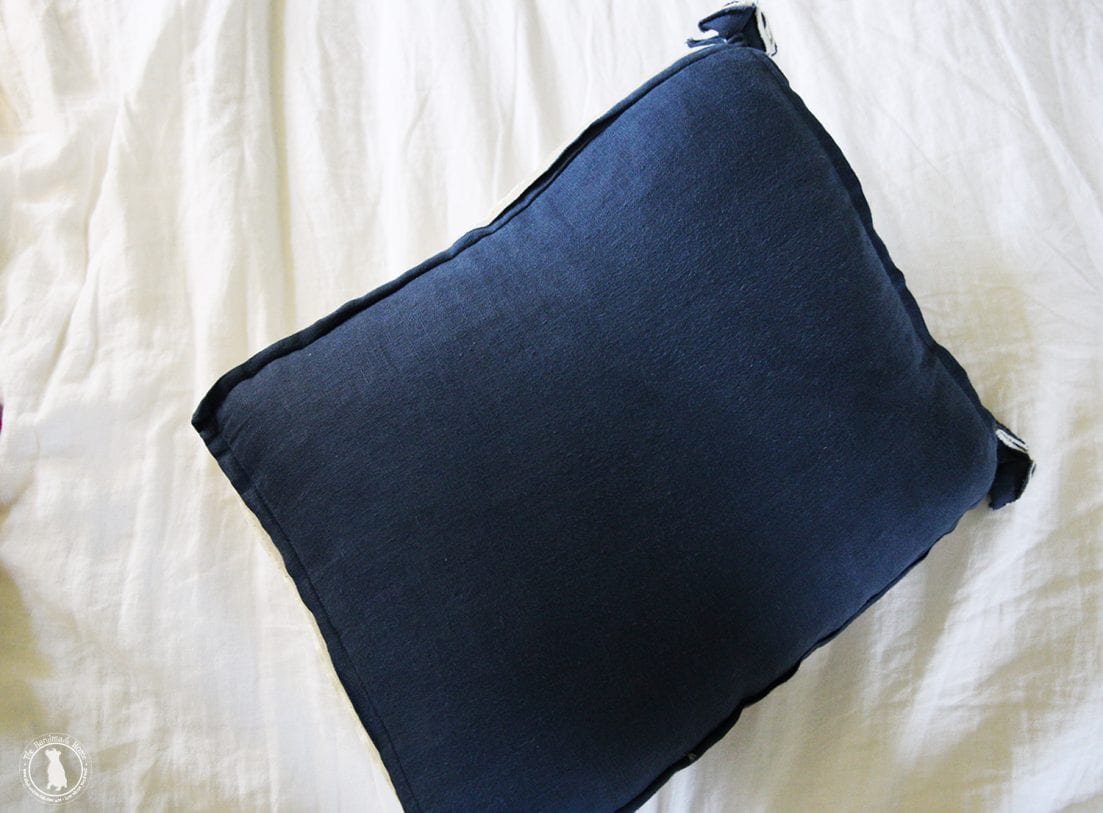
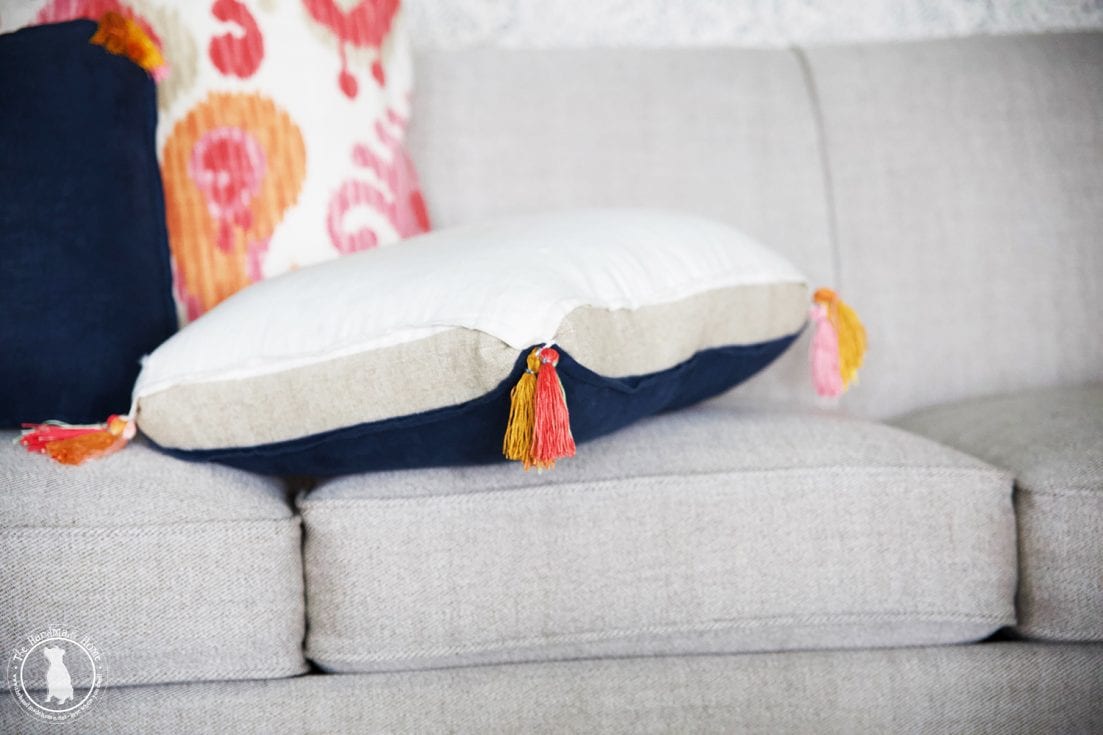
The pillows already had some great edges like this, but you can see at the corners where the previous tassels came lose. So I took my seam ripper and carefully removed the existing ones.
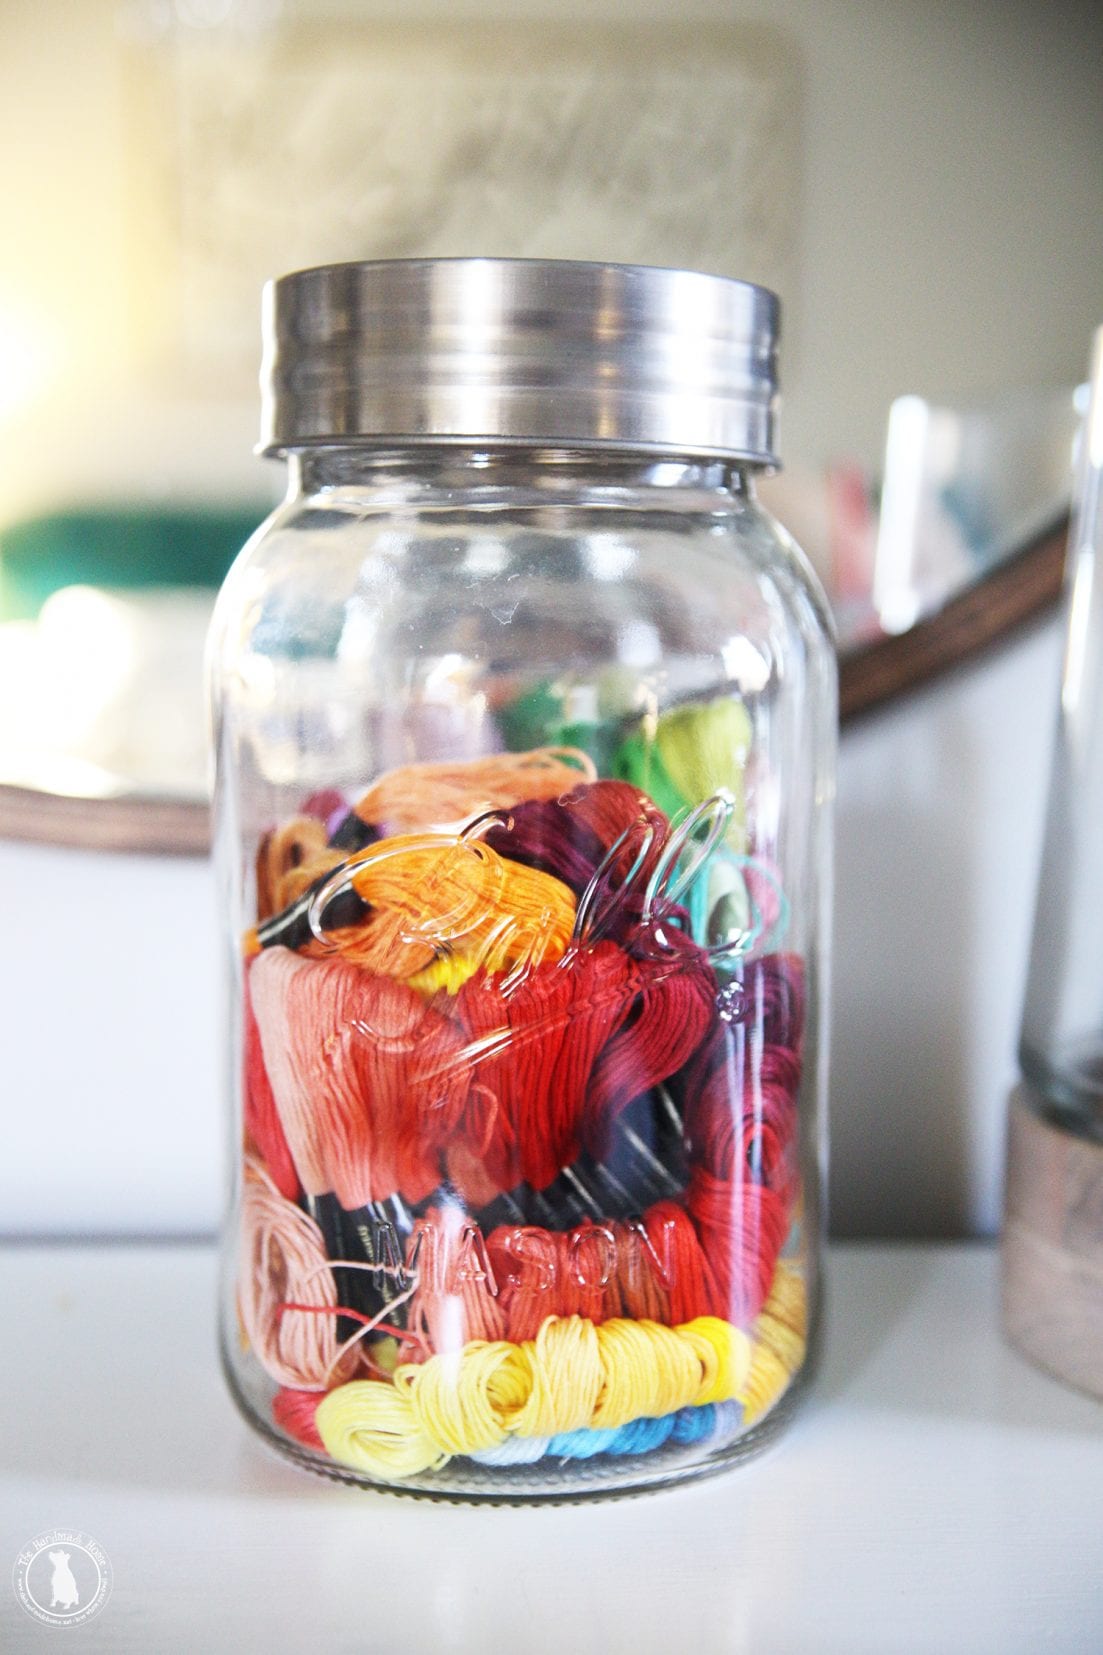
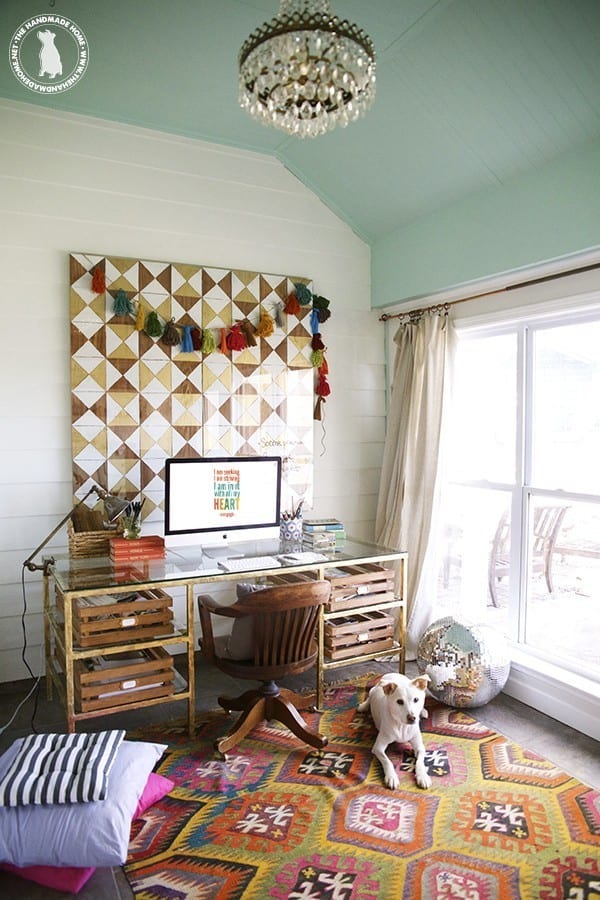
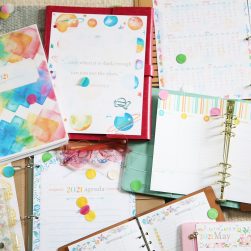
I’m a big believer in hoarding crafting supplies, but only if you keep them in check and know what you have. For some reason, clay and yarn and embroidery thread are the things that I come back to, over and over again when it comes to projects around the house.
I cant decide if I’m boring or inventive. Either way, I think these are especially useful to have on hand.
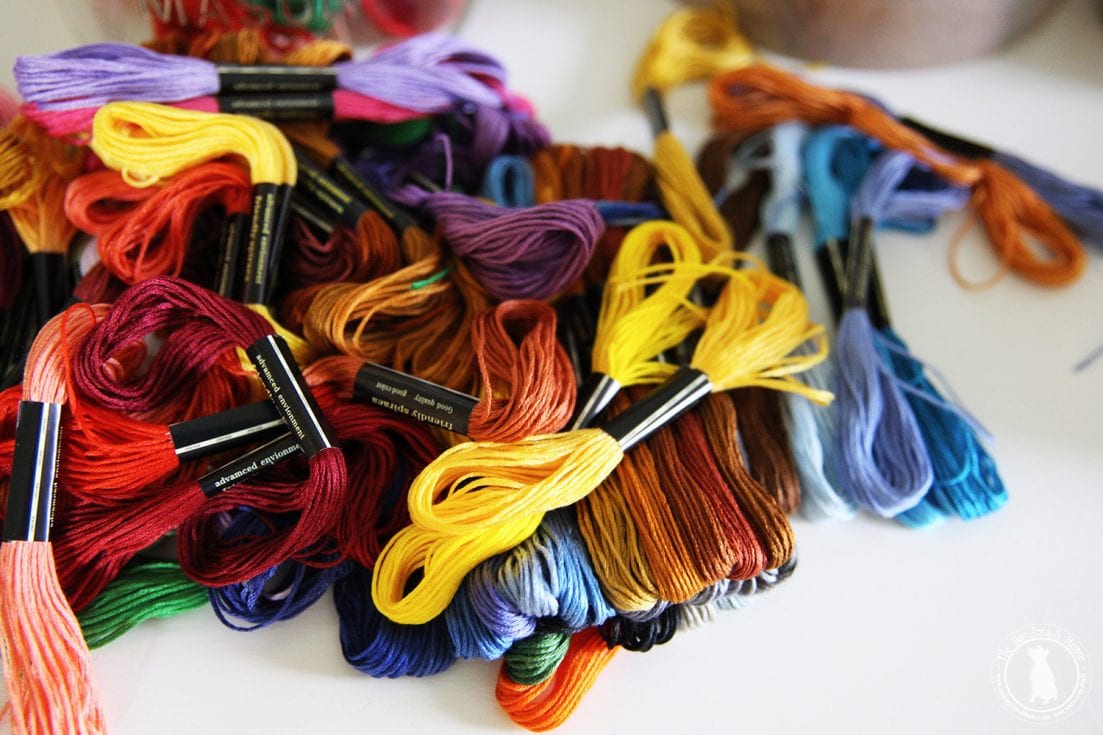
So I took them out, and sorted them.
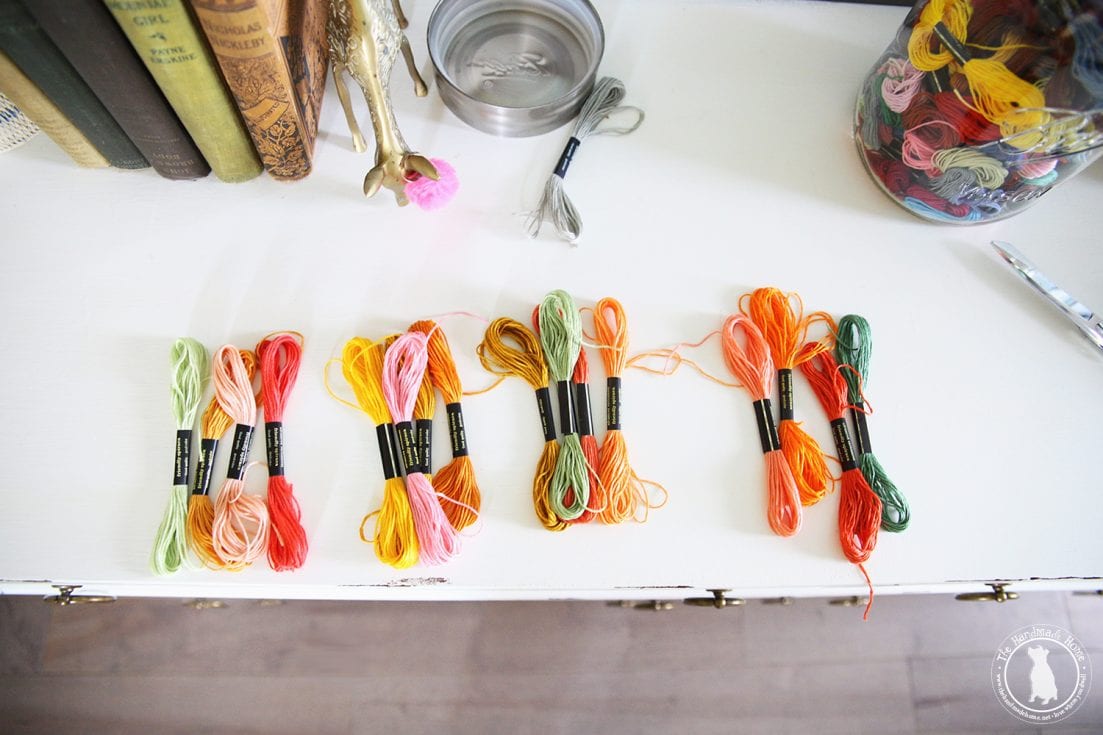
And decided on four different color groupings, to make eight total corners. I knew I wanted the pillows to match, and you can do whatever you like. But if you follow this process, this is enough for two corners each {four tassels total} on each corner of two pillows.
Math is hard so I probably just confused everyone by making it much more complicated than I needed to.
You have the option of joining all the yarn together to make one big tassel, just follow the simple directions below and adjust accordingly.
I liked the idea of keeping them separate, and its a little more work, but well worth it. Something to keep your hands busy at night while you binge-watch The Crown, no?
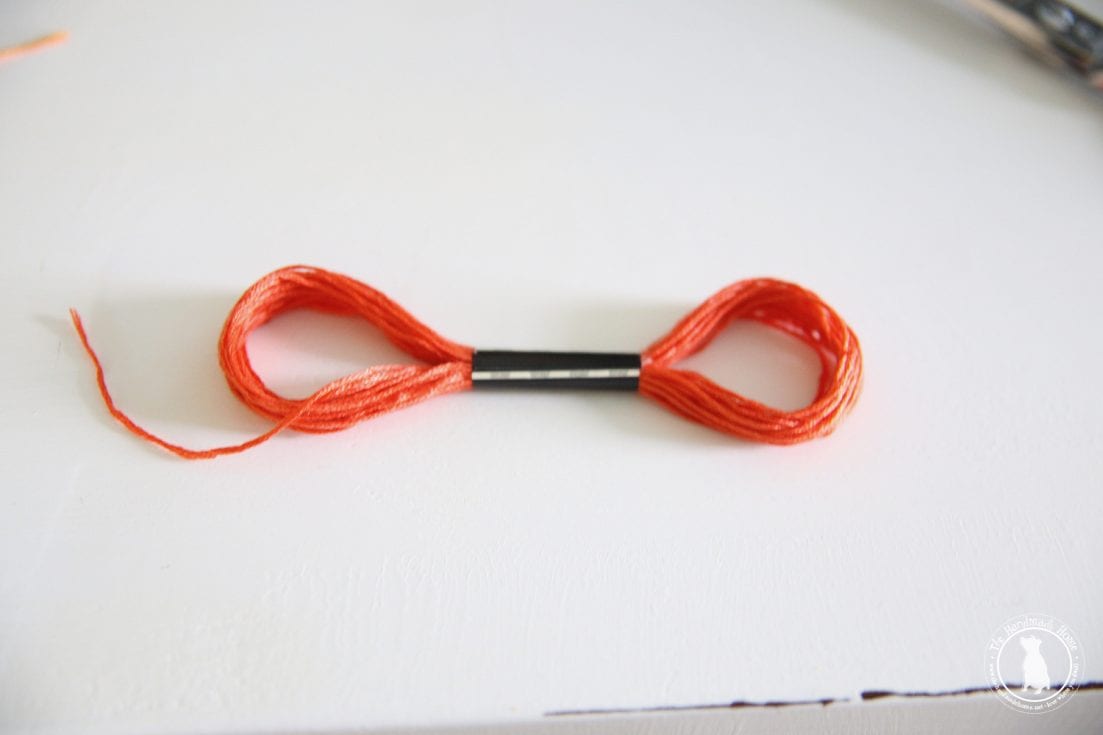
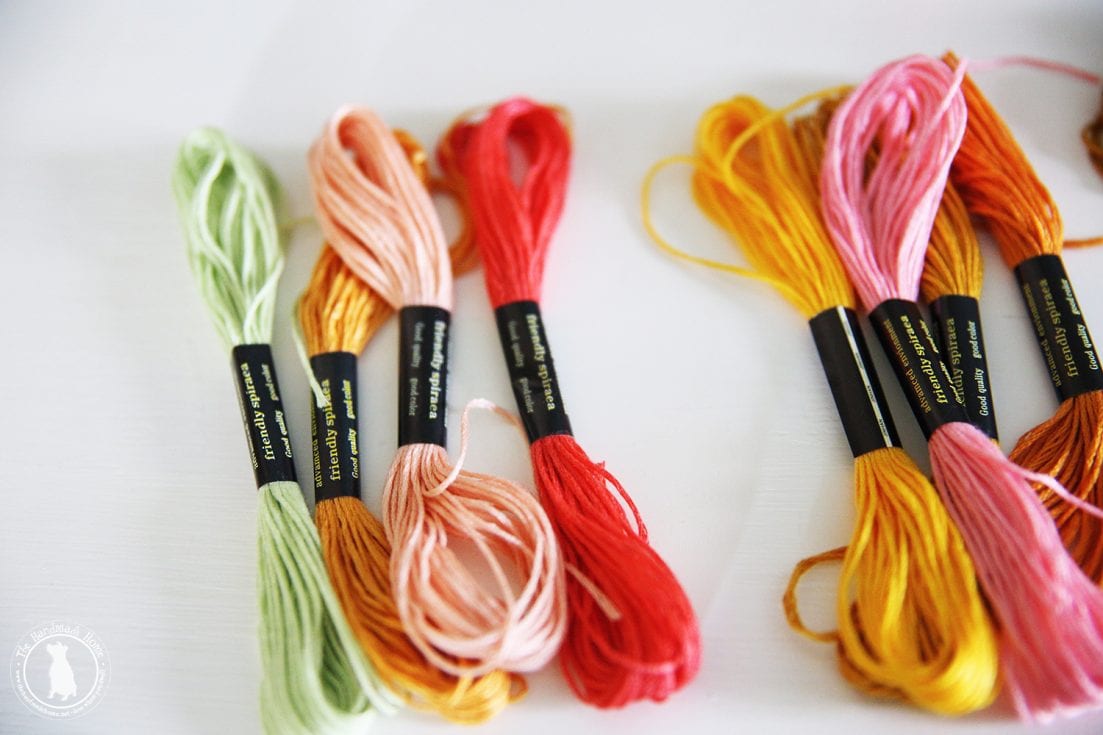
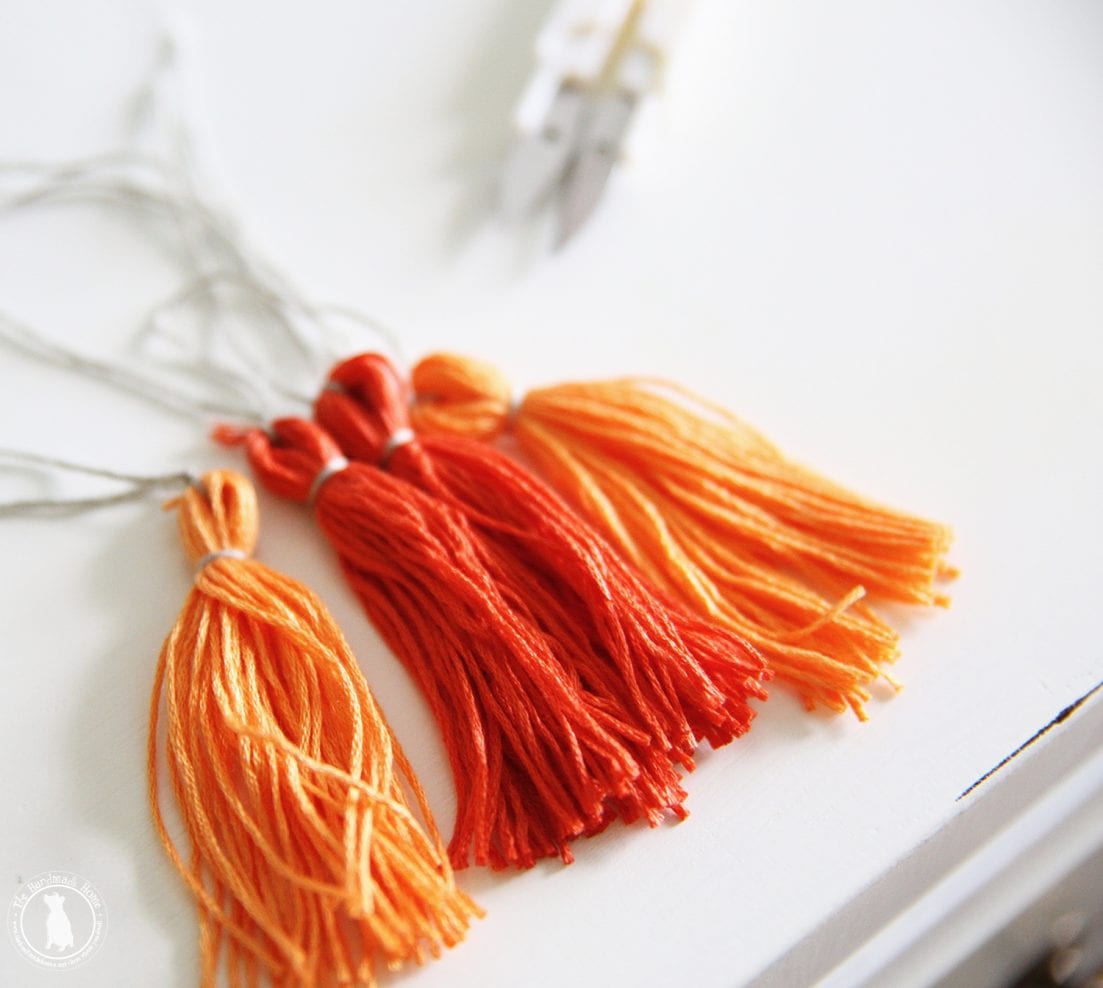
So taking each loop of thread, keep the paper label on, and divide evenly.
Then make sure each end is looped evenly, by making them neater with your hands.
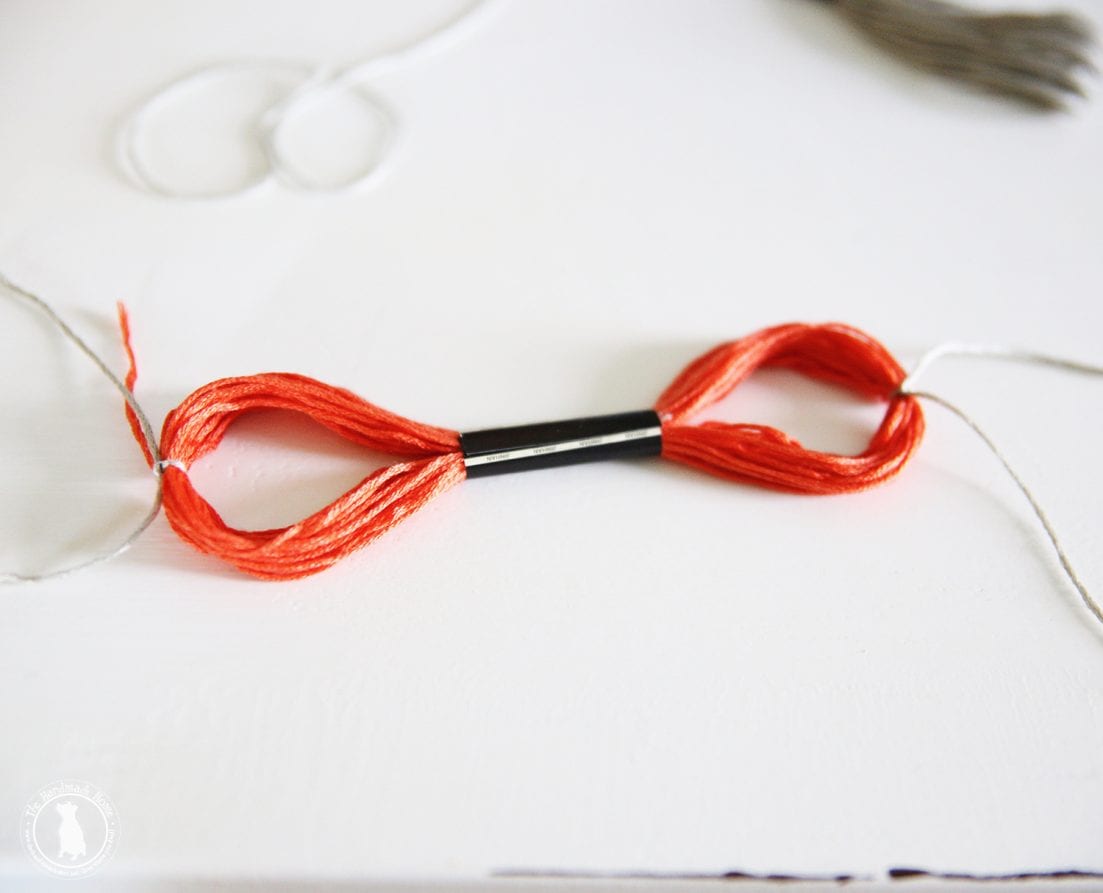
This is so you can cinch each end and prepare it into making a simple tassel.
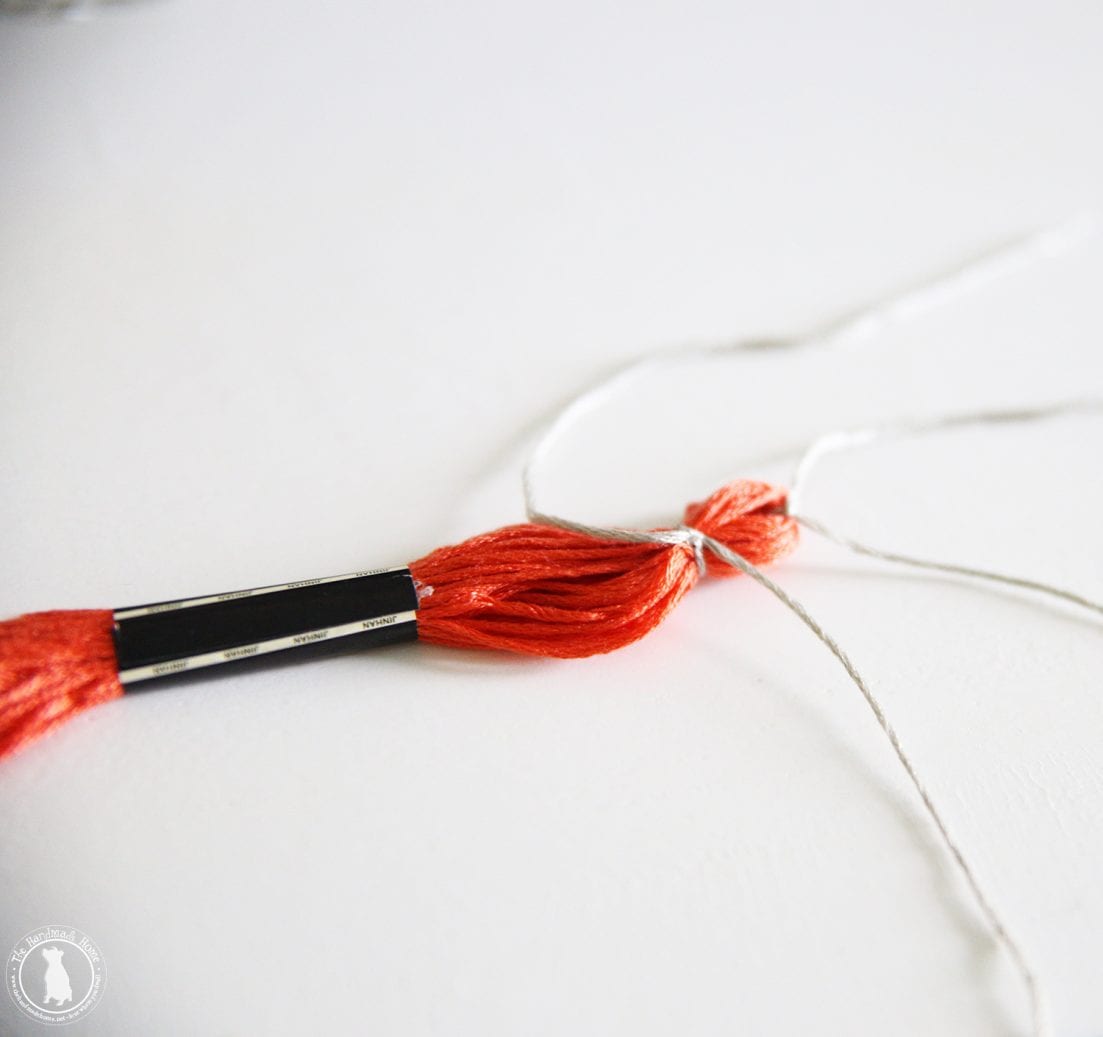
Once that step is complete, wrap another piece around the outer edge so that it forms a small top to the tassel.
And when that is complete, gently remove the paper, fold your ends in half, and cut.
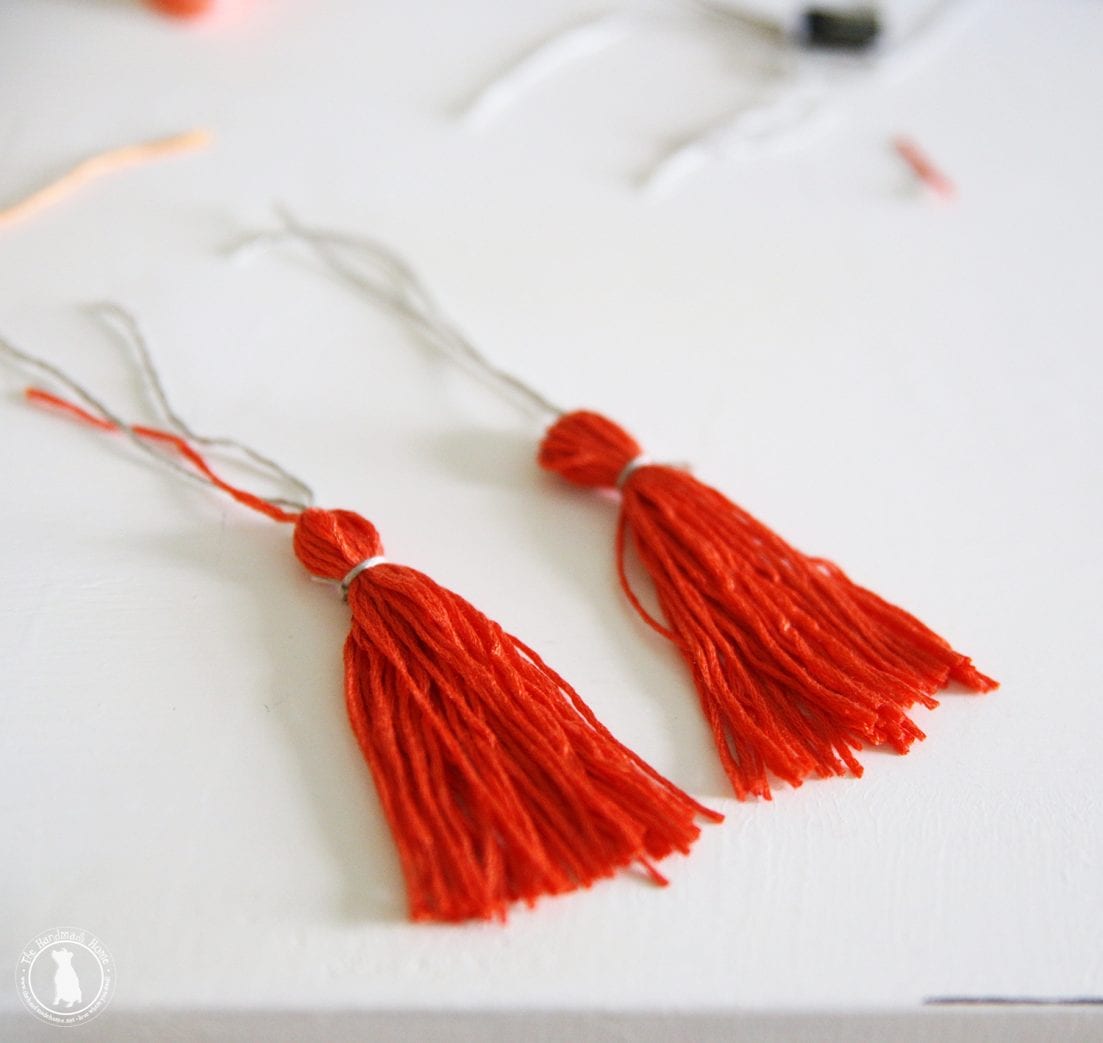
Tada! You have two identical tassels.
Keep adding all the colors your want, until you have what you wish for each corner.
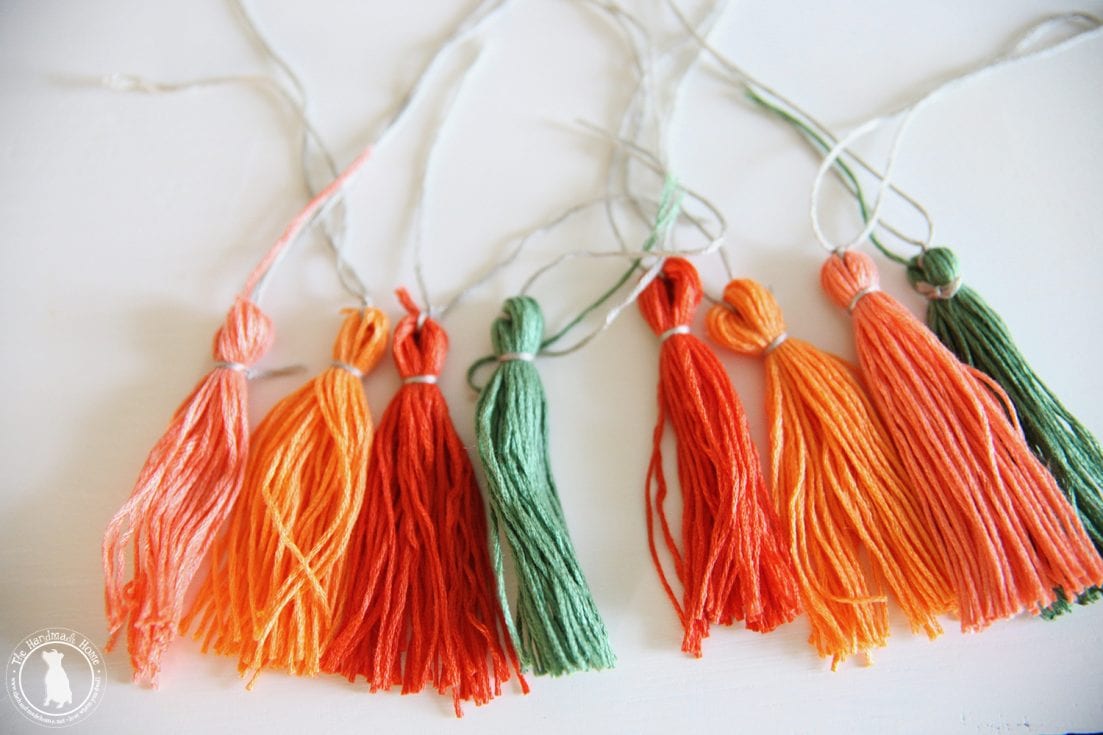
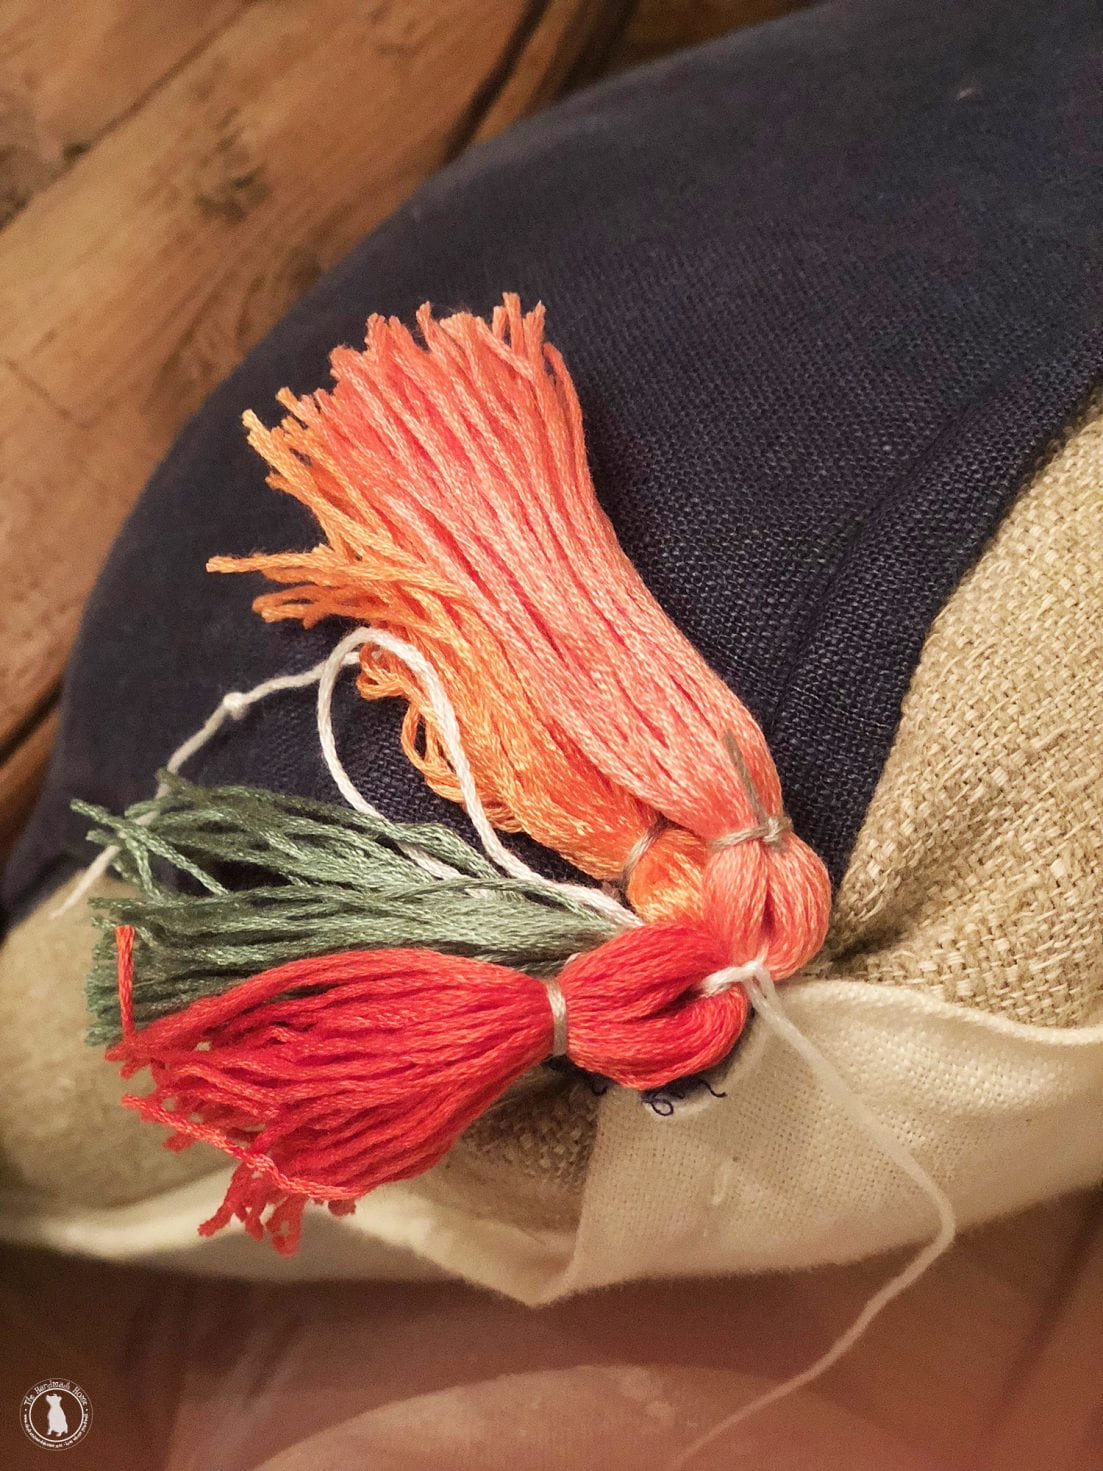
When I had one color section done, I moved to the next, and kept going until the tassels are complete. Oh, and be sure to give your tassels a small haircut / trim before proceeding. It helps to trim up the edges and make them even.
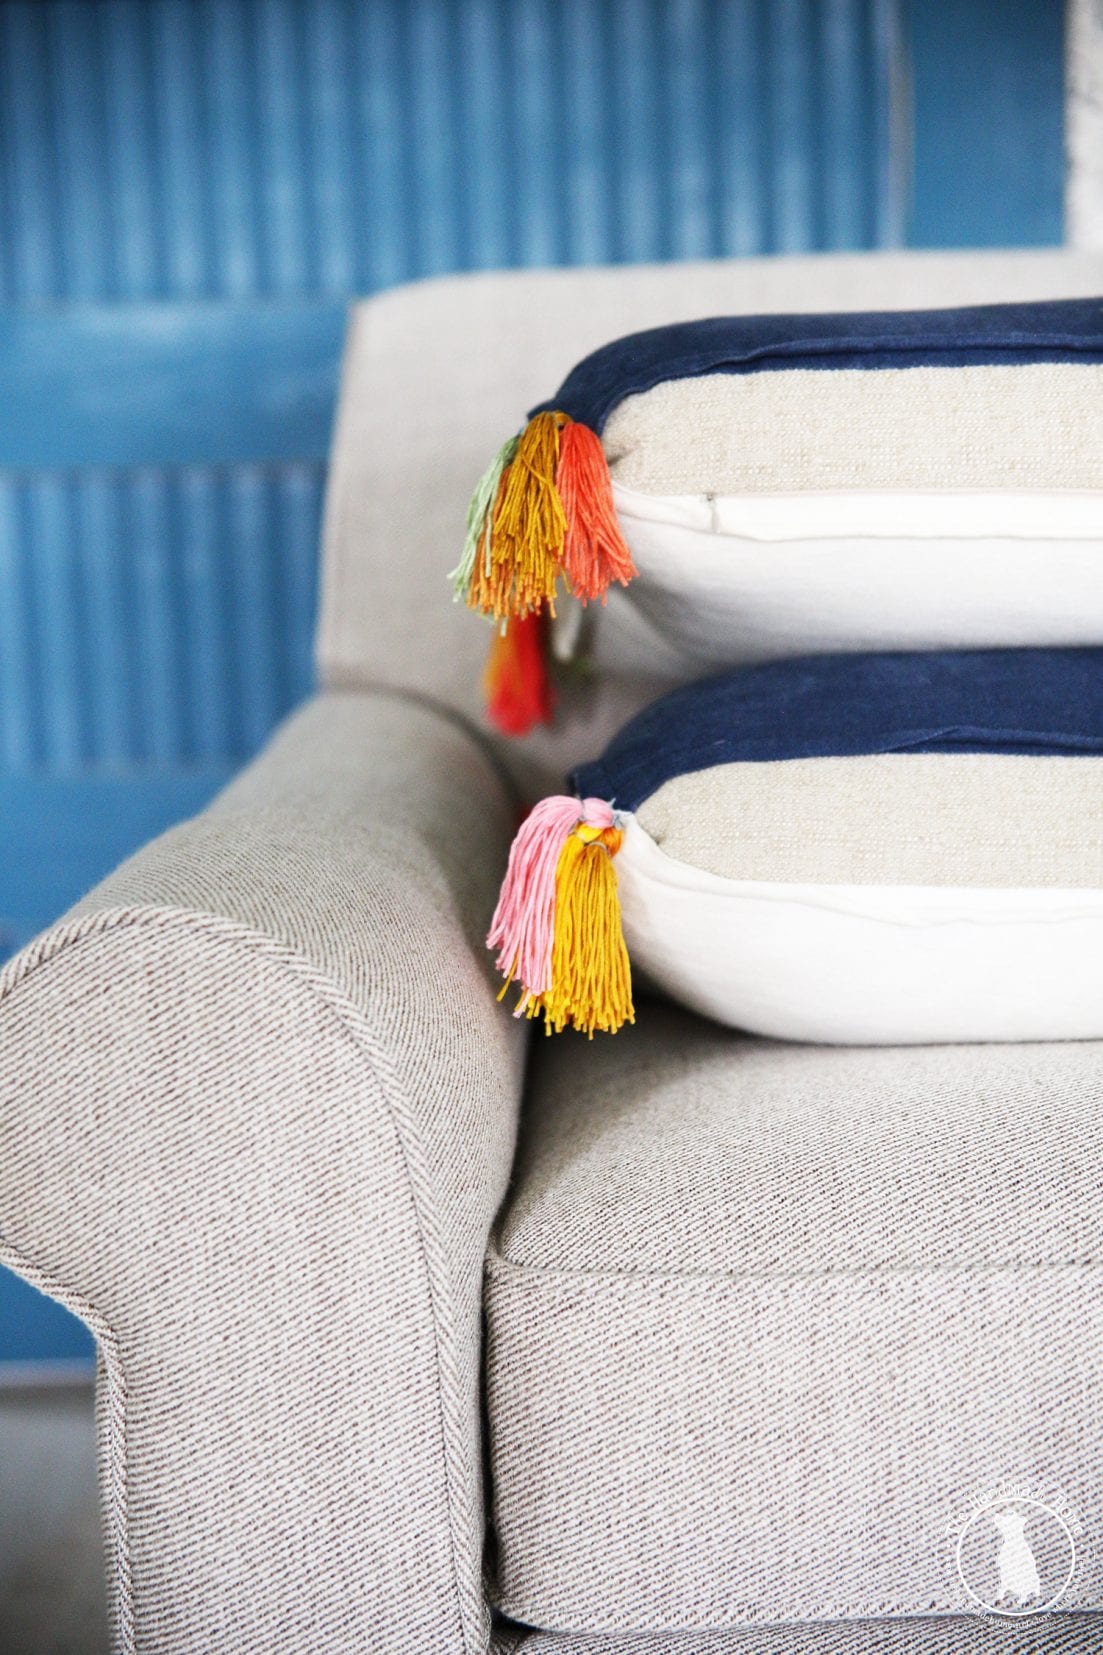
I grabbed an extra large embroidery needly because they’re easier to thread and don’t hurt your fingers when pushing through thick upholstery fabric like this. I simply threaded the needle, and added each tassel on the thread, after trimming their tie-on tops {this was to make them neater}, I slowly sewed them into each pillow corner.
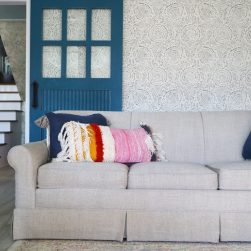
And there you have it!
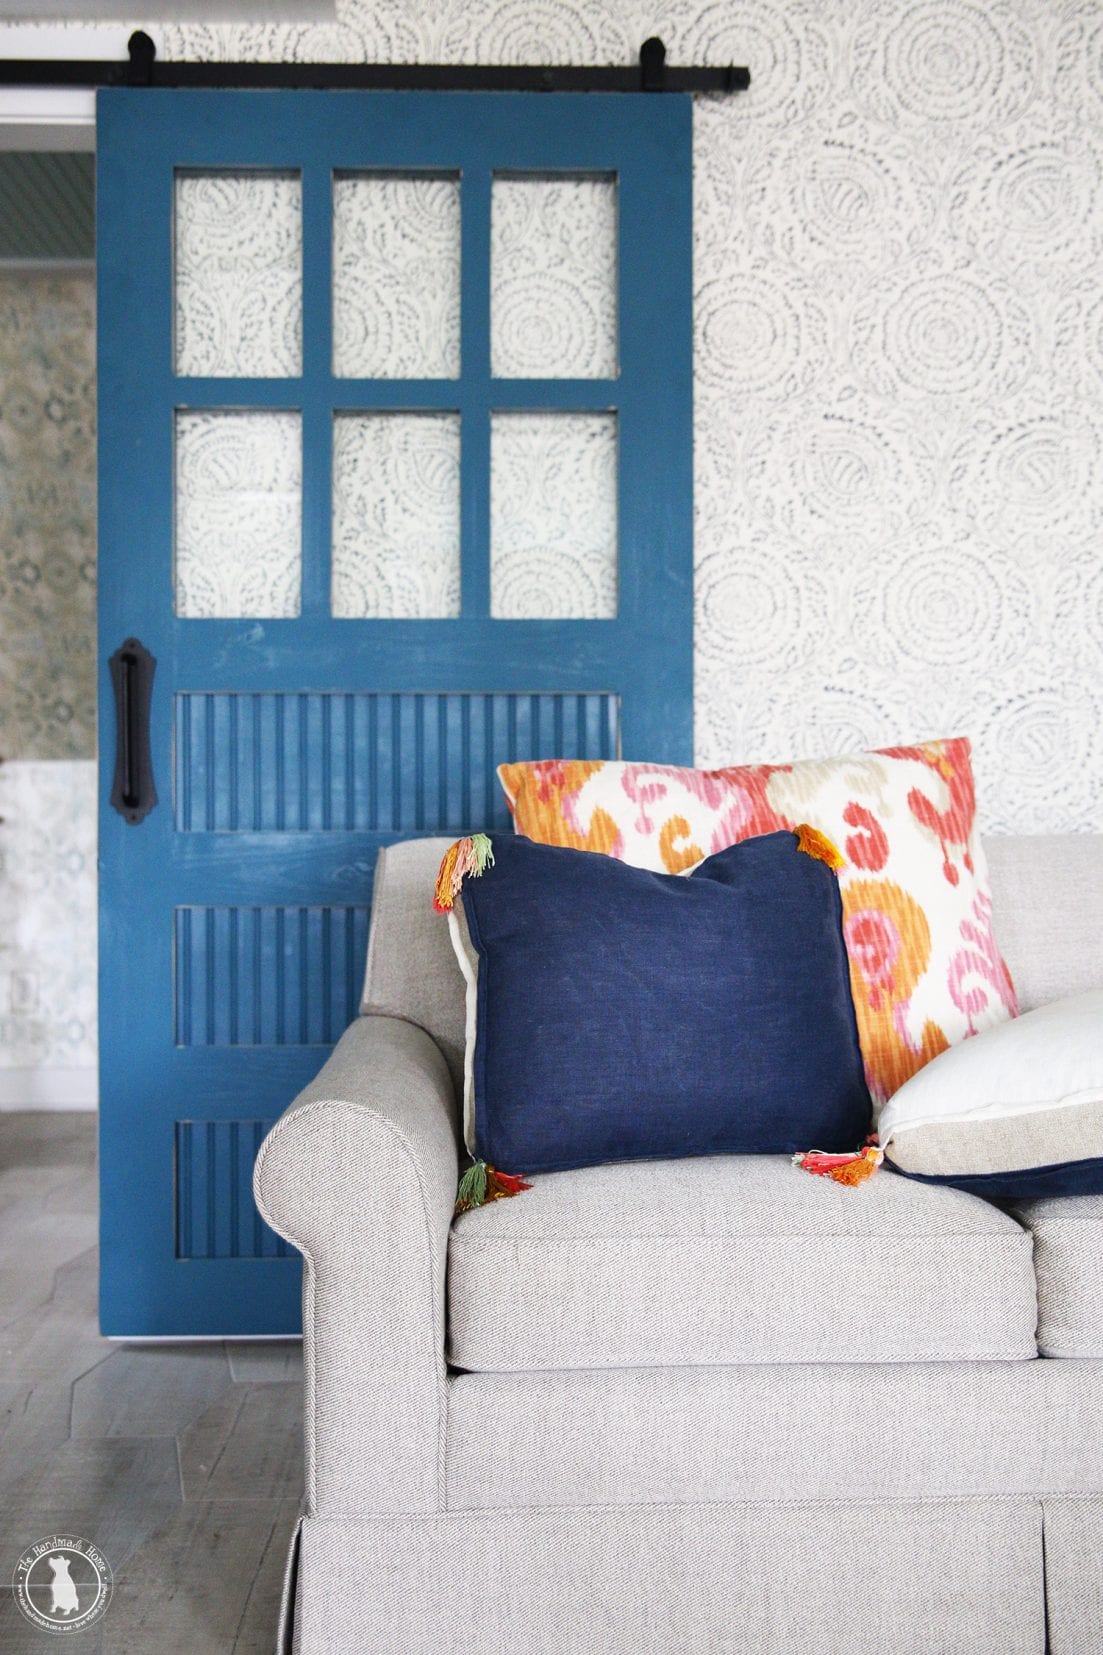
We took some pretty sad forgotten pillows with awkward corners, and replenished them with some flavor and color.
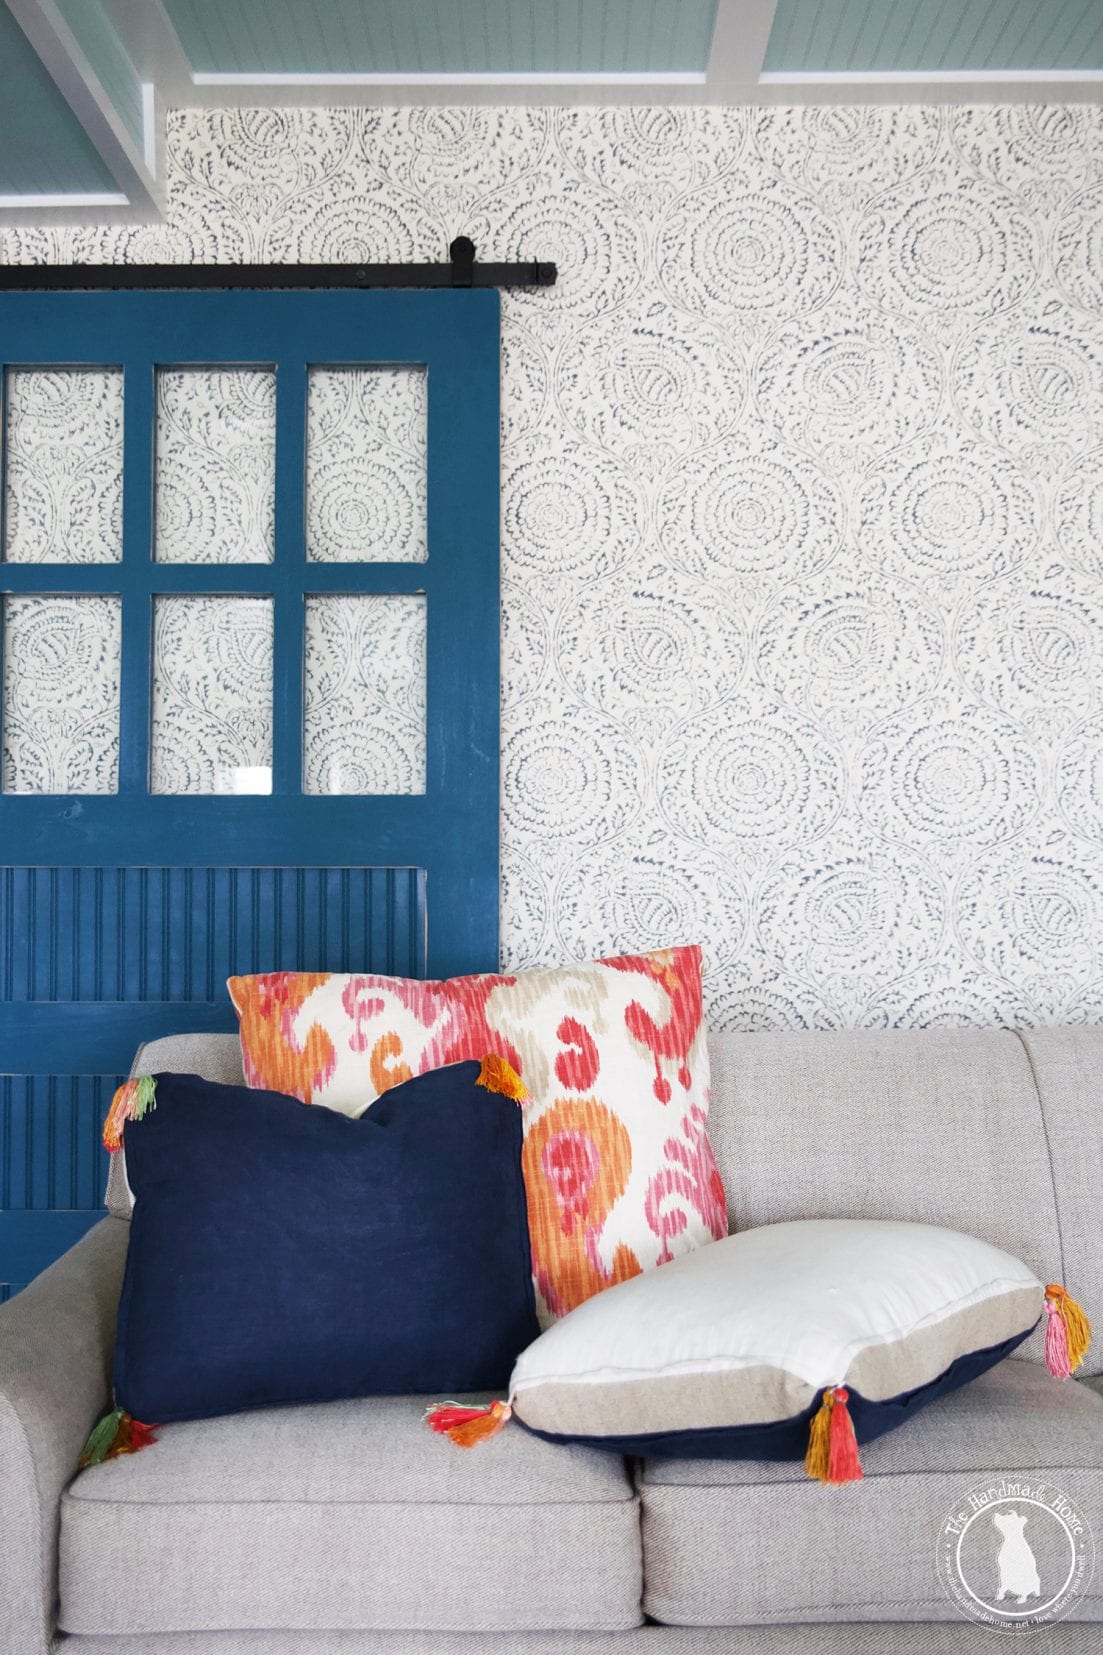
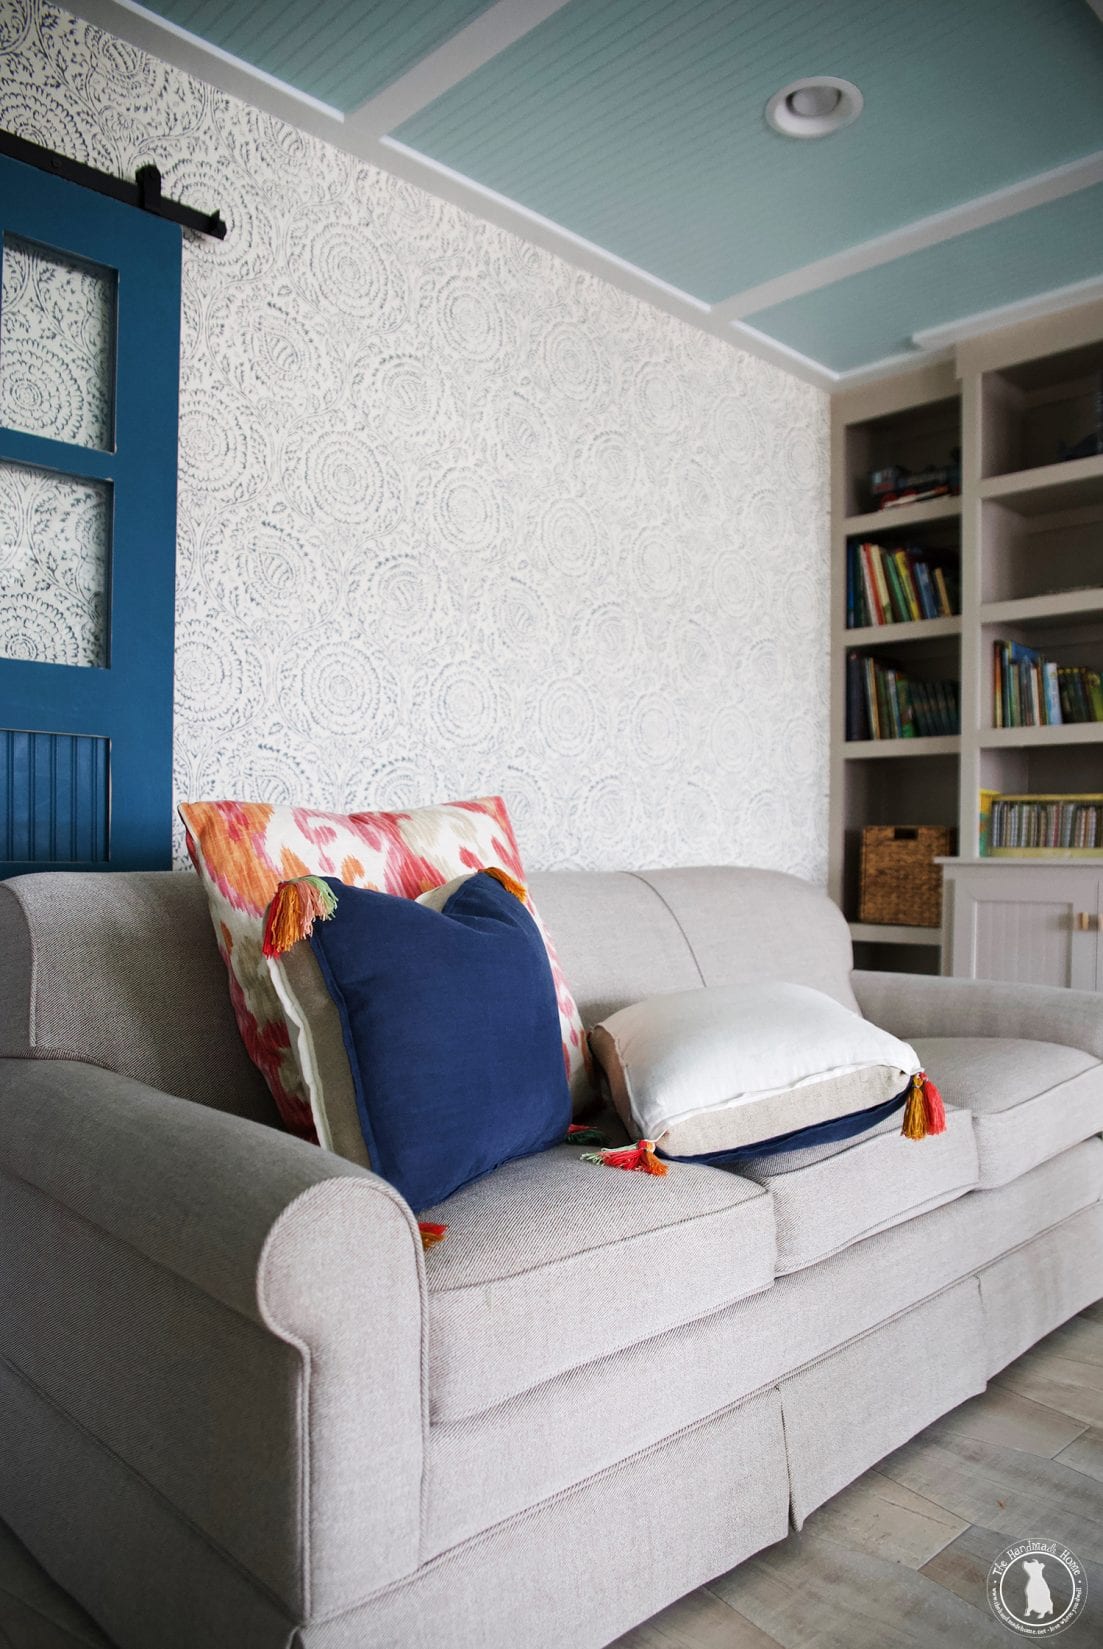
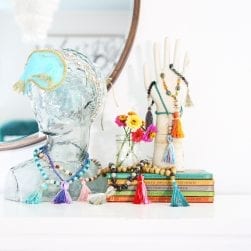
We’re loving the way our basement is coming together – along with a sneak peek of our gorgeous barn doors a-la Artisan Hardware {more on that coming up next week!} They’re amazing.
And our sleeper sofas from La-Z-Boy!
We’ve built the space with layered neutrals, and we’re adoring all the punches of color throughout. Can’t wait to get that fun rug here {that is totally worth waiting for} + we’re still loving our tile from Jeffrey Court!
Rehabbing pillows {or anything for a fresh purpose} is the best feeling.
As always, let us know if you try it, or have any questions. We’d love to hear.
Have an inspired day!
PSSST… for more simple tassel projects, check them out here
and here!

The pillows are cute, but are you evening kidding me with that wall and that door… you guys it looks so awesome!
Awe thanks so much Amanda! The doors are from Artisan Hardware – we’re sharing more on those next week. They’re our very favorite! ;}
Love the wallpaper! Do you know the pattern name and company.
Hey! It’s available at Anthro – Barker Lifestyle’s Echo wallpaper Collection in Kamala, I believe. Hope that helps!
The pillows turned out great! I soo love them! Bookmarking this for my next DIY project. BTW I love the color of your ceiling! What is it?
Thanks for sharing this!
Hey! thanks so much. It’s SW Tidewater – hope that helps!
super cute I love the colorful tassels reminds me of the good old days
come see us at http://shopannies.blogspot.com
Hoarding crafting is one of the best ways to decorate or repair the pillow. The colorful embroidery thread looks attractive on both the pillow and your wall. It will really attract people like me who can’t sleep without a pillow. Keep sharing this kind of amazing ideas with us.
Love the wallpaper! Do you know the pattern name and company.