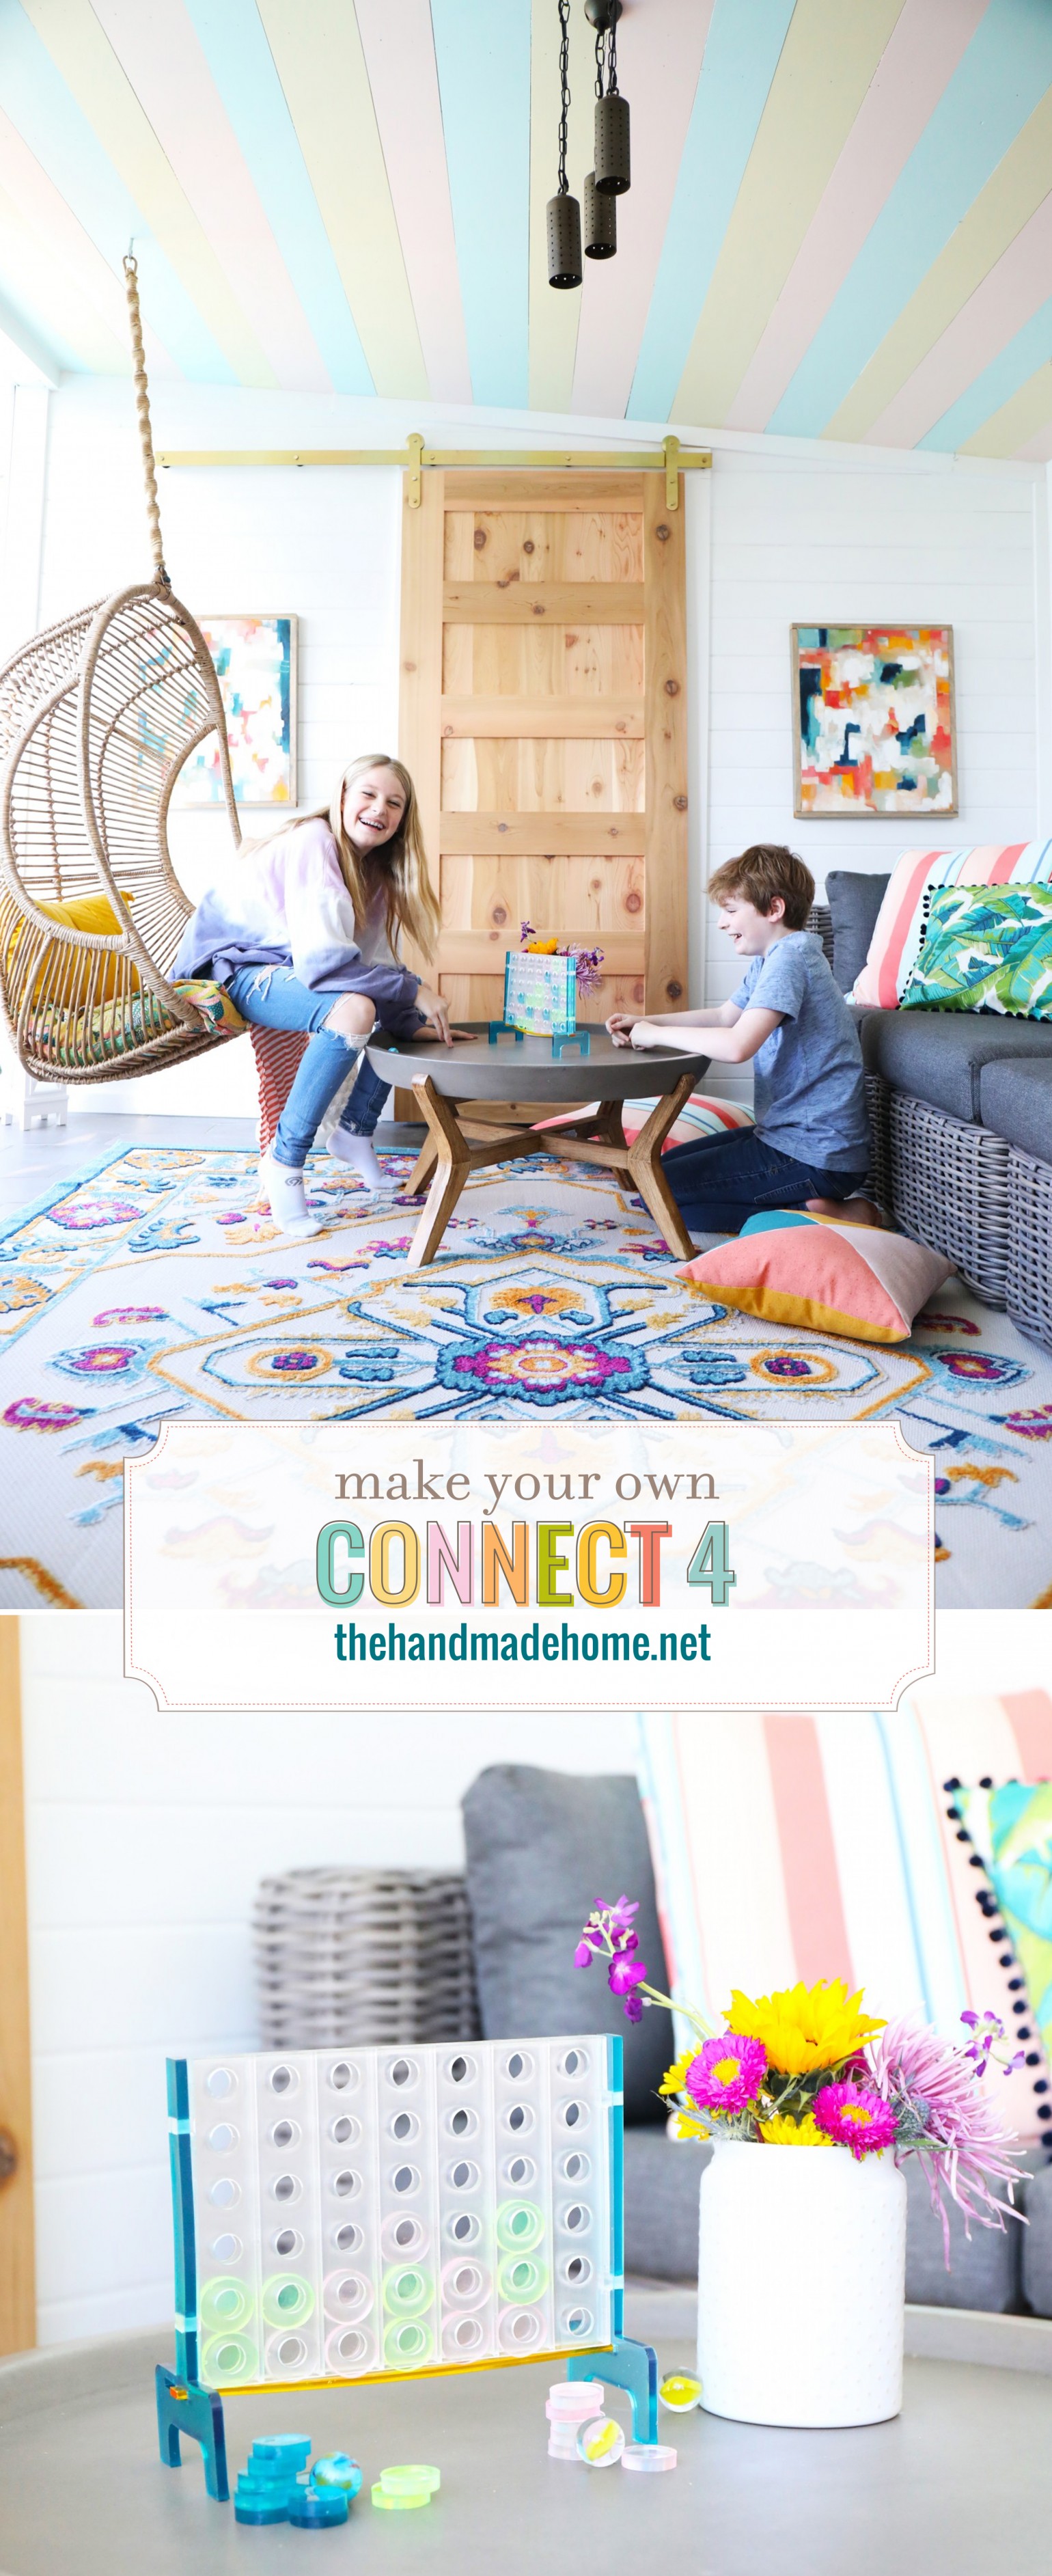
If you’ve been following us for a while, then you know that in the pandemic last year, something new I took up was all things creating with resin. It might be one of my most satisfying/nerdy pastimes because it’s just something different. We have fun creating with the kids, and coming up with new ideas. And today I thought I’d share how to create this diy connect 4 game.
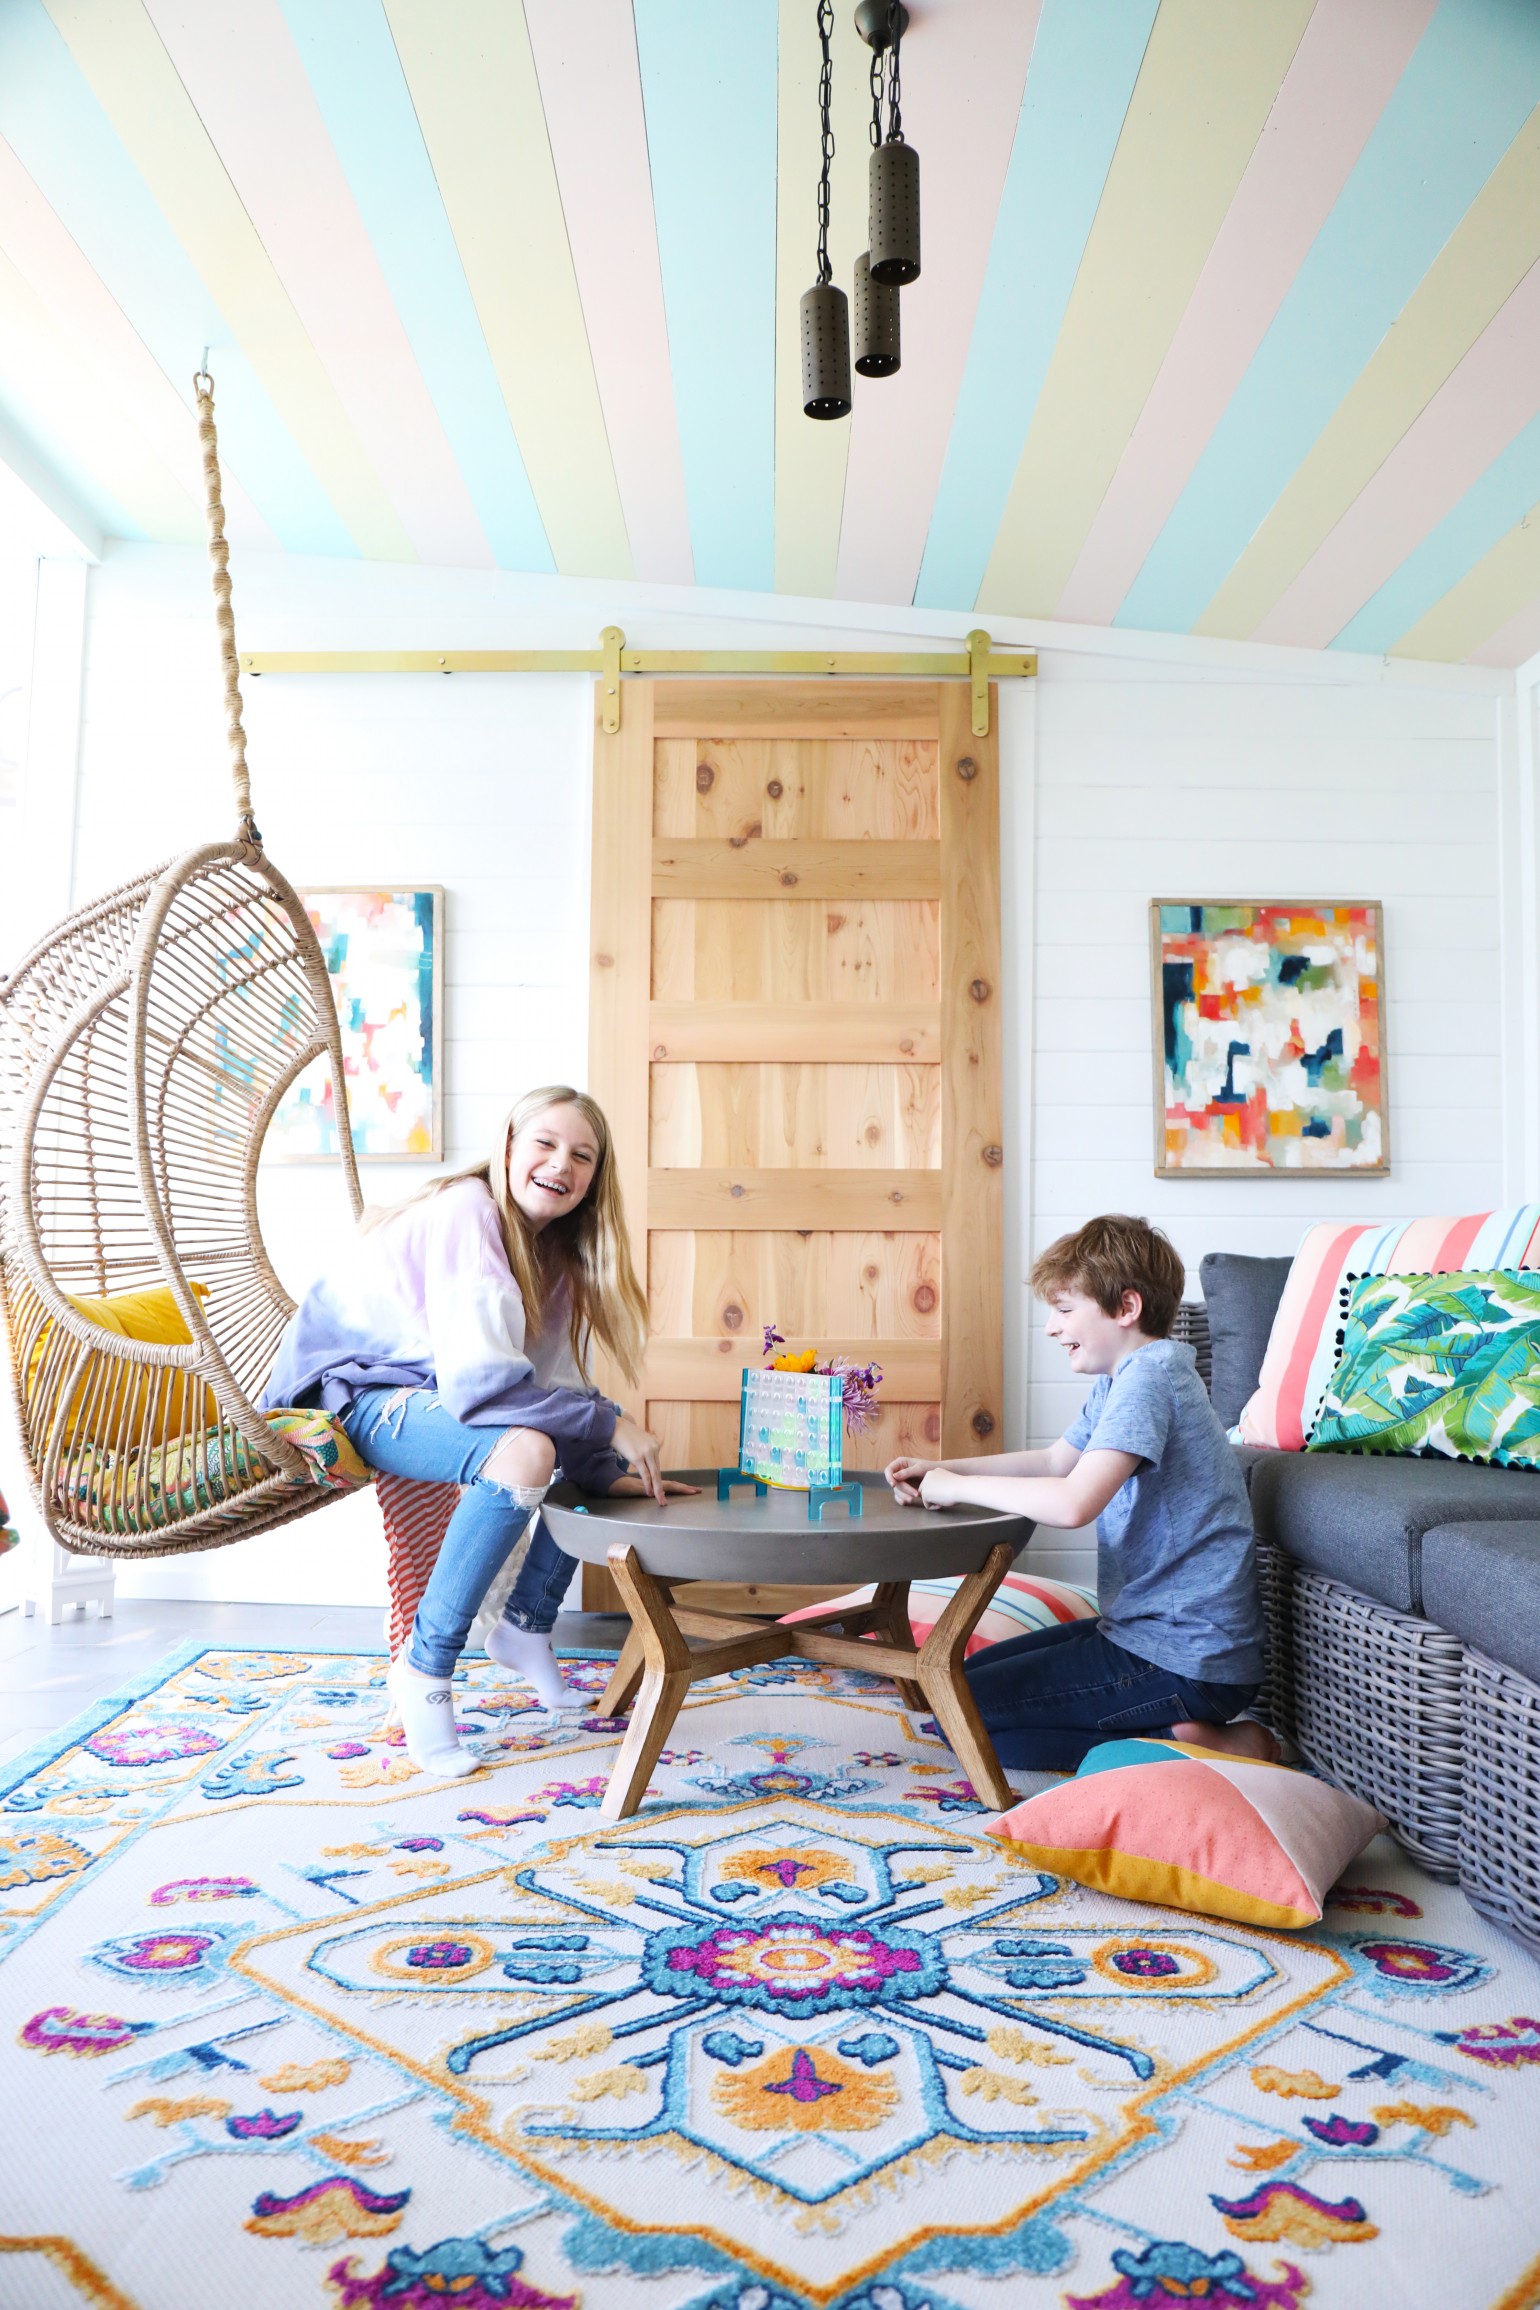
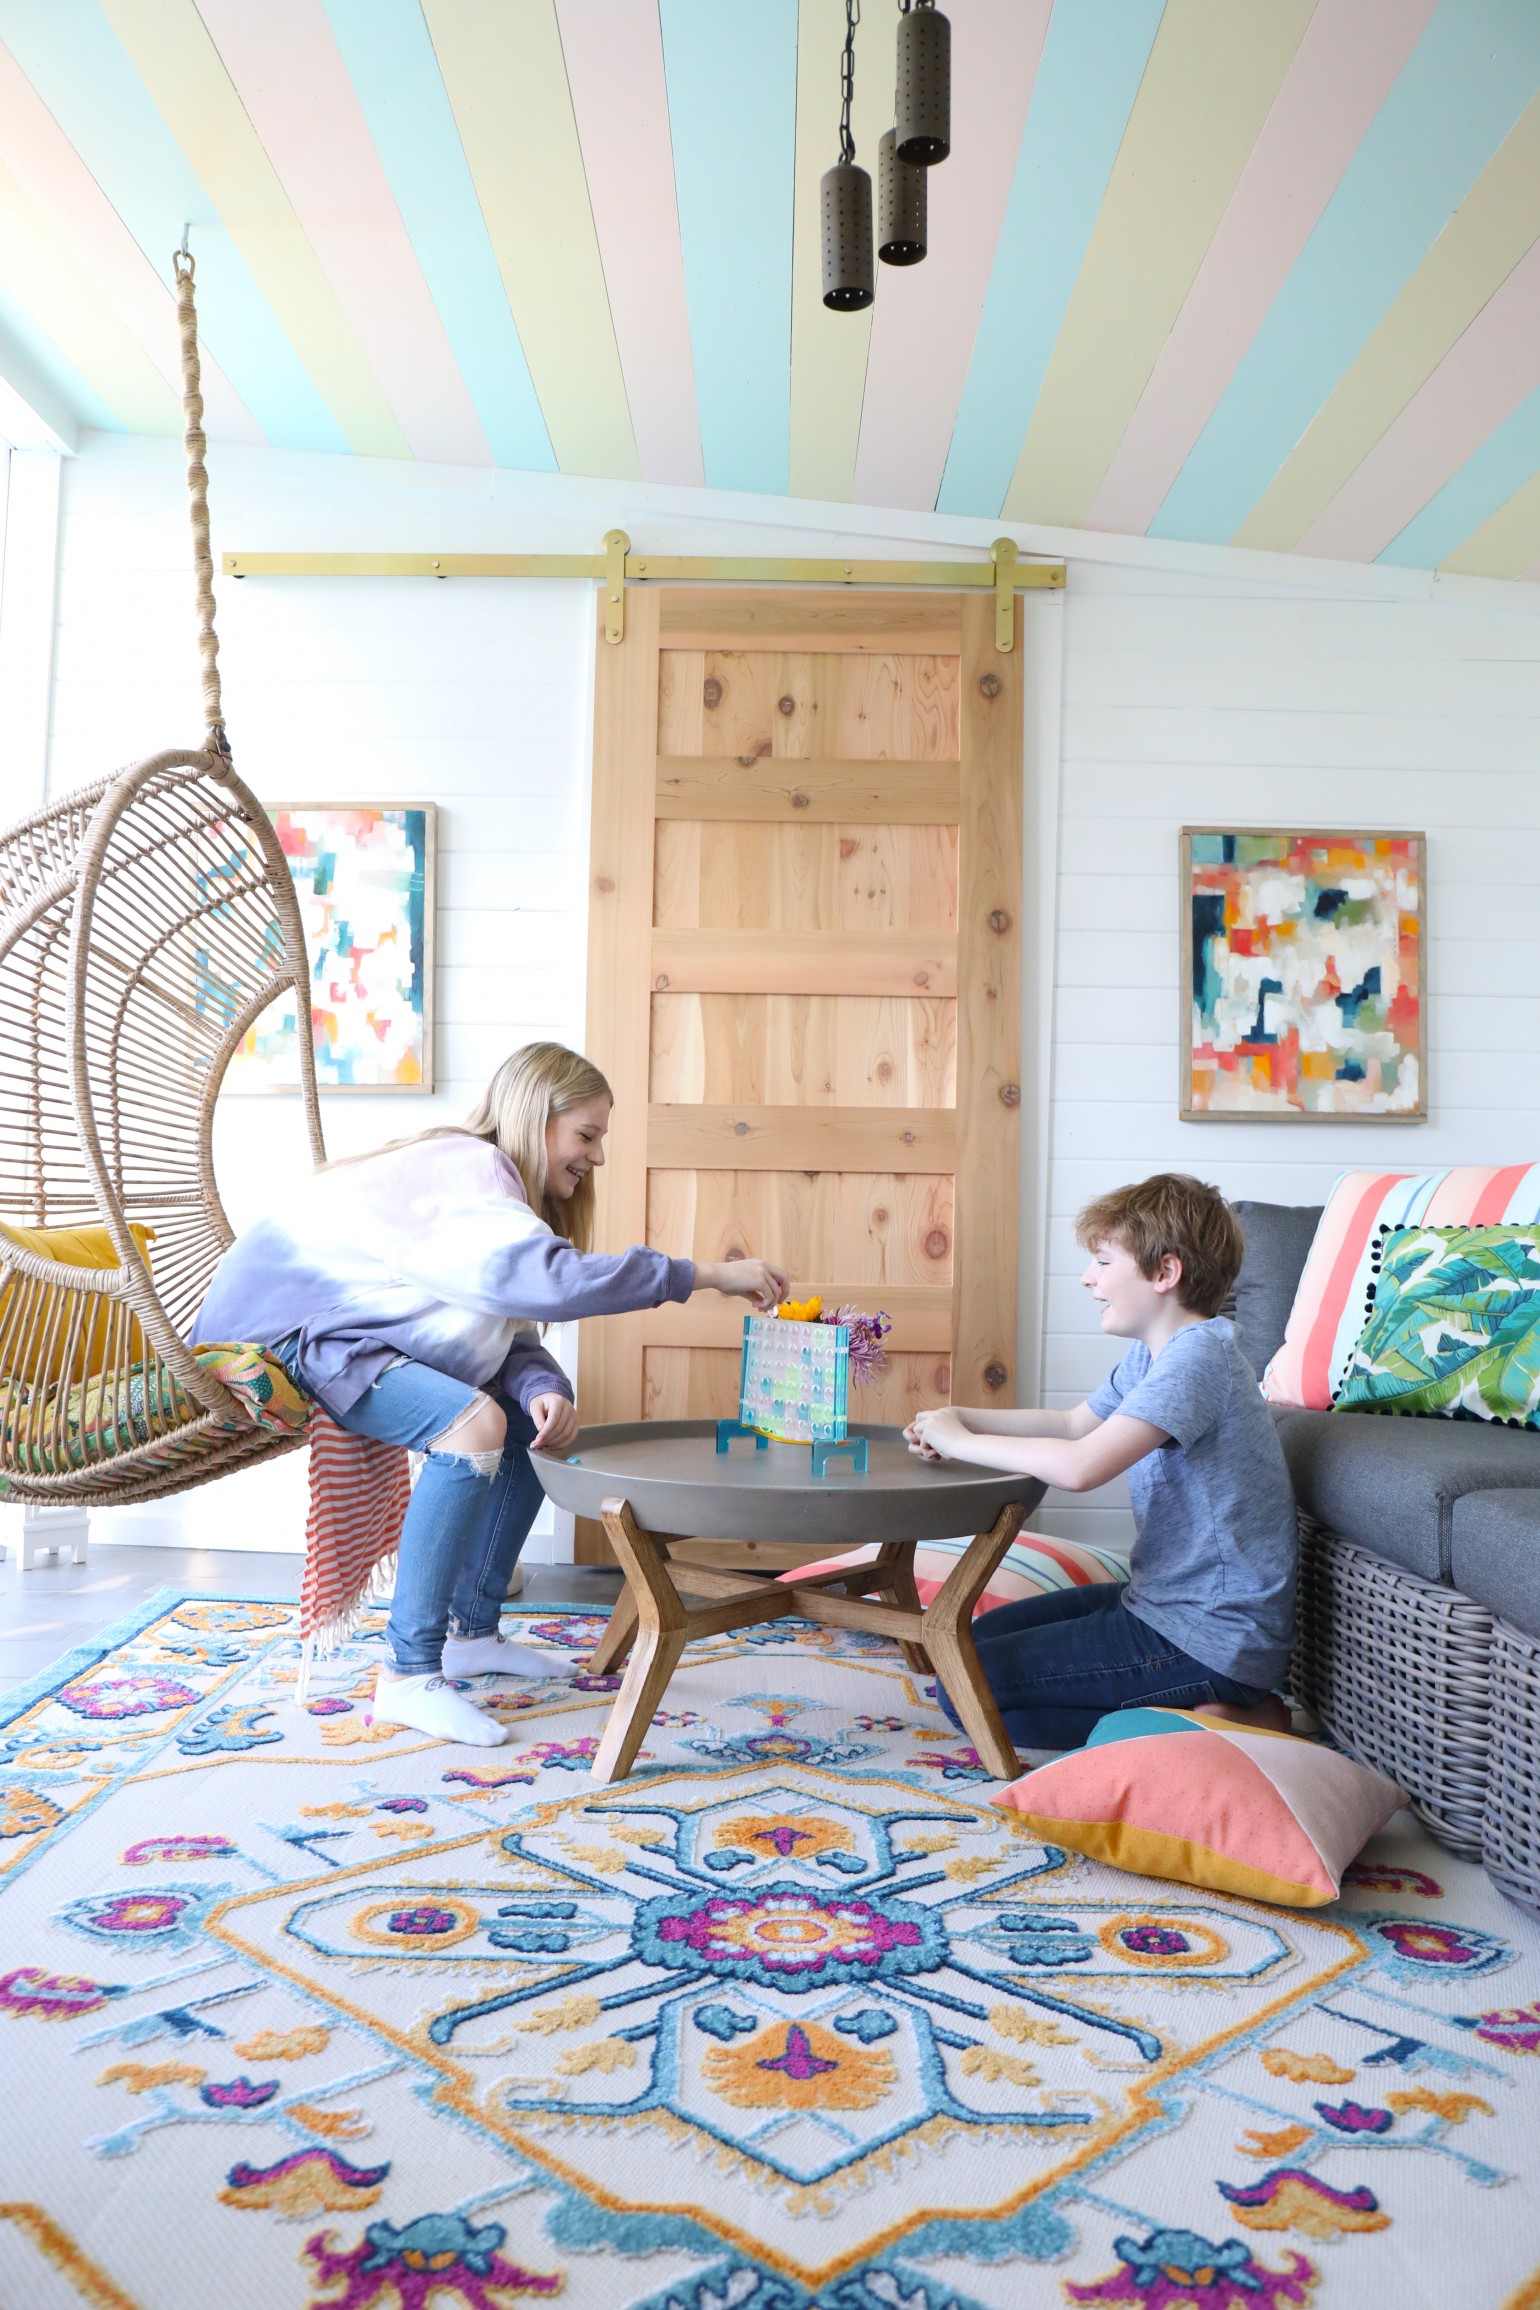
It’s so simple, I’m really kind of lame for sharing it, but sometimes the most simple creations are the most fun! The kids thought it was awesome, and as soon as it was dry, took it out to the cabana to give it a whirl. The perfect spot for all things board games in the spring!
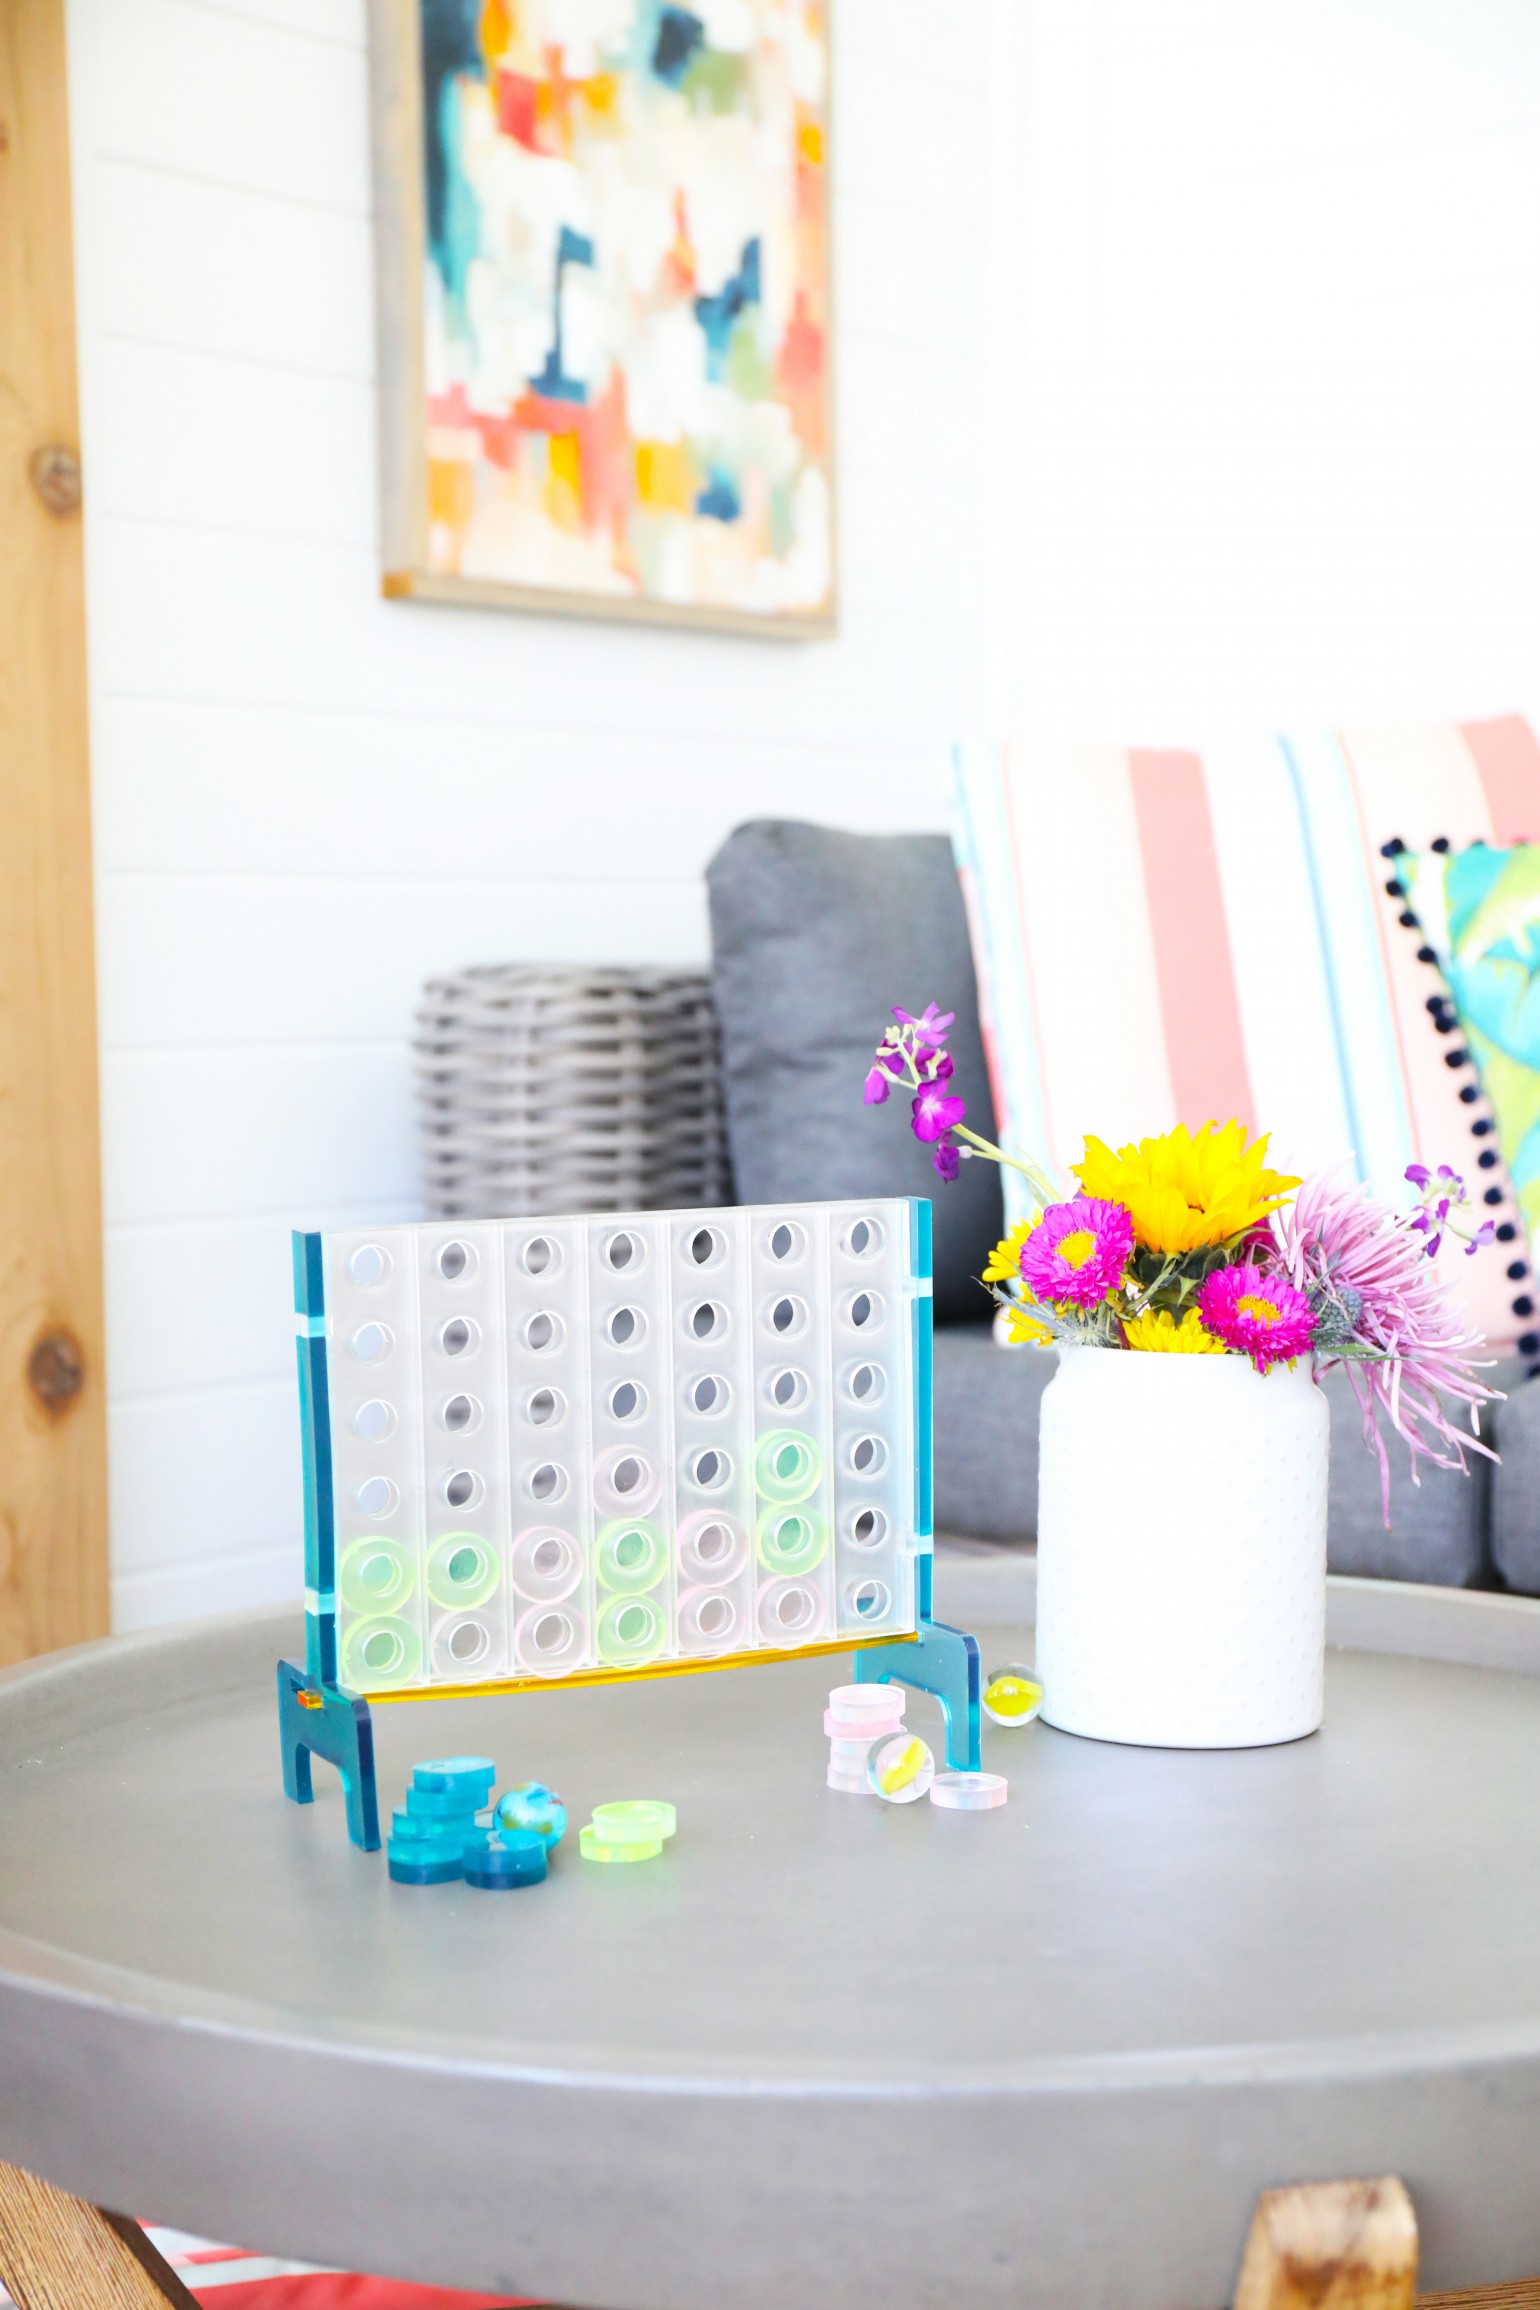
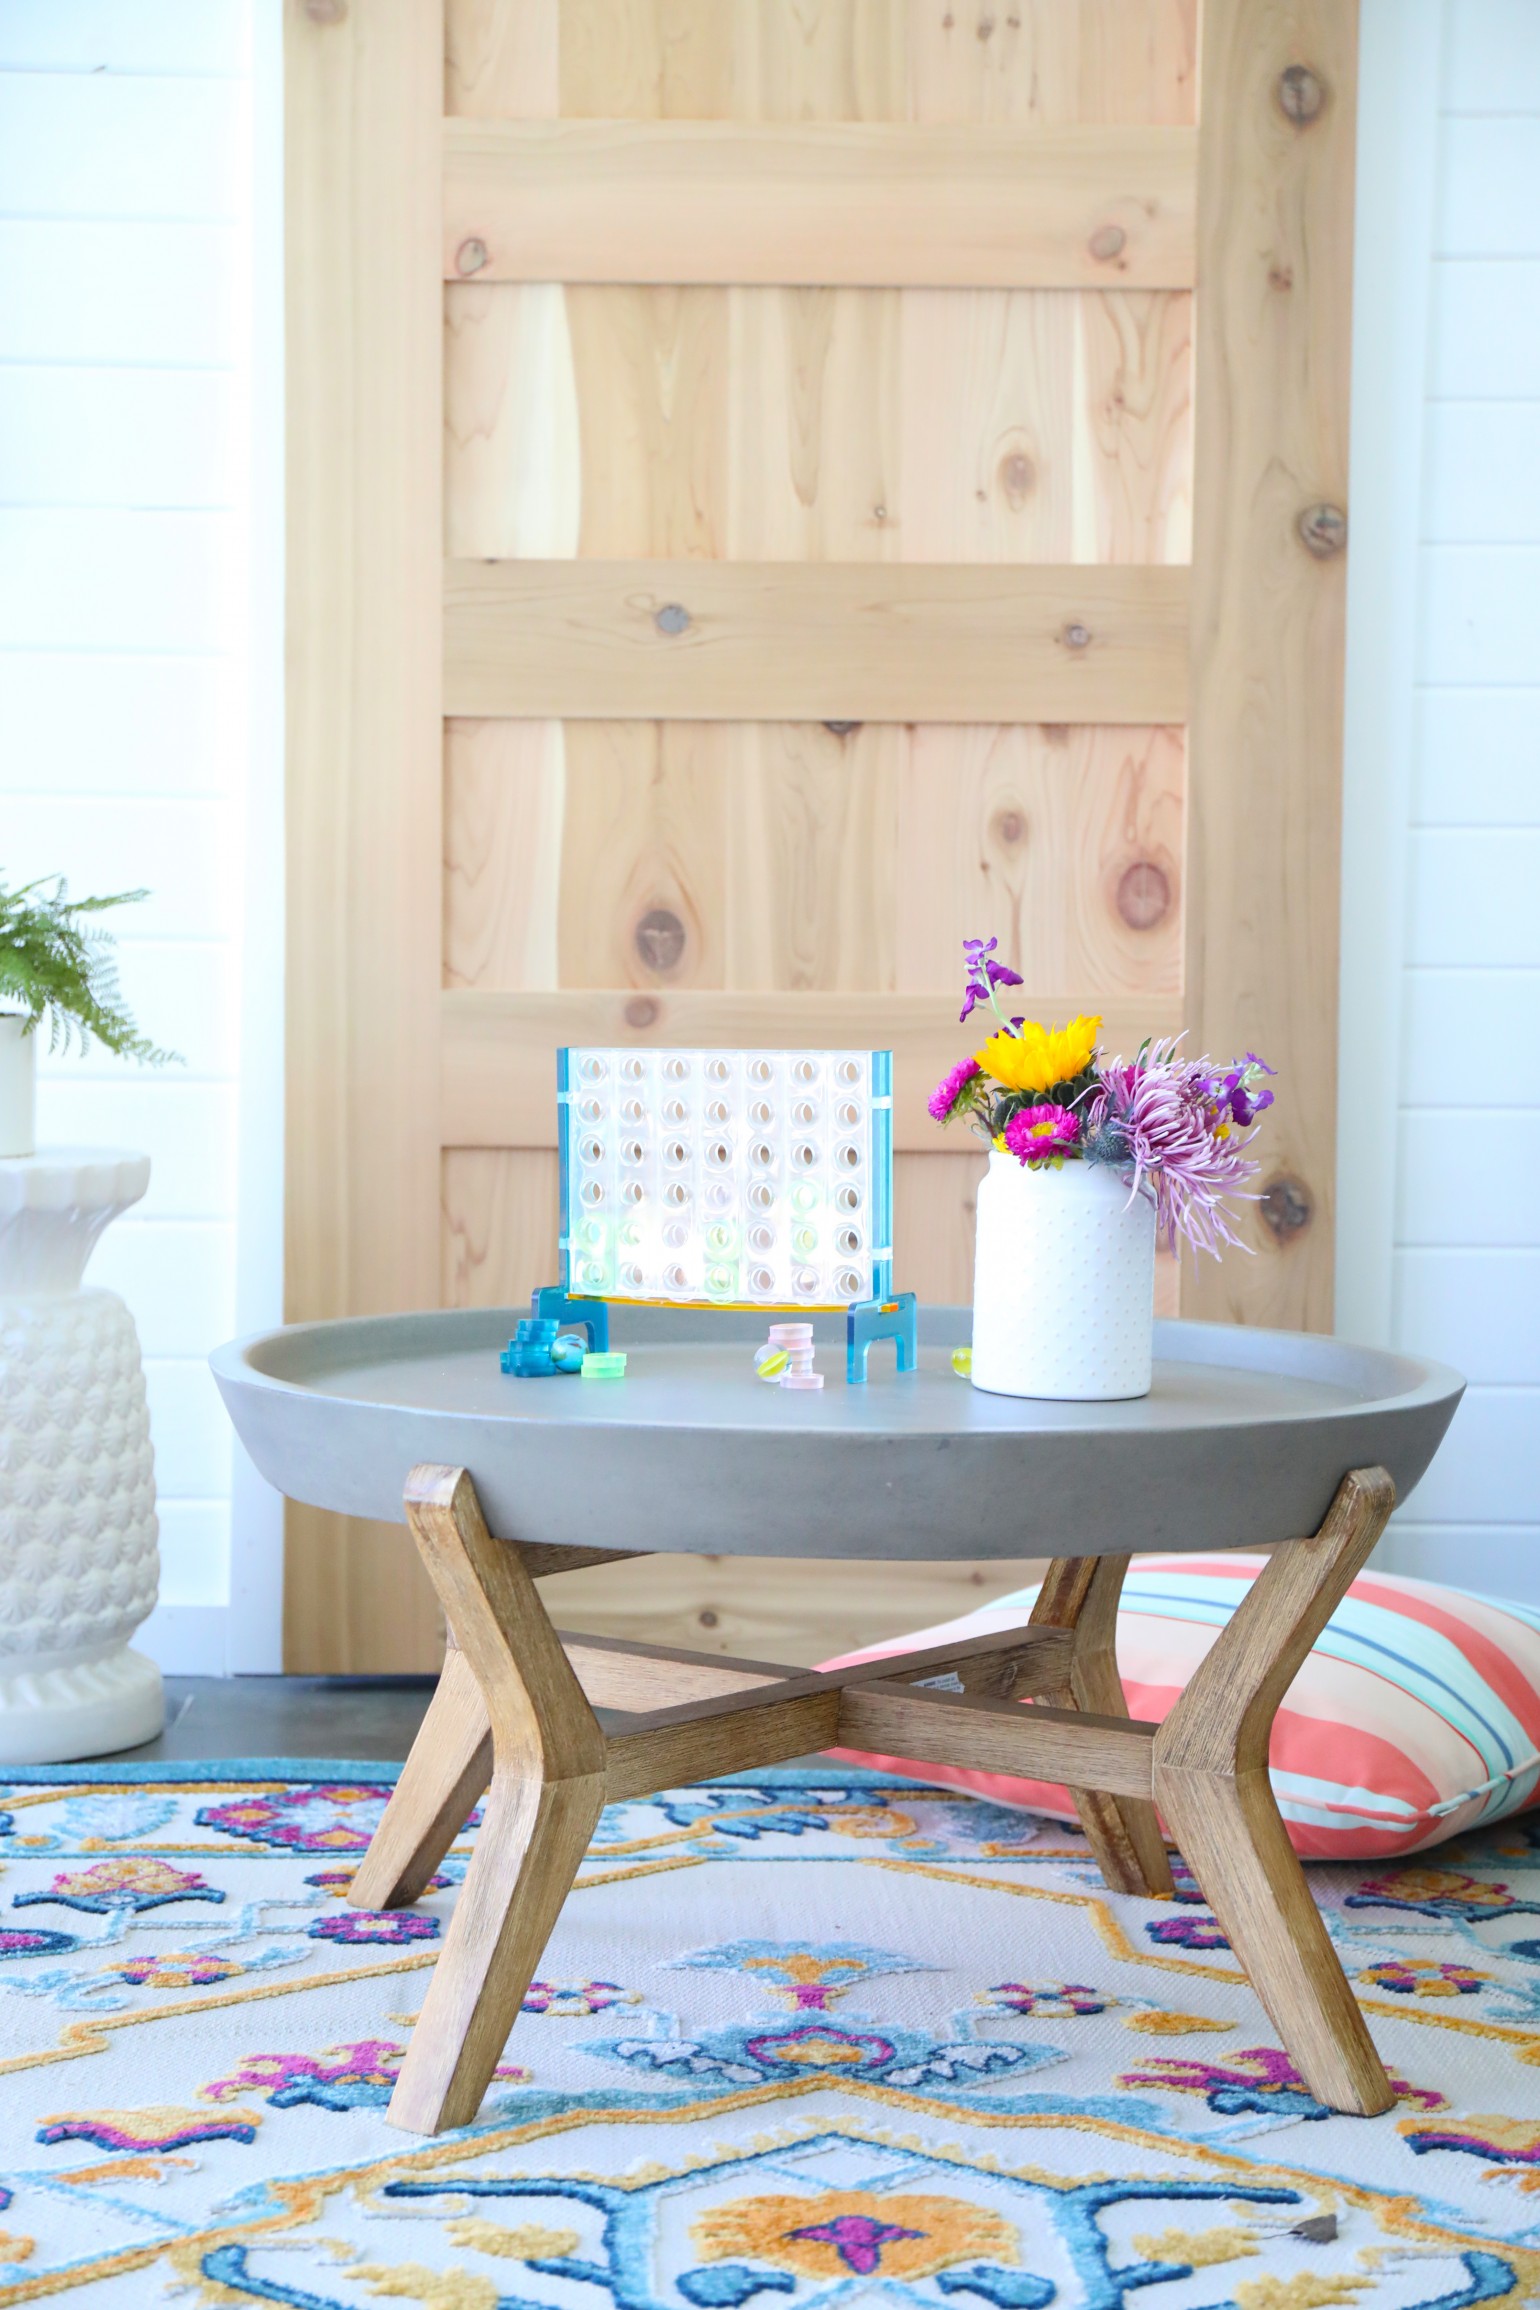
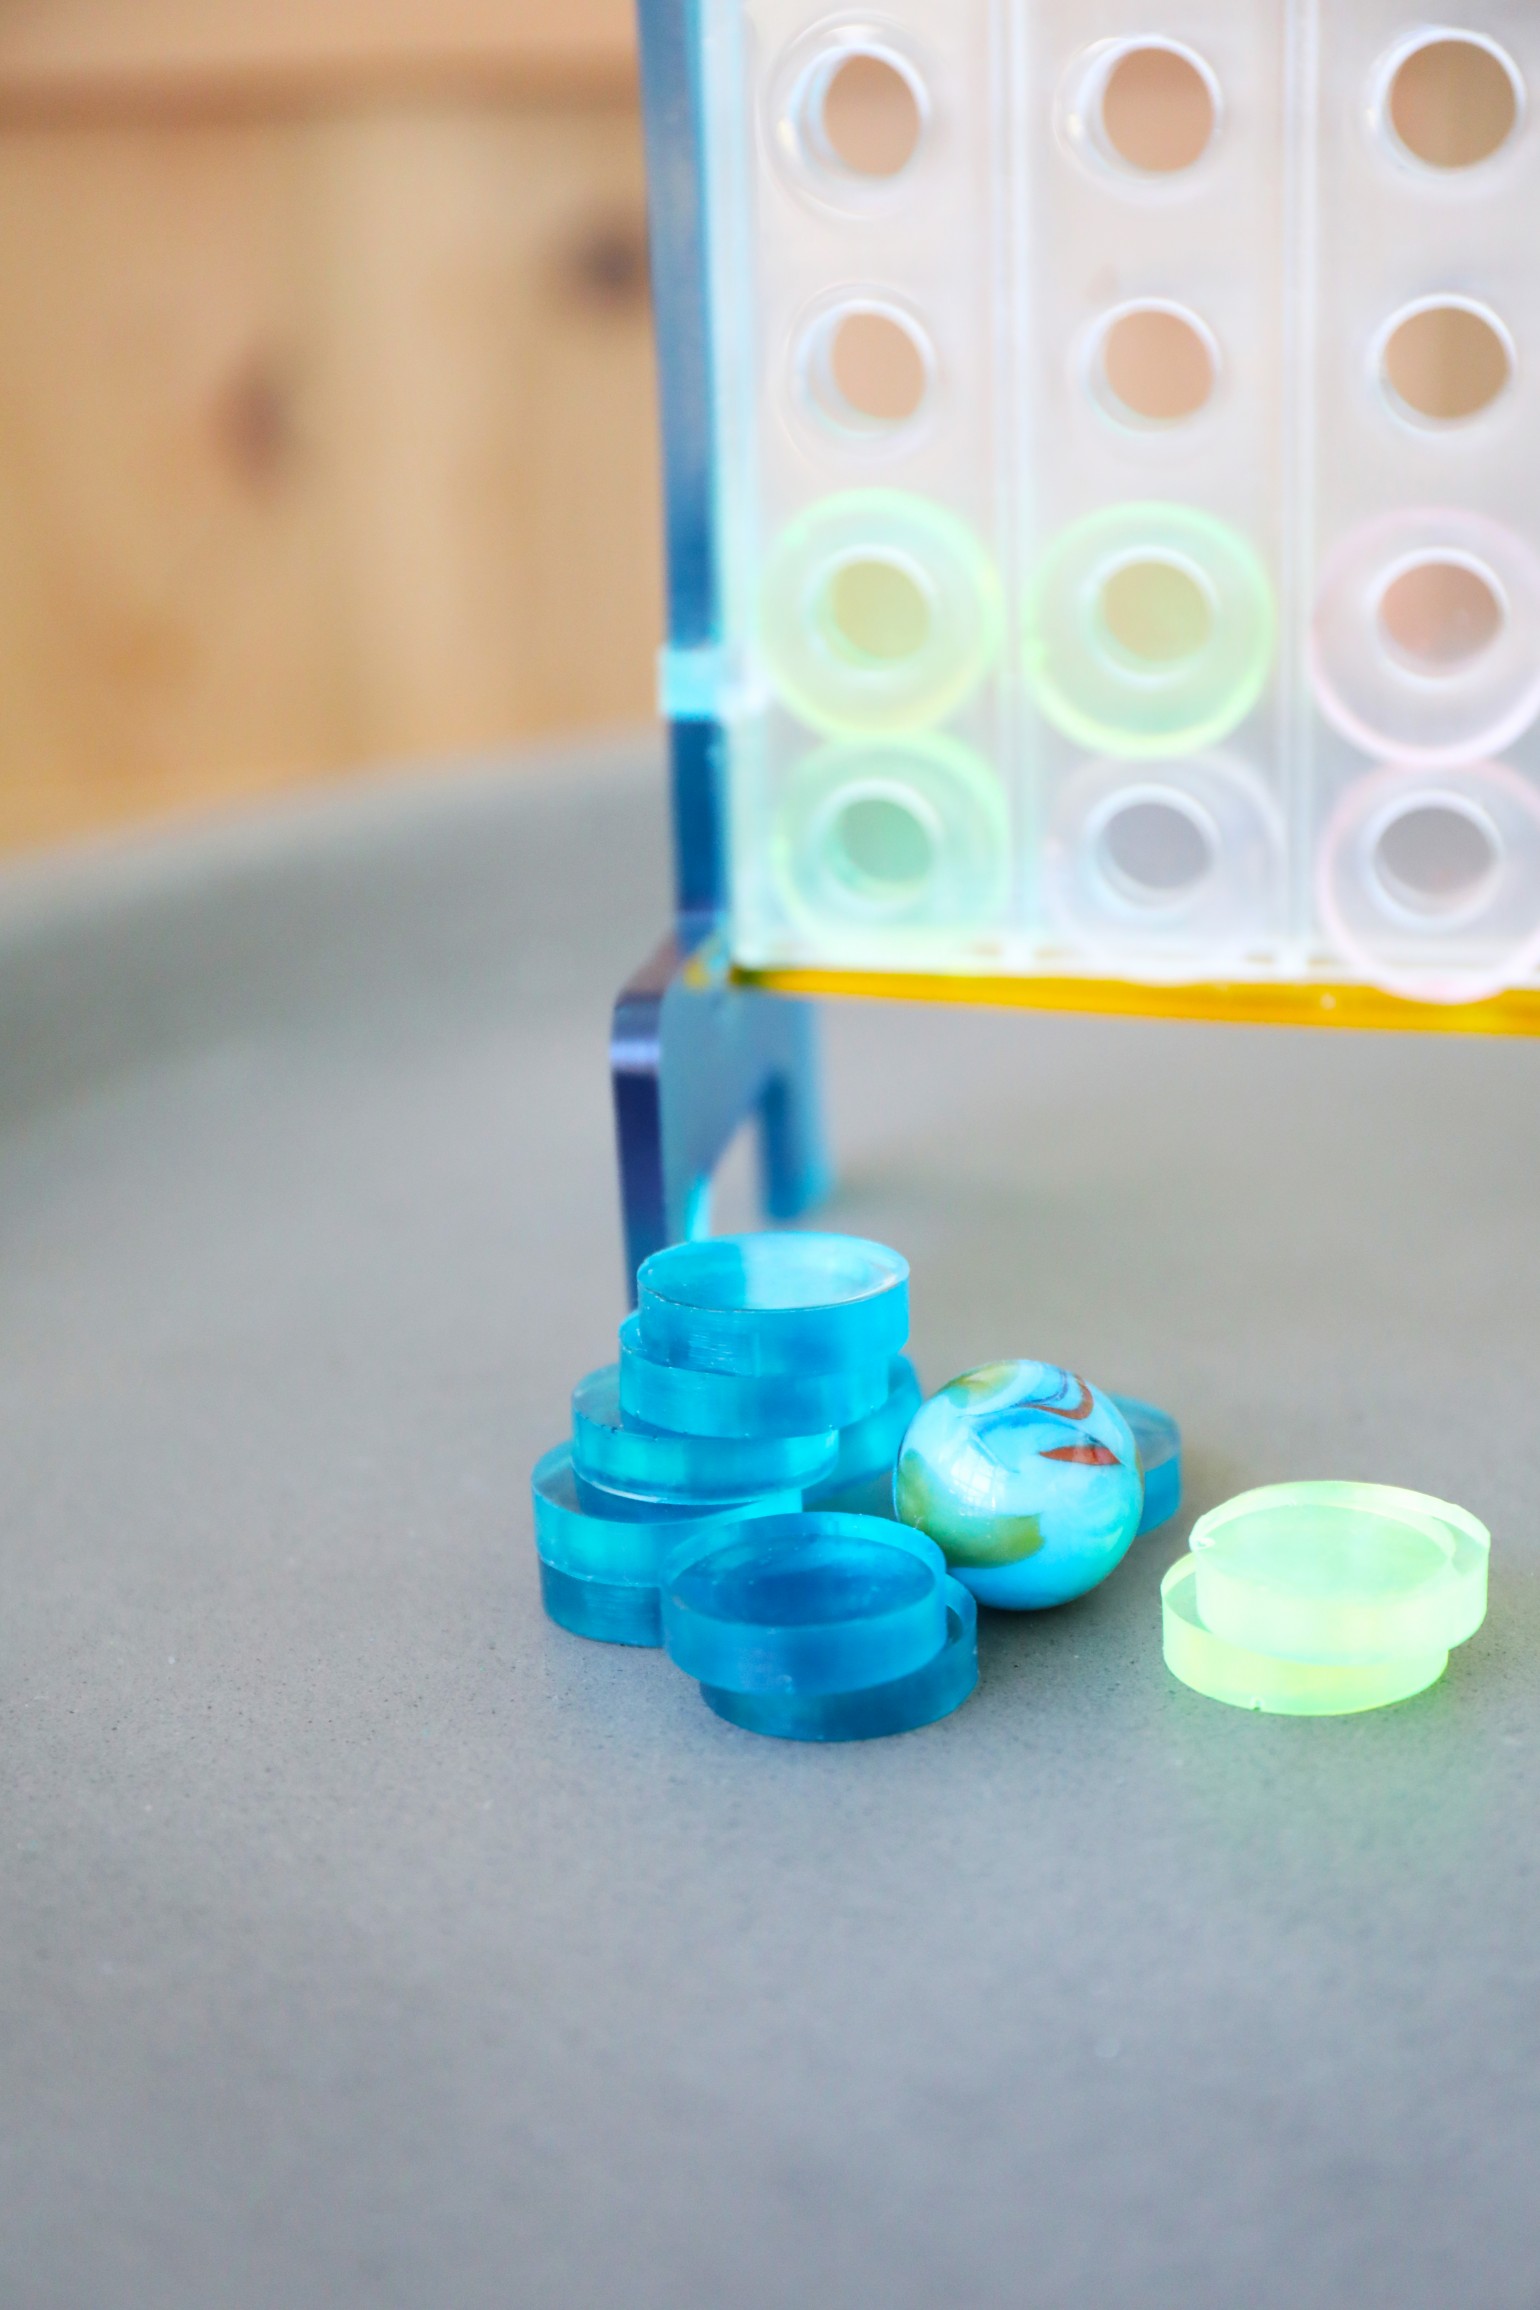
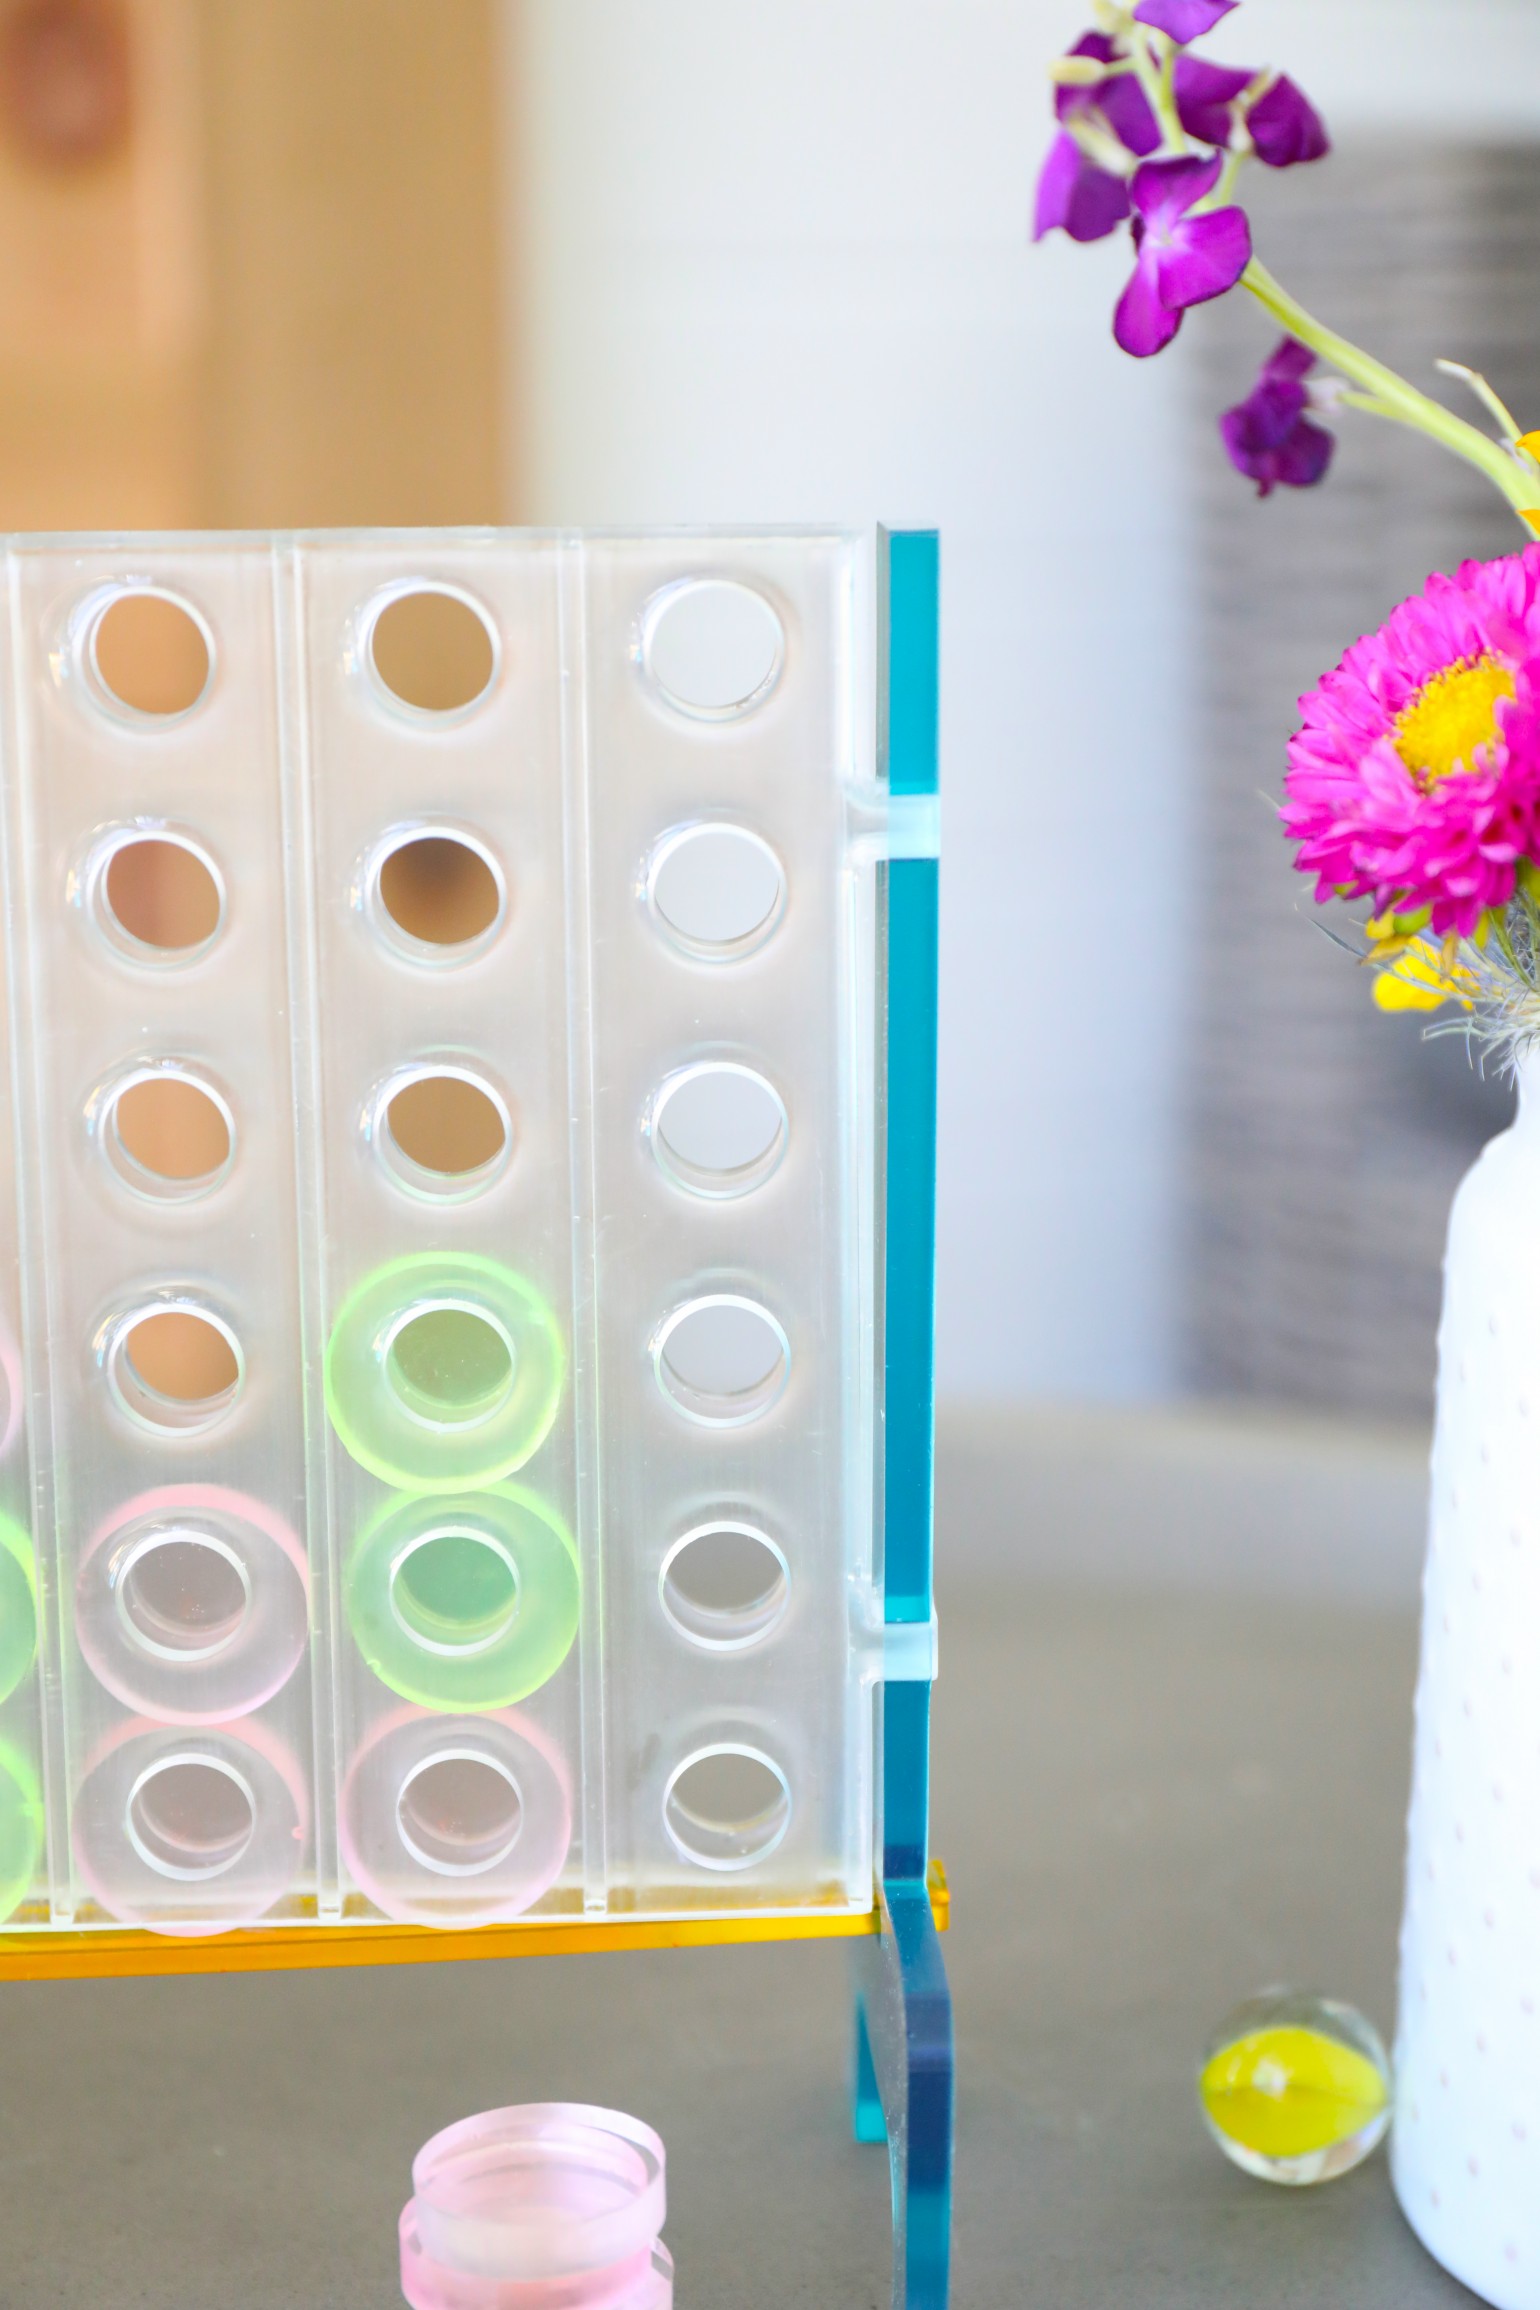
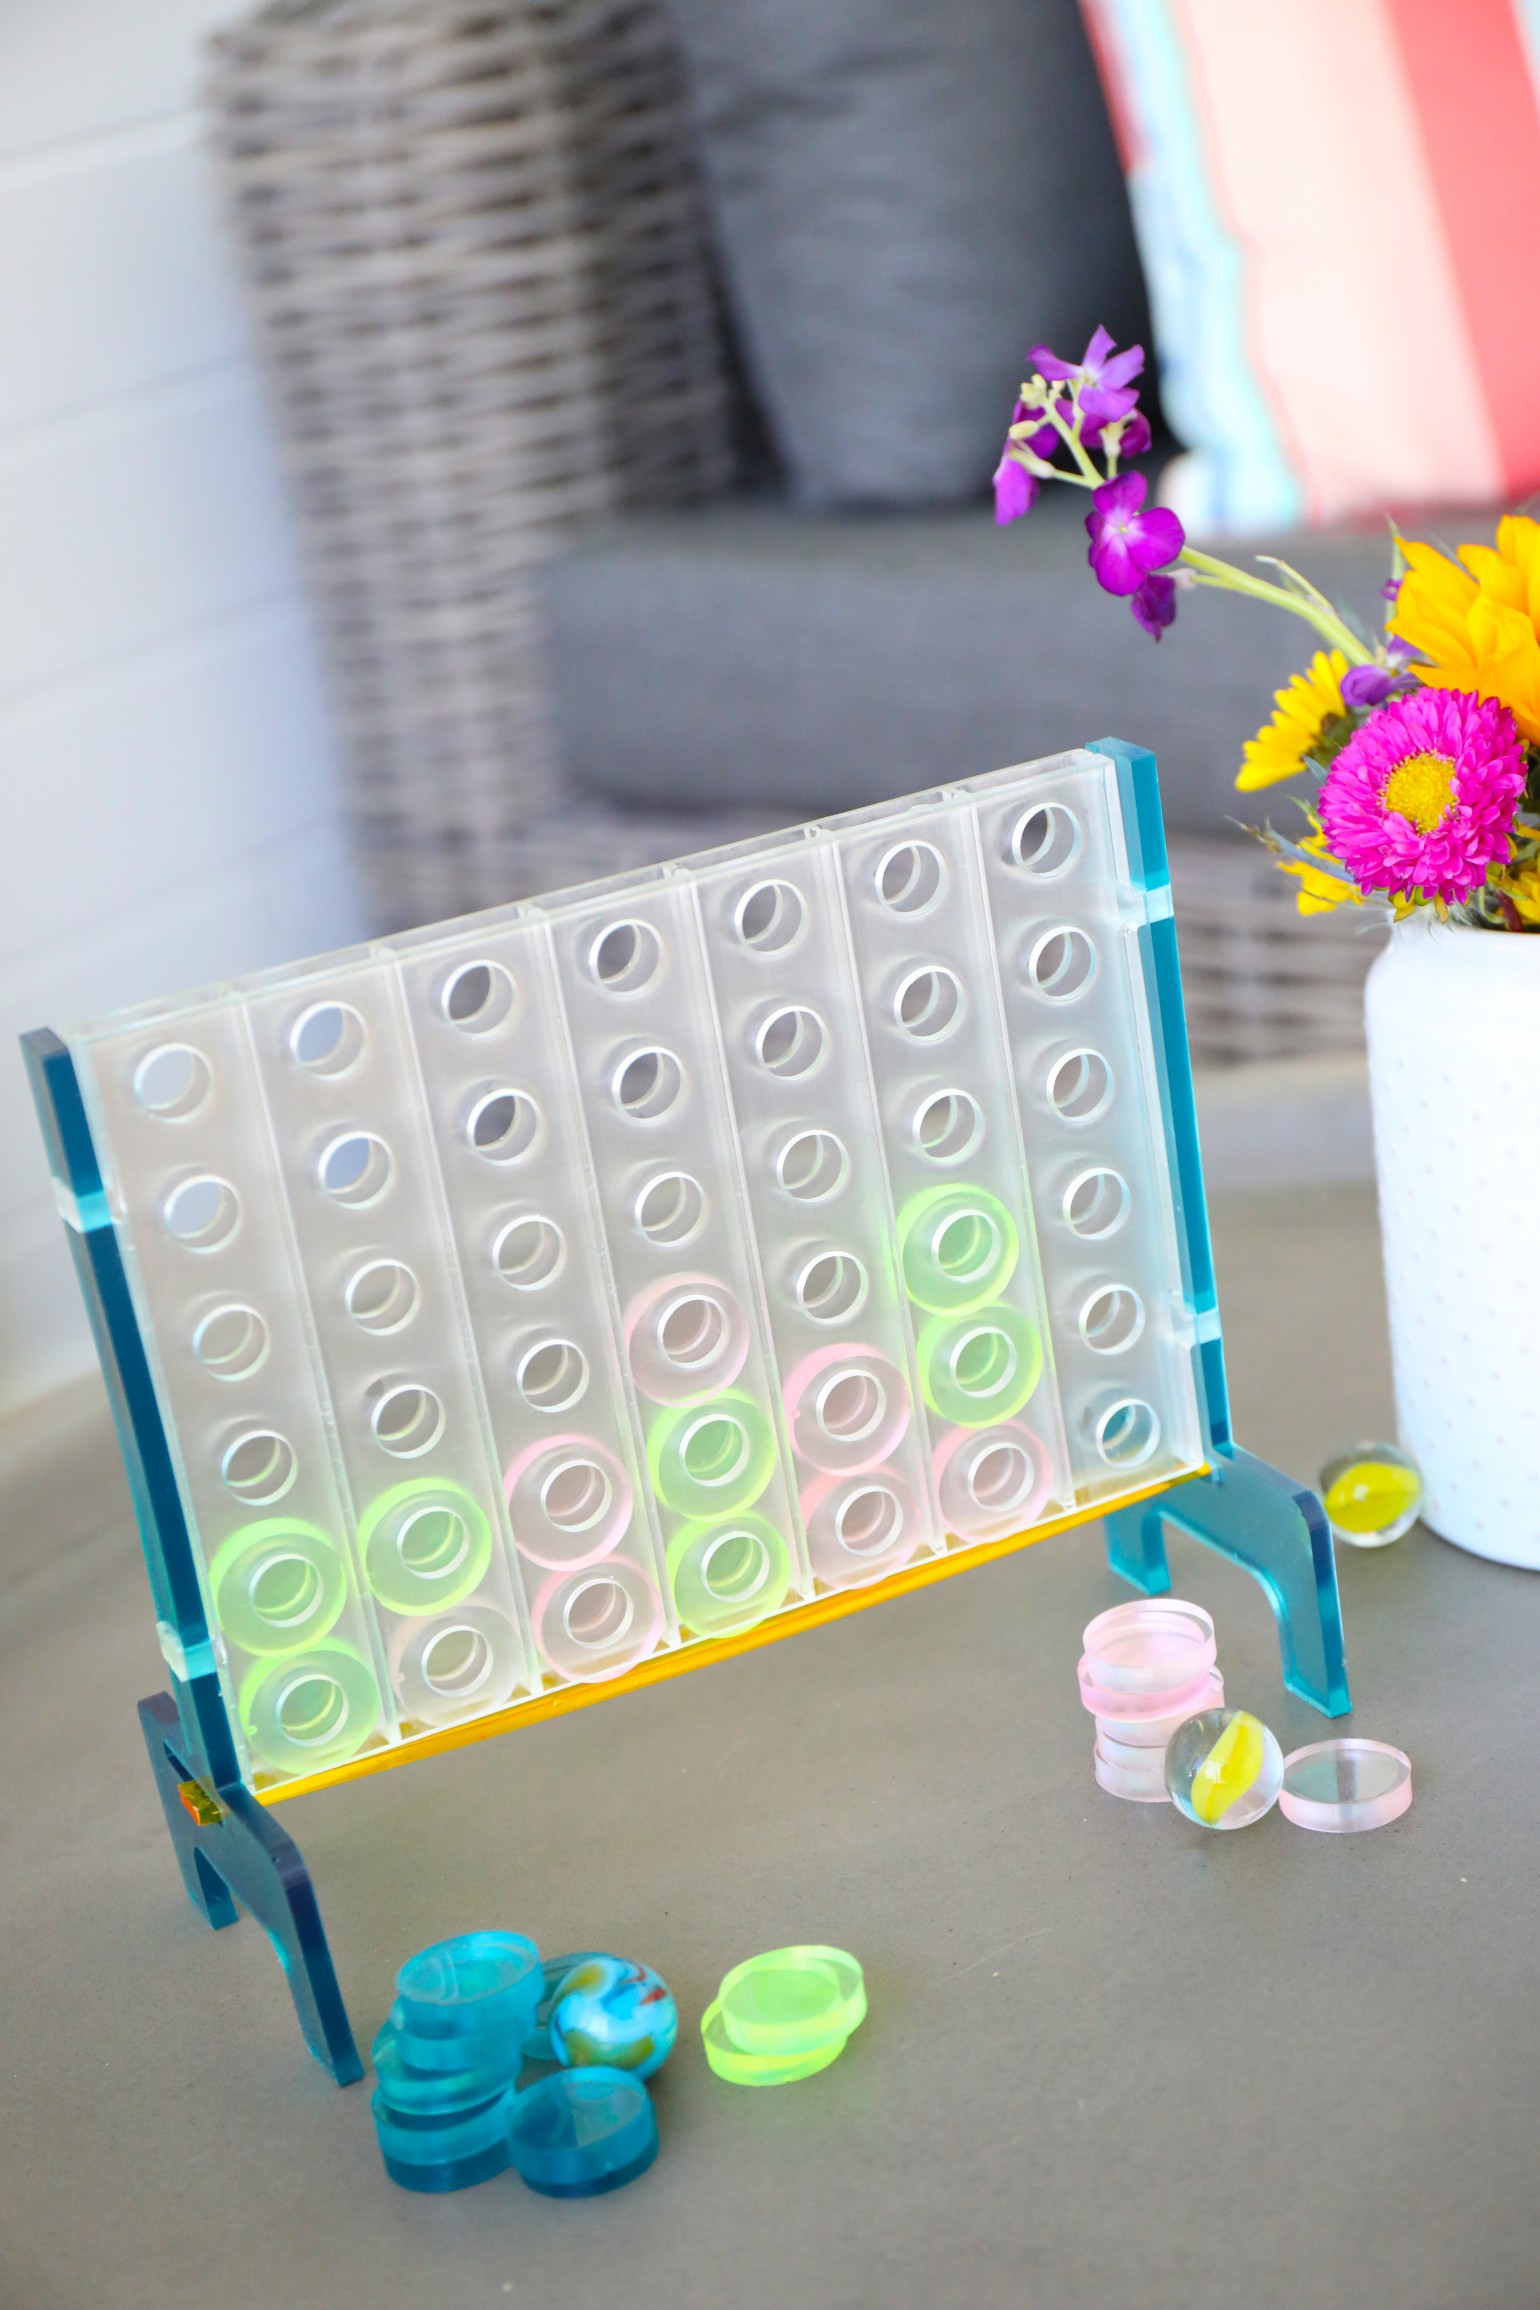
We loved coming up with some fun alternative colors for this one, and that adorable handmade feel.
Because why not?
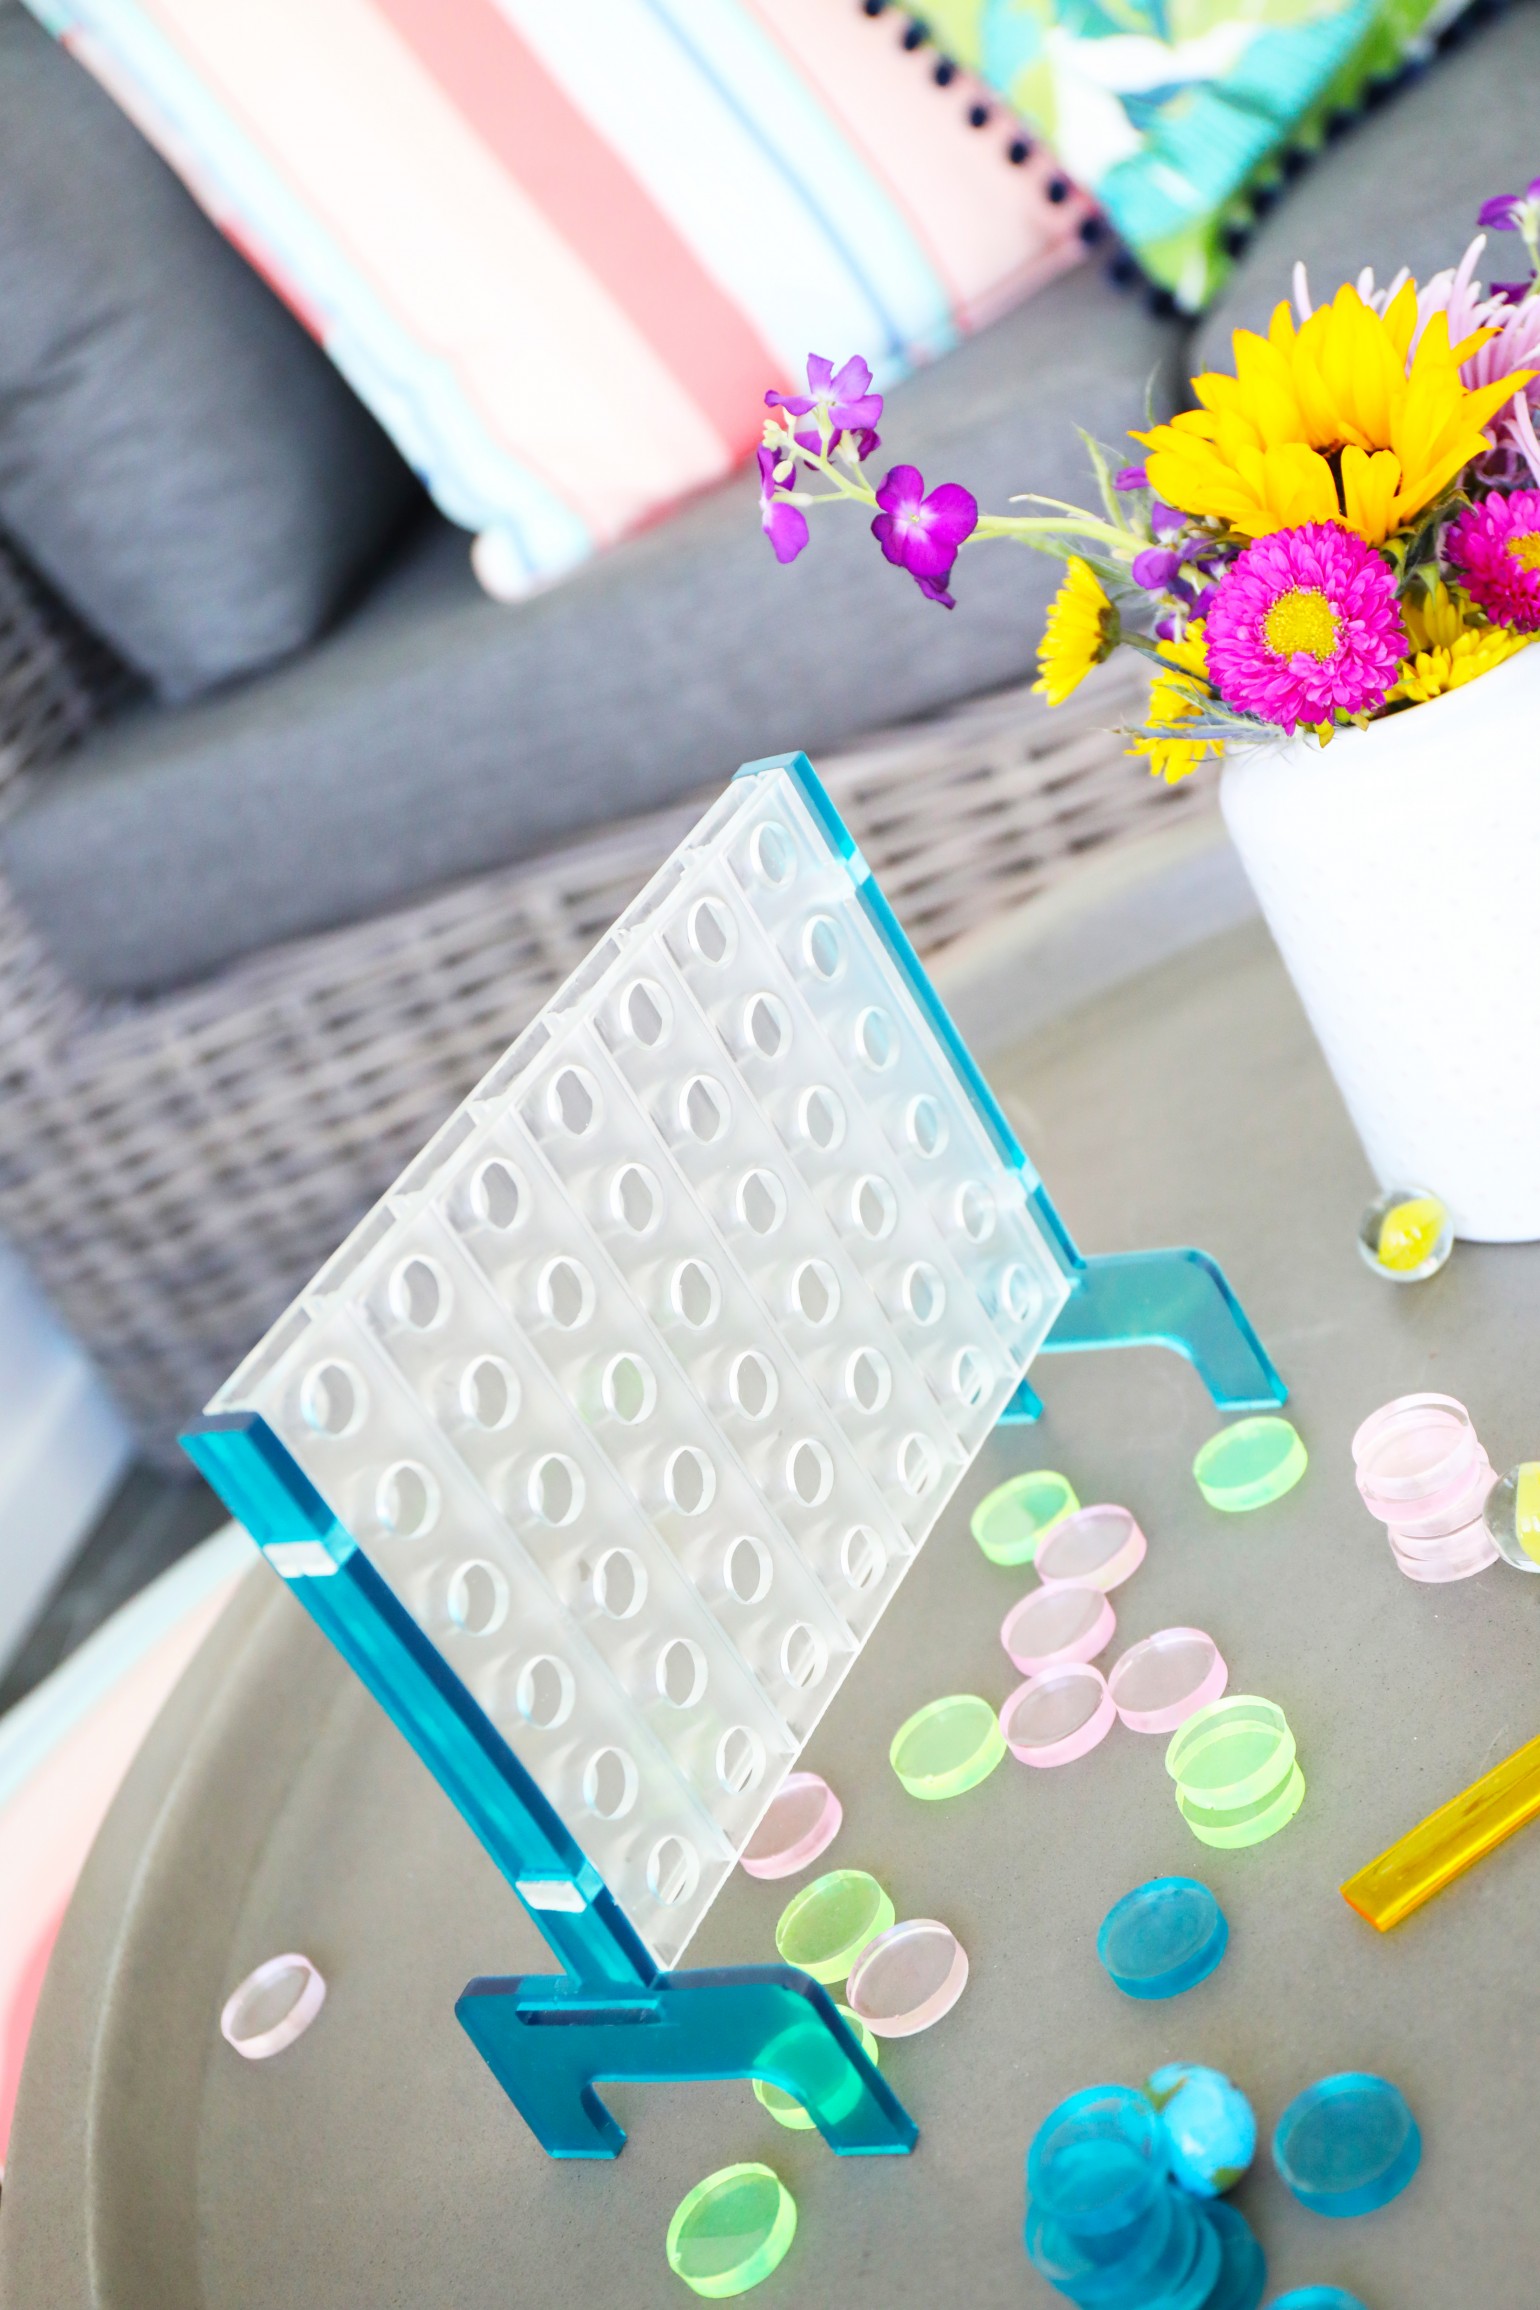
We even threw in a third color, to spice it up for a three player game of connect 4.
Wanna make one of your own?
Here’s what you’ll need:
{Some of the links below are affiliate to support our borderline ridiculous resin addiction}
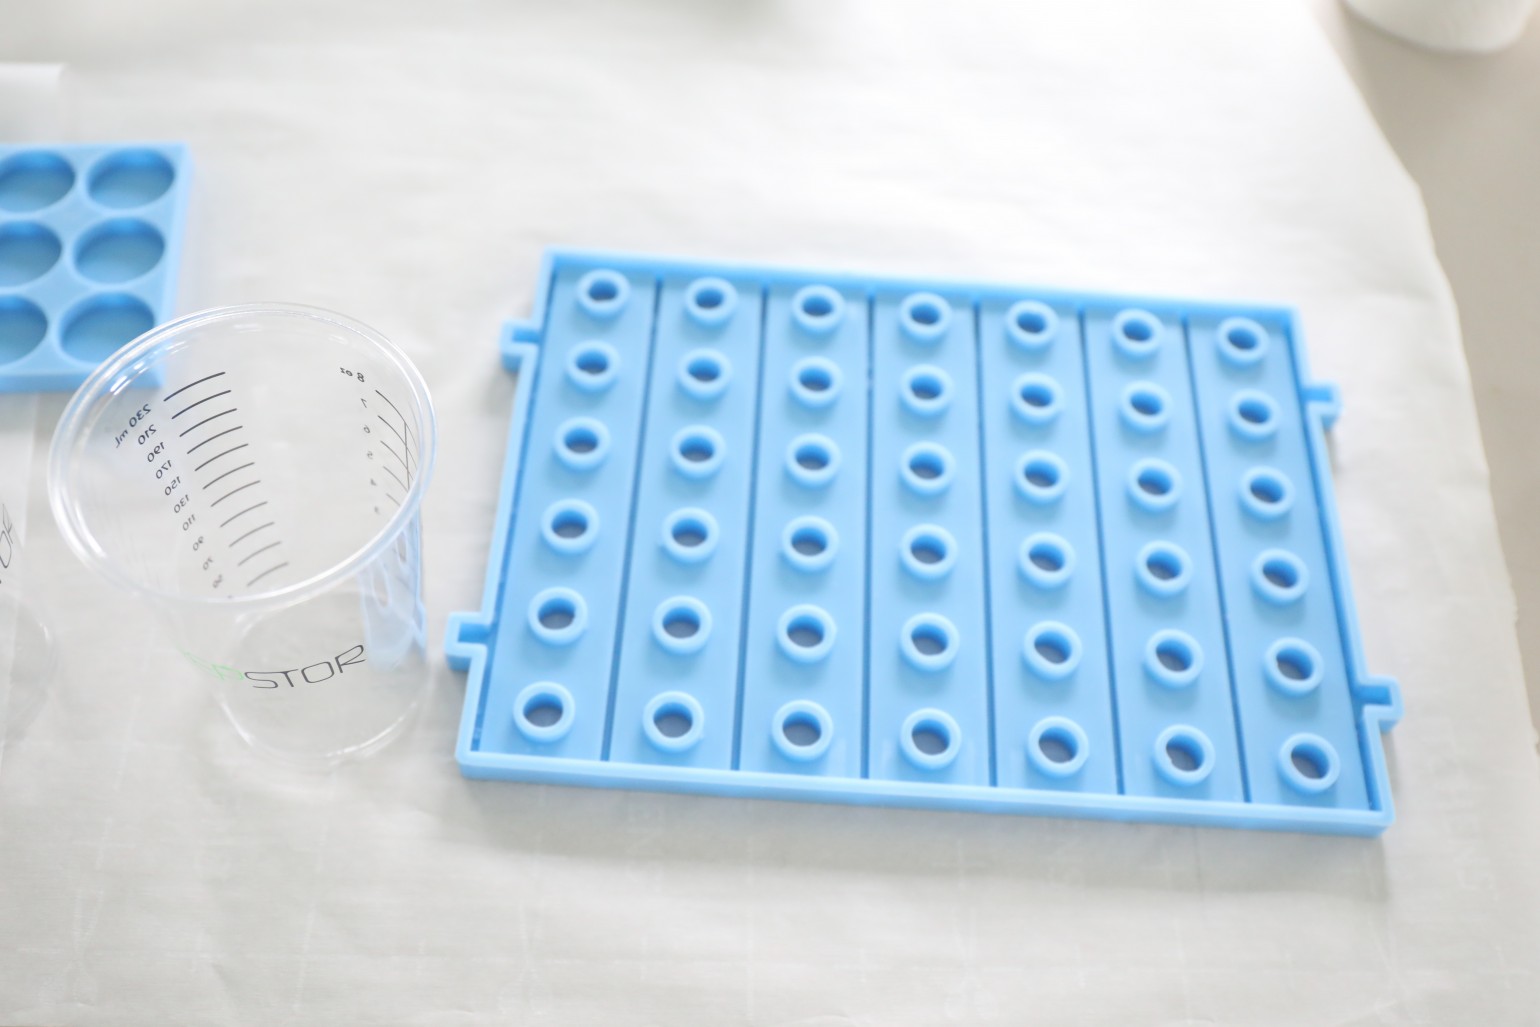
• this mold
• resin kit – I like the easy cast because it comes with thorough instructions. I’ll cover more of that below.
• large measuring cups + stirring sticks
• dye or glitter
• wax paper or a protective surface – resin doesn’t clean up once it’s dried, so make sure you’re covered + gloves
Work off a protective surface, and in an area that is well-ventilated. Also make sure it’s one that can be left that way to give the resin plenty of time to cure. This takes about 24 hours, give or take, so be flexible with wait time and the area being able to be left alone. {AKA the family dinner table is probably not a good option} Before I began, I read the directions about three times over because it’s a very temperamental substance.
Measure out your resin according to the instructions. This template only allows you to do separate pours since you will need two of each. So you’ll basically be doing one side first, then the other, each time.
Note: I recommend test measuring it out beforehand with water, depending on how much you want to make. That way you won’t have any waste, and know how much you need to measure out no matter what you’re making. {For this particular template, I measured to the 4, and still had some left over.} If you’re new to resin, you may want to do one pour at a time, for each mold. So measure with water, then add the appropriate amount.
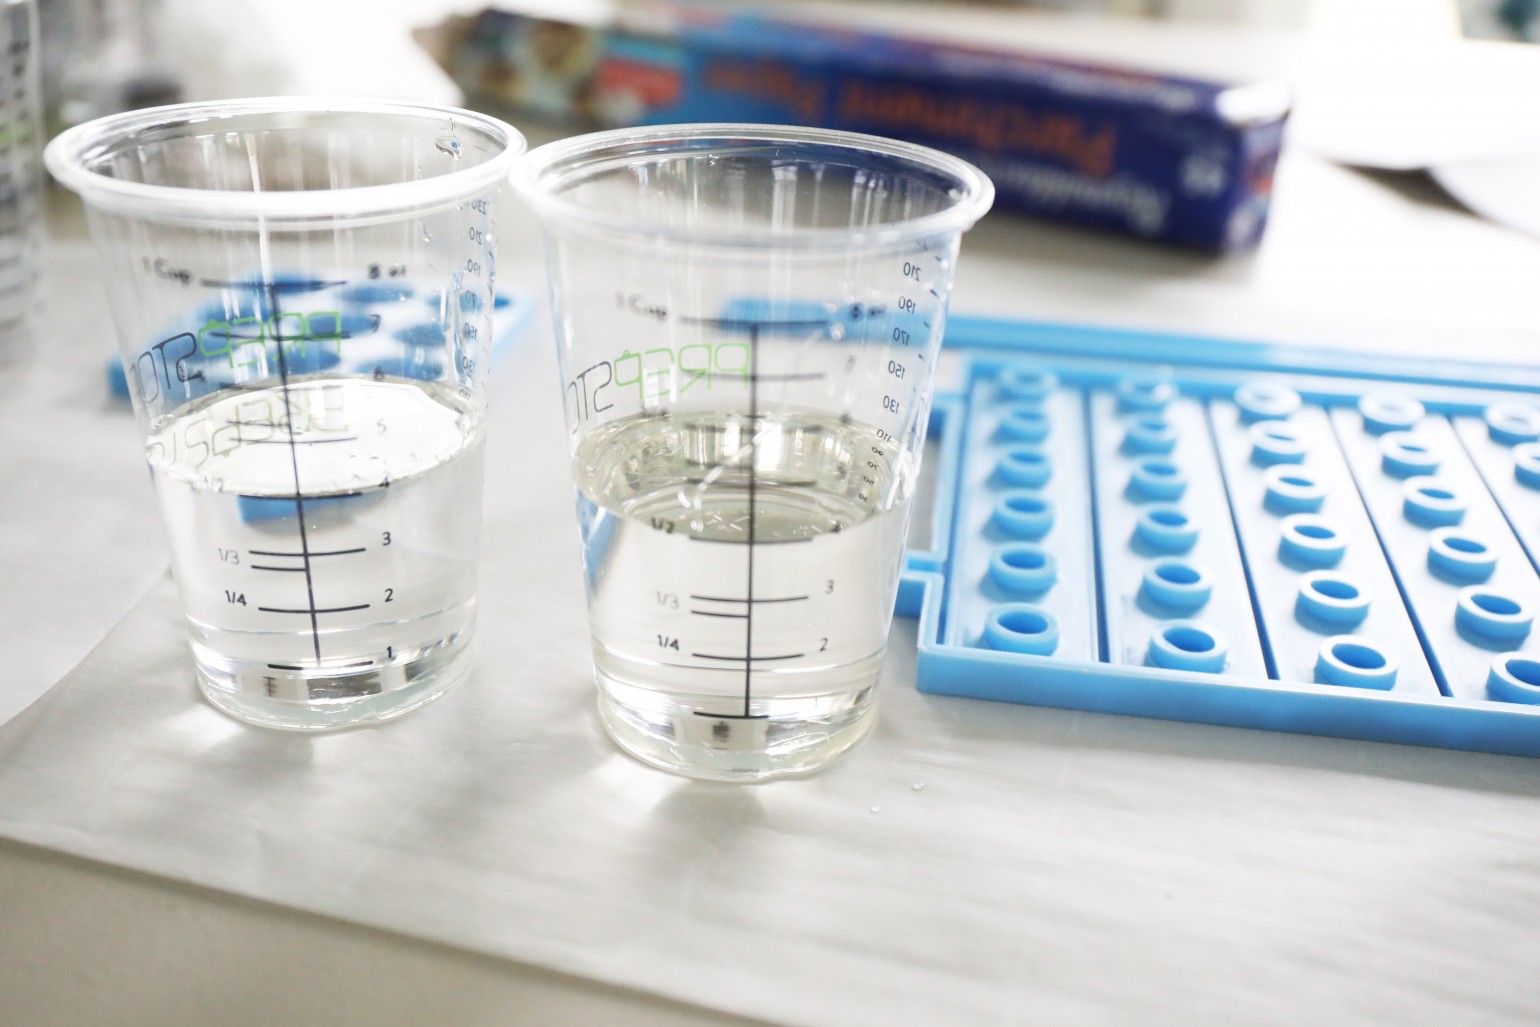
• Use two different measuring cups to measure out your resin + hardener precisely. It’s a 1:1 ratio so make sure you have it right. I’m not kidding when I say this may include getting on the floor so that your head is level with the table and you can make sure your measurements are precise. Do what it takes and you’re good to go.
• If you don’t get the measurements right, you can have cloudy, sticky mixtures that never dry. So pay attention.
• Pour one into the other after you’ve measured, and stir in a figure 8 motion, with your stirrer. Work the sides, too.
• You’ll see it cloud up, which means the reaction is occuring.
• The instructions will be more precise, but stir for 2 minutes.
• Do not remove your stirrer, when stirring. This reduces air bubbles.
• After two minutes, pour it into another measuring cup, with a fresh stick. {I’ve started using plastic ones I can wipe down with a paper towel but this was a spare popsicle stick I had}
• Stir for 1 minute. The mixture should start to clear up.
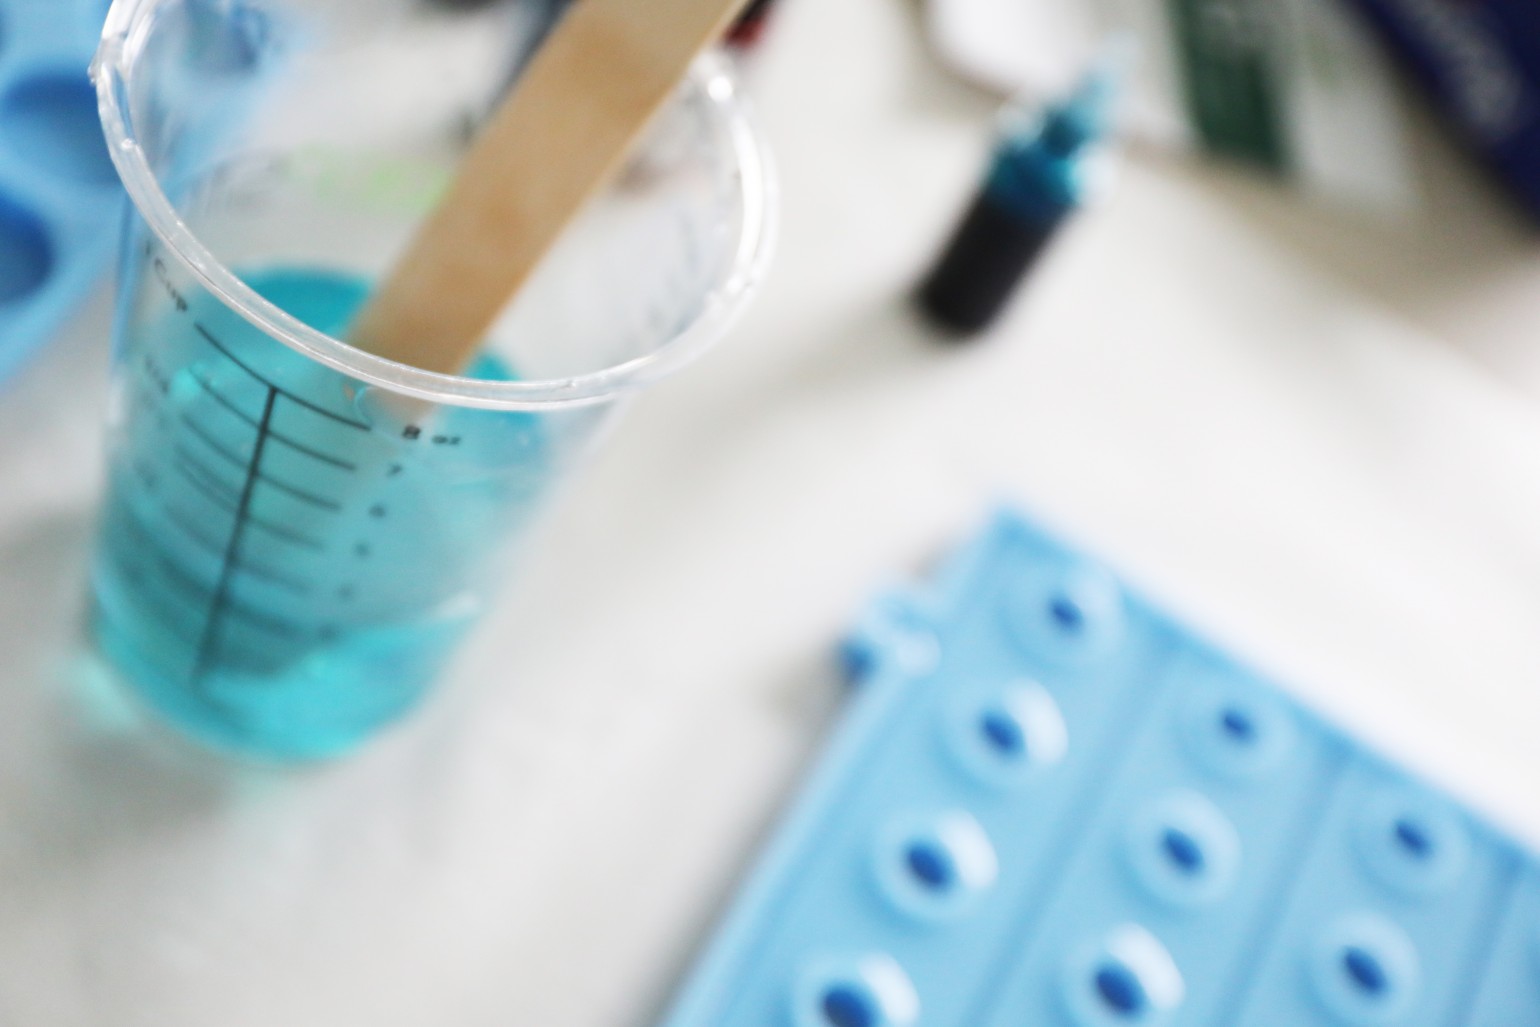
Now’s the time to add your dye or glitter. Because I was pouring multiple colors at once, I just divided the resin into different cups, adding colors as I went. So for instance, the leg part has blue and I wanted different checkers. But the main area that holds the “checkers” is clear. So I poured the clear first, then divided up the remaining parts to do actual checkers and leg parts. You need to work quickly from here, as the resin will begin to harden after the first fifteen minutes. Again, if you’re inexperienced, see my recommendations for individual measurements above.
Clean up notes: you can use alcohol on your measuring cups while the resin still wet. I just clean them out with paper towels and some alcohol at the table.
NEVER pour it down the drain when cleaning – thus the paper towels. Also, if you get some on your skin, baking soda + salt are a good option for removal.
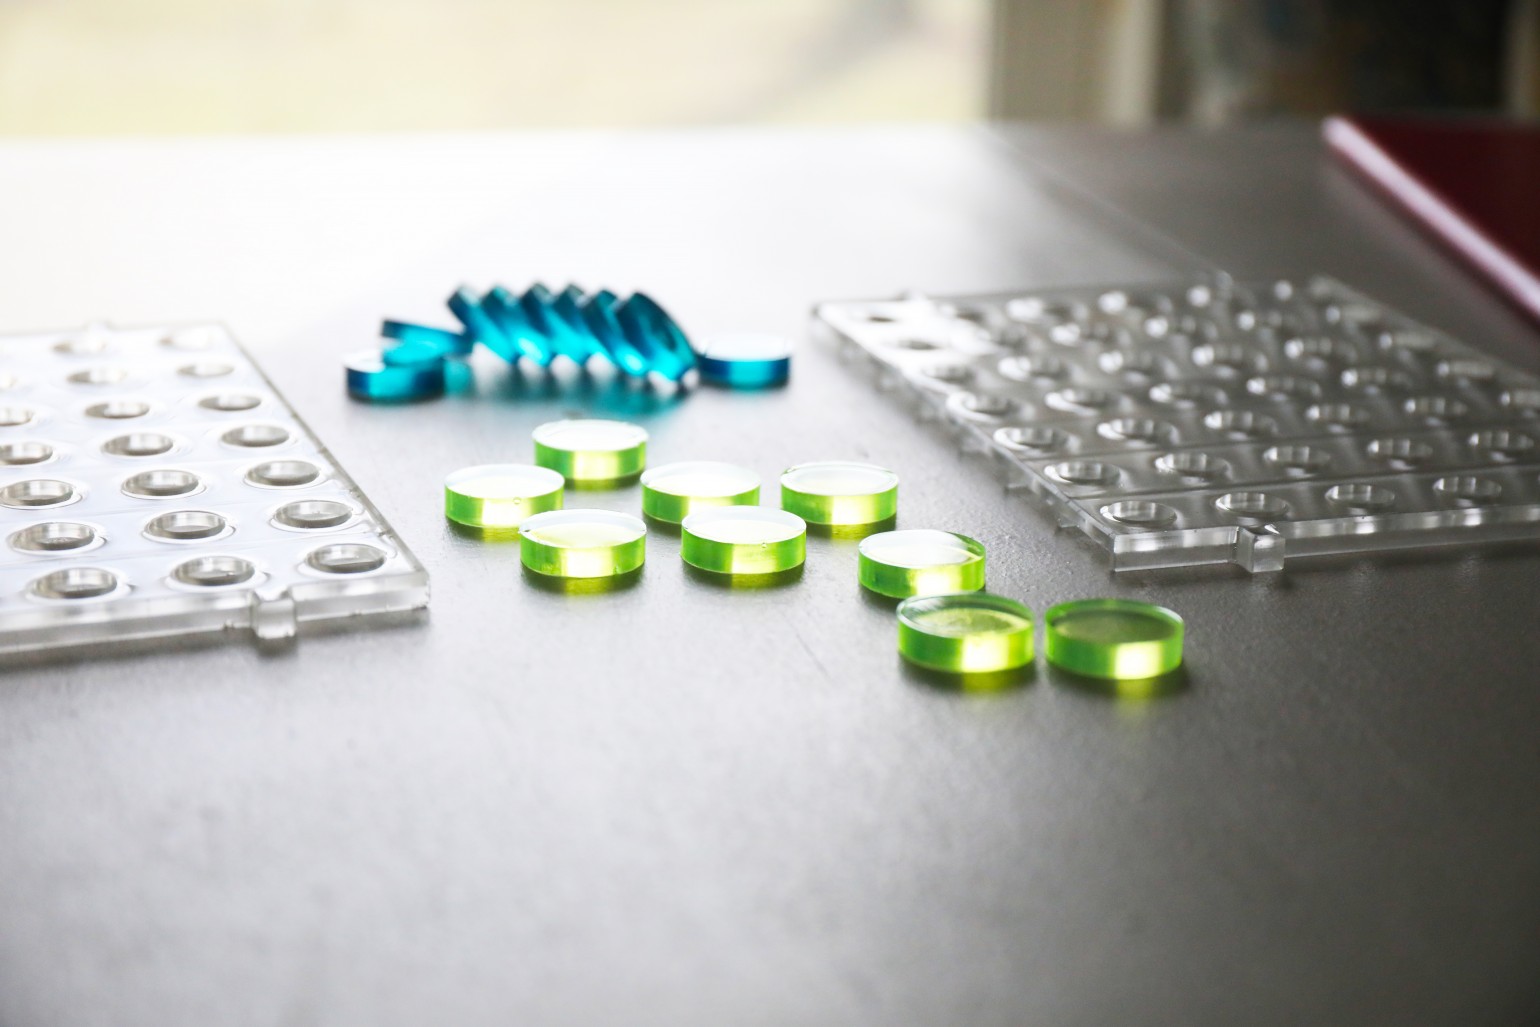
Once it’s dry {I let each layer dry for 24 hours} simply pop it out of the mold and lie flat.
You may want to let it sit for another 24 hours before putting it together, because the resin will continue to dry even more, and sturdy up over the next few days.

And that’s about it on this simple little resin game of connect 4.
I think these would make a really fun gift, and the kids really enjoyed the process and the results!
Emerson’s birthday was in January, but we’ve decided to hold off on a party until covid numbers are down even more, so that she can have an un-birthday pool / glow gathering with just a few friends. She thinks this will be a great addition in the whole party set up.
As always let us know if you make one, we’d love to hear!
And let us know if you have any questions!
What I like about all things resin, is that the supplies easily cross over, just changing up one or two items. Here are a few other projects we’ve tackled that you may also like:
• how to make resin jewelry
• monogrammed keychains
• diy bookmarks
• make your own alphabet magnets
• easy diy earrings
• diy paper clips – a great companion to our planner!
• diy confetti coasters
• easy fall place cards {pssst… use them for Christmas, too!}
• we even made tacks for a memory board with frogtape
Have an inspired day!


Wow, that is so clever! I love that it’s handmade so it doubles as decor. Definitely not too simple to share!
Thanks so much Becca! We’re glad we could turn it into a project ;}