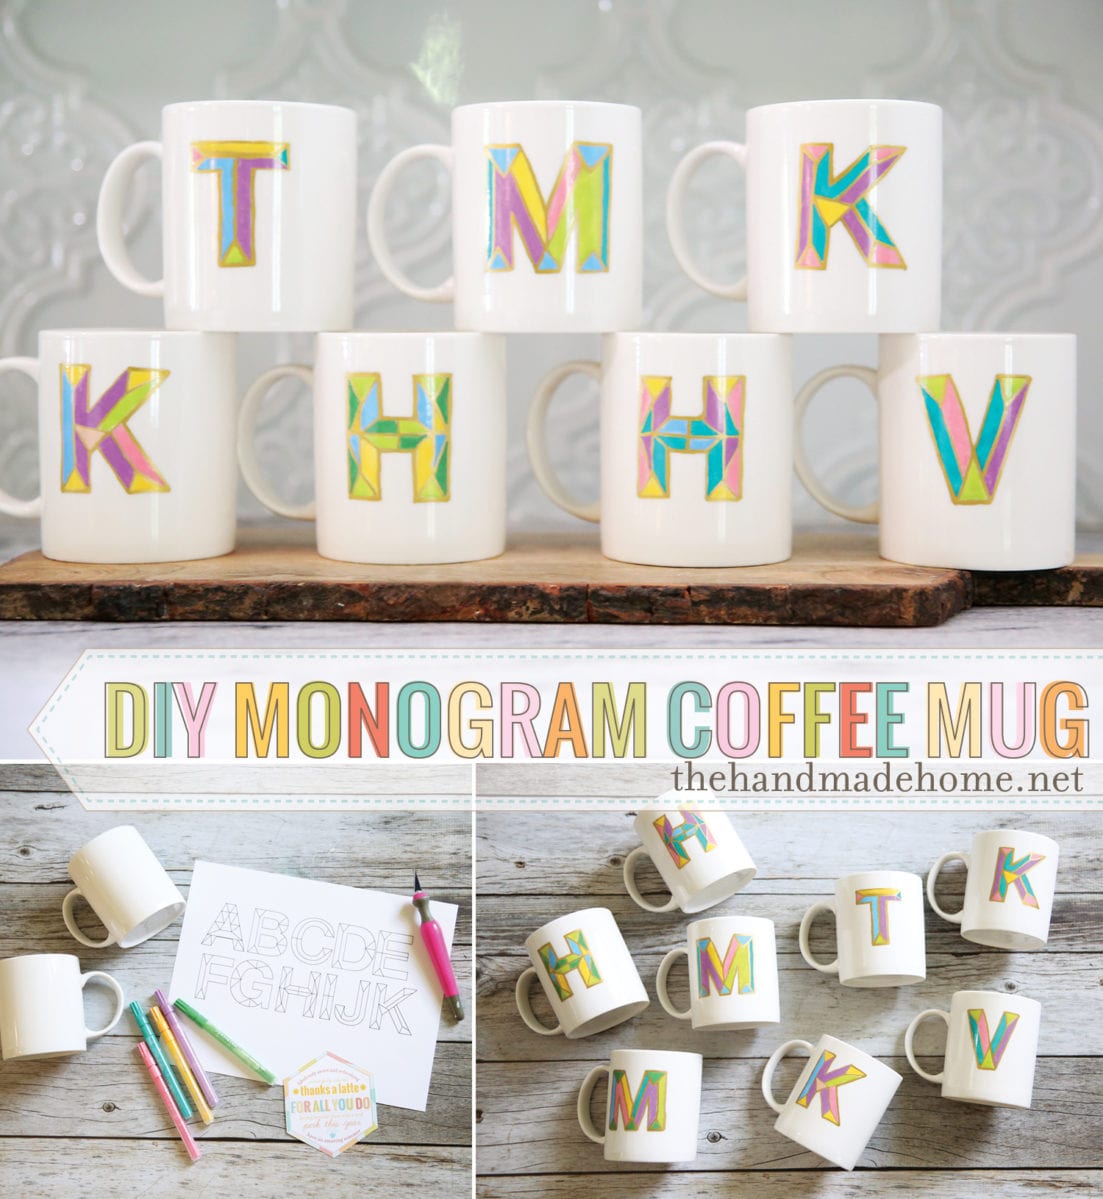
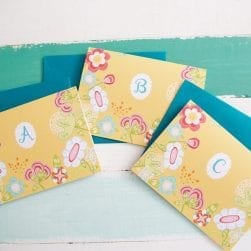
It’s the end of the year school year! It’s also the craziest possible time of the year. We always say that May is like Christmas but even busier. Between school programs, end of the year parties, Mother’s Day, graduation stuff, sports banquets and all of the things… it’s just that time. It’s also time to give our sweet teachers some goodies, as a little token to say thank you. But what happens when your kids have like, twenty teachers? You make something absolutely adorable, of course. {If we do say so ourselves.} Like this diy monogram coffee mug.
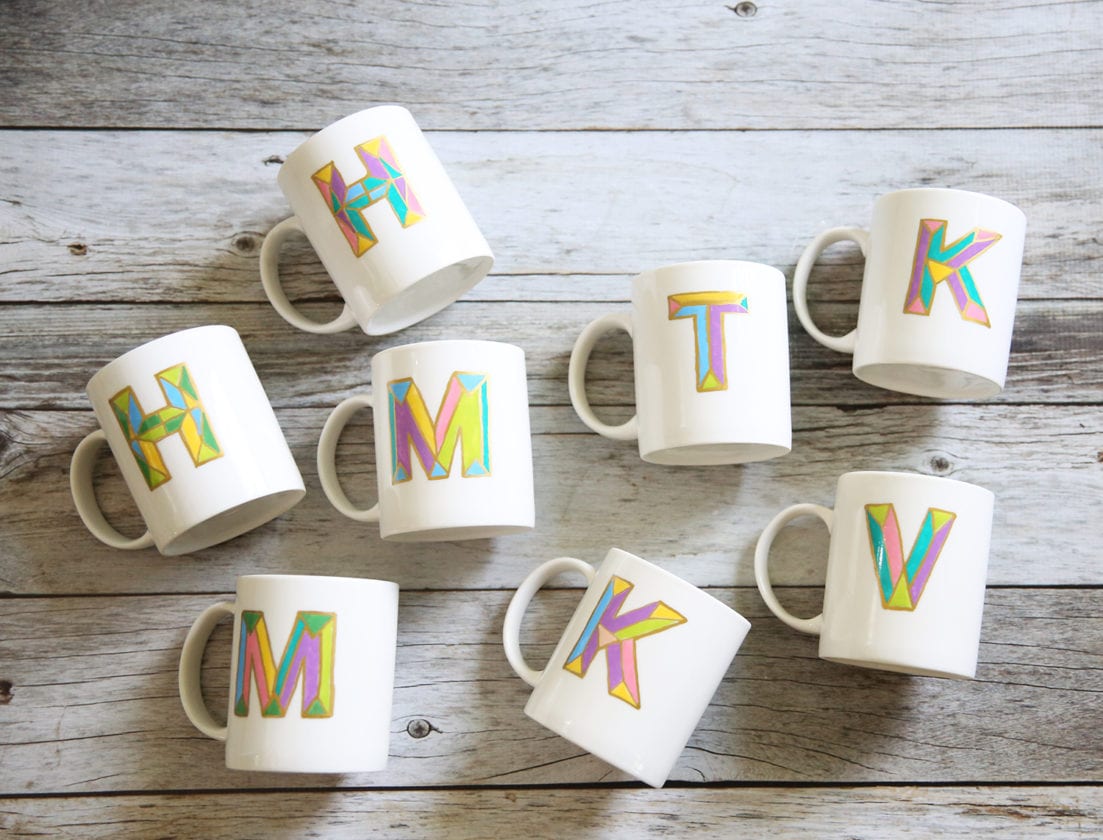
So we decided to make a cute diy monogram coffee mug for all their teachers. Because colorful monograms never go out of style.
And we thought that since they make a cute gift, we’d share the how to, here. Just in case you want to make your own. They don’t even have to be for your teachers… file them away for someone else. But we included a cute {somewhat cheesy} printable to attach, if you do decide.
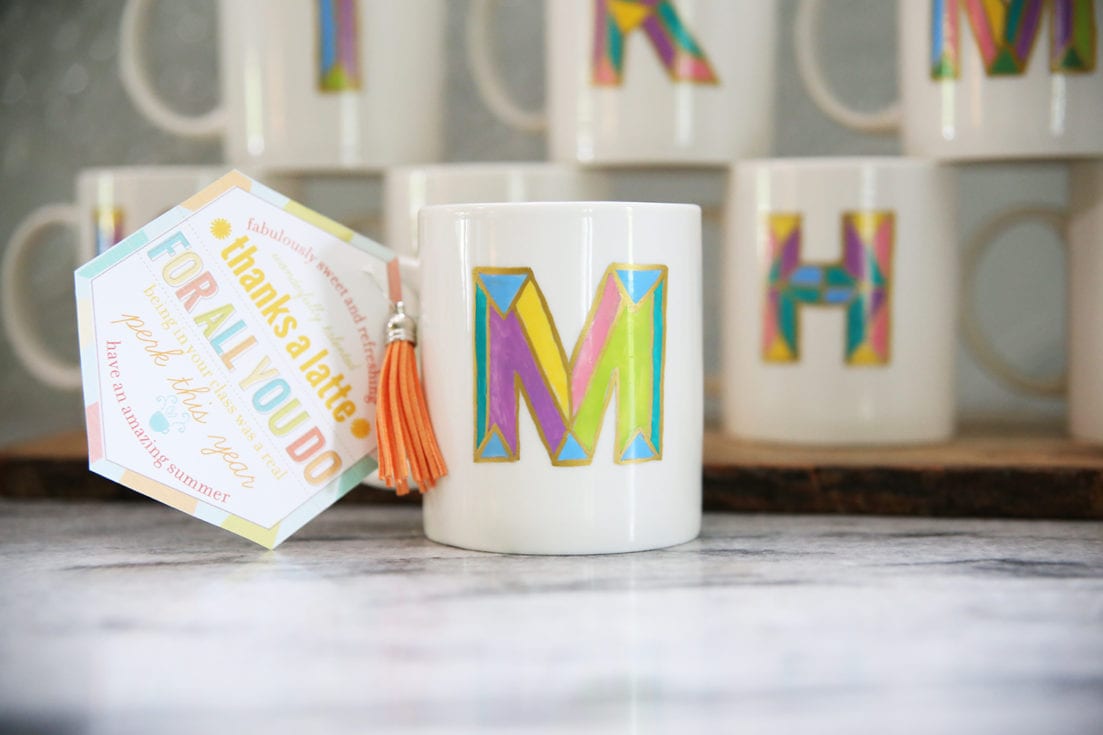
We actually found this project quite therapeutic. We’ll be pairing these with a small {local coffee shop} gift card, and we’re done. YAY!
Here’s what you’ll need:

diy monogram coffee mug : supplies
• Coffee Mugs
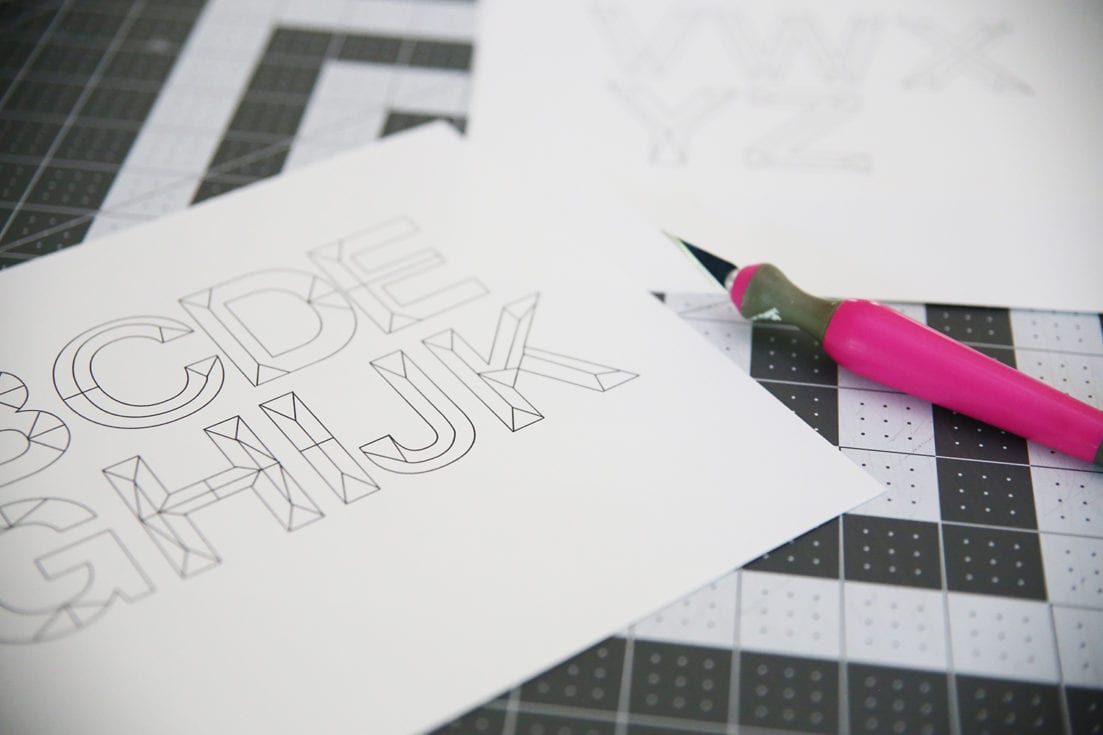
• Alphabet templates – Get your templates here: A – K / L – U / V – Z
• Markers – we used pastel and a gold one from this set
• Tape + X-Acto Knife
• Access to a cookie sheet + oven
diy monogram coffee mug: how to
Find the template that you want to use, and cut it out.
Then, making sure it’s straight, attach it to the coffee mug. Use a few pieces of tape to keep it in place.
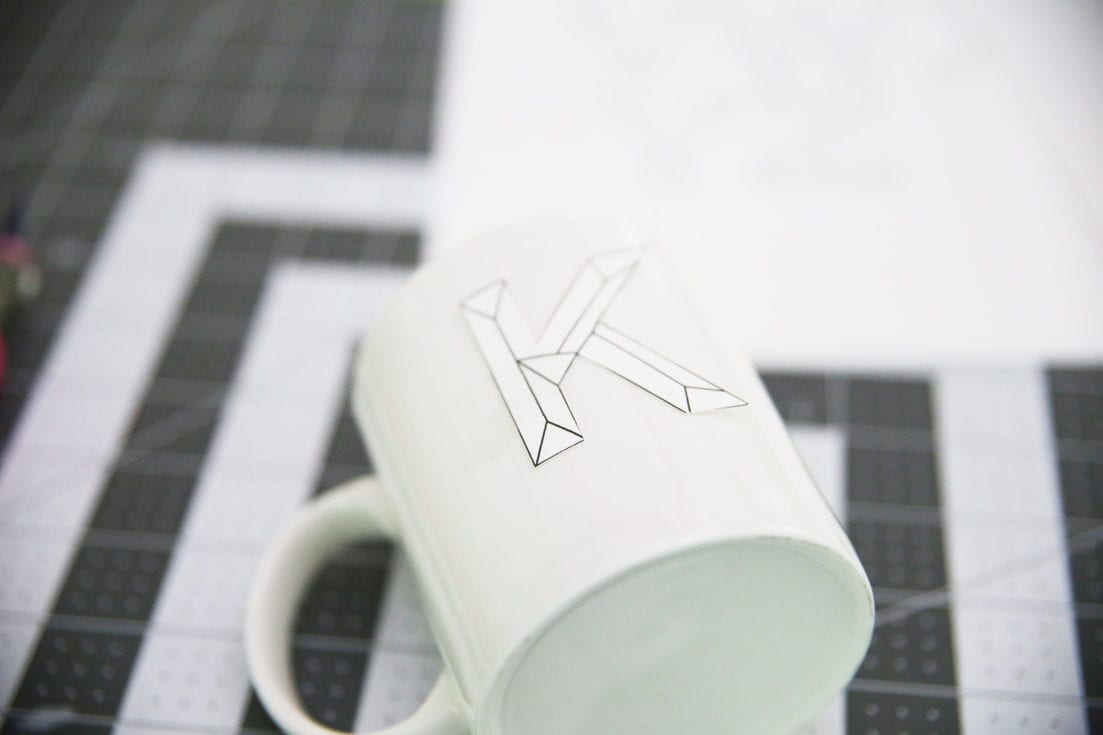
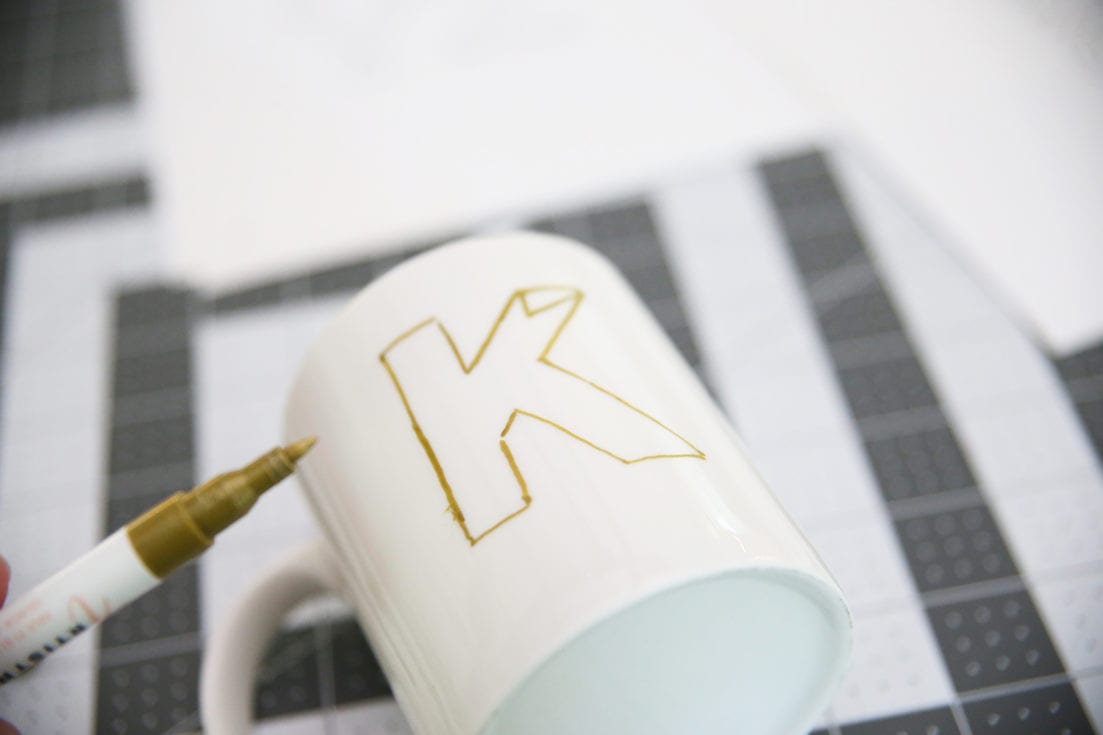
Next, trace your letter. We used gold here for the final look, but any color for outlines would do.
Note: It’s kind of hard to draw on a curved surface so take your time, but if you mess up, the ink is water based. It cleans up nicely so it’s very forgiving, until you bake it on. You can also correct as you go and fill in your colors. So it’s a nice flexible medium.

You can see here, where I had a few mess ups. Just clean up, and keep going!
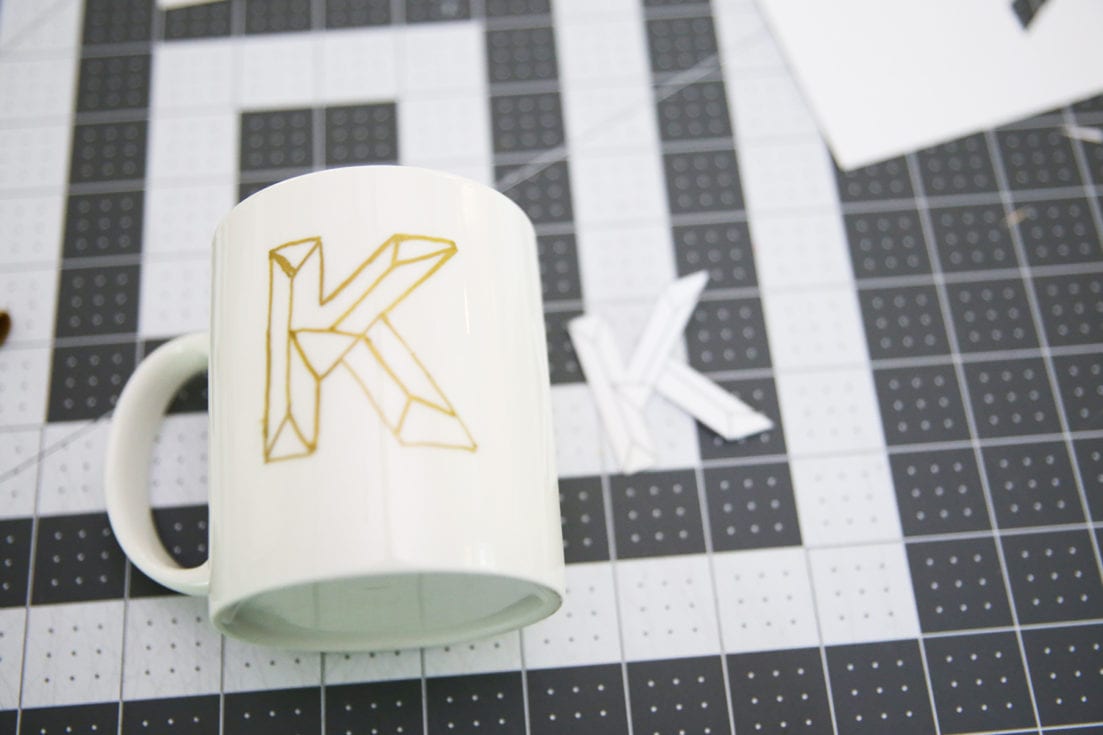
When you’re done with the outline part, remove your letter, and mimic the insides.
Video below
Again, see how mine isn’t perfect?
Forgiving medium. Stay with me. It’s easier than it looks.
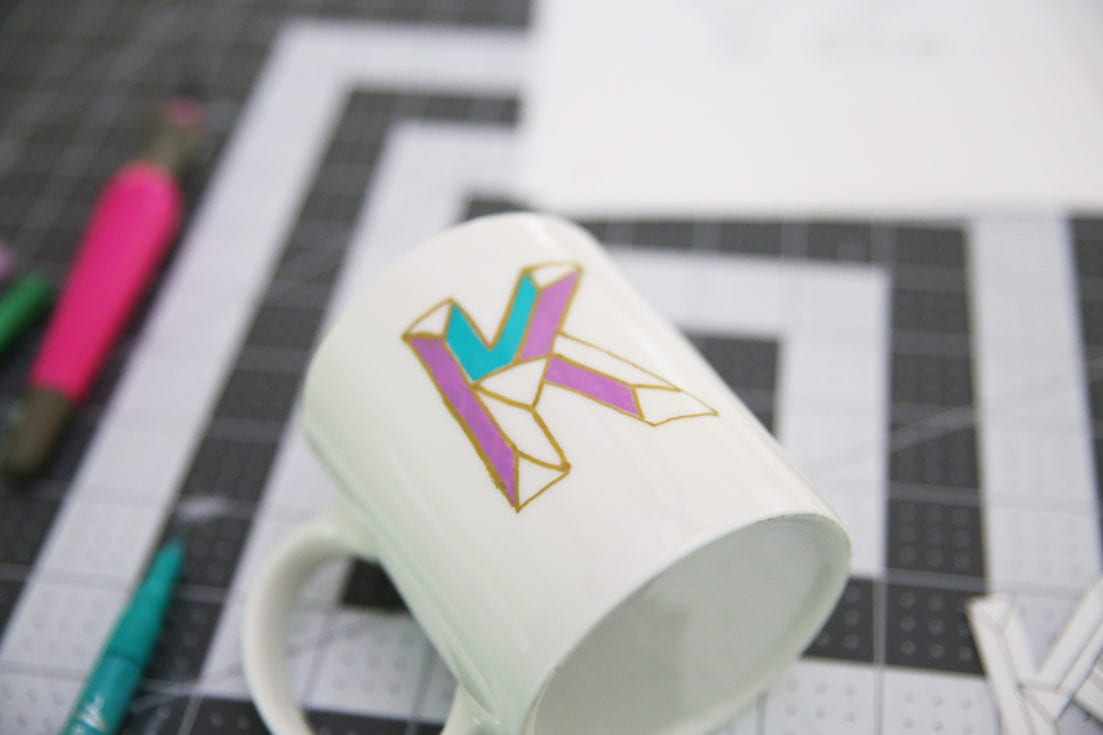
Color
Fill in each section with a color of your choice, and correct as you go!
When you’re finished with each color, once it’s COMPLETELY dry, go back over the gold section. Clean it all up, and you’re ready to bake!
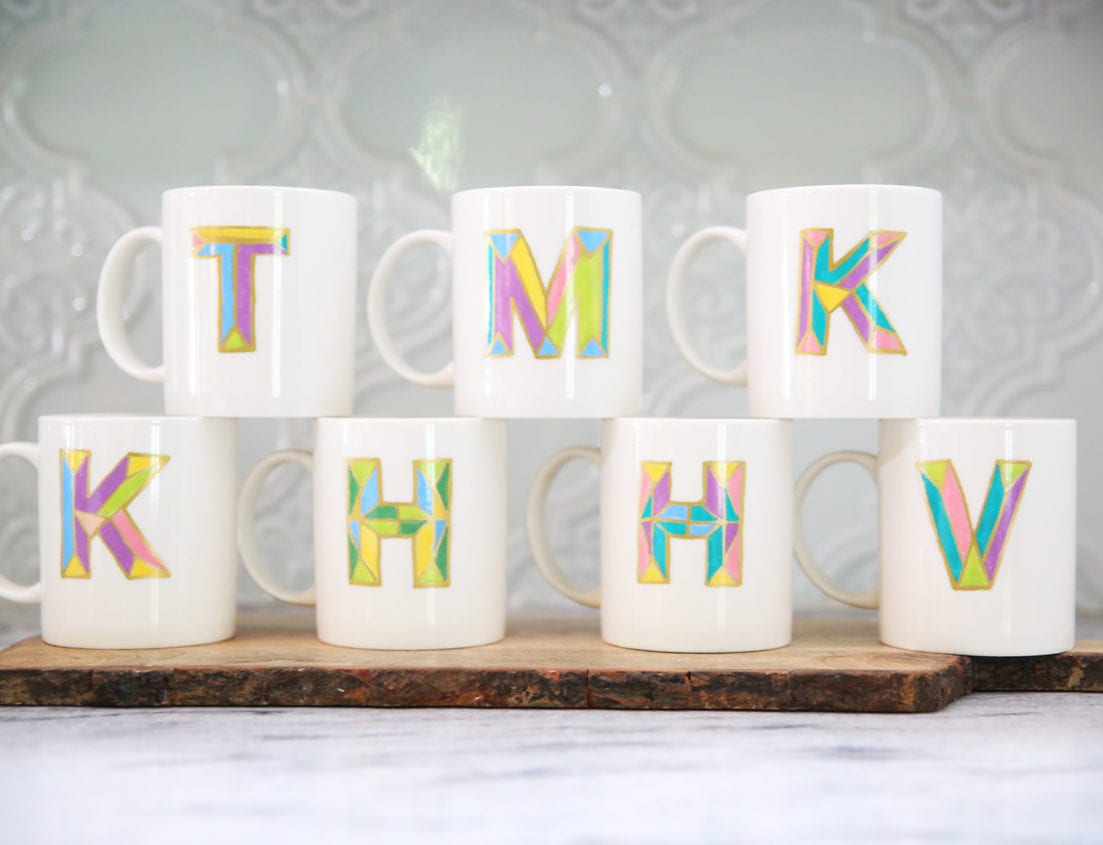
Following the instructions on your markers, place in a cool oven and allow it to heat up. Bake, and you’re finito!
The gold actually becomes shiny and metallic once it cooks, so it has a nice contrast to all the lighter colors. We love the look! Kind of want to create an entire set for our own home now.
I like these little monograms so much, they just may be appearing in a colorful way on the 2020 planner. Stay tuned for that one! — I’ve already started receiving questions, and it’s Coming SOON!
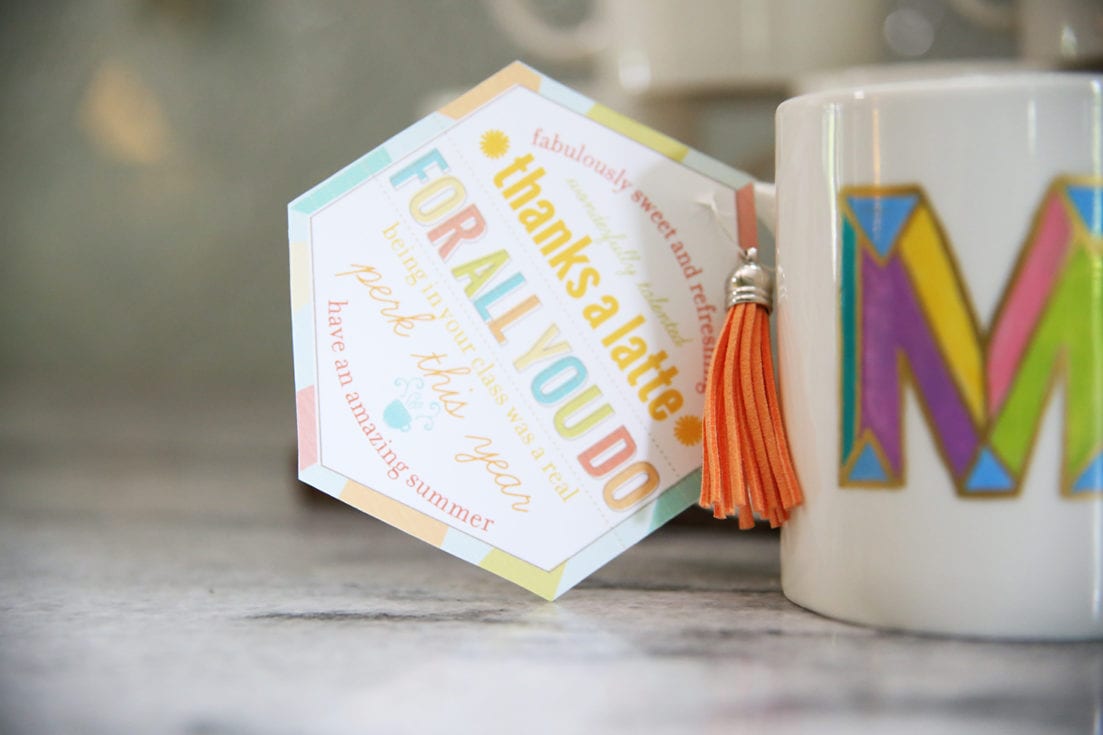
Get your little gift tags here! {Thanks a latte}
As always, let us know if you have any questions.
Have an inspired day!

Those look so fun! Love the cute tag, too! 🙂
Thanks so much Jenny! Hopefully they’re an easy little gift idea ;}