We finished our closet this last week and it’s been a total game changer for the fam in terms of practical organization and all things simplified.
We’re back with this super simple accessory organizer we made, and we thought we’d share a quick how-to.
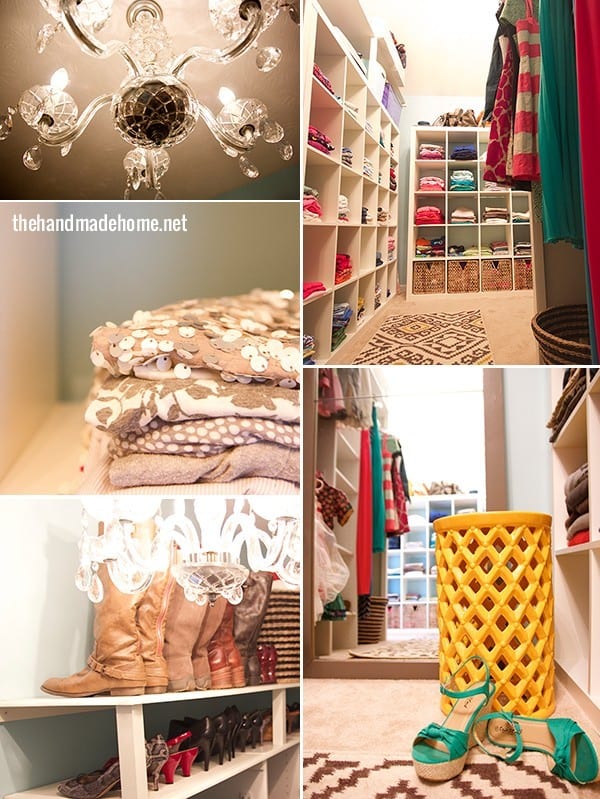
It may be one of the easiest projects we’ve ever done, with the biggest benefits – we can actually find things now! Who knew? And we thought a few details were in order to help out anyone else who would like to rock their space.
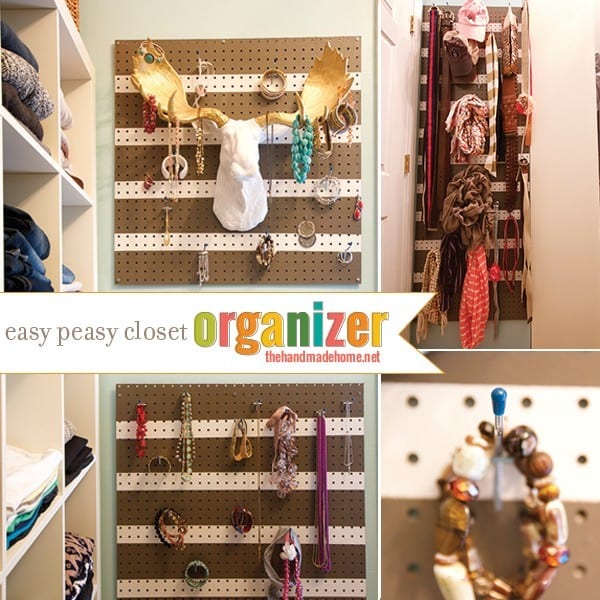
So it’s made up of three parts in our closet, so we had three different peg boards cut to size 2 @ 28 x 28 and 1 @ 24 x 68 at our local home improvement store. {Never fear… if you don’t have a saw, this one will totally work for you. They (read: most home improvement stores} will cut it to size at no charge, and you can be on your merry way.}
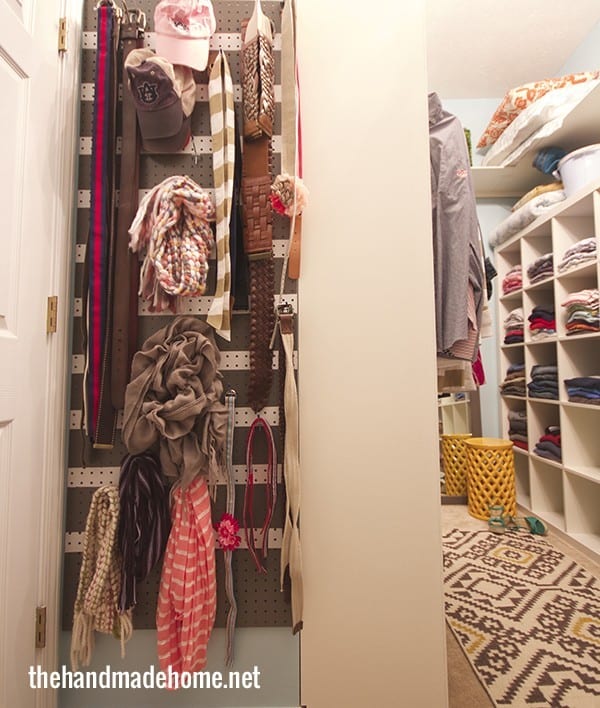
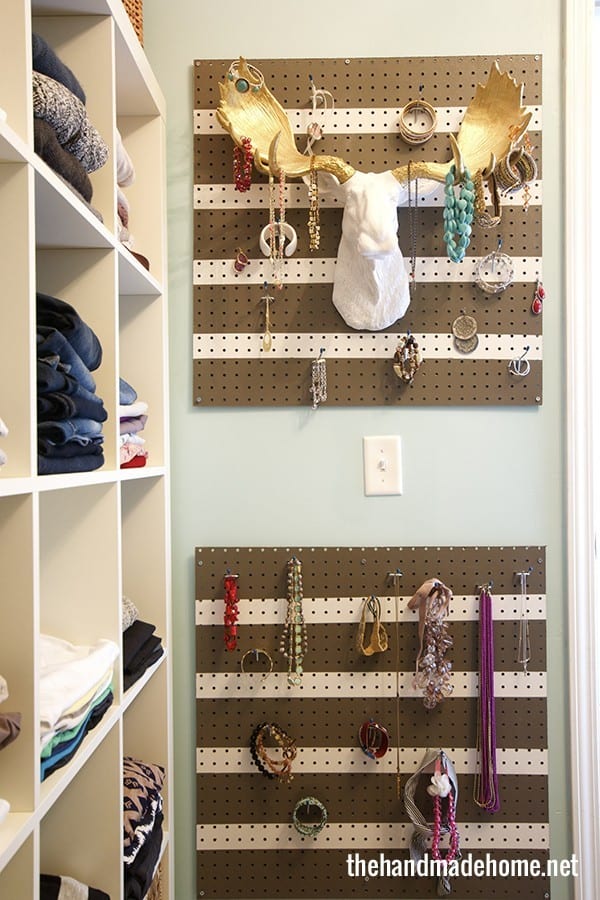
We used two for all our (mine and some of Emerson’s) jewelry, and one large one for the entire family’s belts, hats, and scarves.
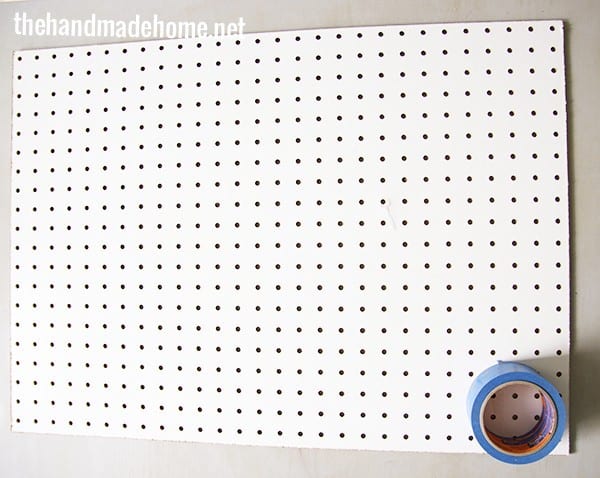
Basically take your cut piece {they come in white… score!} and tape it off. We doubled up on the super thick tape, for an alternative stripey look. But to measure it out, we just eyeballed by putting two pieces of tape in a row, and then using the third to designate as our actual stripe. We removed the first two, and kept going, spacing them naturally with the tape as we went so there’s no measuring, only placement.
Yep. I just over explained stripes.
We used leftover paint from our playroom in Benjamin Moore’s Eagle Rock.
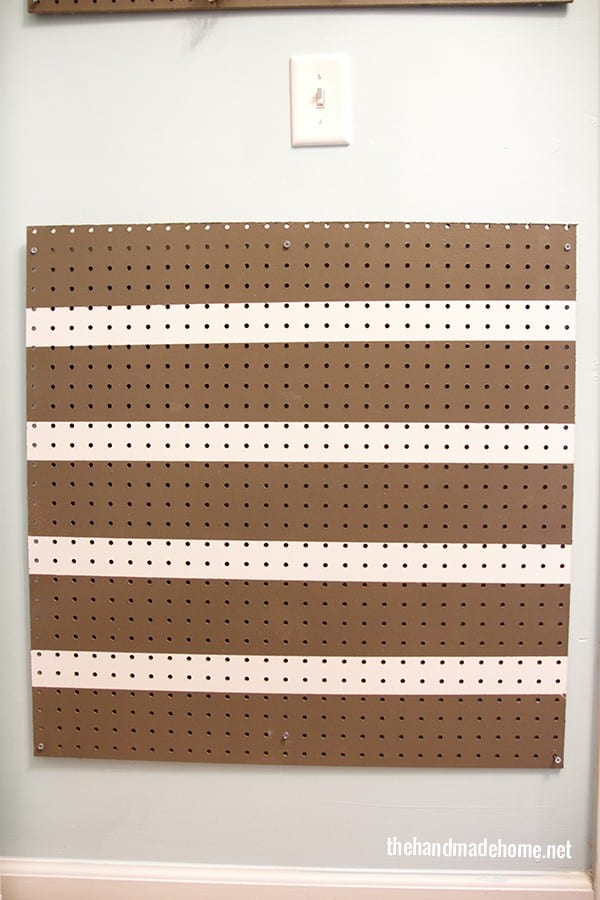
Keeping it real: You can even see that the top stripe here was totally wonky. The beauty of this is that if you mess up, it’s not really a big deal, because you’ll be hanging things on it anyway. Spring is here, so I’m pretty sure a giant bumble bee dive bombed my head when I was taping it off… at least that’s what I’ll tell myself… and you.
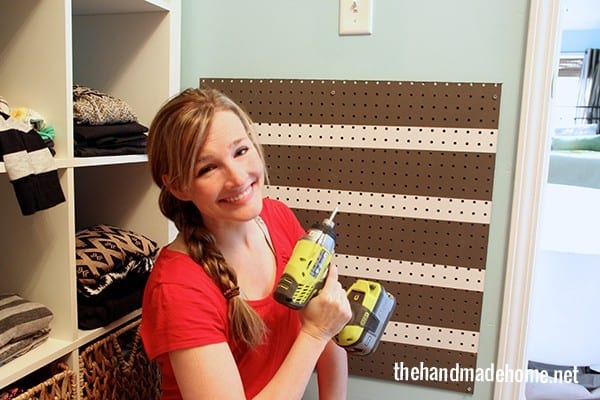
We simply screwed it in with #6 2 1/2 inch wood screws and our fave Ryobi screw driver. (And then I paused to pose like a dork with said awesome screw driver. You know we’re unabashed fans – Their tools make everything better in our world. ;}) We didn’t tighten it all the way (about 2/3 of the way in) and left it a little lose on the wall to make room for…
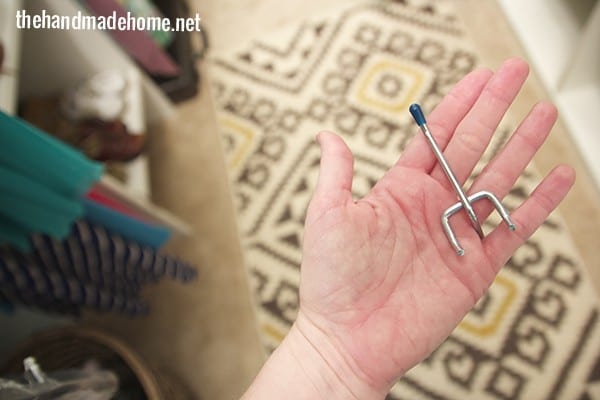
These little hooks come in a pack of four, at the store as well. They’re a little pricey (2.50 a pack-not for one but when you need quite a few… so just a heads up…). Worth it to easily throw everything on the board.

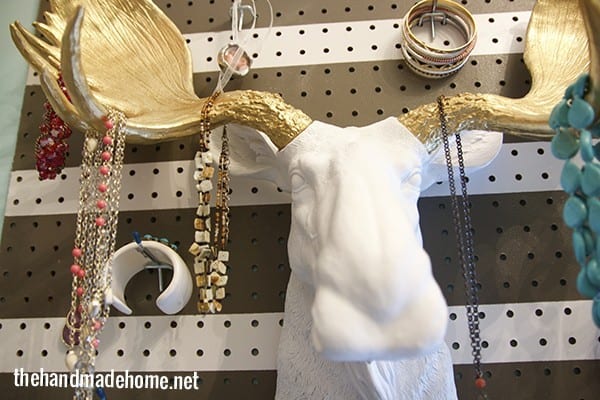
We added Rocky the Moose from our Christmas mantel {a-la white faux taxidermy} As our mantel no longer calls for seasonal moose love, I was glad to use him in the space as a main staple, every-day kinda piece. He’s super stylishly fab/quirky and that’s how we roll.
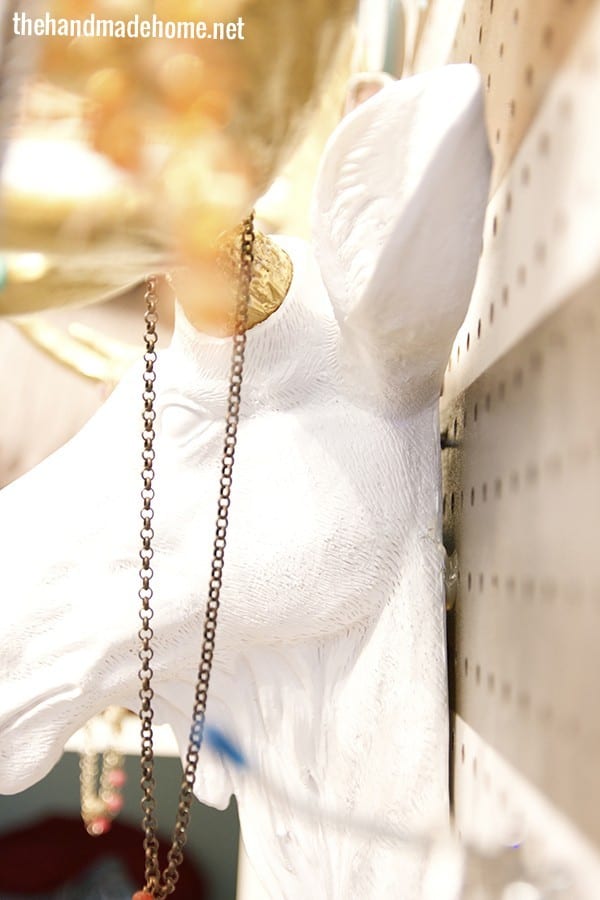
We used the screws the same way so you can see it through the board a little on the other side, and secured his head with hot glue {it will pop right off when we’re not using him anymore} so he doesn’t wobble. You can see it a little from this angle:
Tada! It was insta-organization for the time it took to paint, and hang.
The kids are huge fans, and we adore being able to find everything at a glance!
As always, let us know if you try something like this – you’ll love this little alternative and easy-to-find approach, if you’re former messy closet owners like us!
Have an inspired day!

This is such a clever stylish way to organize your jewelry! We have GOT to try something like this! Love this- great job!
Can I just say that I love that you guys have a moose? And that you used him for jewelry! This is so great.
Please don’t get me started…..now I want to tackle my closet too! A good home is NEVER done, ever! Thanks for the simple encouragement 🙂
http://www.designtendencies.blogspot.ca
Bianca
I don’t have closet space that I could do this; but just wanted to say that I LOVE that moose head!
These look great…I do have one question. Did you put a small block of wood or something behind them when you screwed them in to allow space behind the board for the hooks? Thanks for clarifying!
Hey Katie! Nope… that’s why the type of screws are important, because they were long enough to go into the wall and still hang it there with enough space for the hangers to go into the board. Is that making sense? you just need two pairs of hands to hang. ;} I hope that helps!
I LOVE this idea! I’m totally stealing it.
Thanks, Barcy! We can’t wait to see! ;}
Totally stupid question, but how did you keep paint out of the holes when painting? I want to do this in my craft room but the hole paint-in-hole problem perplexes me. LOL
Hey Wendy! Not a stupid question at all! We used a roller, with minimal paint. Some of the holes did get clogged, but very few. It helped to buy the white peg boards too so we didn’t have to give it a coat of white. ;}
I totally love this, it’s so easy! I’m gonna steal your idea and try this and I have just the place for it. It’s where my husband keeps his belts and ties etc. and it’s so unorganised, it’s been really bugging me. This would be perfect!
OMG. I’m totally doing this. What a great idea for organizing belts!!! Why didn’t I think of this sooner?!
Stay fabulous,
Seng | http://www.sengerson.com
i just cleaned out my messy walkin closet ,so….this gives me some ideas for organization .thanks