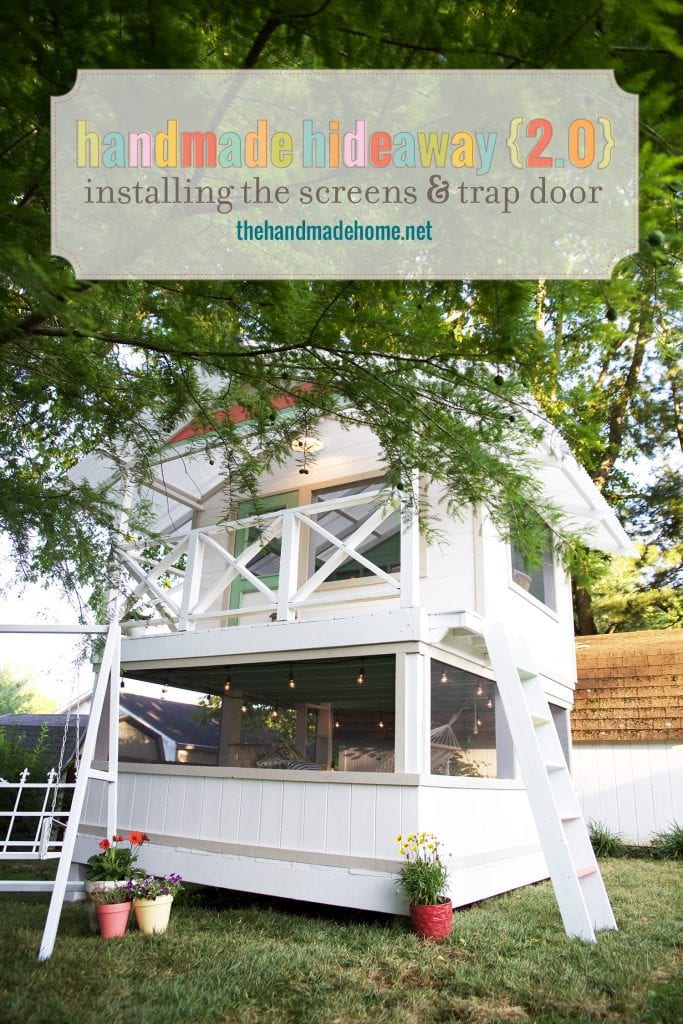
Screens and trim and trap doors, oh my!
If you’ve been following along in this not-so-little series, we’re glad to be back with the next step!
But if you haven’t read the posts before this one, go check them out, because it would be weird to build the trap door first. You can find the reveal here, along with how to build the foundation, starting the framing, adding the railing, framing the roof and adding the siding, painting here and the roof here.
We apologize for the delay in between our posts if we left you hanging. These can be a bit of a doozy to write with all the things, and they take us a bit to recap.
So without further ado, here’s a content-full post on all things screens and trim and trap doors!
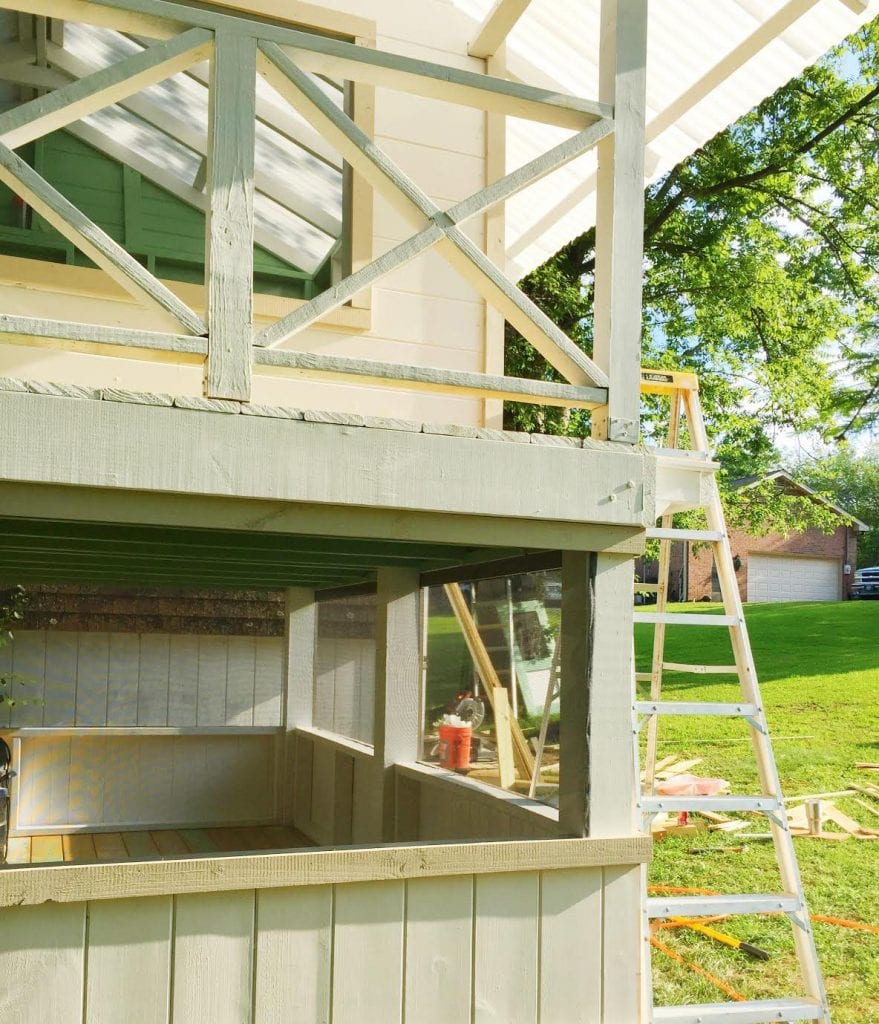
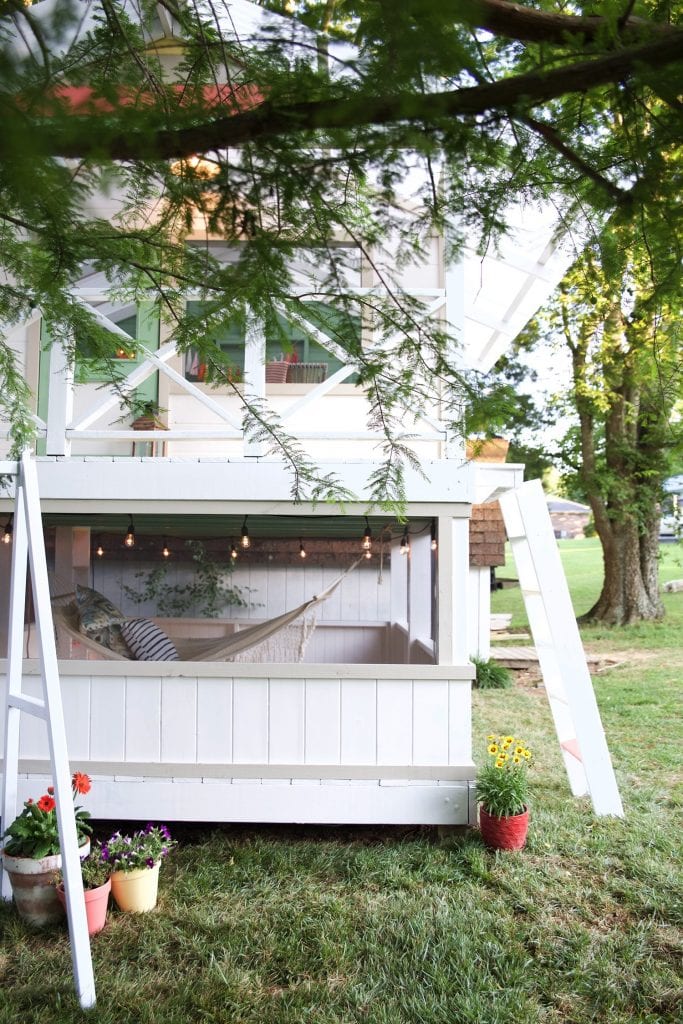
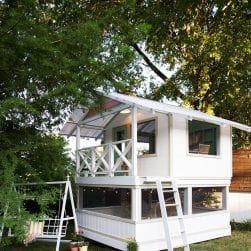
We will start easy and discuss how did we got from this…
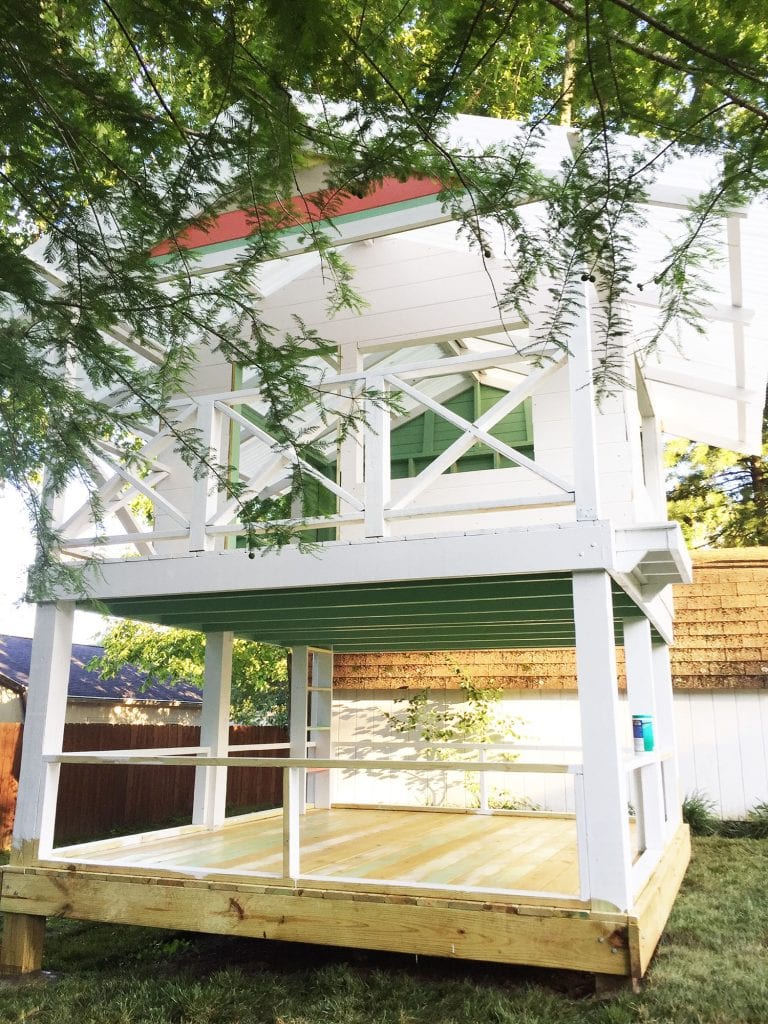
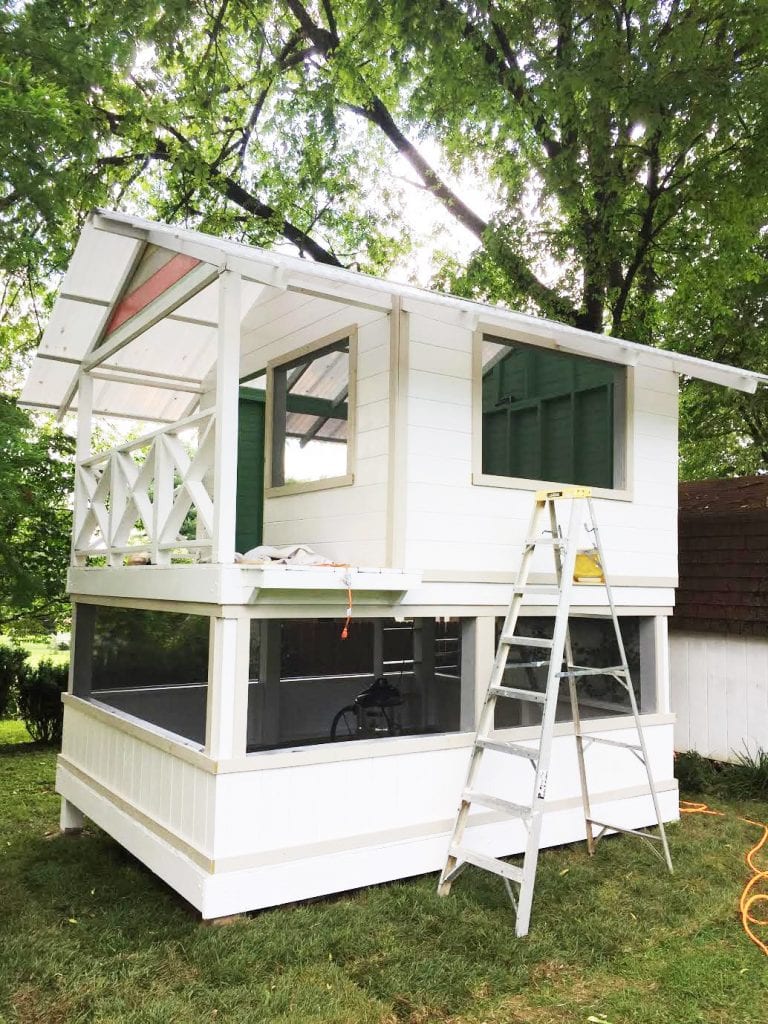
To this?
Let’s start with the trap door.
If you remember from the framing the foundation we decided where we wanted our trap door and framed it for the width we wanted, which was wider than the typical width of our floor joist.
Once it was painted we used some frog tape to mark out the joist width and the length we wanted the trap door.
Then we simply used a circular saw to cut away the boards.
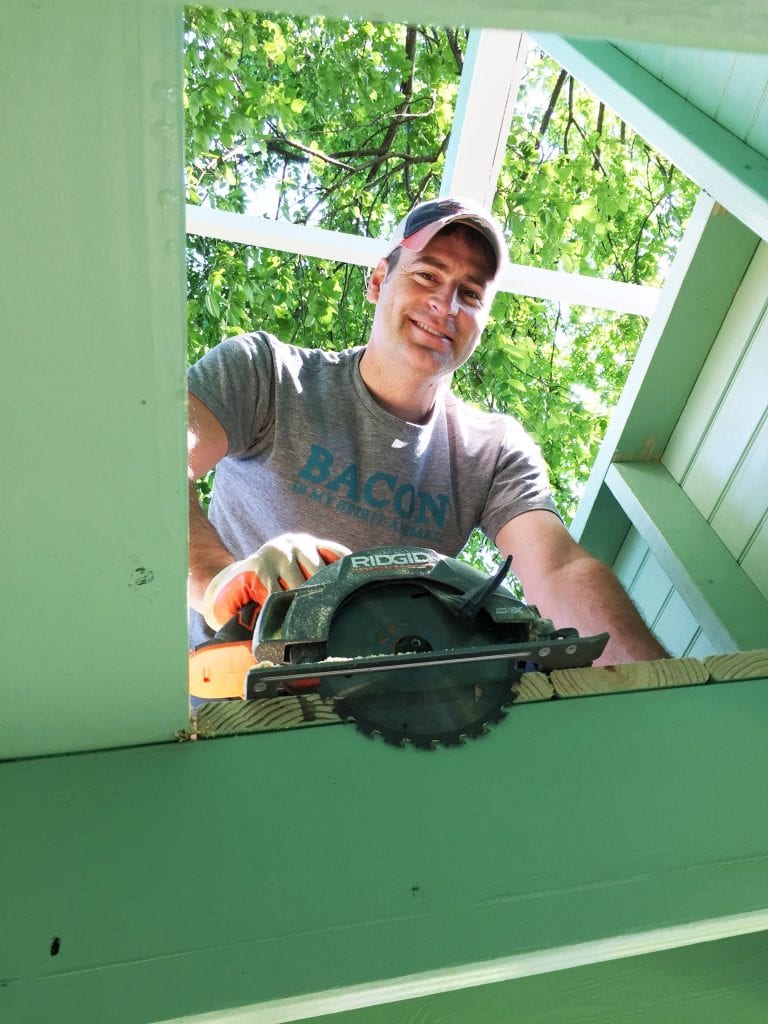
It’s really that simple as long as you planned for it in the framing.
If you didn’t, you might end up with a small trap door.
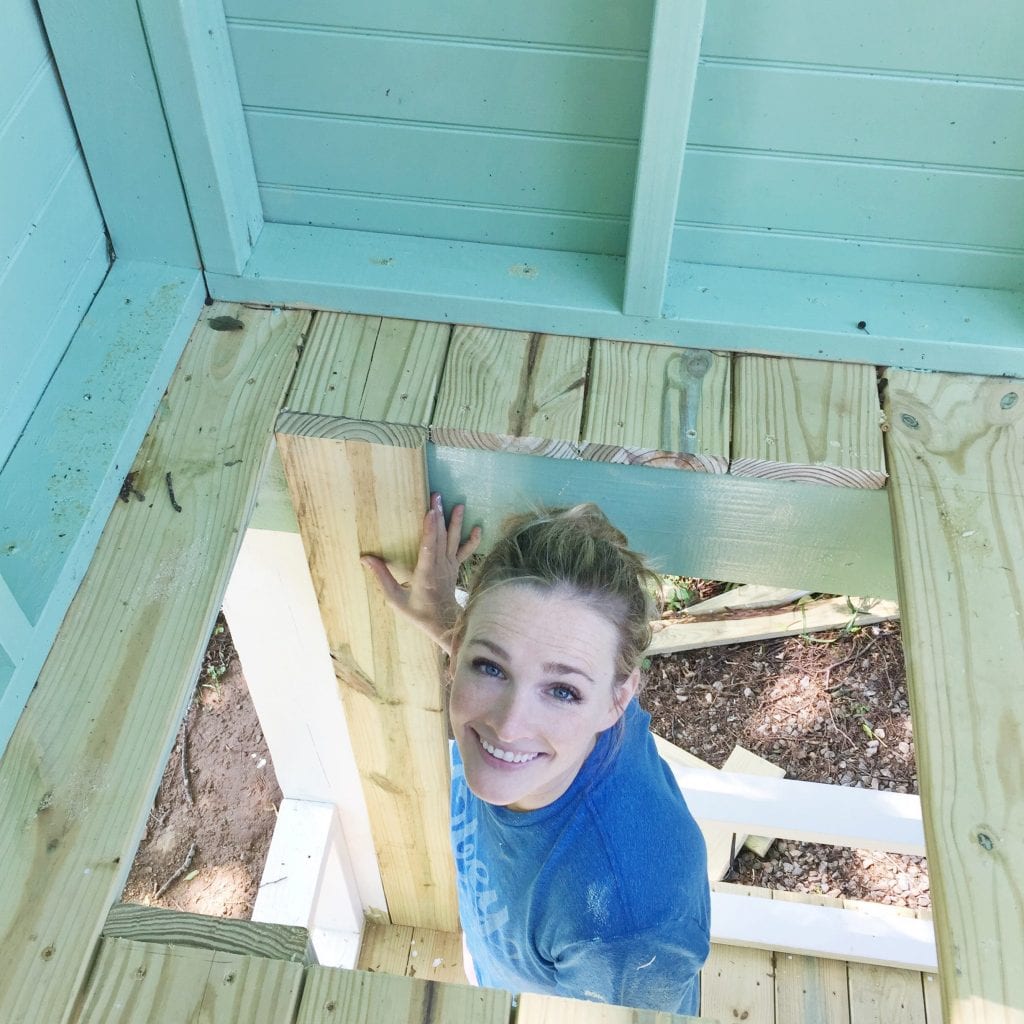
After this, we finished off the floors before beginning the screen-in process.
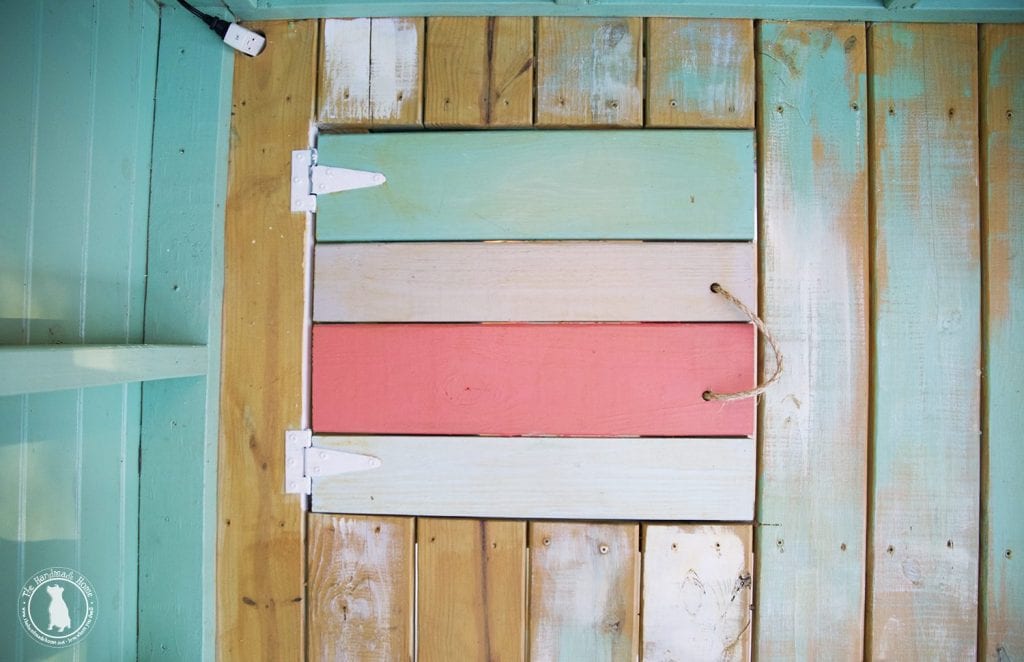
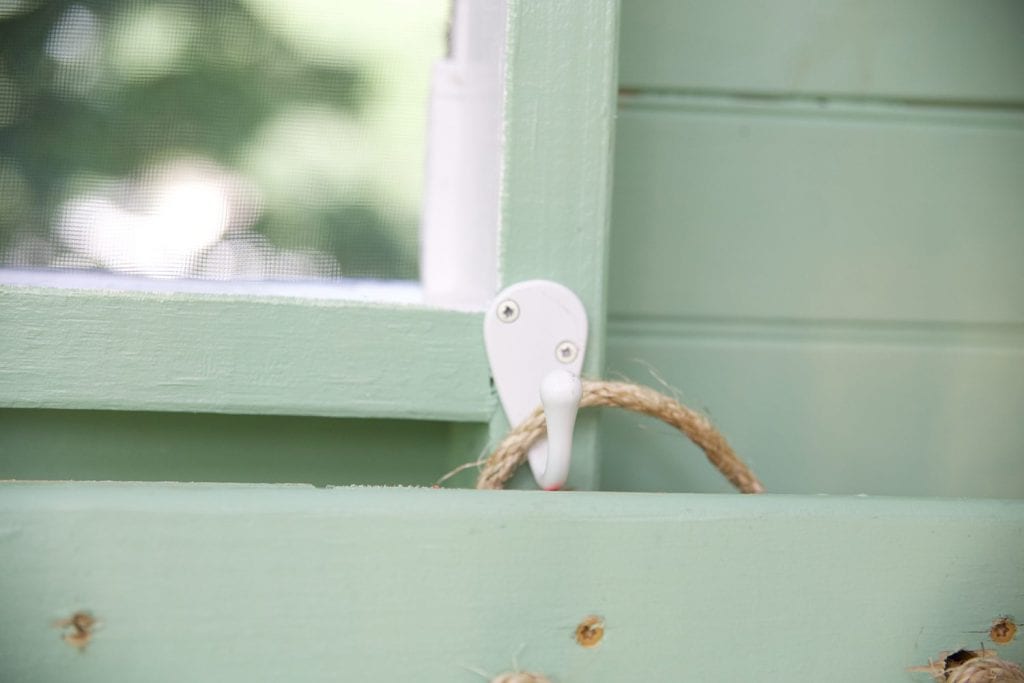
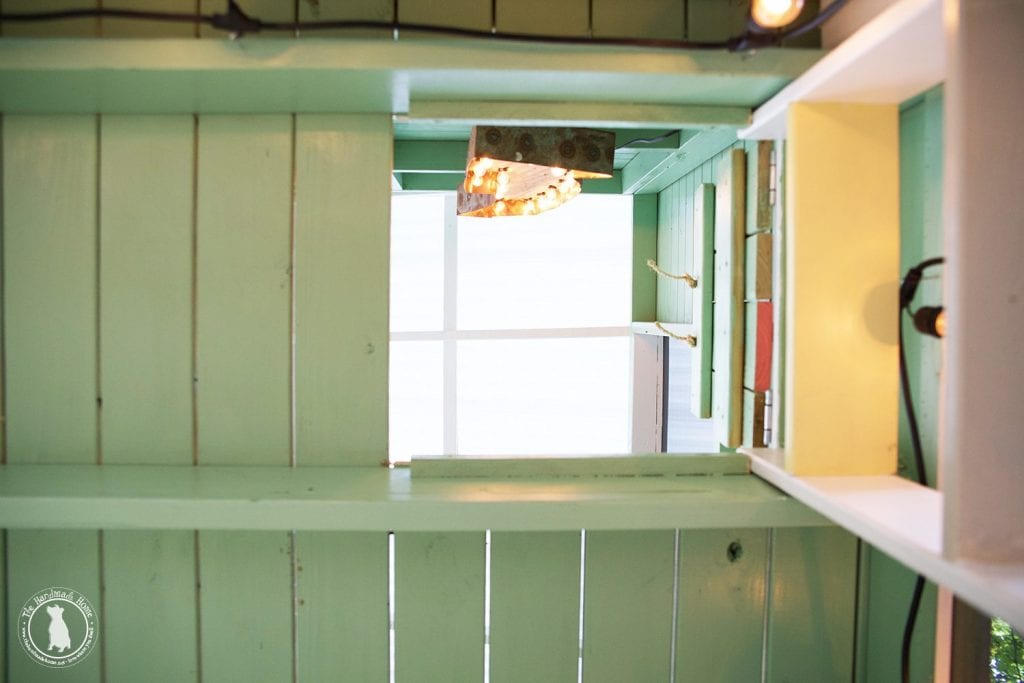
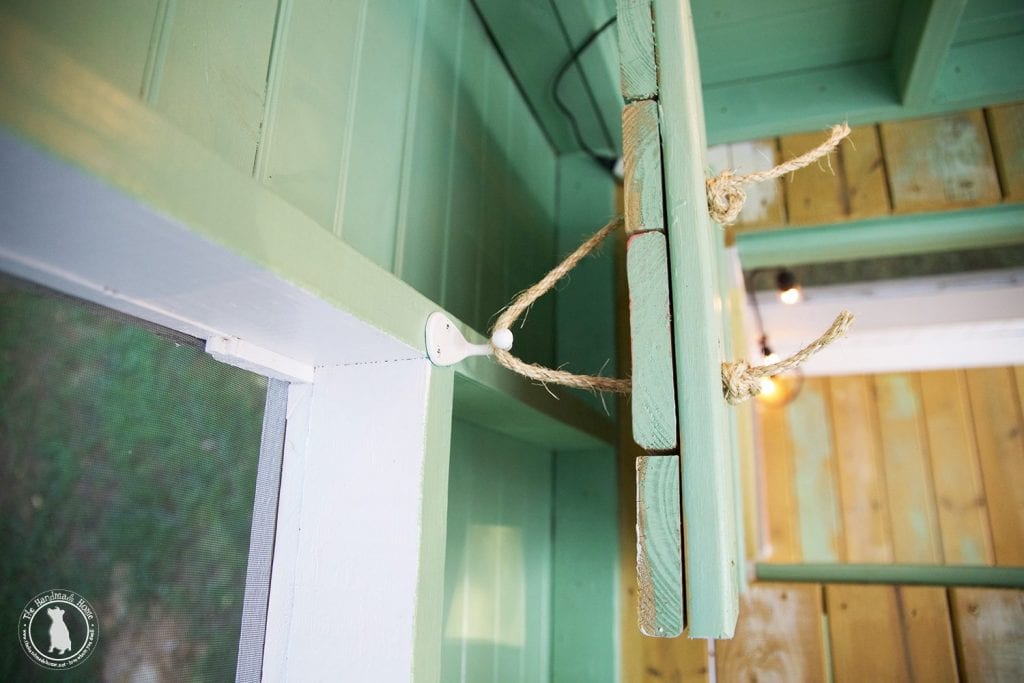
We wanted a fun rustic look for keeping the door up when in use. So again, we went simple and used some hemp rope, drilled two holes, and created a handle. We paired it with a simple white hook and some white hinges.
Bonus: this way when we need the floor space for camping, the trap door doesn’t take up any room with a bulky handle.
We also added two little furring strips on both side to help support the door when it is down.
If you have littles that you’re worried about fingers you might want to look for some spring loaded hinges.
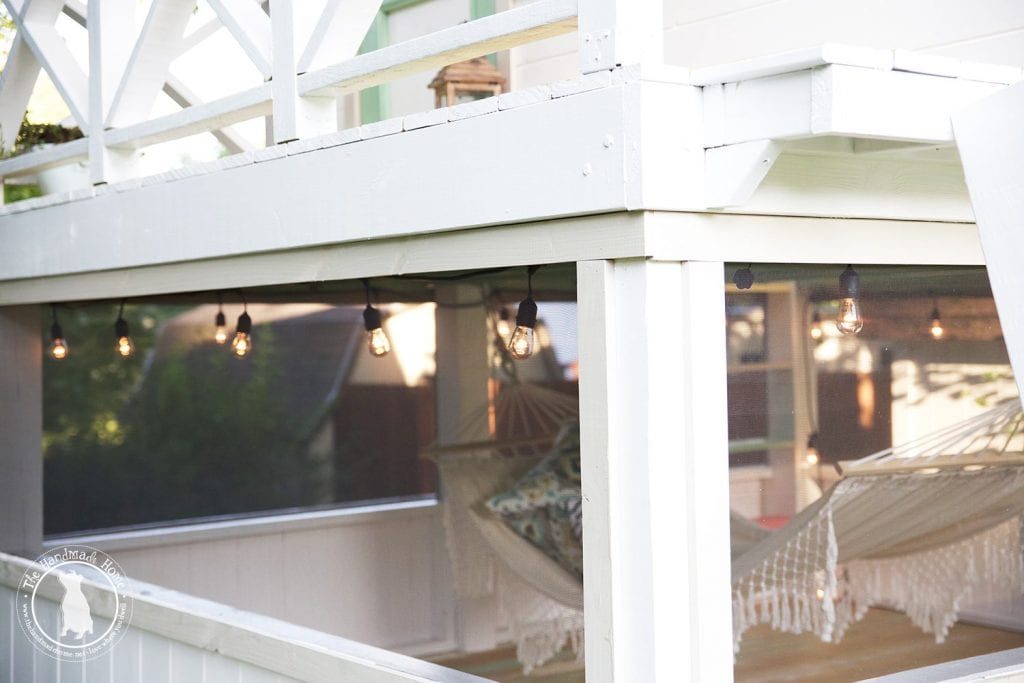
Next up, the screens! And we really suggest you grab a couple extra pairs of hands for this.
First, measure out to see how much screen you’ll need. We purchased a 36-inch wide screen, and 75 feet of it.
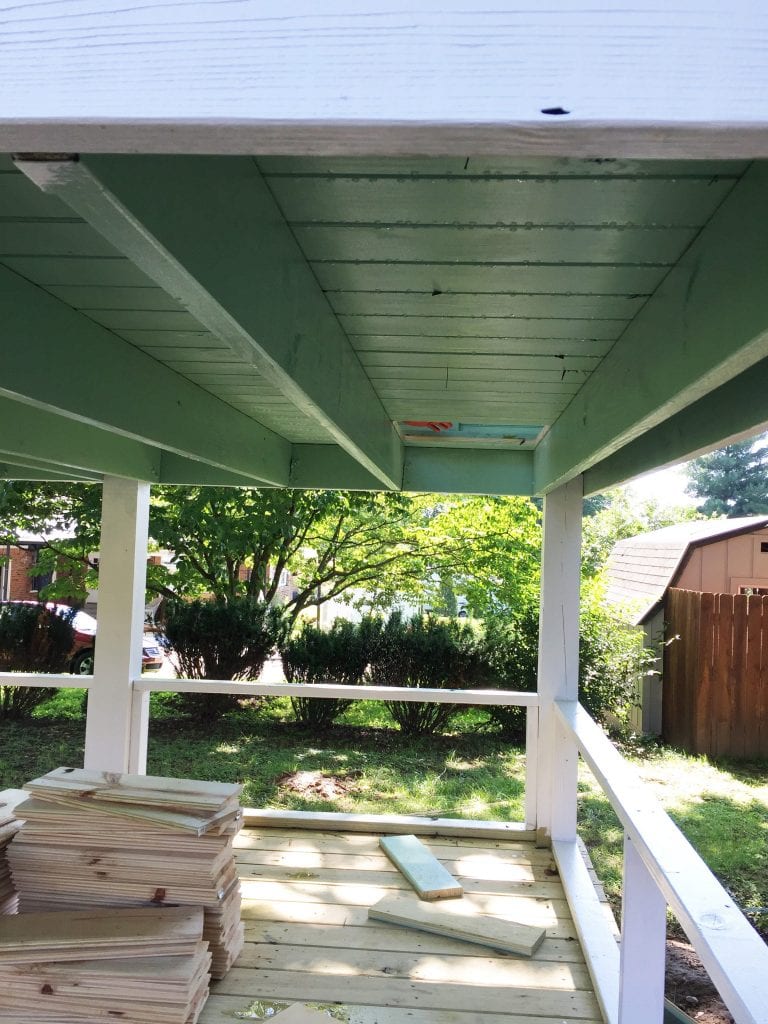
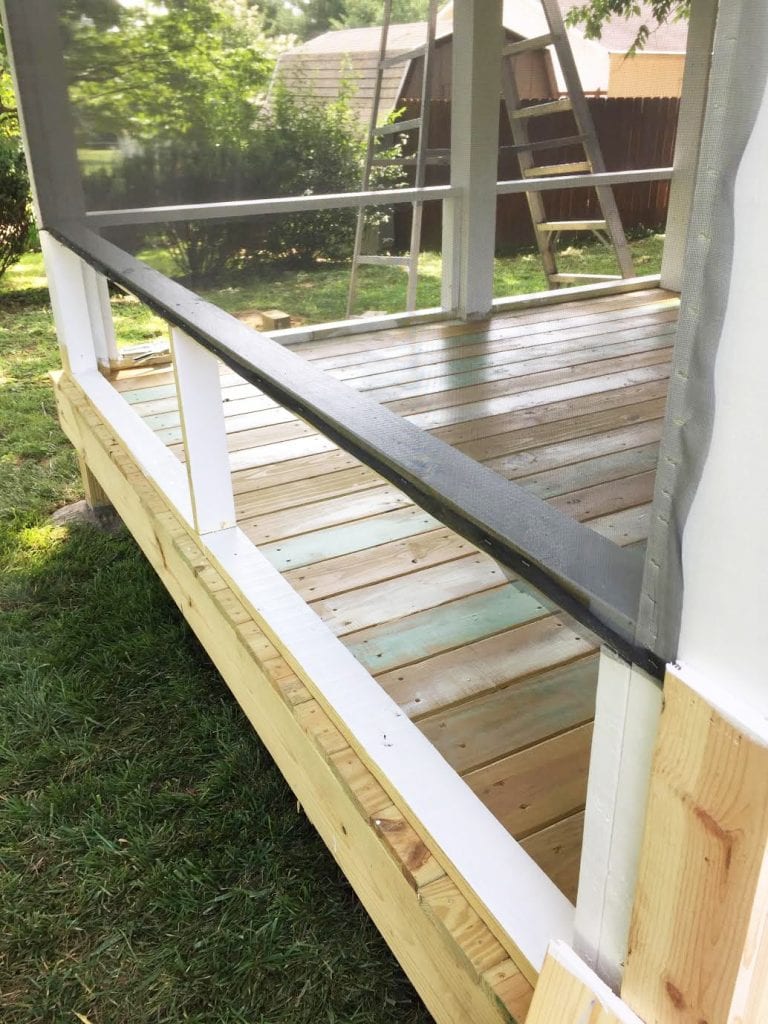
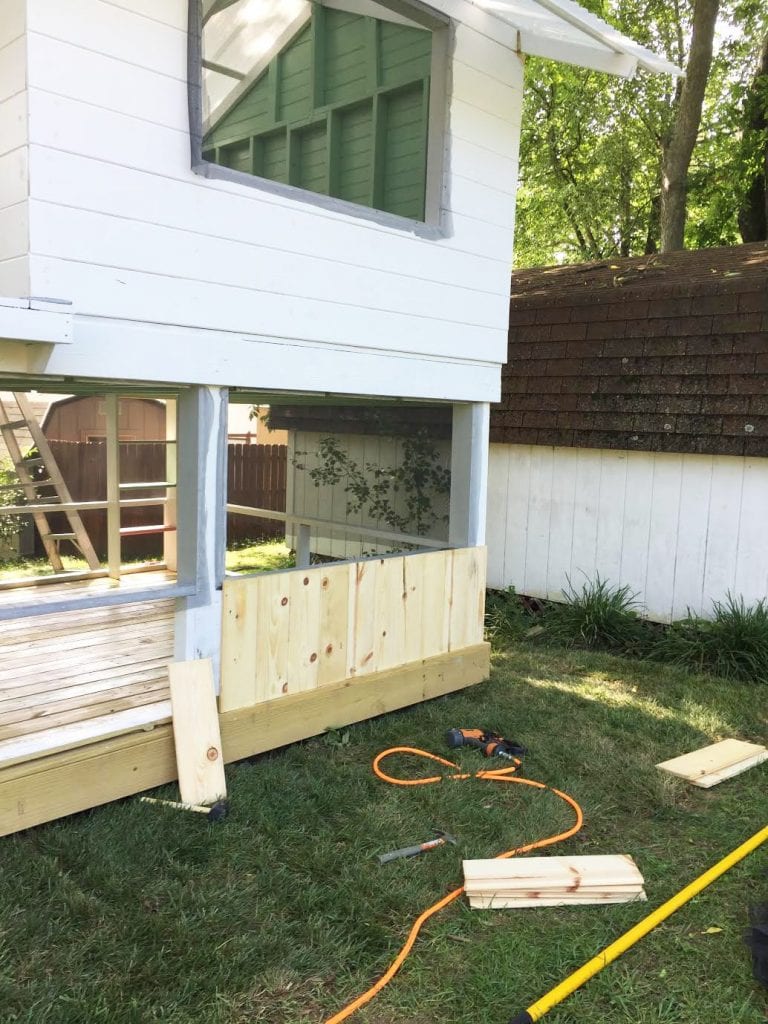
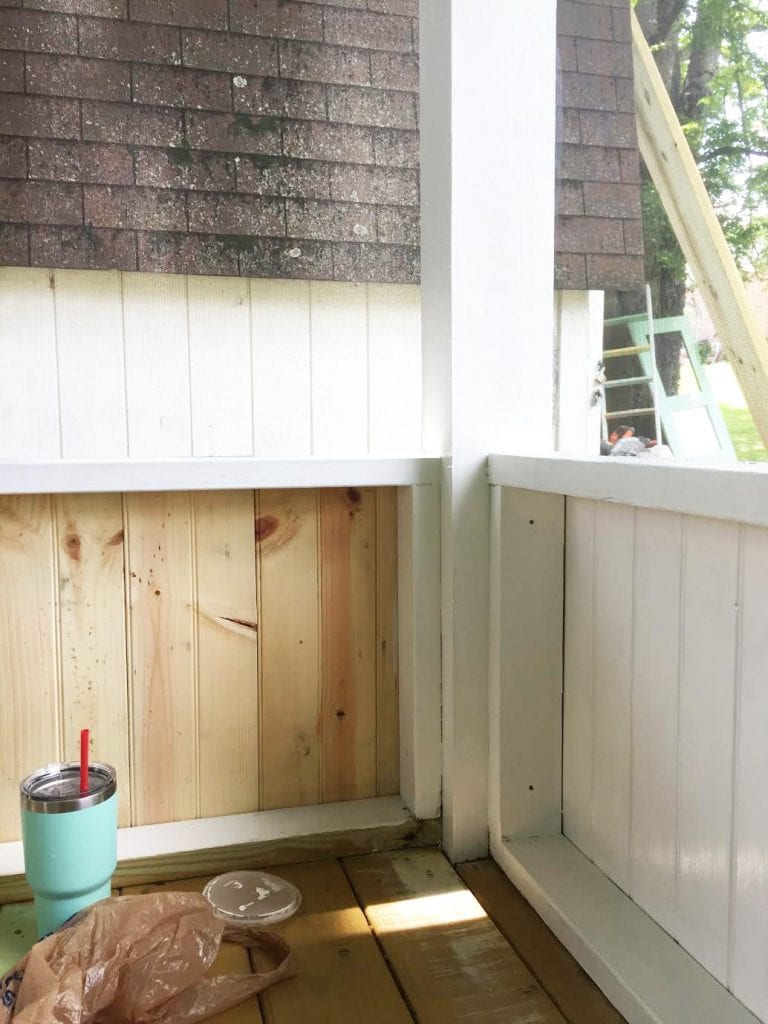
Before we could really get started, we had to block out the bottom portion of the hideaway. We did this by simply running some 2 x 4’s along the edges with braces in the middle. The height of our rail was 21 inches. {Make sure your rail is even with the outside edge of the leg braces, not the decking.}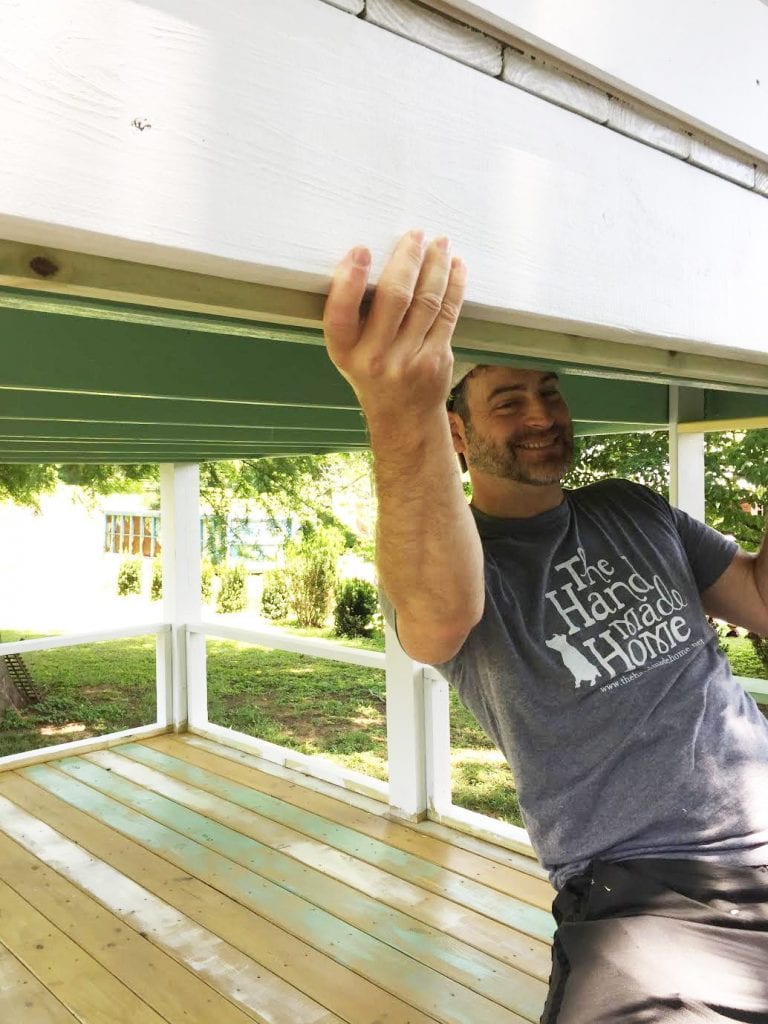
We also had to create a ledge for the screen to be secured to, so we simply took some 1 x 3’s and anchored the to the underneath side of the hideaway. The goal here was to create a flush surface for the screen to be even with the leg braces.
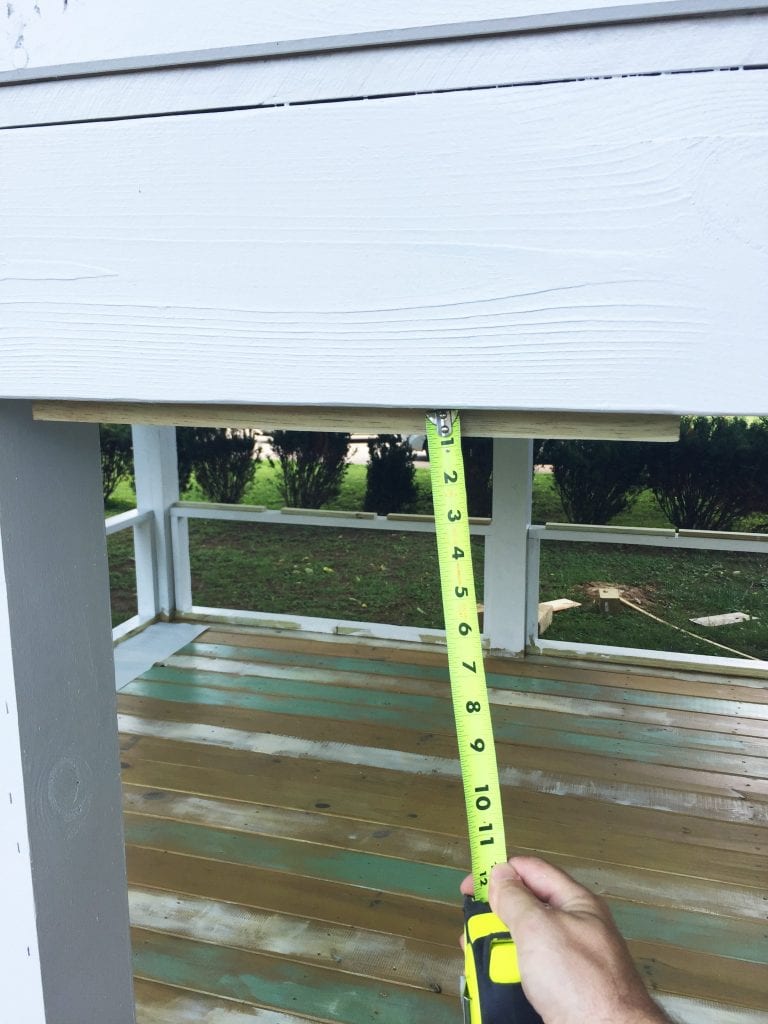
We figured we only need about 1 inch of wood to staple the screen to. We secured the 1 x 3 with a little wood glue and a finish nailer.
I’ll say it again, an extra pair of hands here will save you some headache.
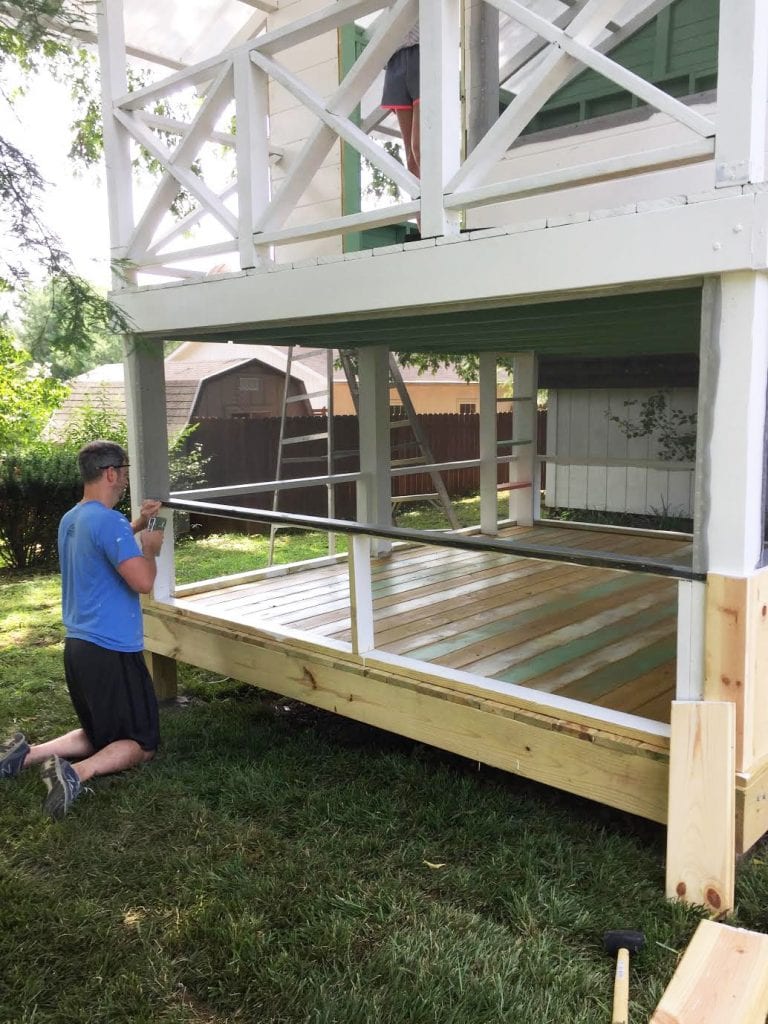
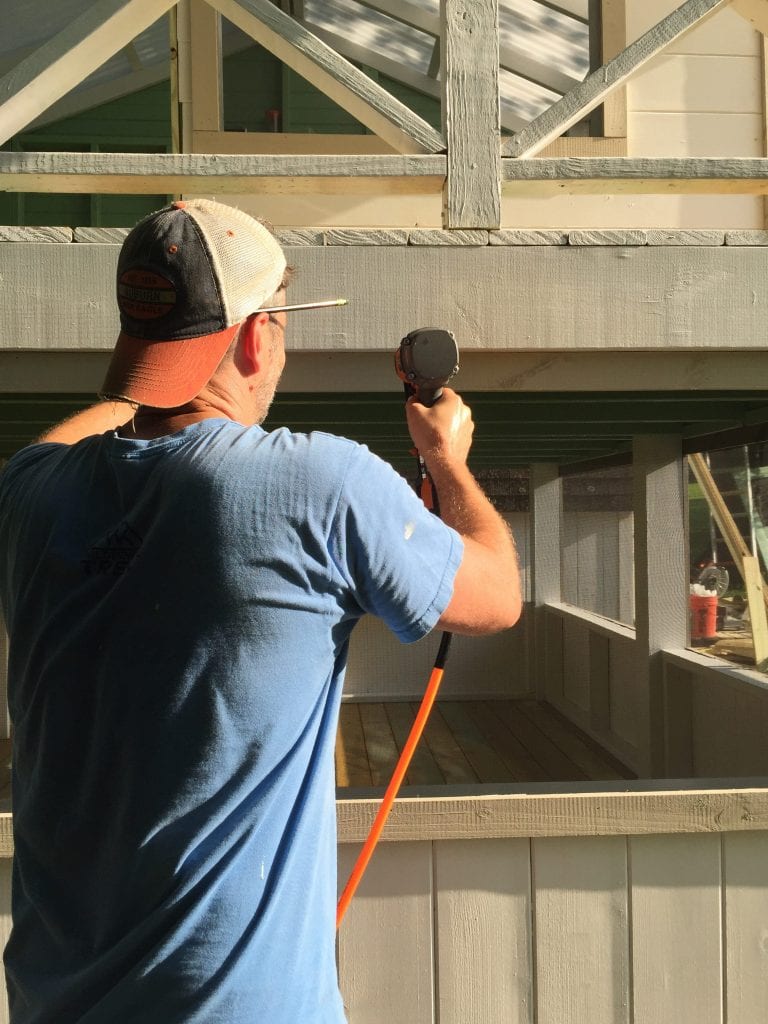
The process is pretty simple. You’ll first want to measure out how much screen you’ll need for the section you are working on. Once you know this, simply cut a piece that is a little longer.
Stretch the screen across the section, then start in the middle with one staple in the top center. {We suggest an automatic stapler for this, your hand will thank you and you’ll need it to drive the staples in far enough.} Then pull the screen straight down and tight, but gently so that you don’t rip the screen.
Place a staple in the bottom center.
Now choose which direction you want to move. Have your helper pull the screen tight on the top or the bottom, whereever you are working, and slowly make your way down the screen. Alternate between the top and the bottom placing staples as you move down the screen to the outer edge. make sure you’re pulling tight the entire way.
You’ll repeat the same process on the opposite side and make sure to place staples all down the edge.

Once done, you can trim the extra screen and staple up any stragglers
Then repeat the process everywhere you’ll need screen.
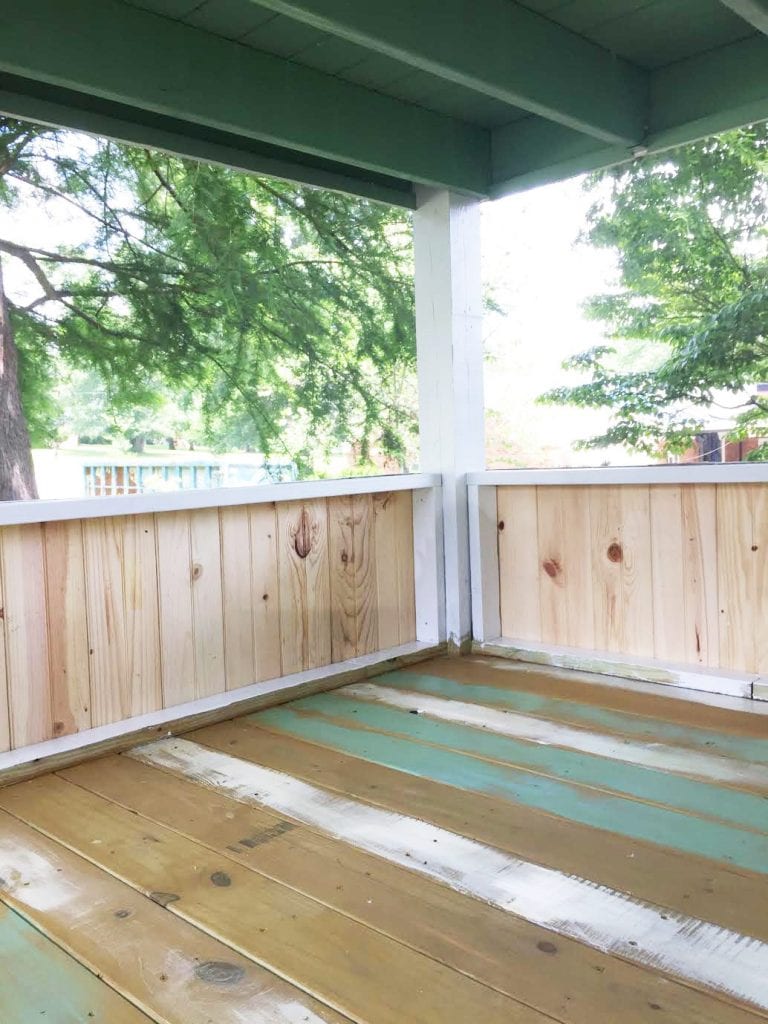
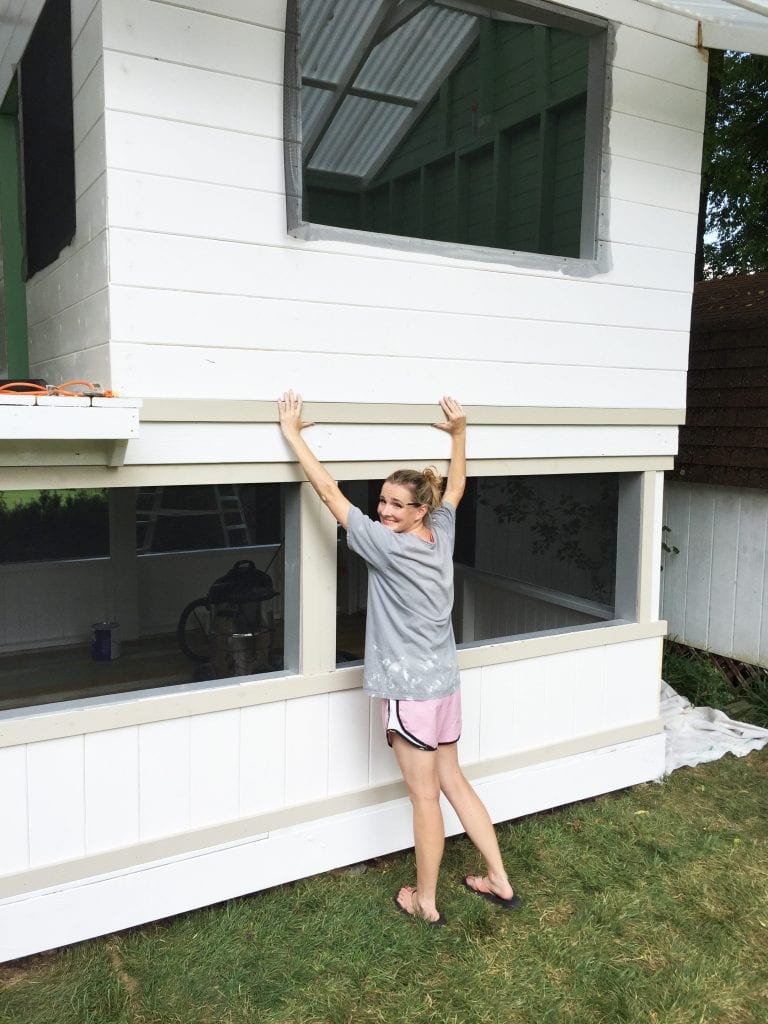
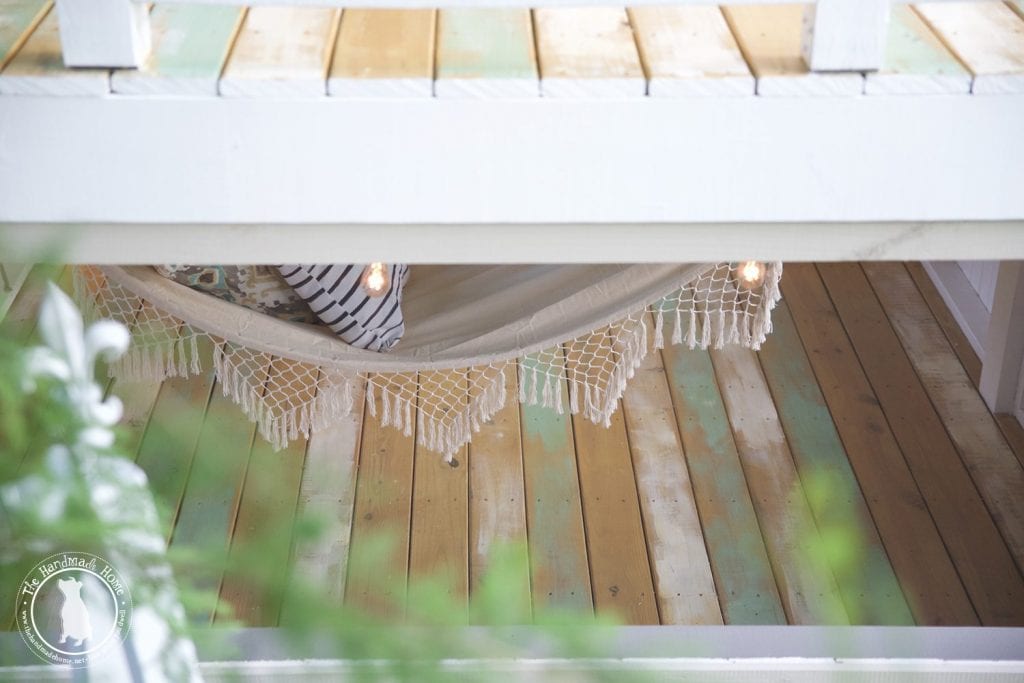
The next step is the planked portion of the hideaway at the bottom, to close it all in.
You’ll use the exact same boards you did for the siding, so if you have any left over it’s a great way to use up those scraps. (To figure materials, simply know how long each board will be, then divide that into the length of the boards you are buying. Once you know how many you can get from each board, you’ll measure the width of the boards and divide that into the width of your structure on all four sides. This will give you how many boards it will take to go around the structure. Simply buy accordingly.)
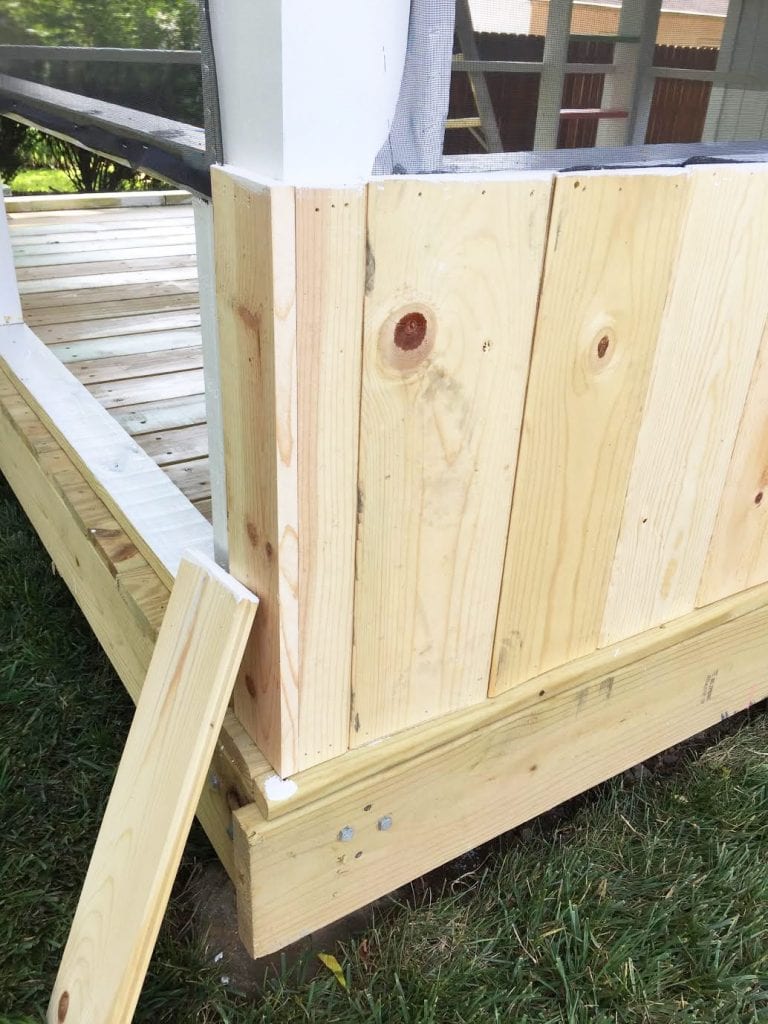
Sticking with the easy theme, there’s not much to this either. Simply cut your boards to 21 1/2, or measure your structure to make sure of the size and nail them in with a 2 1/2 inch finish nail. The boards should interlock, so make sure you fit them snuggly.We started with the groove side facing out on the end.
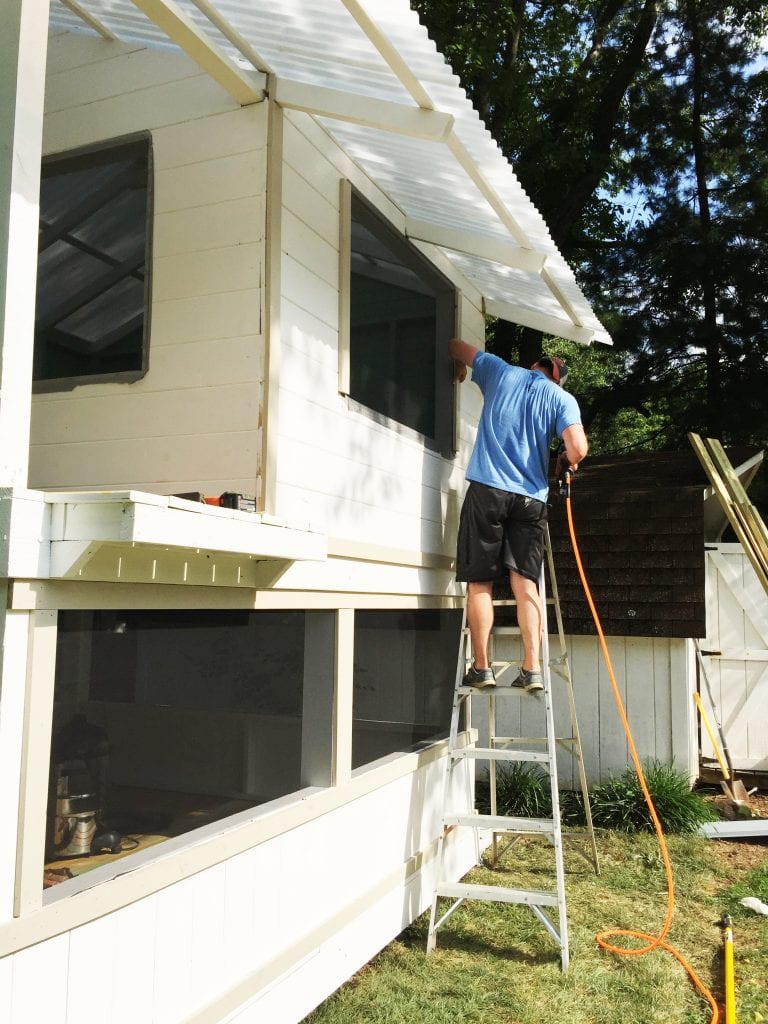
On the corners, you’ll need to trim the edge and you should be able to use the trimmed piece as your starting piece on the next side.
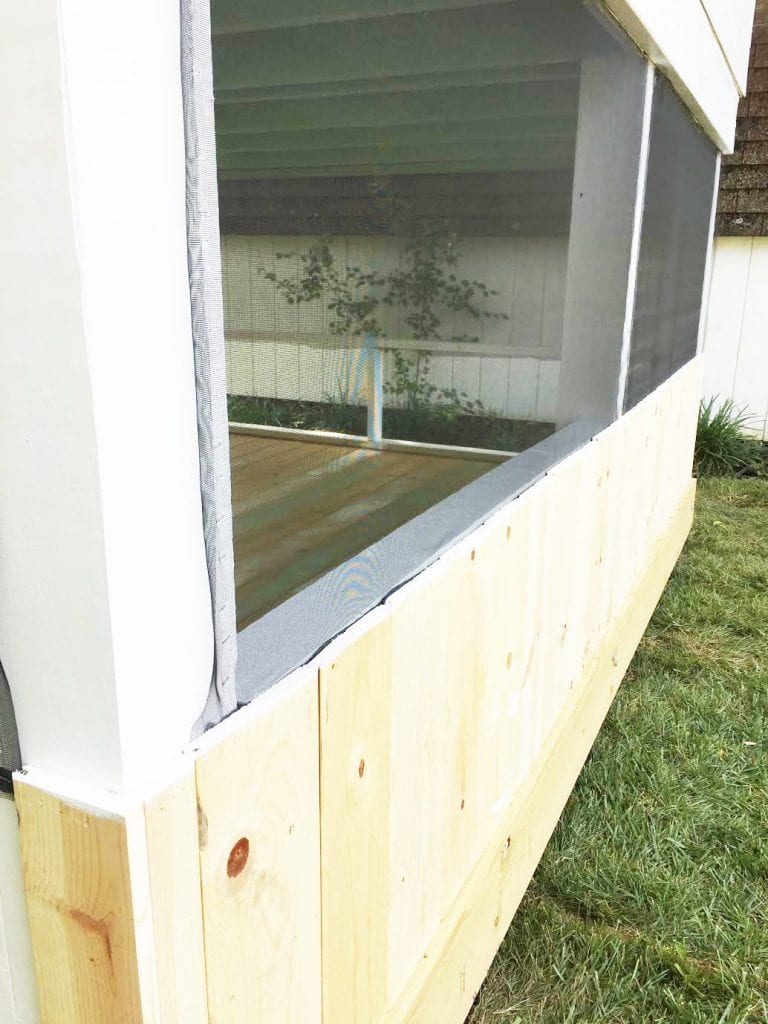
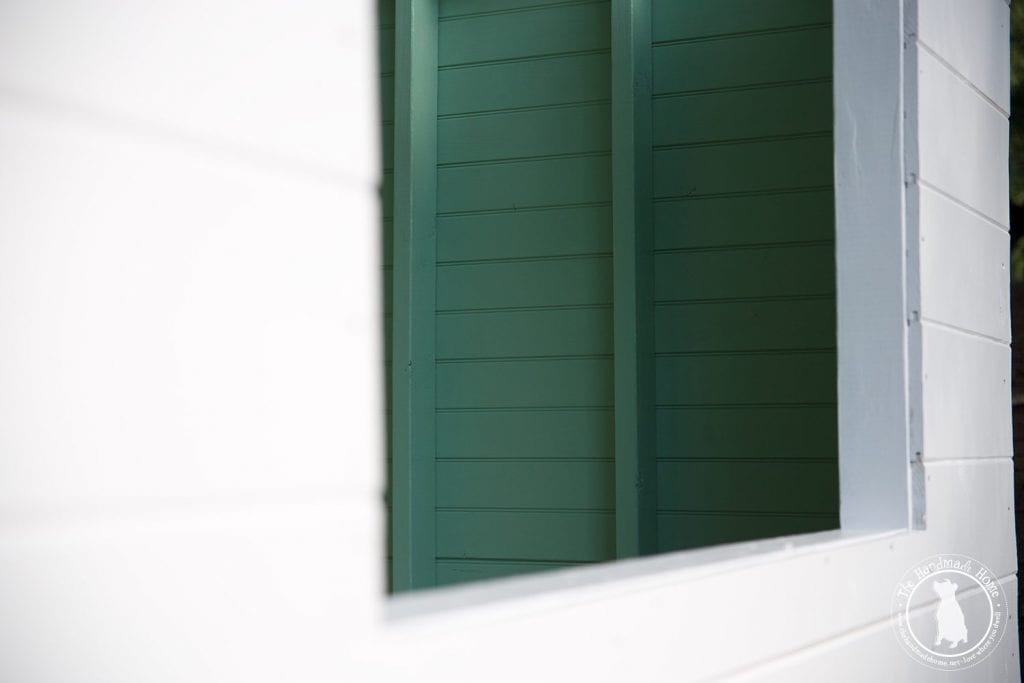
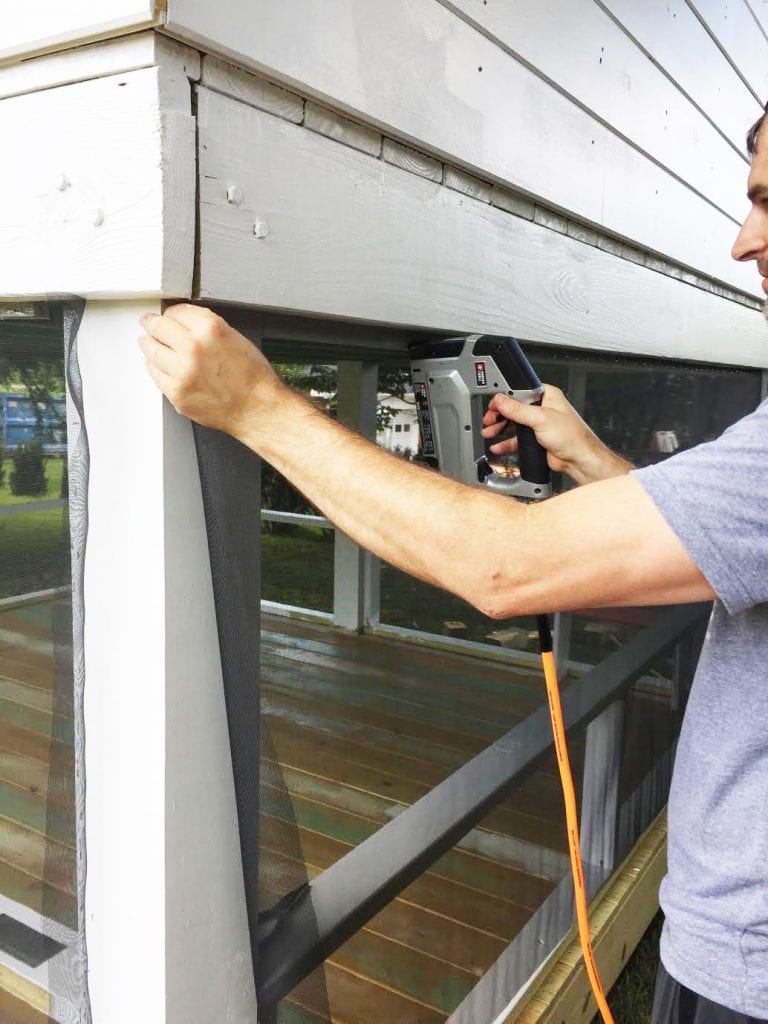
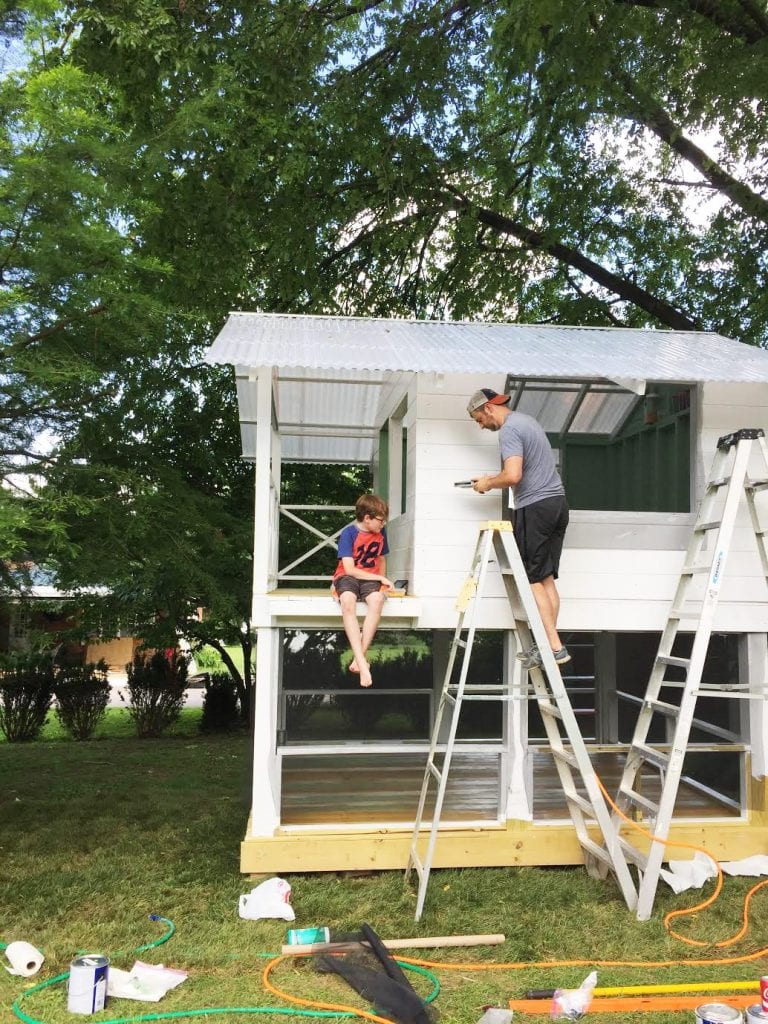
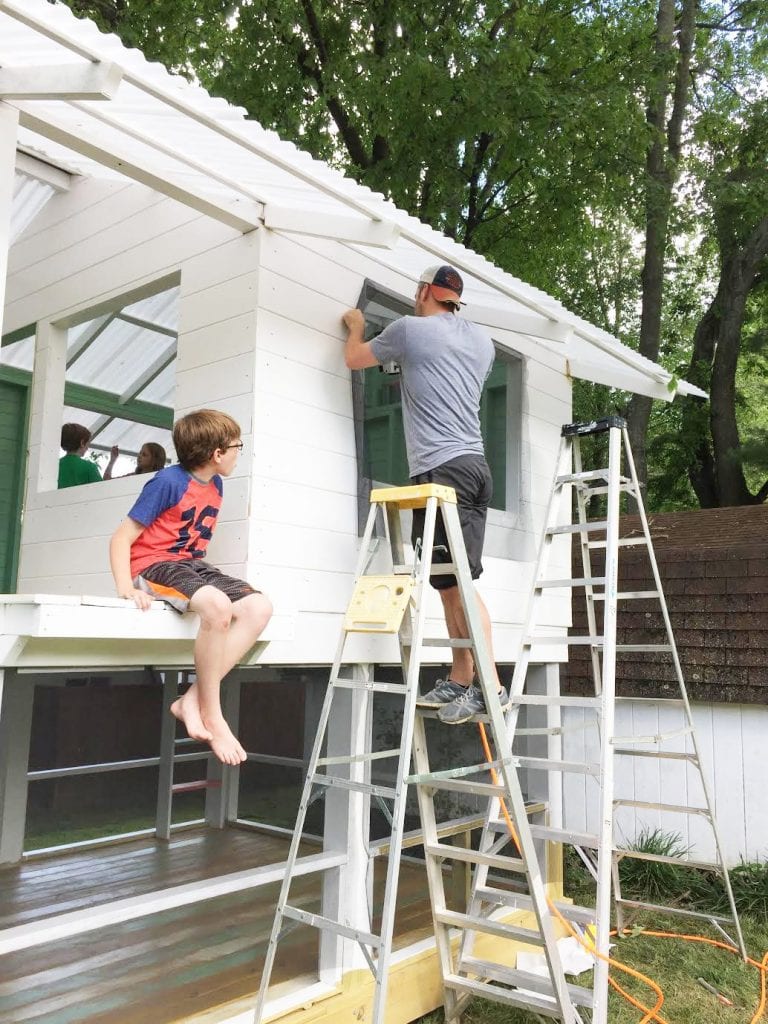
For trim, we painted some 1 x 4 boards and used a nail gun to secure them. (1 1/4 inch finish nails) It really is just measure and cut here.
The big thing is to make sure you cover you screen trimmings.

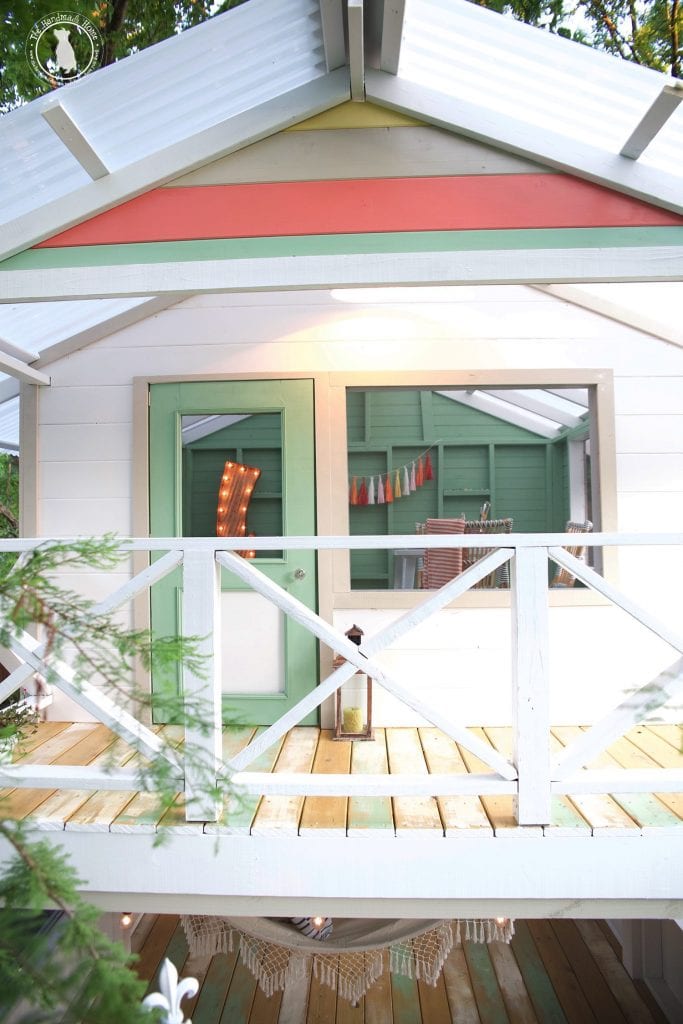
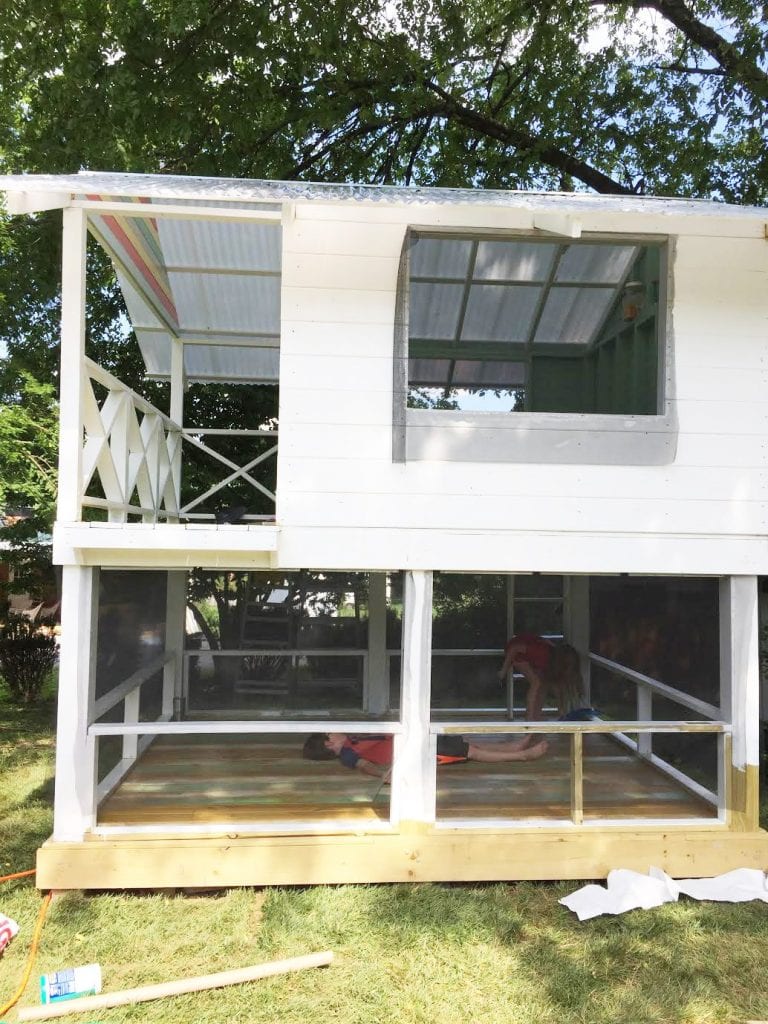
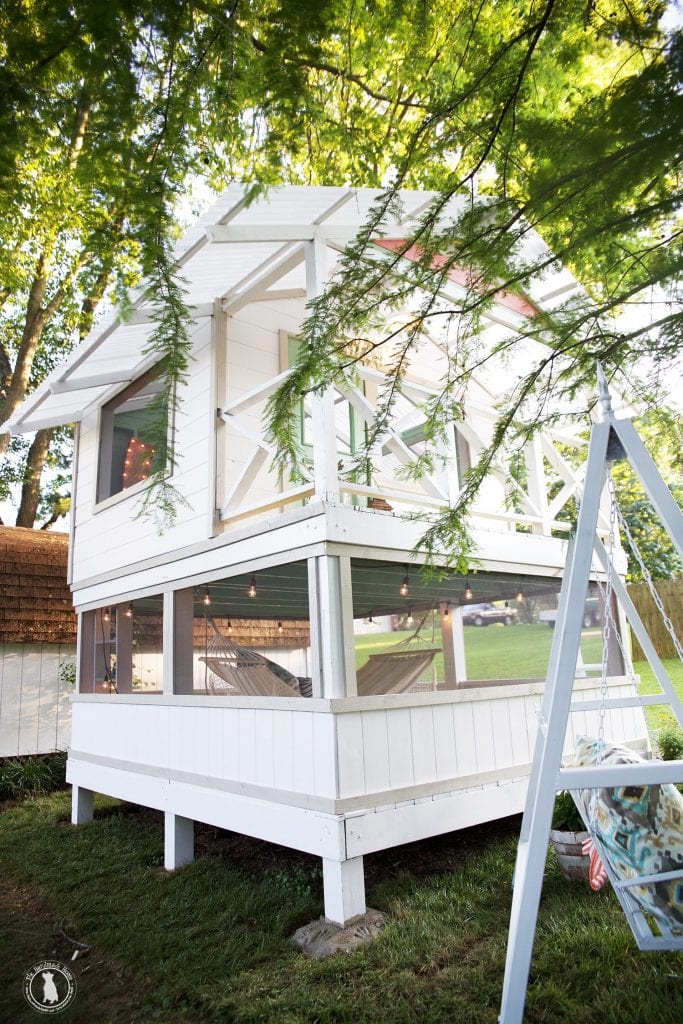
Its definitely a process, but well worth it in the end for the sweet details that make the Handmade Hideaway 2.0 so special!
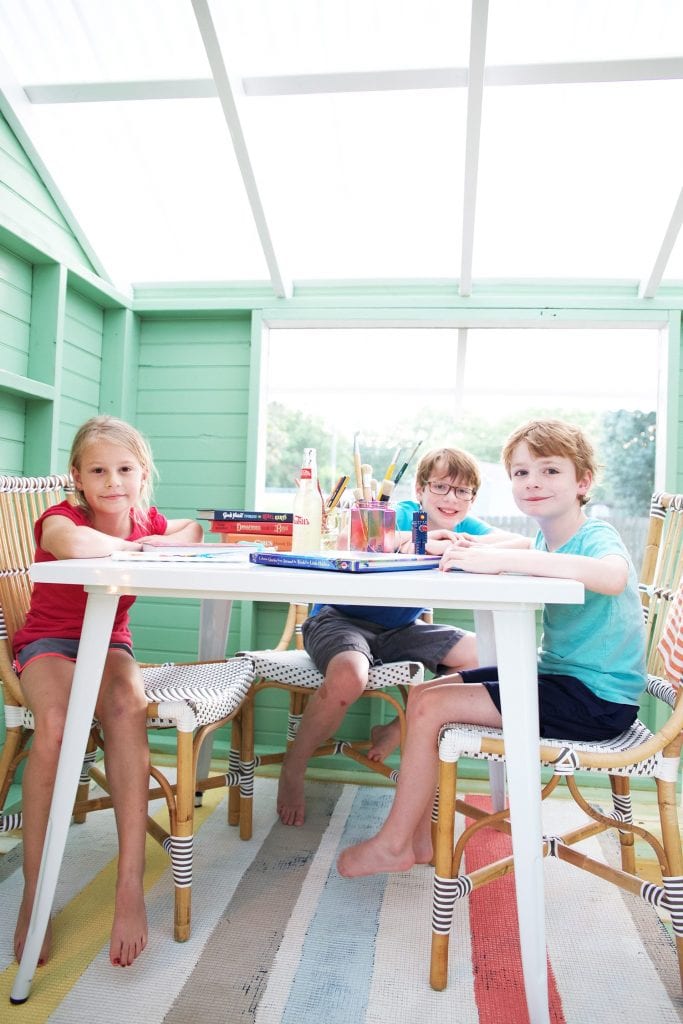
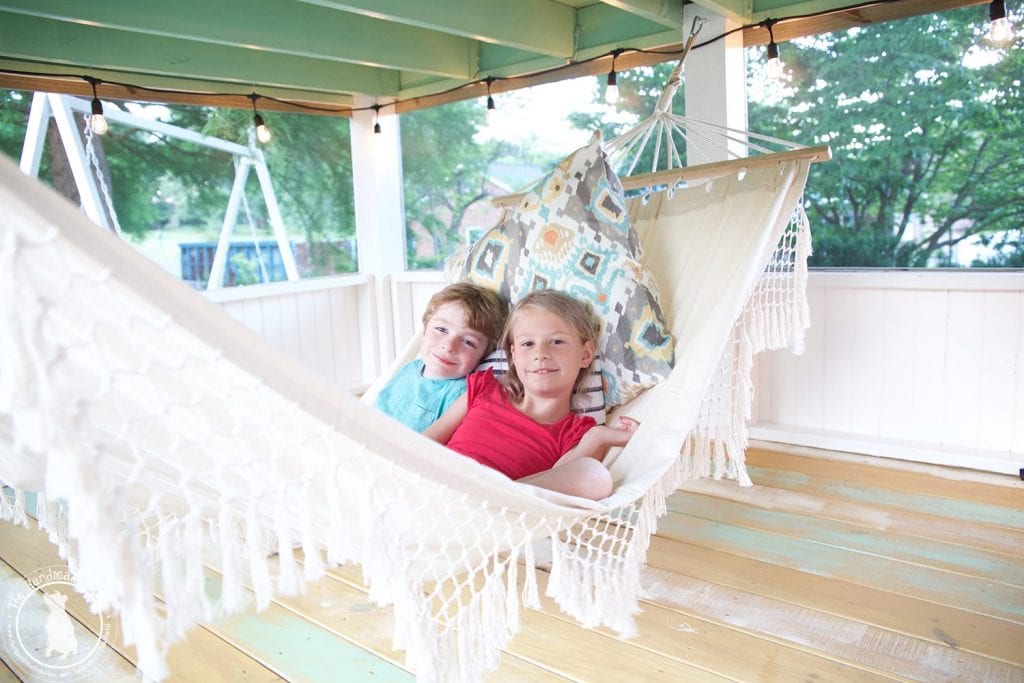
We love that this space will grow with them. And that they can chill, bug-free.
No more mosquitoes and wasps, for sure.
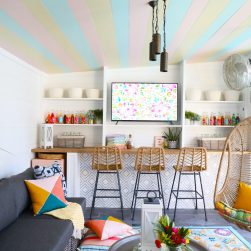
And things stay cleaner, inside!
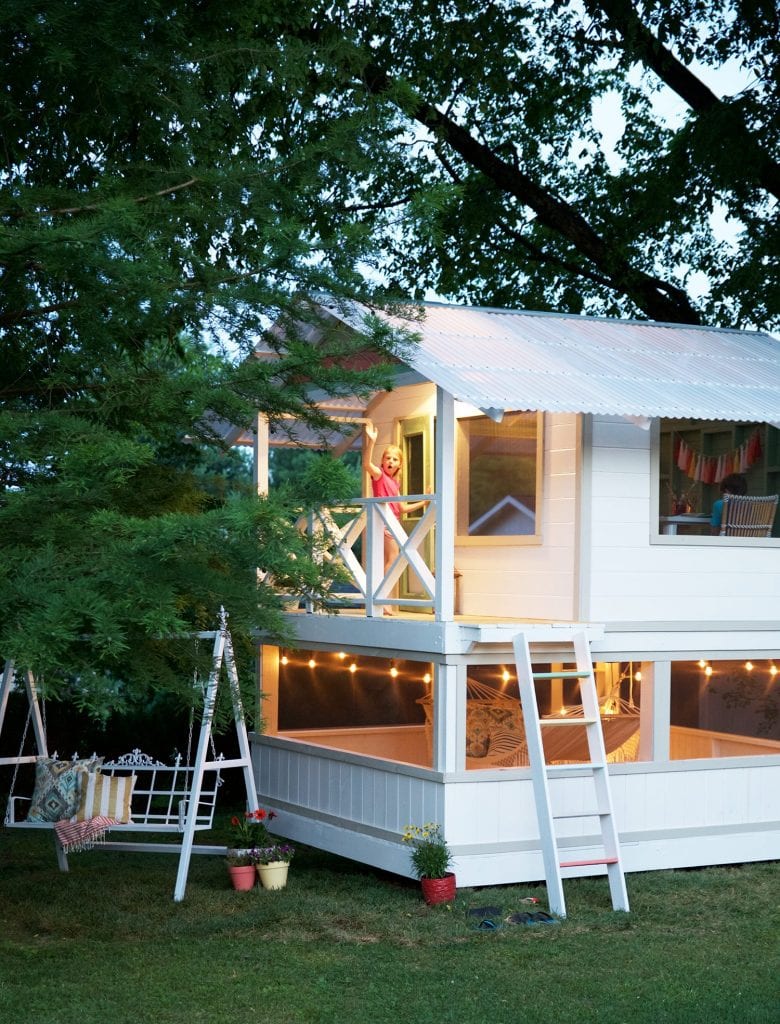
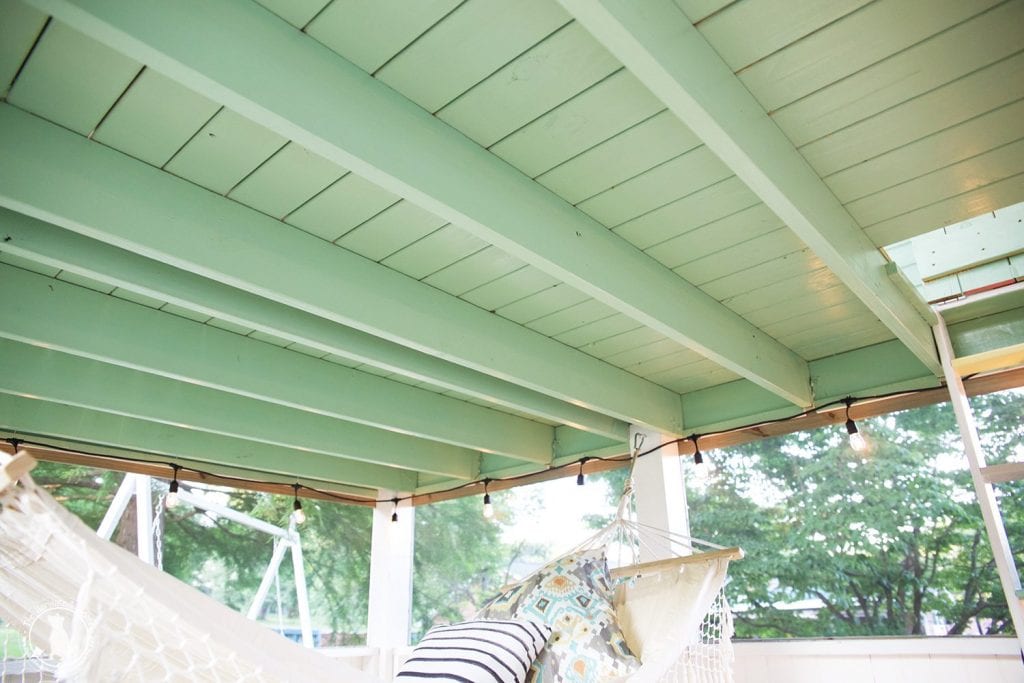
Especially at night when the lights are on!
The weather has started cooling, and we can’t wait to camp out here!
As always, let us know if you have any questions that we can help with.
Happy building, and have an inspired day!

It is STUNNING! Y’all did a fabulous job and even outdid the Hideaway 1.0!
I could just move right in! Love the little place! I need to borrow your hubby!
How did you add electricity?
Hey, We are actually working on a post about the electricity, but we use this Greenworks tools power inverter. It’s great because it goes with all our tools from them.
Love this! What was your approximate cost?
This all depends on your location, where you buy the supplies, discounts, ect. The best way to figure this out is to simply price the materials locally. You can get a lot of the lumber from local lumber yards and save money.
I love this! Where did you find the screen material?
Thanks so much! It was from Home Depot.
Do you happen to have plans for this? It is AMAZING!!!! 😱
Hi! We have everything you need in all of our posts, recapped here. I hope that helps!
This is amazing!! Where did you get the hammock?
thanks so much! We have a similar one linked here but I’d also try wayfair. Hope that helps ;}