Hey guys!
If you’ve been following along for a while in this series, then you know it was time for us to take a break from the building part, and talk a little bit about all things paint. Because we loved infusing a ton of color and personality into our new sweet handmade hideaway – and after the roof framing and planking of the walls… this is the part where we started to paint.
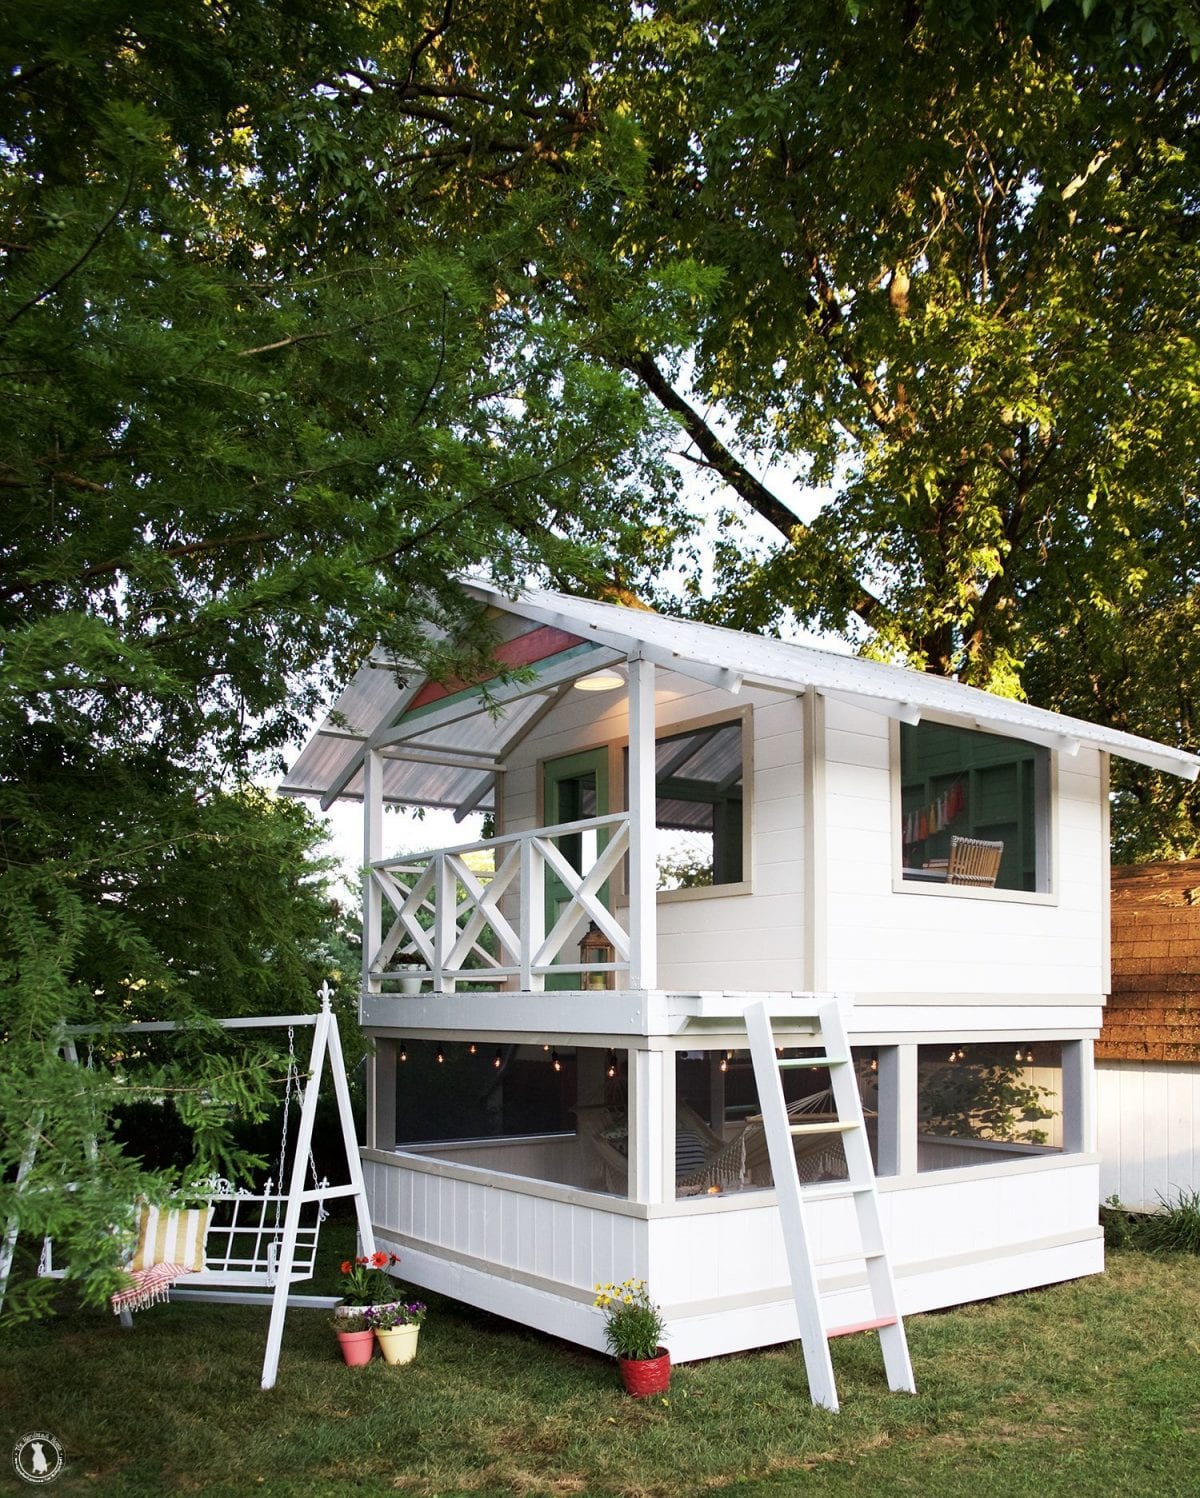
The angles and trim proved to be a little more a challenge when it came to all things painting, just because we were on a extension ladder for some of it and used multiple colors. But we loved the way it turned out with all the color combos, we couldn’t be happier with its fun vibe!
Paint colors used:
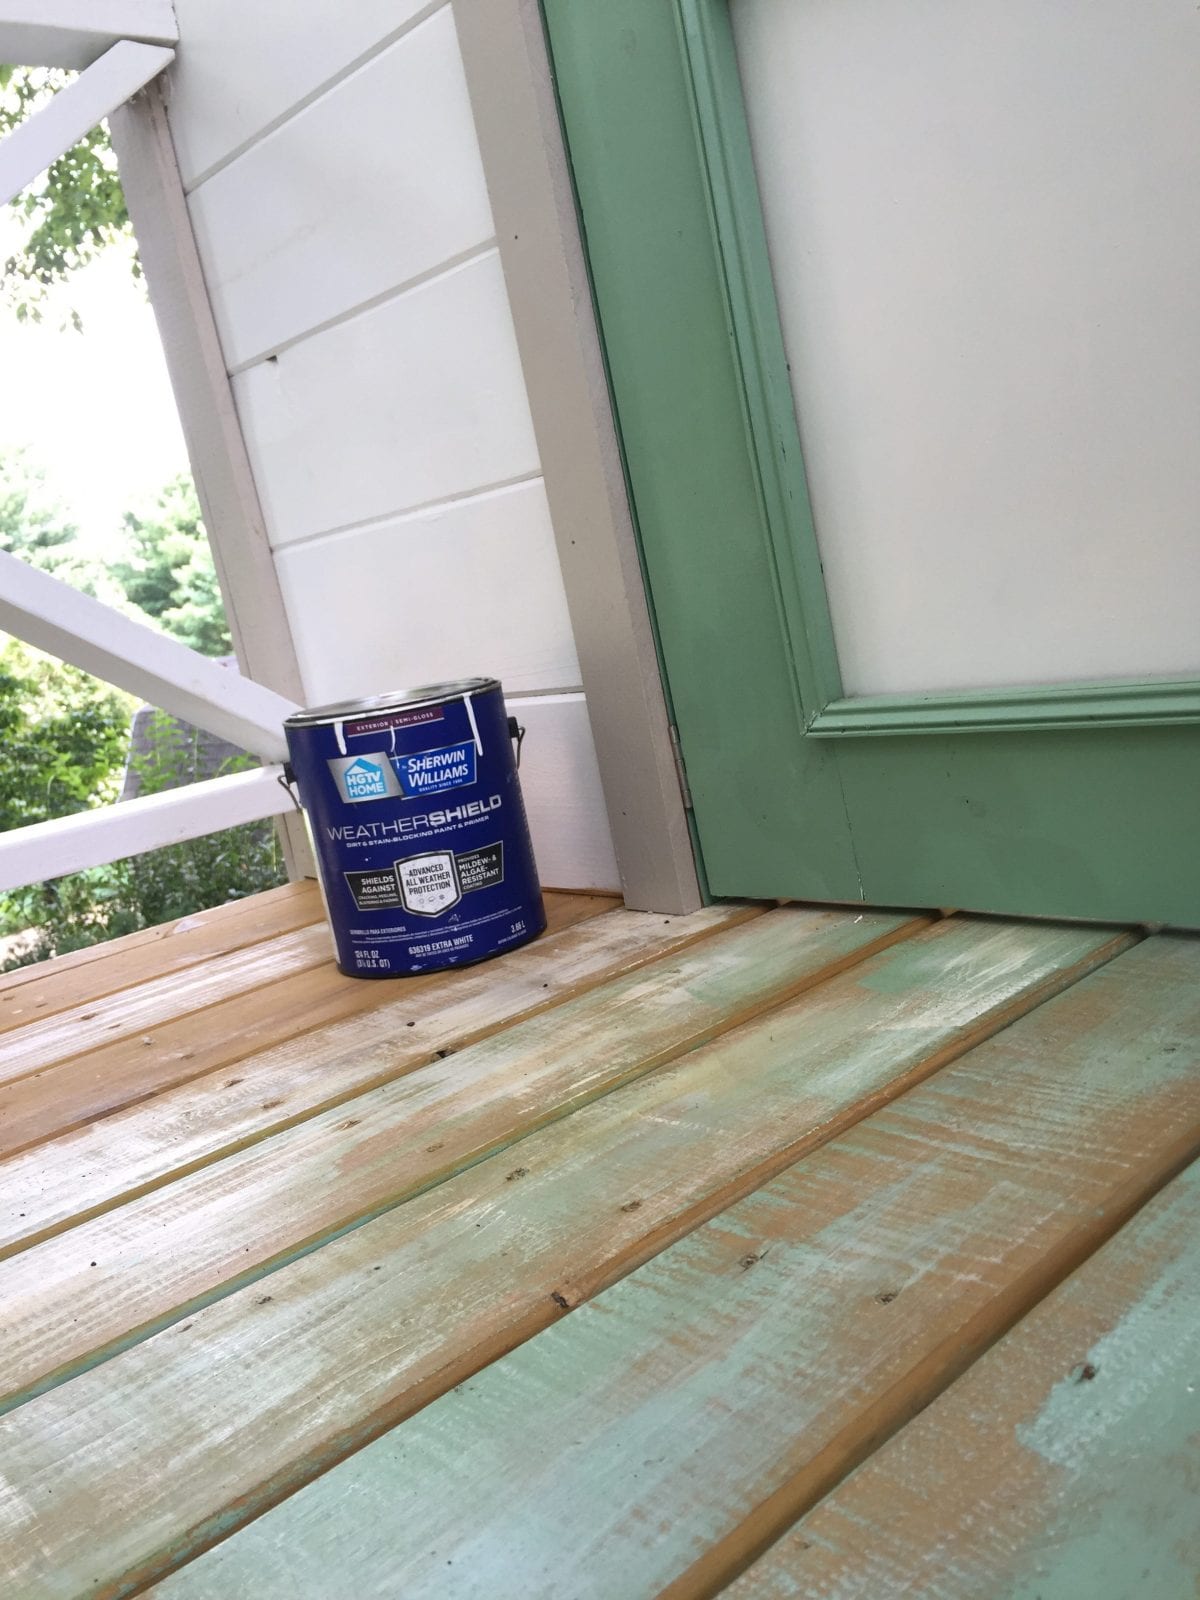
We went with HGTV HOME™ by Sherwin-Williams’ new WeatherShield® Exterior Paint + Primer. Since we want the Handmade Hideaway to last for years to come, we knew we wanted to use a paint that would stand up to harsh weather conditions and wouldn’t fade over time. WeatherShield resists damaging effects from all types of weather (heavy snow to intense sunlight) while shielding freshly painted surfaces from cracking, peeling and fading. Something really great about this paint is that it is early moisture resistant which means we could continue painting up to an hour and a half before it starts to rain. Which the way it rains around here was somethign we’d put to the test.
For colors, we chose some of our favorites from the Color Pizzazz Color Collection. This Color Collection is one of 16 designer-inspired collections that each include 20 colors that were selected to go together perfectly in any combination. Their collection is so much fun because it basically makes choosing colors for your home fool-proof in the way the tones work together.
We adore the playful look they have and the fun results that came from all of them.
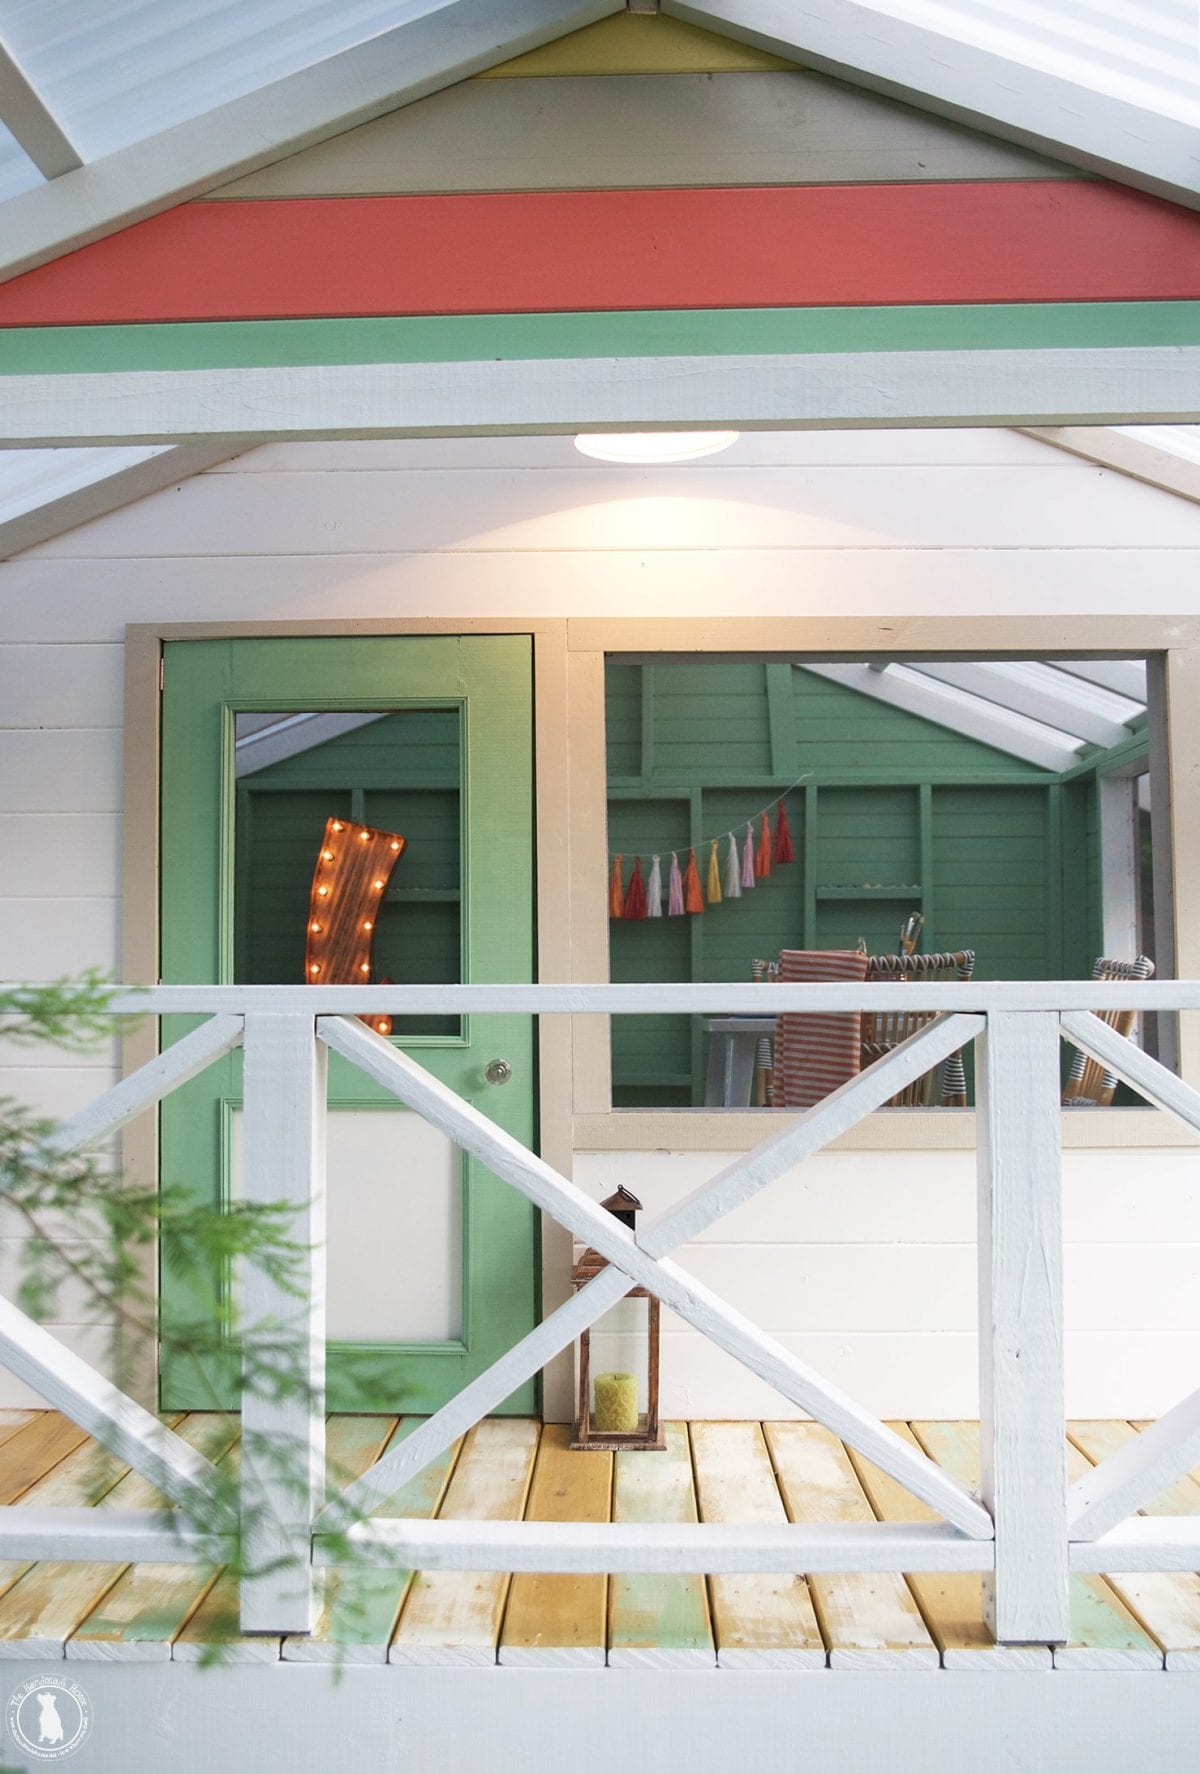
• Marshmallow – HGSW4063 – The white exterior that you see
• Nurture Green – HGSW2275 – That yummy green color
• Balanced Beige – HGSW2486 – For the trim
Accent colors :
• Coral Reef – HGSW1074
• Classical Yellow – SW2865
• Tidewater – HGSW2317 – you may remember that blue from our ceilings in our house.
A few of you have asked me how I felt about this paint and its application. We were thrilled when it pretty much held true to form, and we only did touch ups in the areas where we switched brushes or there were a lot of grooves.
Let it be noted that eventually, Jamin had to remind me that this is in fact, a treehouse and that I could calm down. Because all the trim. All the things needed to be painted. I was one step away from pulling a Da Vinci with the sistine chapel and doing clouds and stuff. Zero chill.
Stain:
Thompson’s® Water Seal® in Signature Series Semi-transparent –Honey Gold
We adore the look that this gave to the floor in its gorgeous contrast. We have more on this below!
So we’ll begin with just a few of our fave painting tips:
• Paint smaller pieces in contrasting color like trim, before you apply it to the hideaway. It’s less work than going back and touching up, 365 times. That means start with the main walls, like the inside green and outside white. It also feels like you’re making major progress this way. ;}
• Seal the nail holes, since it potentially leaves exposed wood. This helps the wood to stay sealed and healthier outside, over time.
• For multiple colors, get multiple brushes. It’s just worth the splurge, but some of them don’t cost that much. We use the cheaper, short-handled ones in the painting department, and put them in baggies throughout the day. If you use a lot of colors like ours, you’ll be amazed by how often you switch out to tackle something else. I would go two days without cleaning them, storing them in a cool, dry place in the meantime. {Another tip: try the fridge!} Then wash them at the end of two days.
• Washing brushes = a hose, good dish soap, and a big bucket. Let soak while you clean up the rest of your work space, then clean.
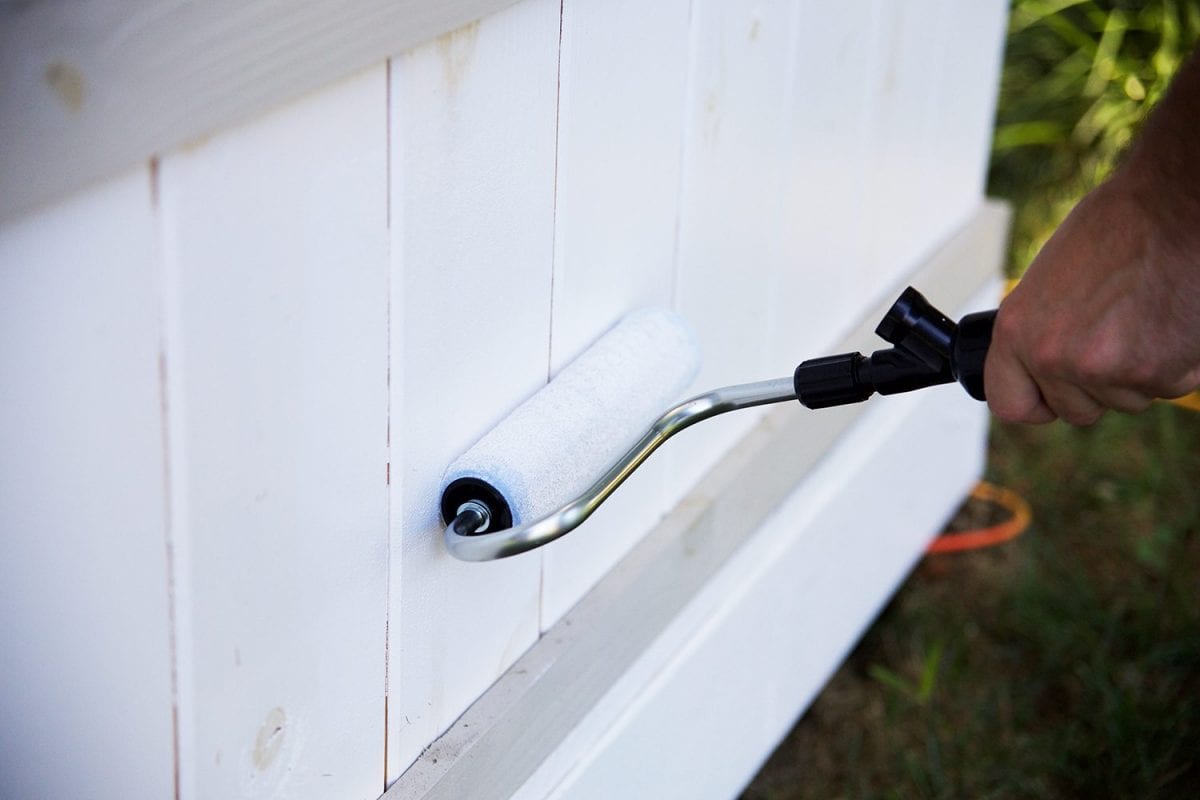
• A big game changer was this fabulous paint applicator from Homeright. It was huge for the big areas, and helped speed the process along. And it’s a lot less to clean up than one of those automatic rollers. Jamin claims he gained hours of his life back with this thing. And no… I don’t let him wear those white shorts in public. :}

Simply assemble, fill with paint, and go.
It helped with splatters, time and so much more.
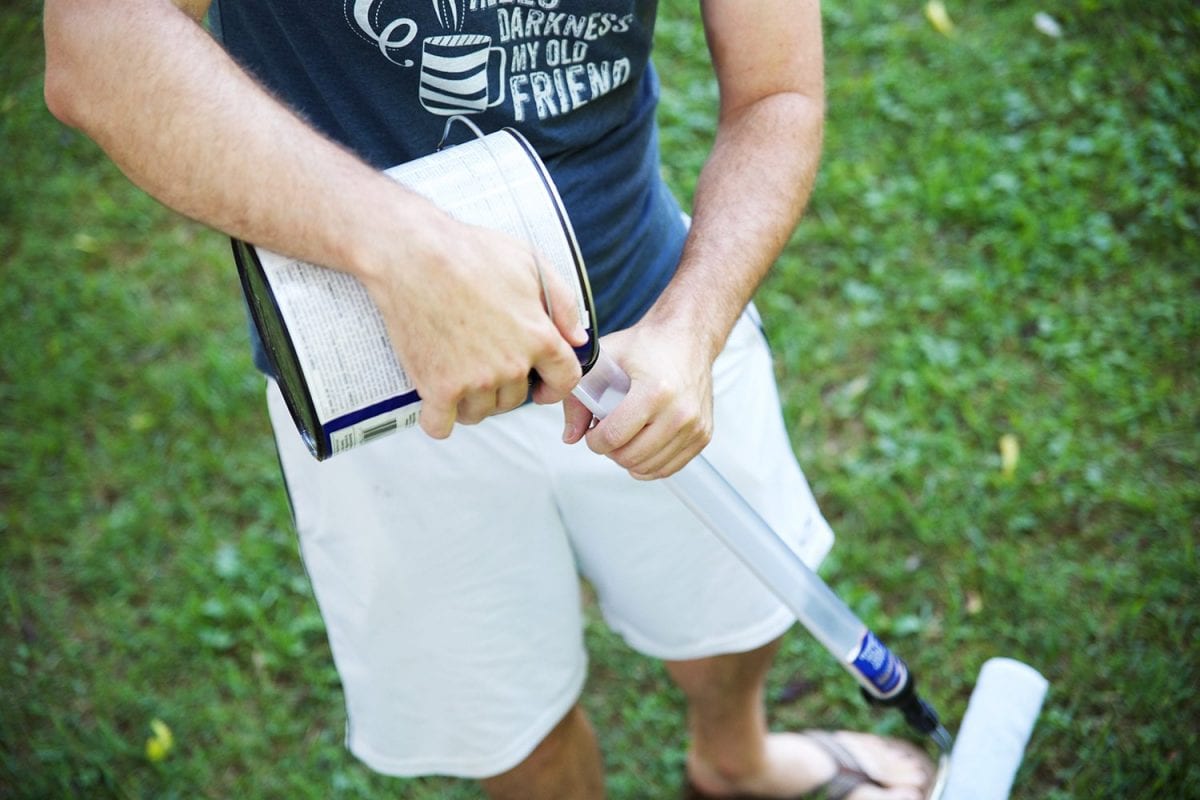
I’m pretty sure it also helped my back.
• I used a gardening knee mat/cushion to help while painting. It may sound silly but it goes a loooong way when you’re in the middle of all the things.
• When you’re working on the hideaway, accidents will happen. It’s always great to use a drop cloth, but sometimes those are too much to mess with. {Take, for example, by the time we got to the bottom level. I was painting the insides of the walls with a brush because of all the angles.} So, I just kept a plastic bag and some Clorox wipes with me, so that if we had small drips, they came right up with a small wipe and I disposed of them immediately. Crisis averted.
• We used the roller brush for the large parts, and then touch-ups for the angles with the smaller brush, and this is where I switched multiple brushes out, often.

We had a totally different look planned for the front. I had visions of a shingled/tile look on the outside, but soon realized that sometimes, simple is better.vIn the end, we’re so glad we incorporated these fun planks with all the colors, and the color collection makes it easy for anyone looking for a little more confidence in pulling colors together.
We loved the great way it was finished out.
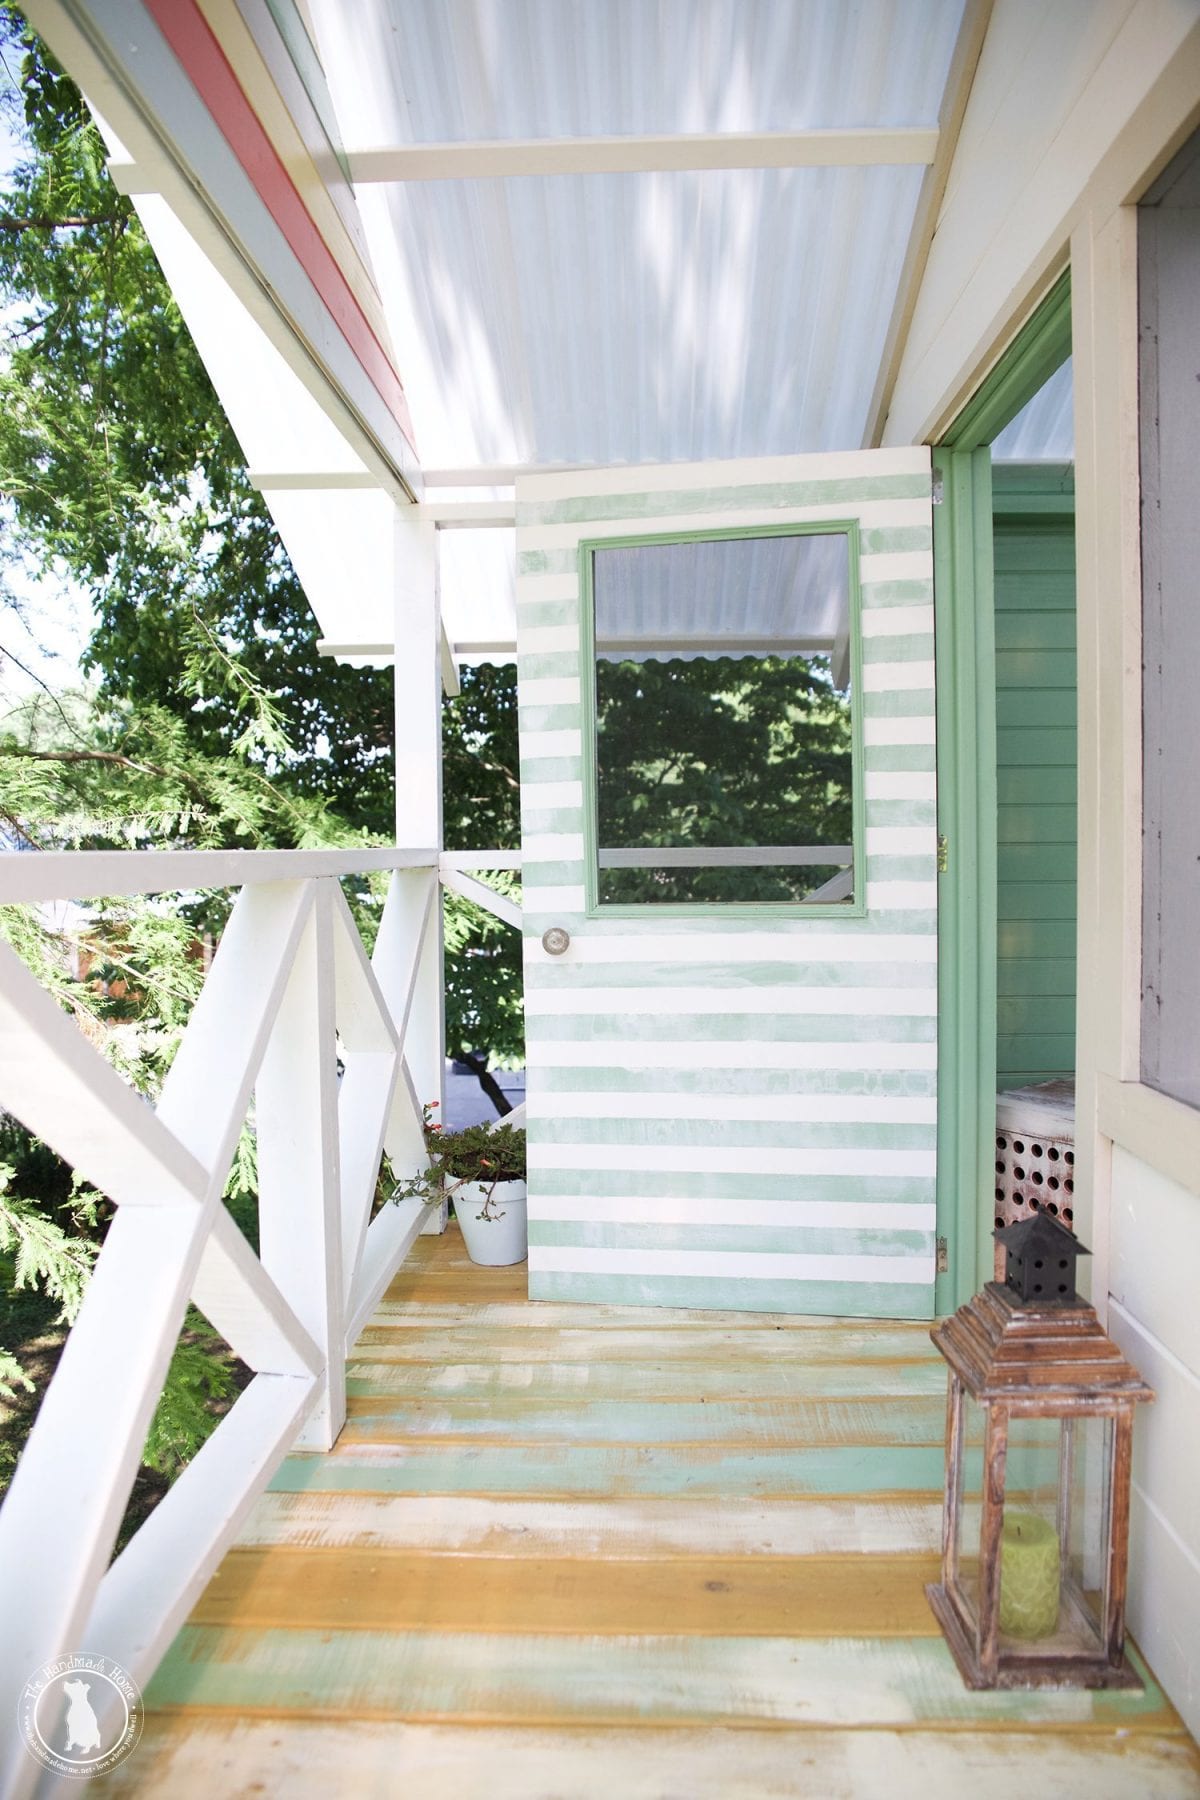
For the little screen door:
We’re skipping ahead and little because I know we haven’t talked about how to build it yet. We’ll get back to that ASAP
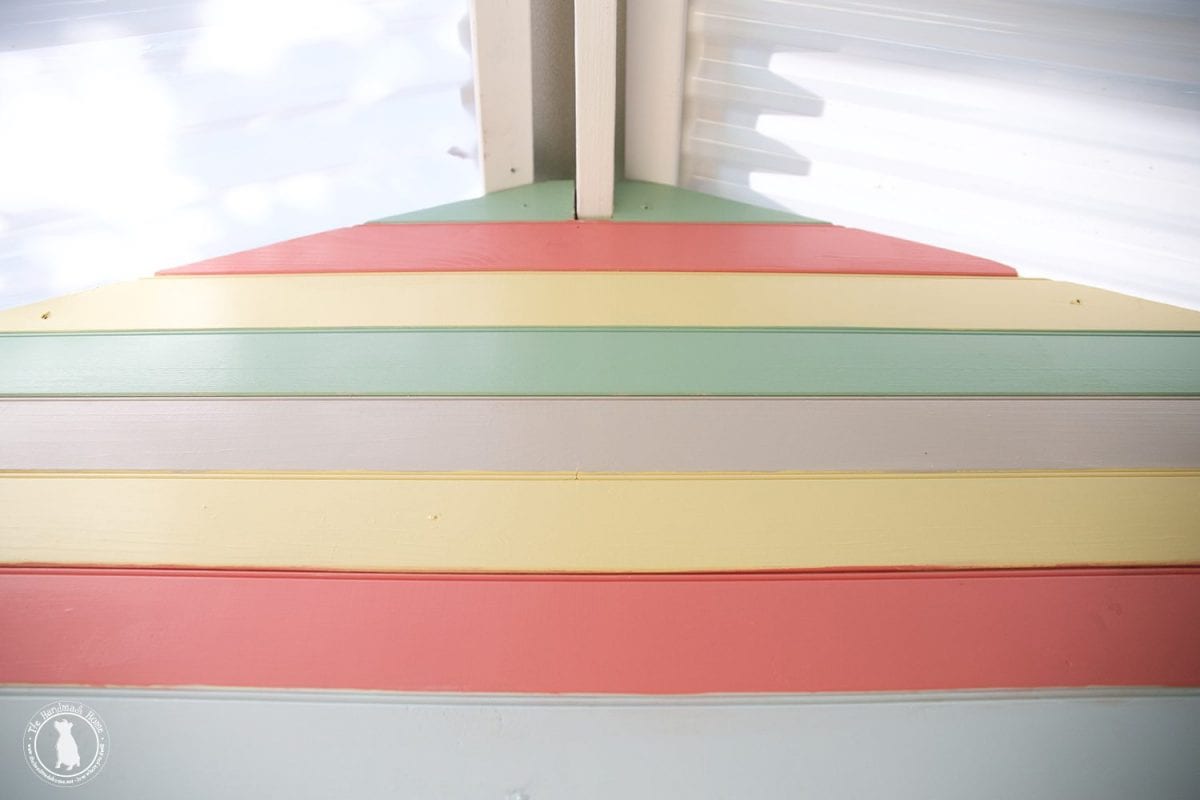
But we started with a plain white back, and the front was so pretty with its contrast of color, I knew that plain white would never do. So I simply went on top of the white with a wider painters tape. Starting at the top and keeping it as straight as possible, I put one strip of tape down, then another, right up next to it.
Then another. So I had three pieces of tape. Side to side, all the way down as straight as possible.
Then I removed the one in the middle, and placed it in the fourth place down. And then a fifth, right up next to it, and then removed the fourth. So essentially, to help keep your spaces even, you’re just leapfrogging the tape all the way down until you’ve gotten all your spaces. This way, every other one is marked off.

Taking a smaller brush, I painted away from the edges to each center of the stripes, lightly.
When it was dry, I removed the tape.
TADA! But I didn’t stop there. It won’t be perfect, so touch it up a little with the white, but don’t be afraid to dry brush, on top of that, in different directions. I rubbed on and off as I went, to distress it a little. A little extra character goes a long way.
And then we had our fun stripes on the back.
![]()
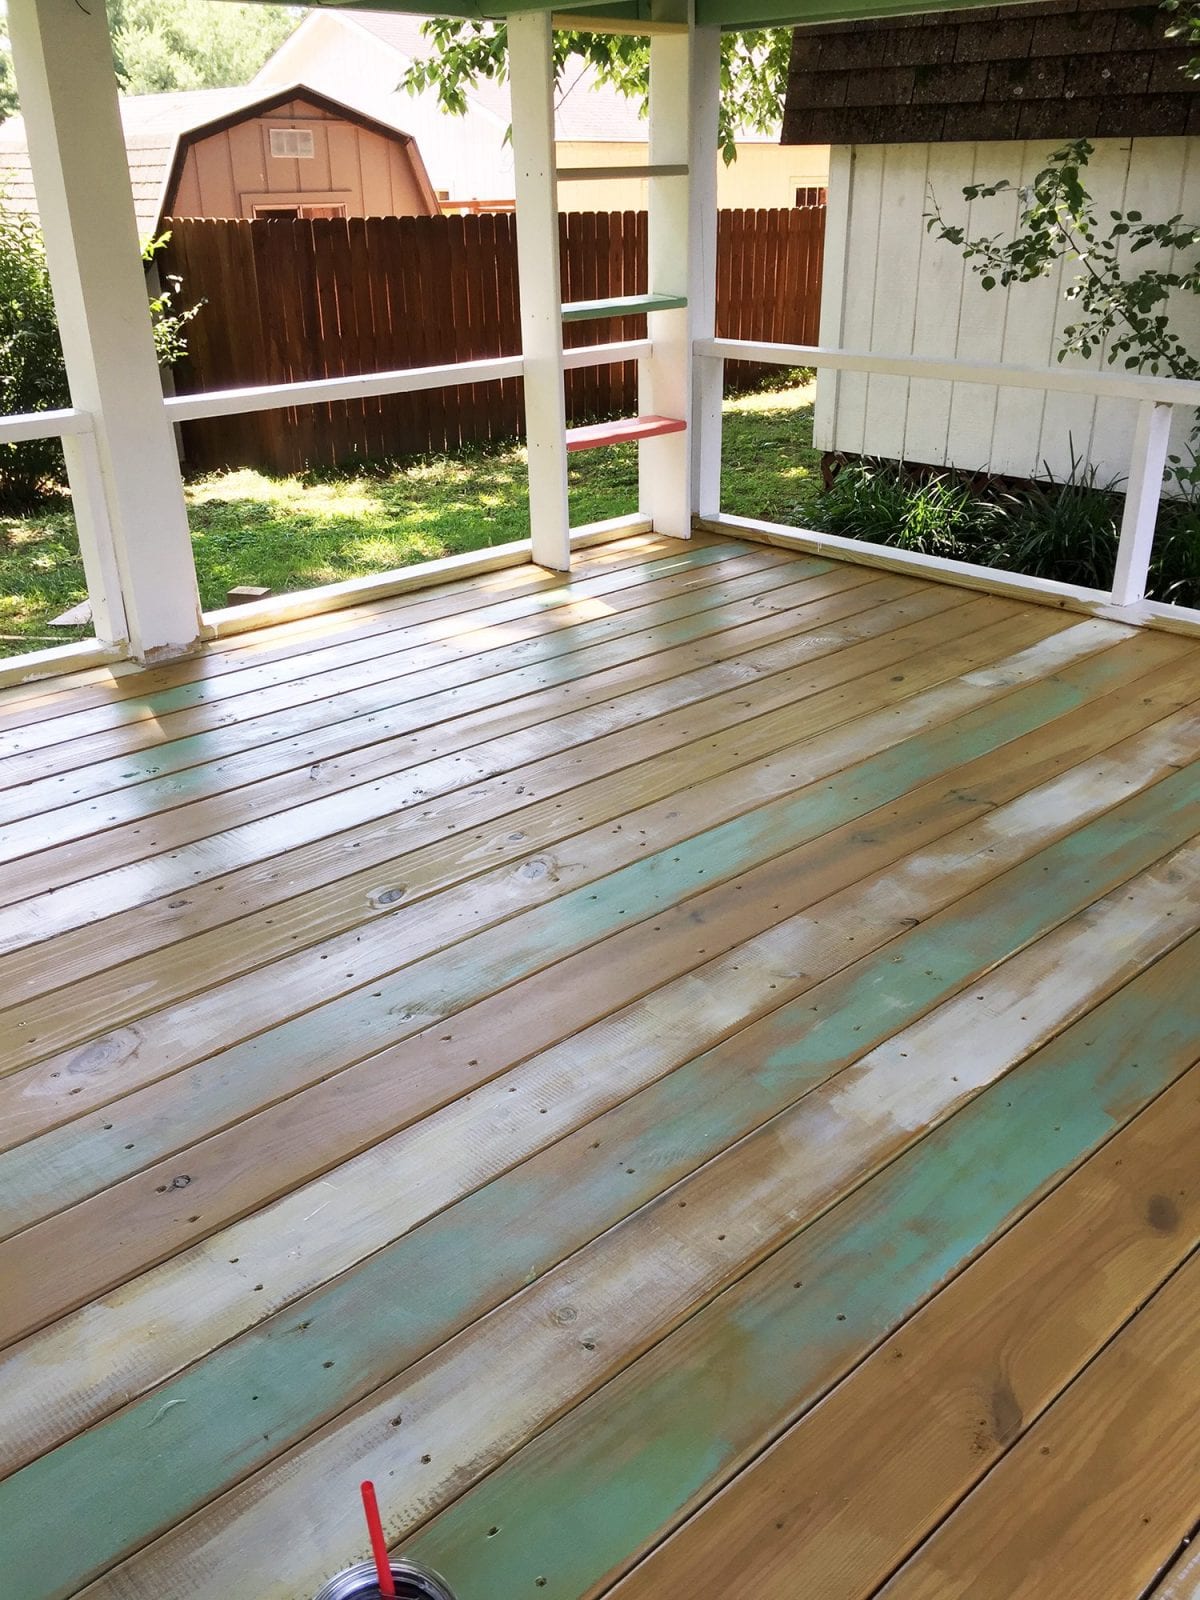
For the floors:
They ended up like this, and we love it.
I knew I didn’t want to sand all the things.
Because in theory, we saved the floors for last in case there were any spills.
And then not in theory, I spilled half a can of green paint, when my big kadunkus hit it, as I was crawling over the rail from a ladder.
So smart. So safe.
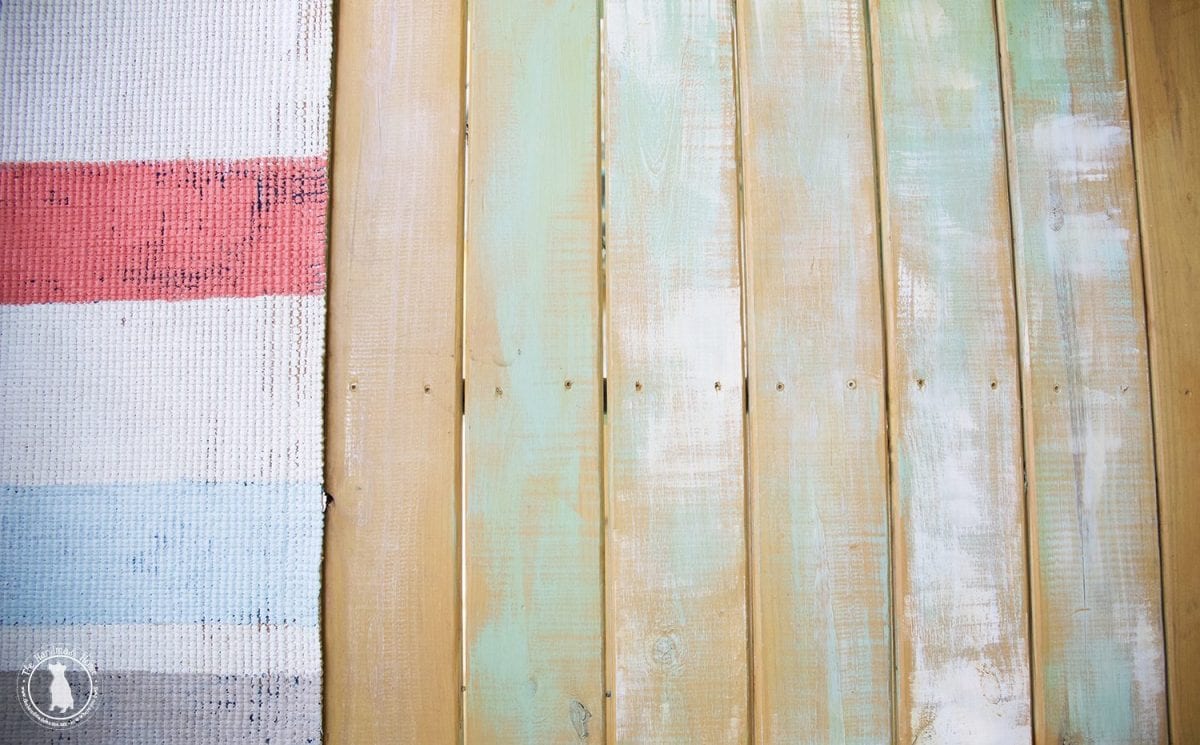
Said green paint, spilled all the way from the top level, through the cracks, and to the bottom. While we were able to wipe most of it up, we couldn’t get all of it. It was a slow motion nightmare. I thought I would just sand it down, but by that point, I had an epiphany {or at least my hand did, after going numb in ten minutes of sanding}. It’s true what they say: work smarter not harder. So I just stained. Over all the marks. Everywhere.
Hint: Use this puppy from Homeright: The Deck Pro with Gap Wheel Stain Applicator. The process went so much faster. It cut our labor in half and got between all those pesky grooves. The application was smooth and even and that Honey Gold looks beautiful.
When the stain was dry, I started to paint.
Since green and white were what had previously dripped on the inside, we decided this was a great place to start. And keep it simple.
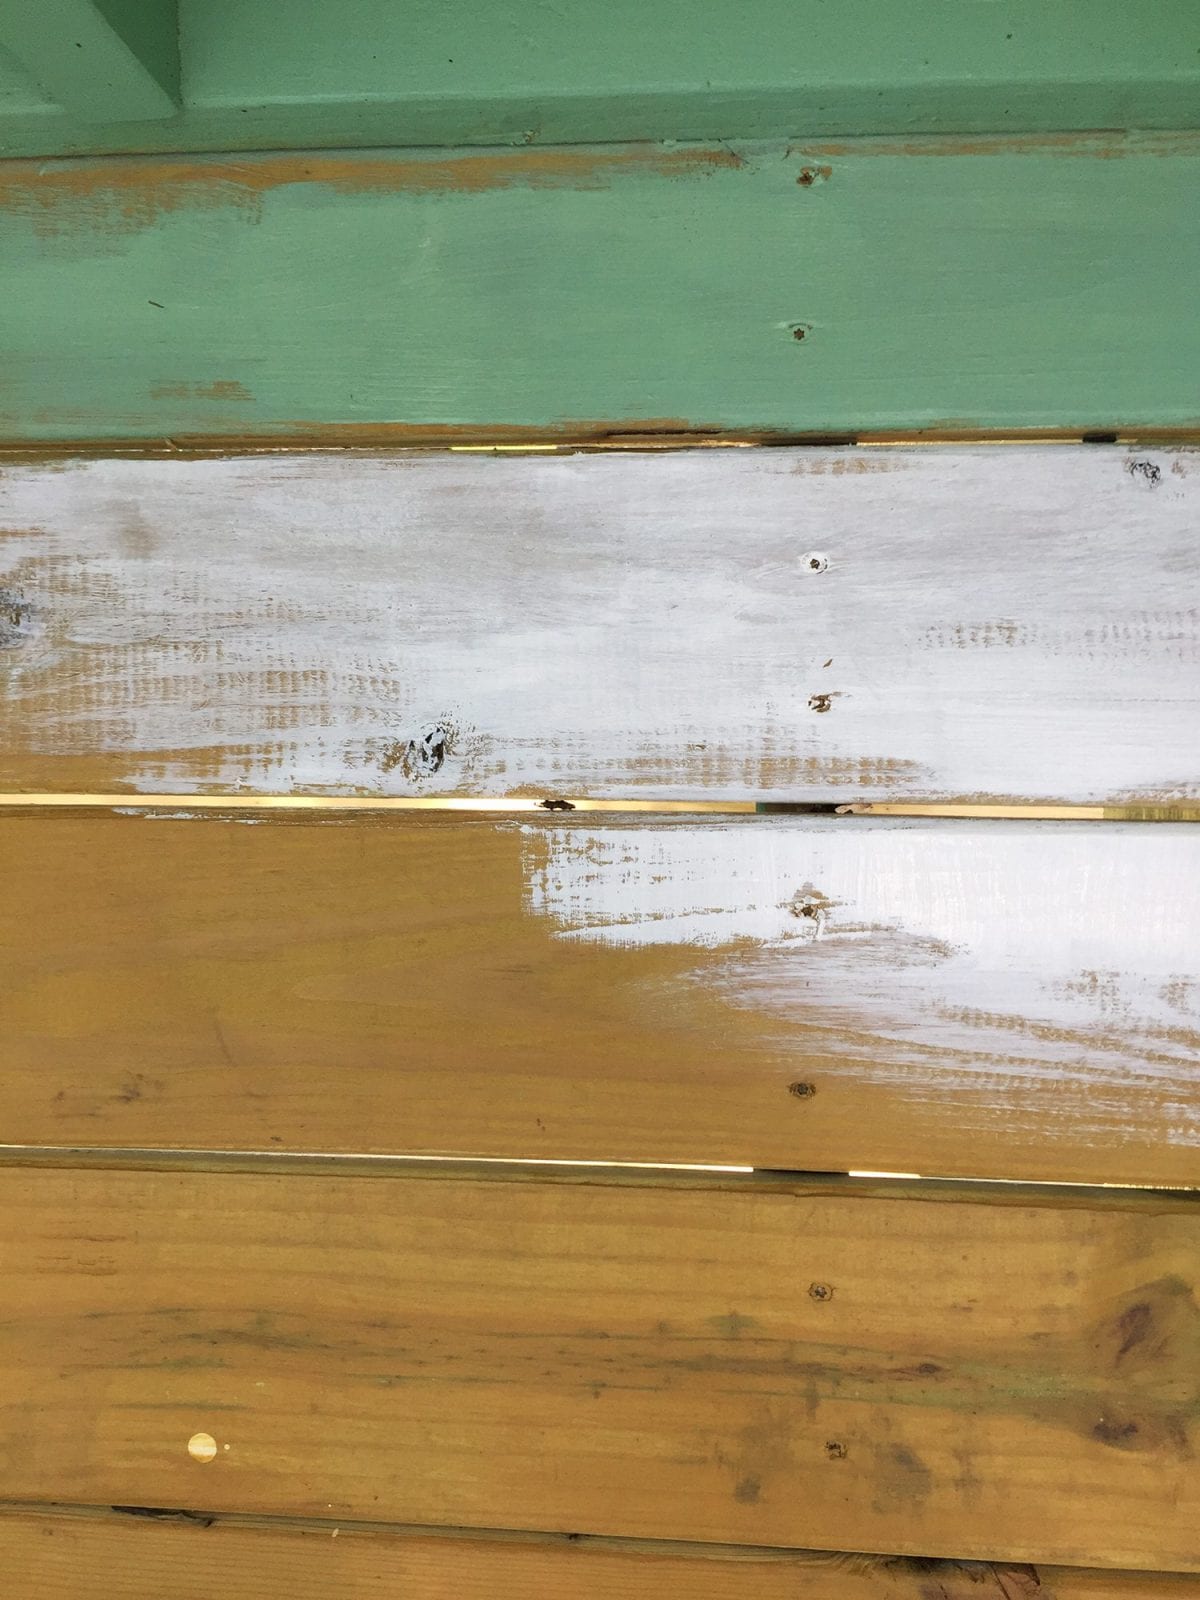
It was a combo of dry brushing, and then moving the brush this way and that to “age” the boards as I went. Or at least make them look salvaged.
It covered up the boards that had drip marks, and we left some plain jane that didn’t have the drip marks.
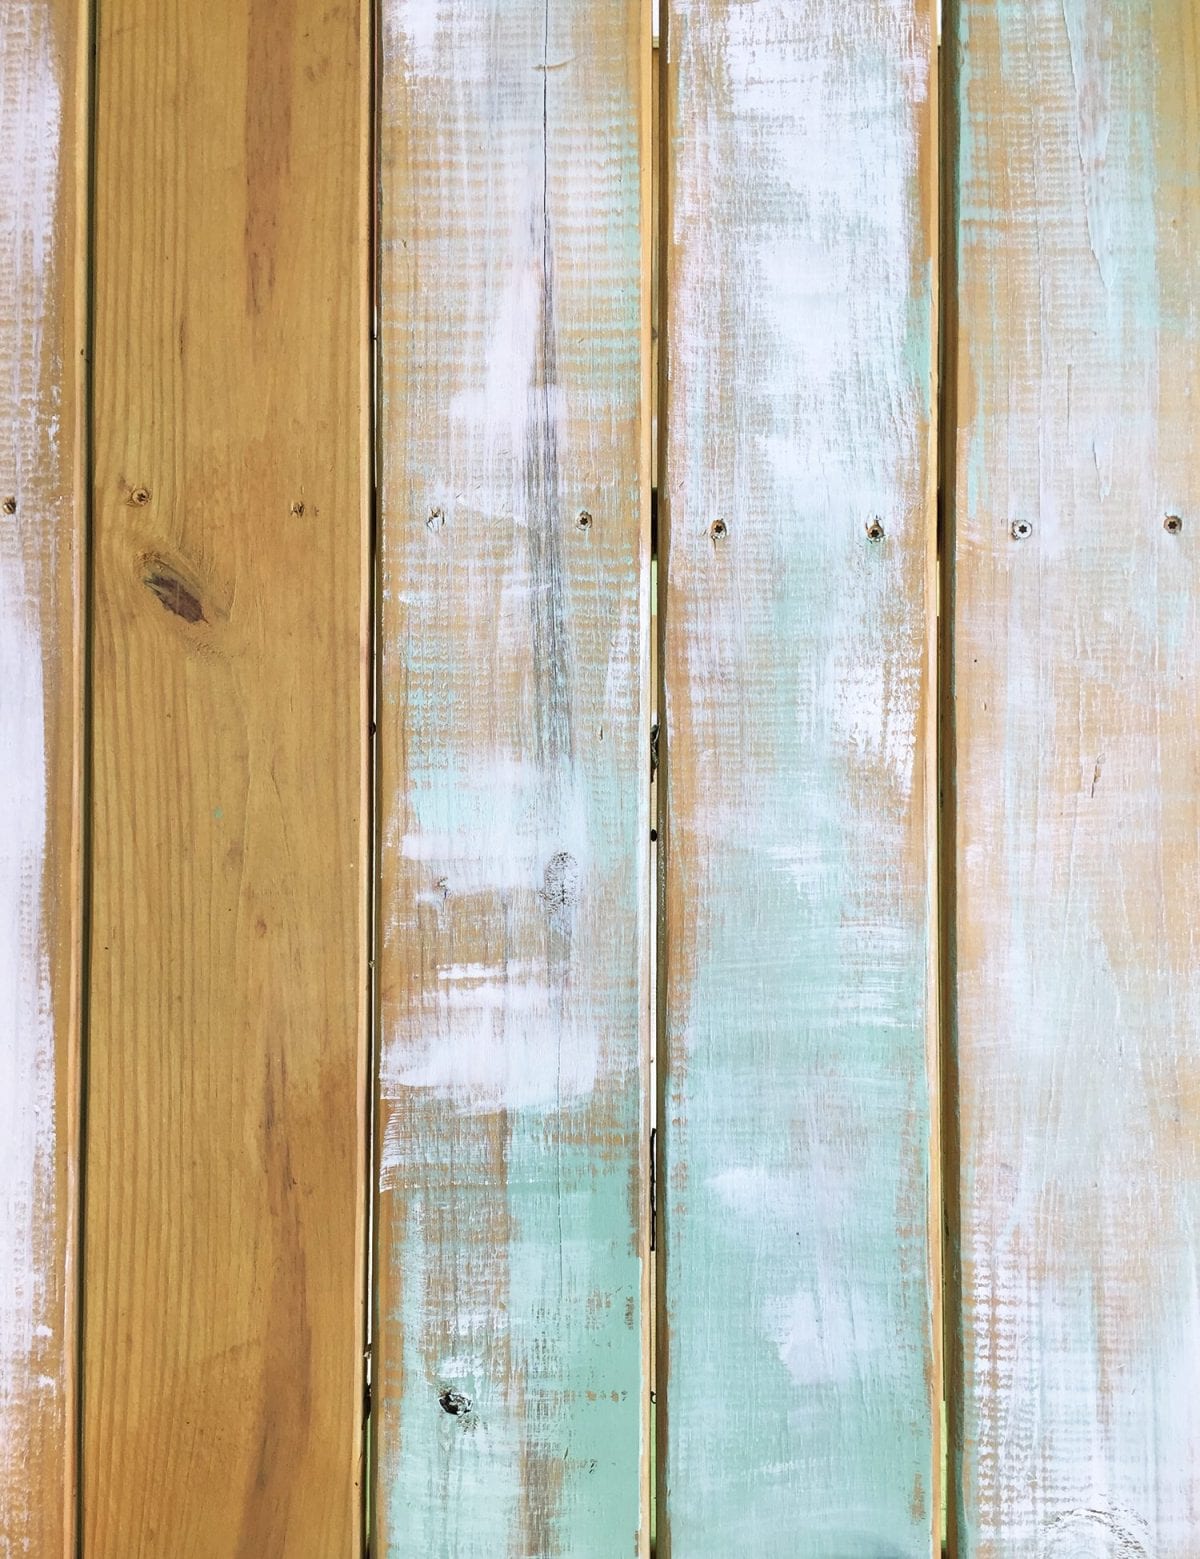
Then on top of the white, I went back and added a little green.
Or on top of the green, I added a little white.
I tried to alternate, with one plank being a majority white, with a little green, and vice versa, so it had an effortless-looking stripe effect.
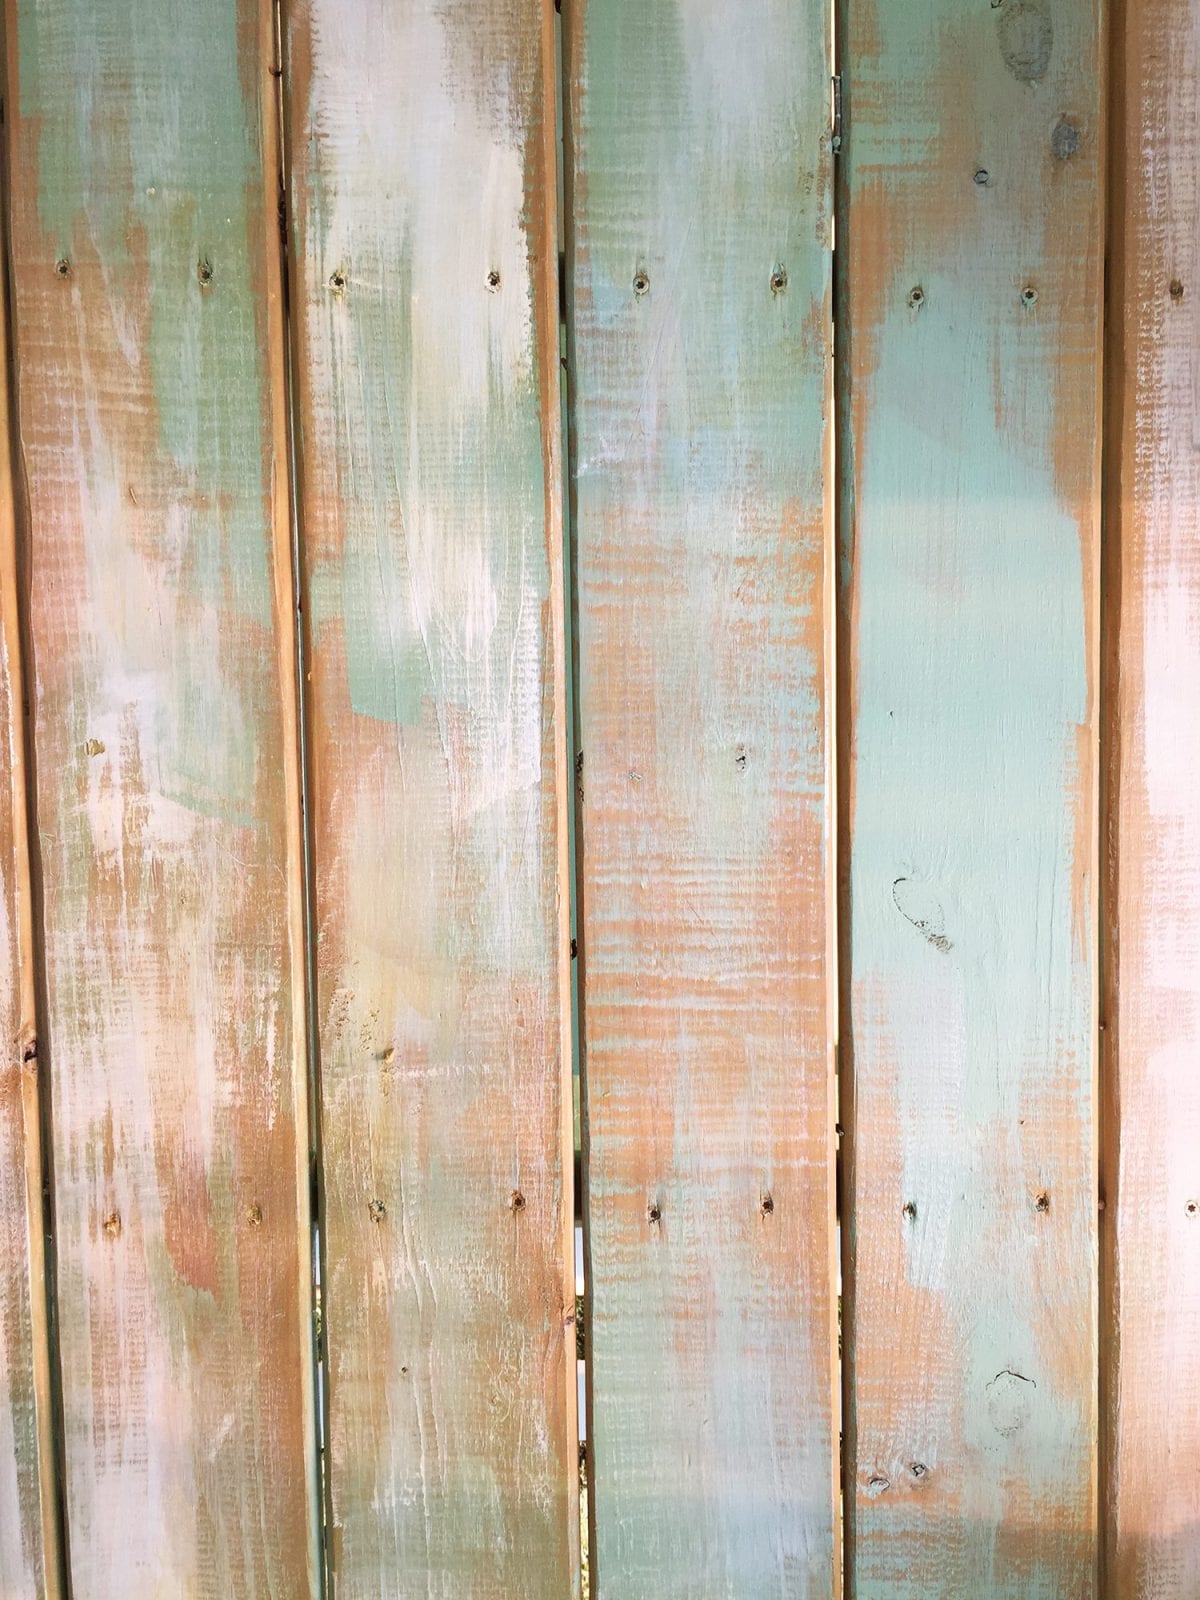
But I decided the final look was too bright, and when that was dry, went back with a wipe on, wipe off technique and one more thin coat of stain, to blend the colors and give it even more of a salvaged flooring kind of feel.
It was a messy process so I don’t have many in-progress shots, but a simple rag worked great for the second coat.
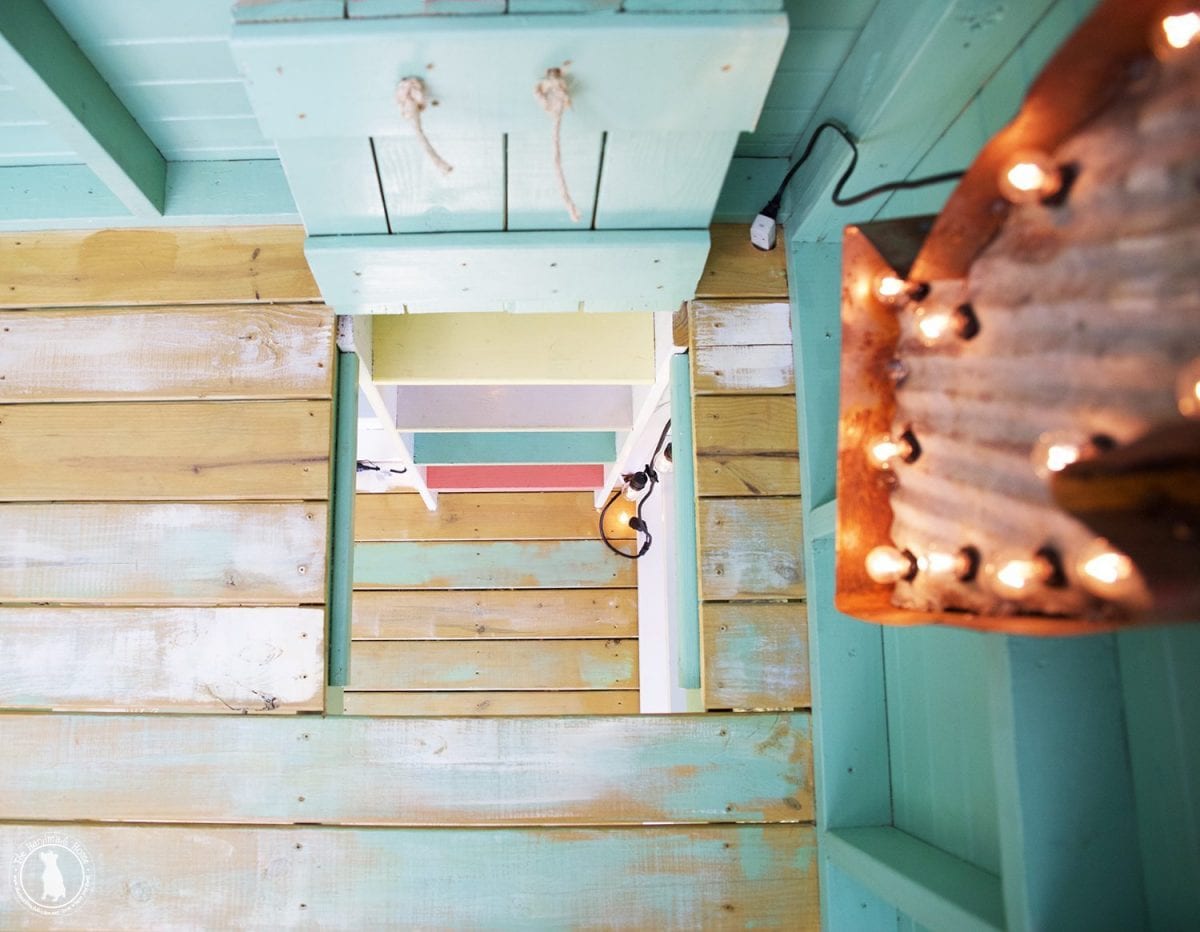
It really brought a ton of unexpected fun to the hideaway, and the kids love the sweet, homey feel.
And before I knew it, it looked like we meant to do that.
Because we totally did.
Shhhh.
Happy accidents do exist!
We hope this helps with a few tips and tricks and getting started.
It’s so gratifying when you’re to this stage beause it really starts to bring your hideaway to life, and you know the end is near!
Up next doors, screens, and ladders.
And to see this entire series, be sure to check it out here …and as always, our fabulous reader creations, here!
We’ll be back with the next steps, soon!
Have an inspired day!
:: We received compensation or product as part of this post . All opinions are 100% ours. Please read our full disclosure pertaining to partnerships here ::


I love those colors and it looks so bright and enjoyable. The painter is easy on the eyes as well!!
HAHA thanks so much Rose -I tend to think so too ;}
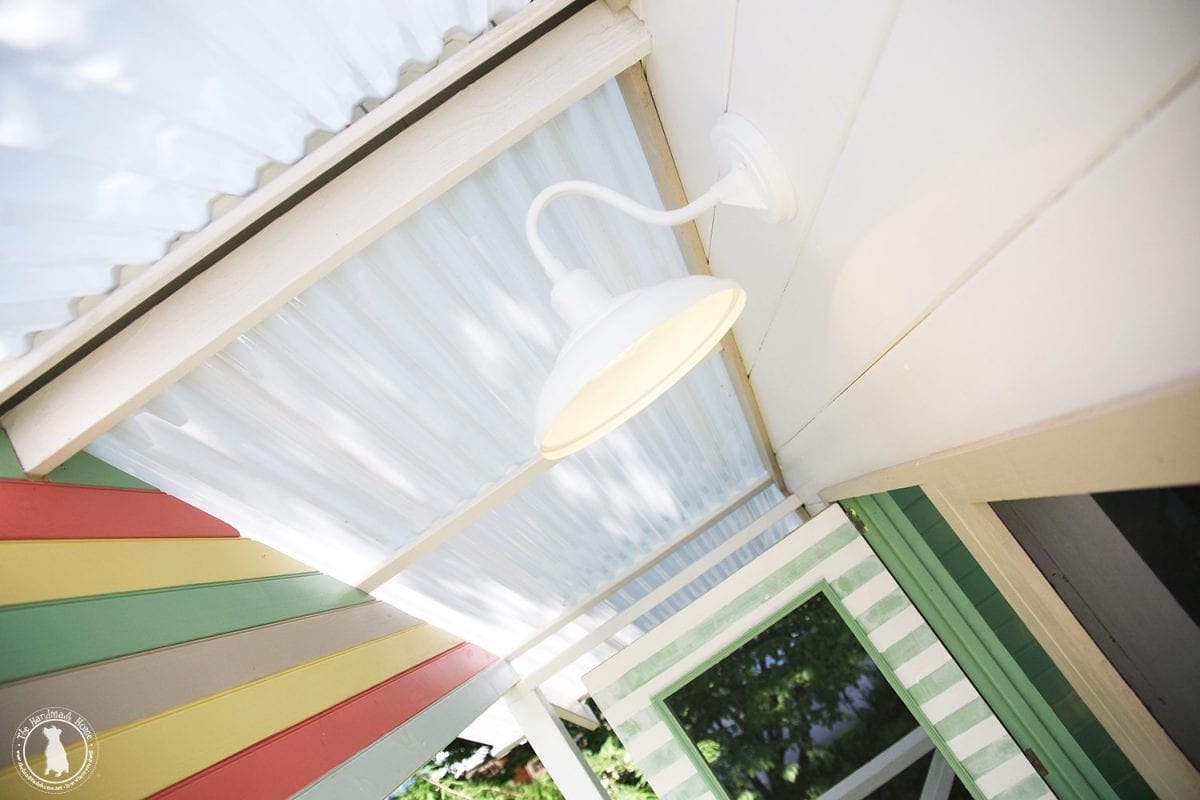
I love this hideaway… Where did you find the white outdoor light?
Hey! Thanks so much! You can read all the details here in our original post – I hope that helps! ;} https://www.thehandmadehome.net/2017/06/handmade-hideaway-2-0/
These tips are really helpful, and i love these colors pleasant to eye 🙂 Thanks for sharing!
I really like that color. Your home looks great! So fresh now. We are getting ready to tackle the exterior painting of our home as well !
This looks amazing. You guys did an incredible job and I appreciate the step by step because we’re going to try and build one soon! Beautiful work.
Can you speak a little bit more about painting/staining the pressure treated wood? We are currently putting the deck on ours and I am excited to paint/stain, but feel like the wood is too wet still and all the hard work will be a waste. Did you use kiln dried pressure treated wood or any primers? If you did not, how long did you wait until you could start painting. Thanks for any tips/advice!
Hey Heidi. I think it depends on the wood, some pressure-treated wood is not wet at all, some is dripping. A lot of people recommend waiting a season to paint or stain. I typically tend to do outdoor building during really hot non-rainy periods so I let the wood sit for a bit in the blazing sun and then just hop right to painting. I’m a little impatient and honestly have never had a problem moving straight into painting or staining. I hope that helps a bit.
Hi There!
Questions about the painting/staining:
Did you only stain the flooring?
Did you use a primer with the exterior or interior?
What did you use to fill the nail holes?
Thanks for sharing your amazing hideaways 🙂
We did prime it as well as fill some nail holes and we stained the floors as well as spilled/brushed some paint across it too.