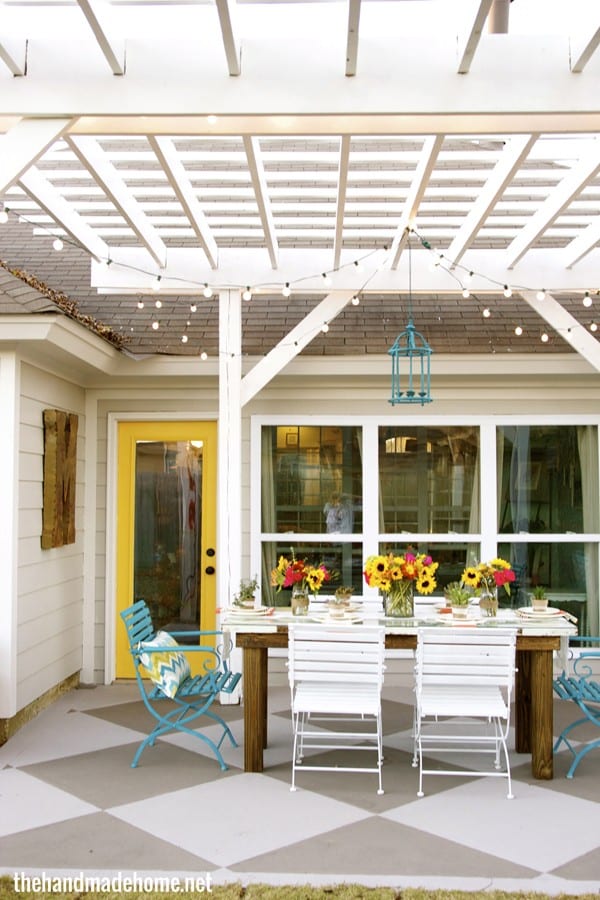
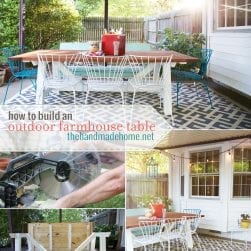
Hello sweet friends! We’re back today with one more addition to our backyard bliss series. We covered all the ins and outs, and then realized that after all those tutorials, we kind of left one of our very favorite pieces out.
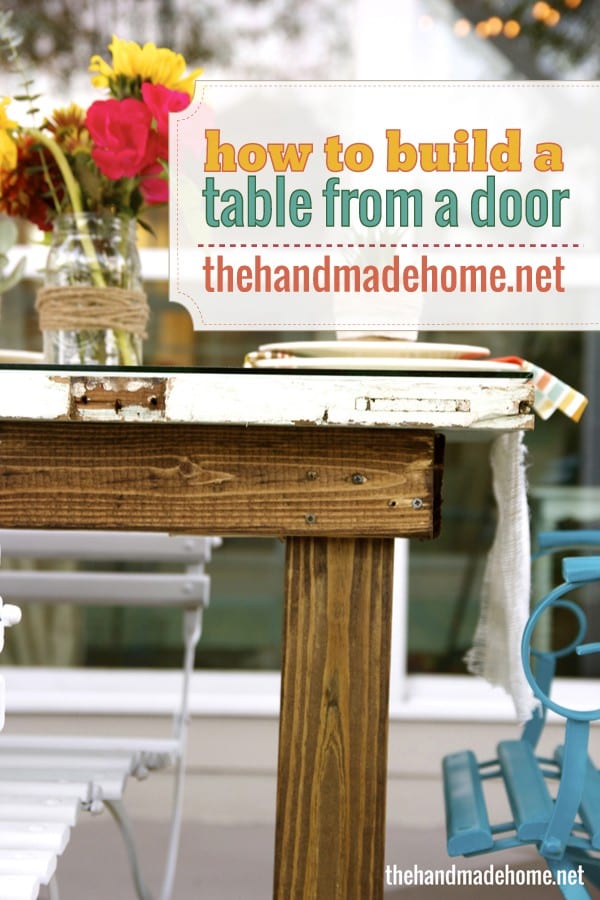
When we were getting ready to revamp the back of our house, we were kind of tired of our old furniture and wanted something a little more us. We had an old door lying around that we wanted to repurpose and give a new life.
So with the door, a few 2 x 4’s + 4 x 4’s and a box of screws… we had all the supplies we needed for a easy addition to our back yard makeover. It was upcycling at it’s finest!
Here’s the supplies you would need:
• (1) 4 x 4 x 10
• (1) 2 x 4 x 4
• (1) 2 x 4 x 10
• (1) 2 x 4 x 12
• A box of #8 3 inch wood screws
• An old door
• A piece of glass
• Rubber stoppers
Tools:
• 10 inch sliding compound miter saw
• Cordless Lithium drill
{We heart Ryobi tools! They’re our very fave.}
So we decided to break it down into some really simple easy-peasy steps.
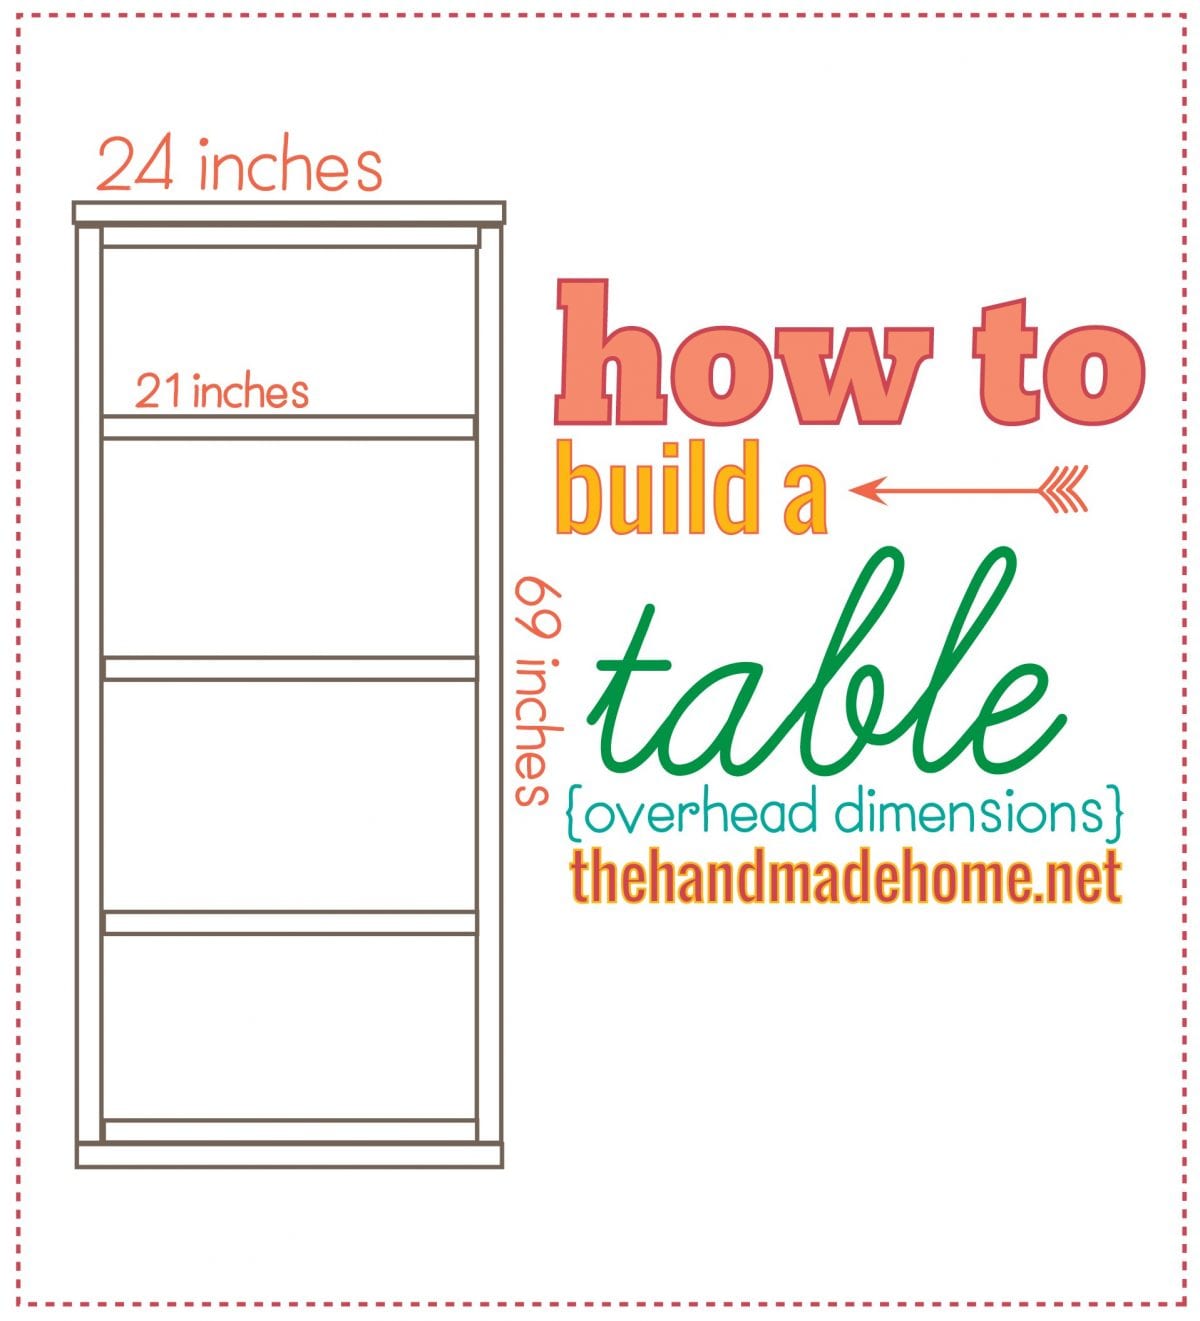
Starting off, you will need to measure the length of your door. Ours was 28 inches x 76 inches. (Don’t assume yours is the same size as ours, but make sure to adjust your supply list to your table size.) We wanted a 2 inch overhang on all sides for the table
Step 2: (Using the miter saw)
• Cut the 4 x 4 post in (4) 30 inch sections
• Cut the 2 x 4 x 10 into (1) 69 inch piece and (2) 24 inch pieces.
• Cut the 2 x 4 x 4 (2) 21 inch pieces.
• Cut the 2 x 4 x 12 into (1) 69 inch piece and (3) 21 inch pieces.
The 21 inch pieces will be the inside supports.
(Remember to adjust your measurements for your door size.)
Step 3
Lay out both of your cut 2 x 4’s that are 69 inches and the
(2) cut 2 x 4’s that are 24 inches so that they make a box. The
69 inch pieces should butt into the 24 inch pieces so that the
box measures 6 feet x 2 feet.
Step 4
Place a 4 x 4 in each corner. Square off the two pieces and
screw each corner into your 4 x 4 with the 3 inch screws. (We
used at least 3 screws.)
Step 5
Butt a 2 x 4 that was cut to 21 inches up next to the inside
of the 4 x 4 post on both ends and screw them in. Your 4 x
4 should now be sandwiched by the 21 inch & 24 inch 2 x 4
with the 69 inch 2 x 4 on the outside.
Step 6
Take the remaining (3) 21 inch 2 x 4 pieces; place one in the
middle of the table and the other two between that one and
the end of the table frame. Screw them all in with the 3 inch
screws, at least 2 screws on each board on both sides.
Step 7
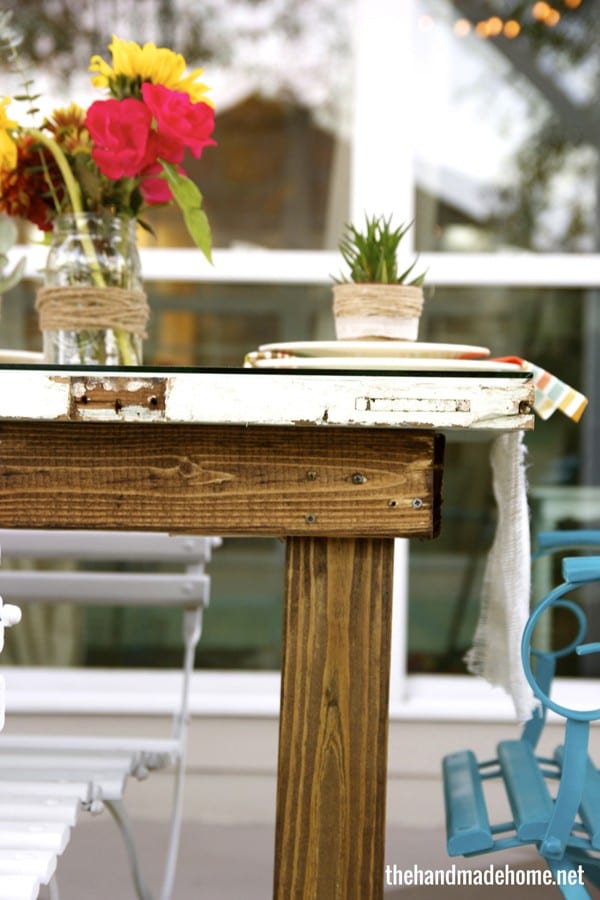
Turn the table base upright, and screw the door to the table
base. You can use the 3 inch screws and screw in from the
top or you can get some longer screws and come in from the
bottom, but pre-drill the holes. You can also use a pocket
hole screw on the inside.
Step 8
Get some glass cut from your local glass store to the exact
size of your door.

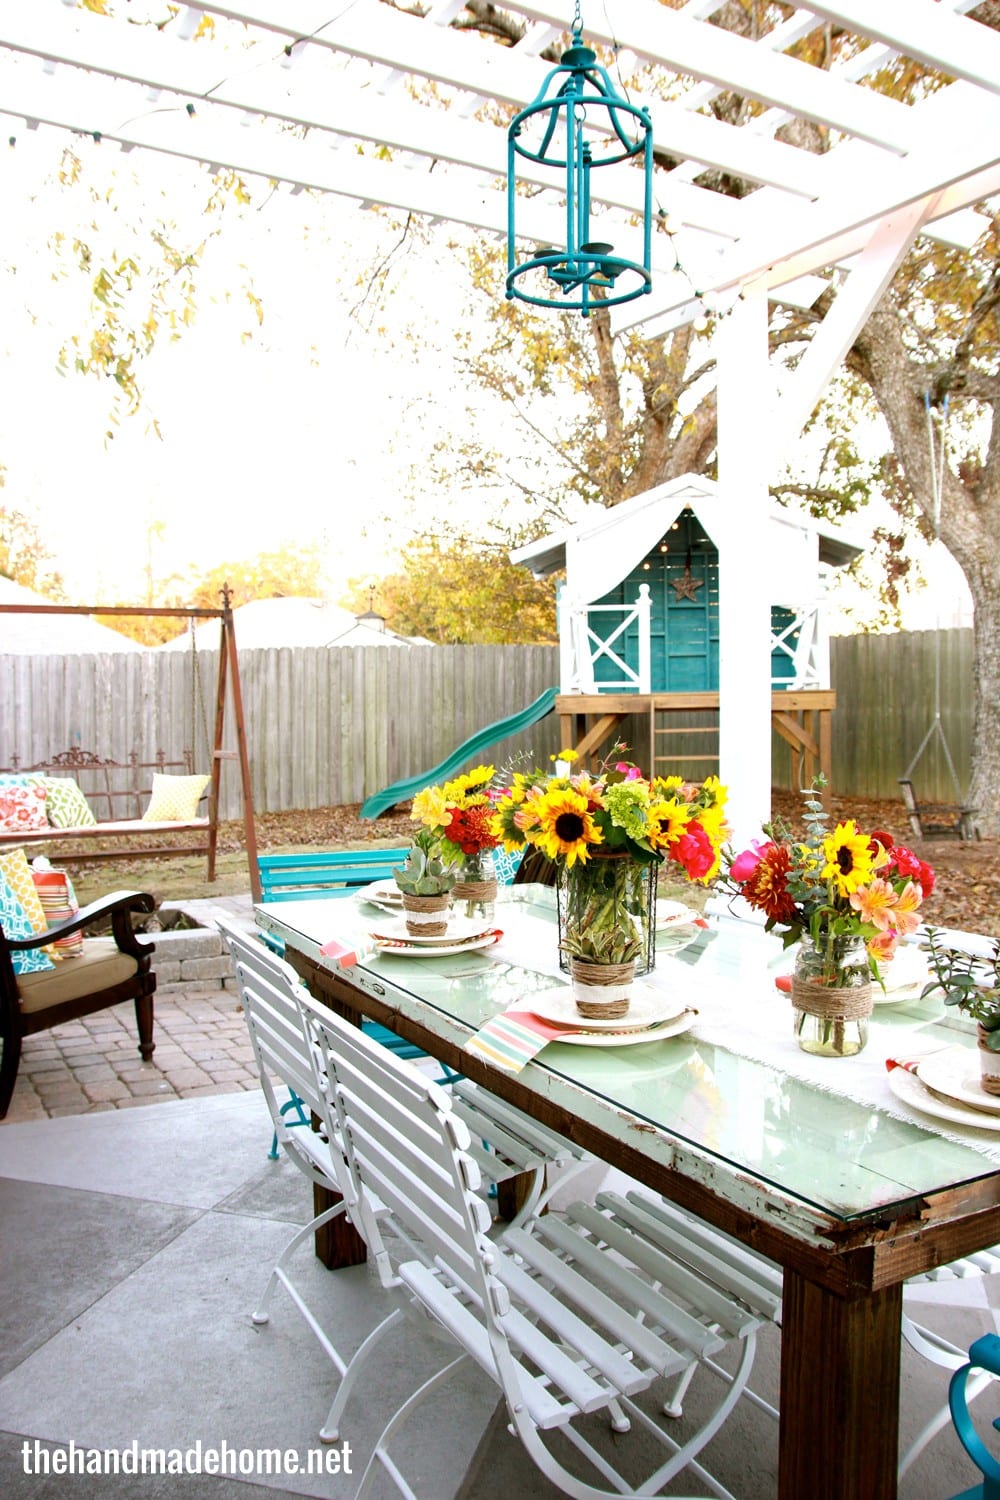
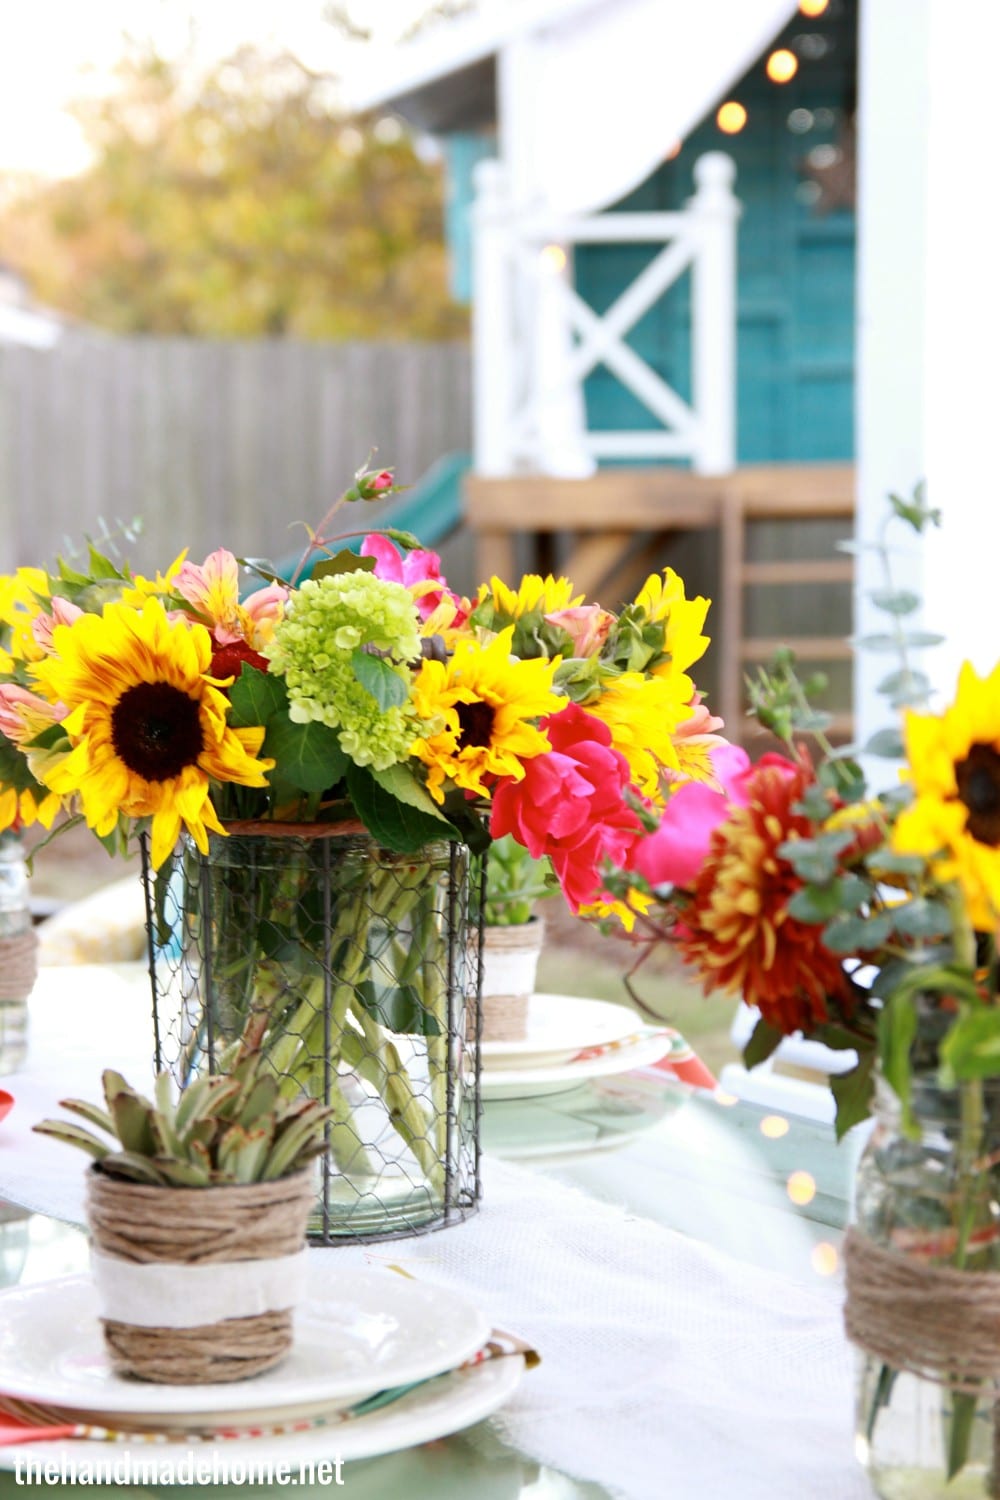
We wanted to preserve the door underneath, and avoid anything like weird paint chips. If you’re not sure about having a glass company near you, do a little research… it’s a great resource! We used some rubber stoppers on one side of the glass, this will be the side that sits on the door. We knew this would help keep little fingers from pushing it over the edge, and prevent trapped moisture underneath. We love that we can see the lock and all the little details without fighting those grooves for table space and lopsided dishes.
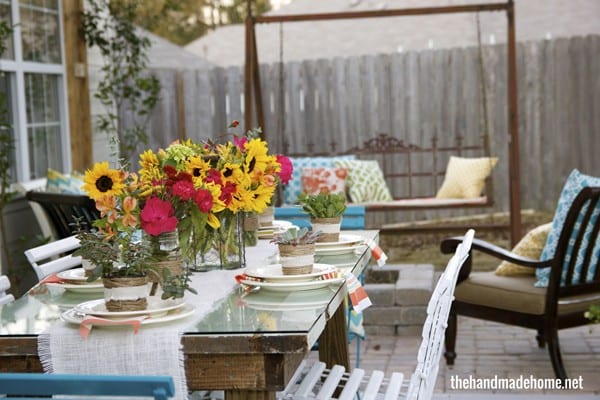
Step 9
Set your tablescape on your pretty new simple little table, and enjoy and evening with your friends!
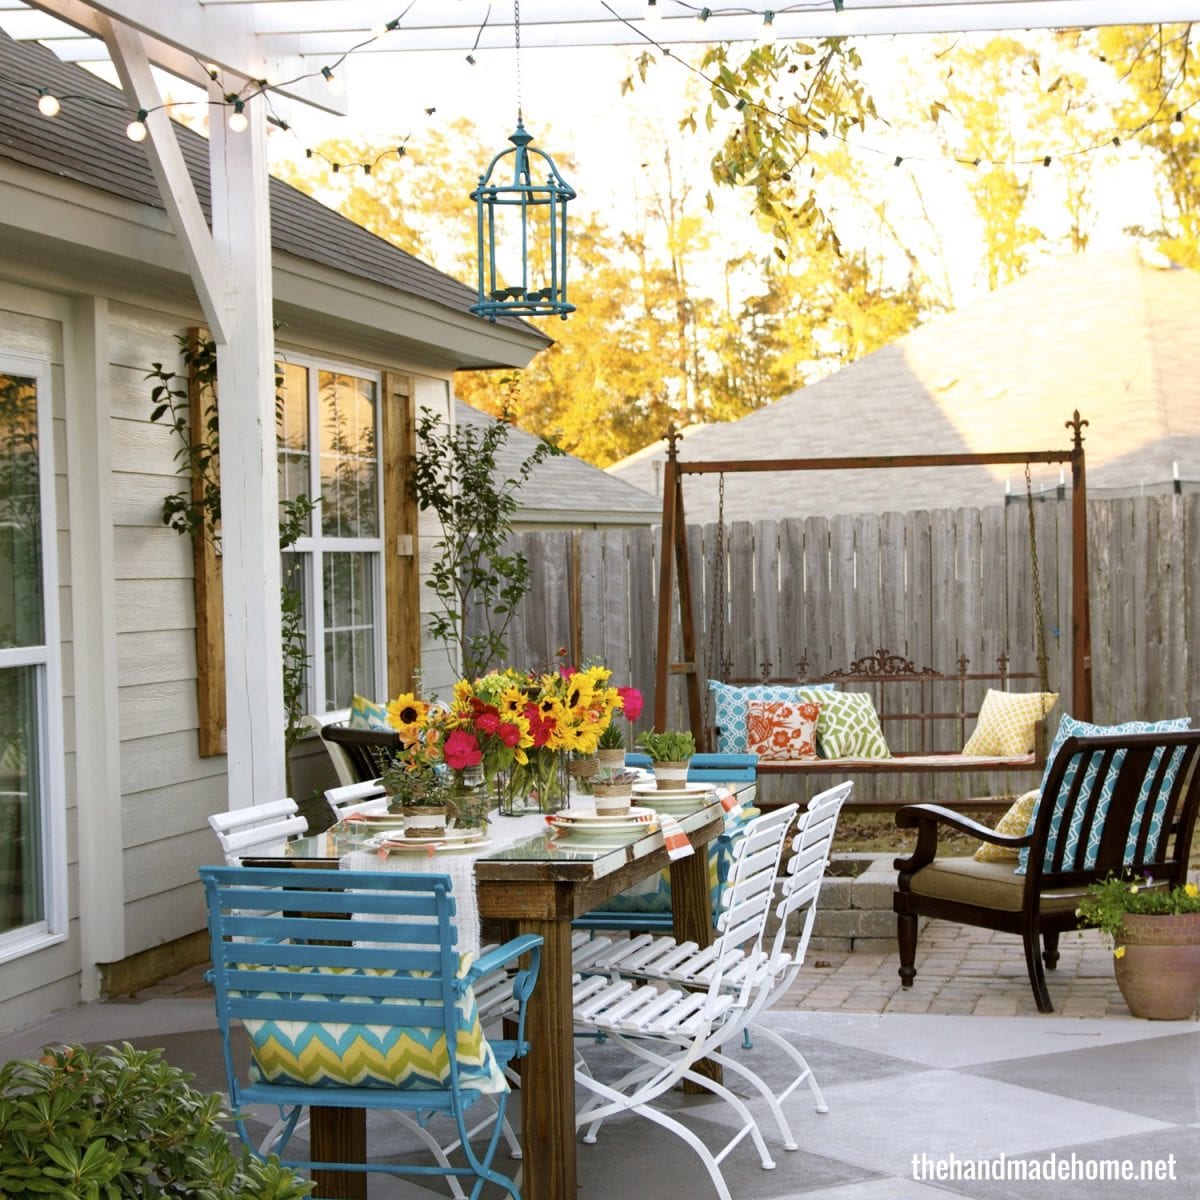
We have absolutely loved our out door space. Now we’re just waiting for the pollen bombs to stop so we can claim it back for the remainder of spring. To read the rest of our posts in this series, be sure to check it out here!
What are one of your favorite upcycles you’ve tackled? We’d love to hear.
Have an inspired day, y’all!


Was that piece of glass $$$?
Hey! It was about 60 if I am remembering correctly. Since the table was super doable that was a little of a splurge but still worth it 😉 hope that helps! We always shop for plexiglass & glass @ our glass store… Much more affordable than big DIY stores. Hope that helps! 😉
Hey, I’m wondering where you got one for $60, what to search for specifically. I have gotten a few quotes, and they are far north of $60, from places I found searching local custom glass. We were hoping this would be more affordable.
Hey Mallory! Our apologies for a late response – just saw this comment and we’ve been a little behind on responding as we’ve been out of pocket. I’m sorry the quotes aren’t working out – I’m pretty sure it’s just 1/8 inch of glass – and we’ve gotten this from two separate places locally – depending on where you live prices are always different, but they shouldn’t be that off. sorry we can’t be of more help since it’s a location thing. 🙁 I would keep asking around I guess – it’s just basic glass. {???}
love it!!
How interesting! I happen to have a door that I have been trying to figure out what do with. We also happen to need a table for the deck this summer! Thank you for the share!
I love this Ashley! I have often thought about using an old window frame with a glass overlay on top for an island height table in the kitchen… we could build it along these same lines. I have done a few upcycles/furniture redos lately… my favourites are my new little side tables in our living room and the redone artwork for our gallery wall in there. I love looking at your outdoor space – your colorful pillows are so perfect and right up my alley! Great job on this project:)
Krista
I love this!!!!!!!!!! Great work!! Have a gorgeous day!
I love your up cycled door. I have only just found your blog and have enjoyed reading a few of your posts. Thanks, very inspiring. I love handmade, home grown, home baked.
Where did you purchase the cute chairs from?
What size rubber stoppers did you use and where did you get them? I’m having a hard time finding them? I’ve wanted a table door for years now, and my dad is making it today!
Love this!! I wish you had plans for the clubhouse, it’s gorgeous and my girls would love that 🙂 Great tutorial, gives me some ideas. Thanks for sharing.
Hey Brandi! Thanks for stopping by! You can find all of our tutorials for every single thing in our back yard… even the clubhouse, here. ;} I hope that helps!
Where did you find those awesome chairs around the table?
Hey Veronica! They were on clearance at World Market once upon a time. It included a three-state round up on my and other family member’s parts that I am now forever grateful to. ;} It was meant to be, and the odds were in my favor. ;}
Hey I’m wondering how this is holding up? Also how do you like the glass top? If water gets under the glass do you have any trouble with it not drying quickly/mold/mildew etc? We are considering doing this on our back deck. Thank you! I LOVE how it looks!
It’s holding up great, Brittany! You do have to wipe down the bottom of the glass sometimes, but it helps protect the door/wood. We are about to tackle our spring cleaning, so no mildew but I’ve decided anything you have outside should have a cover on it a lot of the time, unless it’s made of plastic. In which case, it will still get dirty if you have trees. {Womp womp…} But I hope that helps – we are still very happy with it!
Thanks, Ashely! My dad built my table using a door from the house where my husband and I got married. I can’t wait to use it! I just need the glass and rubber stoppers. What kind of glass did you get? Tempered? Non-tempered? What thickness? What stoppers did you use?
Thanks again! I love your blog!
We used a 1/8 inch untempered glass. The rubber stoppers are the clear ones sold at most hardware stores in the tile section. Also with the glass, if you are concerned about the weight of things placed on it or children breaking it I would suggest going tempered and even a little thicker.
Where are the chairs from?
Hi I like you table design from old door. Classic dining table in garden.