We like big mutts and we cannot lie…
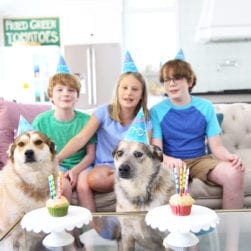
You know I couldn’t resist starting our post with this {you’re welcome for the ear worm}. Because we actually love big mutts, and these two girls, specifically. They’re kind of a handful, but they’re worth every moment. If you’re not familiar, these two furbabies are our pyreheelers, {a phrase we made up because rescues are amazing} they’re a mix of white pyrenees and red heeler. And they needed a home. After our first child {another rescue} Chloe {read at your own risk} passed away after twelve years, we didn’t last long. And we welcomed these two into our home.
And the rest is history.
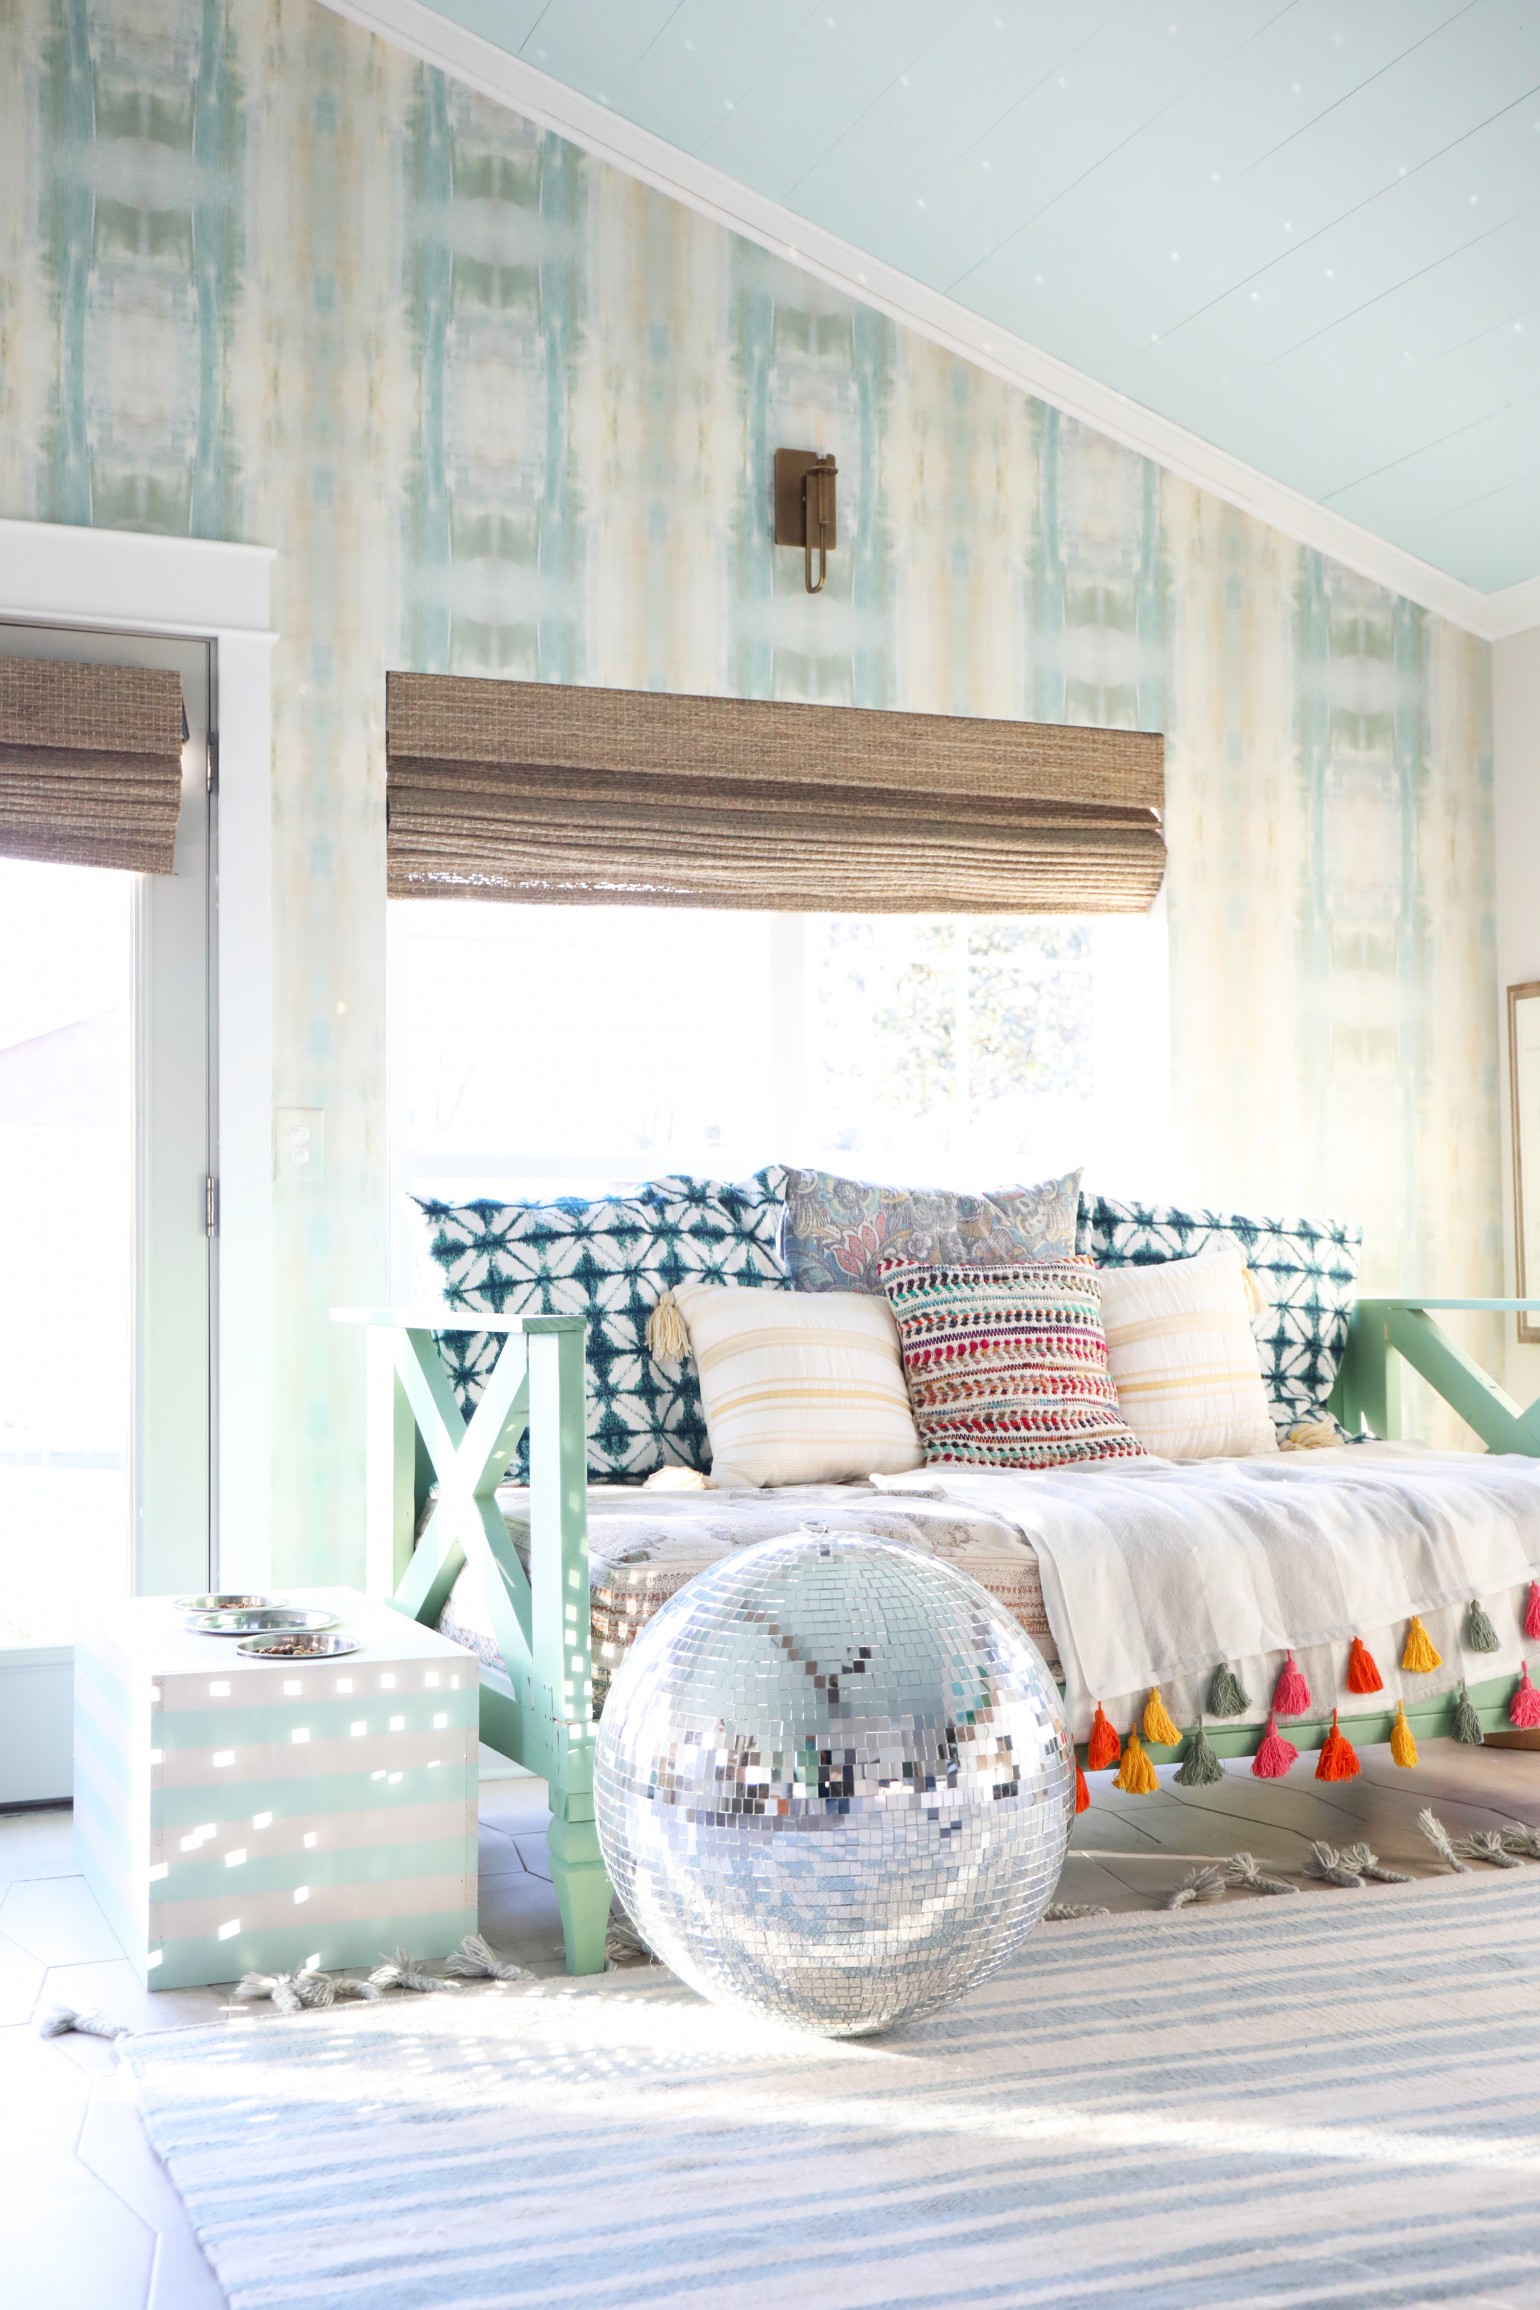
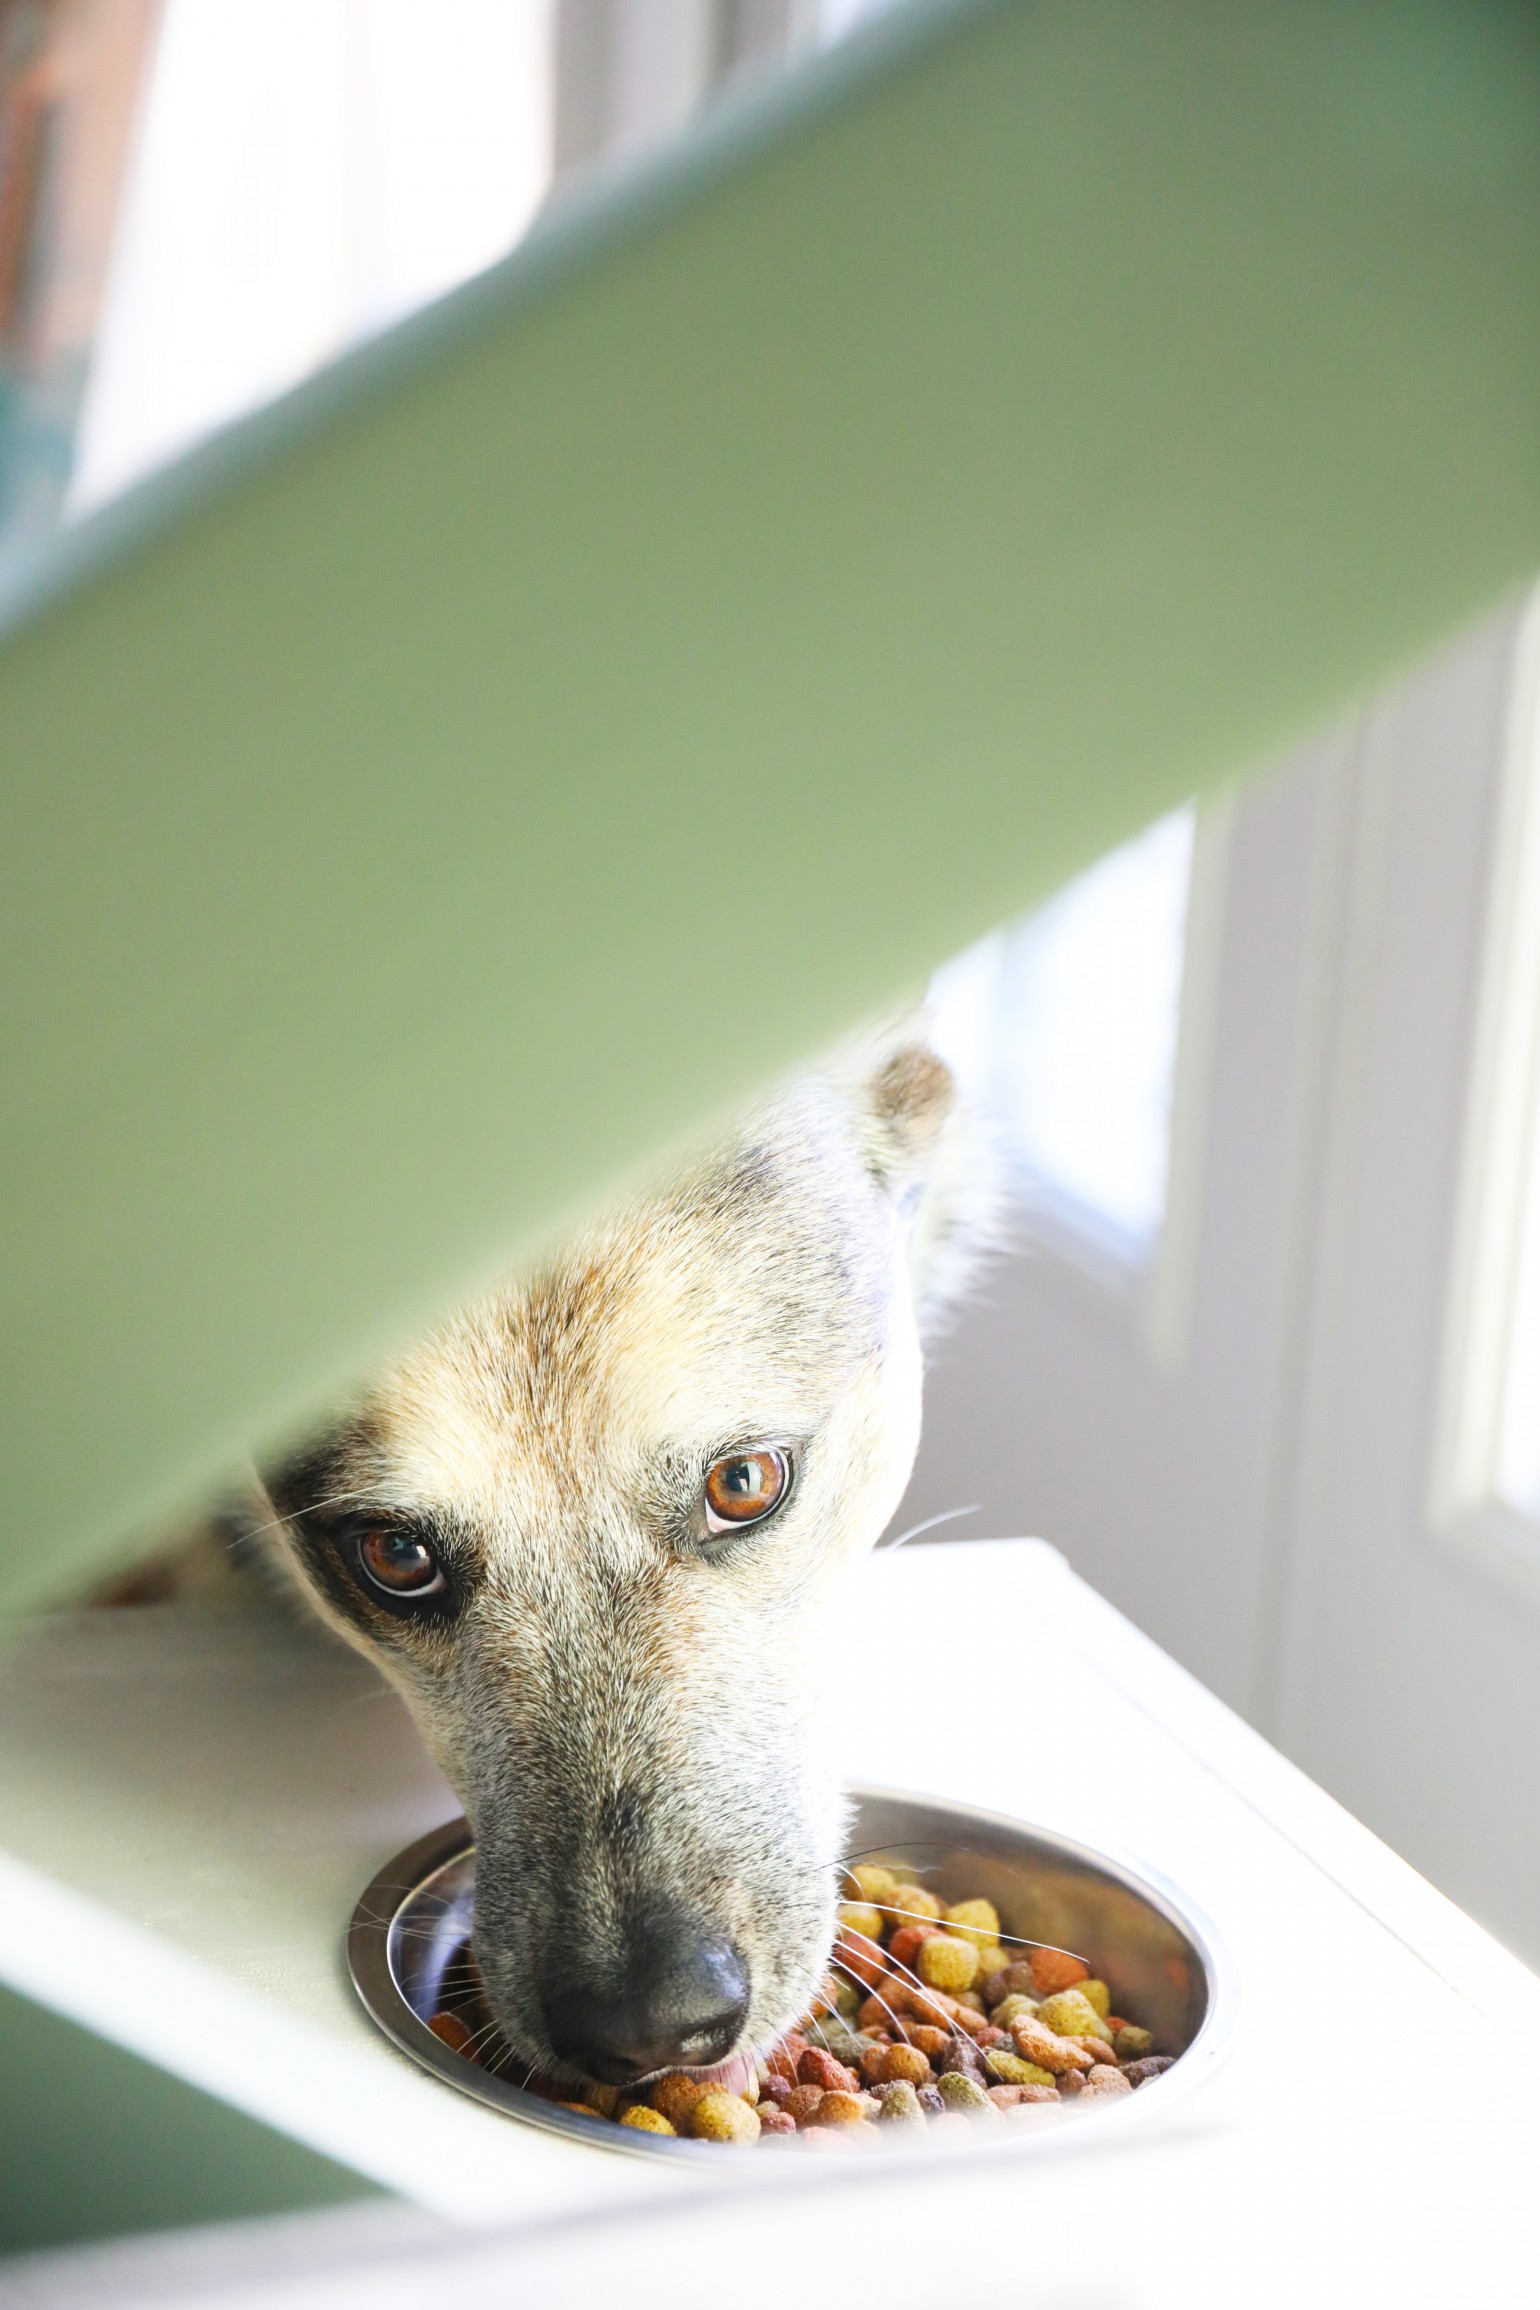
Recently, we were thrilled to put together this elevated dog bowl holder, to help them with eating.
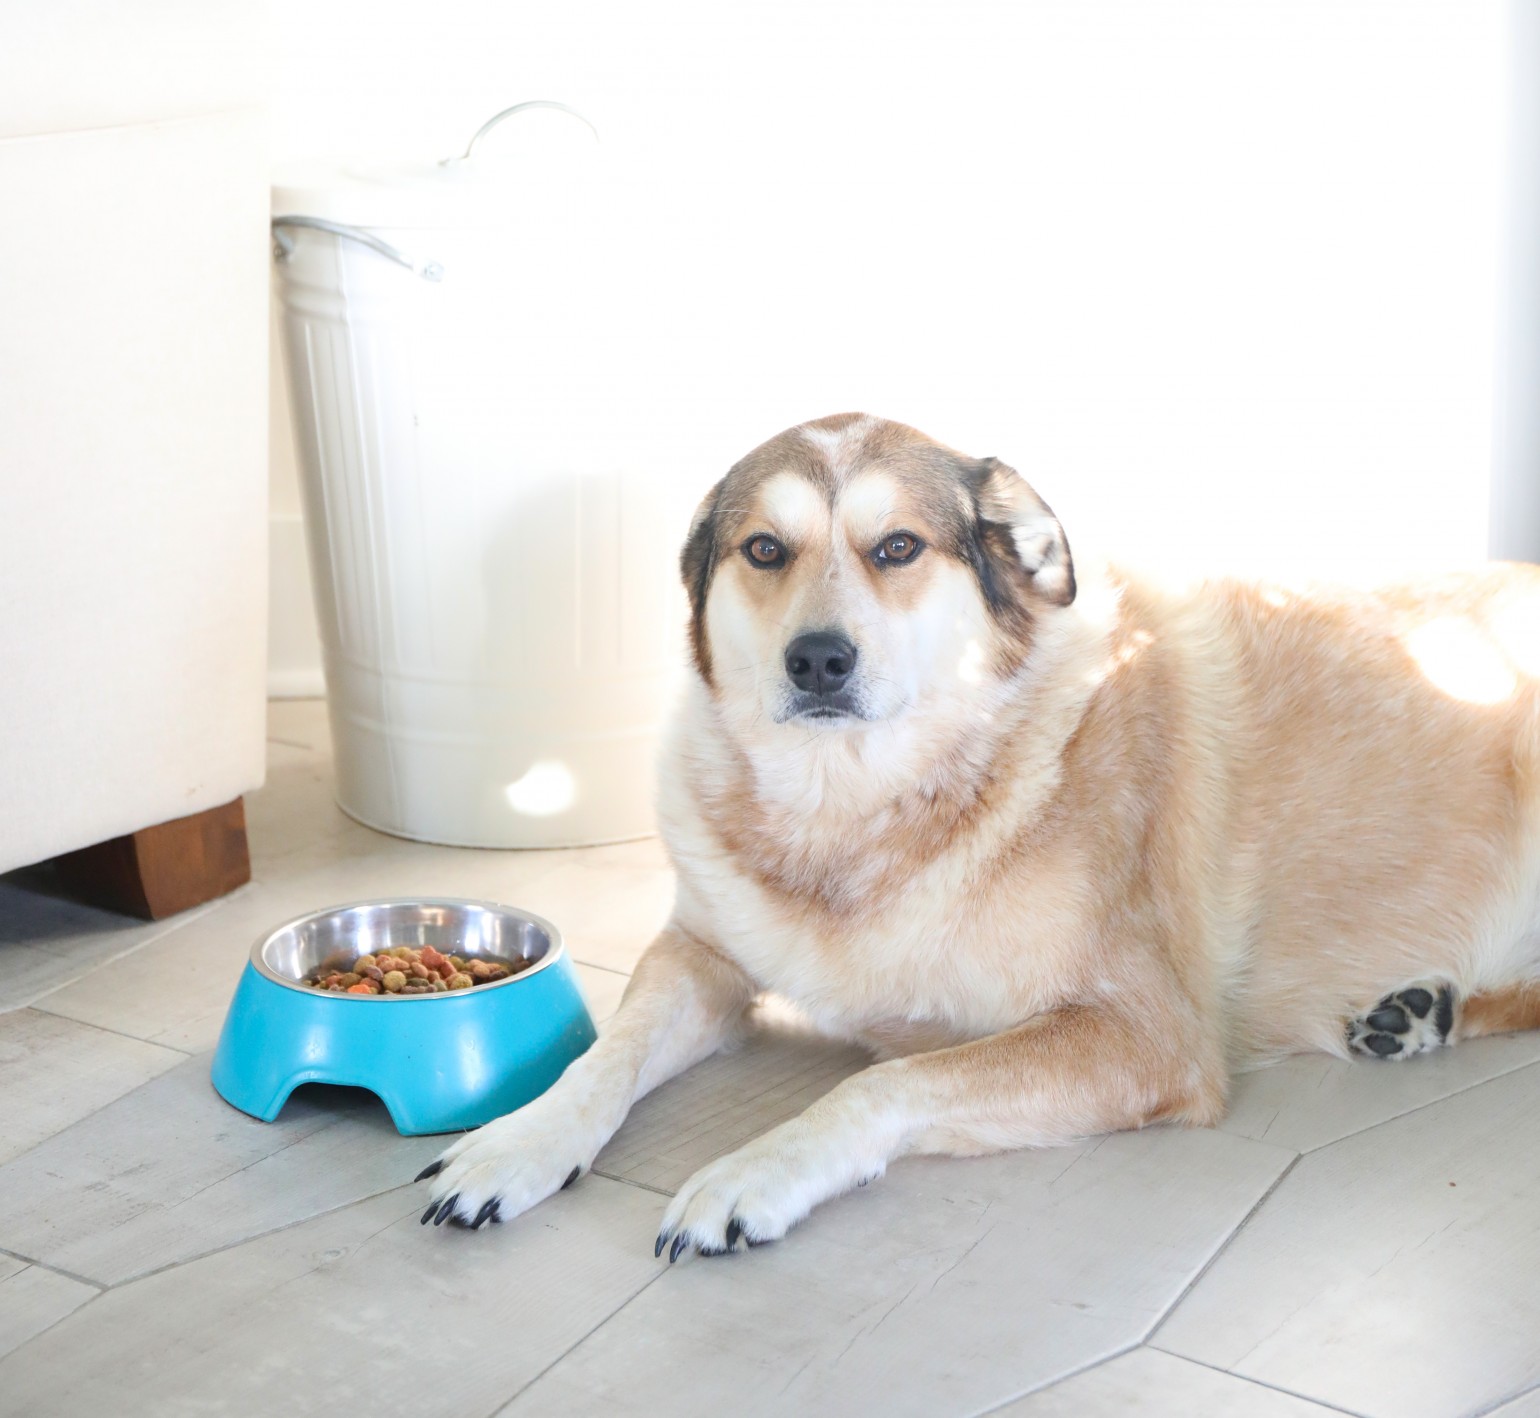
Rigby in particular, has quite the arthritis problem, already. At five years old, this is giving us pause, since she already has trouble navigating stairs. But she has a recurring injury in her back leg, and it was affecting her eating habits. She was actually lying down at her bowl, and picking at her food, often. Sometimes, skipping meals for days on end. Upon reading up as to what could be causing this, we noticed that it’s good for dogs to have an elevated eating surface.
It basically just makes it easier for them to eat, and assists their food and water to travel better to their stomach. Leaning down can create a strain on their hips and joints, and this assists with better posture. There are many reasons to give your dog an elevated surface for eating. Be sure to check it out here.
We tested it first, by adding a cardboard box under her food bowl. It was a total game-changer for her. So we decided to build an elevated food bowl holder for both dogs, to help prevent issues in the future.
We used this reference, to help us decide exactly how large it needed to be. This will vary by dog size, and it’s good to double-check to make sure this works well for your dog.
What we love about this design, in particular, is that it has a removable lid for storage underneath. Everyone wins.
Want to build one for your fur baby?
Here’s what we used:
• (3) 24″ x 48-inch project panels
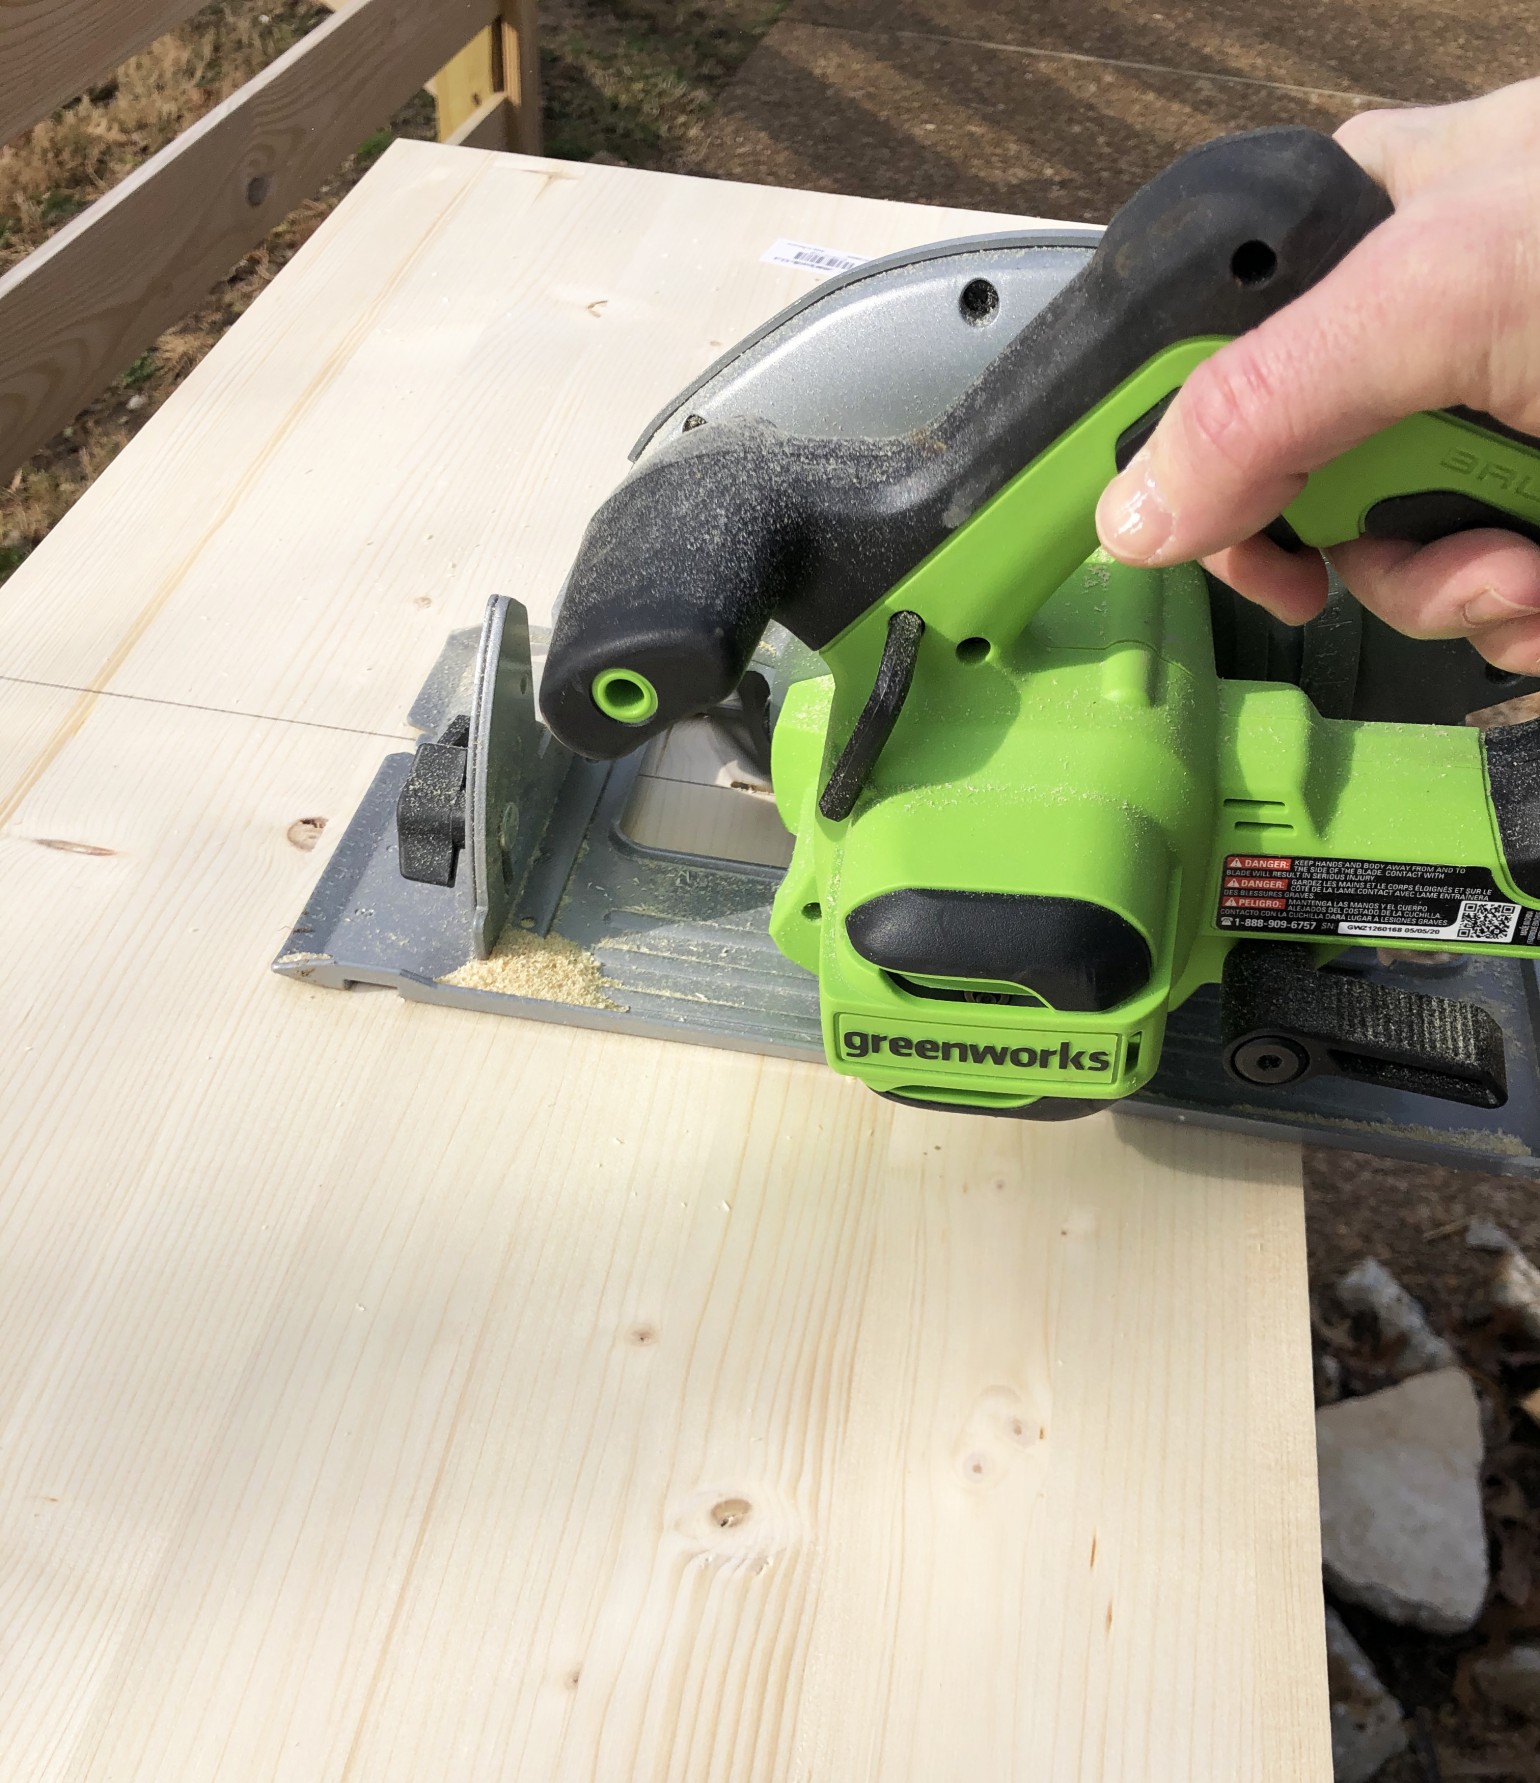
• Greenworks circular saw
• Greenworks jigsaw
• Greenworks Drill
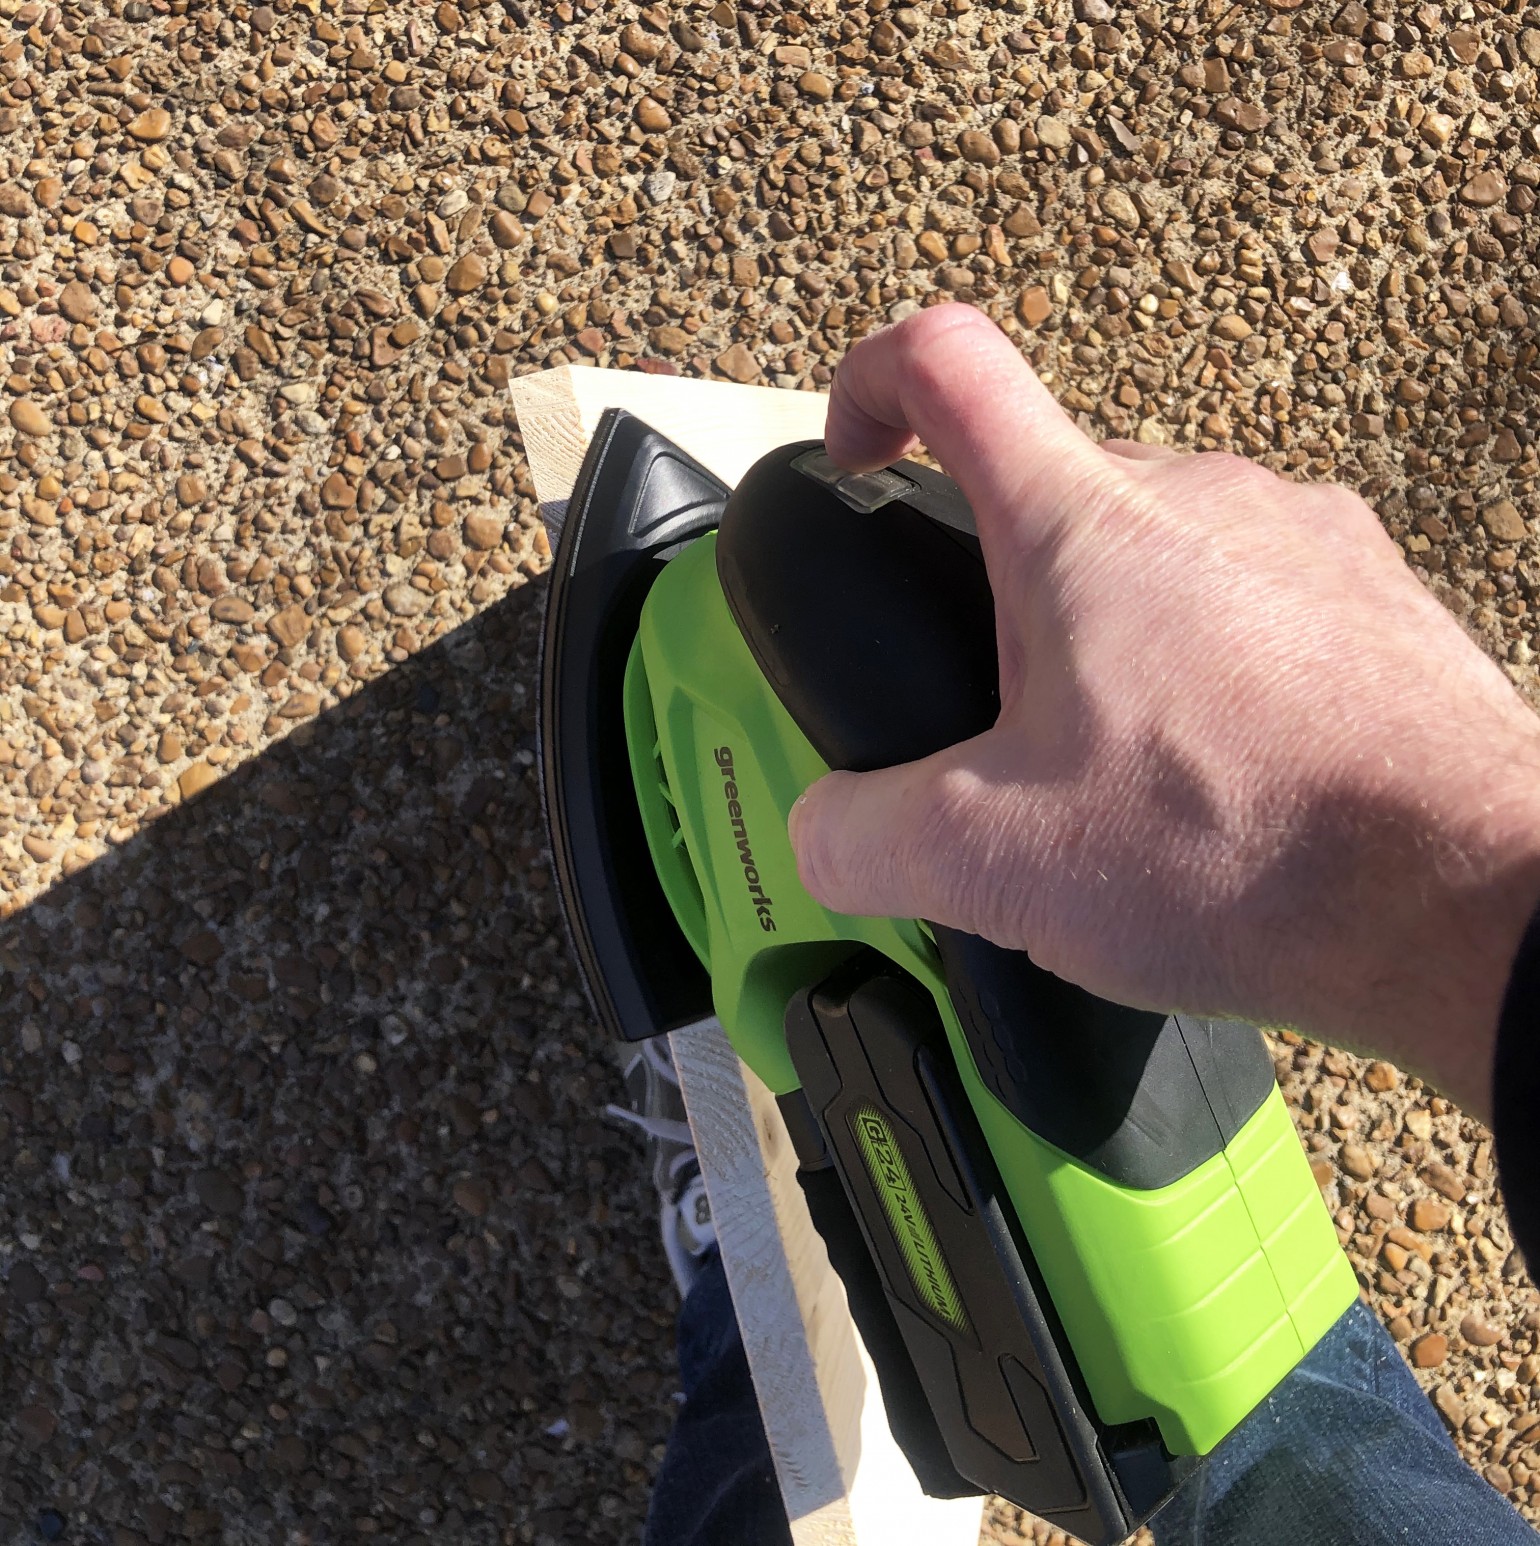
• Greenworks finishing sander
• Greenworks Impact Driver
• 1 x 2 x 6
• 1 1/4 wood screws
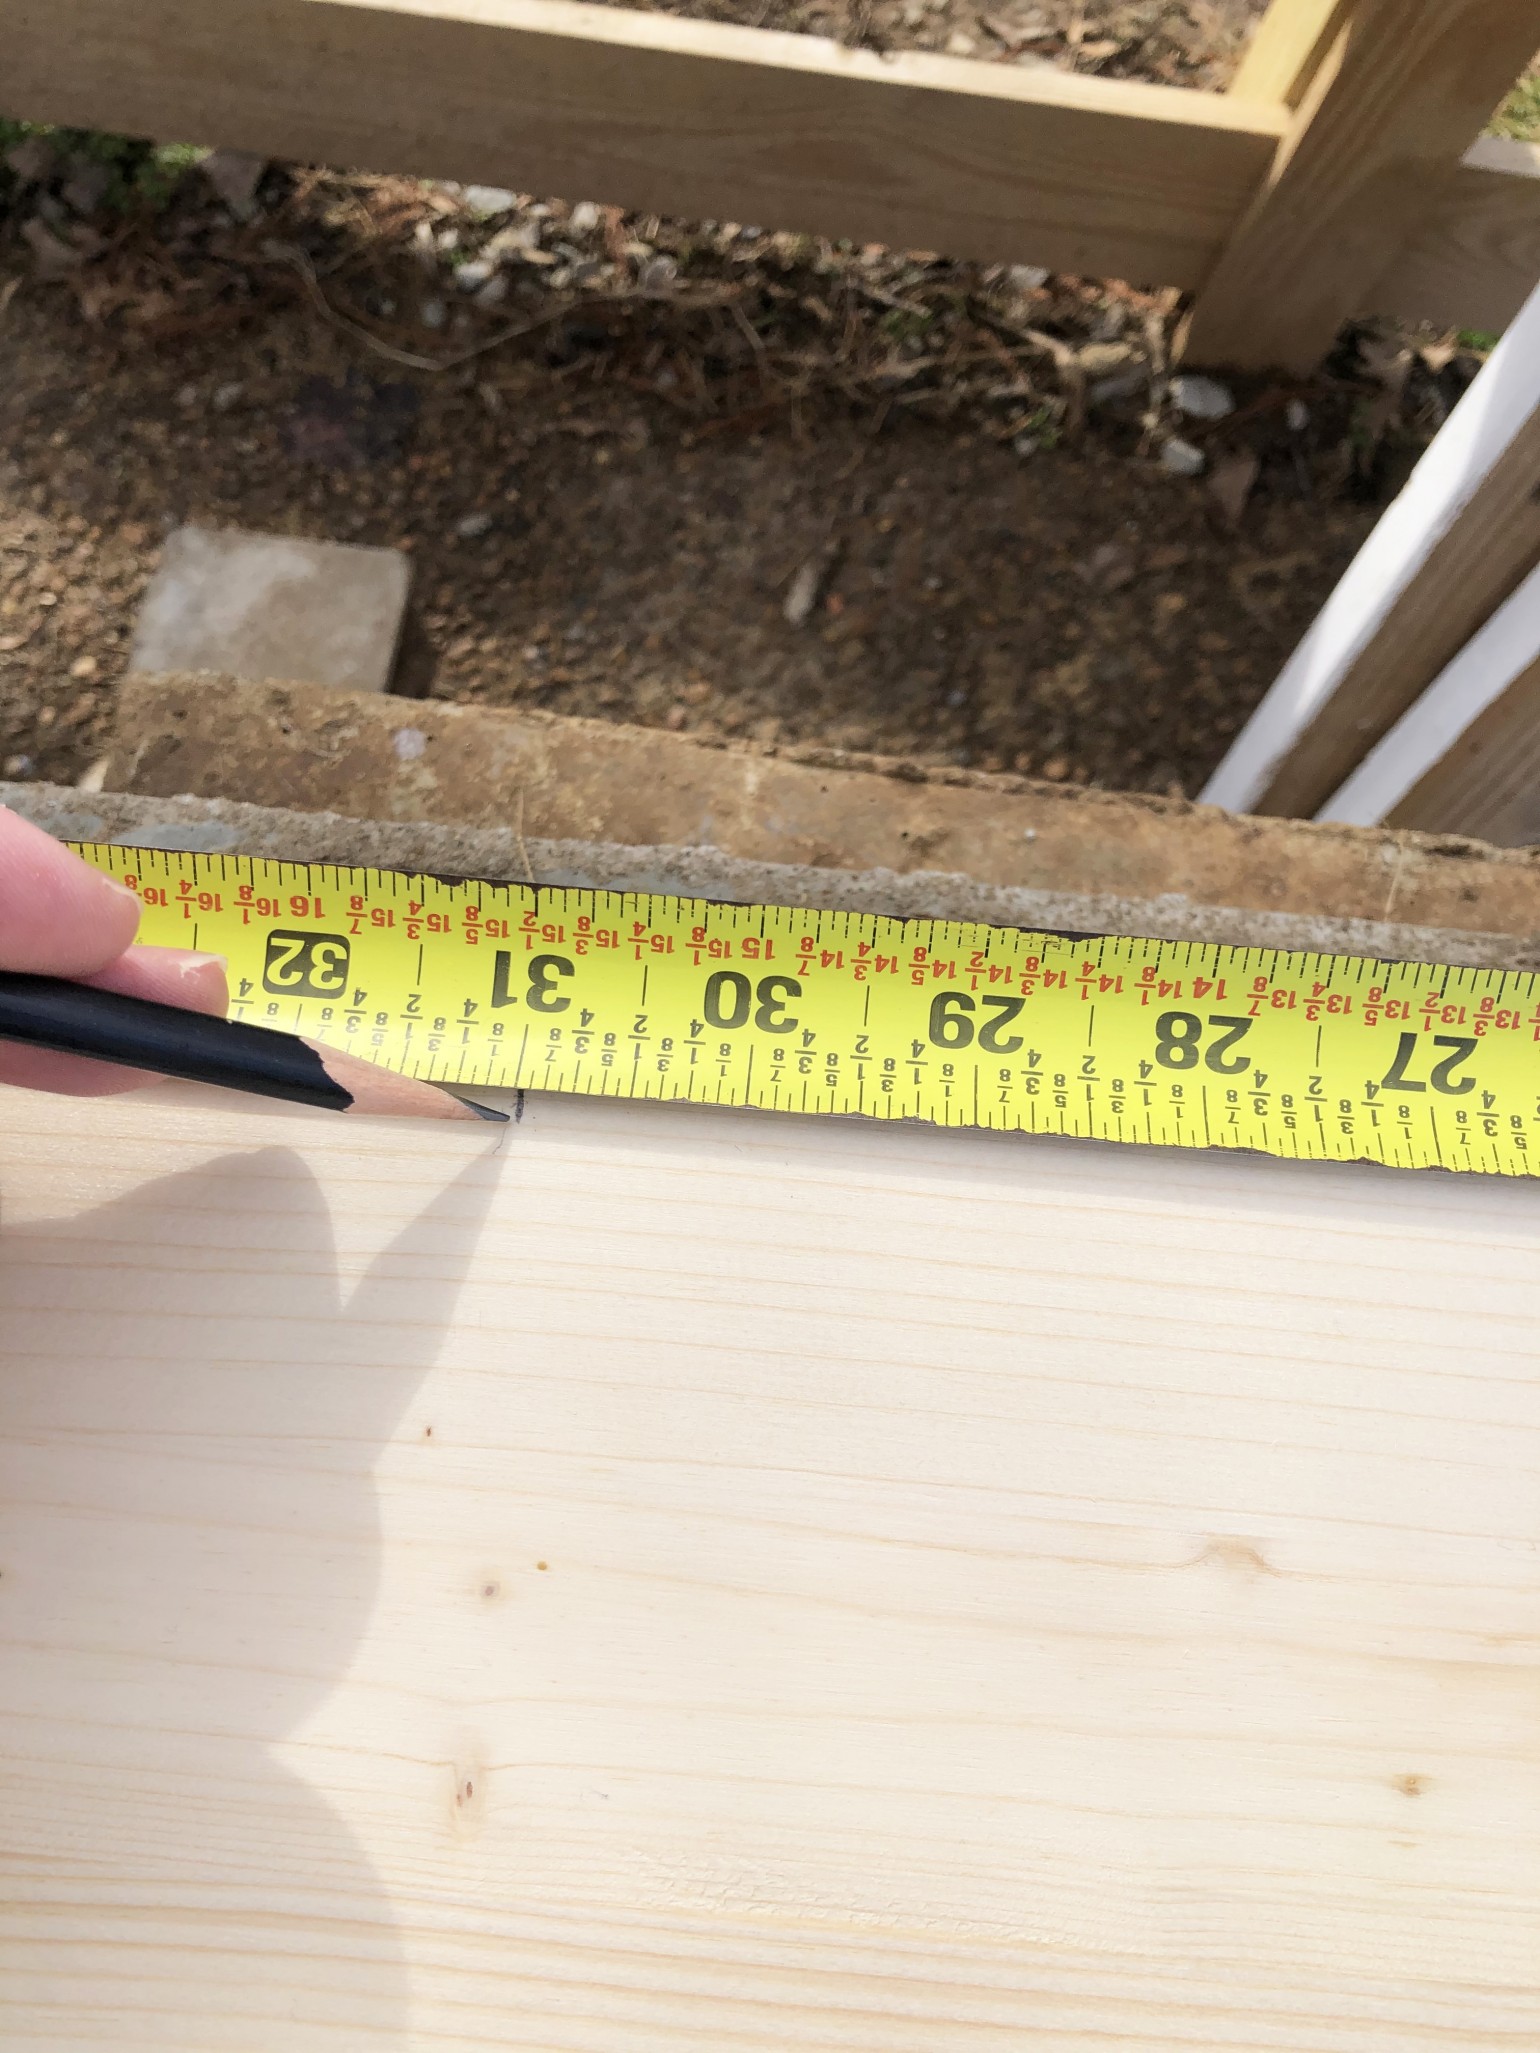
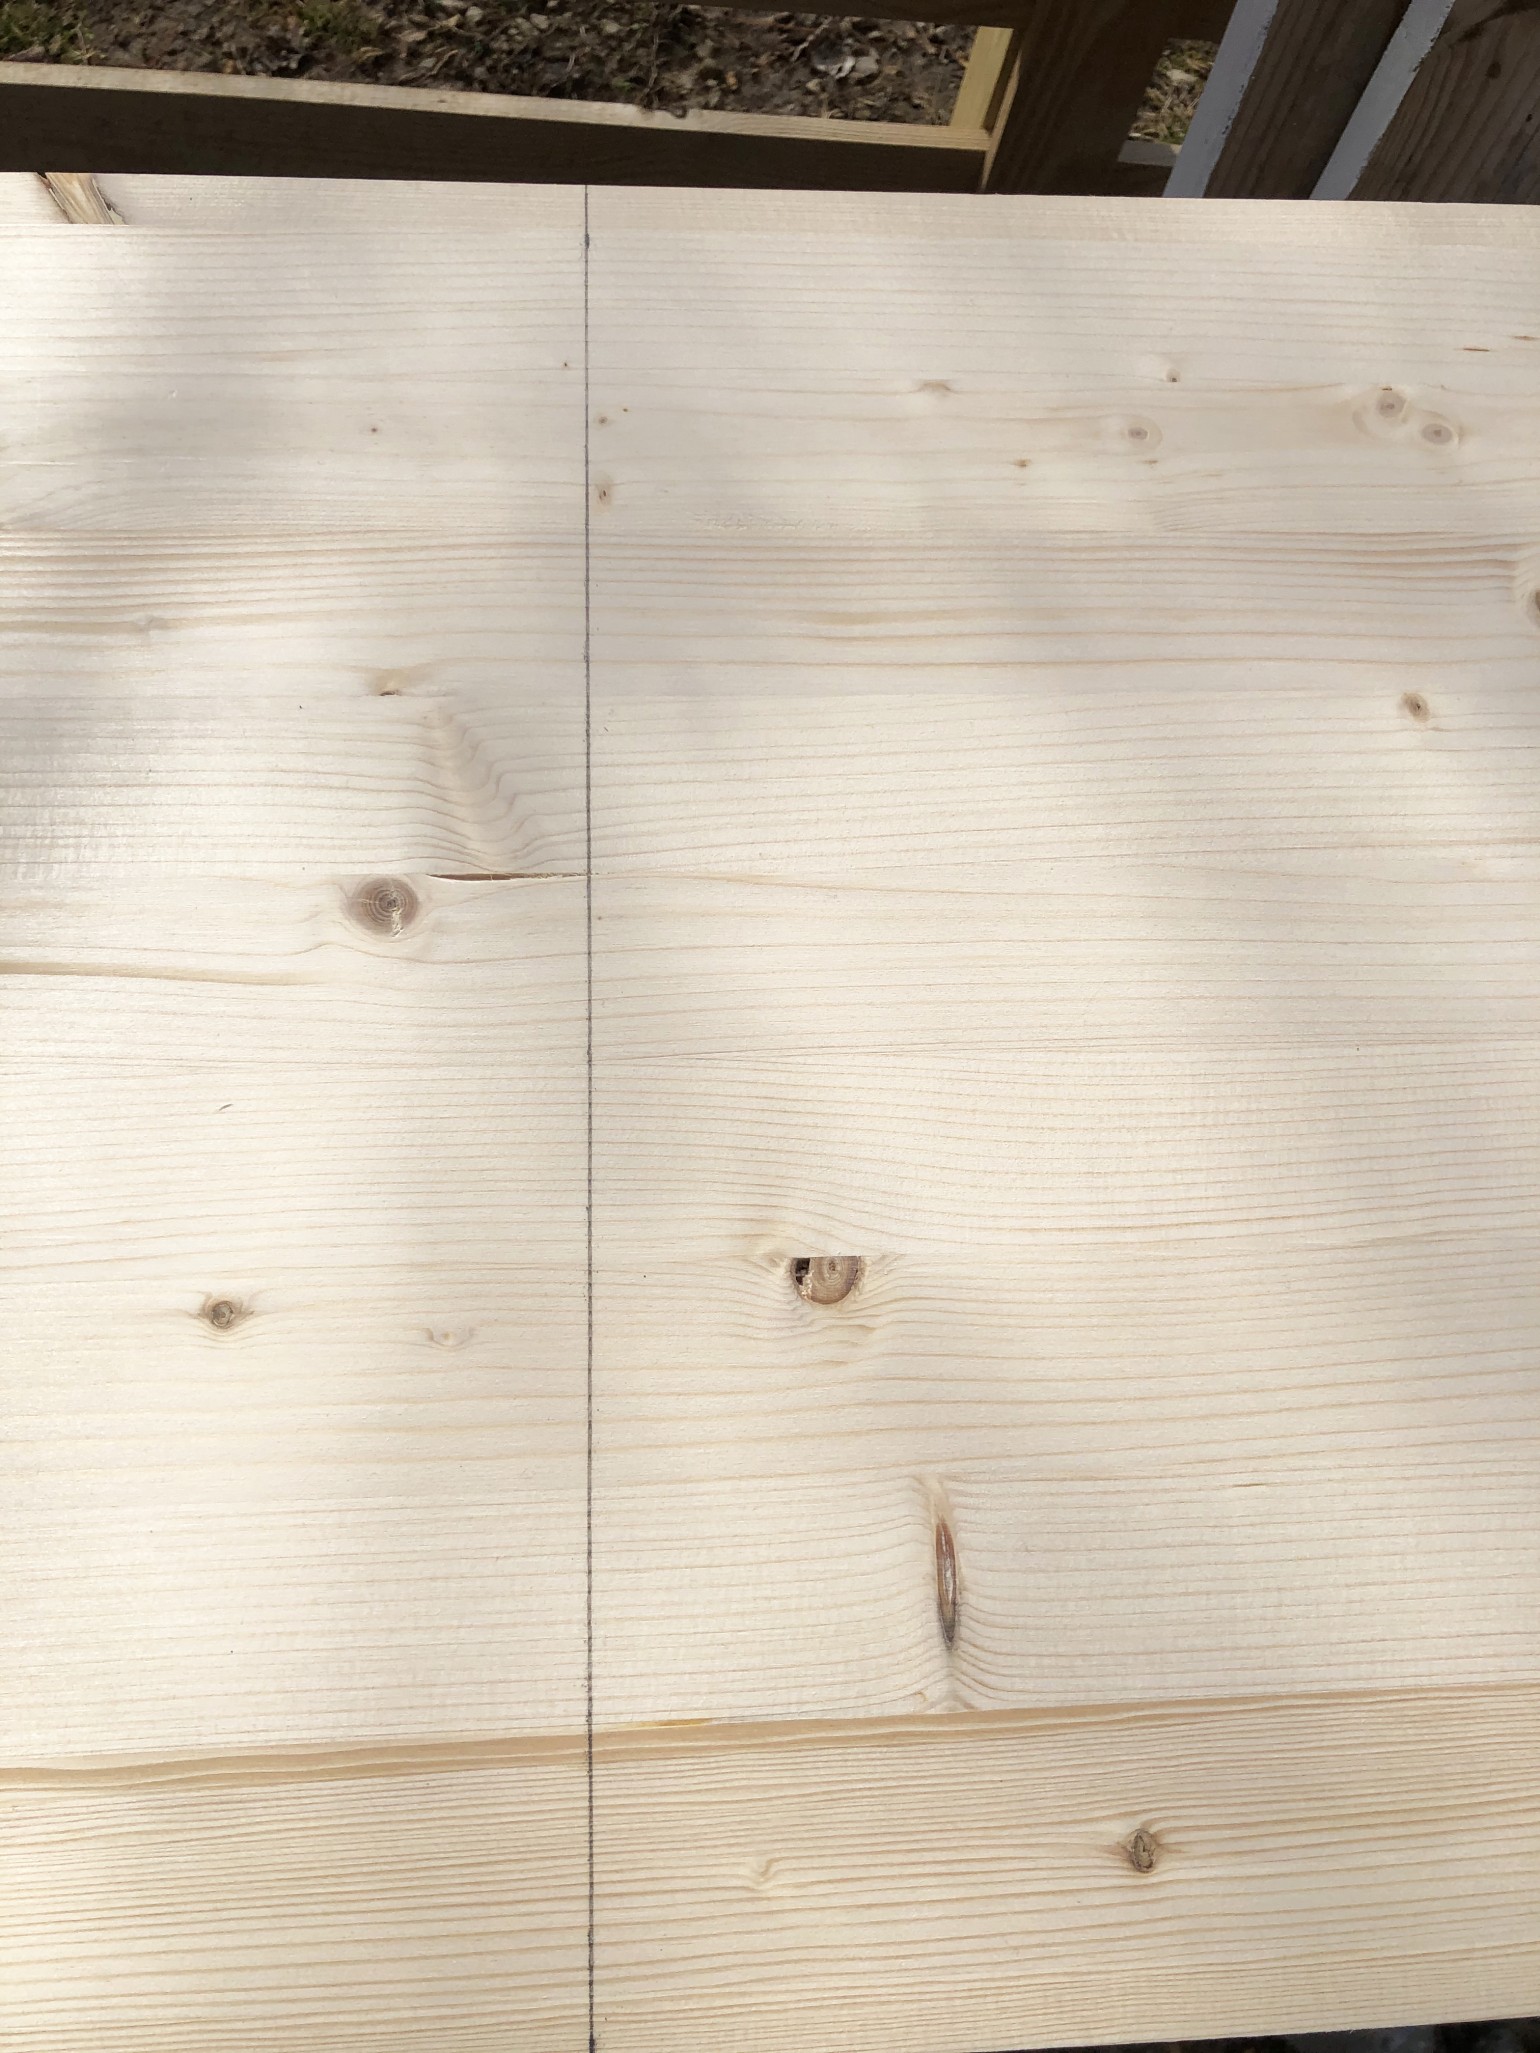
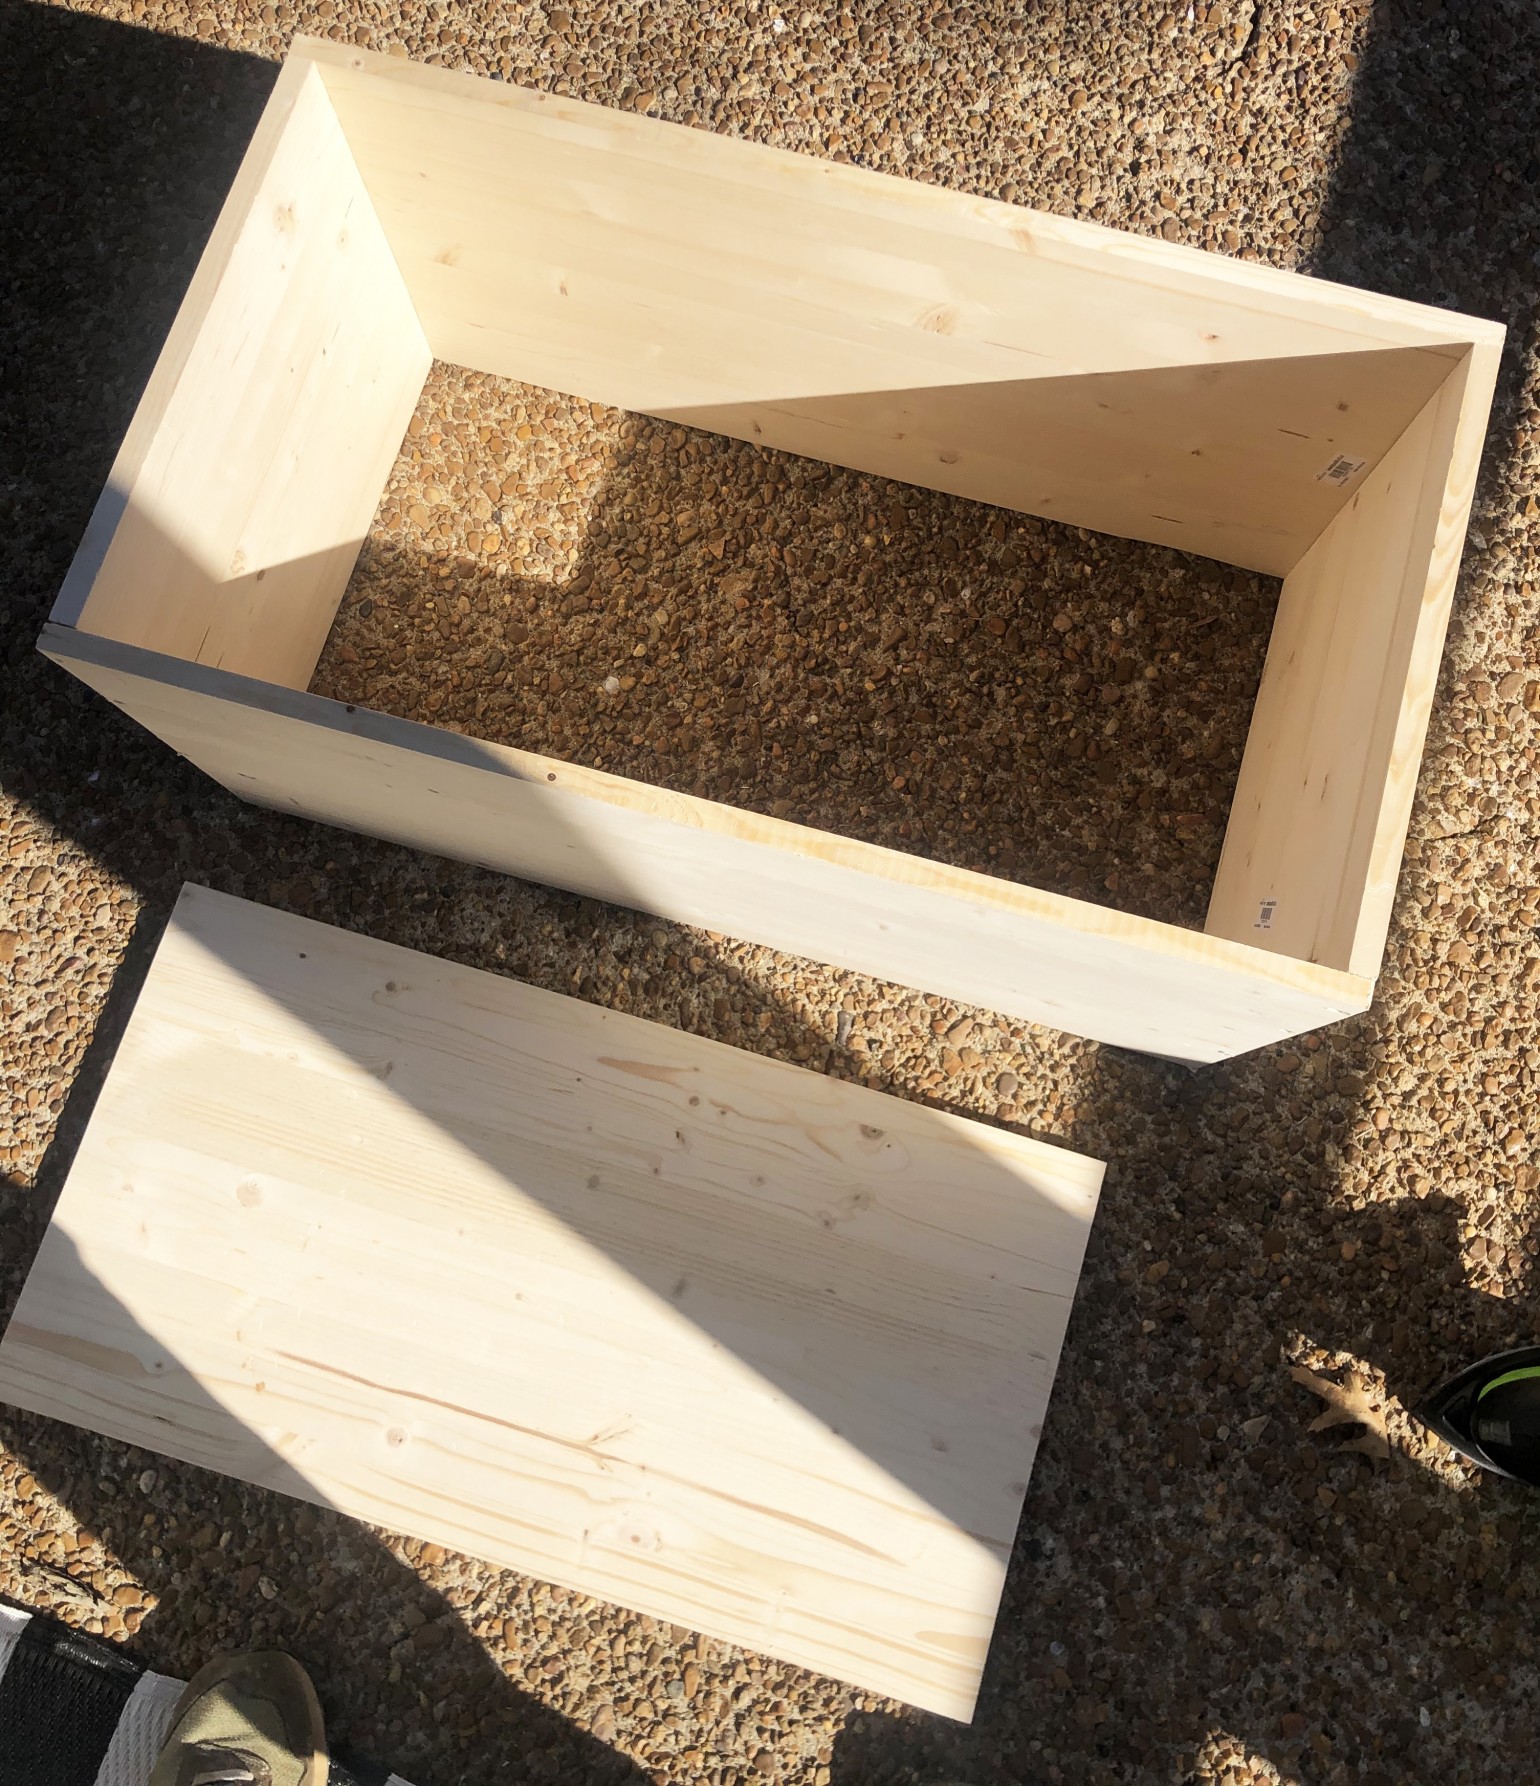
First, we found the measurements we wanted to use for the height and width. Once we had those, we cut two panels for the length and two panels for the width. We were able to do this out of one panel. We cut our width panels 3/4″ shorter than the desired width of our overall size to compensate for the width of the panel board.
We also cut another panel board the width of our front and back pieces minus 1 1/2″ to allow the board to sit inside the piece to create a flush top that wouldn’t move, but was still removable.
Next, we sanded the edges with our Greenworks finishing sander to smooth them out.
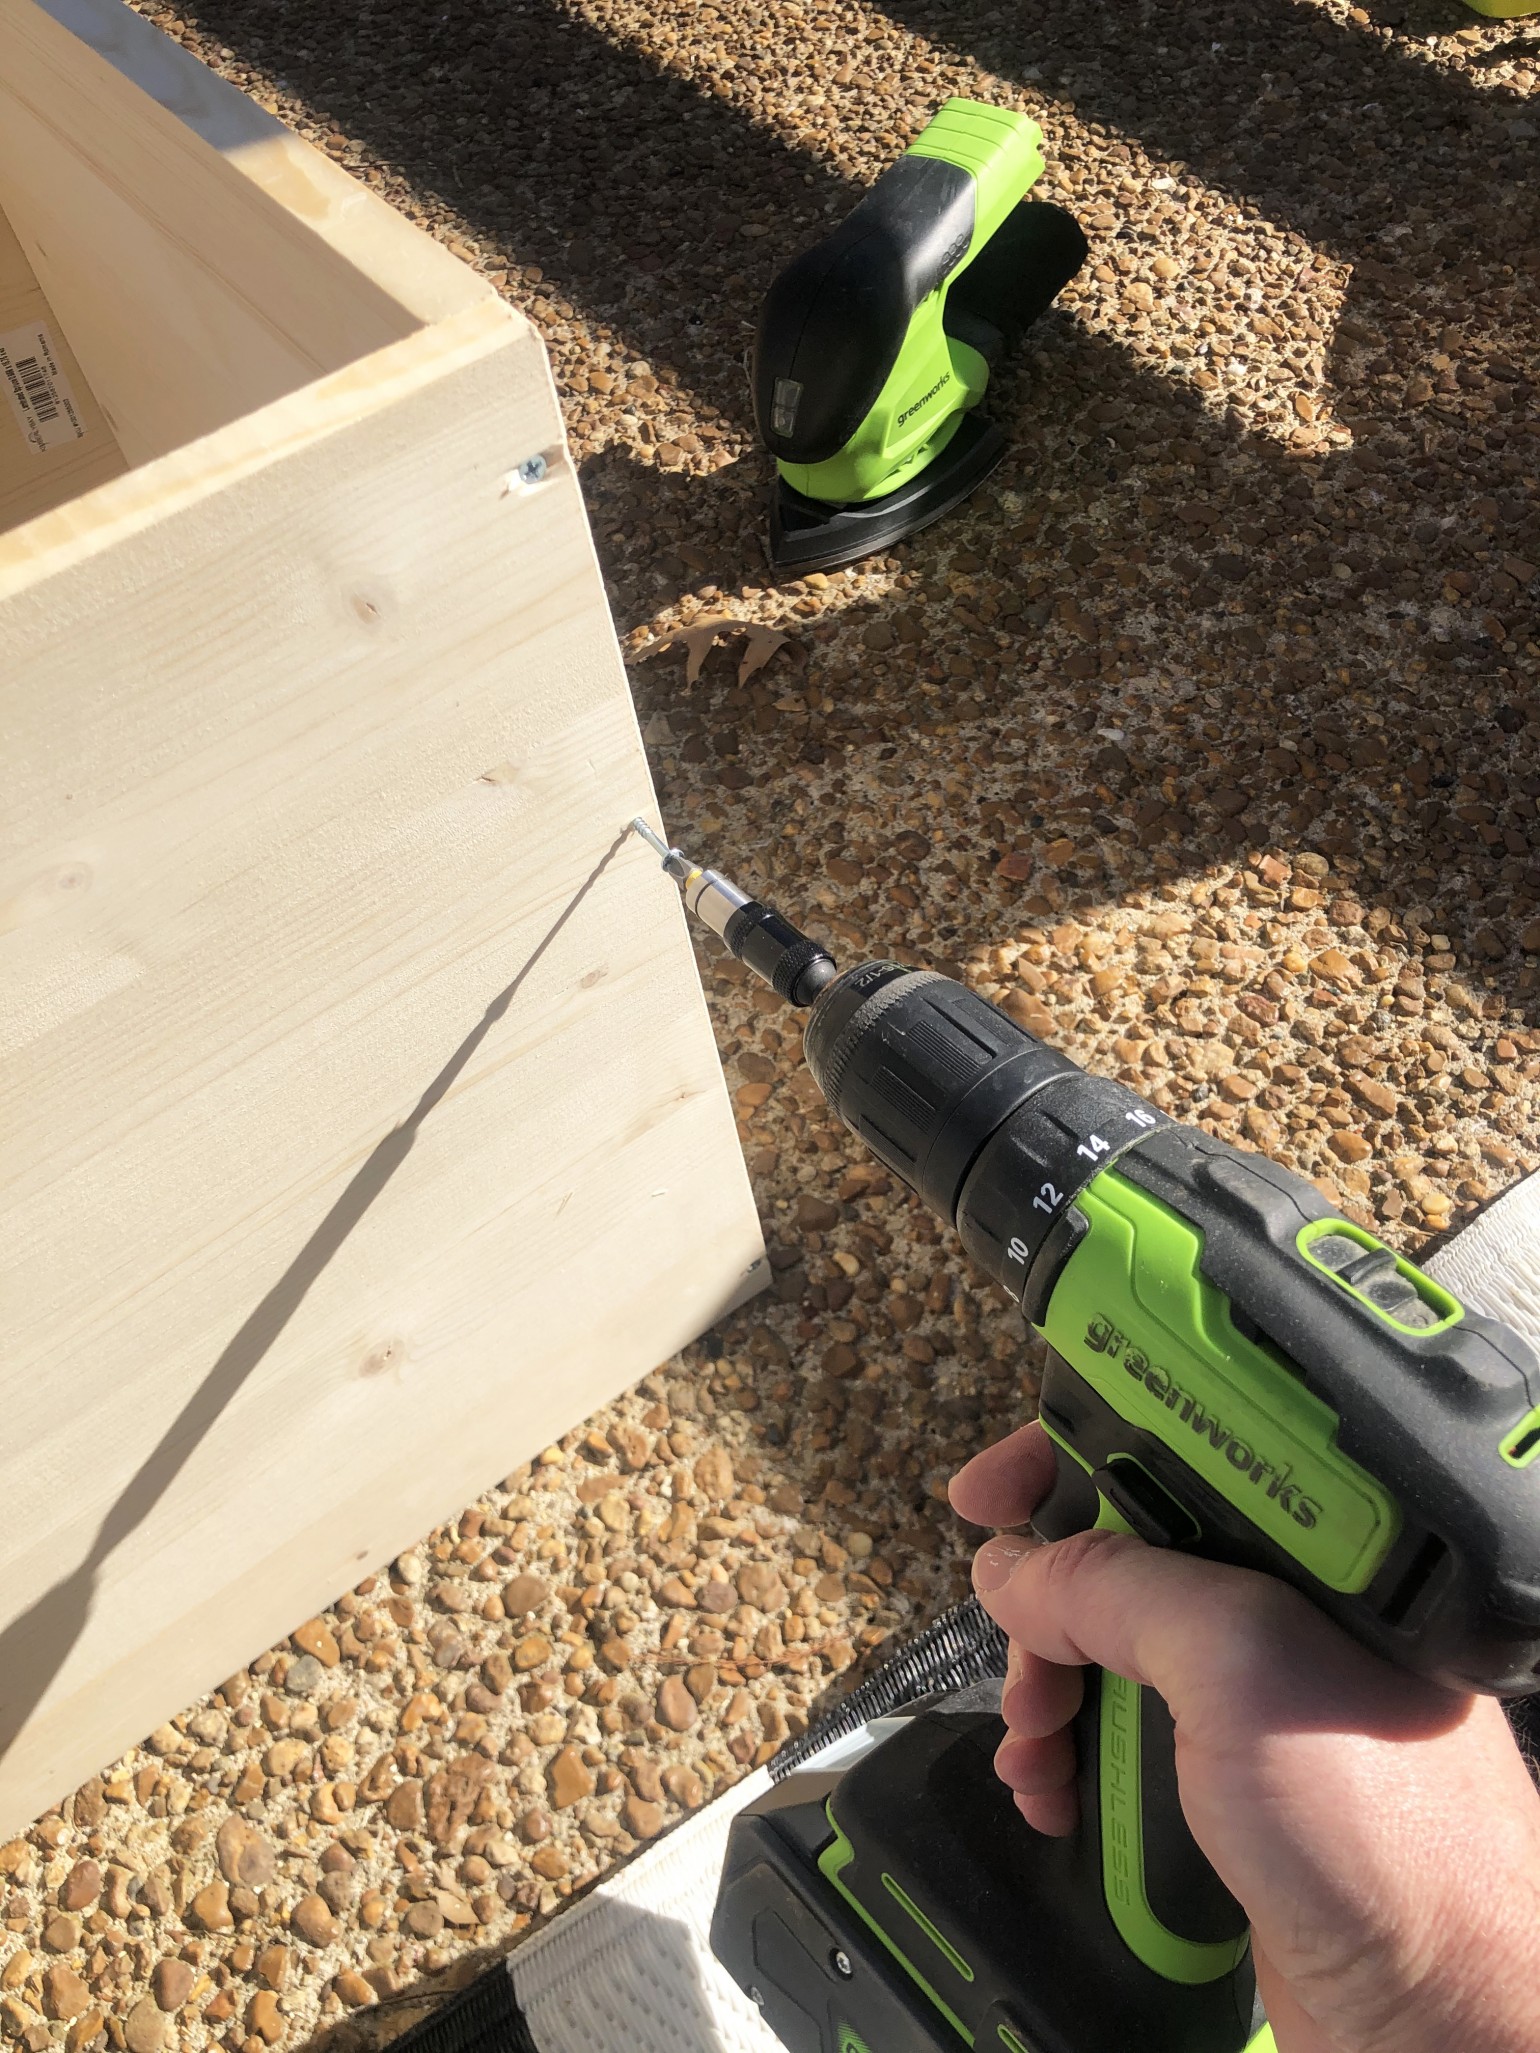
Using the Greenworks drill, impact driver, and wood screws, we screwed the pieces together.
Remember, it’s always a good idea to pre-drill your holes and don’t forget to check for square, before you fit everything together.
Once it was all screwed together, we check the top once again to make sure it would fit.
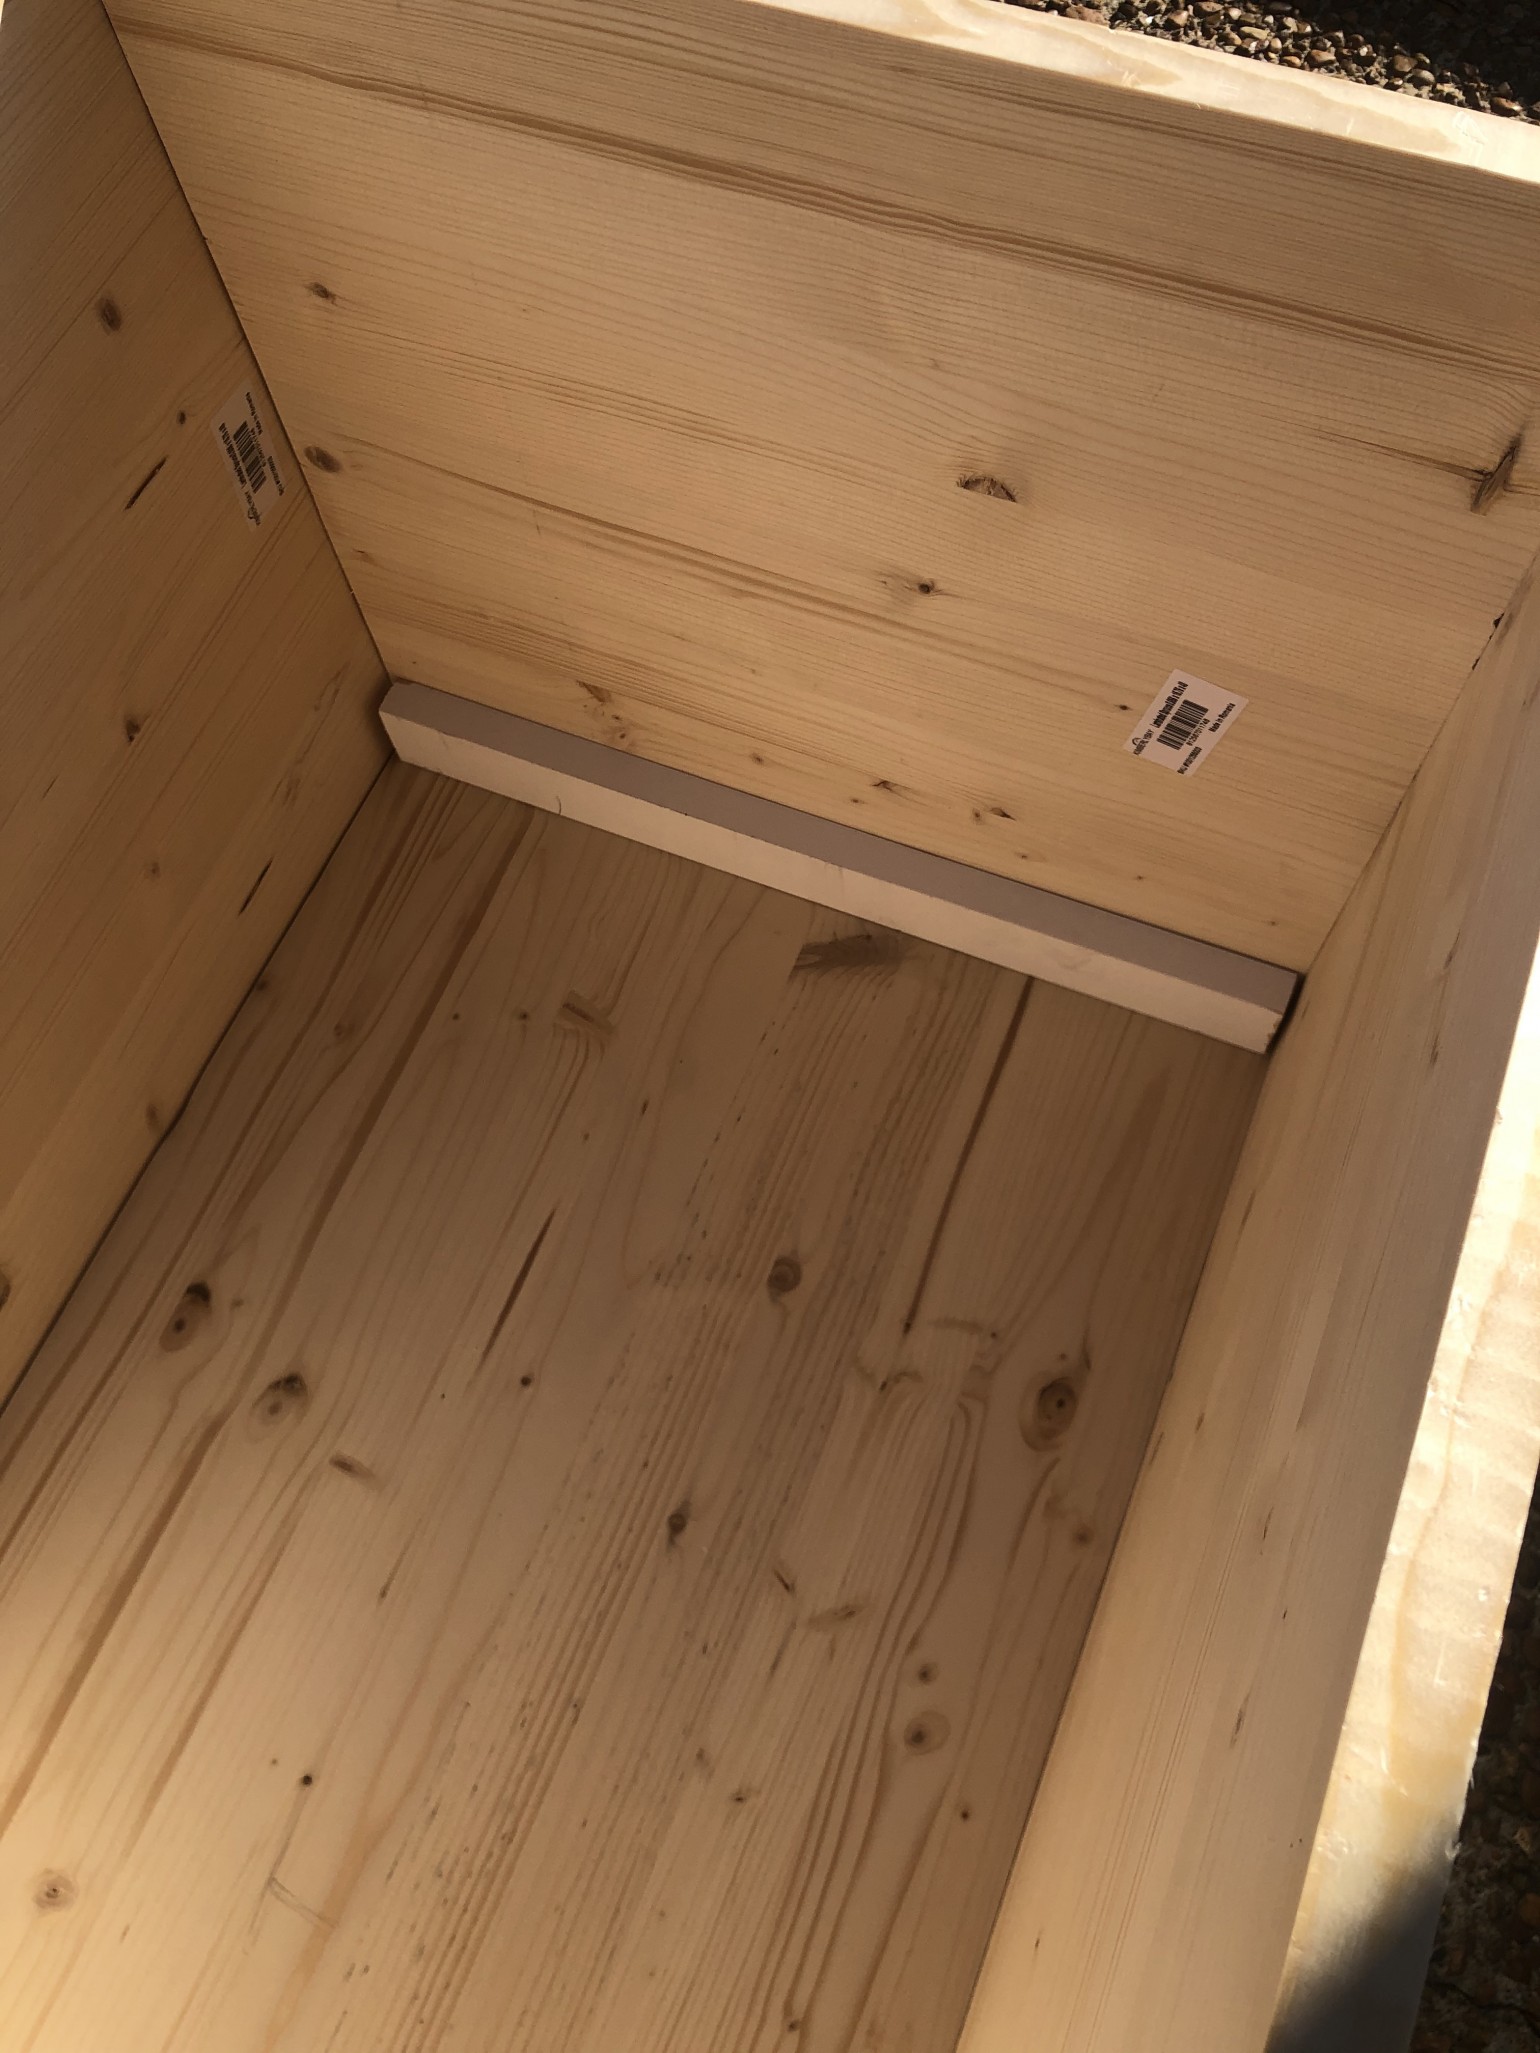
Once we knew it fit, we turned the box upside down then placed the top back inside the box making sure it went all the way to the bottom.
From there we simply cut a 1 x 2 down to size, and secured it to both sides for the top to rest on.
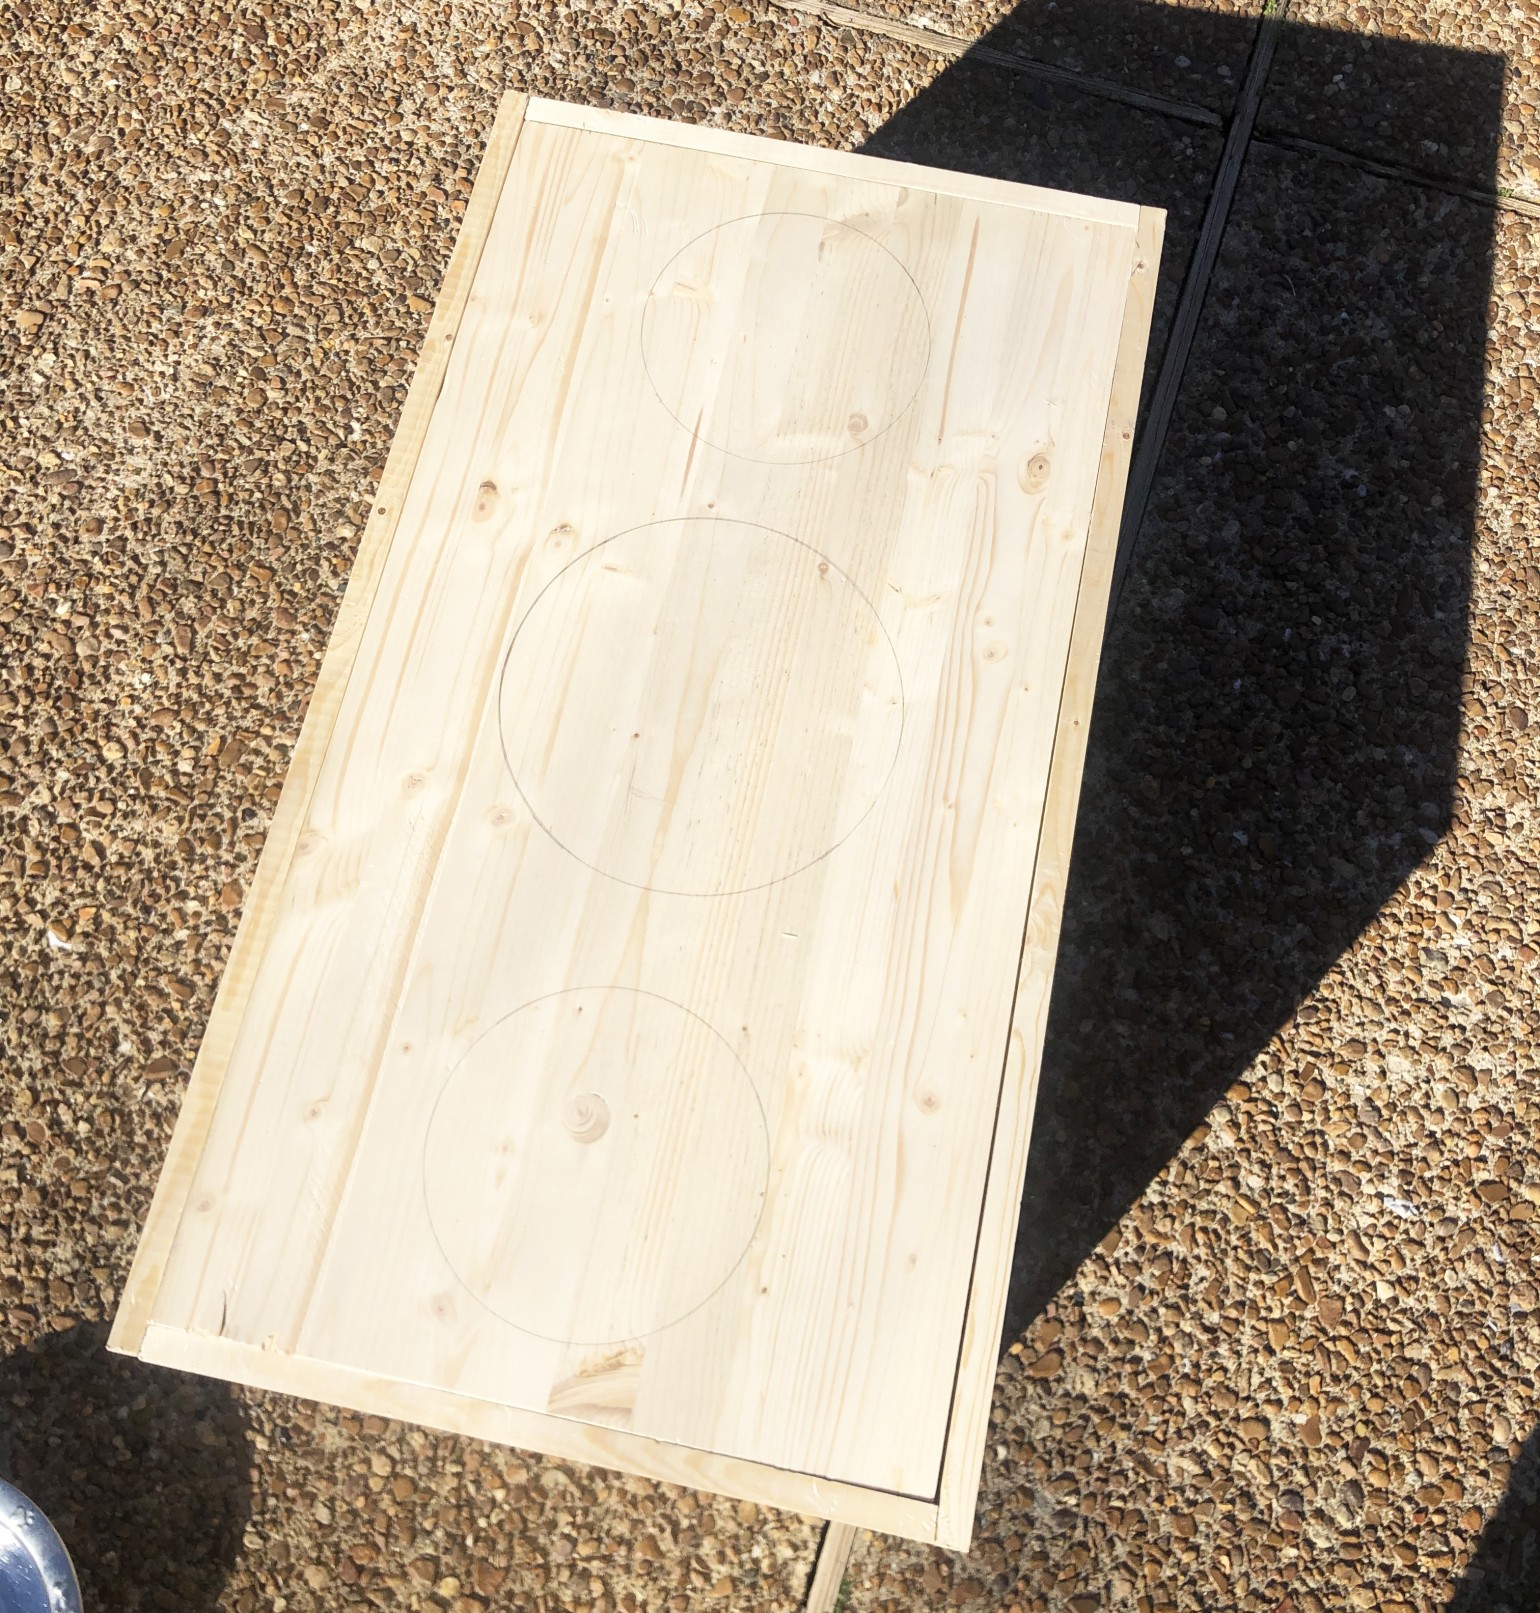
Next, we used the dog bowls to judge the size of the holes we would need.
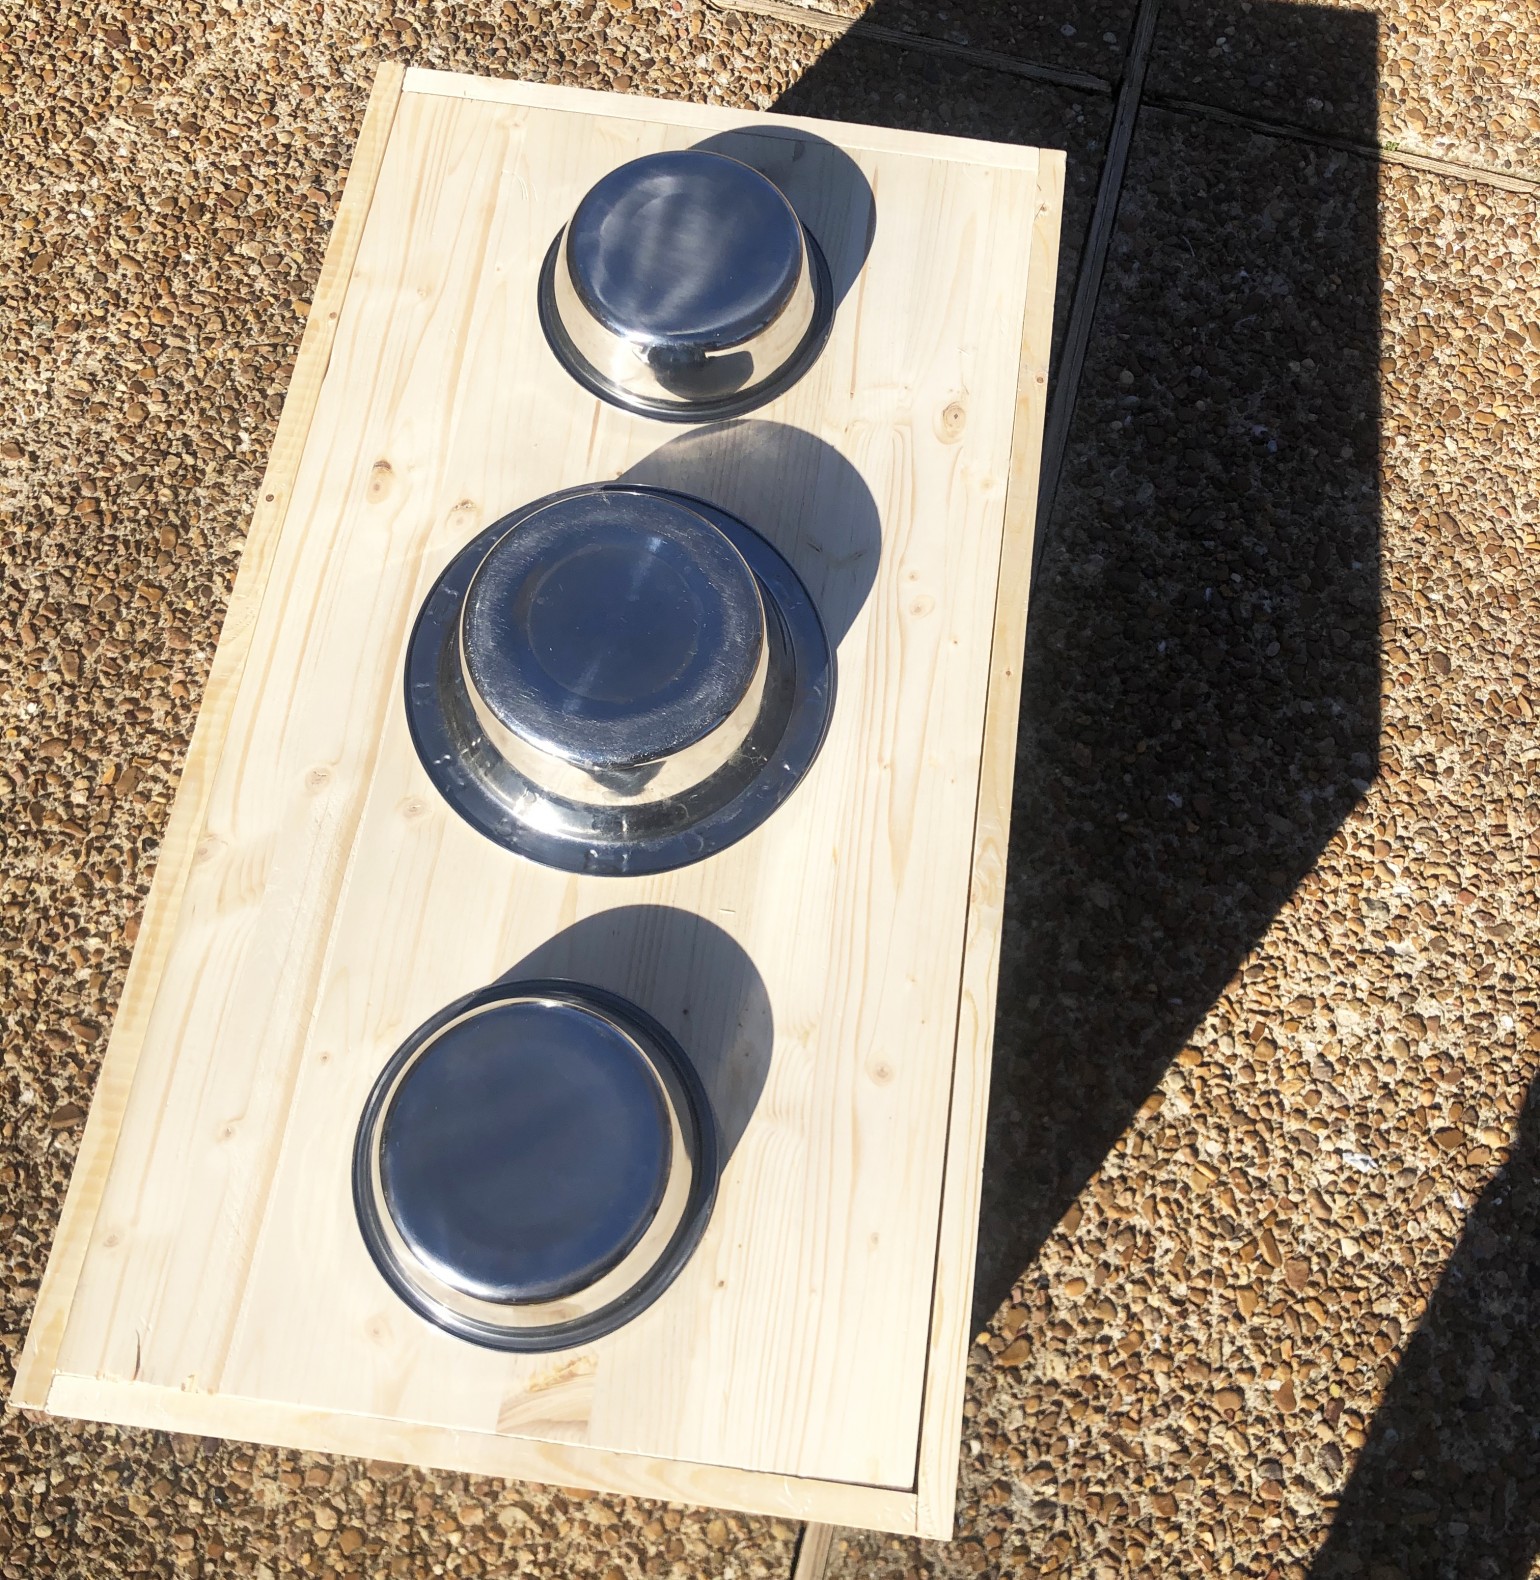
By tracing the outside of the bowls, we knew that they couldn’t be any larger or they would fall in.
The biggest issue we had here is that ours are slanted and getting the exact measurement for the size of our hole was difficult.
Using the Greenworks drill, we created a starting point for our jigsaw to start.
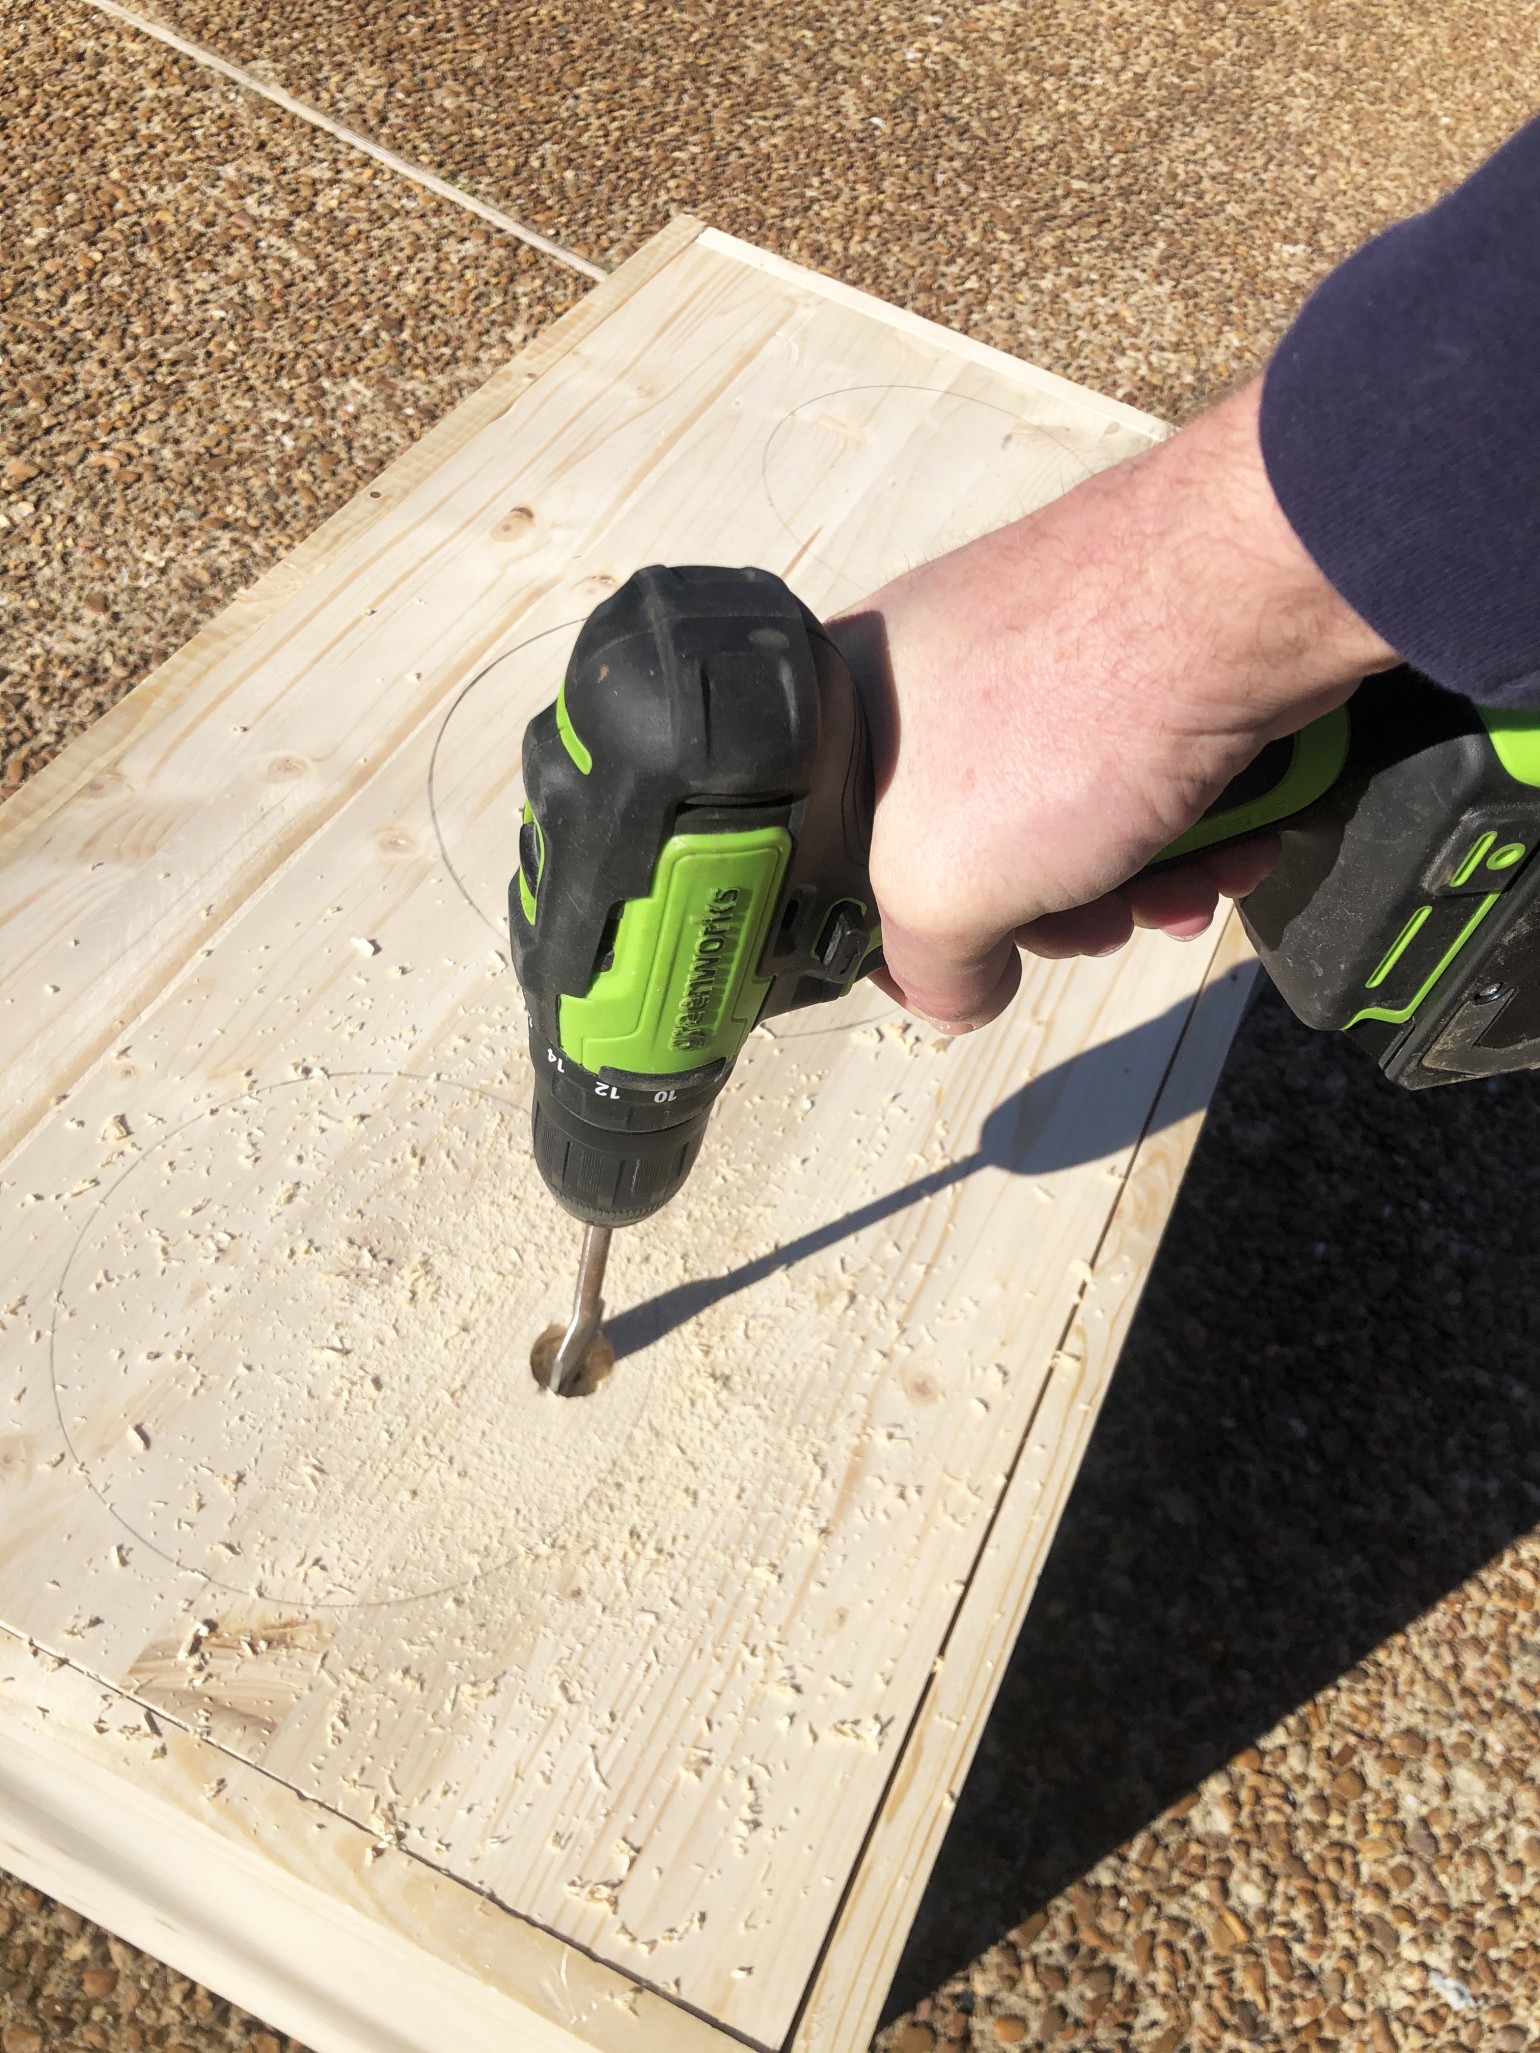
We didn’t want the bowls to move around when they were placed, and as mentioned above we couldn’t get an exact measurement because our bowls were slanted. So we knew this would be a trial and error to get a perfect size. With that in mind, we started a little inside of what we thought we would need and cut out a circle with our jigsaw.
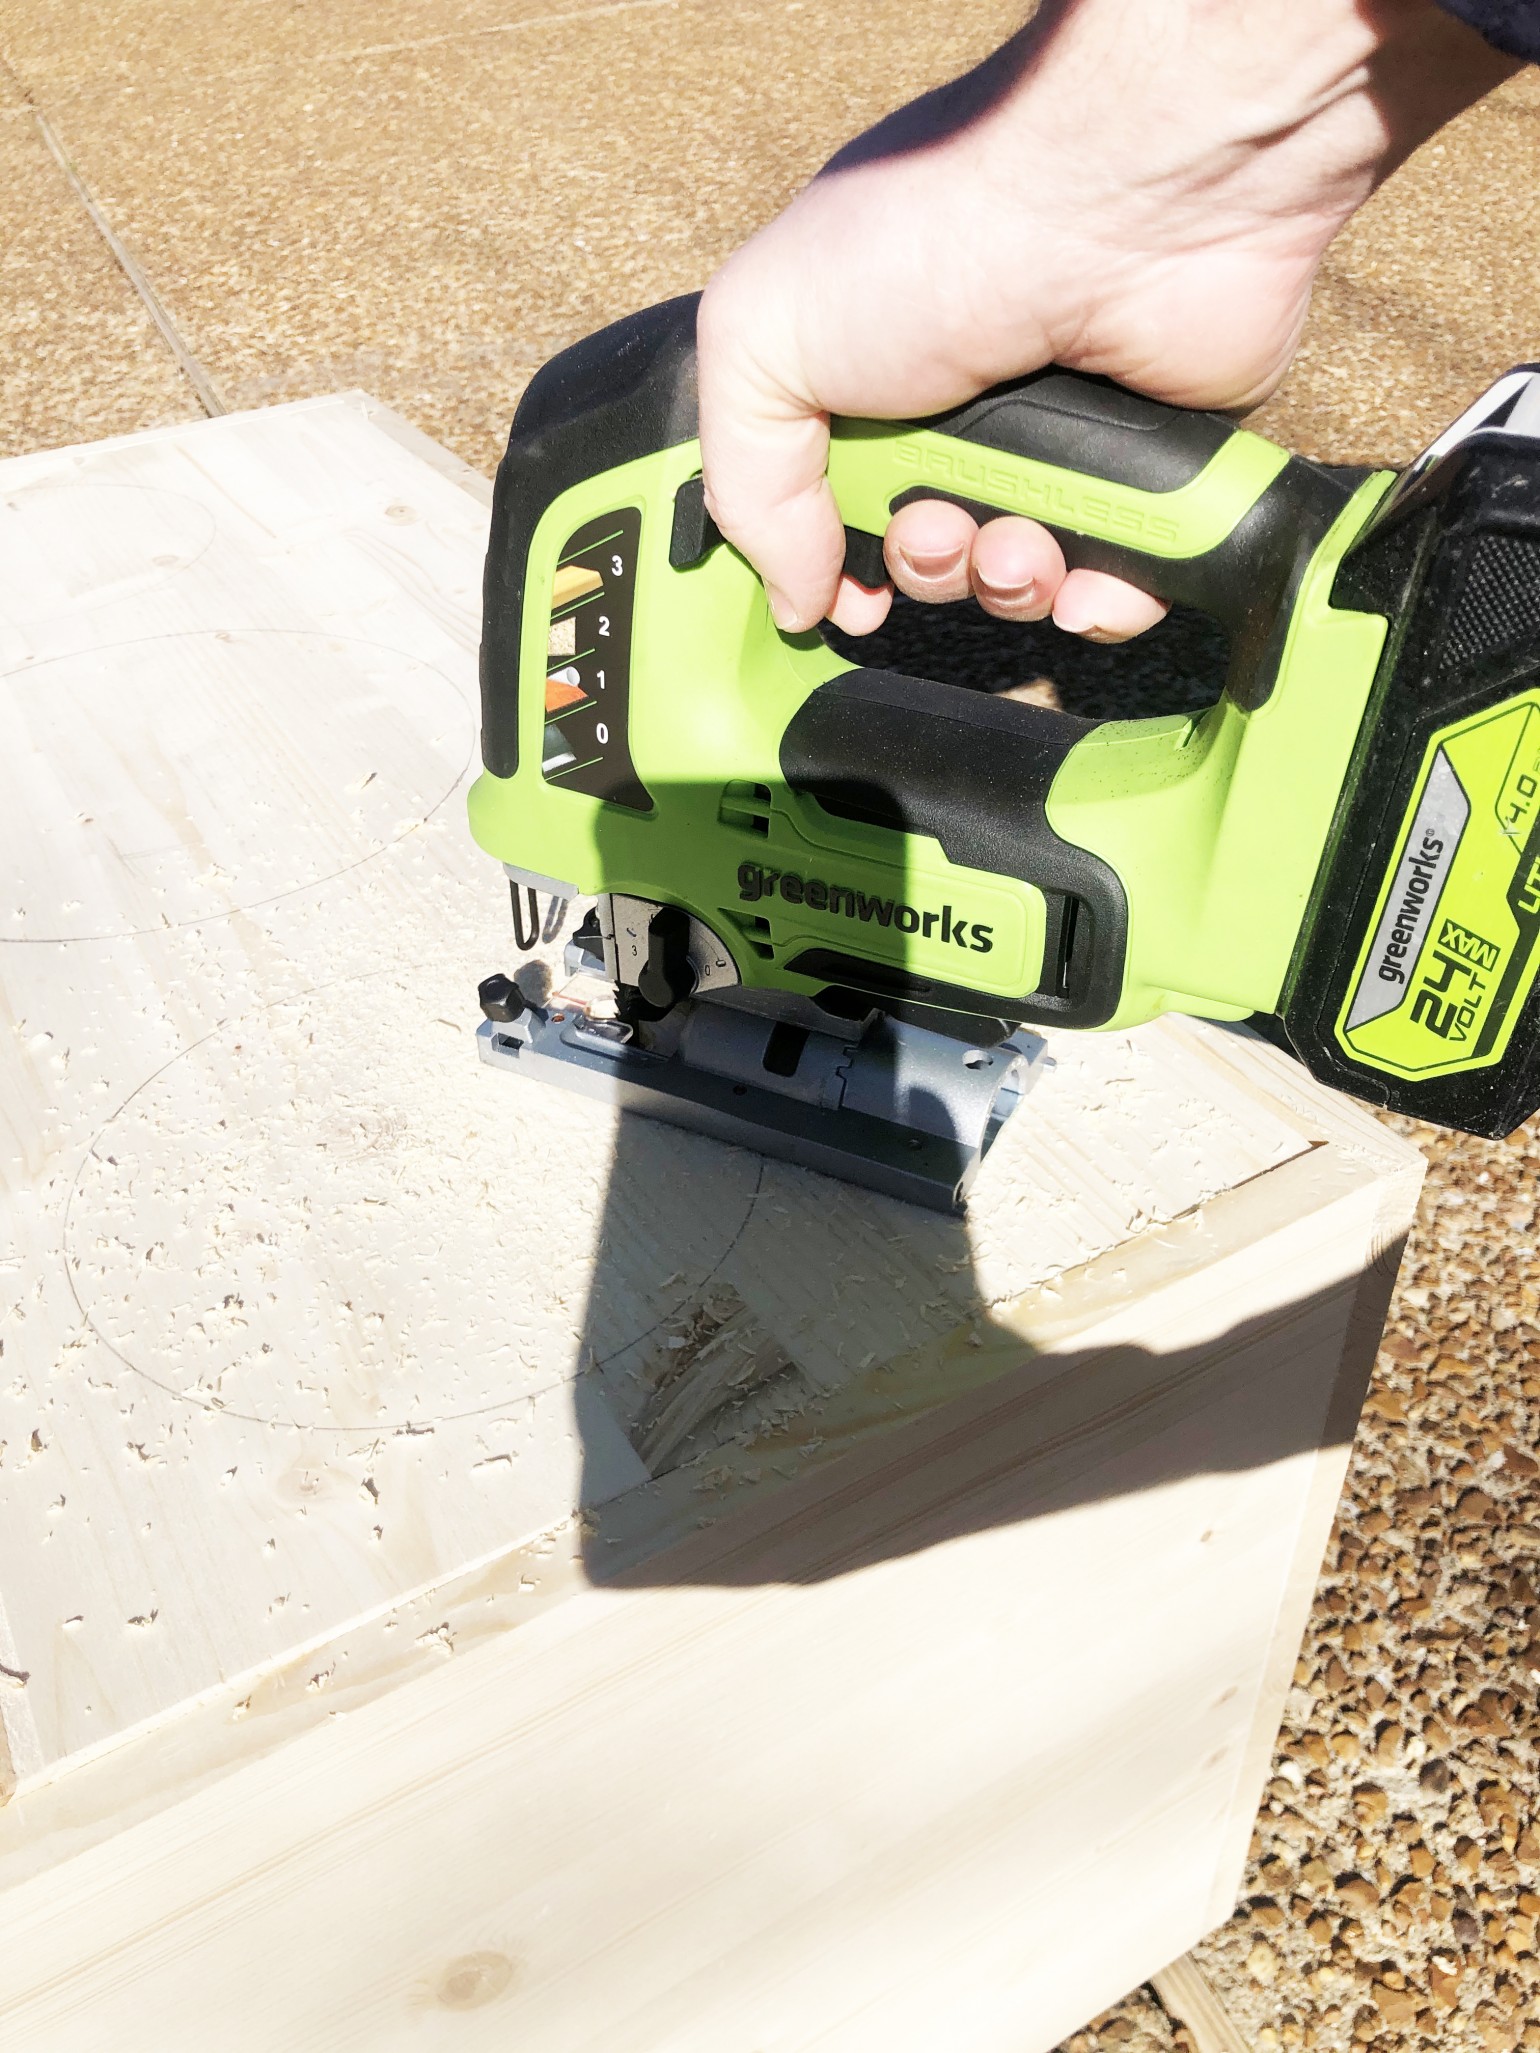
When we had a completed hole, we tested it with the bowl and cut away any additional wood so that it would rest flat, but not move.
Once we had our finished hole we sanded one more time to remove any jagged edges.

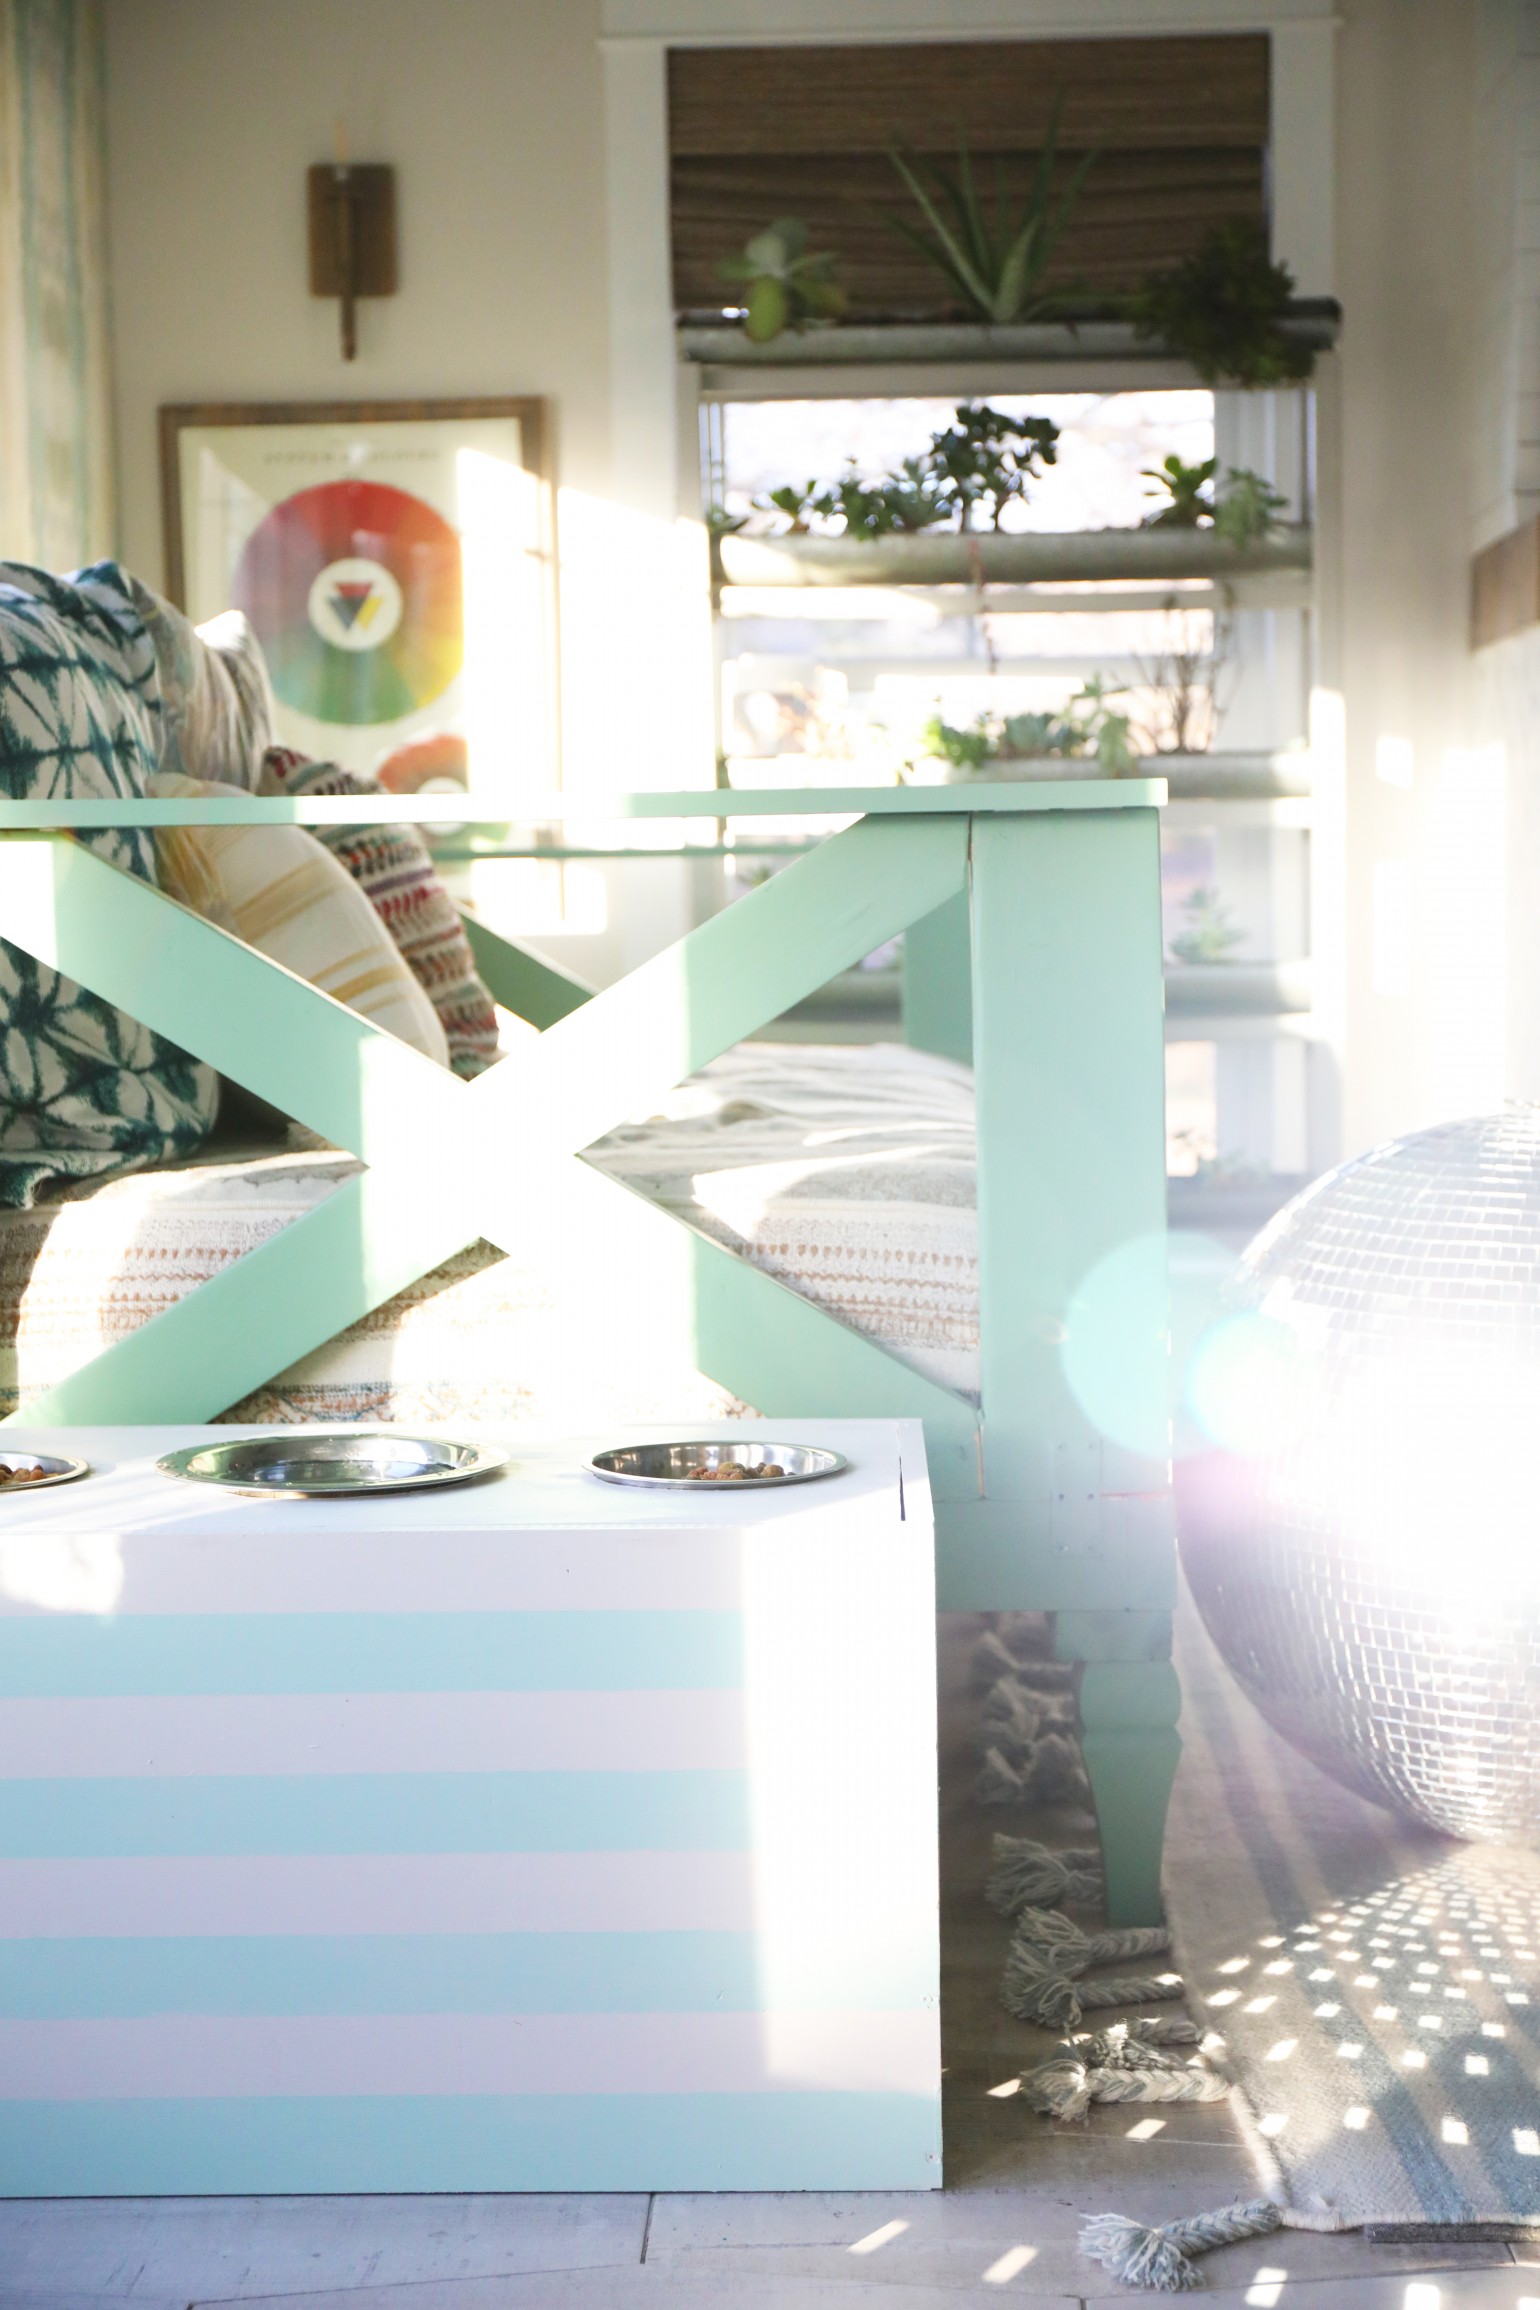
After finishing all the holes and making sure their bowls fit securely, it was time to give it a white coat of paint.
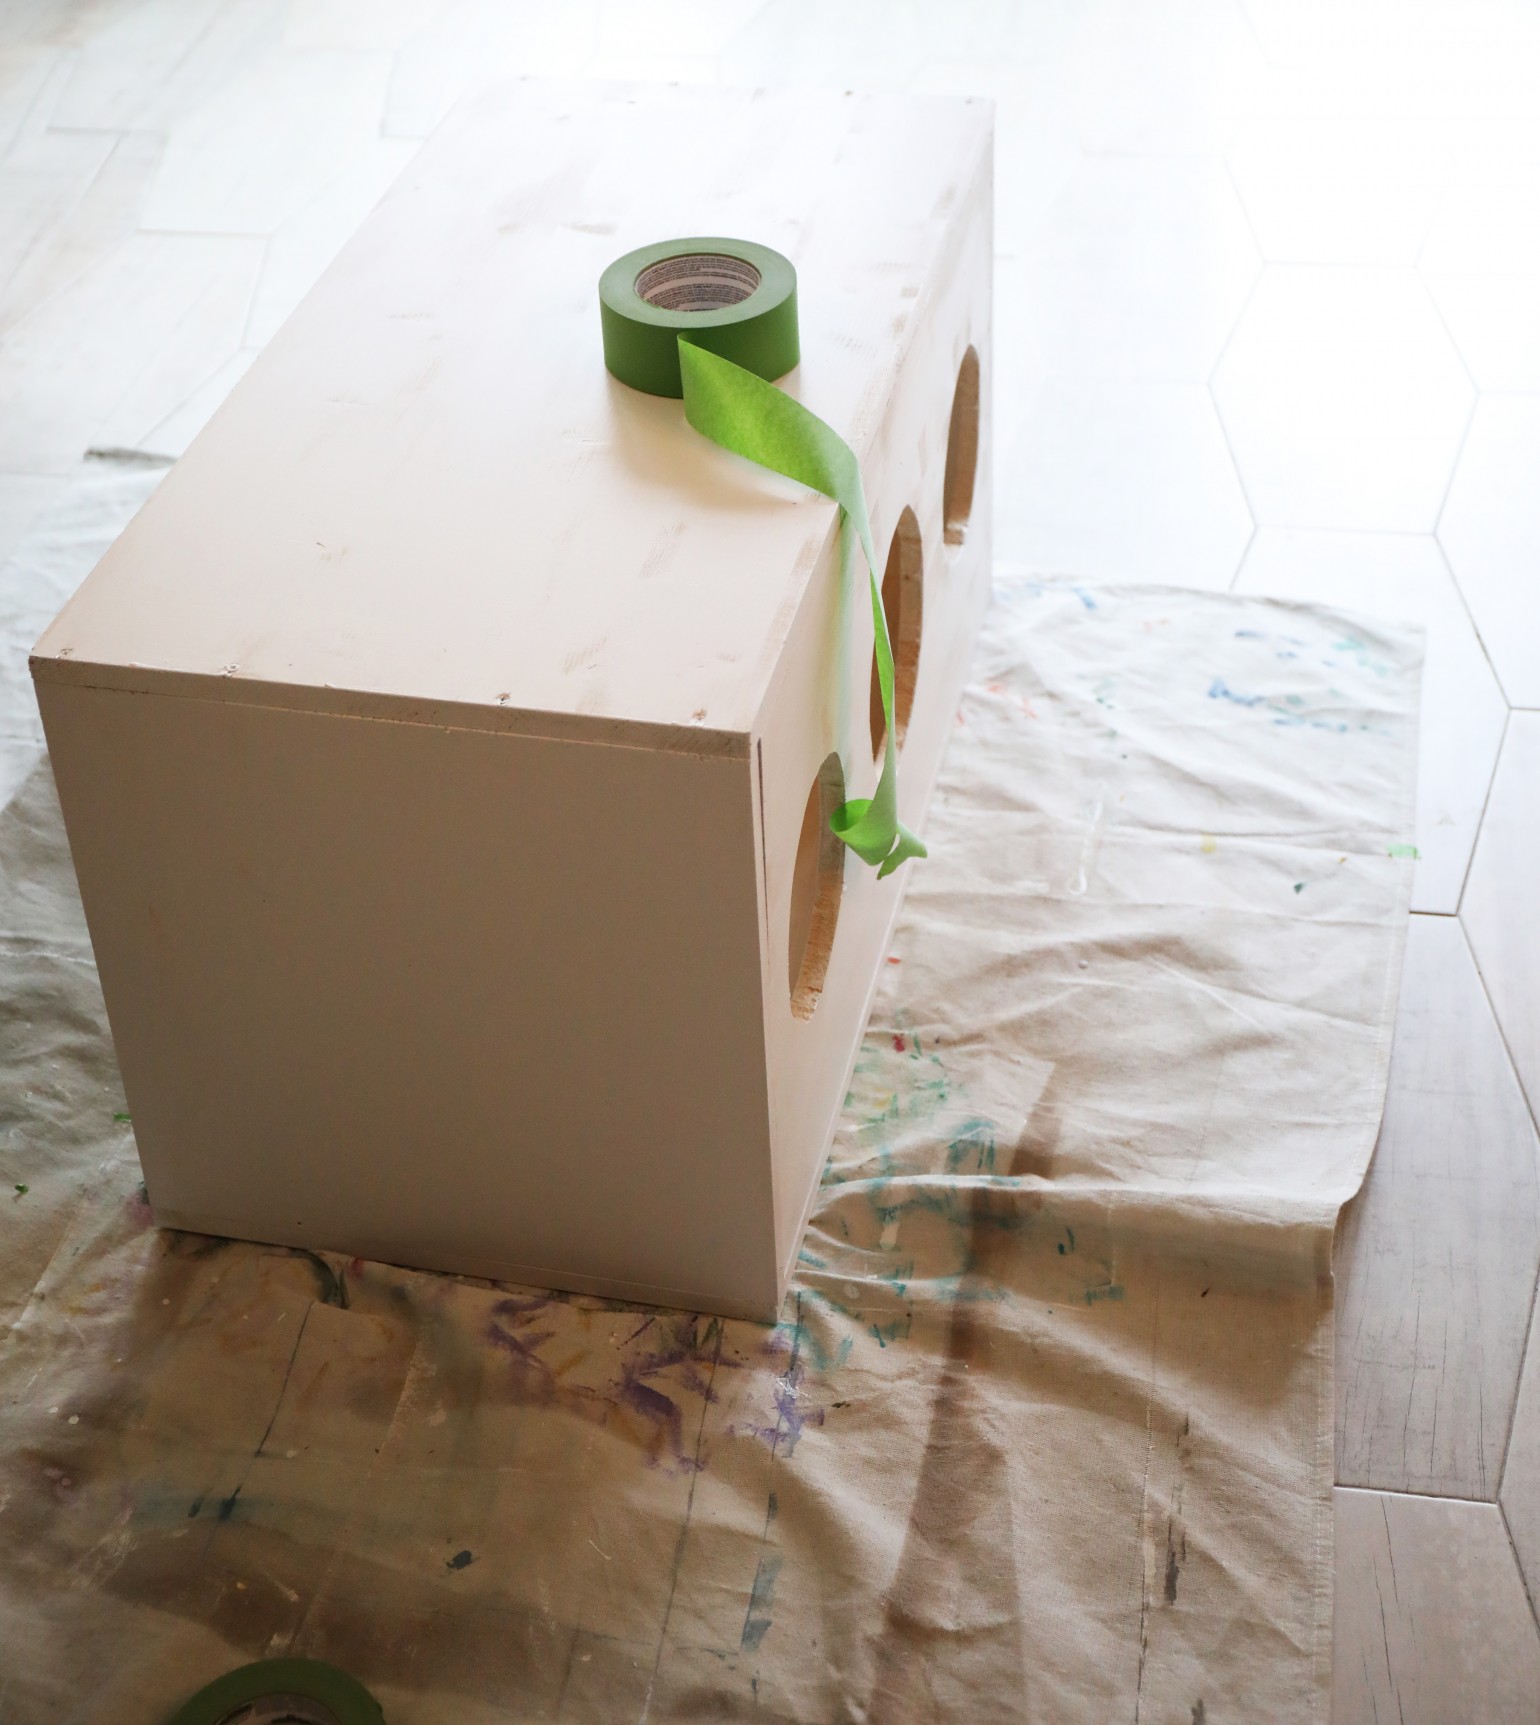
When that was dry, you know we couldn’t let it be finished without a few stripes.
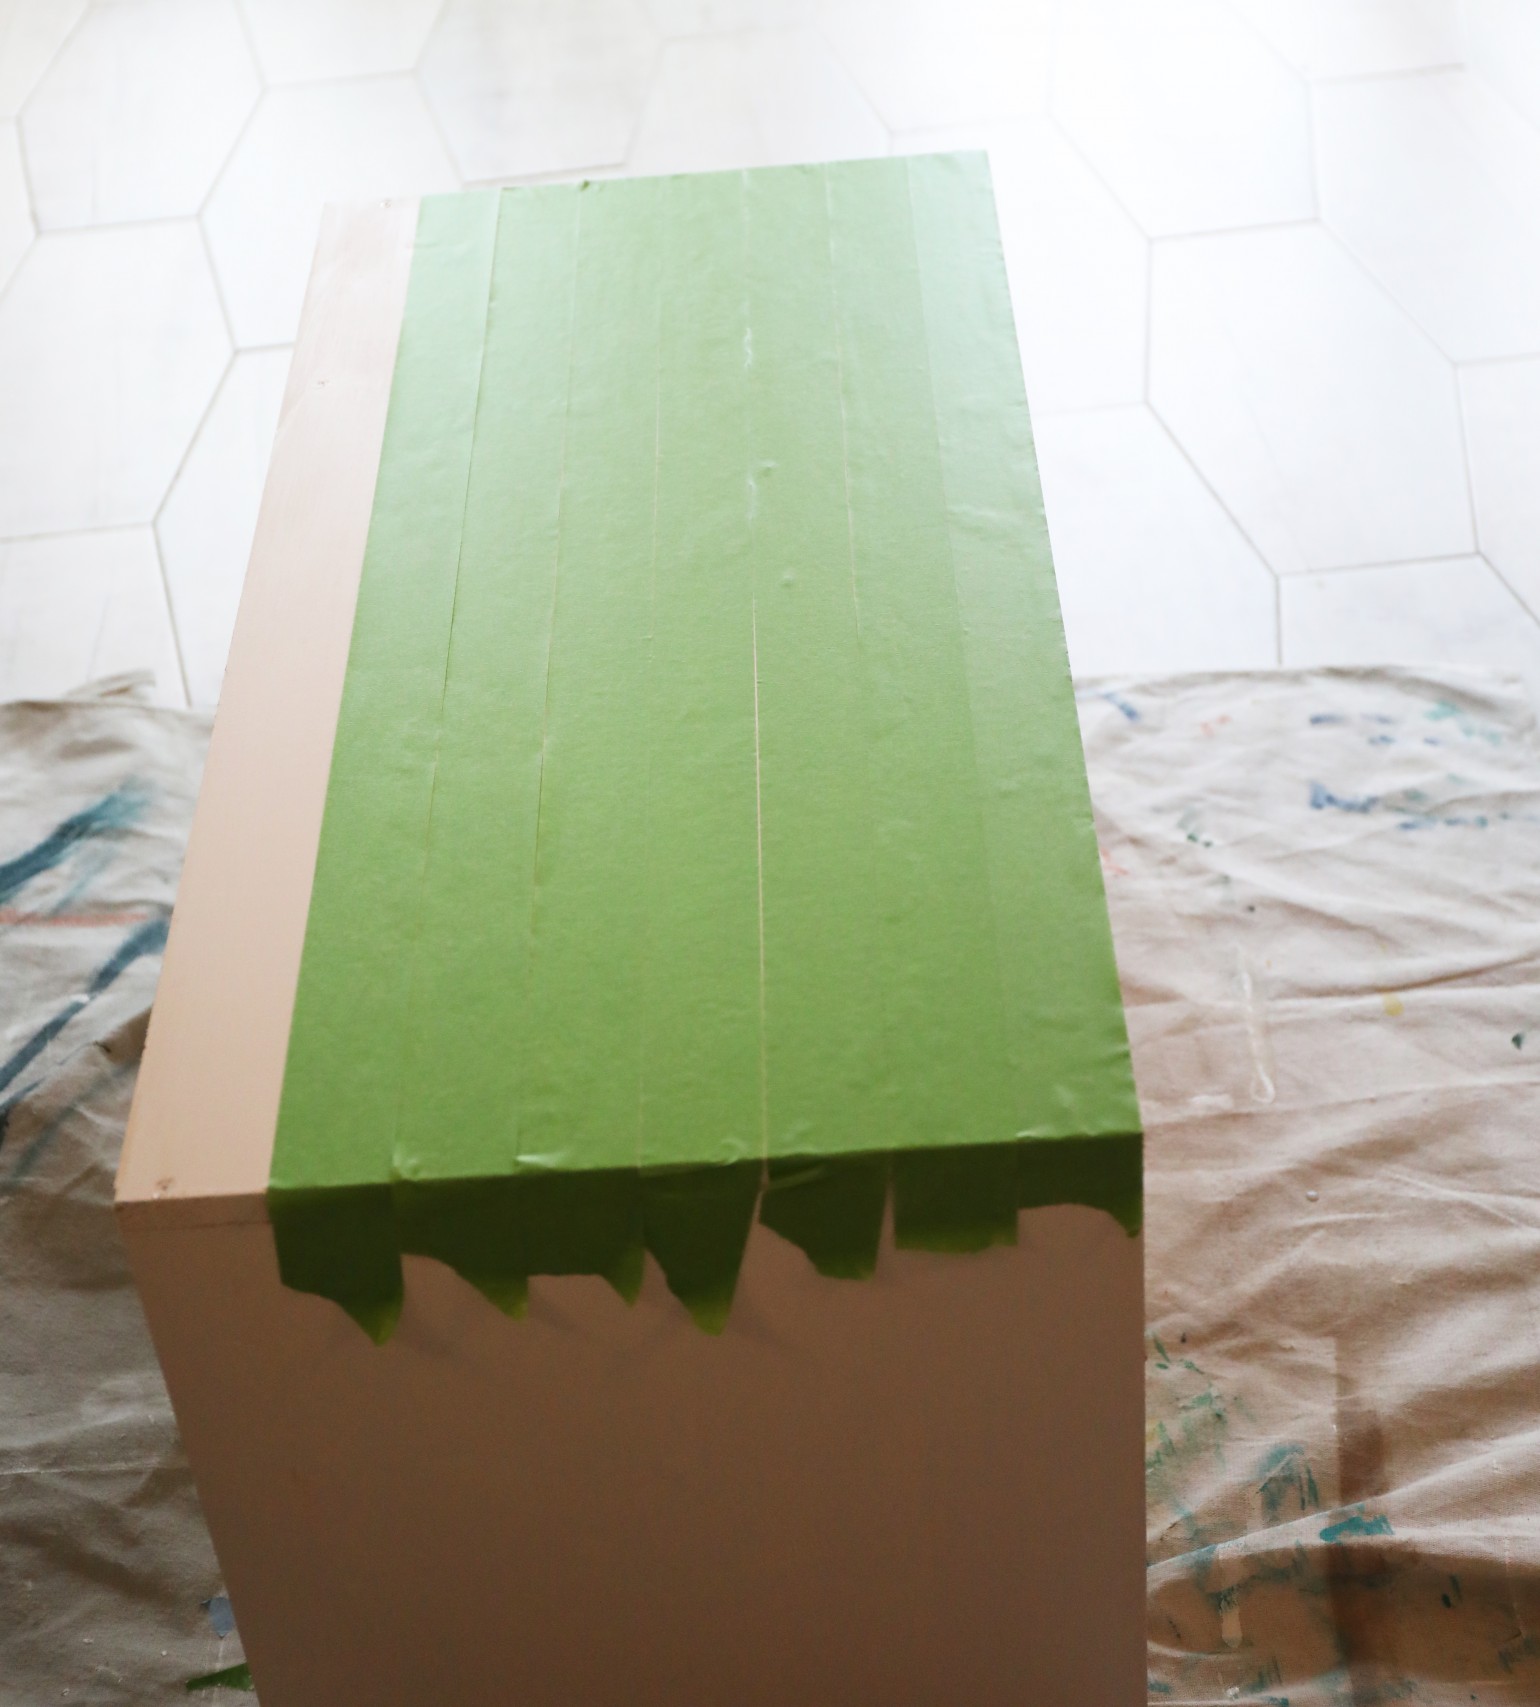
So we pulled out the FrogTape®, and used our usual tape addition to create stripes.
This helps keep the lines straight and equal.
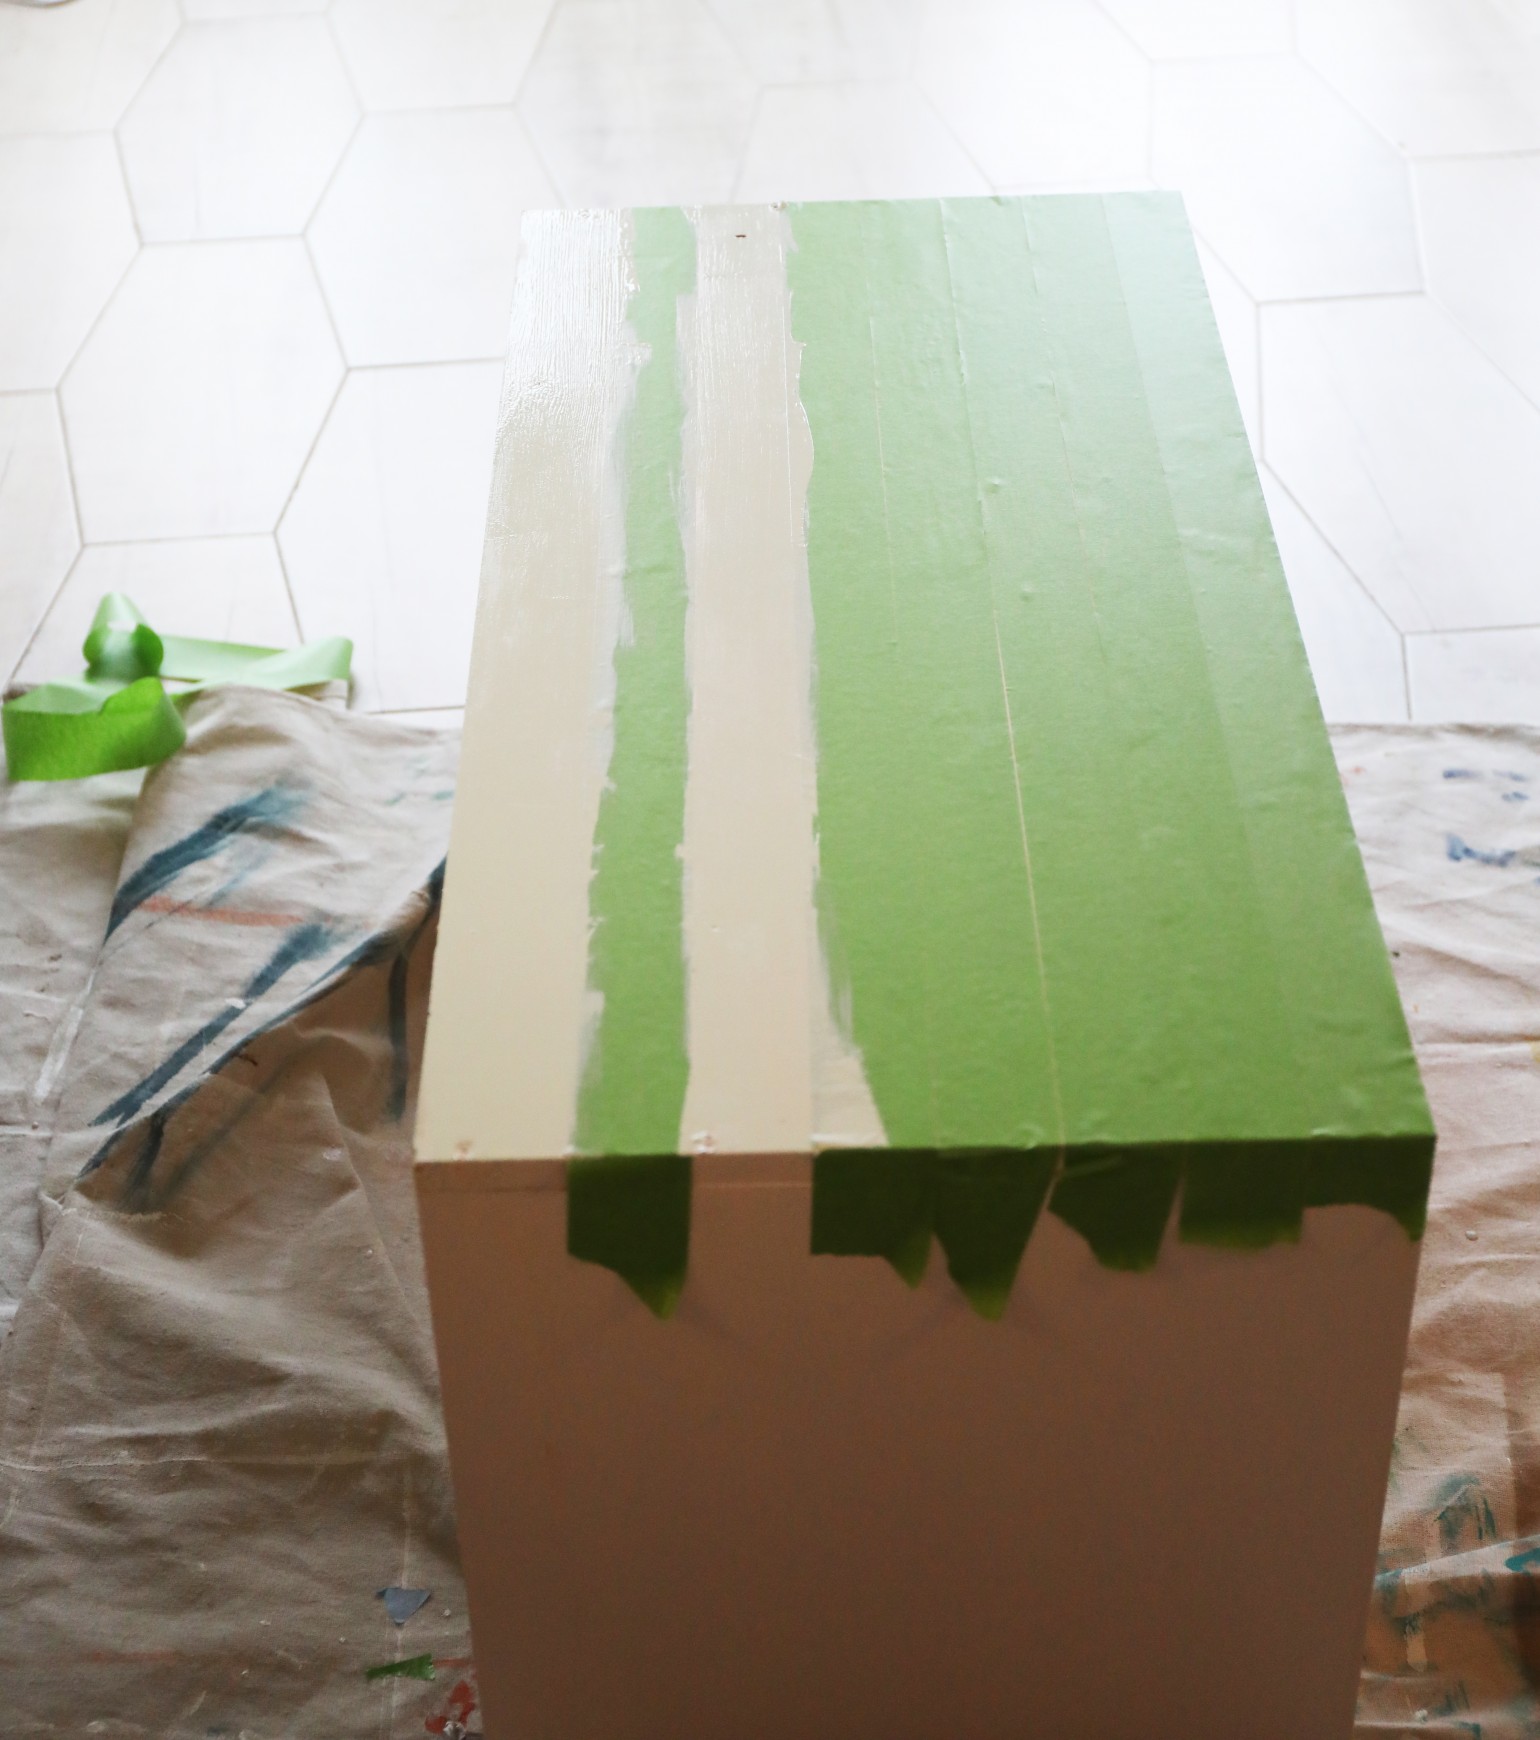
Pulling away every other piece of tape, we added paint to the spaces that were now revealed.
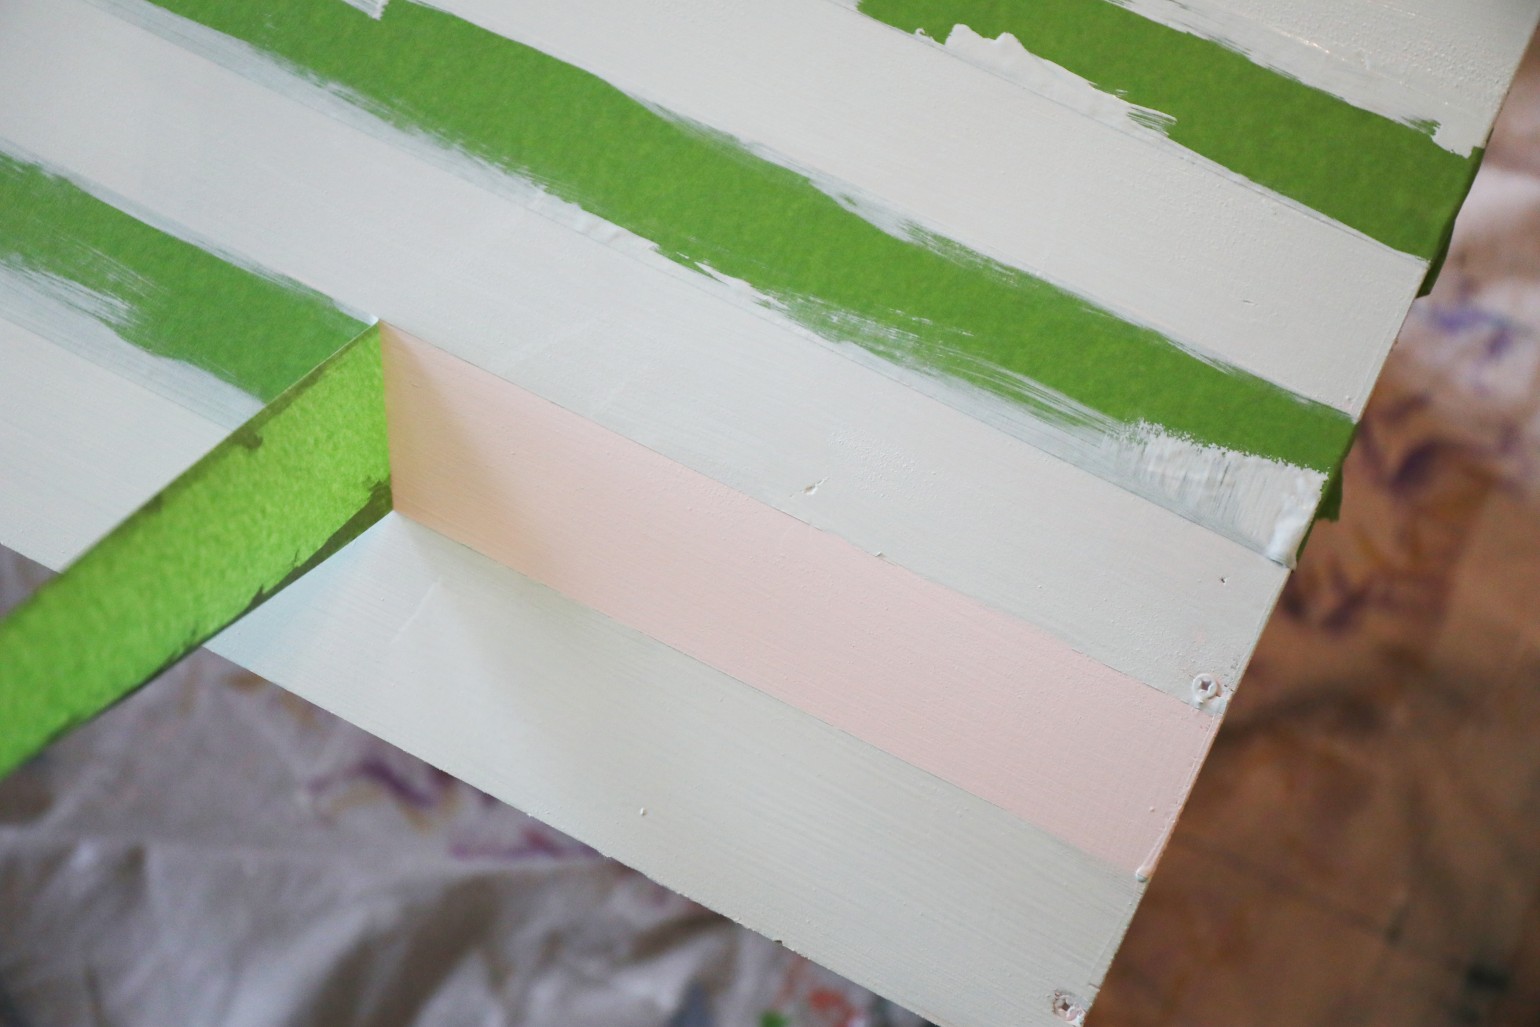
When they were dry, we pulled the tape away, and TADA! Crisp, straight lines.
We just met the lines on every side, and then we were finished.
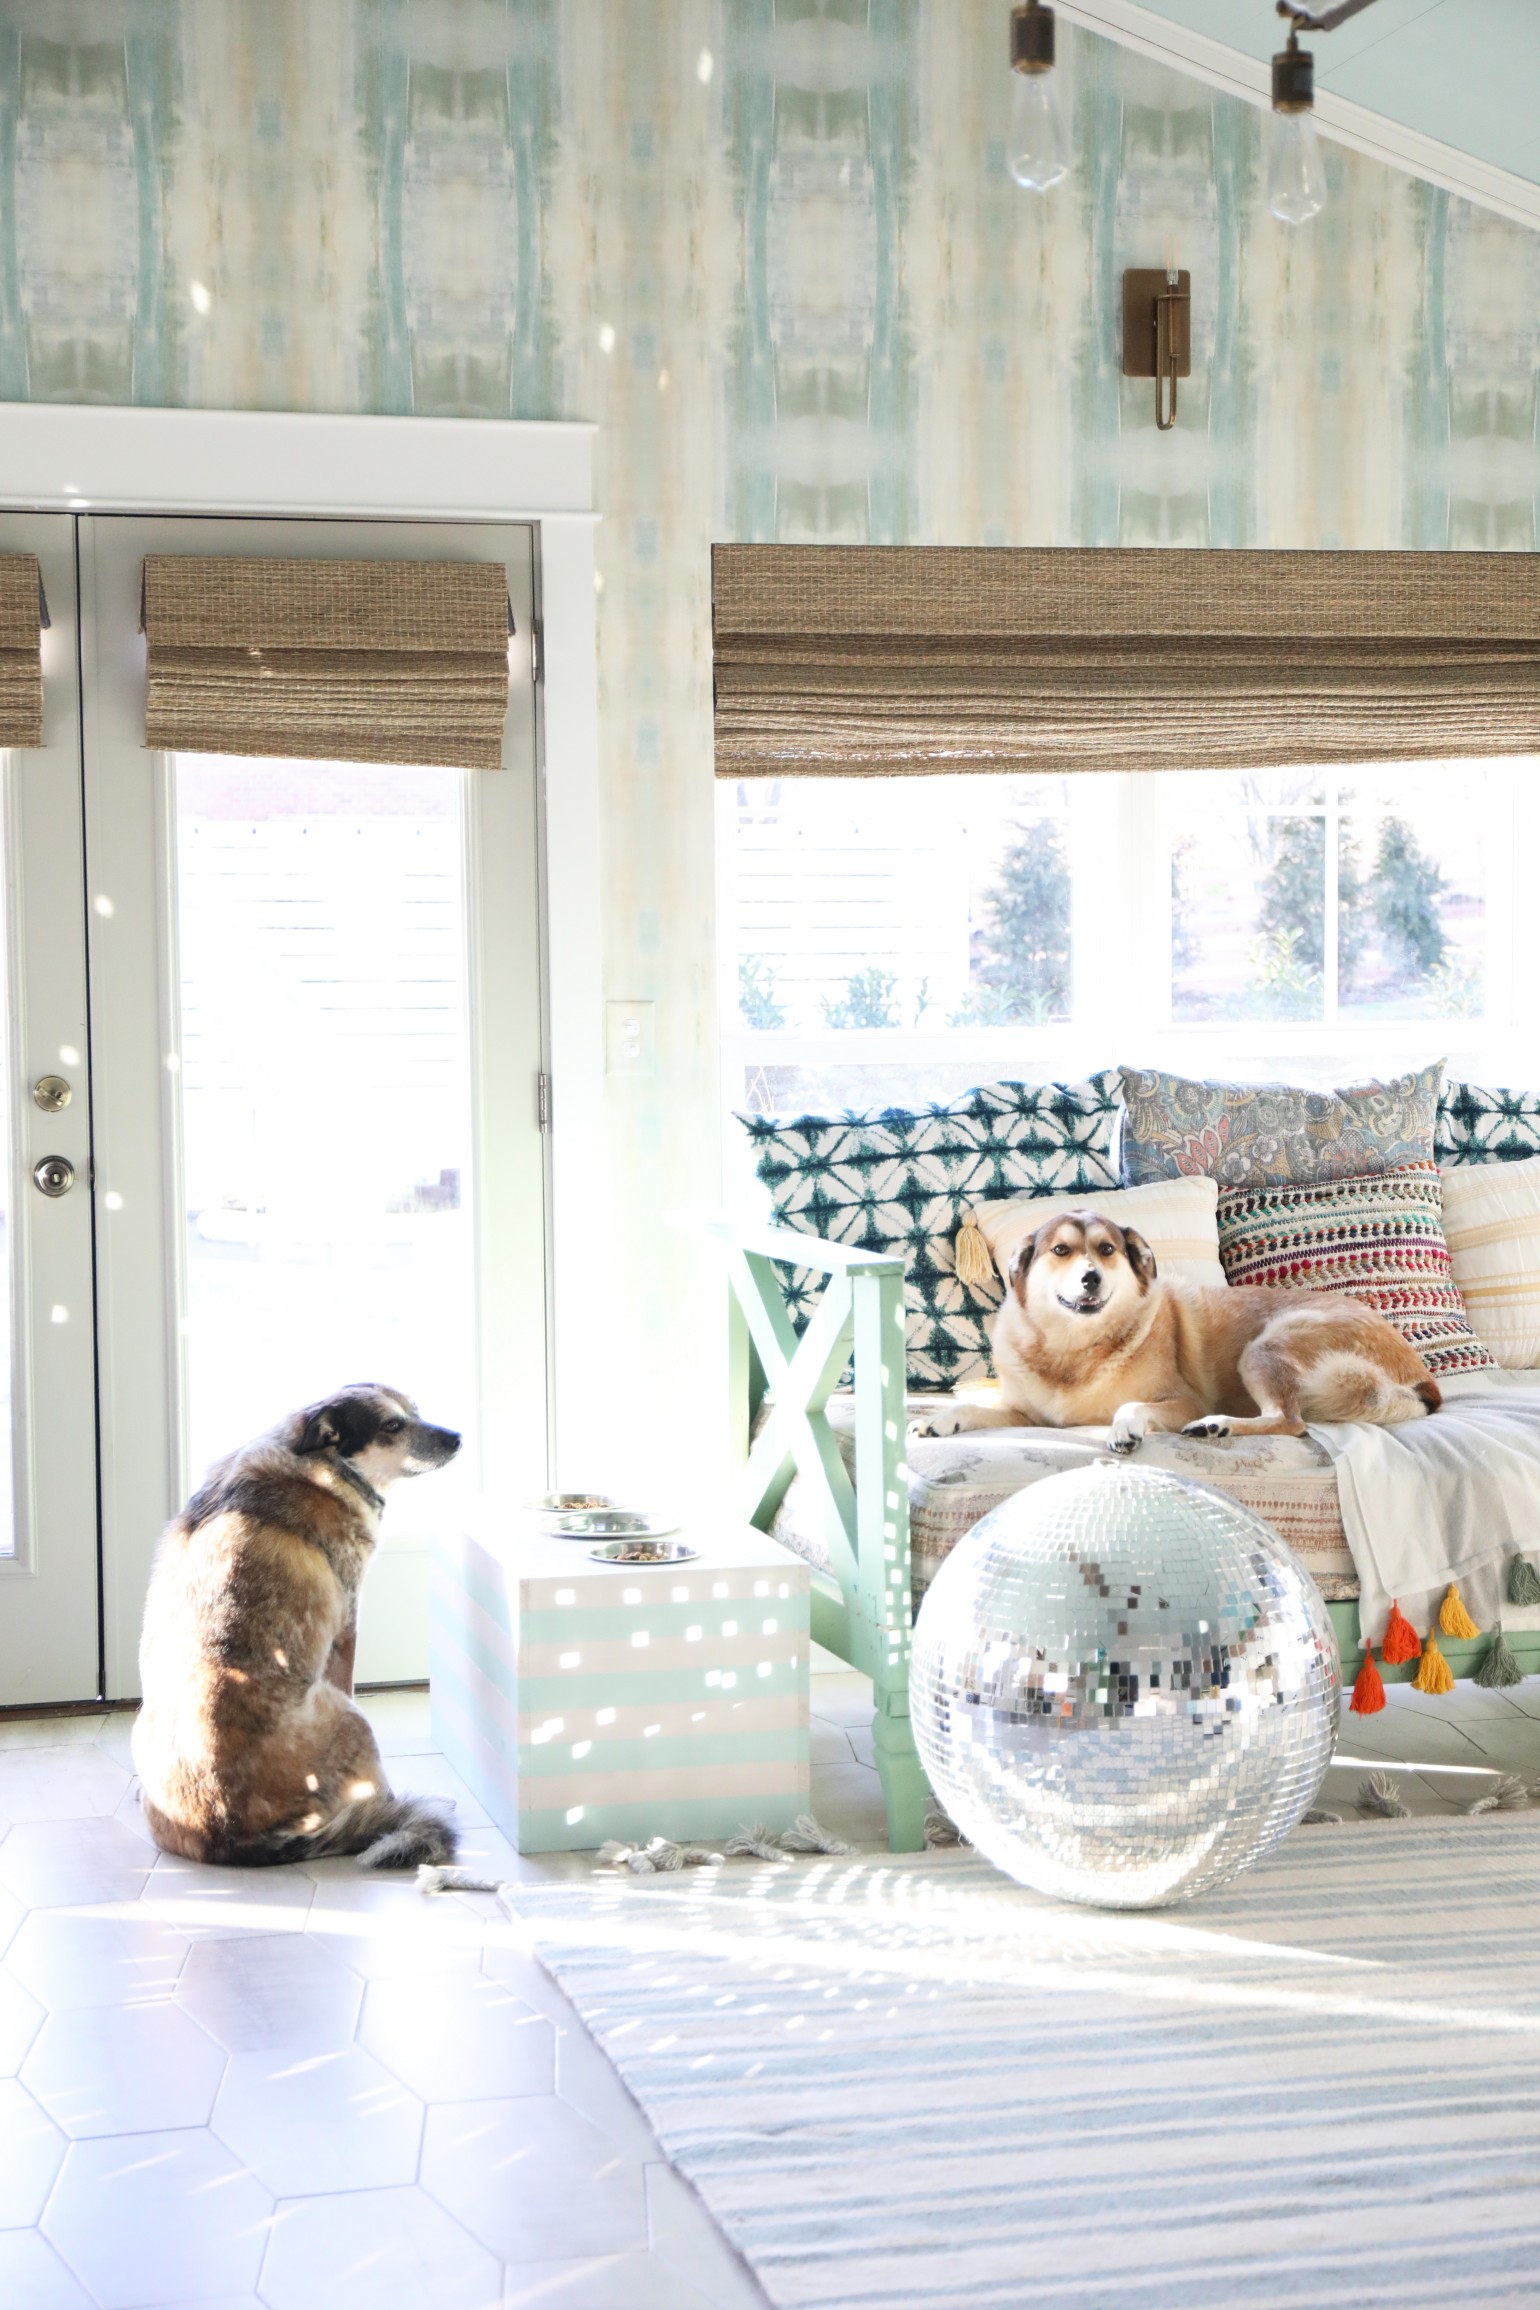
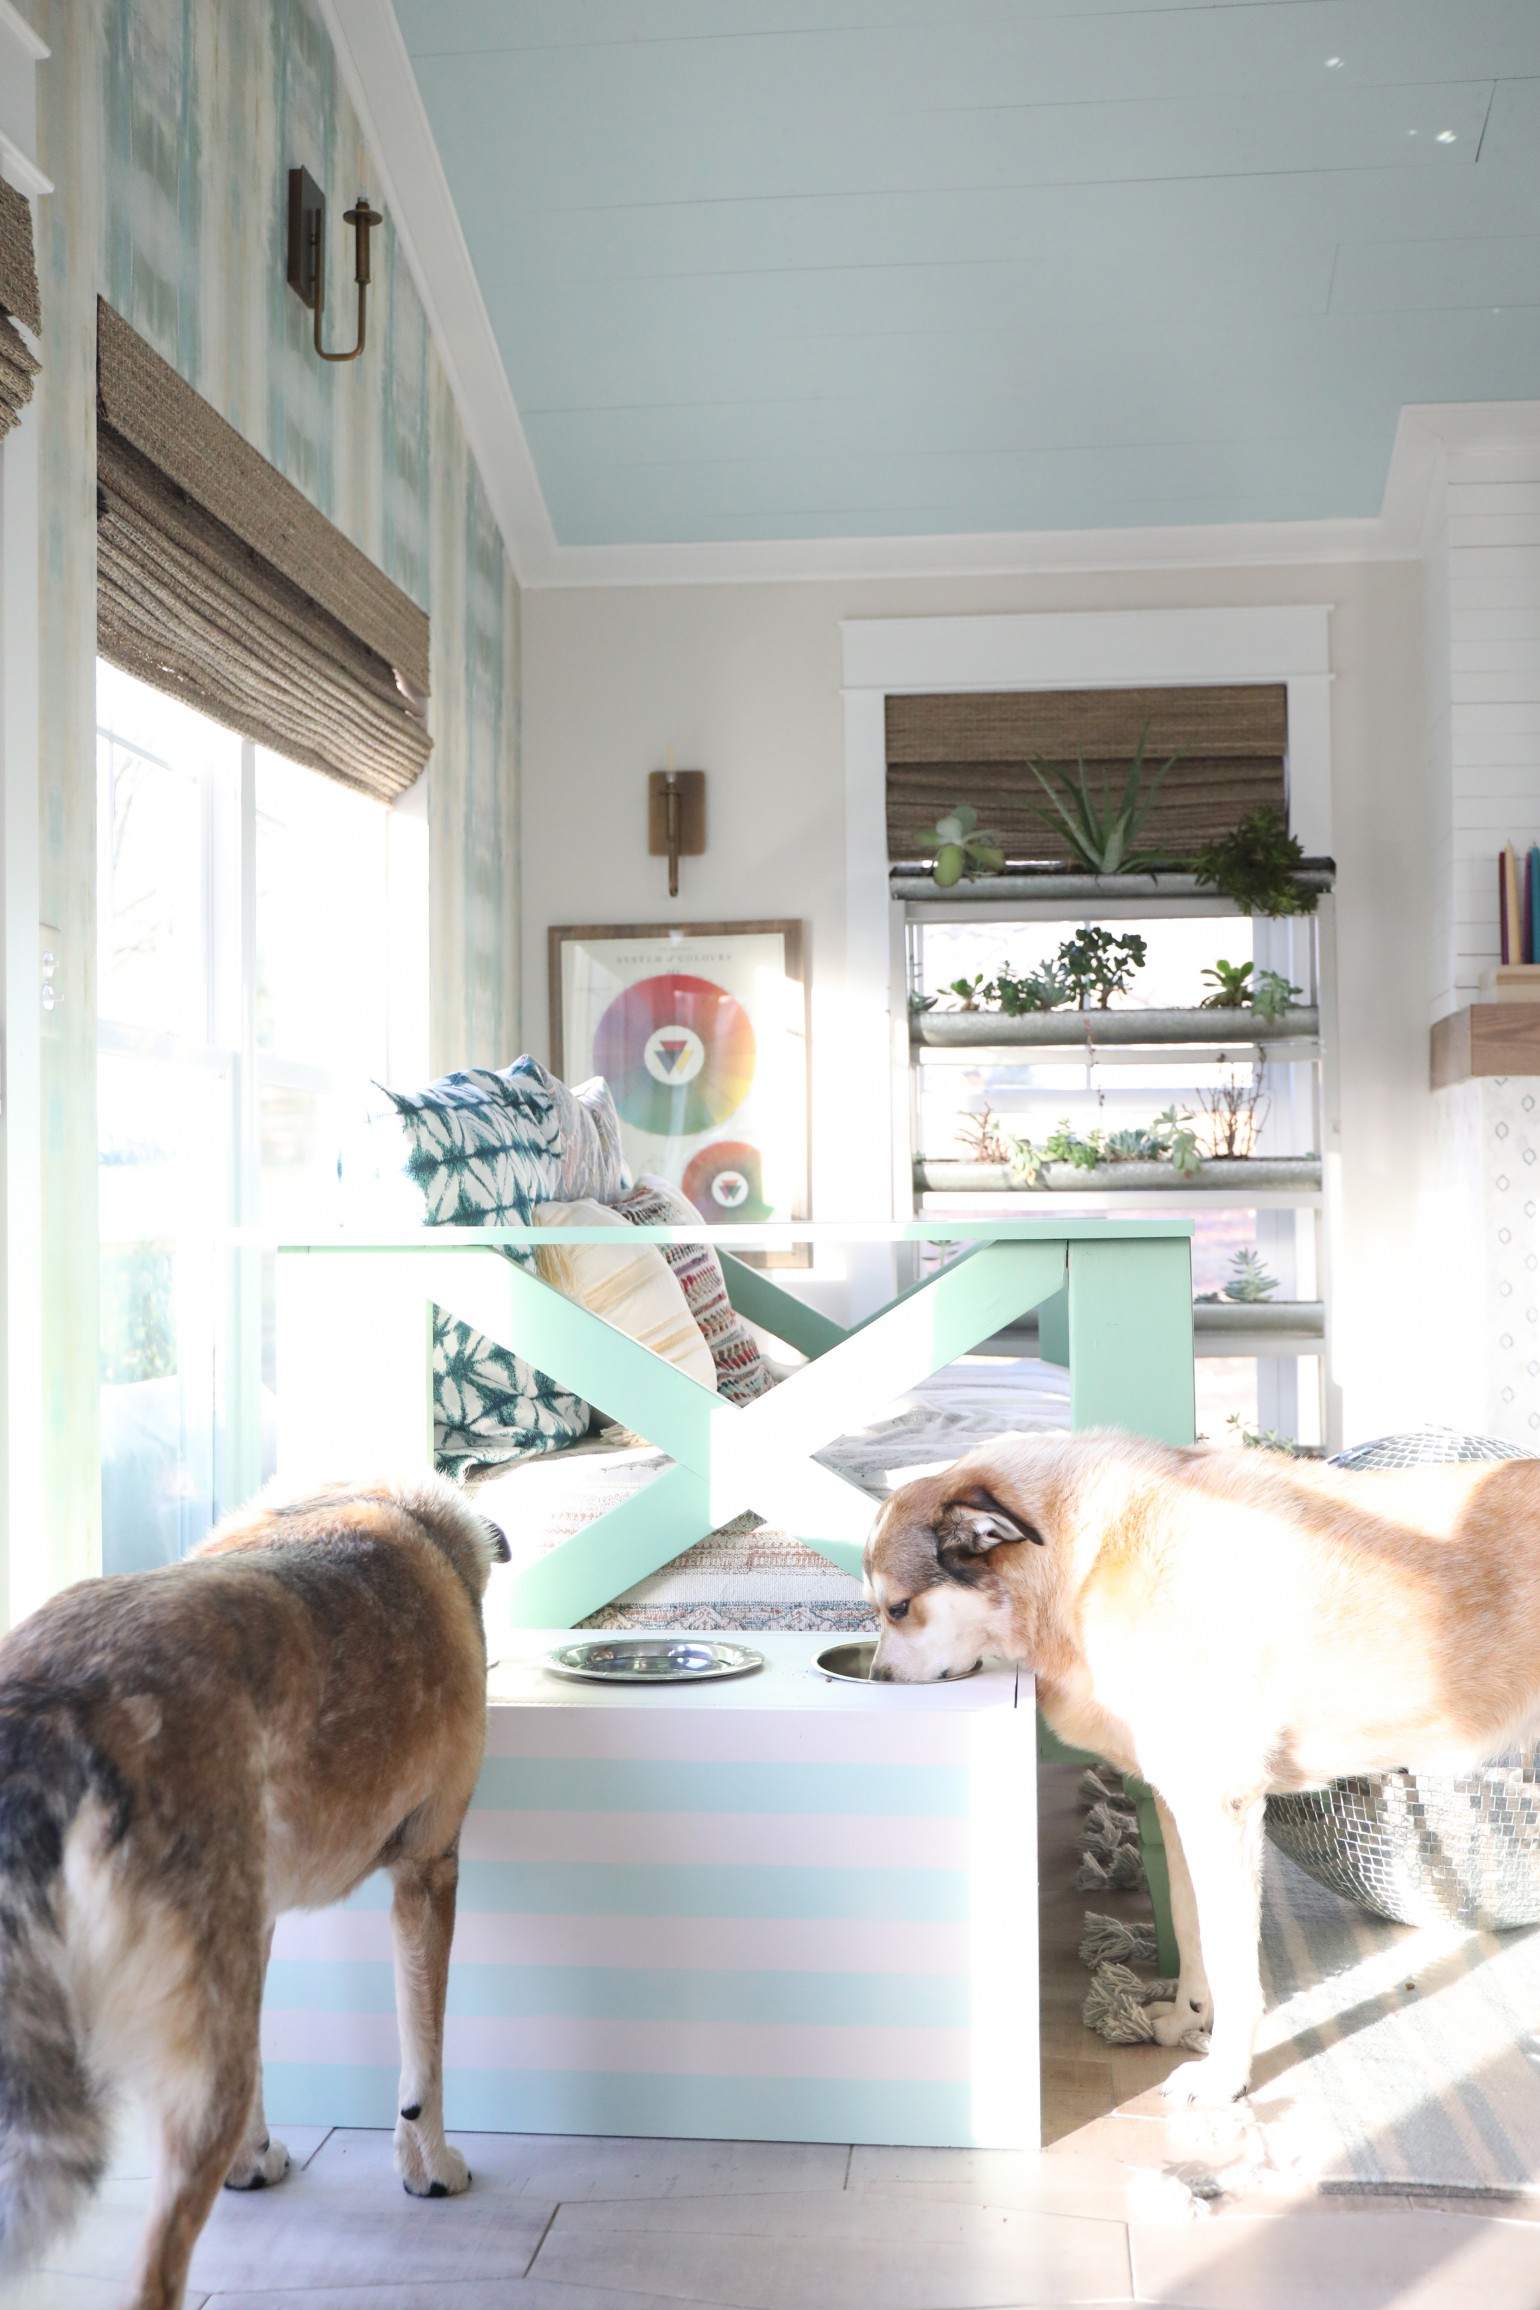
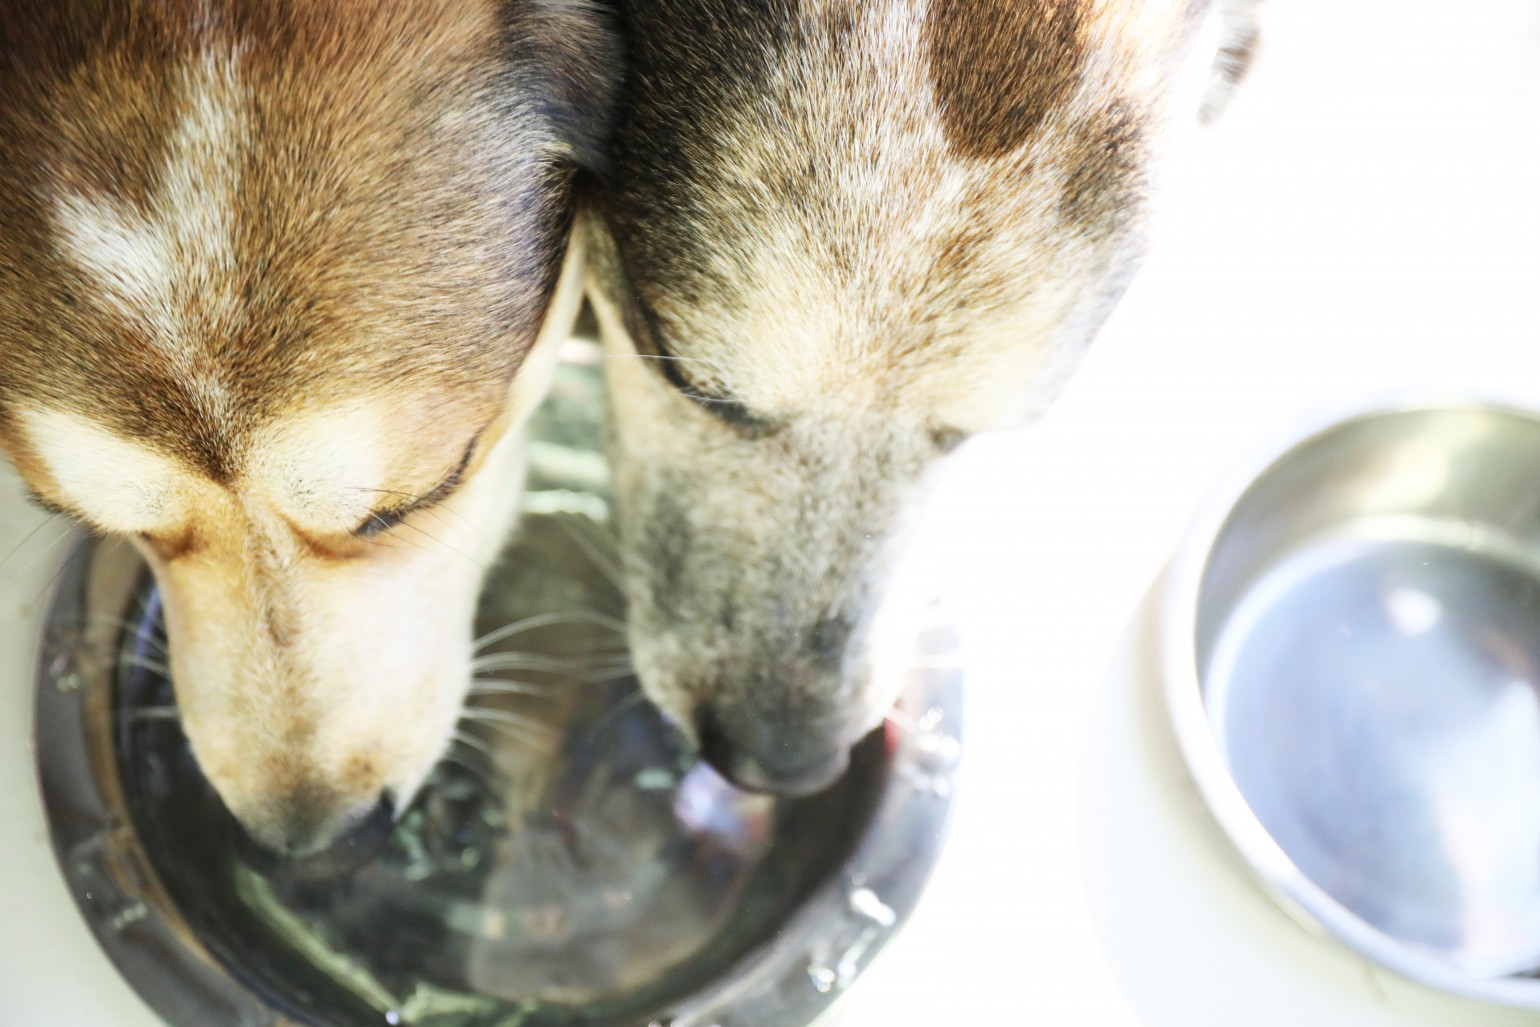
We think Fitz was a little unsure at first, but it didn’t take it long for her to catch on, especially with a few treats thrown in to encourage her. They love the elevated dog bowl holder now!

Here’s to happier, healthier dogs!
And the little things we can give them.
Such a game changer for them!
Another fun project with Greenworks Tools.
As always, let us know if you have any questions!
Have an inspired day!

{We partnered with and are sponsored by our good friends at Greenworks for this post. For more info on our branded content, please visit our disclosure page.}

Absolutely amazing work. Thank you so much for sharing and inspiration.
What is the color of the blue you used for the stripes on the elevated dog bowls?