Happy Friday to all of our favorite people!
When Modge Podge (Visit Paint Me Plaid) contacted us about making a little something with their awesome Photo Transfer product, we were all about creating something fun.
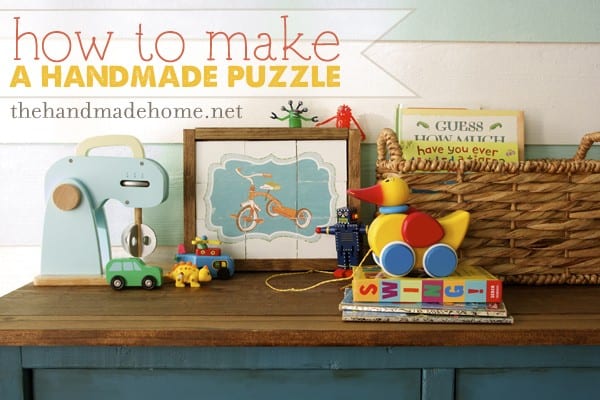
If you’ve been around for a while, you know we absolutely love handmade inventions for our kids, and this time we thought we’d try our hand at a diy puzzle. 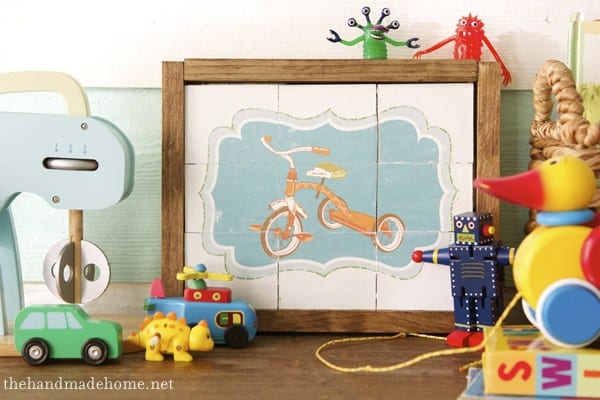
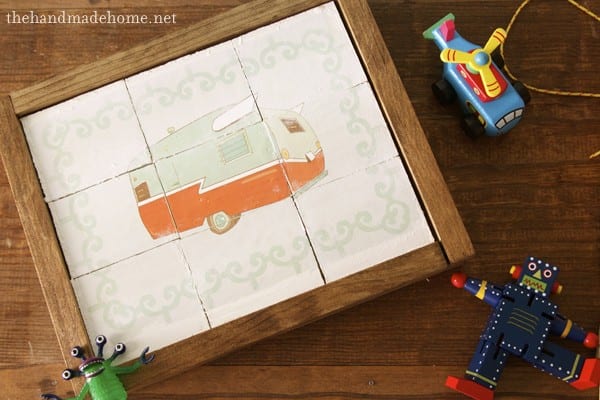
This puppy is made from nine pieces of MDF, and a few printables we have available on our site : our tricycle and camper printables. (We simply printed them out to an 8 x 10 size)
My favorite part (besides the kids loving it) is that it’s also reversible.
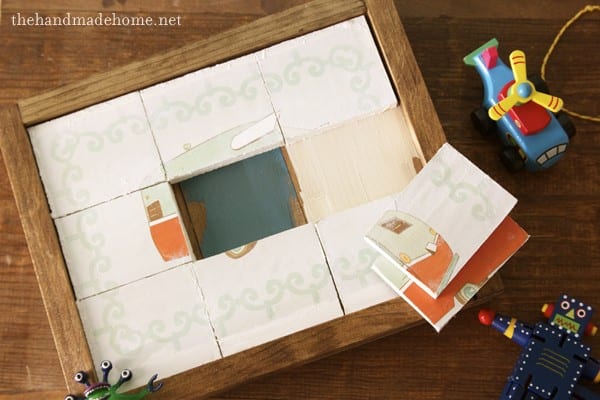
Twice the fun with a vintage look, suckas!
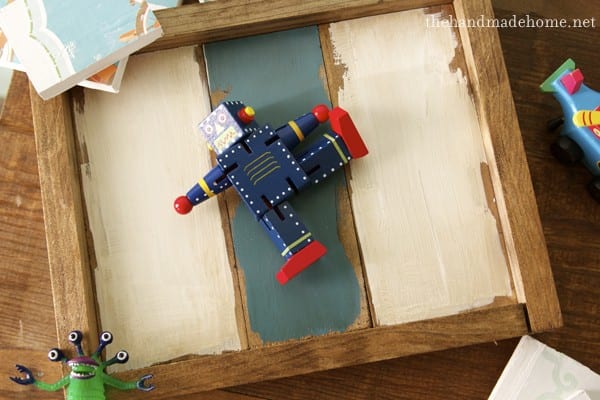
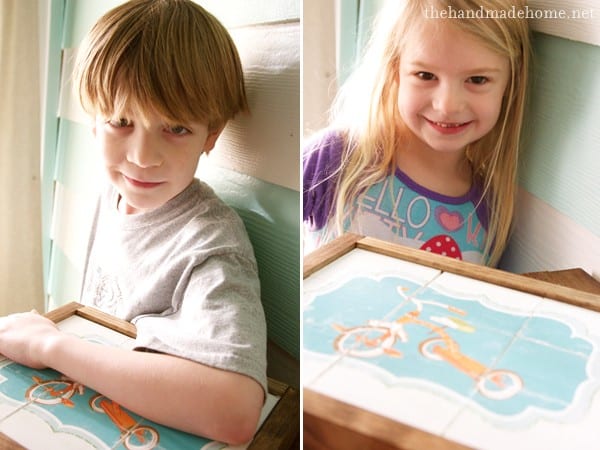
It definitely got the thumbs up from these guys.
Here’s what you’ll need:
Your print : Browse our site for any images that would work! You could also do this project with photos or any other kind of art. The key is using an ink jet printer.
For the puzzle part, we have 1/2 inch MDF cut to 8 x 10 inches. We cut it into nine equal sections. This will be the main part of your puzzle.
Paint these pieces any color of your choice, edges too. Flip and repeat.
Cut the graphic image out that you want to use. We did ours around the same size, and cut the image so that there was no extra white around the edges.
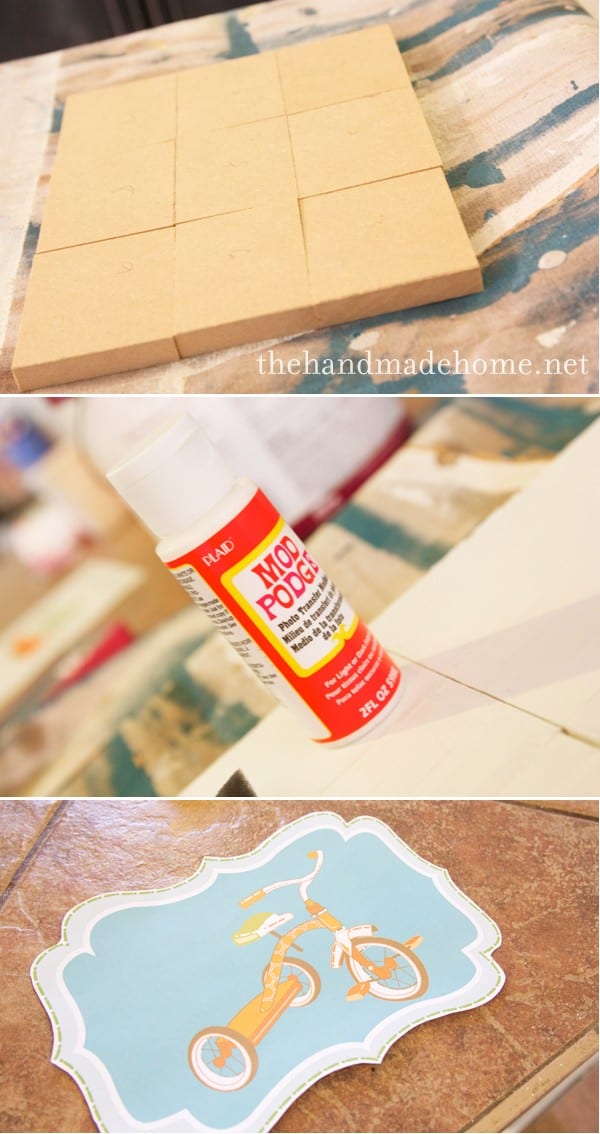
Taking your Mod Podge Photo Transfer Medium, smooth it evenly with a sponge brush right on top of your image.
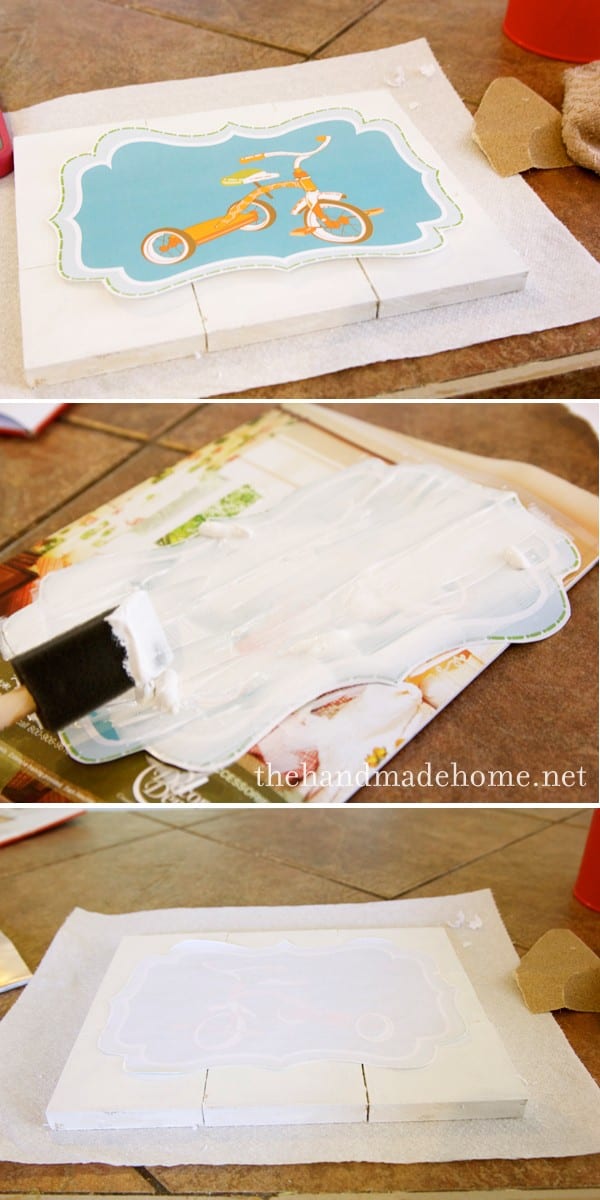
After making sure it’s even flip it over, center it, and press it down. Smooth out any creases bubbles and edges as best you can. Let it sit for 24 hours to dry completely. Remove any Mod Podge Photo Transfer Medium from the edges that may have seeped out from underneath.
Once dry (remember, wait a while) get a wet rag or sponge, and wet the top of the image. Let it sit for about two minutes. Come back, and gently rub away the paper.
For a full fledged video, be sure to check it out, here. But this is actually a really nice little know how to stick in your back pocket for just about any project with a custom look. I’m totally trying this out on some bags, next.
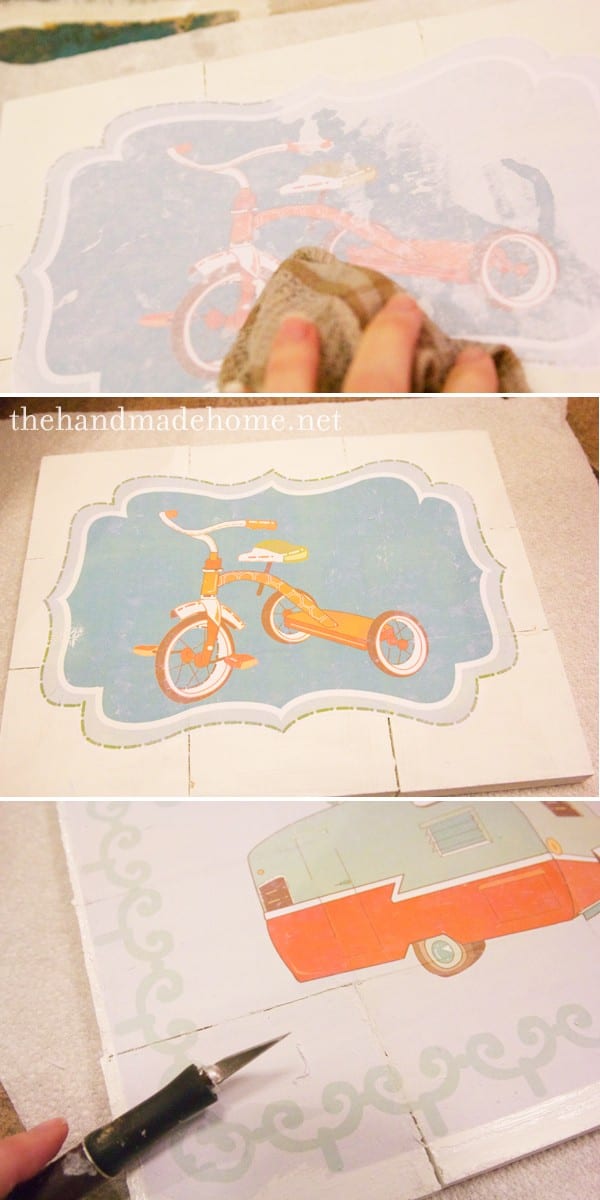
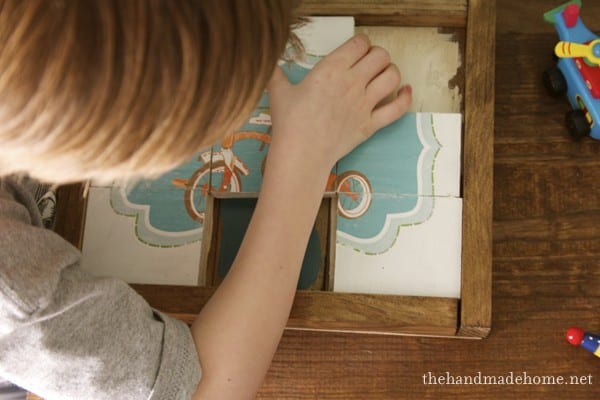
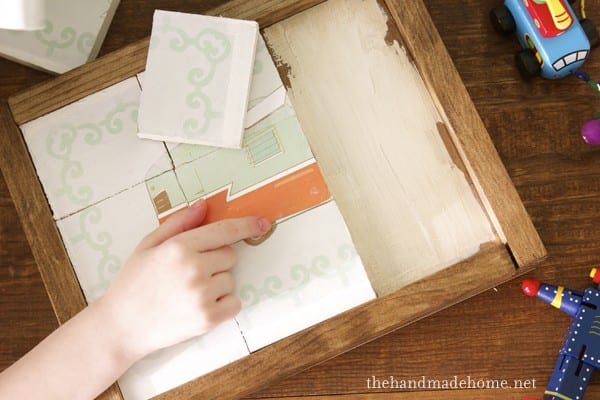
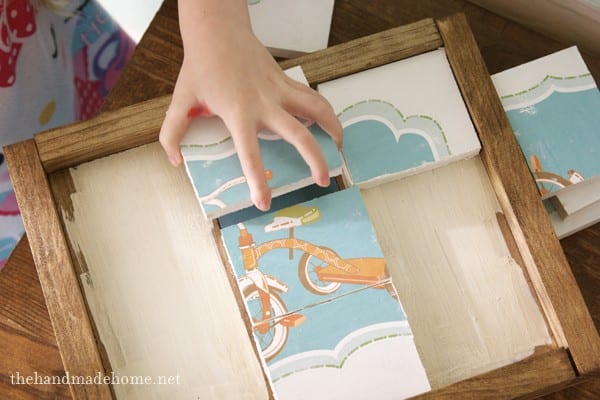
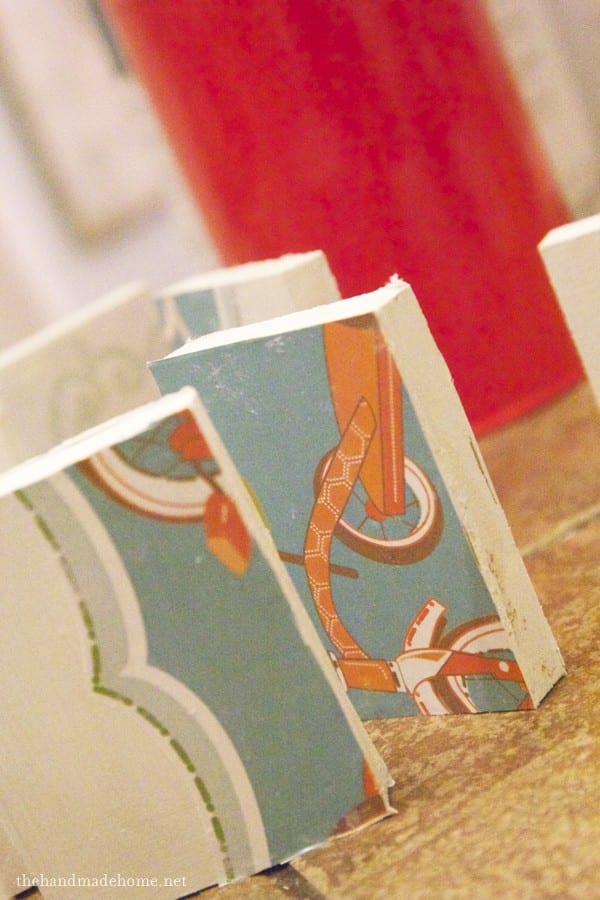
Once your extra paper is wiped away and your image is revealed, slowly go along the grooves underneath the paper with an Xacto knife to separate the little squares that were already precut. Do it lightly in multiple passes, eyeballing as you go. That way if your knife slips a little, not all is lost. ;}
I would do one section, then flip it, and do the same section until I was able to gently pry it loose.
I’ll admit, this was my first go round so it wasn’t perfect. But for the nature of the print and the project, I kind of liked the feel of a few imperfections here and there. It gave it a timeworn look that’s hard to come by in kids’ toys nowadays.
When I was finished, I took some Mod Podge (the original) and topped off the image on each side to protect them. Since I knew the kids would be playing with it, this makes it more durable.
For the second part, your little puzzle crate and frame you will need:
• 1/4 inch mdf cut to 9 ½ x 11 ½ – This will be the supportive ‘back’
(1) 1 x 4 x 6 – cut to 8 inches – we choose to cut ½ inch off the center board to equal a 3 inch board so that we would have an 8 x 10 inch puzzle. This way the center board was a slightly smaller size. You can skip cutting any off and have a 10 ½ x 8 inch puzzle)
• (1) 1 x 2 x 6 – (these will be your borders) cut to (2 @ 8 inches & 2 @ 10 inches)
• Wood glue
Side note : We used a RYOBI 10 sliding compound miter saw to make all our cuts. You can Also use a skill saw or a good old fashion hand saw.
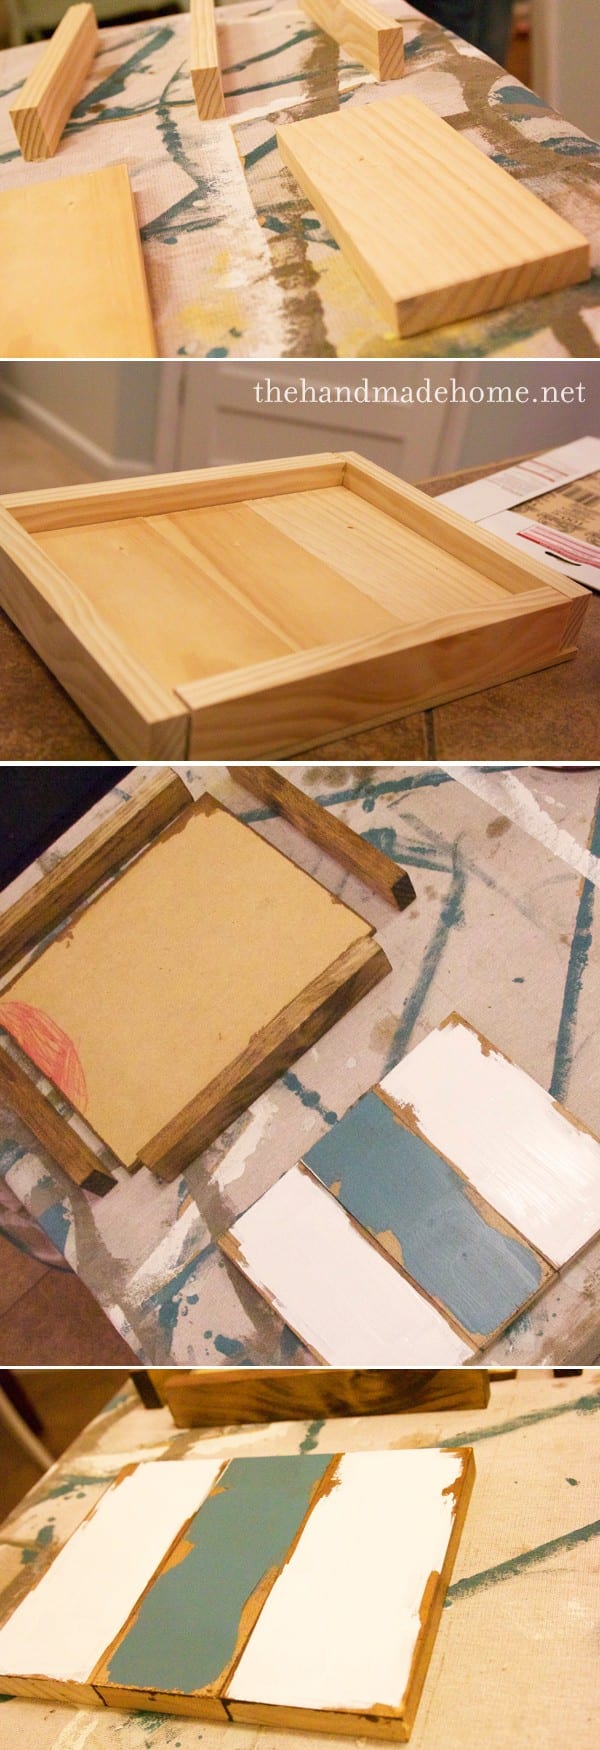
I like to stain all my pieces, and then add a little paint to the middle part, before putting them all together. It gave it that fun, vintage feel. (These colors are what I had in our garage of our faves : Calypso Blue + Chantilly Lace on top of Minwax’s English Chestnut. I know. I just can’t get enough. (Read: it’s also what I had.)
Stack your 1 x 4 x 6 (8 inch) pieces on top of your 9 ½ x 11 ½ MDF. And then use your 4 1 x 2 x 6 (2 @ 8 and 2 @ 10) for your borders. We simply stacked and glued.
We let it dry overnight,and TADA! We had our puzzle, and the little framing crate.
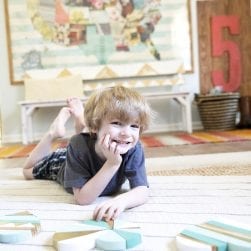
The kids are such fans, and they had such a great time with this one, I’m kind of thinking of all the endless possibilities. Educational and adjusted for ages on the level of difficulty this could be really fun, and even a teaching tool. Perfect gifts with photos, as well.
Here’s a photo of our puzzle champions.
I think I know what we’ll be making (more of) this weekend.
Thanks for checking in… have an inspired day! And as always, let us know if you tackle it!
This post is brought to you in partnership with Modge Podge and Blue print social all opinions and thoughts are original to the Handmade Home. To read our full disclosure visit here.

Oh, I have the perfect project for this! Thanks for the tutorial!
How creative. Your ideas never cease to amaze. This is an easy Easter basket do for us!
I love it – I think your colors and images make it though! 🙂
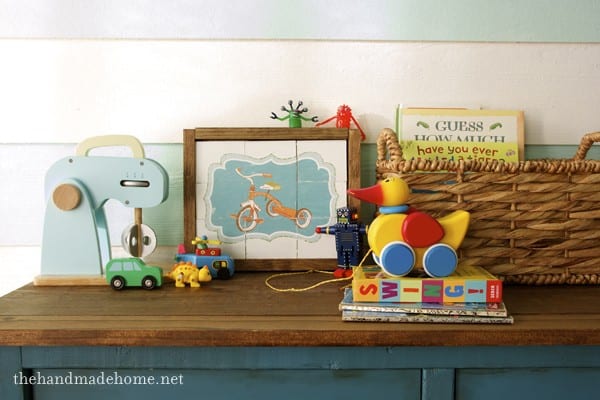
As well, where did you get the wooden mixer… that is adorable.
Hey Martha Anne! It’s part of the Honeybake line. It was a gift, but you can see their stuff here. SUPER cute toys. I swoon. Too bad we can’t even keep up with all those pieces, though! ;] http://www.amazon.com/s/ref=nb_sb_noss_1?url=search-alias%3Daps&field-keywords=honeybake
I love this idea. I thought that it would be great to use a vintage VW van with a surfboard on it. I just have to figure out how to make one. I love the vintage colors that yours have. How do you do that? You did a great job.
Great idea, regards.
pure sweetness….xo
Are you kidding? This is SO cute! I can’t wait to feature!!
Awe thanks so much Amy! LOVE LOVE LOVE your site! You’re fabulous! ;}
Great idea! I love your prints. When I was a kid, we had wood puzzles (which my mother kept for the grandkids) and they are almost indestructable. Thanks for sharing.
very cool.
What a great, giftable idea- I LOVE it! I would also love to link to your tutorial if you didn’t mind.
You’re so sweet. Sure! And thank you! ;}
What a great idea for sturdy puzzles that can be personalized. Thank you for the tutorial!.
Way cool!
I know your instructions say the key is to use an ink jet printer, but after reading the comments on the Plaid website, they say it is crucial to use a laser printer or a copier. Is the ink jet recommended because you are using a color graphic?