When he came at me with that little wiggly tooth, moving it back and forth… his eyes bright with excitement at the thought of joining the club he’s wanted to be a part of for so long, I kind of thought my heart may burst.
It’s bittersweet, really. Our last first loose tooth.
Right alongside When did you get so long?! It’s like our baby has hit this growth spurt {right before his 6th birthday} and there’s no turning back.
We went to the dentist recently, and she confirmed it: the aforementioned loose tooth that he seems to work every chance he gets. From apples to wiggly fingers, he’s serious business around here. And when we looked at his X-rays after his appointment, she mentioned that it was loose. “Yeah, he’s been asking me to make a tooth fairy pillow,” I said in passing.
“You’d better make it quick,” she laughed, referring to the adult teeth pushing up on those bottom incisors. It was like they could just fall out of his mouth any day now and I wouldn’t be prepared.
Jamin and I were with my parents today, when we noted how the price for teeth have gone up considerably in the tooth fairy department. Boo inflation.
“I think when we were kids, we got like, a dollar,” I said.
“When we were kids, we just put the tooth under our pillow and maybe we got a dime,” my dad laughed as Malone proudly paraded about the room with his new tooth fairy pillow.
And when they were kids, I also distinctly remember my dad saying they hooked up said loose tooth to a door with a string, slammed it, and hoped for the best.
Ouch.
In my grandparent’s generation, I’m pretty sure they left people with a toothache out in a field to bite on a stick while they carried out their work on the farm or something.

My how far we’ve come in the evolution of all things tooth fairy. I’m suddenly feeling quite high maintenance.
Our kids’ generation will probably be dressing the part with a full on party a-la the likes of a sweet 16 celebration. Or be terrified that we ruined their childhood with such ridiculousness, and go back the way of the biting-the-stick-in-a-field-method. It could go either way.
In retrospect, I think that biting sticks is for birthing babies, but I’m sure it works for teeth, too.
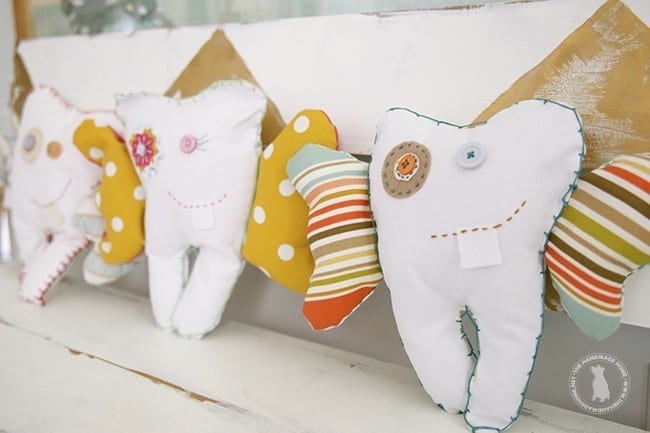
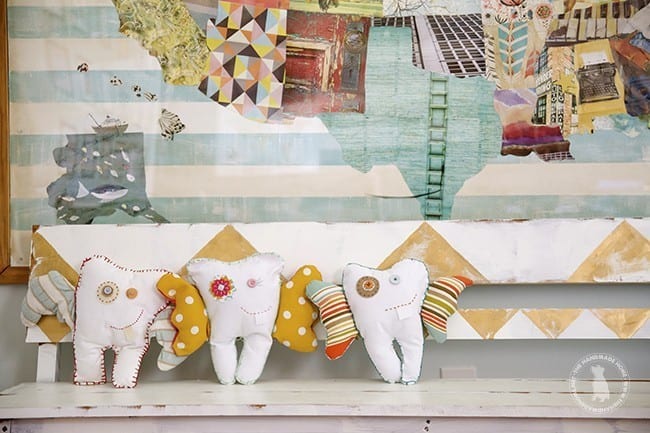
But back to the pillow: It’s a sweet little tradition, and a rite of passage at our house. You get to design your own from the mama’s fabric stash, and I’ve shared each little creation here with you guys.
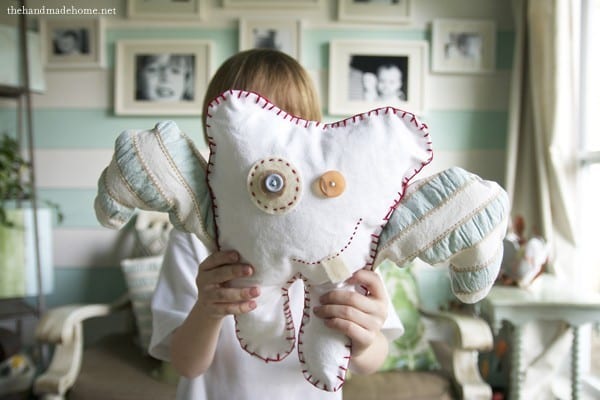
So it’s with a bit of a happy/sentimental heart, {I mean, didn’t I just make Aiden’s? – he won’t admit it but he still loves his} I share this one:
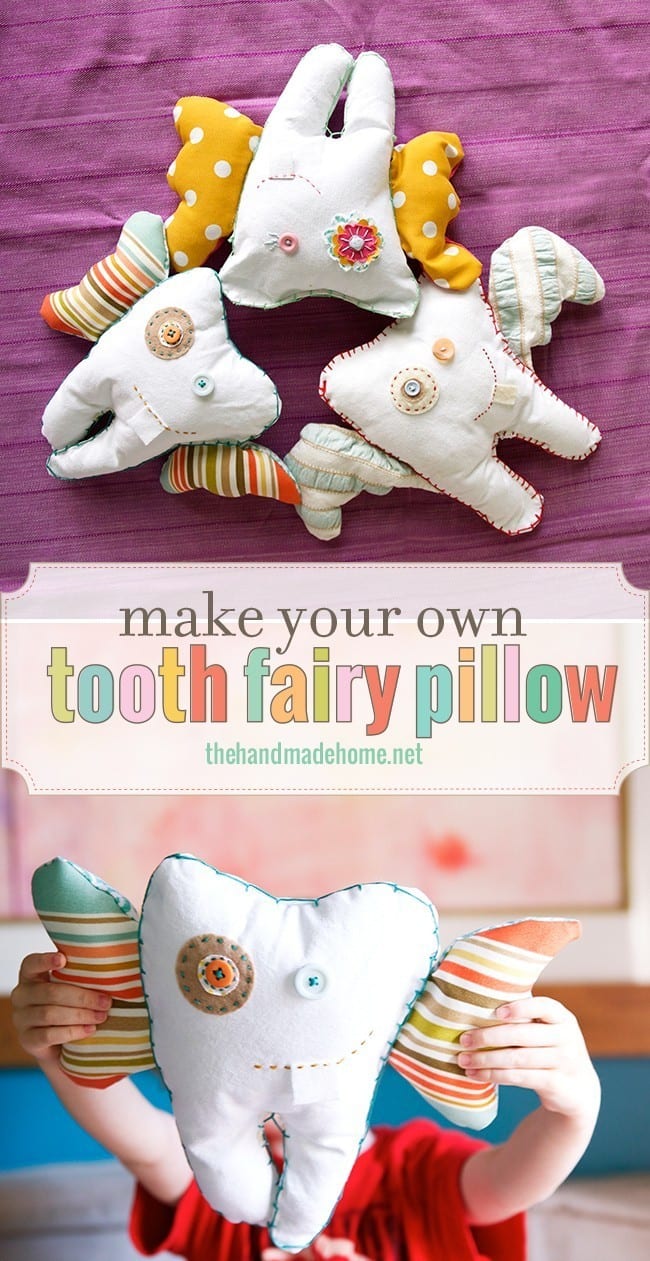
How to make a tooth fairy pillow.

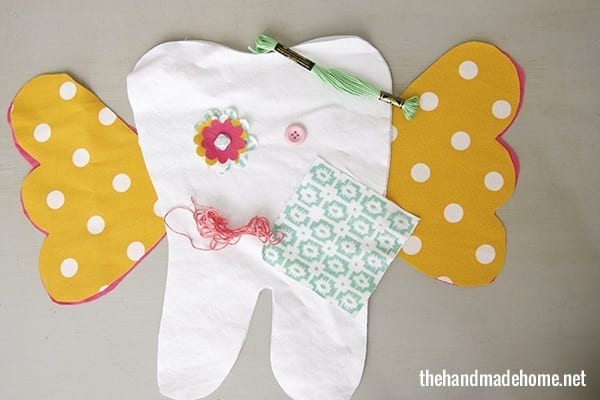
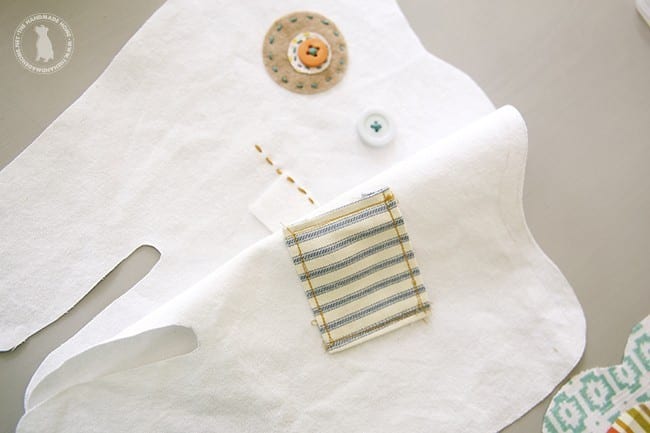
These guys are a lot like our bunny friends. Here’s what you’ll need:
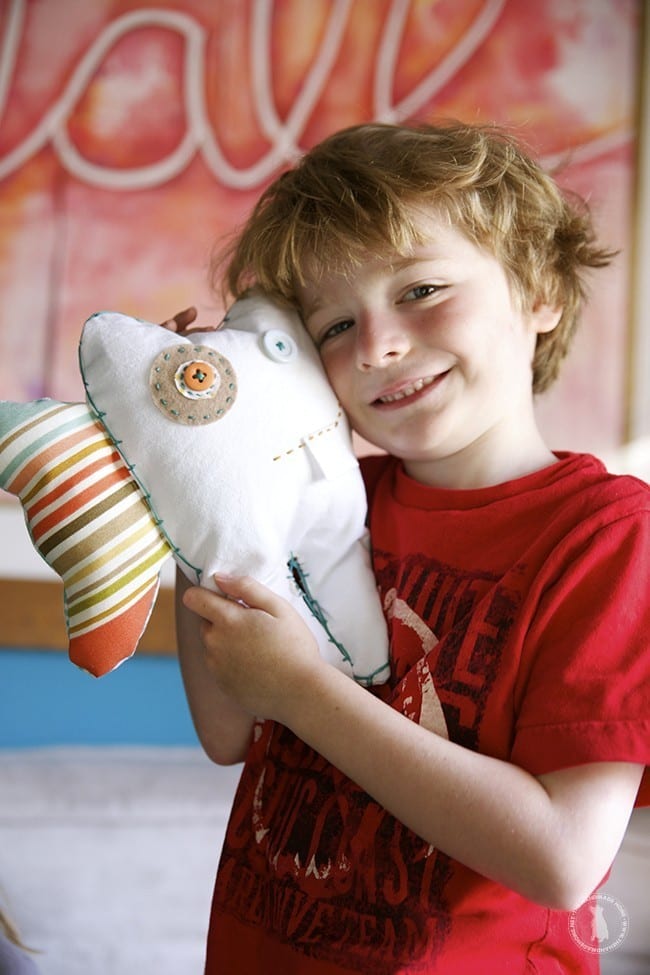
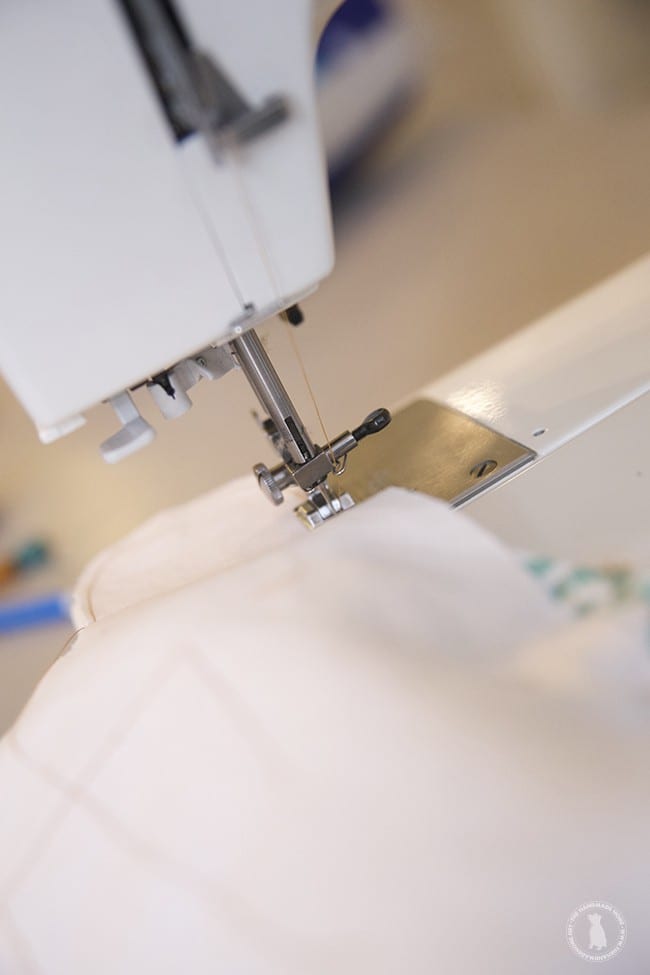
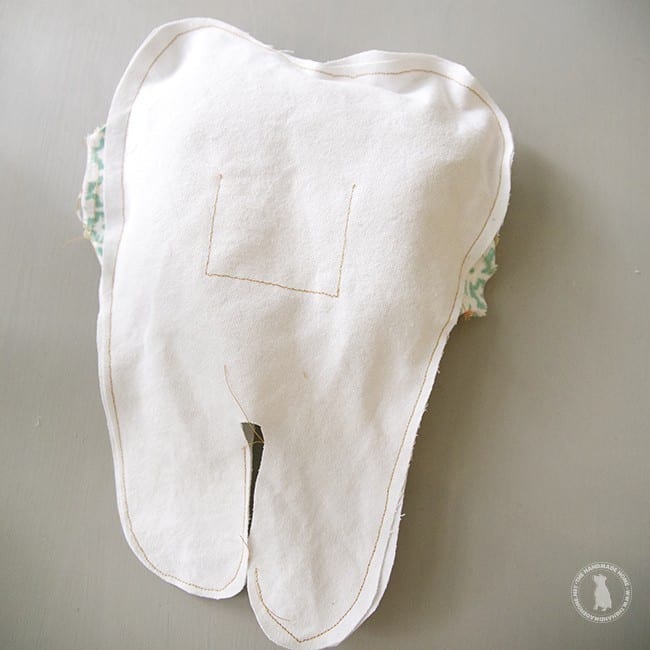
Fabric for the body- I had some duck cotton left over from this project, and drew it in the shape of a large tooth. The finished size is about 12″ x 6″ so remember to leave a bit for a seam allowance.
{Basically cut a shape that’s fatter than your intended finished product}

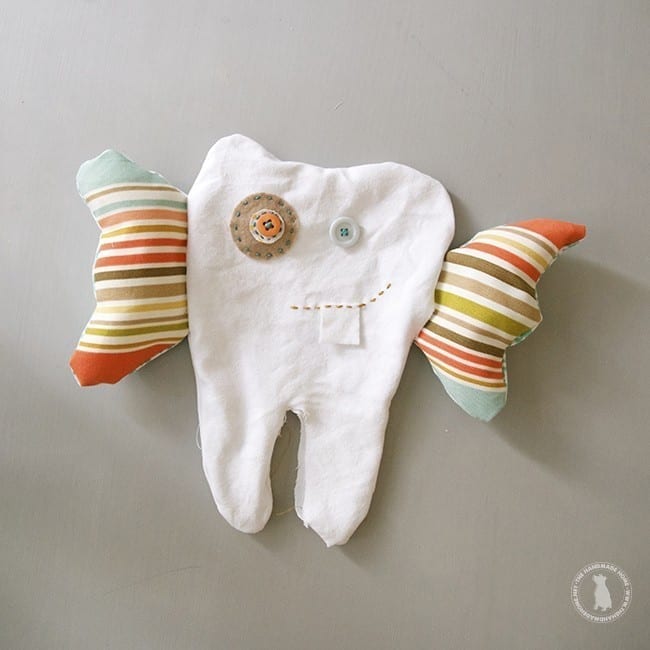
Gather any details you’d like for a face, fabric for a “pocket” on the back, and fabric for the wings.
If you look at our first pillow, you’ll see that we used a template of our own to trace onto the fabric. If it helps, be sure to use that method.
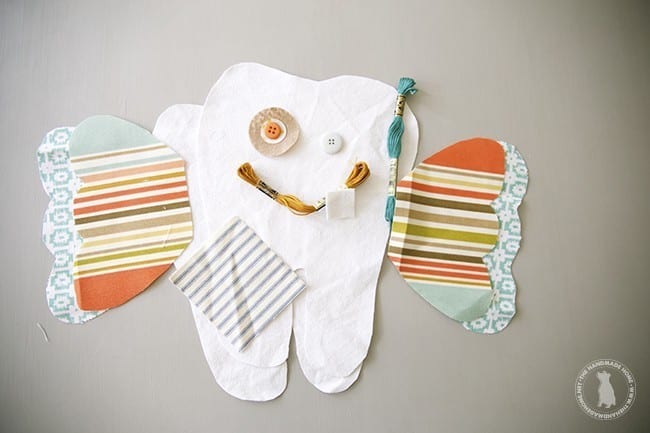
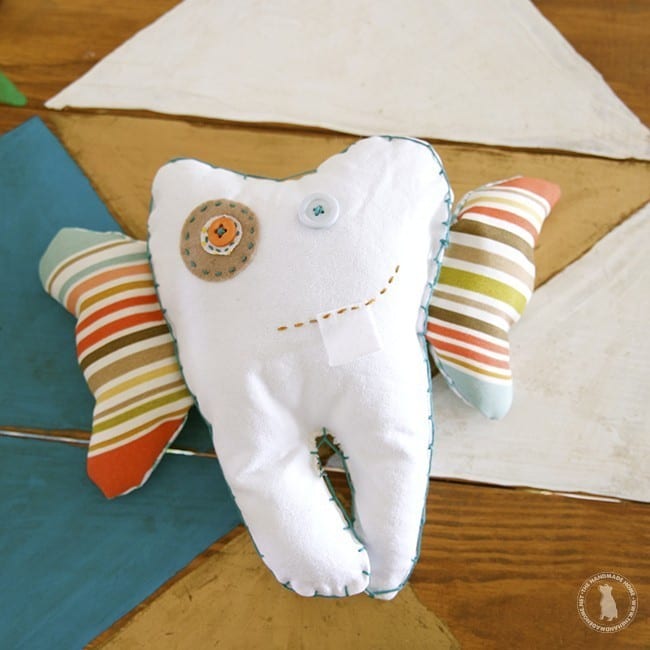
We used buttons and felt cut for one of the eyes.
Go ahead and pick the side to be your face, and stitch all the little details you want included.
Ours even has it’s own little wobbly tooth per their request… to match the others.
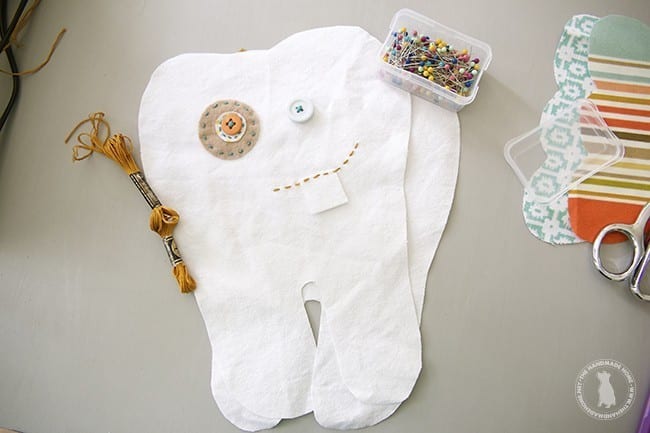

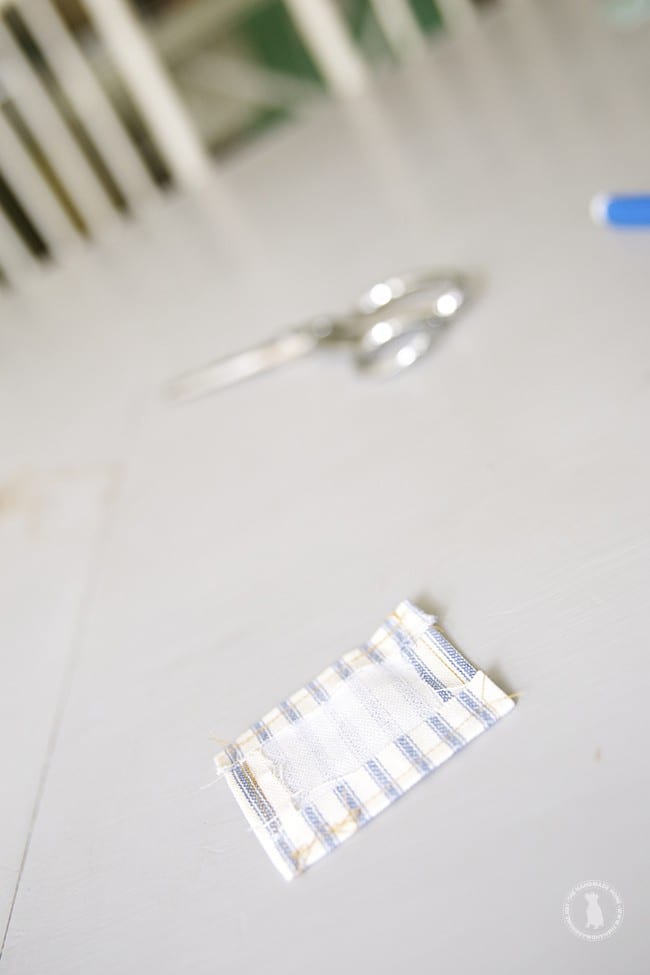
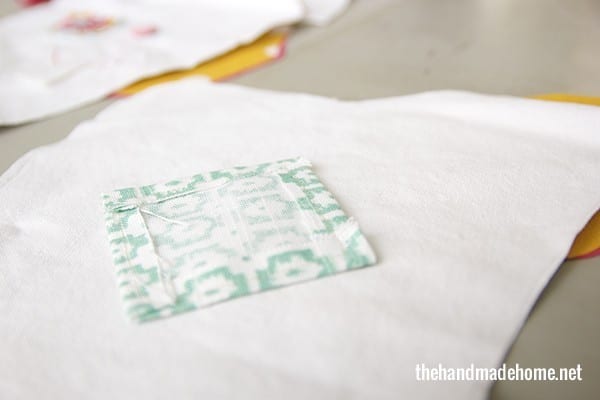
For the pocket: a basic square shape will do. With hemmed edges, simply attach it to the back side by sewing all three sides but the top.
This will be the little pocket to hold teeth.
Go ahead and attach it to one side of your tooth – the side that will be the back – with a top stitch. Then move on to the wings.
For the wings, we simply traced a basic wing shape like this onto fabric.
If you plan to use alternating patterns on each side, make sure you cut your mirror image of the first wing onto the fabric so that the correct side is facing each time. {For instance, in the photo below, we have the correct wing right side facing out, so that when the tooth fairy pillow is finished, we have two striped sides that are facing the correct way.}
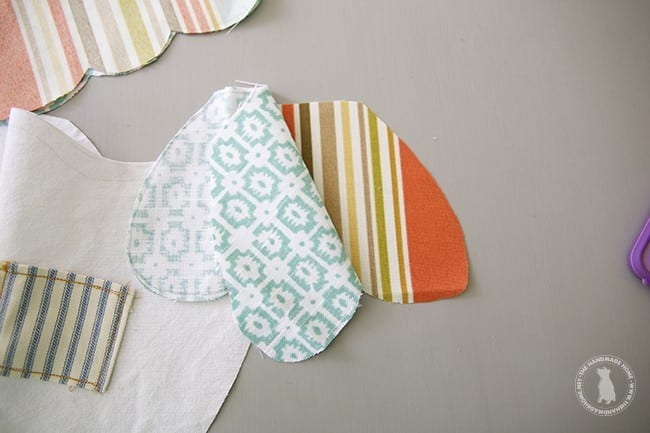
The total finished size for the wings on our pillow were 7″ x 3″
Here it is on Emmy’s pillow:

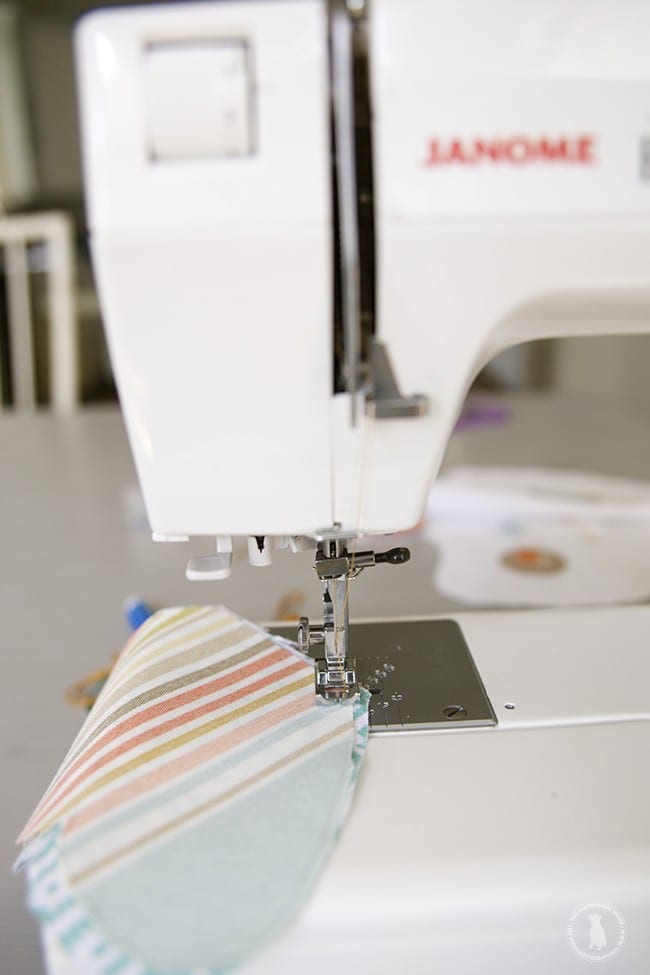
Sew them together going carefully around each edge, leaving one of the flat edges open to stuff.
Turn it right side out…
Fluff the edges with a pair of scissors if they’re not completely straight…
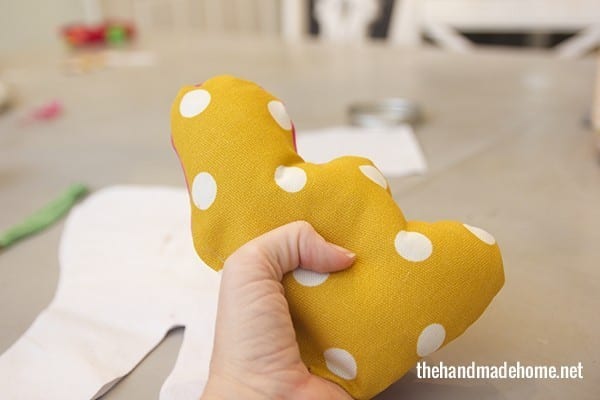
And stuff ’em.
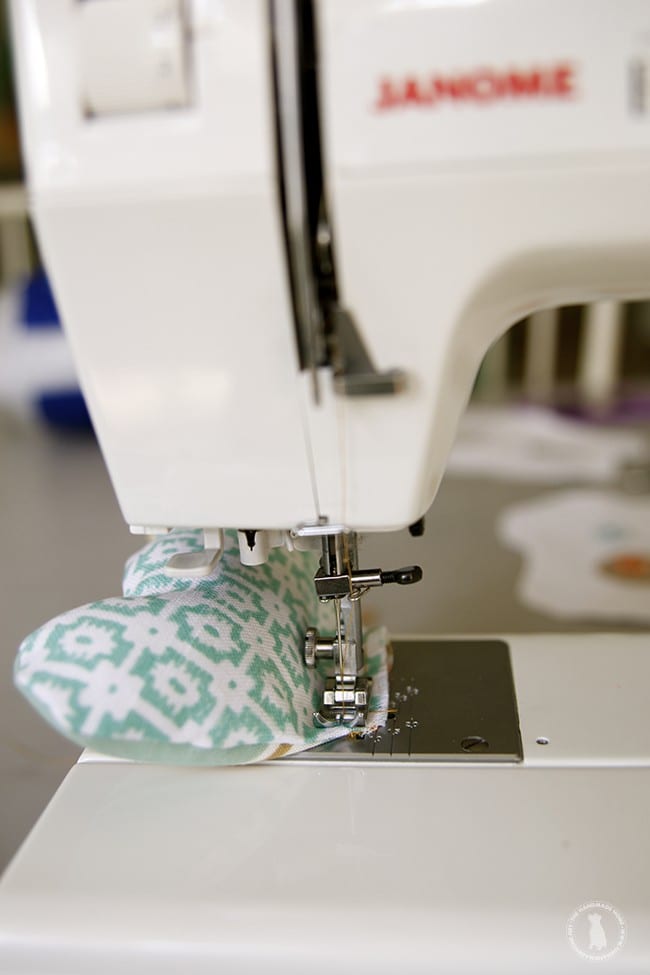
Seal that open area you just stuffed with a top stitch. Tada! You have a wing! Repeat for the next side.
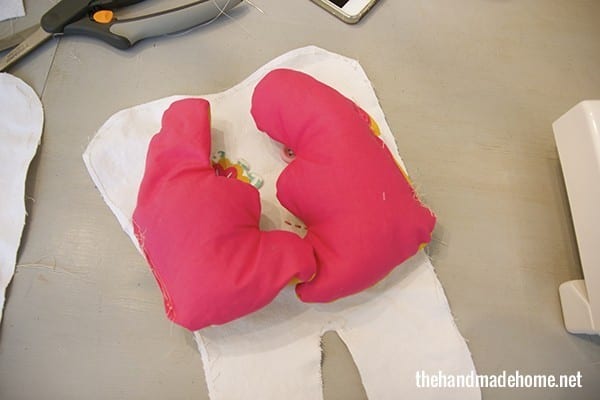
When you’re finished with your wings, take your face and place the wings inside, on top.
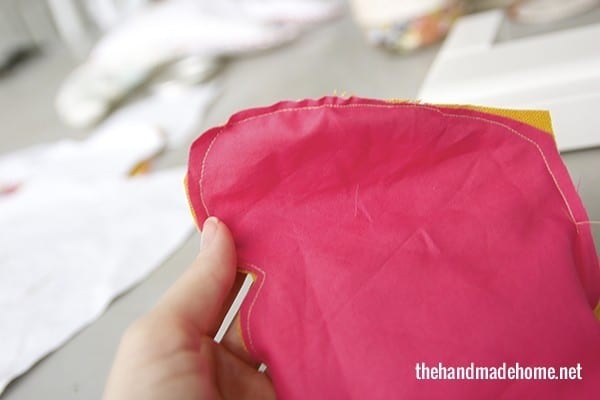
Then place the pillow facing inward, wrong side out.
Secure with pins {just like a pillow} and finish up. Leave a little opening on one of the sides in a discreet place, so you can turn it right side out.
When you pull it right side out, everything should be looking fine and dandy!
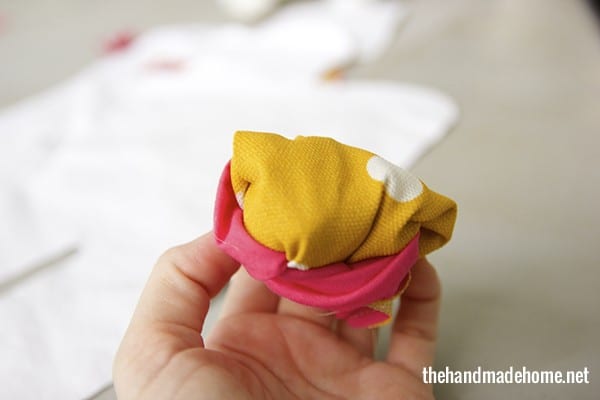
Stuff it through the opening, and seal it up at the edge that is still open.

And when that was finished, I did a little blanket stitch, all the way around. If you aren’t familiar with that little move, it’s a fun, handmade, finished touch.
![]()
If this is clear as mud, there’s a simple video here:
And that’s that! Our sweet little tooth fairy pillow collection.
 The others are looking a little worse for wear, but they’ve been well loved.
A fun little nod to all things tradition, and a little creativity.
And hoping they slow down with that whole growing up thing.
They all tried to warn me… “The days are long but the years are short.”
Here’s to trying to remember, enjoy and relish in every single one of them.

As always if you try these, we would love to see.
Have an inspired day!


This is precious! Our youngest just lost his first tooth- you know what they say… Time for another baby! ;D