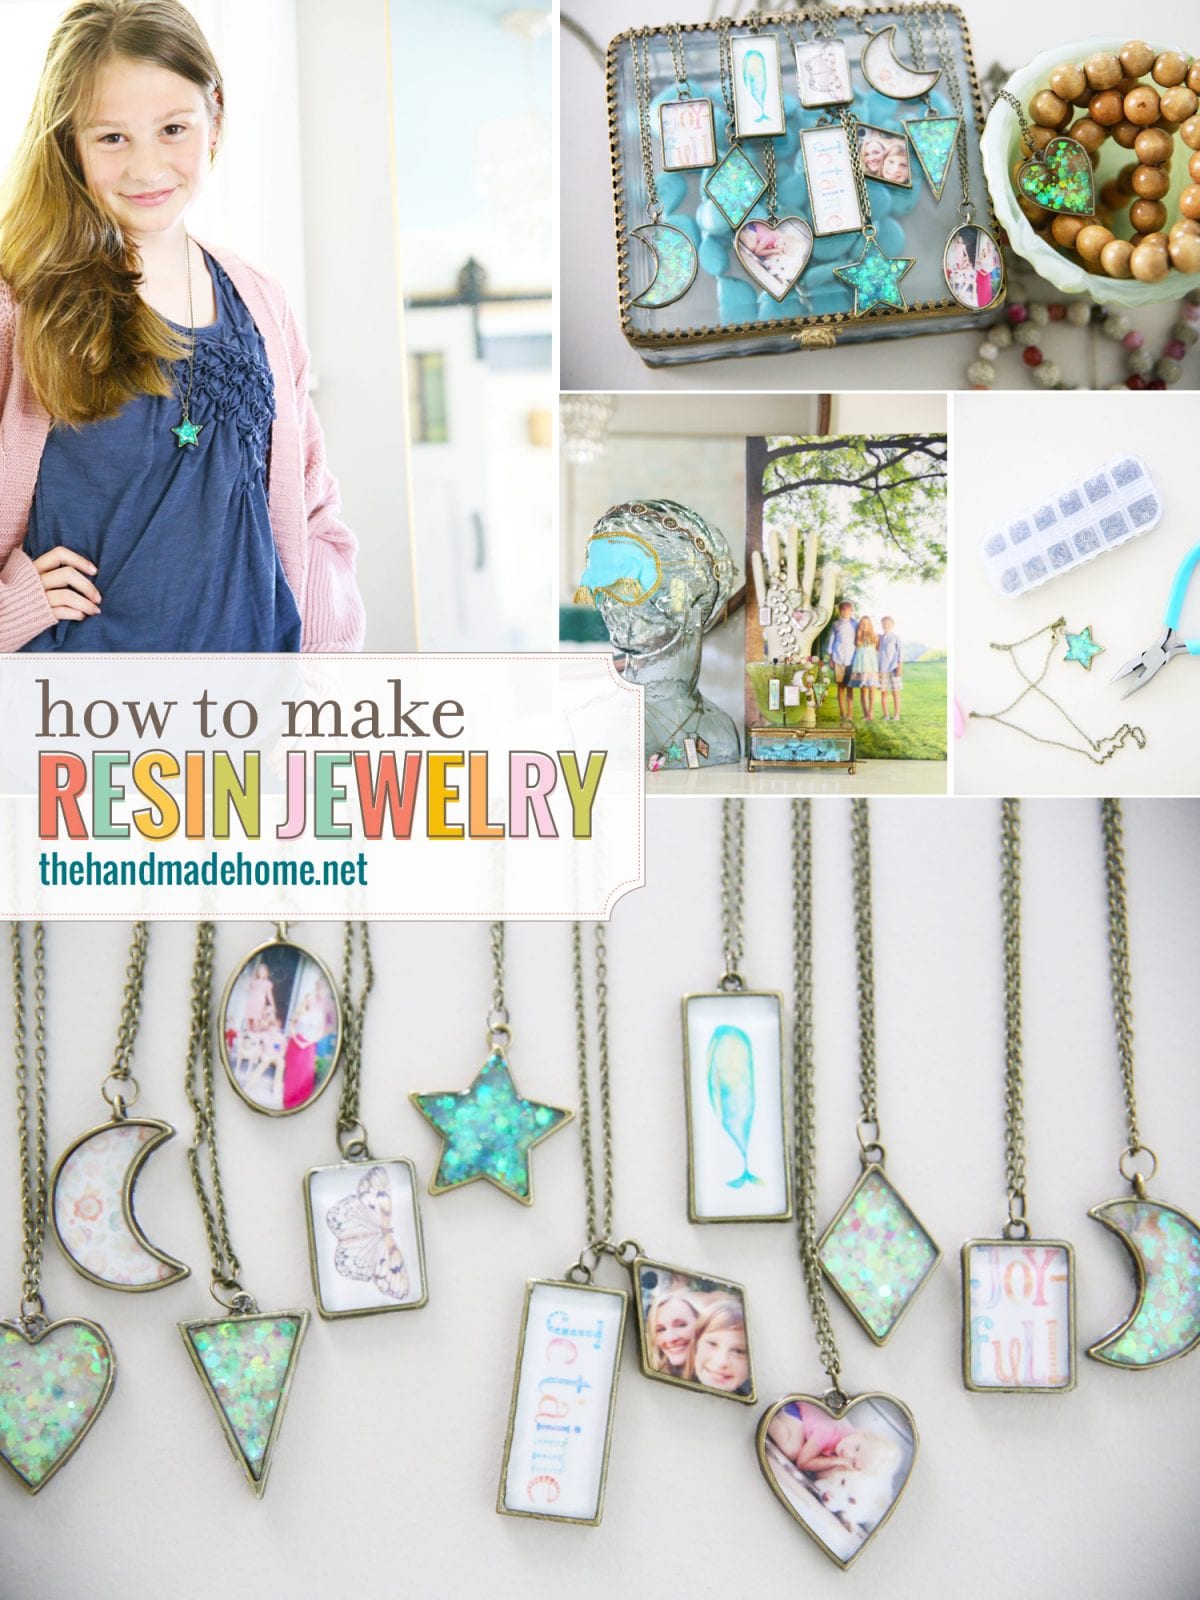
One of my favorite parts about this whole quarantine situation, {yes, I’ve had to come up with bright spots} is that I’ve had more time to dive into the things that we usually don’t have time for. Like elaborate yard projects and painted projects while I dive more into the enneagram… and resin jewelry. Also, I can’t say resin. Still not sure how to say it. It’s a life long obnoxious nerd-habit I possess and I don’t care enough to fix it. Is it RAISIN? REYSIN? RAHSIN? Emerson can’t stop laughing at me. Today we thought we’d share how to make resin jewelry.
I’m by no means a pro. But we are officially addicted, and thought we’d at least share some really fun ideas today, along with a few things I learned along the way, and some free tiny sized printables from us, so that you can make your own, if you wish.
The possibilities are kind of endless when it comes to what you can do with this fun material! Sound good? Let’s begin!

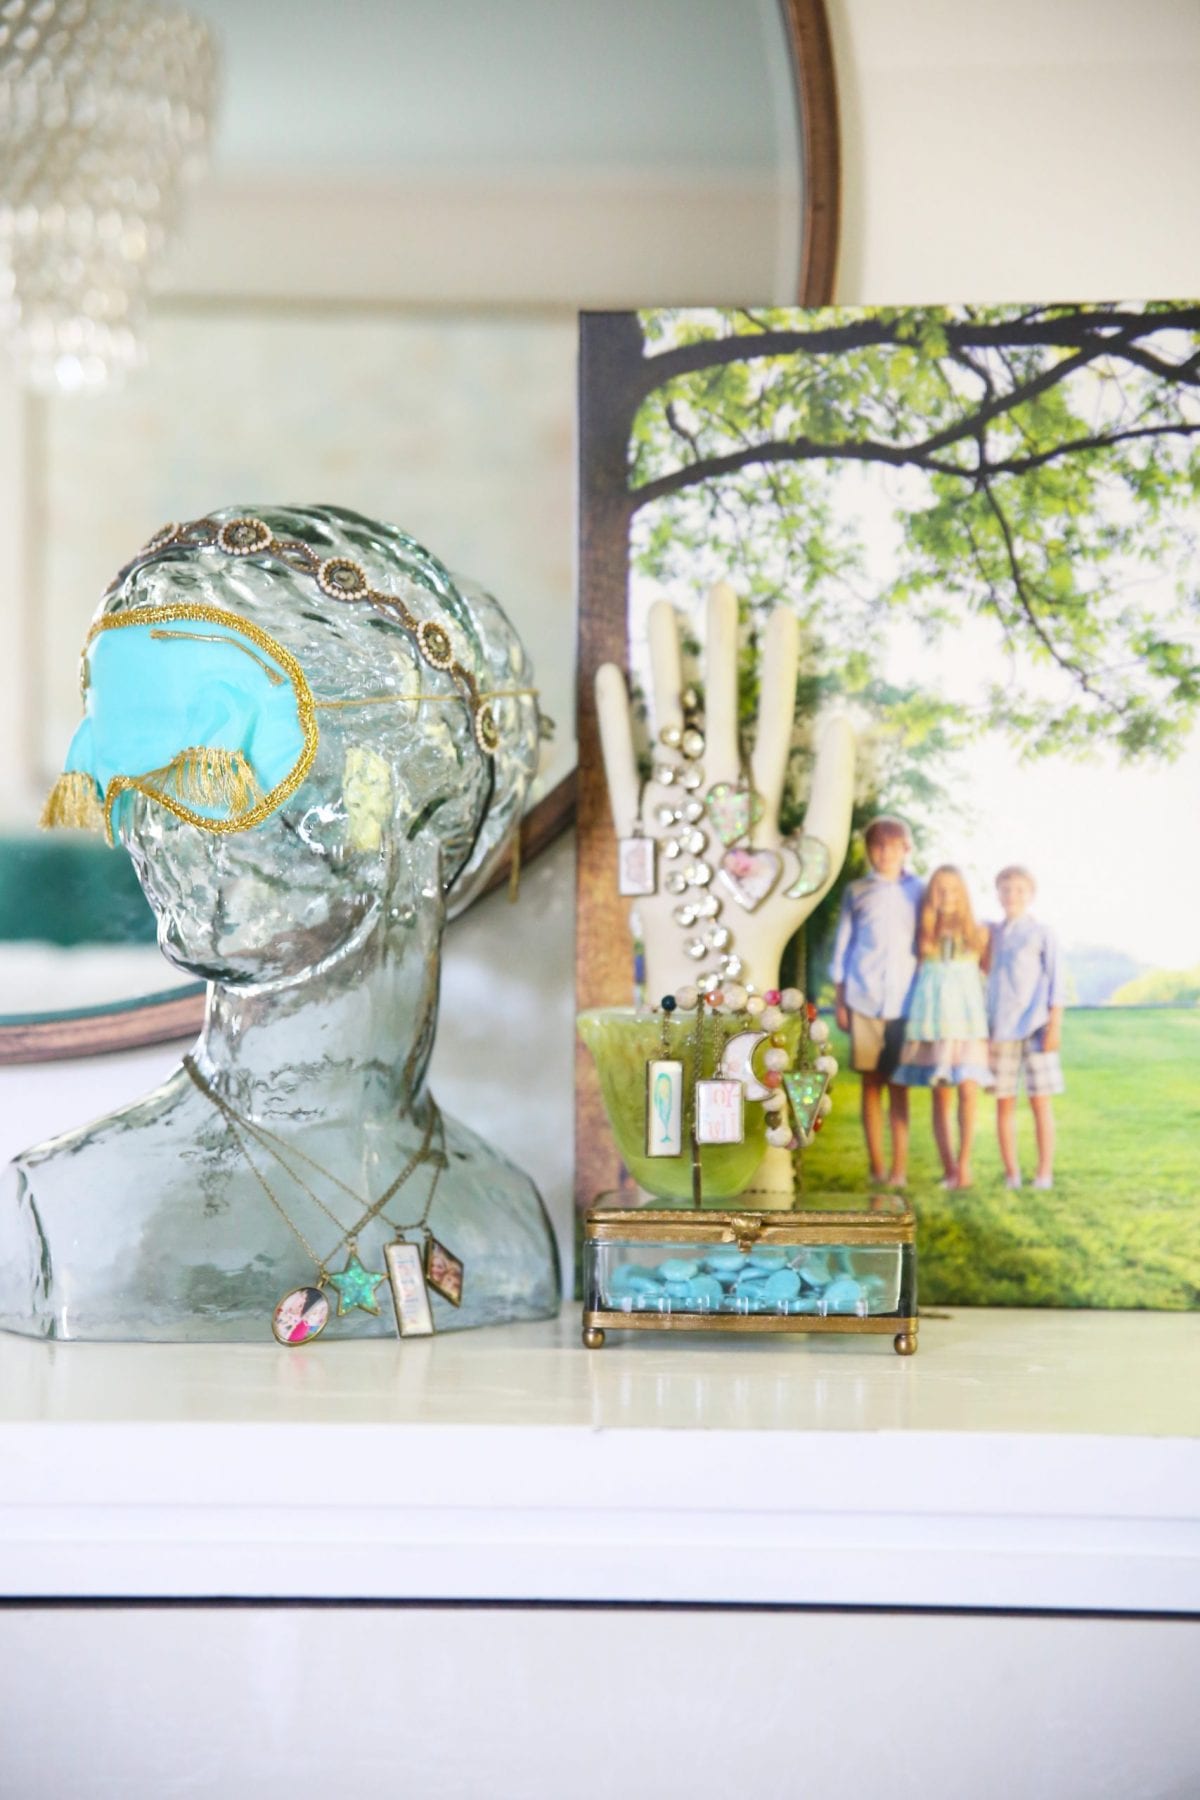
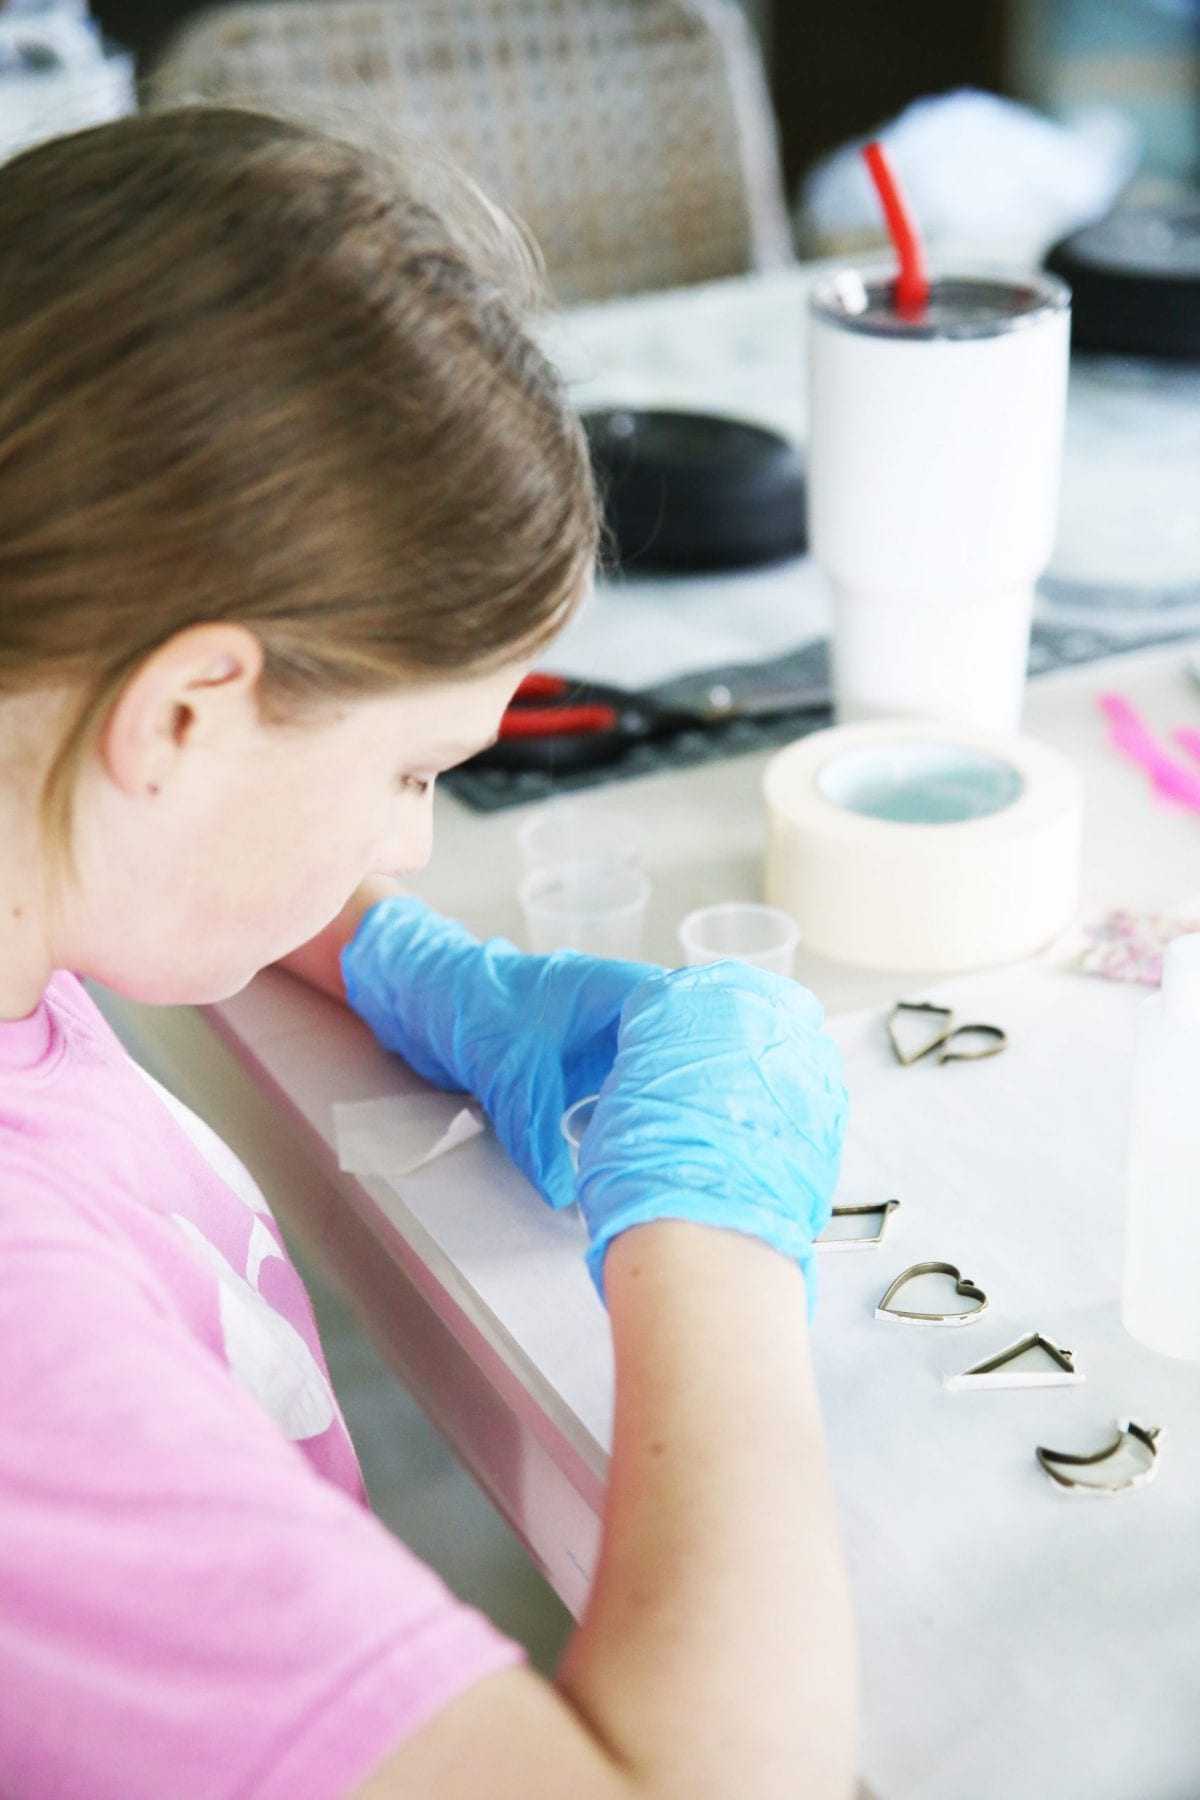
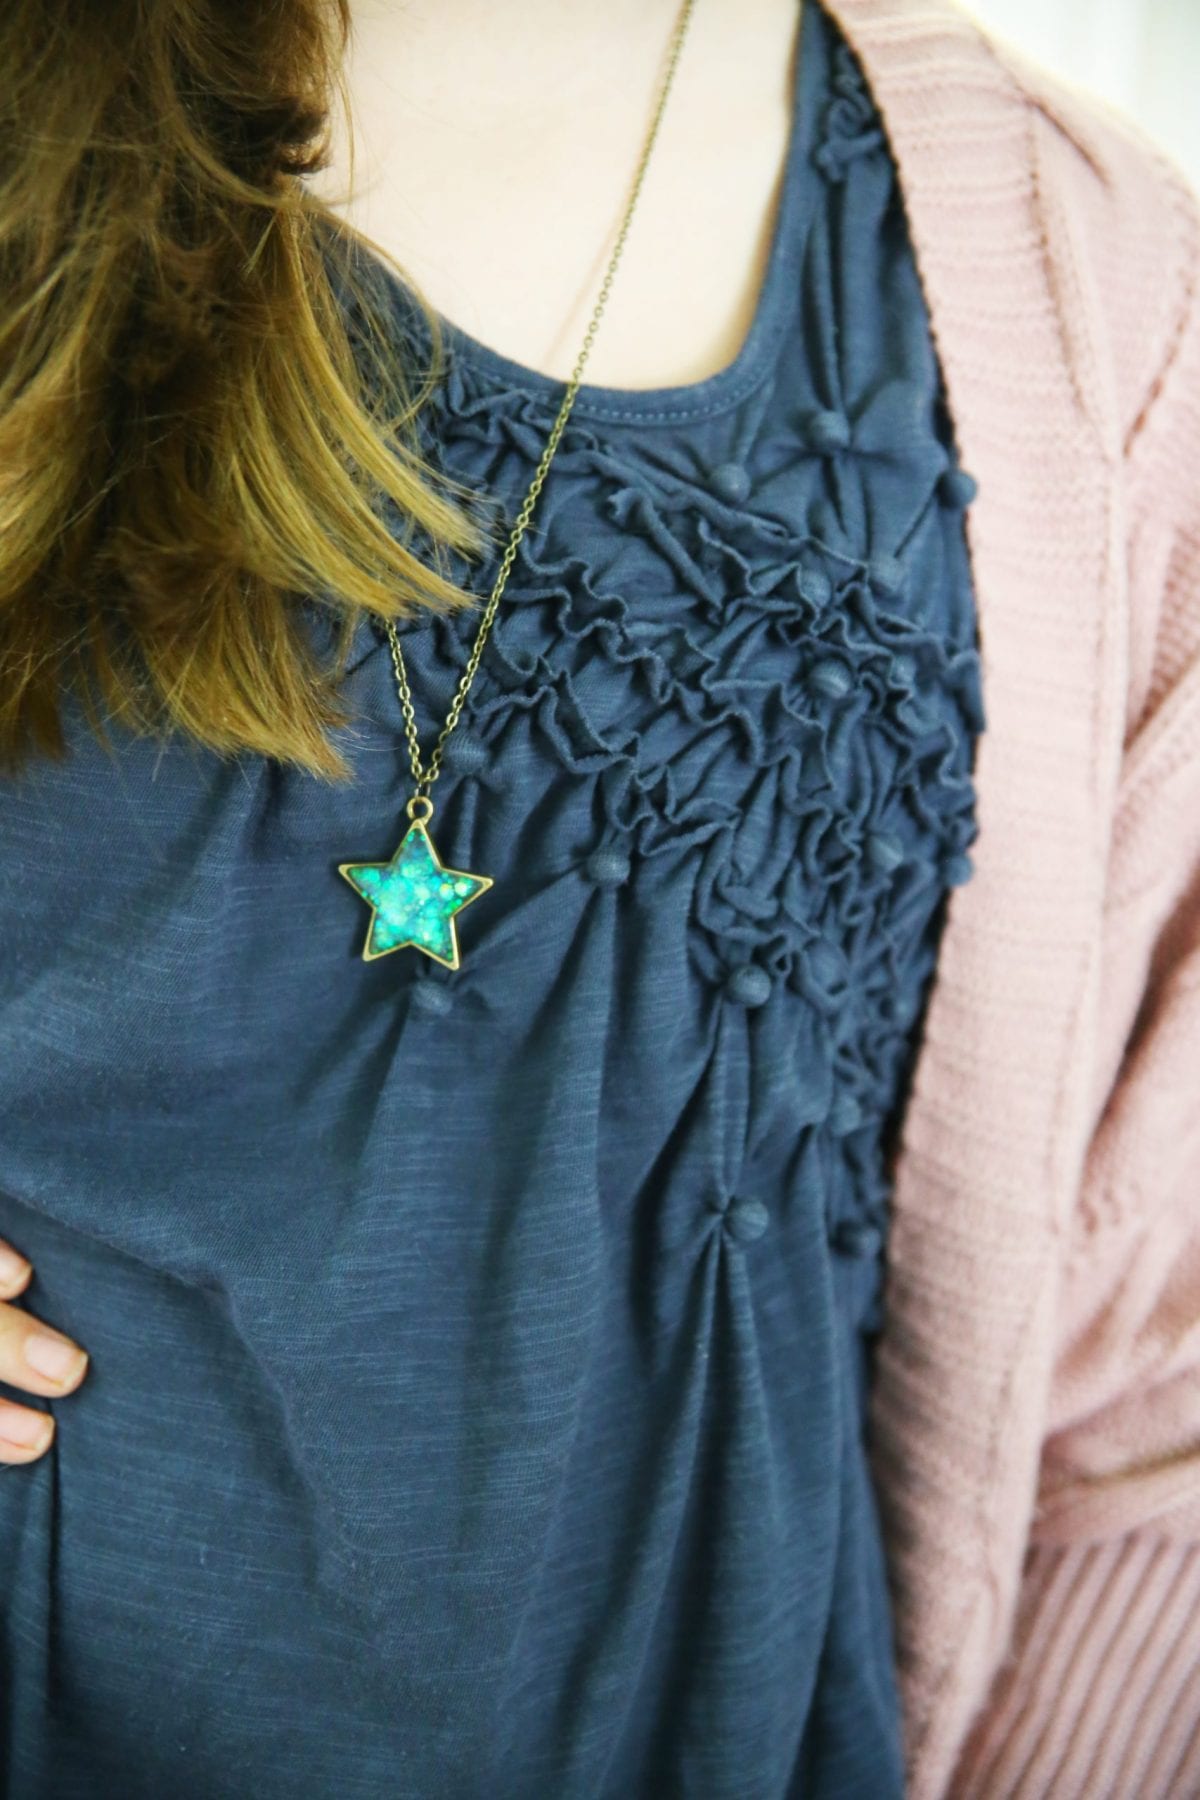
Side note: I may just have the cutest little crafting partner/model around.
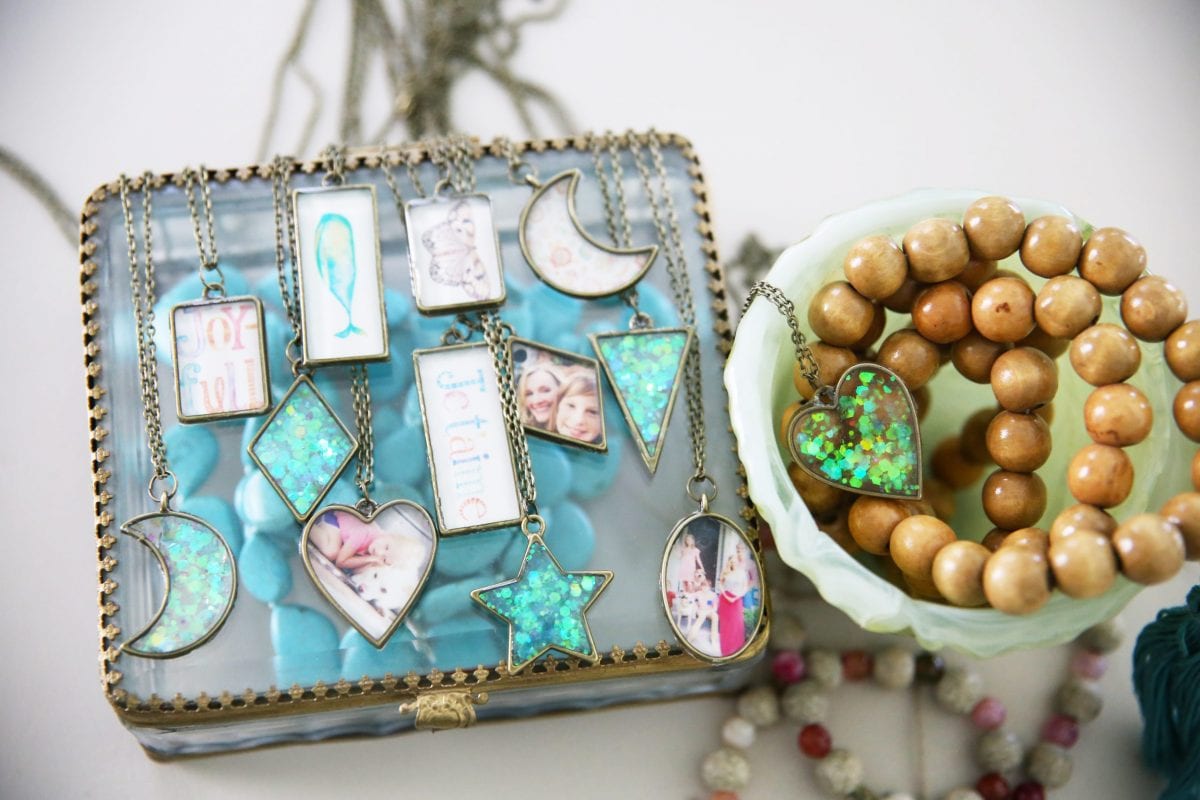
These make great little gifts for friendship necklaces, or mother’s day!
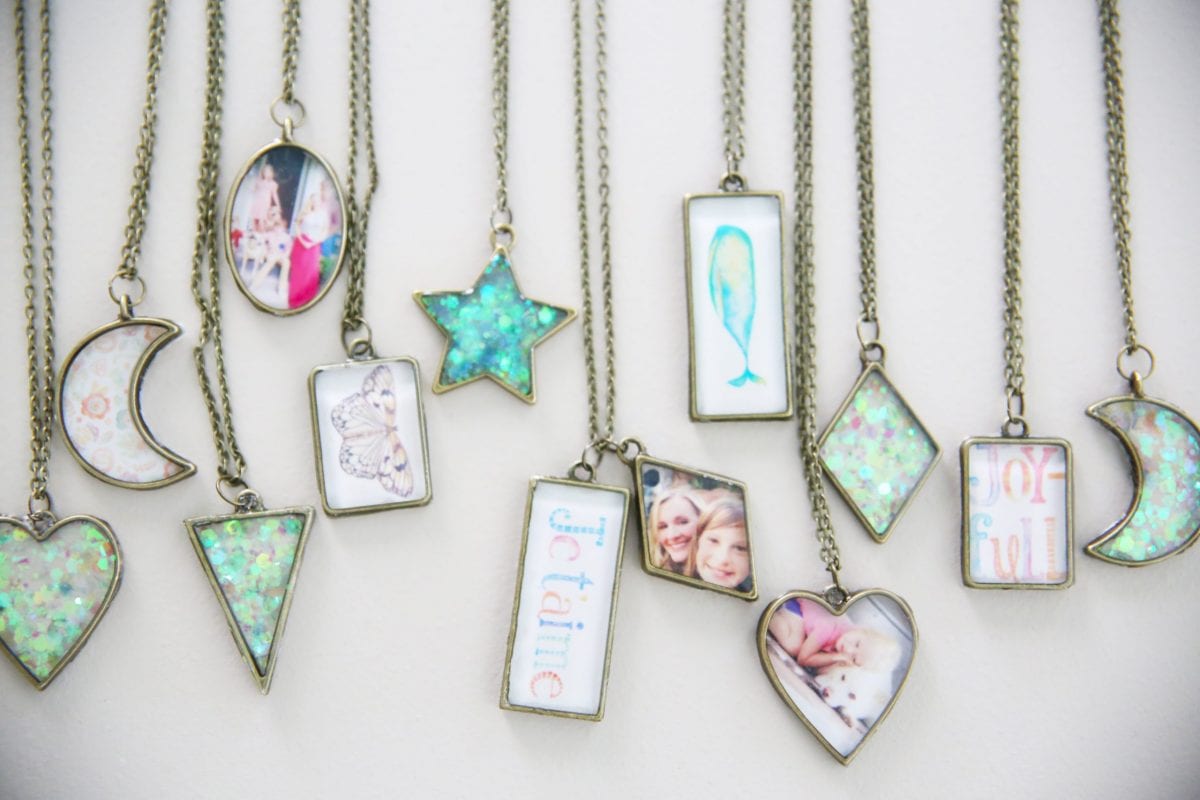
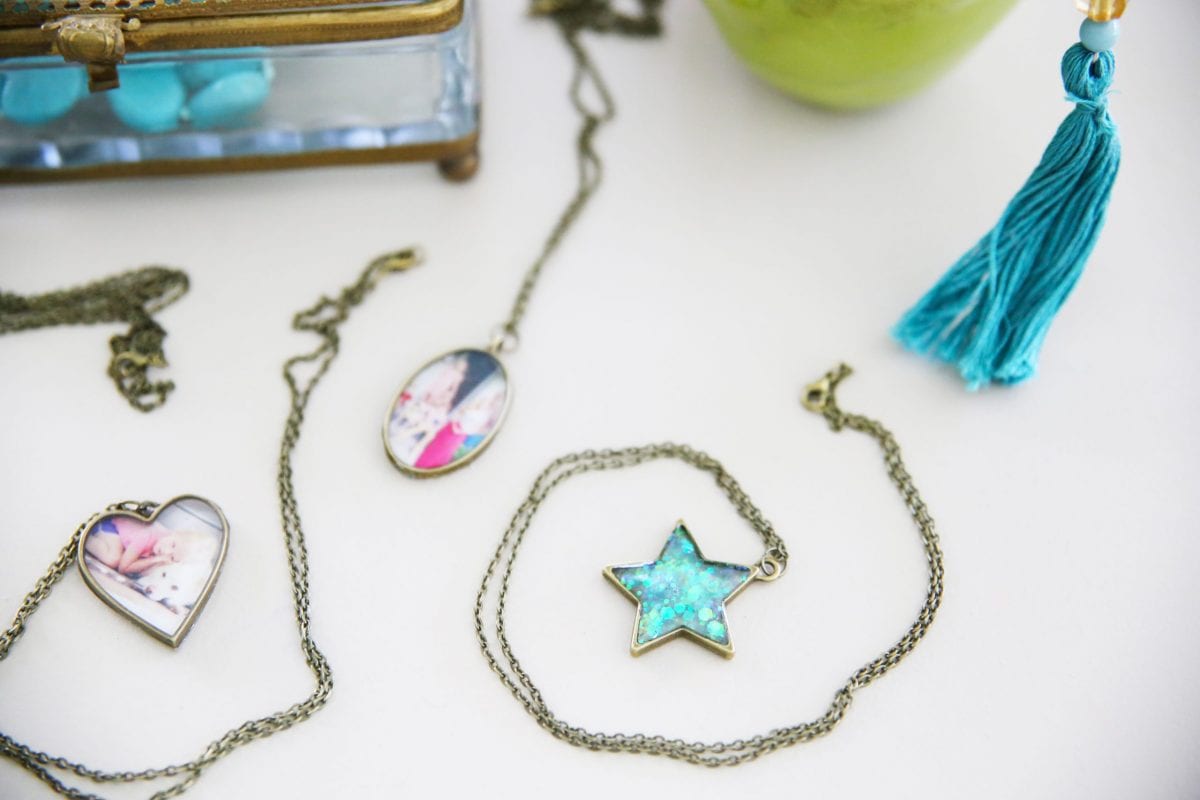
We made two different kinds of necklaces – basic {glitter-filled resin} and photo/art based.
Here’s what you’ll need {give or take, depending on what you want to make}
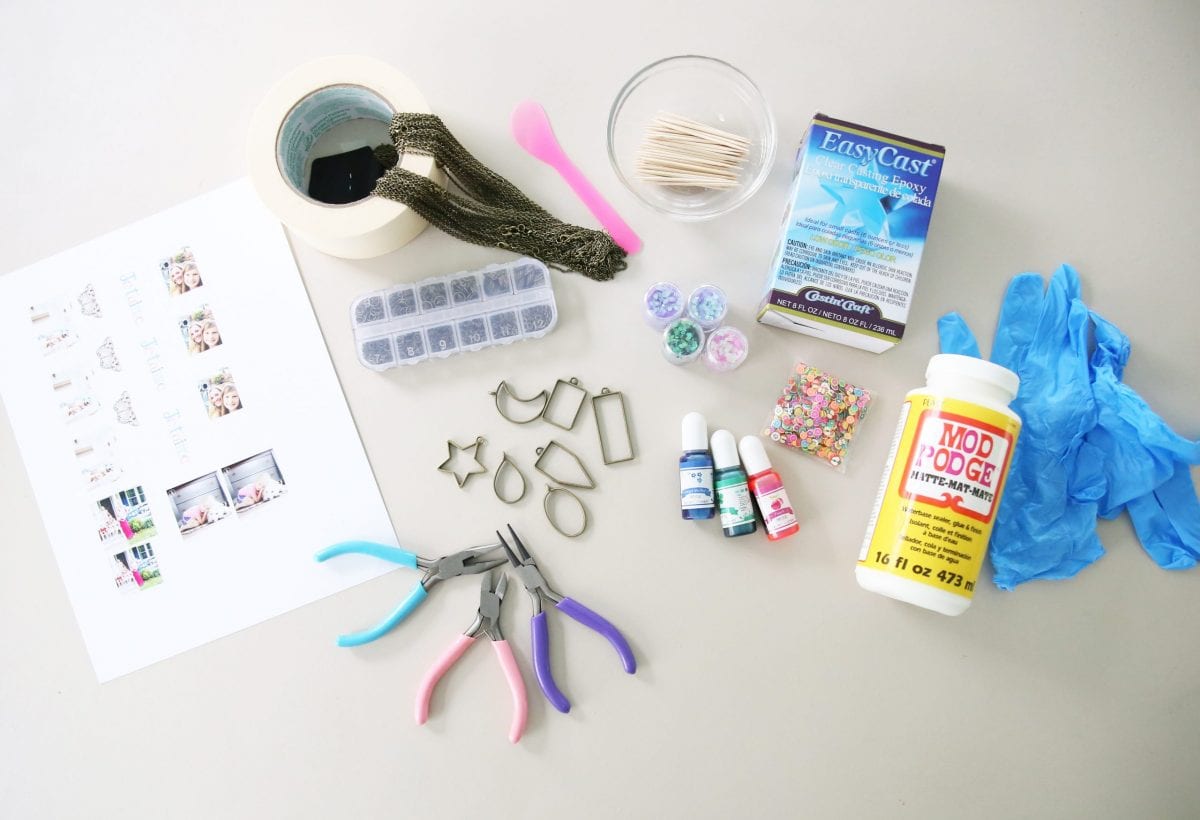
• resin kit – I like the easy cast because it comes with thorough instructions. Read them all, but I’ll cover more of that below.
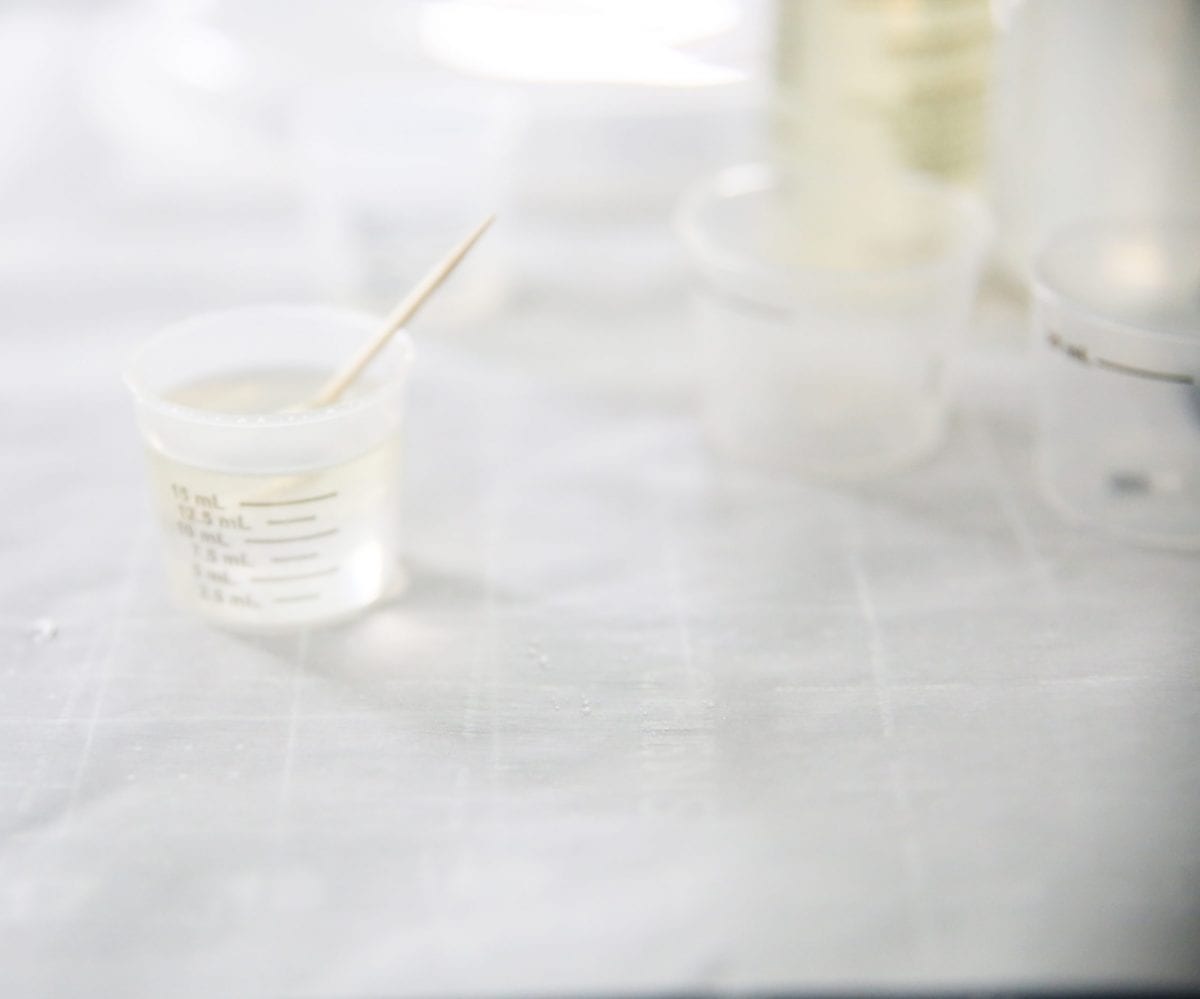
• measuring cups {the kind you give your kids medicine with} – A good place to start will be two smaller ones and then one larger one for each pour.
– make sure they are marked for measuring.
• toothpicks or popsicle sticks {aka that pink thing above that came with another kit
• bezels + chain + connectors + these little tools are helpful if you plan on making more
• glitter or other fillers – it’s fun to get creative with this one
• scissors or X-acto blade + mat for cutting
• masking tape
• wax paper or another way to work on a protective surface – resin doesn’t come out, so make sure you’re covered
If you wish to use images:
• images + photos printed out to size on photo paper or our free printable here + modgepodge + brush + gloves
We’ll start with the basic bezel, and then work off of that. The image-based ones are a little more complicated, so we recommend familiarizing yourself with resin first, and then going from there.
Note: Work off a protective surface, and in an area that is well-ventilated. Also work on an area that can be left that way to give the resin plenty of time to cure. This takes about 24 hours, give or take, so be flexible with wait time and the area being able to be left alone. {AKA the family dinner table is probably not a good option}
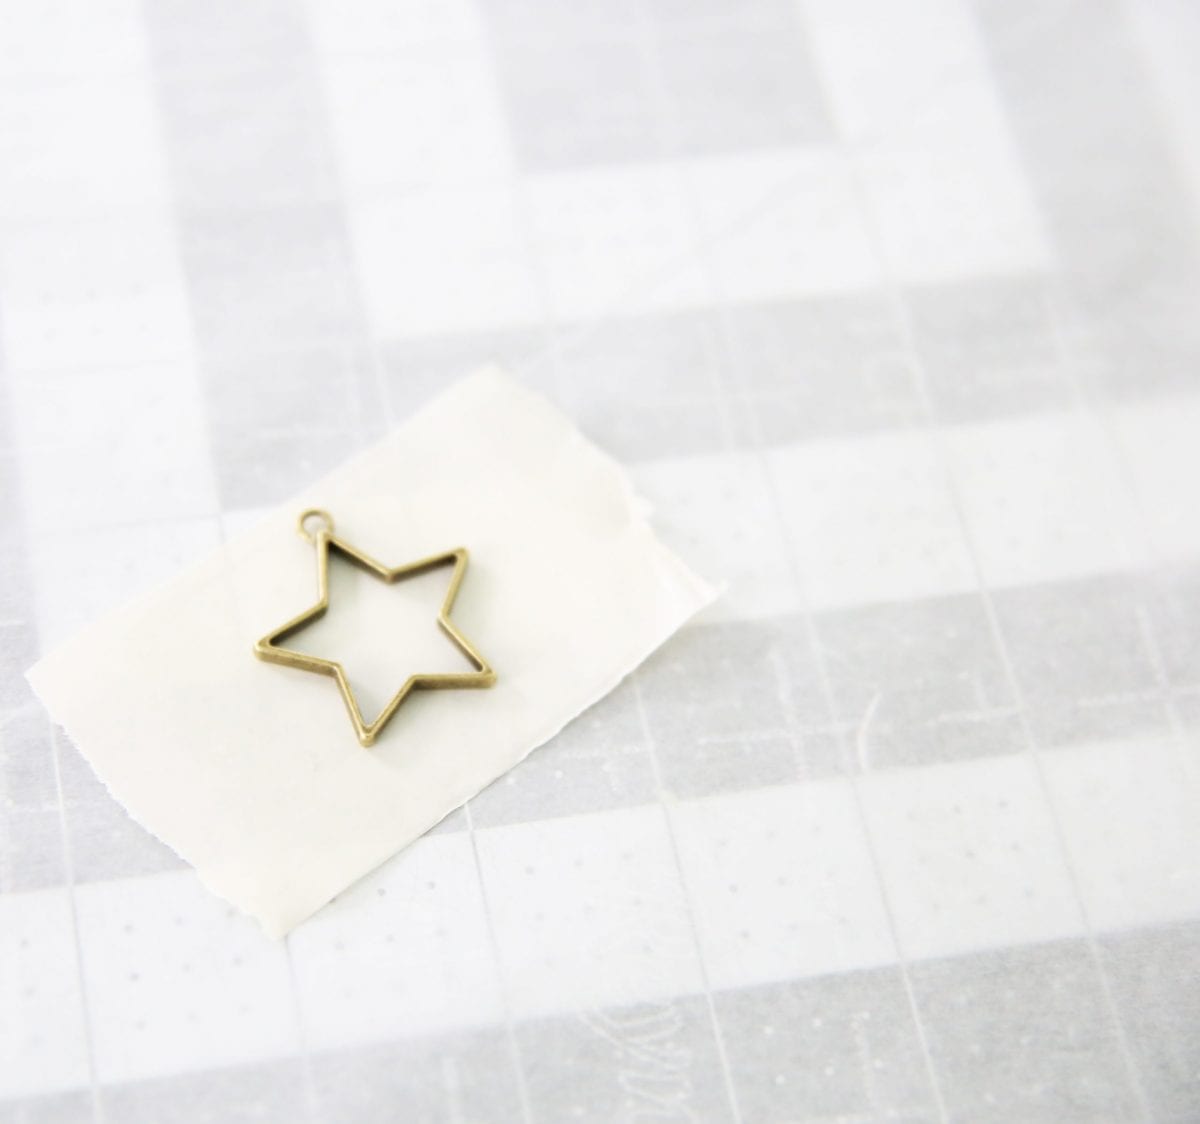
Take a bezel of your choice, and place it on masking tape. Press down firmly, making sure it is sealed from the bottom.
This will keep your resin from spilling. Unfortunately, we did have a few casualties since this was our first time. Just be ready with a few extra options.
There’s a learning curve here so be patient and have fun!
Measure out your resin according to the instructions.
Before I began, I read the directions about three times over, because it’s a very temperamental substance.
What I learned:
• Work in small amounts. This keeps it easier to deal with- It can get away from you quickly so this is important.
• Use two different medicine cups to measure out your resin + hardener precisely. It’s a 1:1 ratio so make sure you have it right.
• If you don’t get the measurements right, you can have cloudy, sticky mixtures that never dry. So pay attention.
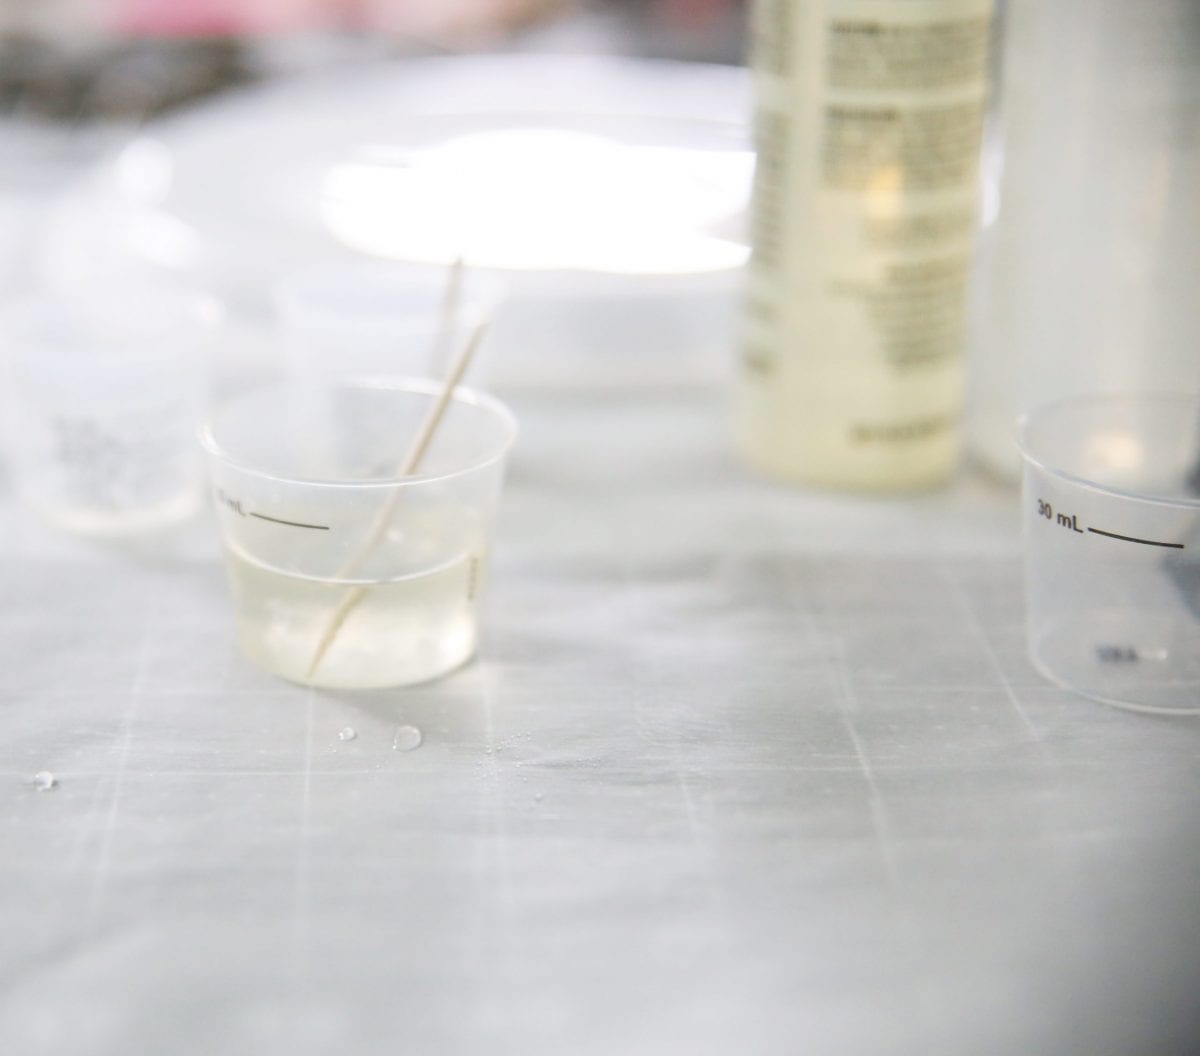
• Pour one into the other after you’ve measured, and stir in a figure 8 motion, with a toothpick. Work the sides, too.
• The instructions will be more precise, but stir for 2 minutes.
• Do not remove your toothpick, when stirring. This reduces air bubbles.
• After two minutes, pour it into another measuring cup, with a fresh stick.
Stir for 1 minute.
Your resin will go from liquid to soft gel in about 15 minutes.
You have that period of time to work with it.
Now you can add filler, or whatever else you wanted to add to your resin.
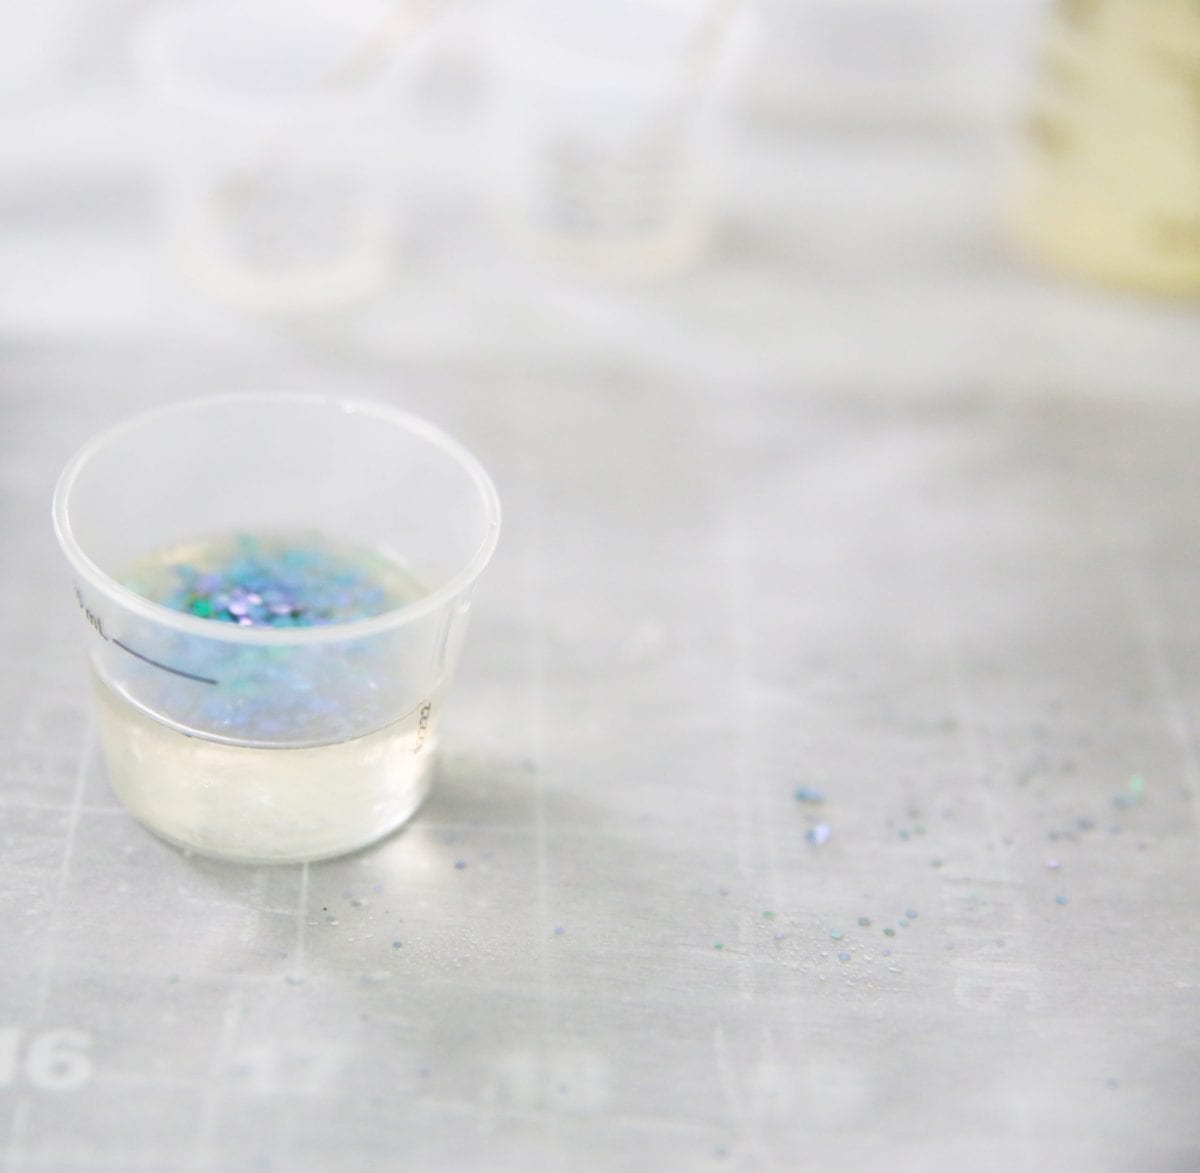
Stir again and you’re ready to pour.
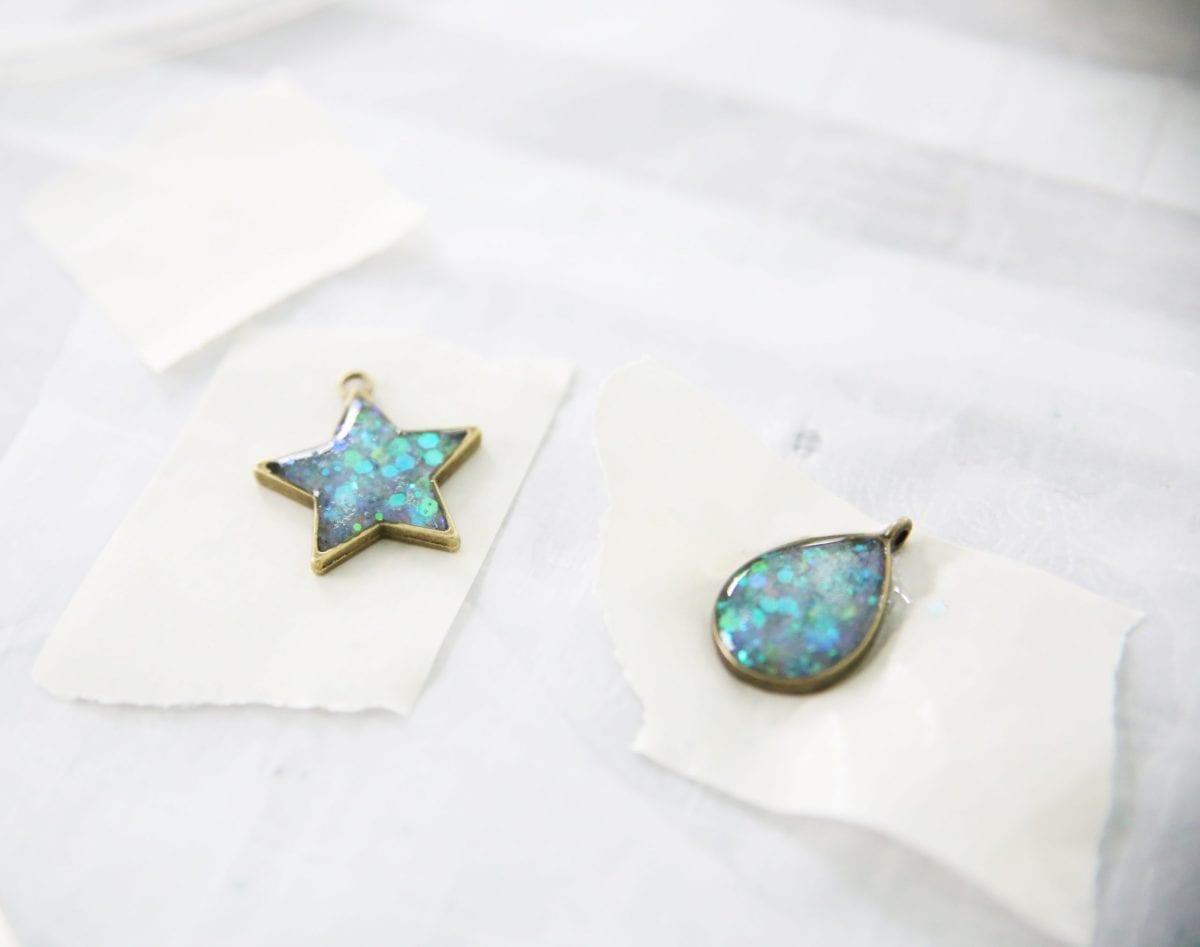
The clear cast resin is a great one to work with, because it domes beautifully in simple projects like this.
You let it dry, for about 24 hours until it’s no longer tacky, and you’re done!
Drying Tip: It helps to have little things like bowls to cover them, so that they can dry and still get air. This keeps them dust / hair / particle free.
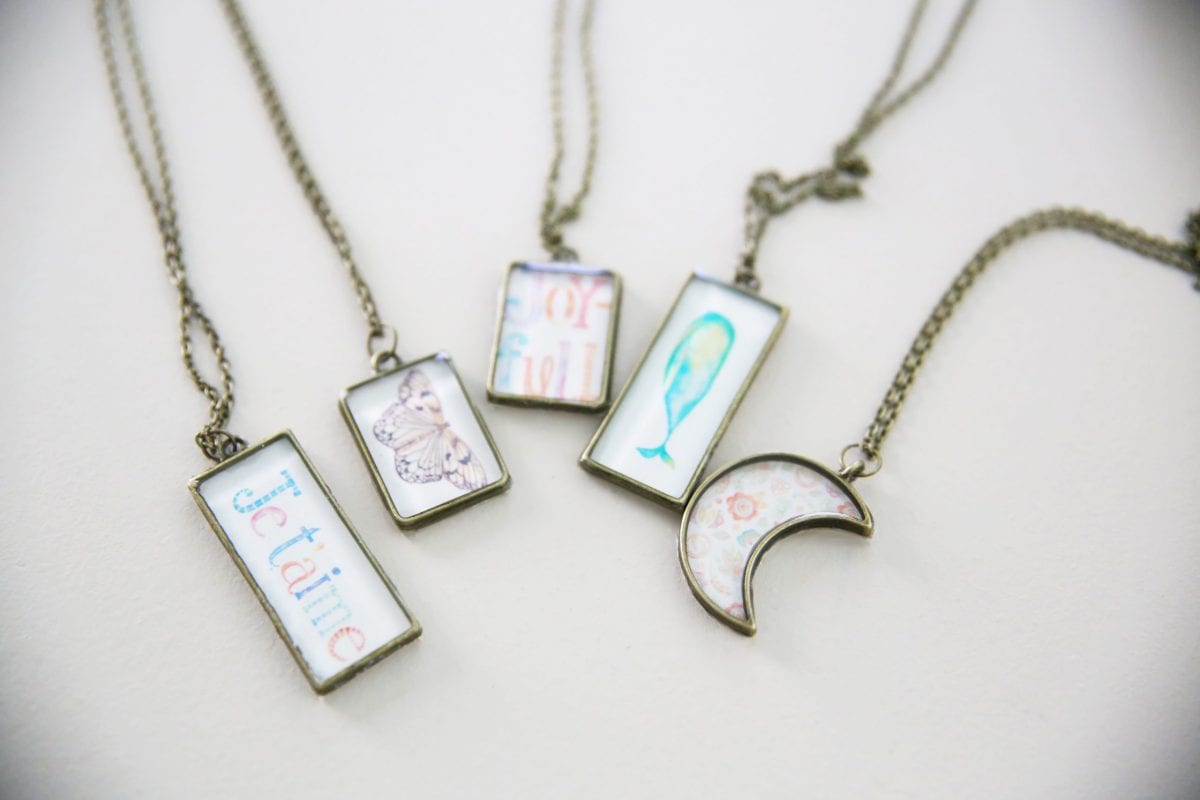
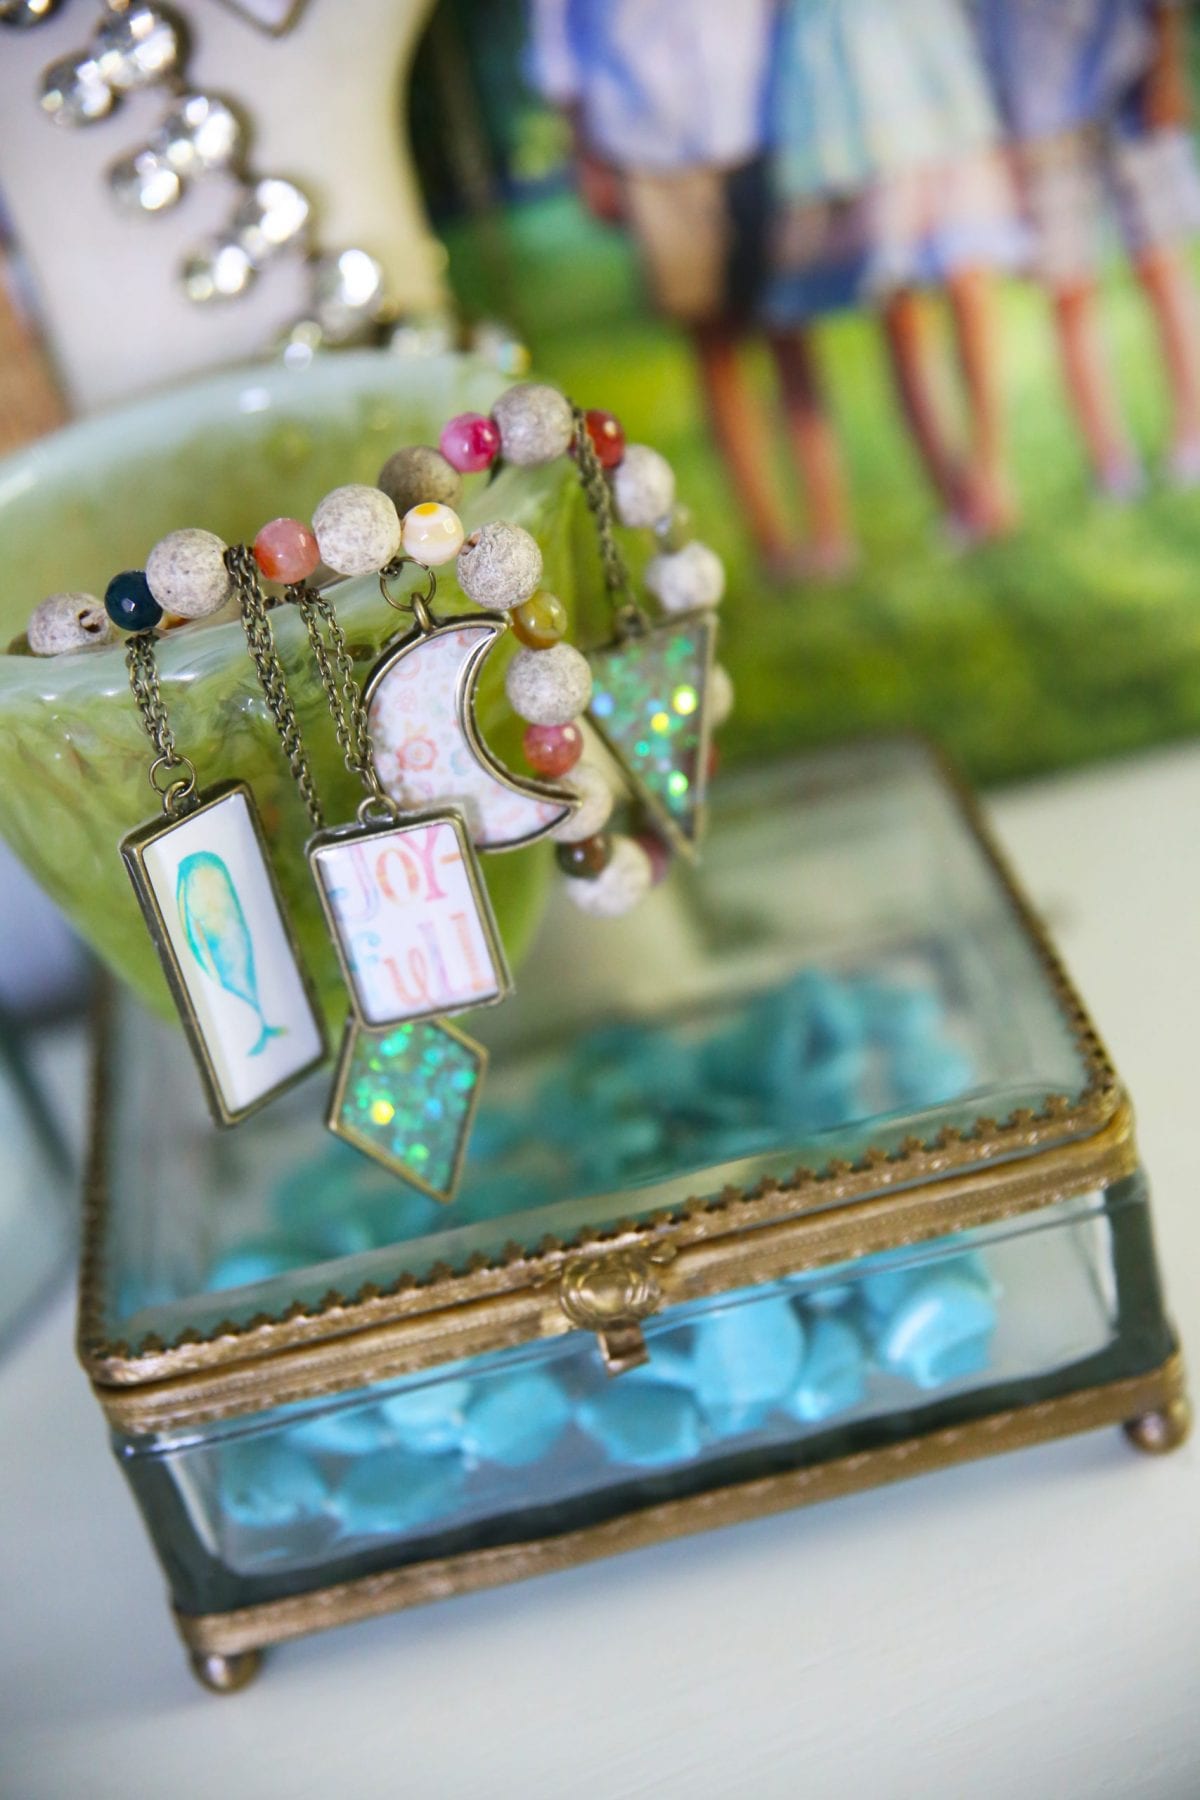
Version two gets a little more complicated, but they’re fun to try, especially with mother’s day coming up. We think we love this one the best, and can’t wait to come up with more versions!
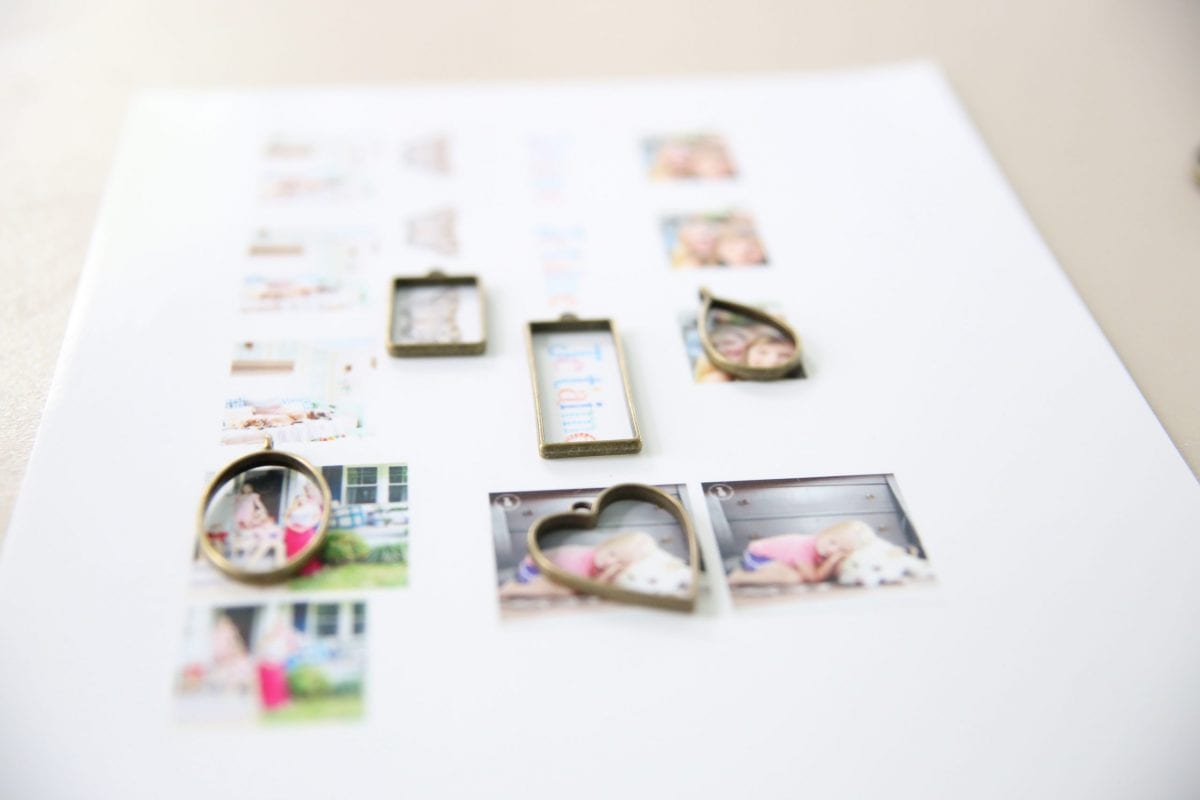
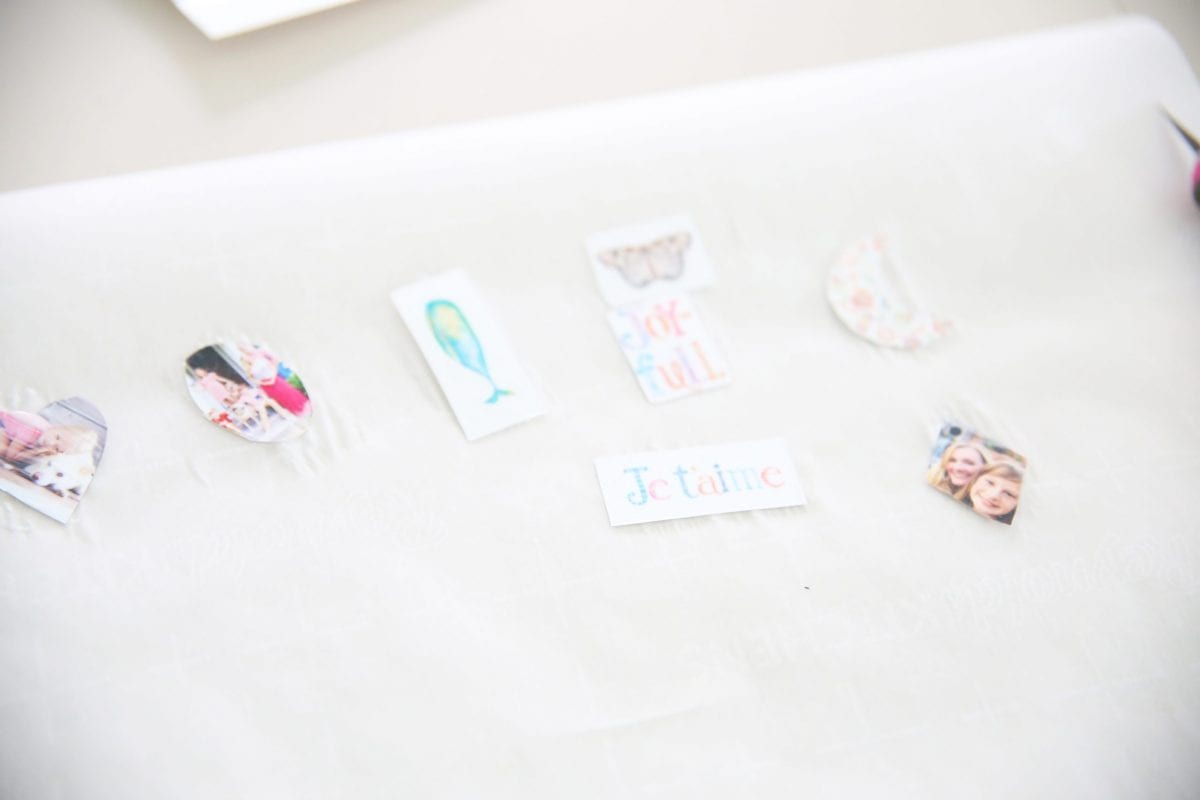
Print out your images you wish, on photo paper. You can resize it until you’re sure they’ll fit in the little bezels. A great stress free version of this is our free printable provided above. Just click and print, and if you ordered the bezels we linked above, they should be the perfect fit.
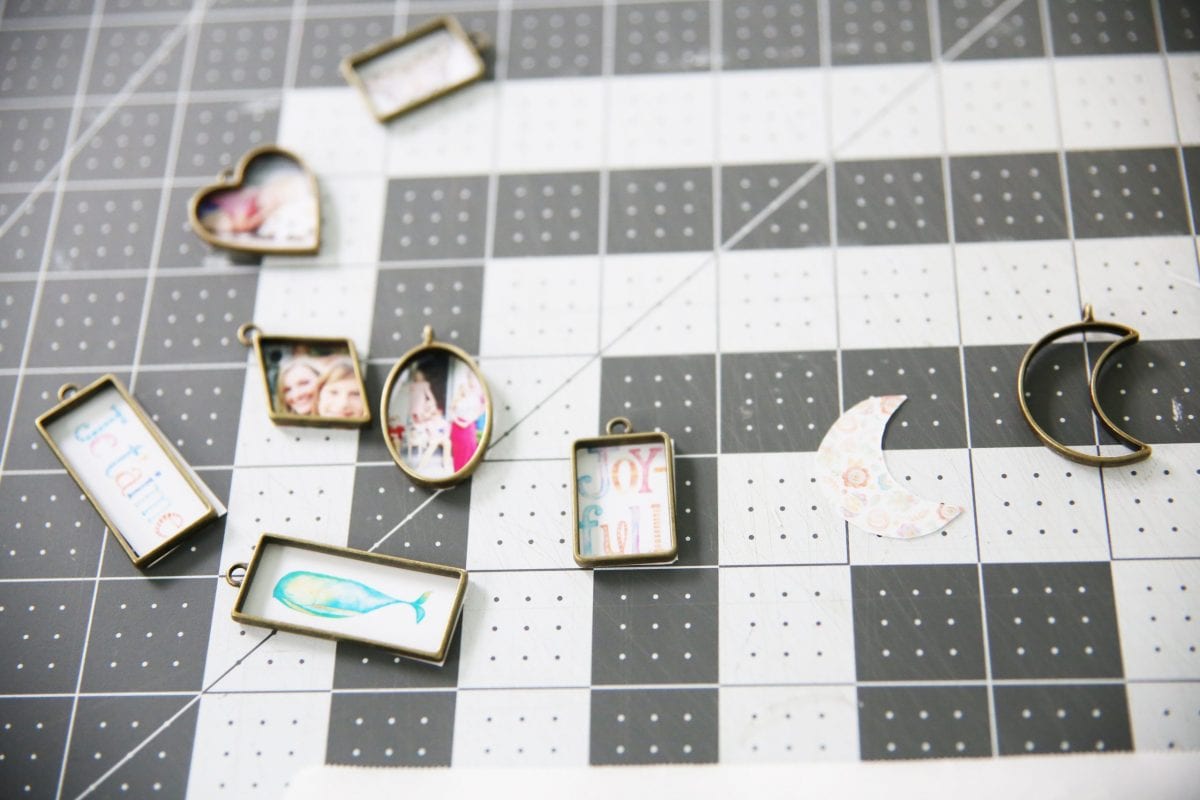
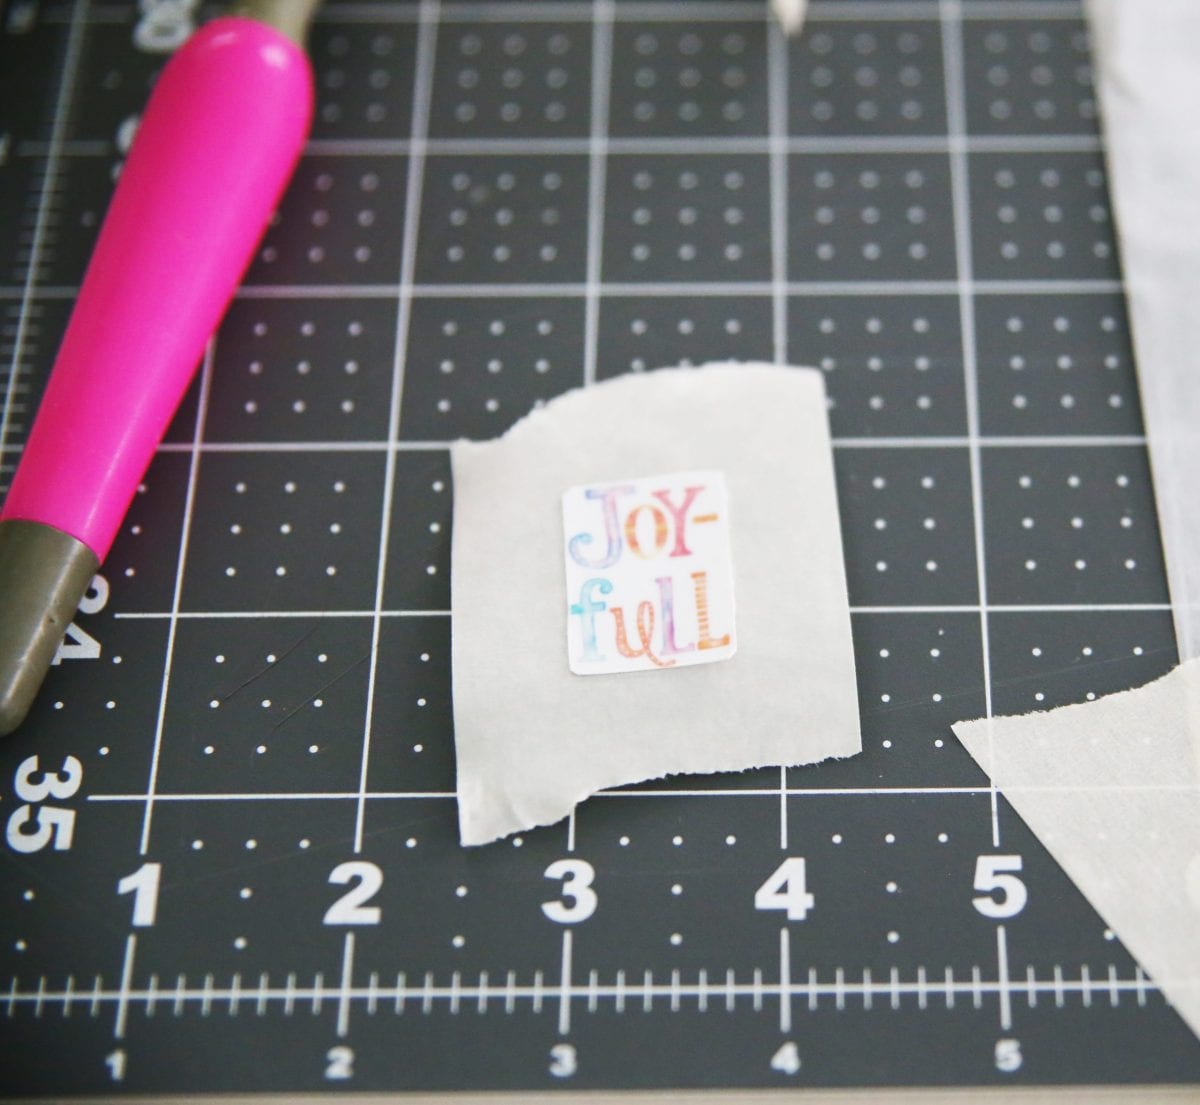
We cut our images, making sure they fit well. In retrospect, some of our edges were still too big.
Cut them out as much as possible, so that the pieces match the inner edges. They also make custom hole punches for some shapes, to make your life a little easier, but we went with basic cutting.
This is where the modge podge comes into play. Make sure that your images are sealed, front and back.
We say to be safe, coat an image three times on each side, letting each coat dry for fifteen minutes in between. Yeah, we weren’t kidding when we said that this project takes a little patience. But it goes quickly if you’re doing multiples.
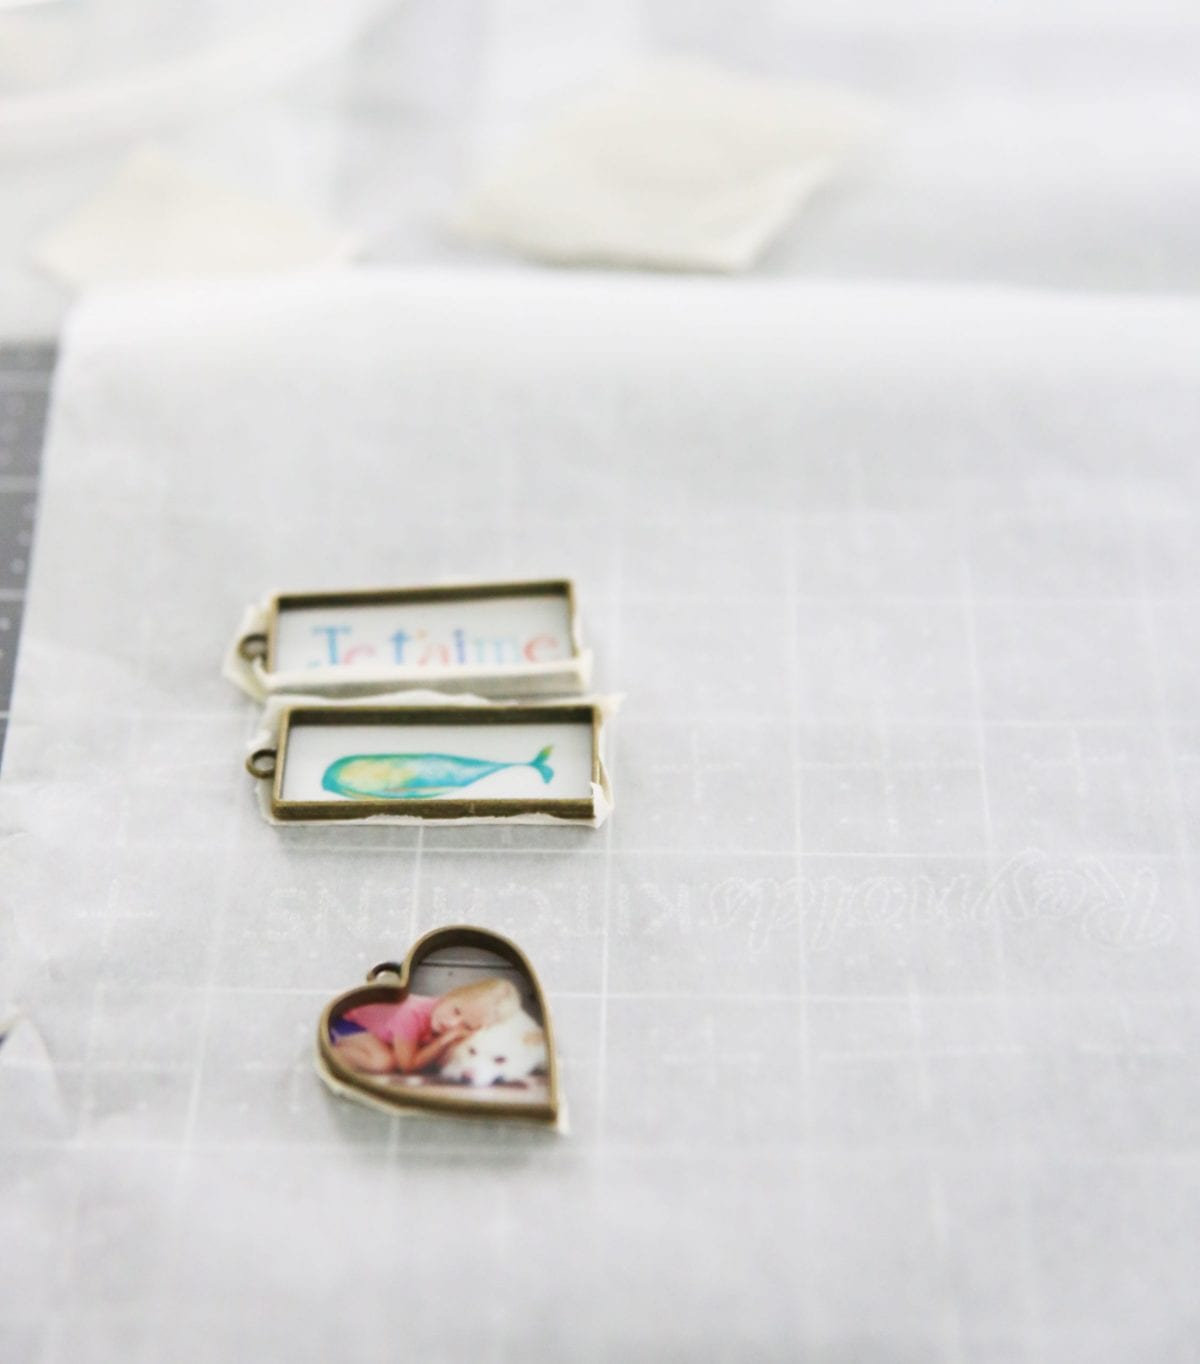
When you’re ready, place masking tape on the bottom of the placed image and bezel. Wrap the masking tape around the edges, because this will be your seal.
It will be a little trickier with an image at the bottom, so triple check everything.
When those are ready, mix your resin per our little tips and the FULL INSTRUCTIONS with your kit, and pour!
Remember to take your time to skip the air bubbles.
You can see bubbles more in these, because of the non-glitter/filler parts. So, if you do get some, you can gently blow across the surface with a straw, or carefully drag them across the top with a toothpick. It does take some steady hands and patience {which sometimes, I run short on} but it’s well worth your time!
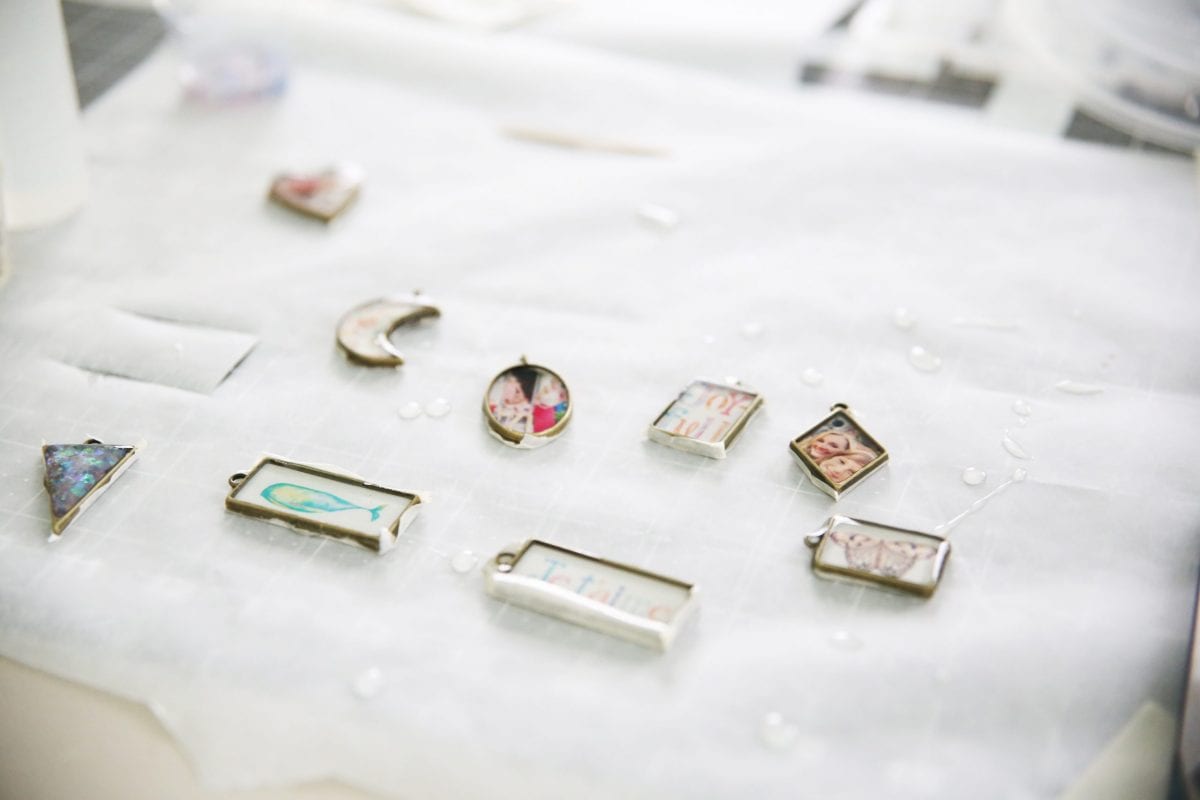
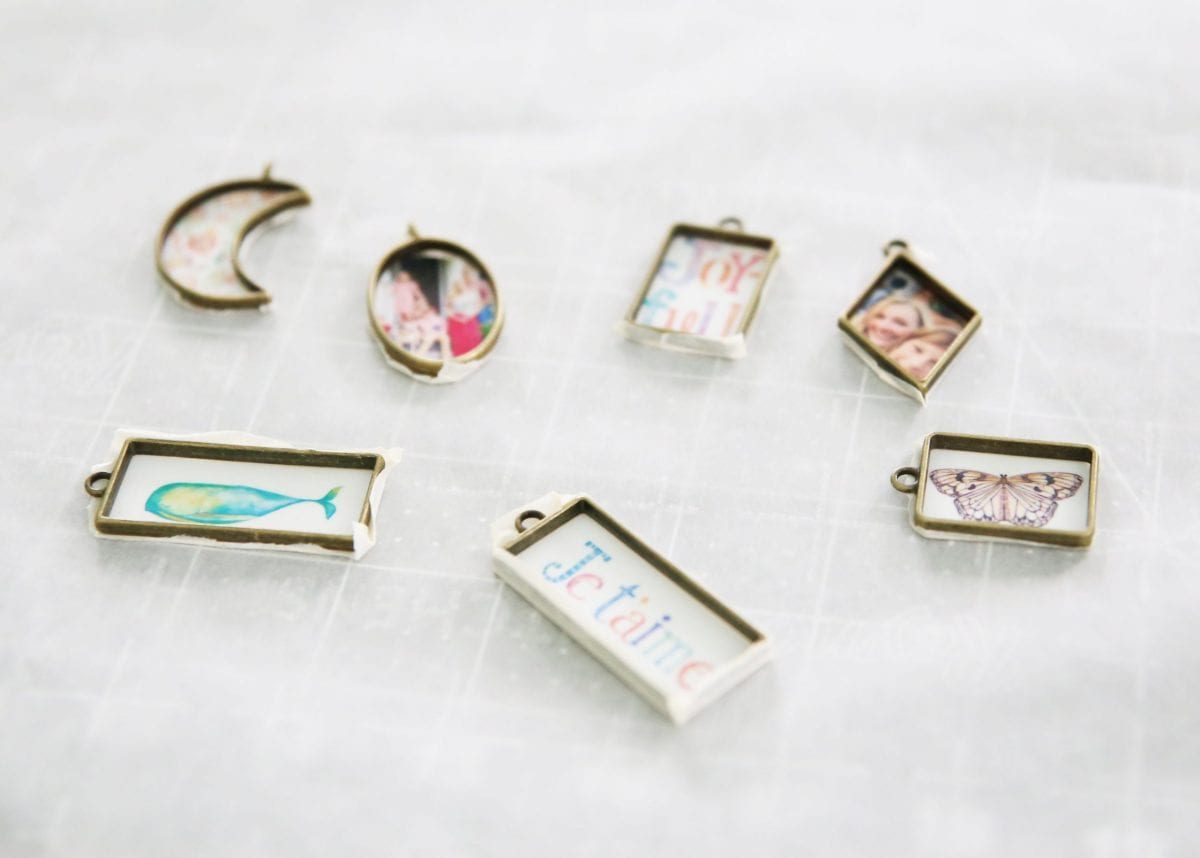
You can see from this photo, that some of ours leaked. So I found it helpful to come back early the next day before they were completely dry, and cut away some of the extra resin. Just be really careful not to touch the tops of them. This is where working on wax paper on top of a cutting mat helps, because you can still protect everything and cut carefully.
Then later that afternoon, when the first layer was dry, I was able to come back for that dome.
Note: You can also sand your resin down at the end, with a fine-grit sand paper, or we found that a nail file worked. However, watch your bezel. It can quickly wear the metal away so with this particular project, we found that an X-Acto knife was the cheaters version to getting our projects back on track.
Clean up: you can use alcohol on your measuring cups while the resin still wet. I just clean them out with paper towels and some alcohol at the table. This probably goes without saying, but don’t use your measuring cups for medicine again after using with resin, since it’s not safe. And don’t pour it down the sink when cleaning – thus the paper towels. Also, if you get some on your skin, baking soda + salt are a good option for removal.
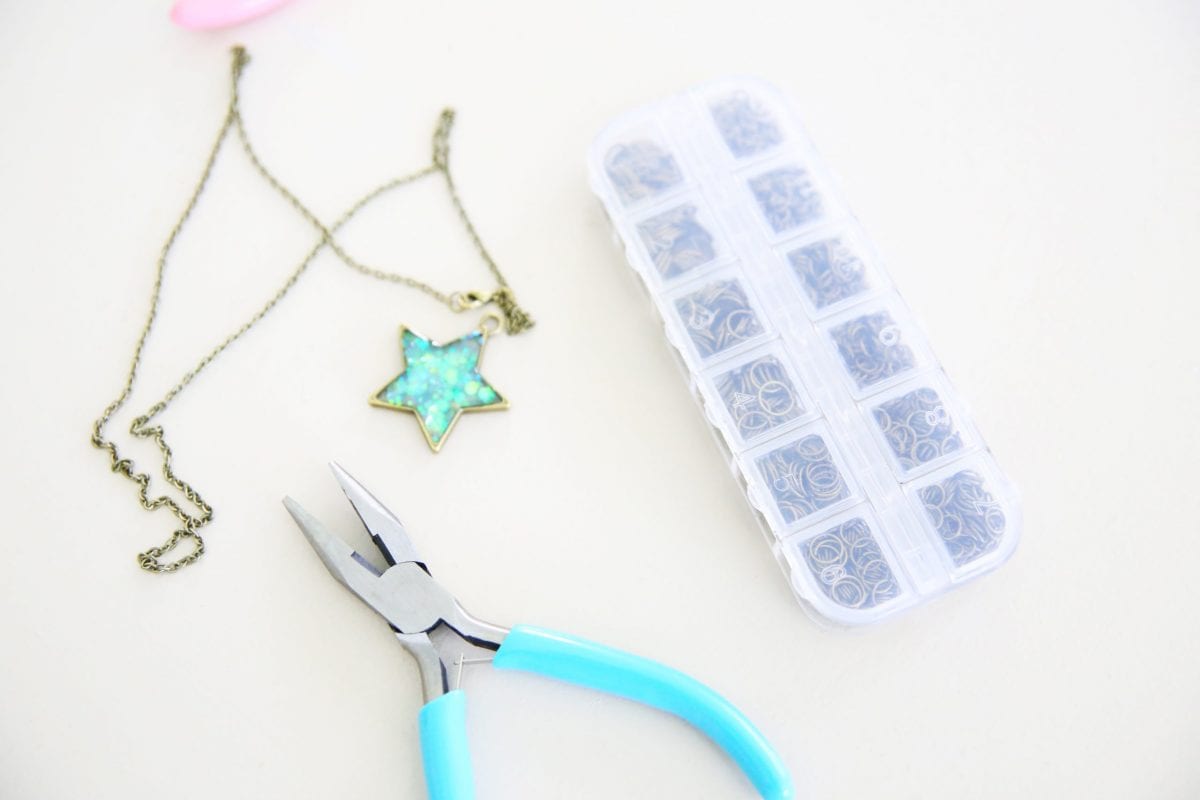
When they’re dry, {we waited two days just to be sure} we added a jump ring and a chain!
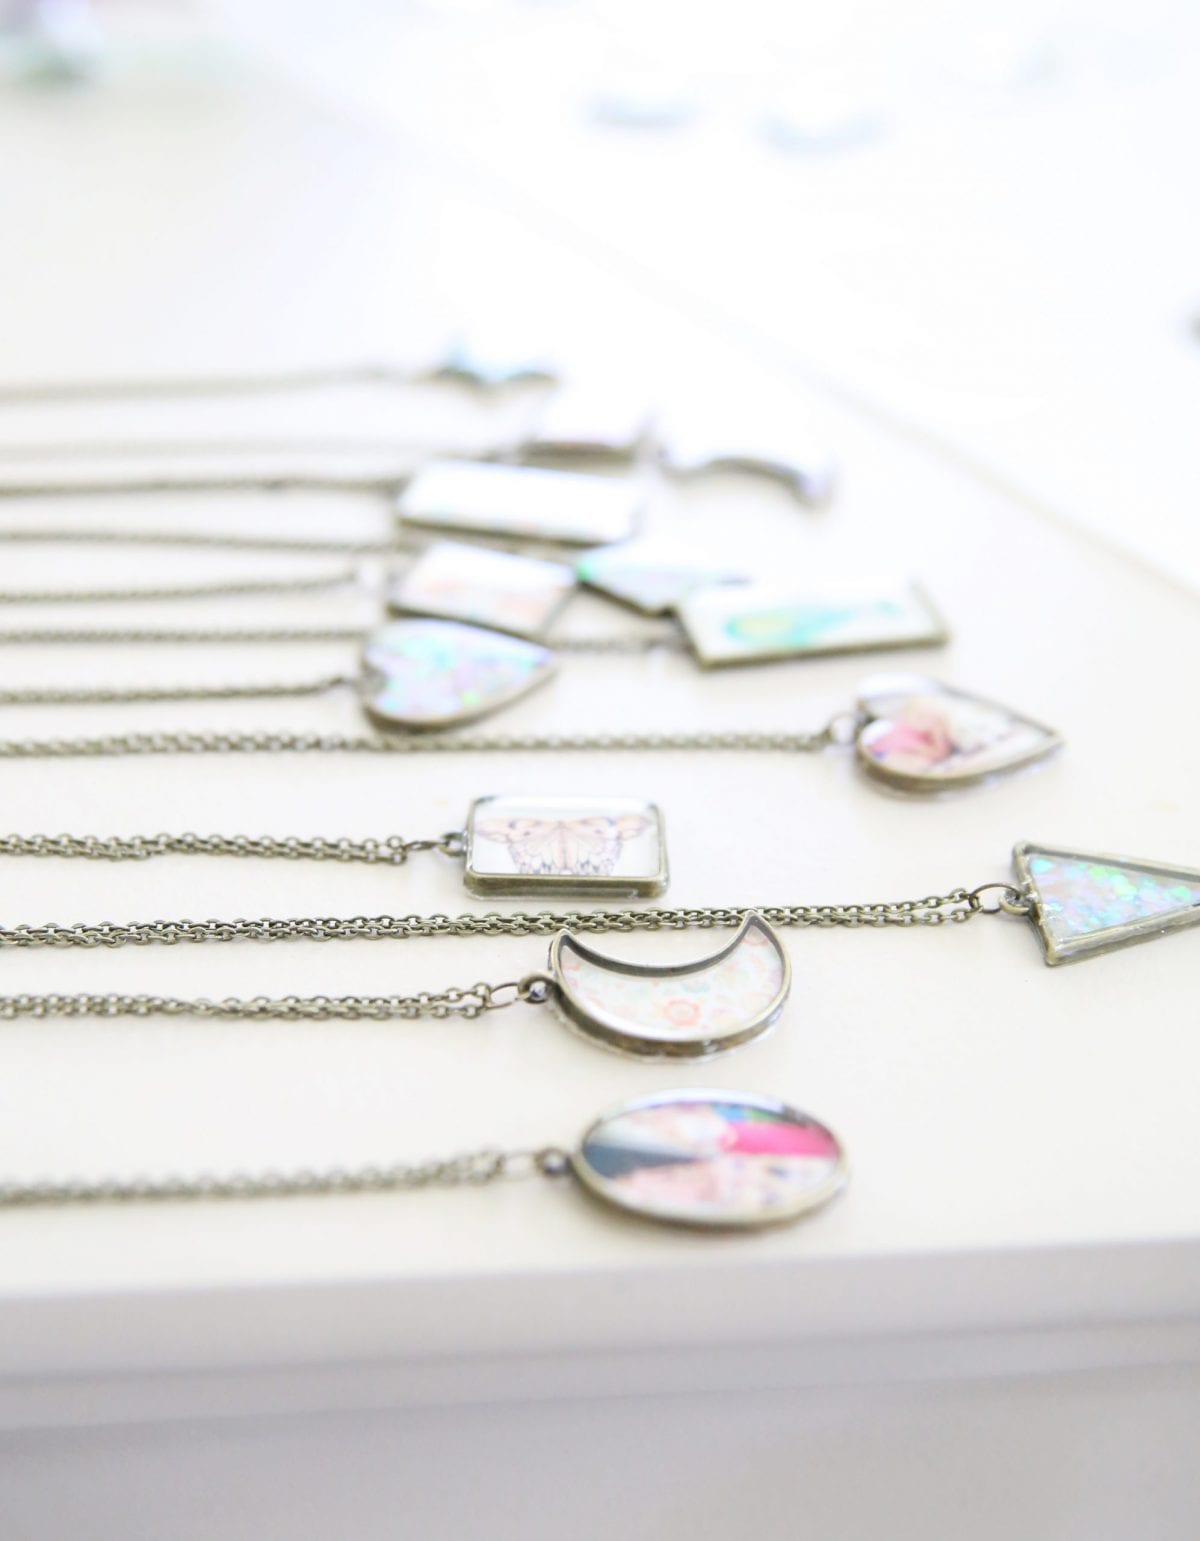
Again, not perfect, but a great starting point!
She made friendship necklaces and sweet little gifts for others.
We had so much fun!

As always let us know if you try it! We’d love to hear.
And if you have any questions let us know.
Have an inspired day!


[…] This creative craft […]