That one project. We all have them, leering at us from their little spots around our home. You know, the one you need to take care of, but it just never happens? Like when your Hardie board gets messed up and you don’t fix it until you decide to write a post called how to repair Hardie board siding.
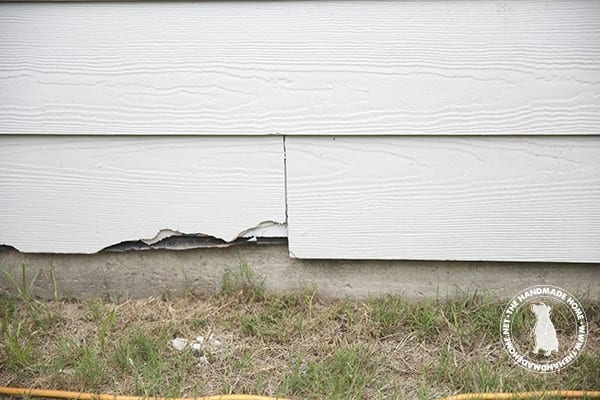
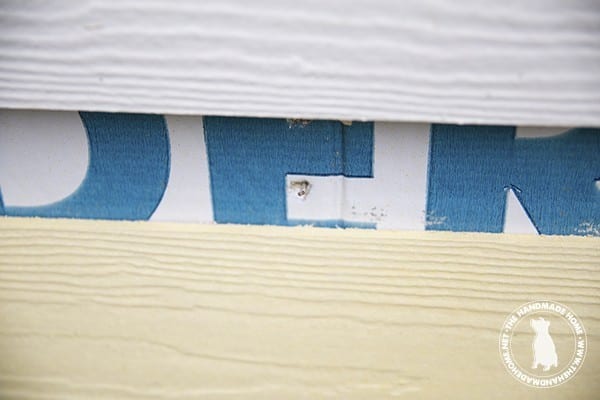
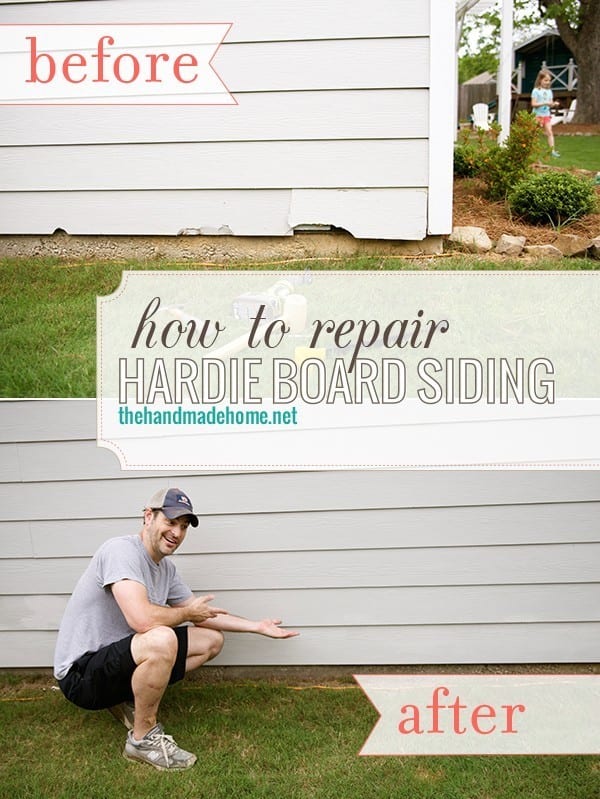
Here is a peek at our damaged Hardie board.
A few years ago we were headed on a little family vacay, it seemed a million things needed to be done before we could get out of town. {What’s new right?} One of those things was to cut the everglades, yard. It was a mild 100+ degrees and because of all the recent rain the humidity was off the charts. Yay for living in the deep south.
Call it lack of motivation if you want, but there just wasn’t going to be time to cut the grass. I had to prioritize the to-do list and sweating in the tropics whilst pushing a lawnmower… wasn’t high on that list.
So I offered cash and a couple of slices of pizza to a teenager to cut the lawn for me and went about my merry way, until the self-propelled lawn mower got away from him and left us with a happy surprise.
It wasn’t a big deal, stuff happens and I could replace it easy enough, when it wasn’t a few degrees cooler than the surface of the sun.
That idea just never materialized. Actually, I completely forgot about it until I would mow the grass, and I was all, mental note: fix siding. Squirrel! W
ait what was I going to do?
I even painted the house recently and didn’t fix it. {Hangs head in shame.} But, hey that’s what happens when you are having fun with a sprayer.
Once our house went on the market we knew we needed to take care of it and decided to share with you, our lovely readers, how easy the process is: How to repair hardie board siding.
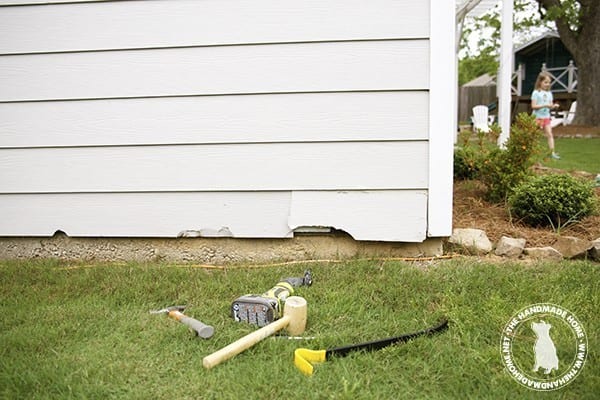 The demolition phase
Ashley will argue with me, but this is the best part of any project. Who doesn’t love just demolishing and ripping stuff out? It’s cheaper than therapy and honestly, I think it makes you feel better, too.
To remove the old siding, simply score or cut away any old caulk or paint that might be in the joints. I used a RYOBI Jobplus to score ours. {If there’s a chance to use a power tool, I might as well.}
Once it’s cut you’ll simply begin prying away the broken piece. You can do this with a small pry bar or by hand: You’ll want to work your way up and down the piece, and keep pressure on the bottom of the piece above the one your removing to prevent it from coming loose or cracking.
Move up and down the board, working it lose until it pops off.
Remove any nails that still might be underneath the bottom portion of the piece above the one you removed. (Just the nails that will prevent the new board from sliding back into place.) You can either completely remove the nails, or clip them off.
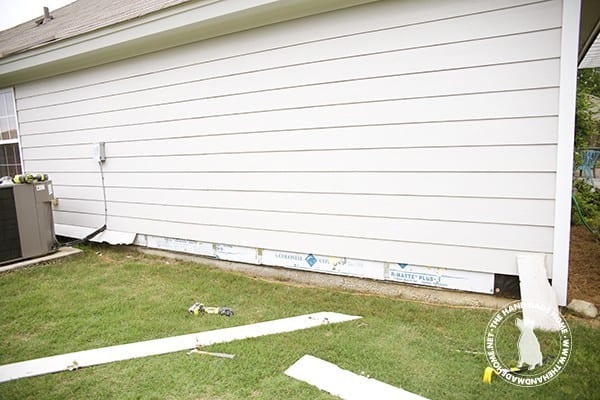
Placing your Hardie board
Placing the new piece of hardie board is just as simple as the demo. You’ll need to measure the length of the boards you’ll be replacing. Then head to your local building supply store and grab your supplies.
Here’s the trickiest part about this whole process: while hardie board is an amazing product, it also breaks a little too easily. They break under their own weight, so make sure to carry them vertically, not flat. Another pair of hands is always best when handling the boards.
• If you’re replacing multiple boards, start next to a board that is already fixed in place, this will help ensure the run stays straight.
• When you have the board in place, simply slide it under the board that will be on top of it and even them out with the board it butts against.
• If it’s just one board you’re replacing, have your helper square it on the opposite end and hammer away. You’ll want to use nails rated for exterior use and with a finish head. Nail guns are great for this – we’re big fans of the airstrike.
• You’ll want to place a nail every 12 inches, top and bottom. Be sure the top one goes through both boards.
• If you’re replacing more than one board in a run, simply hammer a nail into the top corner to support it and then move half way down the board. Use a 4 foot level to check, and then hammer in another nail. Then hammer away on the rest of the board.
 Caulk
Caulk
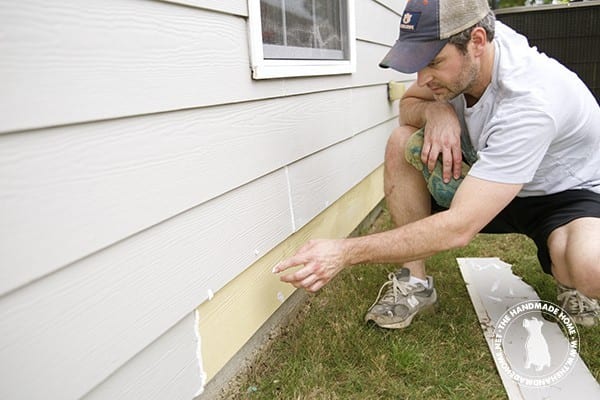
Finally, you’ll want to caulk the boards where they meet, and cover any nails with caulk. (Be sure to use an exterior paintable caulk.)
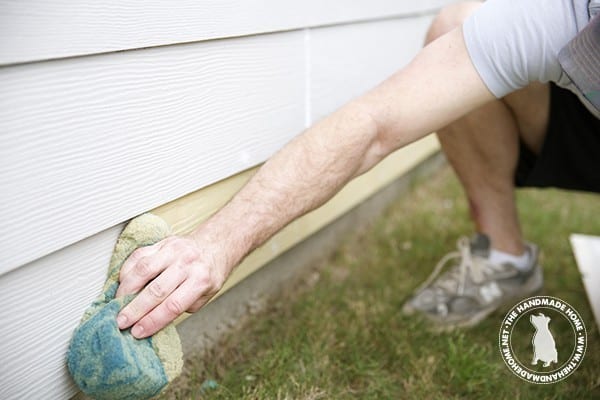 Wipe the board down to remove any dirt and excess caulk.
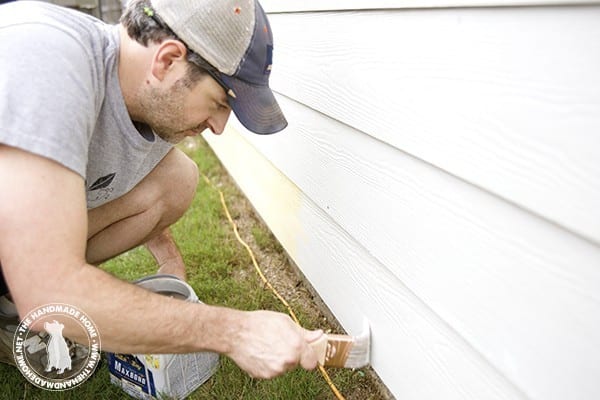
Paint
When the caulk and board are dry, simply paint the board.
Then pose like Vanna White for all to see.
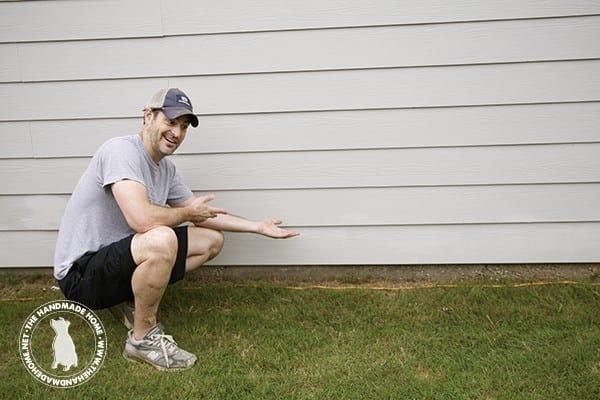
And aren’t those scars on my leg amazing? I think they do a lot to enhance my general level of attractiveness. Remember your friendly PSA: never stand on a garden stool!
We hope this helps anyone out there who has been meaning to get around to a project like this.
What home repairs do you need to tackle?


It looks good and I agree sometimes we all put off those little projects until we have to get them done. For us it’s always a big family event like a graduation. My son and daughter in law have their house on the market and have been so busy, patching, painting, pruning, staining, etc. and so much yard work too, their yard looks amazing! My daughter in law commented why they hadn’t done all this a long time ago.
HAHA! SO true. It’s never ending. But oh so worth it to get it done!
Hardie Board question:
So we just had our house pressure washed. A small piece form the end of a plank broke off (clean break) so do we need to replace the entire board or can we put the piece back and just use a cementitious filler?
Hey, if it was my home I would simply replace the entire board as this is an easy process and most likely the filler would fail over time causing you to repeat the process.
What tool do you recommend for cutting the board to length? If a power saw of some sort, what type of blade is best?
I would use a circular saw or a miter saw. A general use blade should suffice for cutting the board. A hacksaw would work as well.
This is so well described.Thank you for sharing this topic.
Such a information artilce is this really helpfull and readable i enjoyed it while reading thanks for sahring with us!