We have another loose tooth in the Millz Hizzy. It’s our first official tooth of looseness for the middle offspring.
And it’s kind of a big deal.
There’s this whole rite of passage thing in our little family that she’s really been looking forward to, and it’s creating her very own tooth fairy pillow.
I’m talking for the last two months, she was declaring that she had a loose tooth. So we just pretended with her… and waited. Then low and behold one morning she came into our room and the tooth was officially loose.
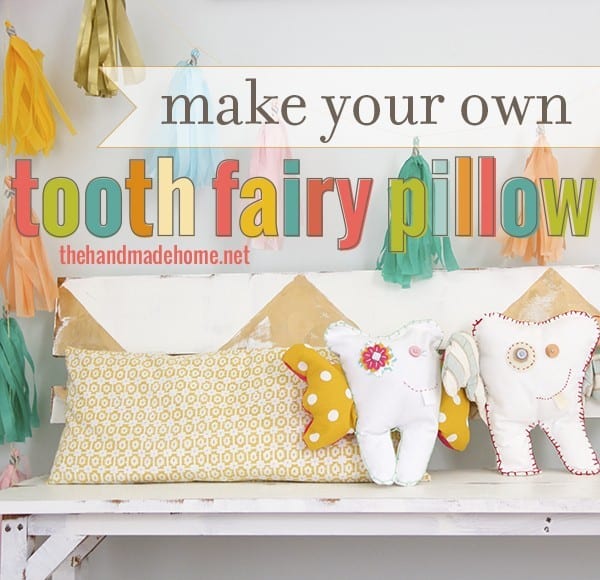
I started this tradition when Aiden had his first wobbly toothathon, (he may or may not sleep with his every night-shhhhh) so it was time to whip up another one.
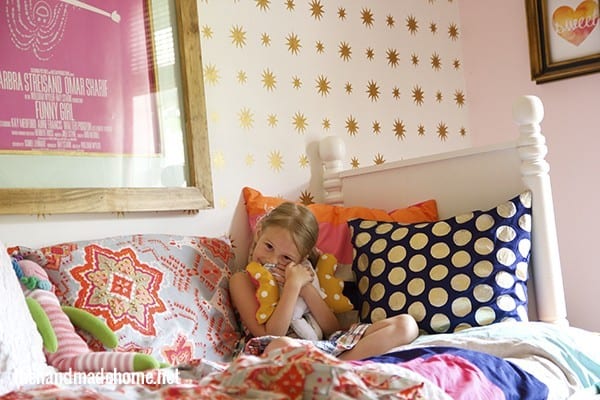
Emerson had front tooth missing for some time because she totally fell and busted it on the kitchen floor and I nearly had a heart attack and it had to be removed. This event was so sudden, she had to borrow Aiden’s pillow. So officially, we’re on our first loose tooth, and it was time to create a pillow of her own.
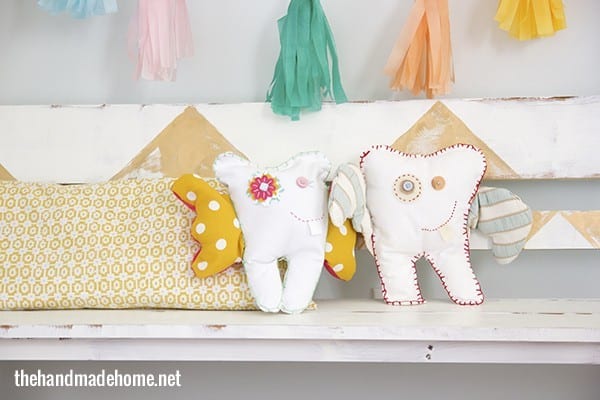
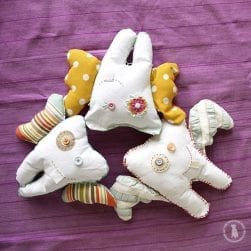
Clearly, she’s in love. These are a lot like our bunny friends we made around Easter, but if you’ve ever sewn a pillow before, it’s just a series of steps that makes it super easy.

Here’s what you’ll need:
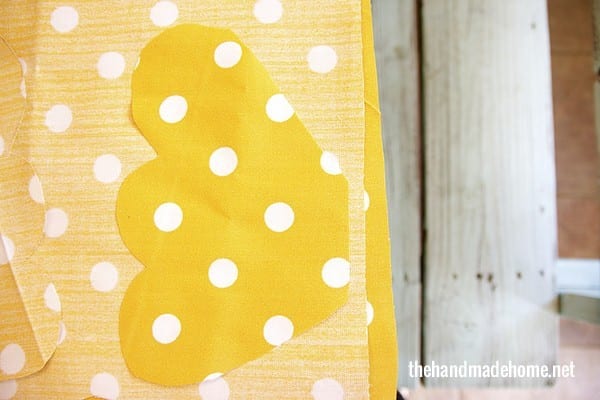
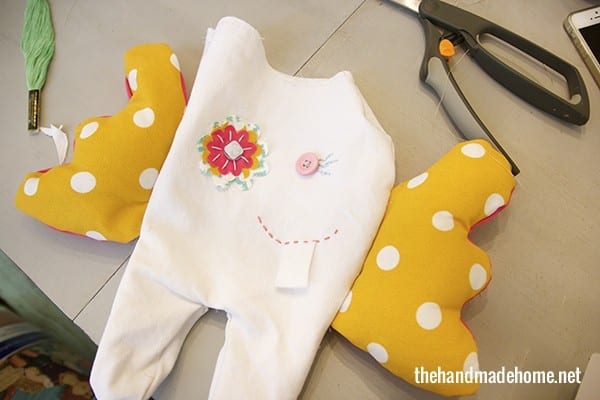
Fabric for the tooth body- I had some duck cotton left over from this project, and drew it in the shape of a large tooth. The finished size is about 12″ x 6″ so remember to leave a bit for a seam allowance. {Basically cut a shape that’s fatter than your intended finished product}
Gather any details you’d like for a face, fabric for a “pocket” on the back, and fabric for the wings.
If you look at our first pillow, you’ll see that we used a template of our own to trace onto the fabric. If it helps, be sure to use that method.
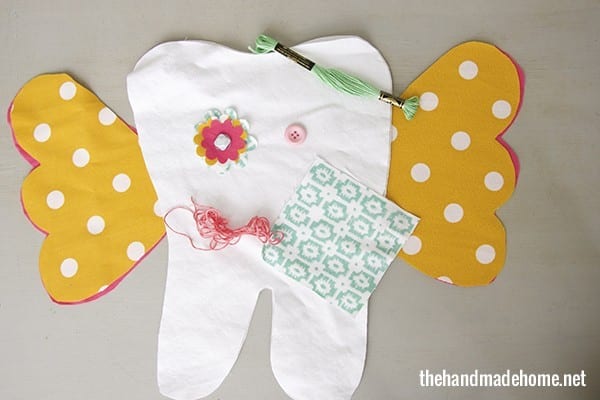
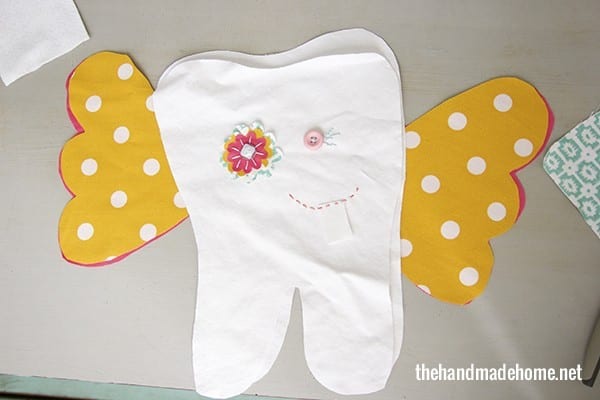
We used buttons and fabric cut with our sizzix {We found one, once upon a time for much cheaper on Ebay} but you could hand cut a few little flowers (or a simple circle – Aiden’s has a circle) in no time. Go ahead and pick the side to be your face, and stitch all the little details you want included.
Ours even has it’s own little wobbly tooth per their request.
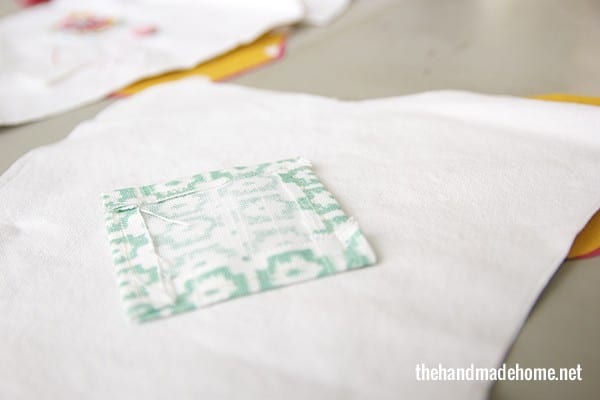
For the pocket: a basic square shape will do, with hemmed edges, simply attach it to the back side by sewing all three sides but the top.
This will be the little pocket to hold teeth.
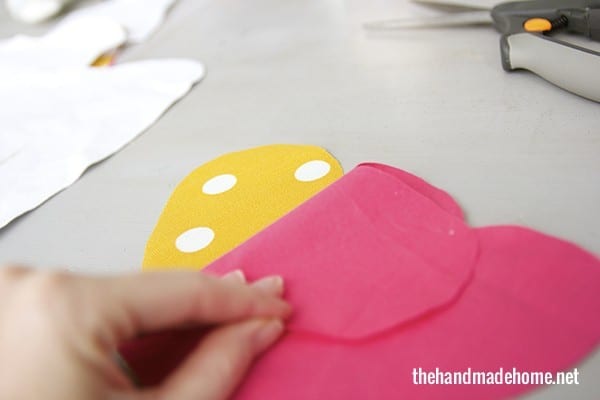
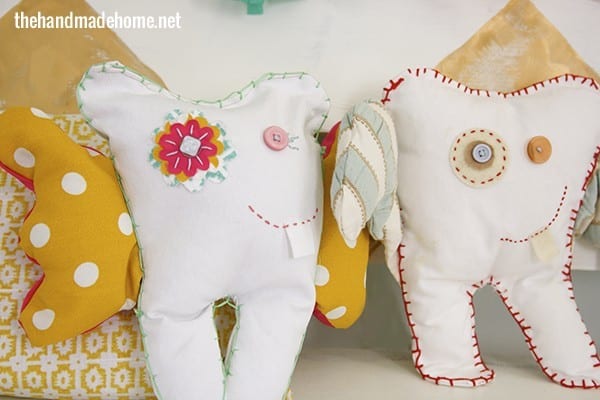
For the wings, we simply traced a basic wing shape like this onto fabric.
If you plan to use alternating patterns on each side, make sure you cut your mirror image of the first wing onto the fabric so that the correct side is facing each time. {For instance, in the photo below, we have the correct wing right side facing out, tracing it onto another wing, facing down. So that when the tooth fairy pillow is finished, we have two polkadot sides that are done.}
The total finished size for the wings on our pillow were 7″ x 3″
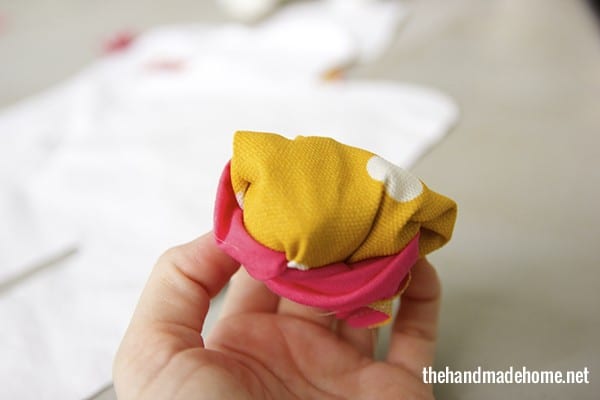
So first things first – making the wings: Put them together, right sides in, wrong sides out.
Sew them together going carefully around each edge, leaving one of the flat edges open to stuff.
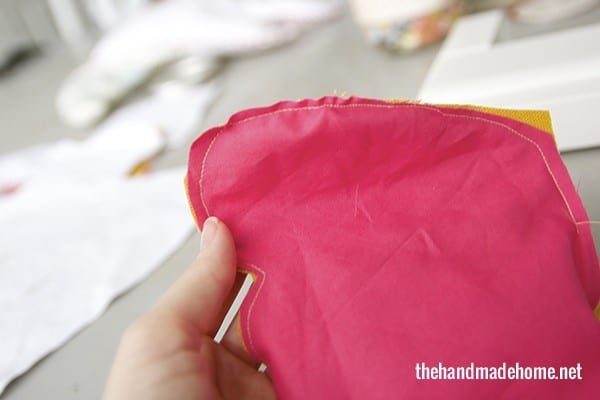
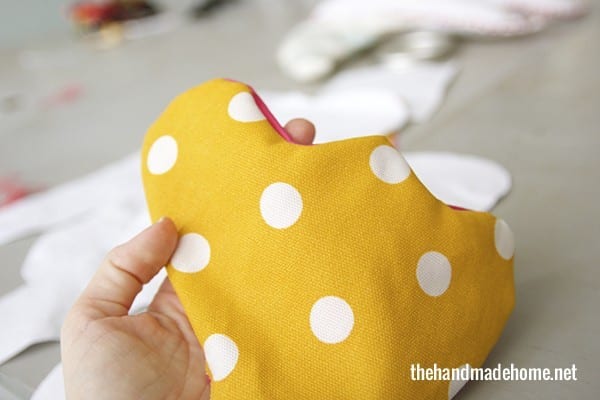
Turn it right side out…
Fluff the edges with a pair of scissors if they’re not completely straight…
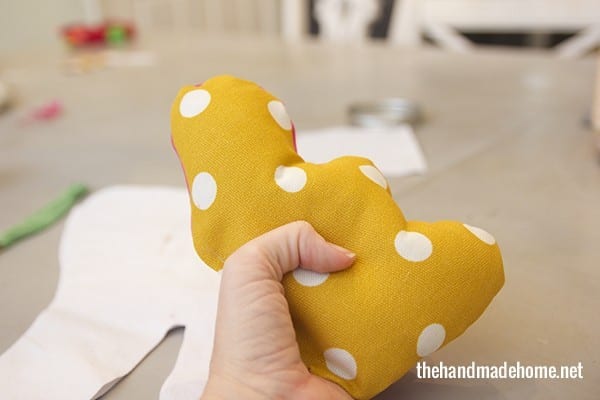
And stuff. Seal that open area you just stuffed with a top stitch. Tada! You have a wing! Repeat for the next side.
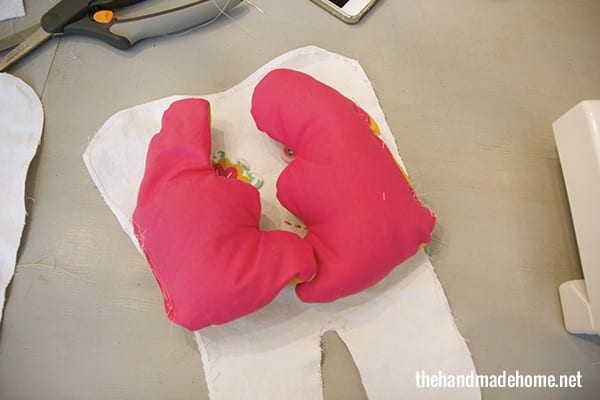
When you’re finished with your wings, take your face and place the wings inside, on top. Then place the pillow facing inward, wrong side out. Secure with pins {just like a pillow} and finish up. When you pull it right side out, everything should be looking fine and dandy!
Emerson’s had a little edge left open at the top, for turning it right side out, and stuffing.
And when that was finished, I did a little blanket stitch, all the way around. If you aren’t familiar with that little move, it’s a fun, handmade, finished touch. Be sure to check out the how to, here.
Here’s to big love, family traditions, and wobbly teeth.
Malone is already asking for his. He wants it all in blue.
As always if you make one, we’d love to see! Send it our way. It was a fun little project for us to do together! Have an inspired day!


Basically the cutest thing I’ve ever laid eyes on. My daughter will want to make one. Thanks for the idea.
SO cute. And also, genius. Cause, you know, the tooth fairy has big hands and sometimes those teeth get pushed waaaaay underneath the big pillow and she has to root around to find it and yeah… sometimes that ends badly. : )
Our 5-yr old just lost her first tooth last week. She already has another wobbly one… Time to get sewing!
Shut up! This is flippin adorable. I MUST make one for my little girl. She tells me every other day that she has a loose tooth (even though she doesn’t) all because she can’t wait to loose one like her friend 🙂
We’re the same way! She kept “faking” forever, asking me if it was loose… and now we have one. I think she was more thrilled about the pillow ;} It’s super fun! She will love it!
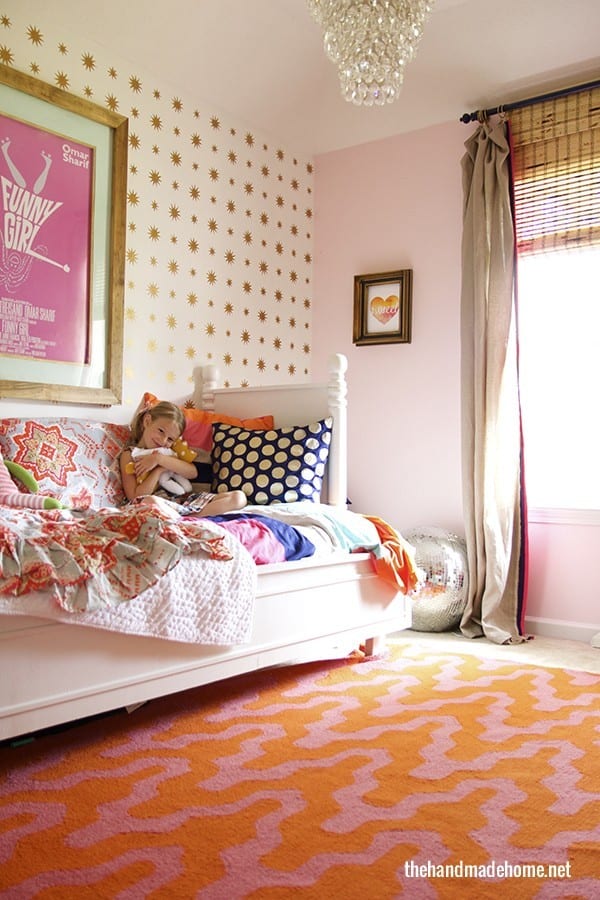
Love the rug in the bedroom- where is it from?
Hey Katie! I think it was one of those flash sale things… I found the direct link here. and all of our rugs here ;}
Oh my goodness these are adorable!
This is so cute and I love your little girl’s room! I am going to need to make one of these before the tooth fairy has to visit us. Pinning!