Hello you fabulous people!
We shared this one two years ago, and since it’s just one of our favorites, thought we’d share it again. Enjoy!
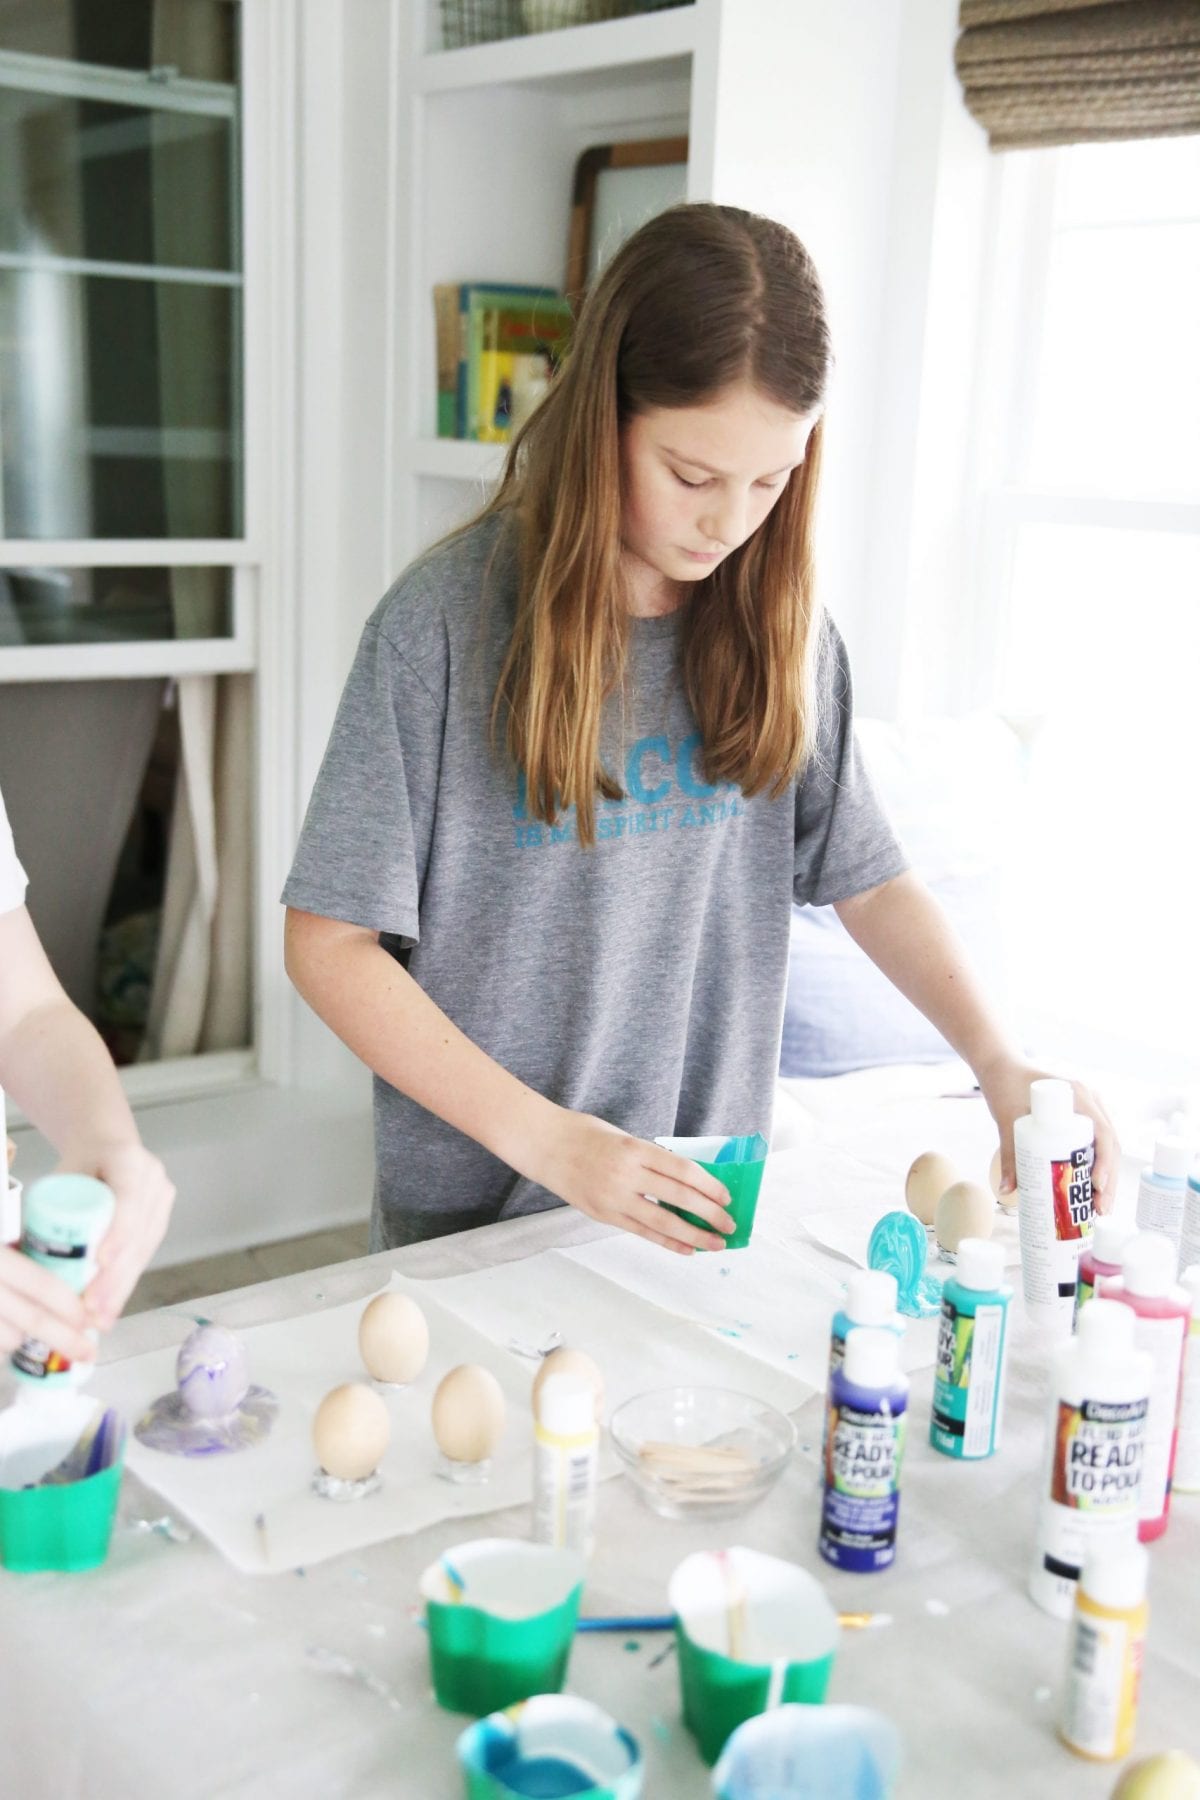
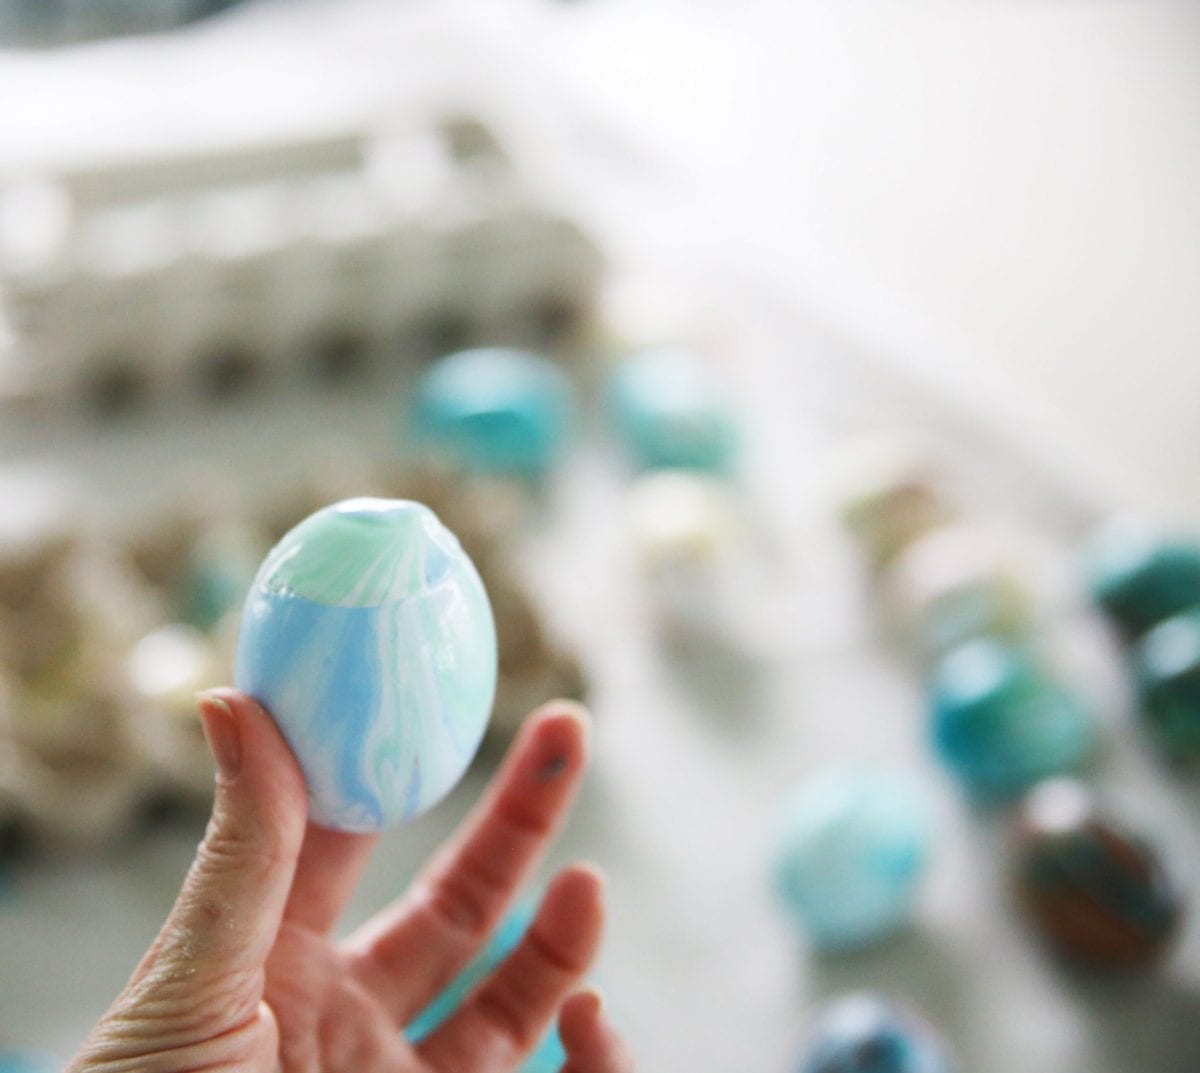
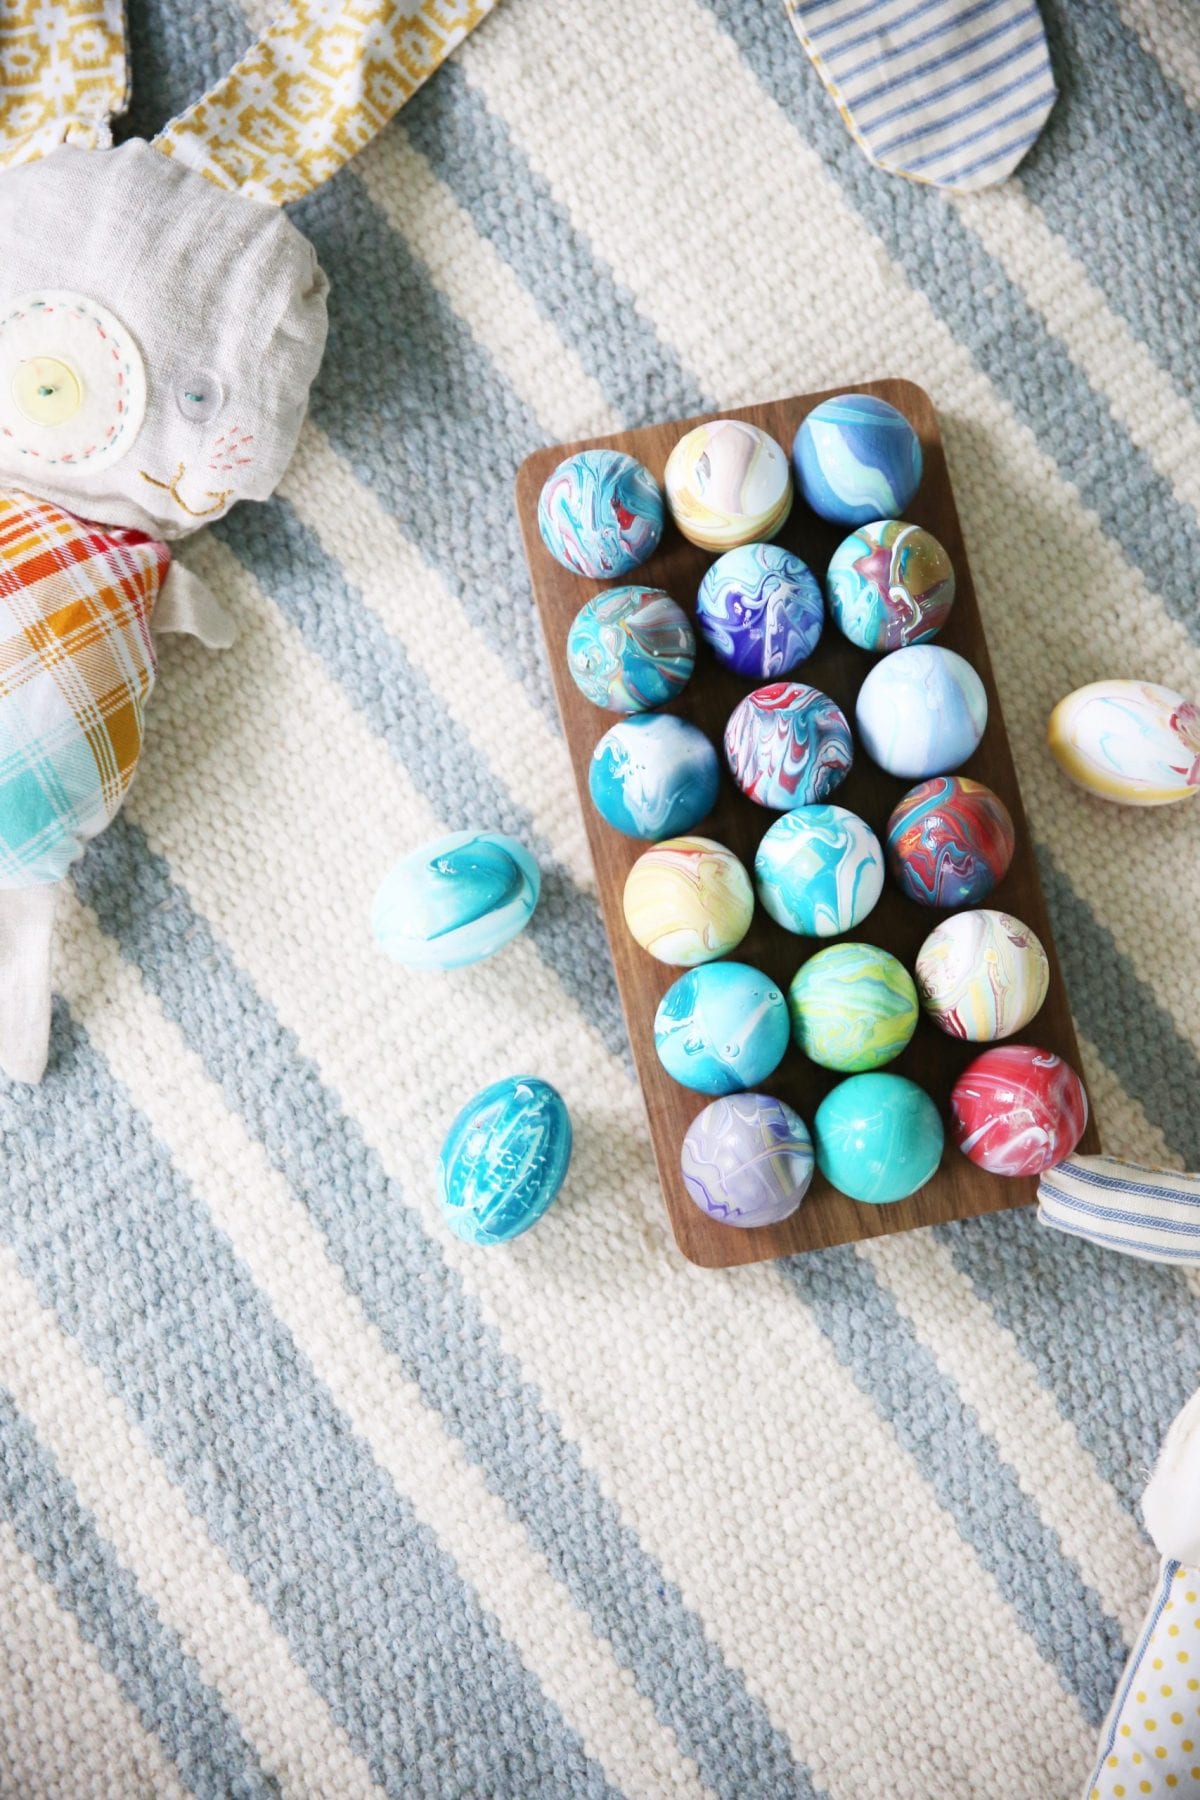
We hope you’re all hanging in there and that you’re able to find some therapeutic processes to pass the time. We think that now is the best time if ever, to get creative with the kiddos! So this weekend, we decided to create some of our very own marbleized easter eggs.
These are actually very similar to the paintings I did recently, just on a smaller scale.
Because all the paint! All the therapeutic process.
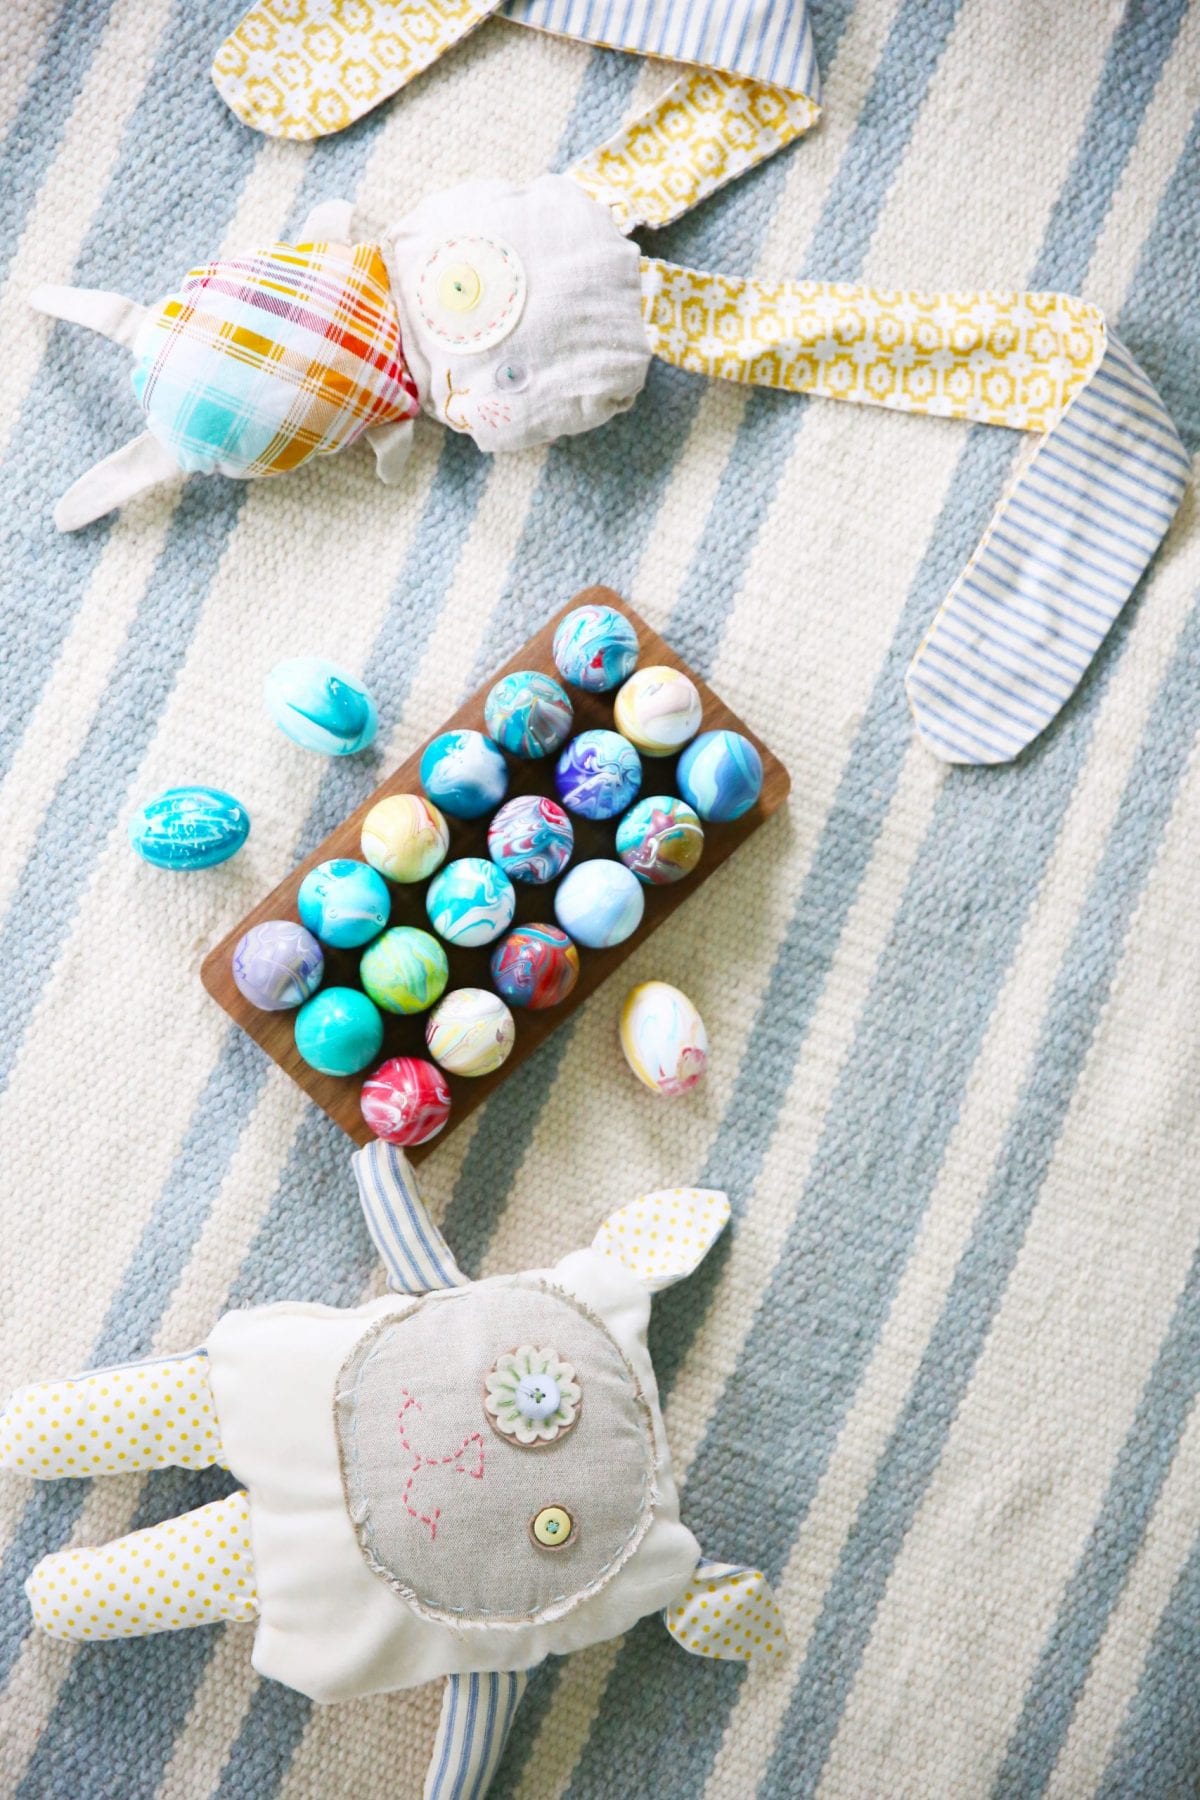
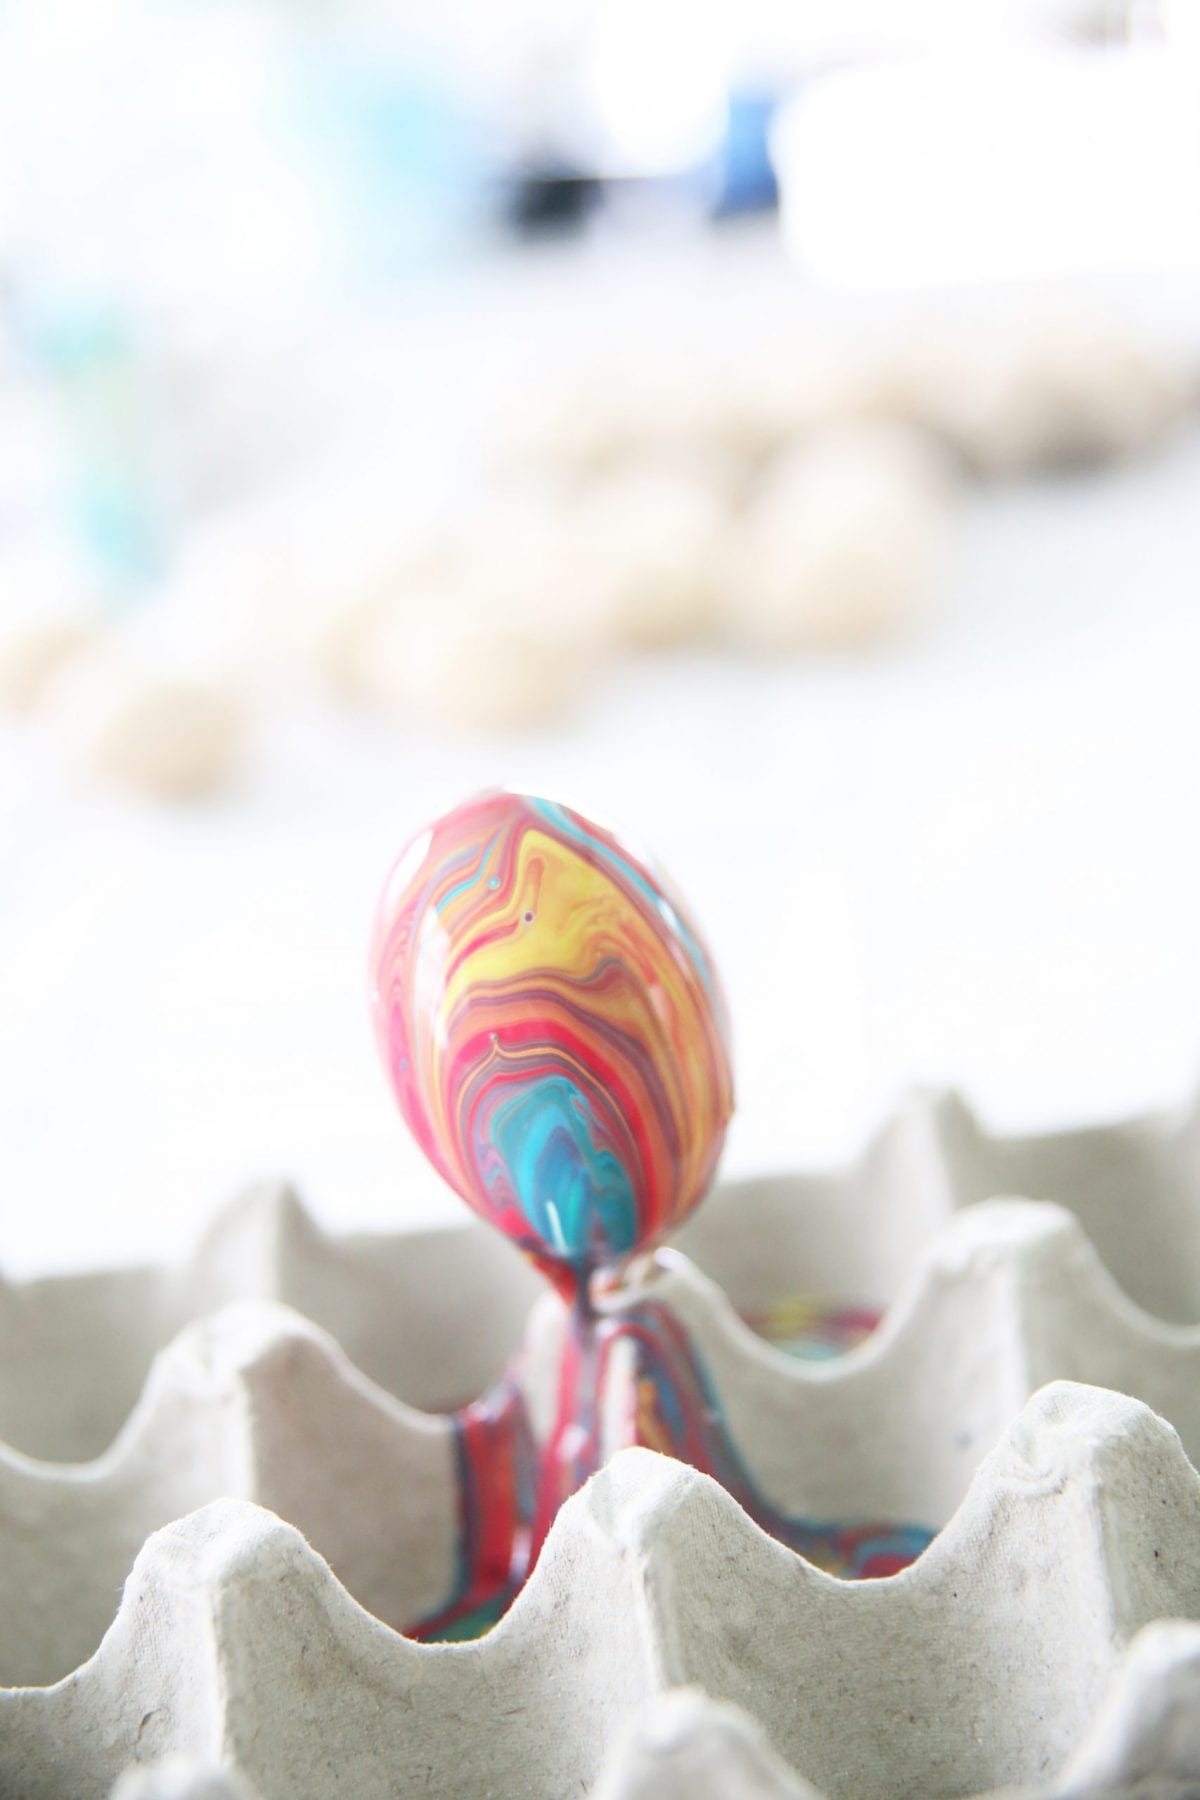
We loved the way these little guys turned out, and thought we’d share them with you today.
They’re actually wooden. So you can create with them and then decorate with them year after year…
And if you decide to have an indoor easter egg hunt, you don’t have to worry about the un-found ones going rotten. That may or may not have happened on a few rainy Easters in my childhood. Ew.
So without further ado, let’s get started with this fun process!
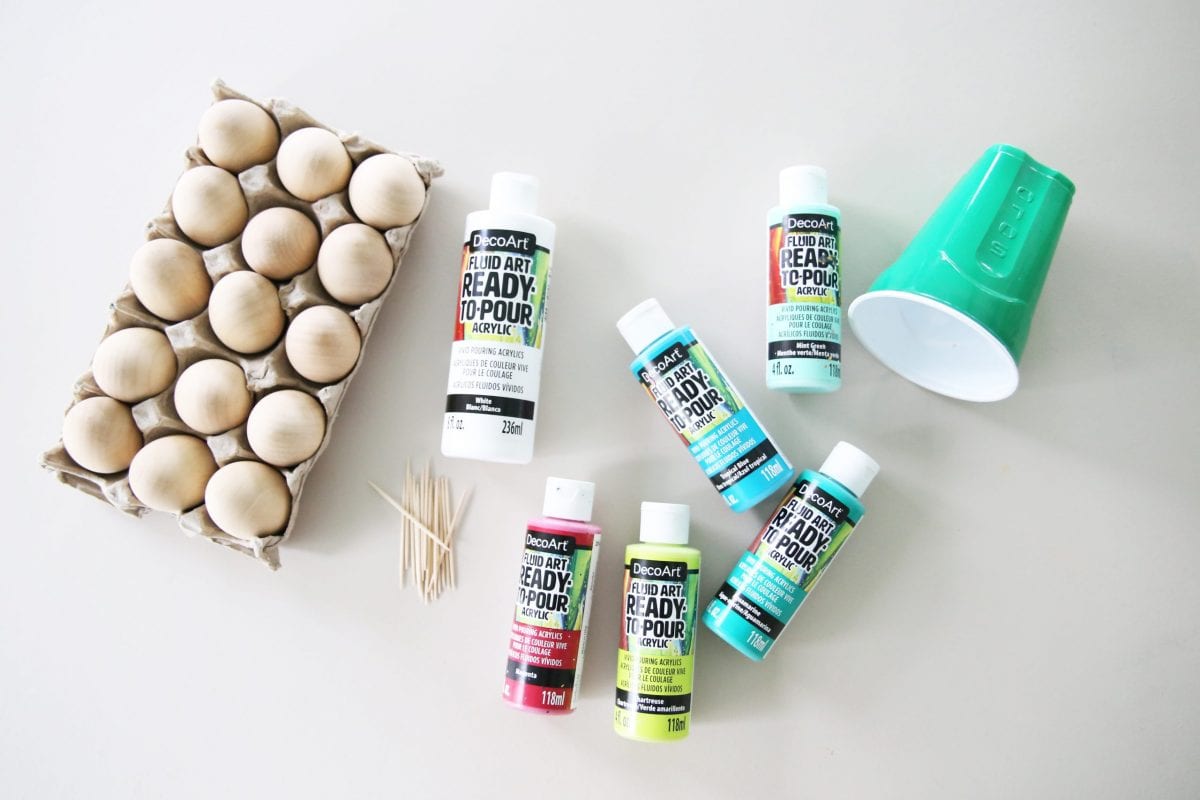
Here’s what you’ll need:
• wooden eggs {we did two so that our three kids had plenty to work with}
• acrylic paints
• toothpicks for propping or foil – we’ll show both processes
• cups for pouring
• scissors {to cut the cups}
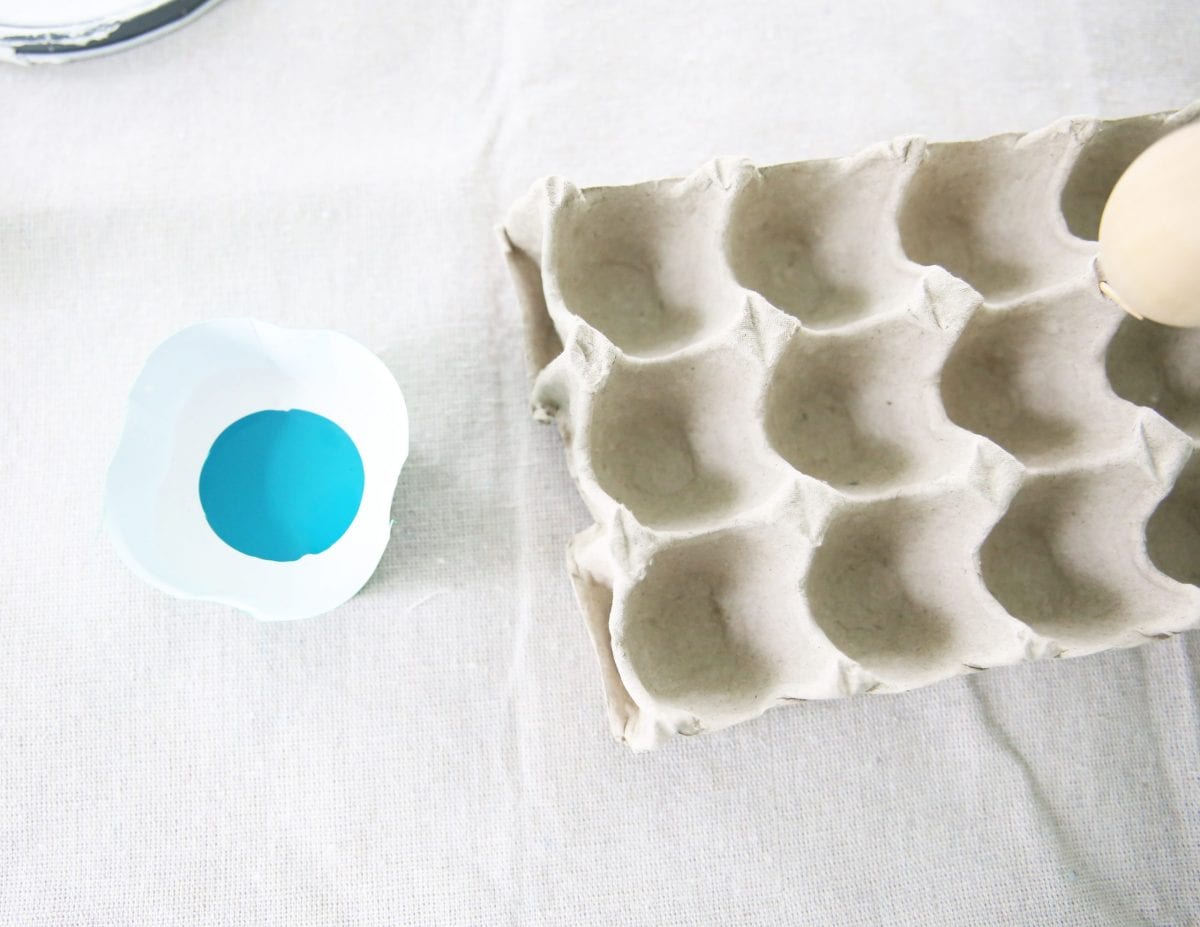
So this was a little bit of an experimental process for me. We started out with the egg crates and toothpicks.
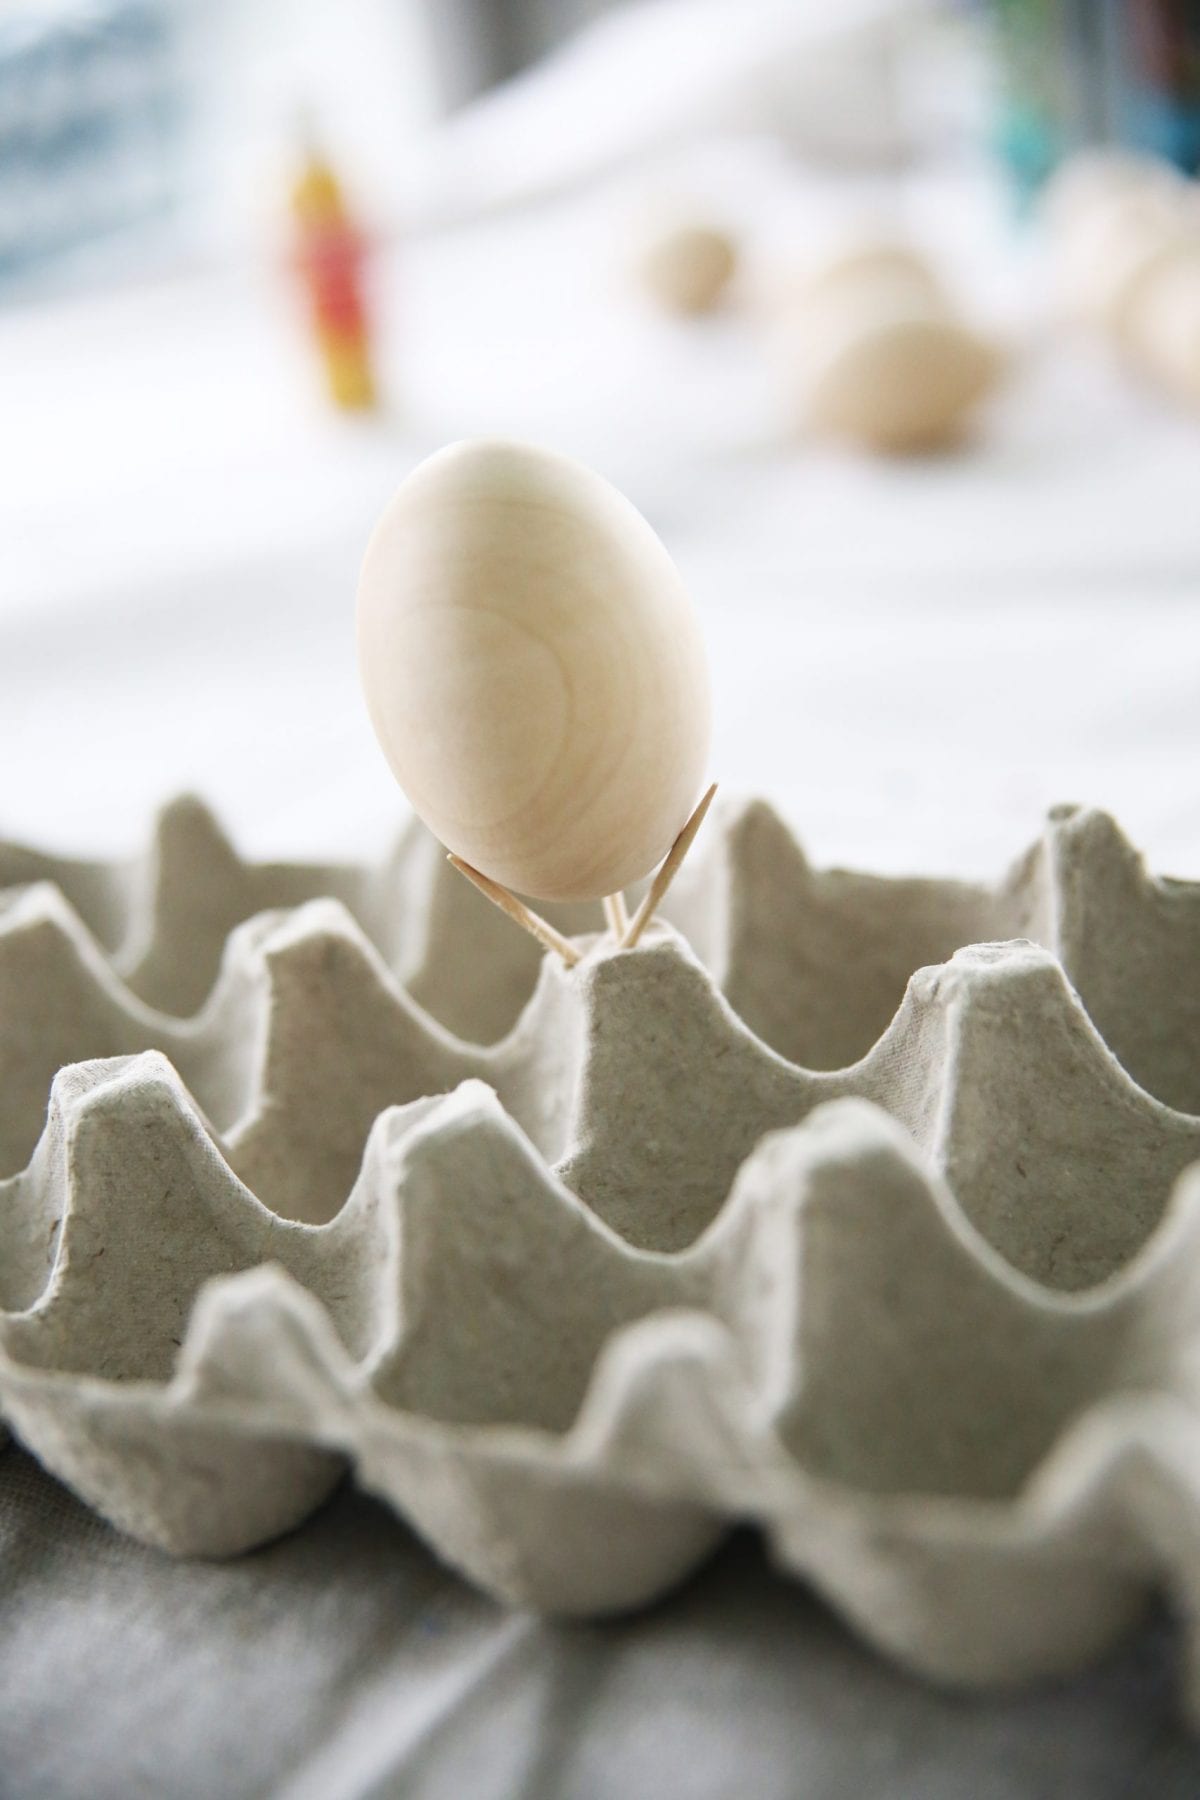
The goal is to coat as much of the egg without moving it, so that you can let it dry in place. So I wedged three toothpicks per area in the egg crate that the wooden eggs arrived in.
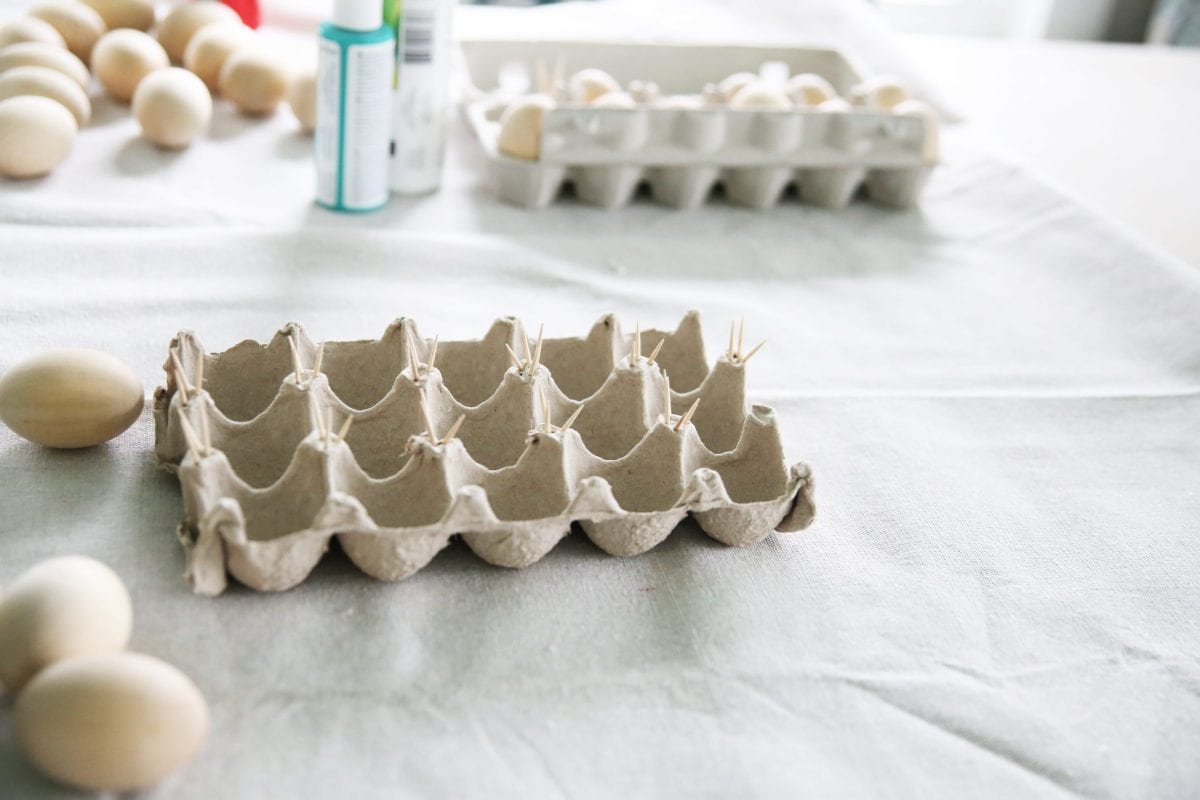
And we propped it like this. I have to say, we did have a few casualties. But it’s no big deal because we were able to repair them from their fallen spot, by pouring more paint over them.
Another option for propping {and you’ll see more of that below – it works better with multiple kiddos} is flattening a little bit of foil and then rolling it into a coil so that the egg can sit propped on top.
When you have your solo cup ready – we cut ours down so we could do multiple versions of multiple colors, and we felt like it helped to swirl the paint, and it didn’t have far to go before it hit the egg, therefore mixing it less.
We started with white as a base and then added our first color as shown.
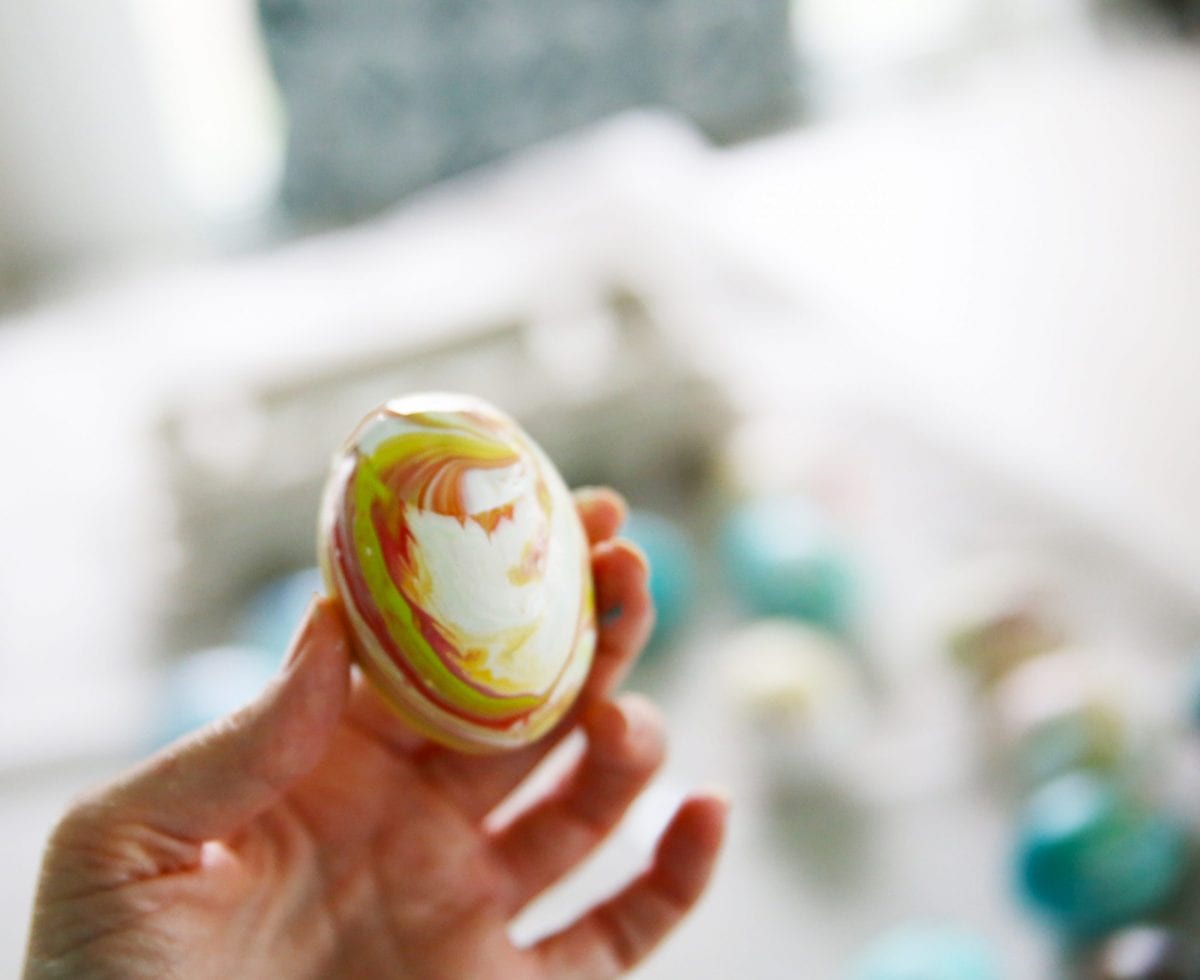
And then added more colors like that.
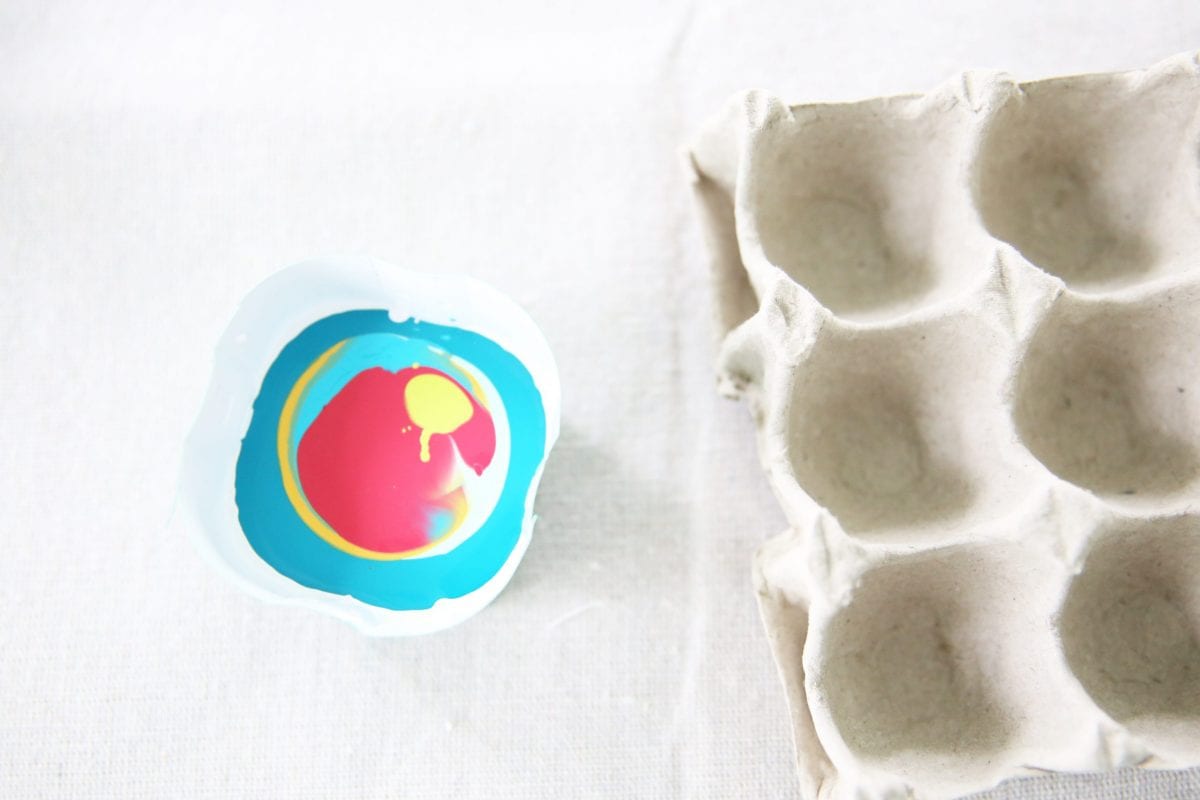
mix gently with a toothpick to get that swirled look.

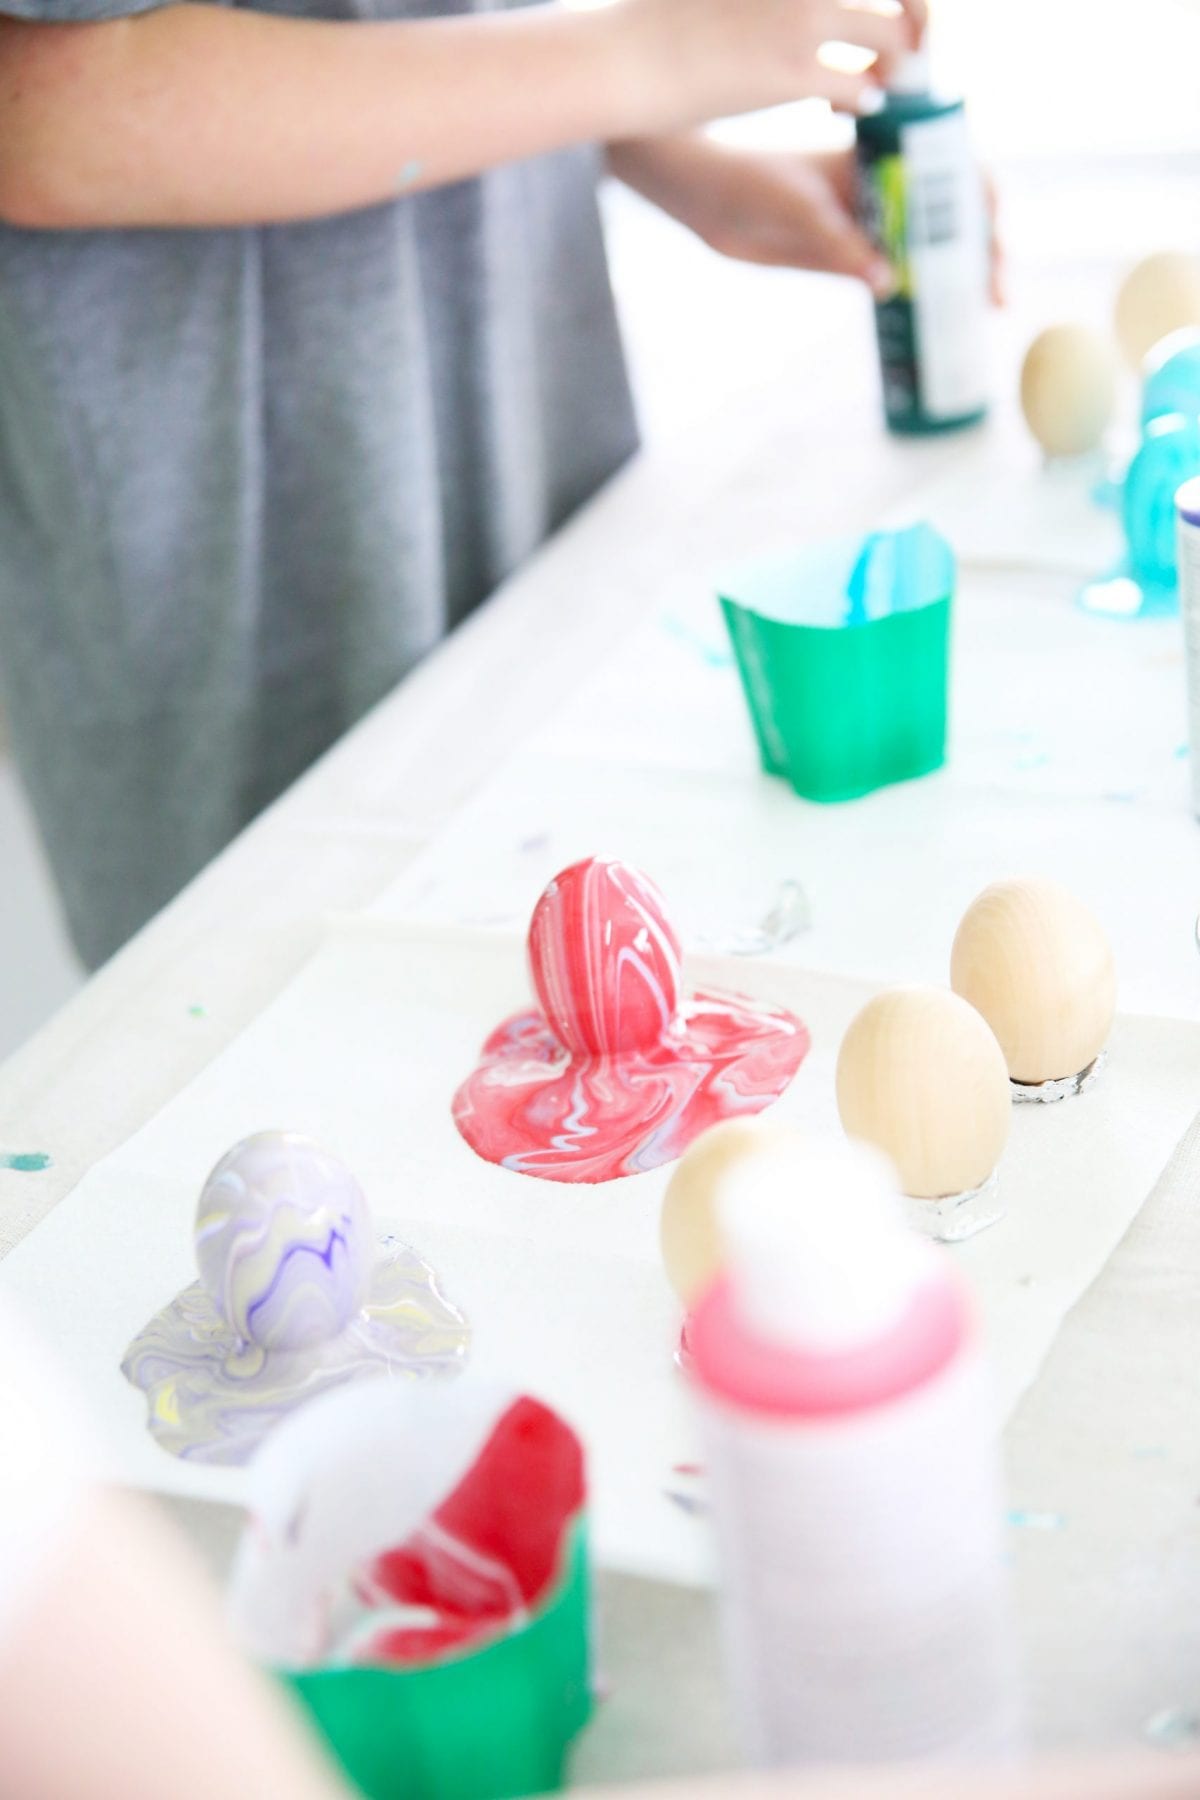
Then pour generously over your eggs.
With the kids, we quickly learned that foil worked better because it gives you more space to spread out with your eggs.
We simply propped the eggs up on a drop cloth, and poured their paint.
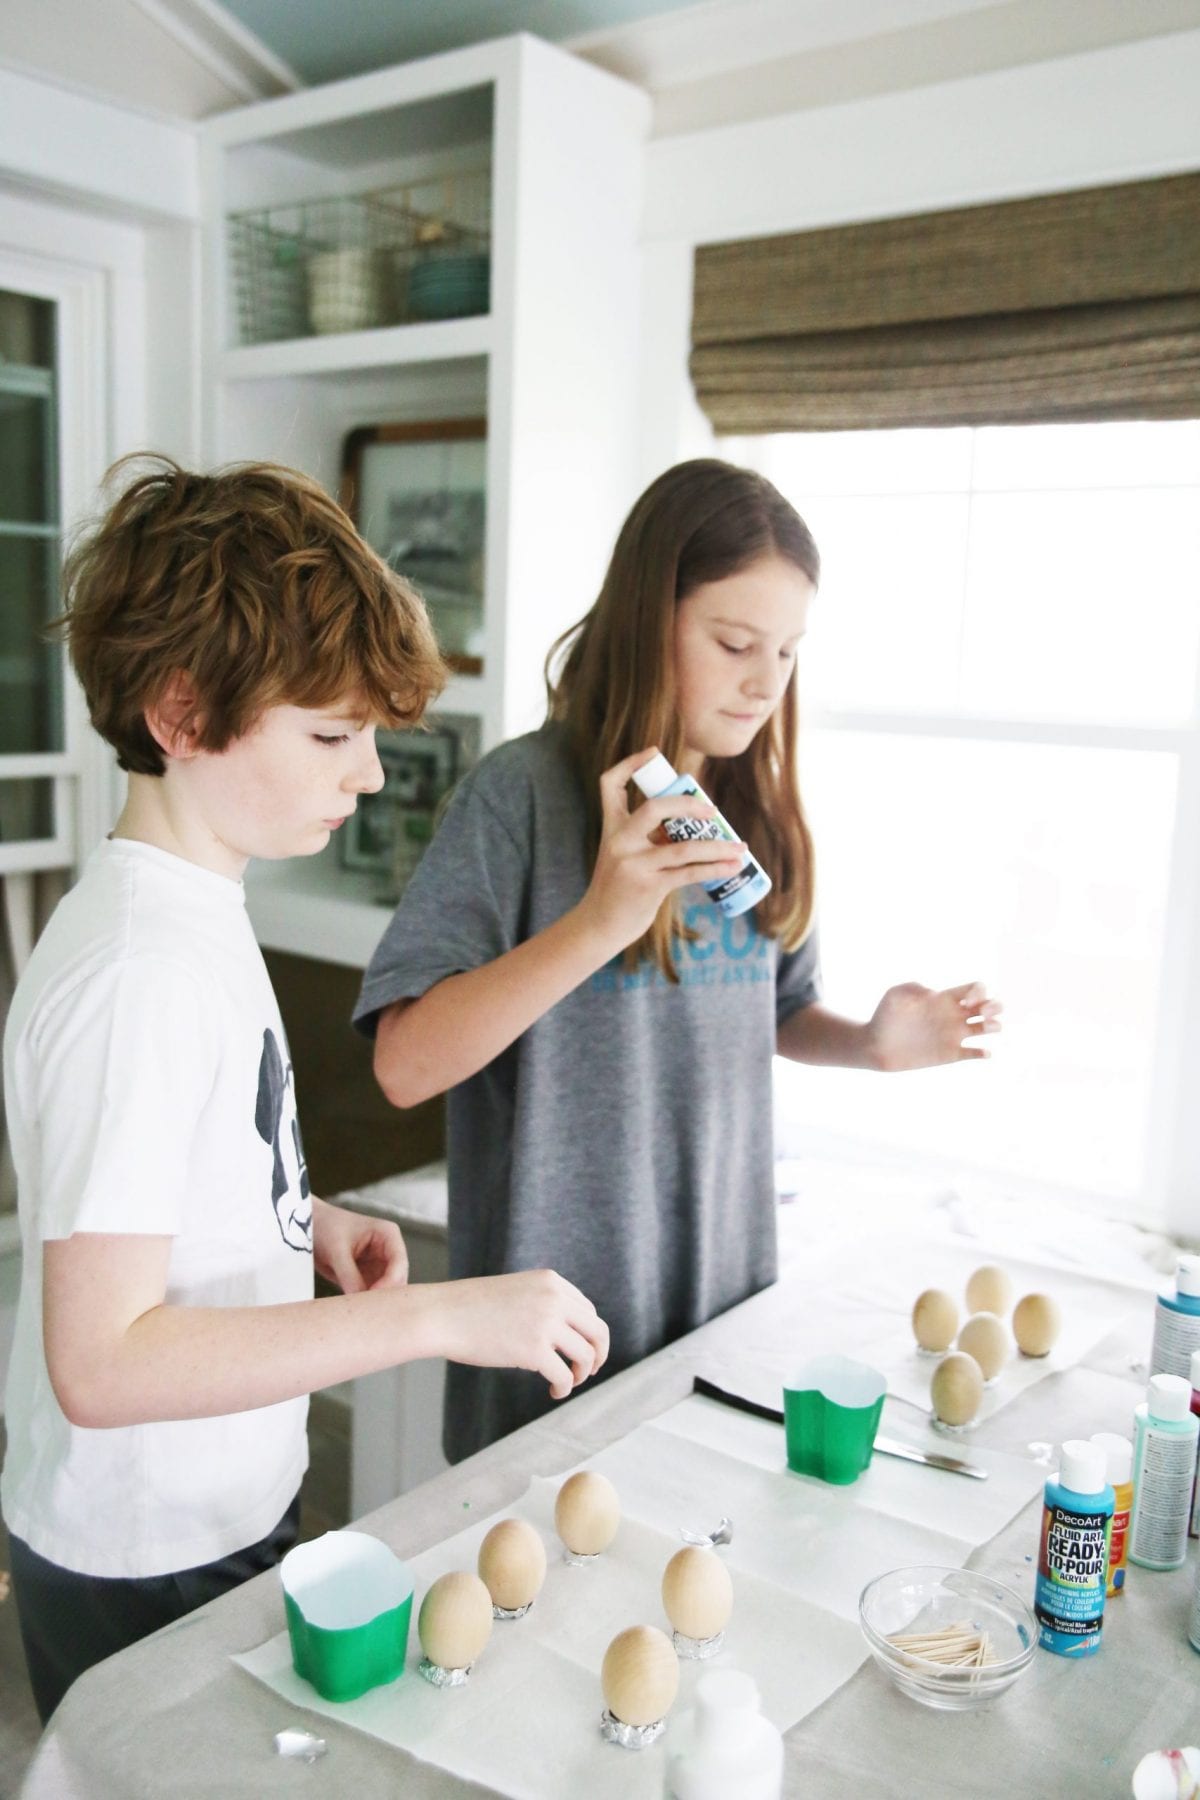
The kids mixed and poured to their heart’s desire.
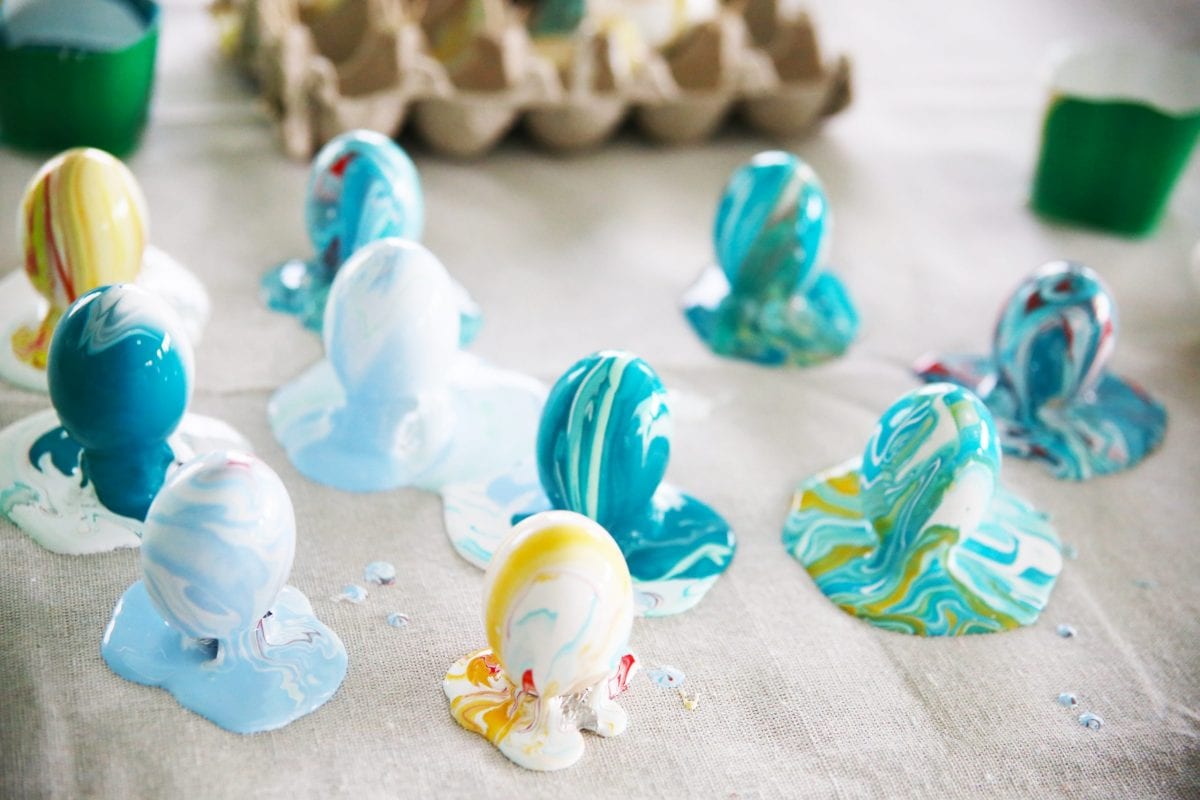
This does use up a lot of paint, so make sure you have plenty. And just leave them in place to dry for a few hours. Don’t worry about the puddles – you’ll use those.
We recommend doing a small test once a few hours have passed, to make sure the eggs are safe to lift. If you did the toothpick method, you’ll have less to cover at the very bottom than with the foil, but we were happy with both outcomes.
Simply grasp the bottom of your egg {you may have to wiggle it free from the foil} and dip the unpainted portion back into your little puddle.
There you have it… one little additional swirl with the same colors.
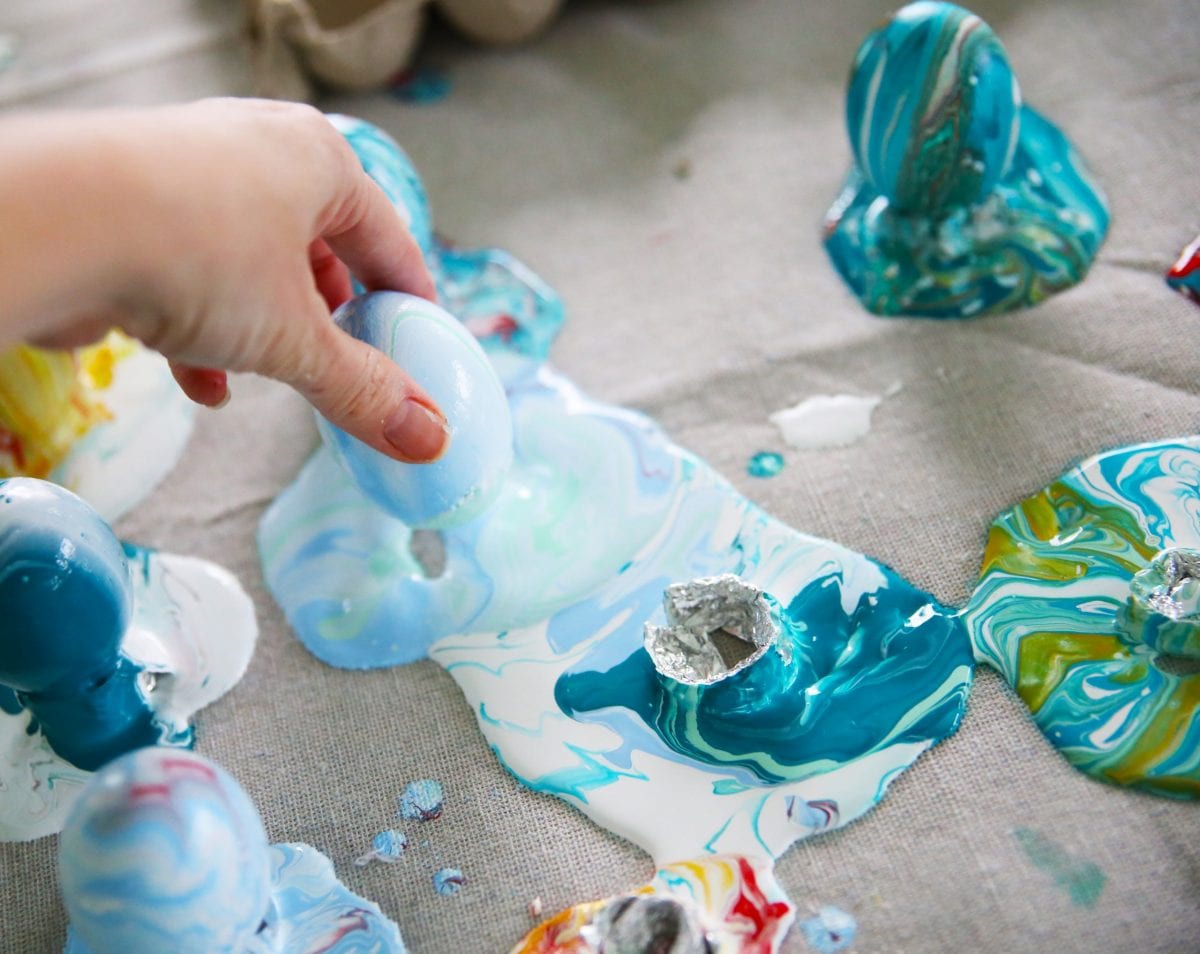
Just a subtle little change on the bottom.
Here’s another example of where the bottom was dipped. This one had actually fallen over off the toothpicks, so it had more surface area, but blended nicely.
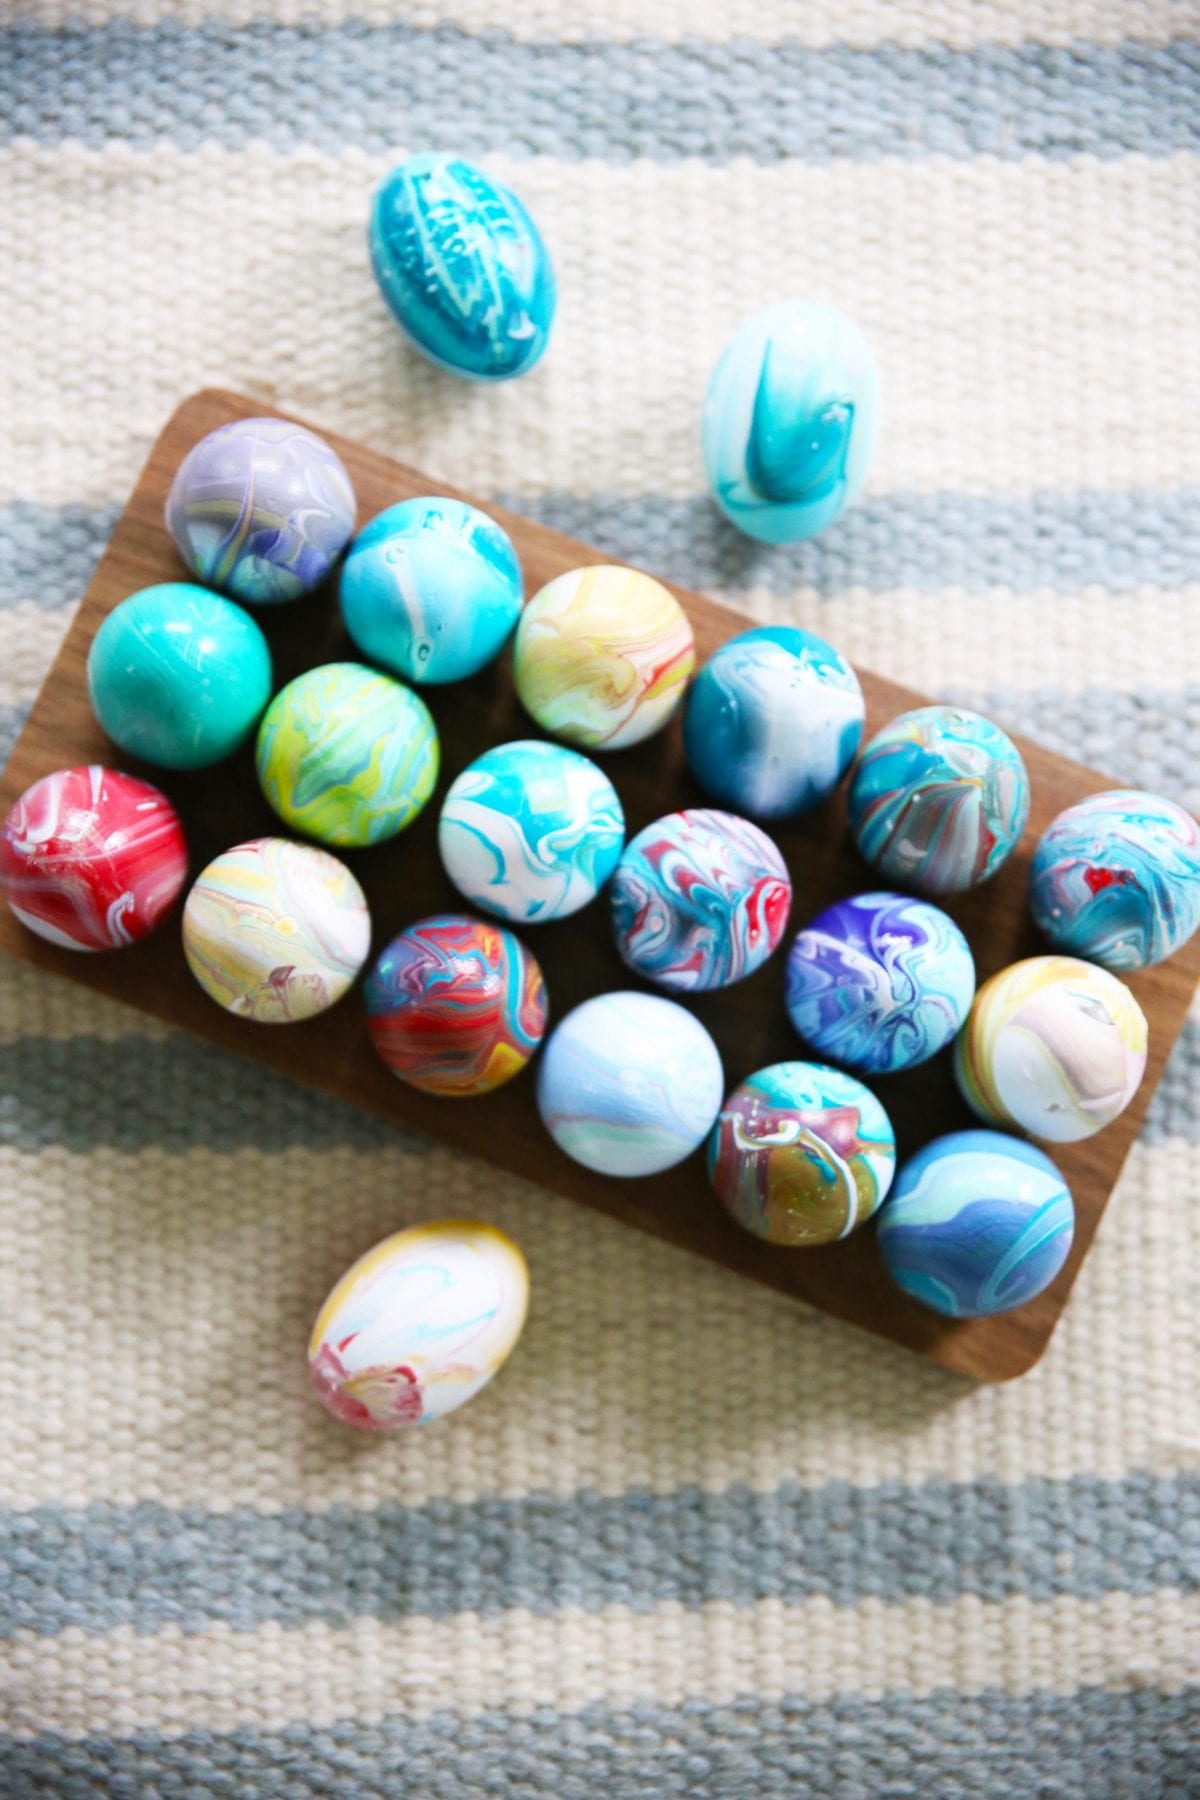
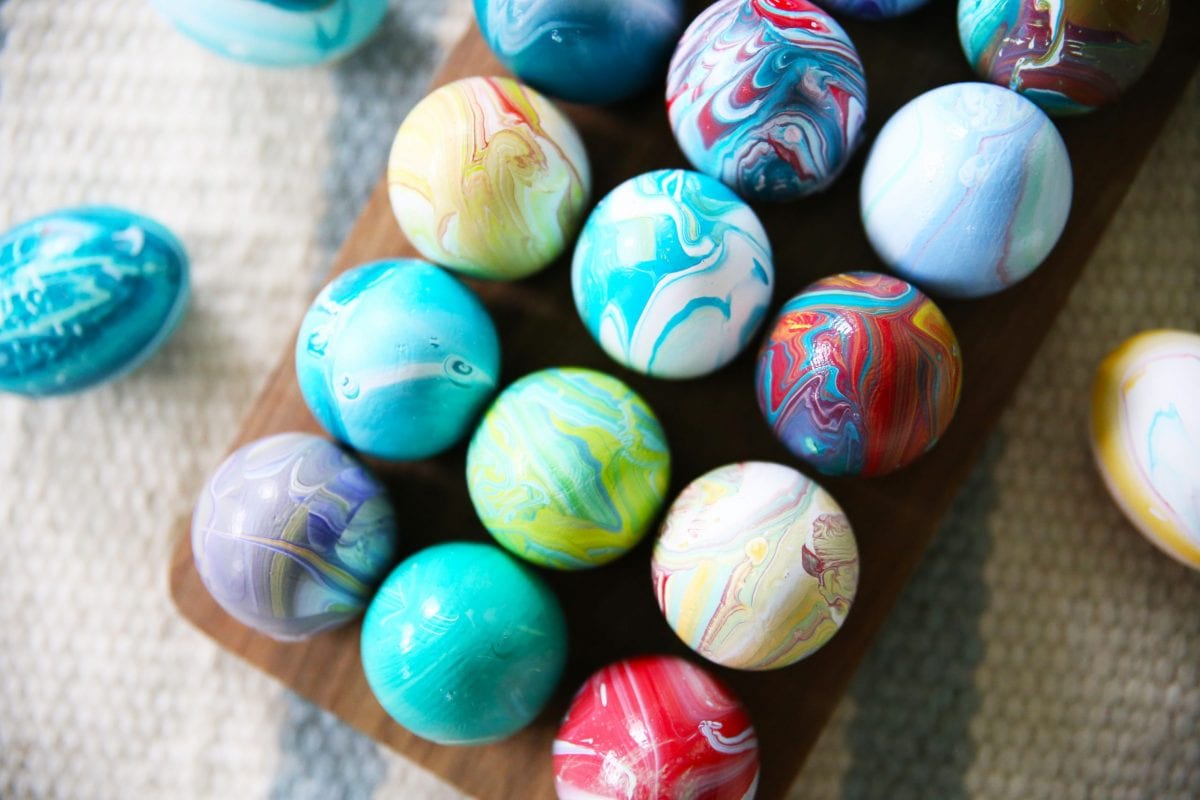
We just laid them down to dry completely on the “safe side” and we were done after a little more time passed.
Tada!
We love these little eggs. For what it’s worth, check out these little handmade critters to celebrate easter, too. {here + here}
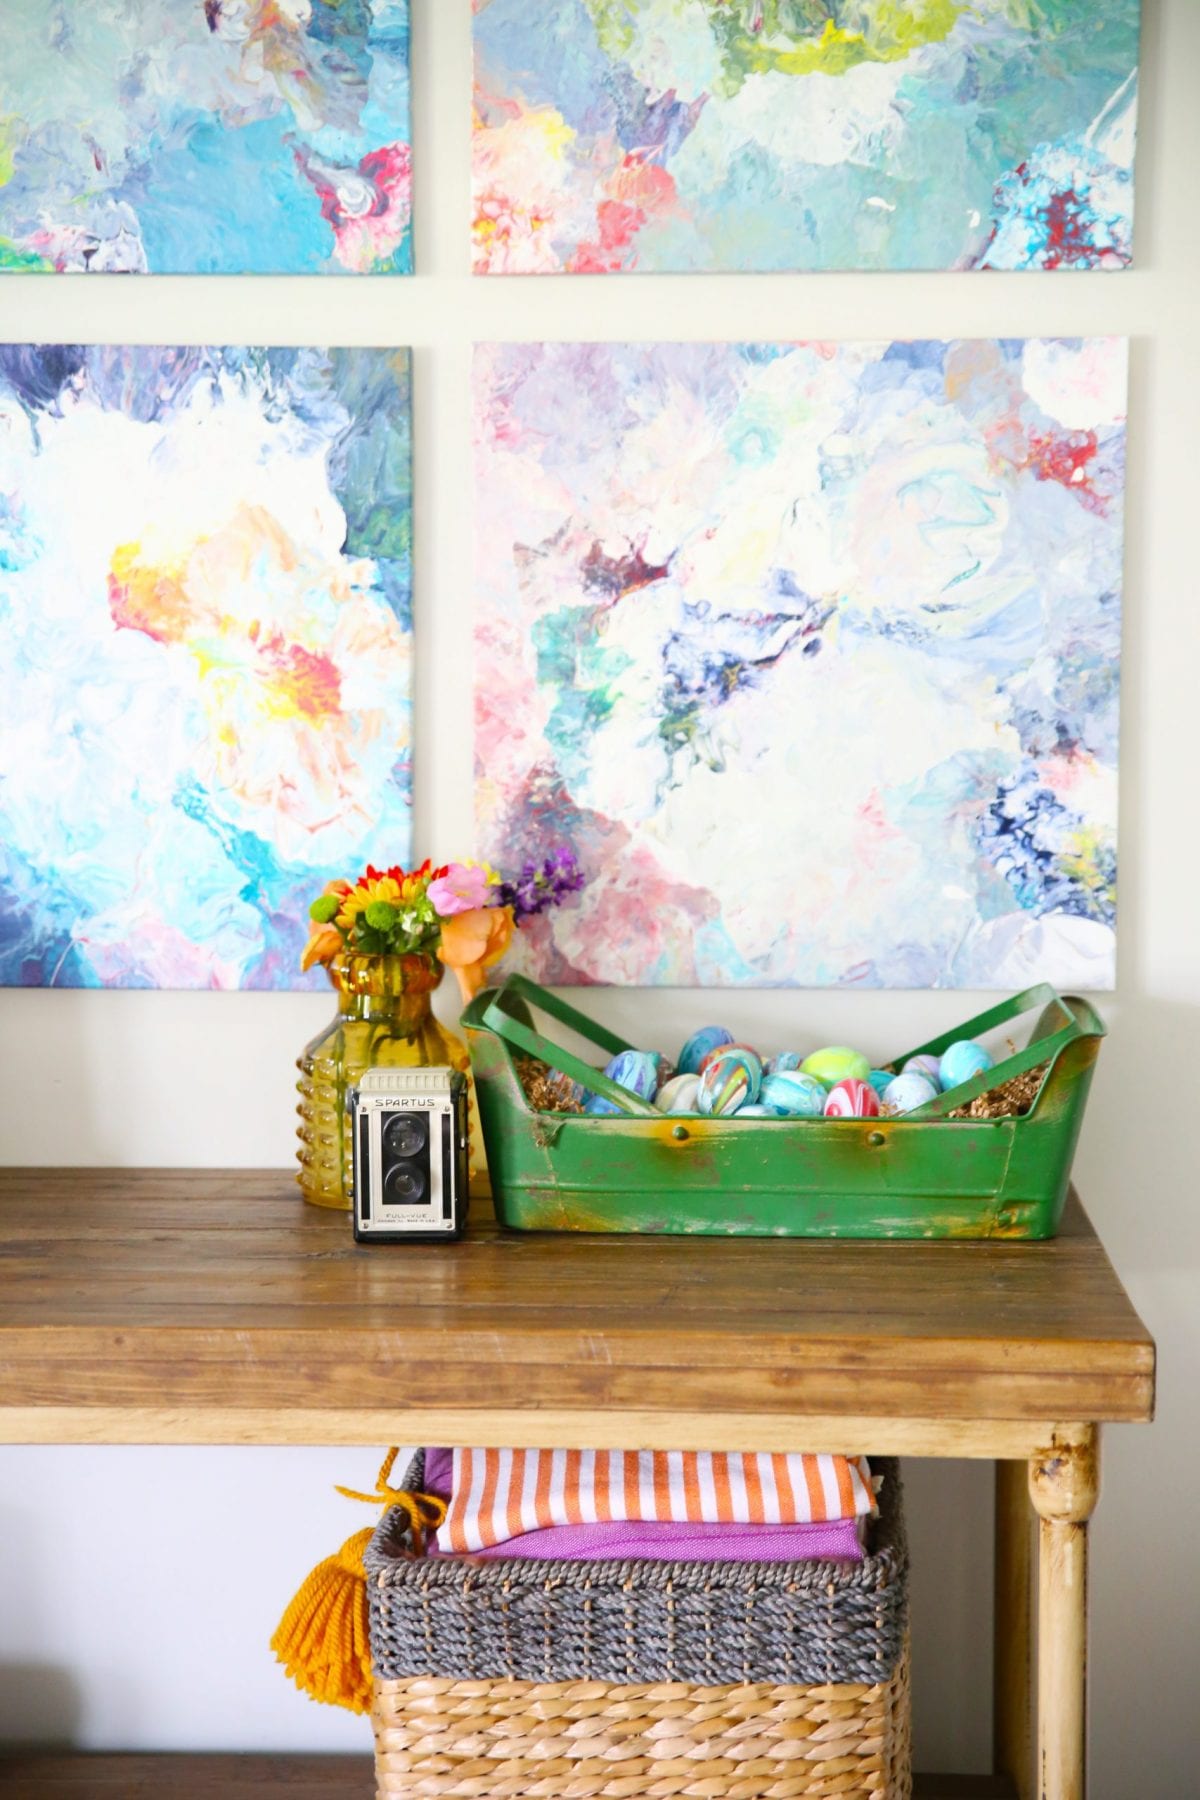
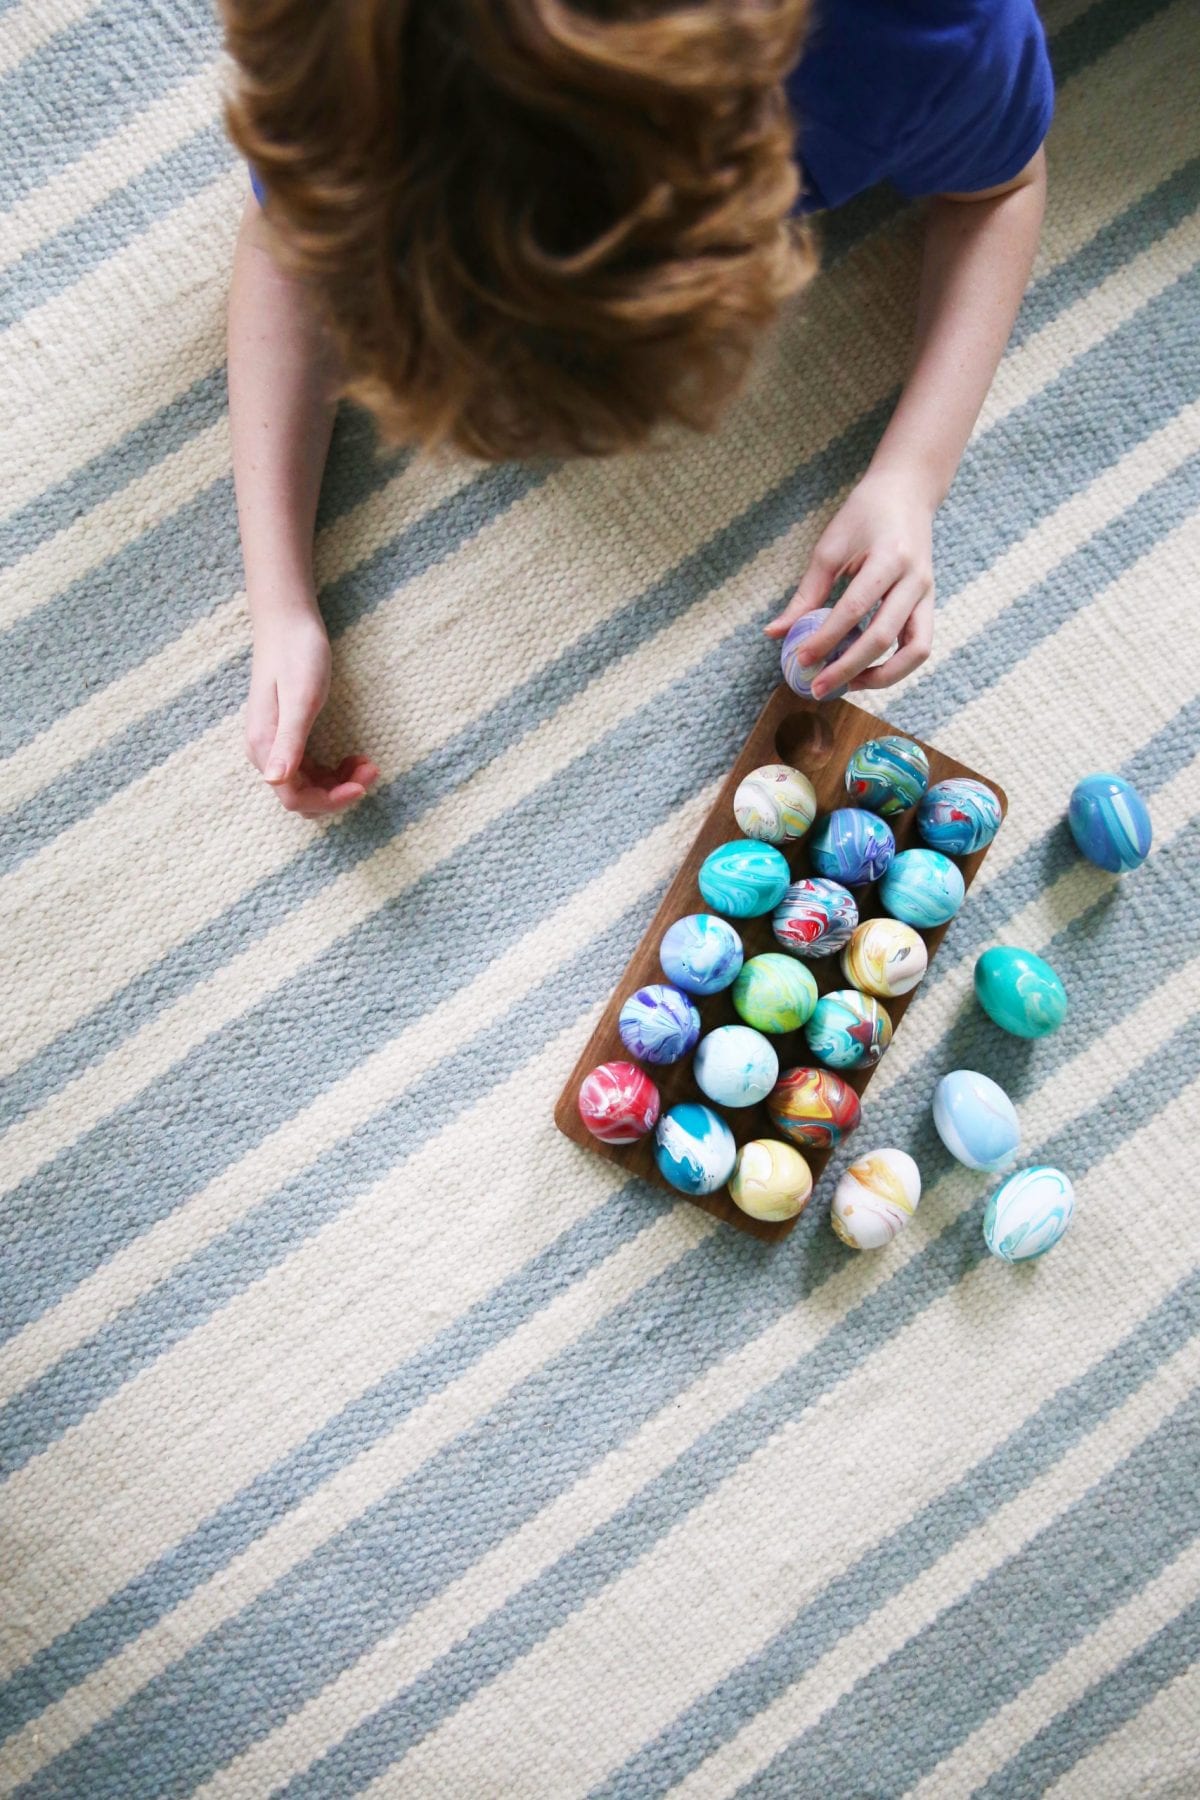
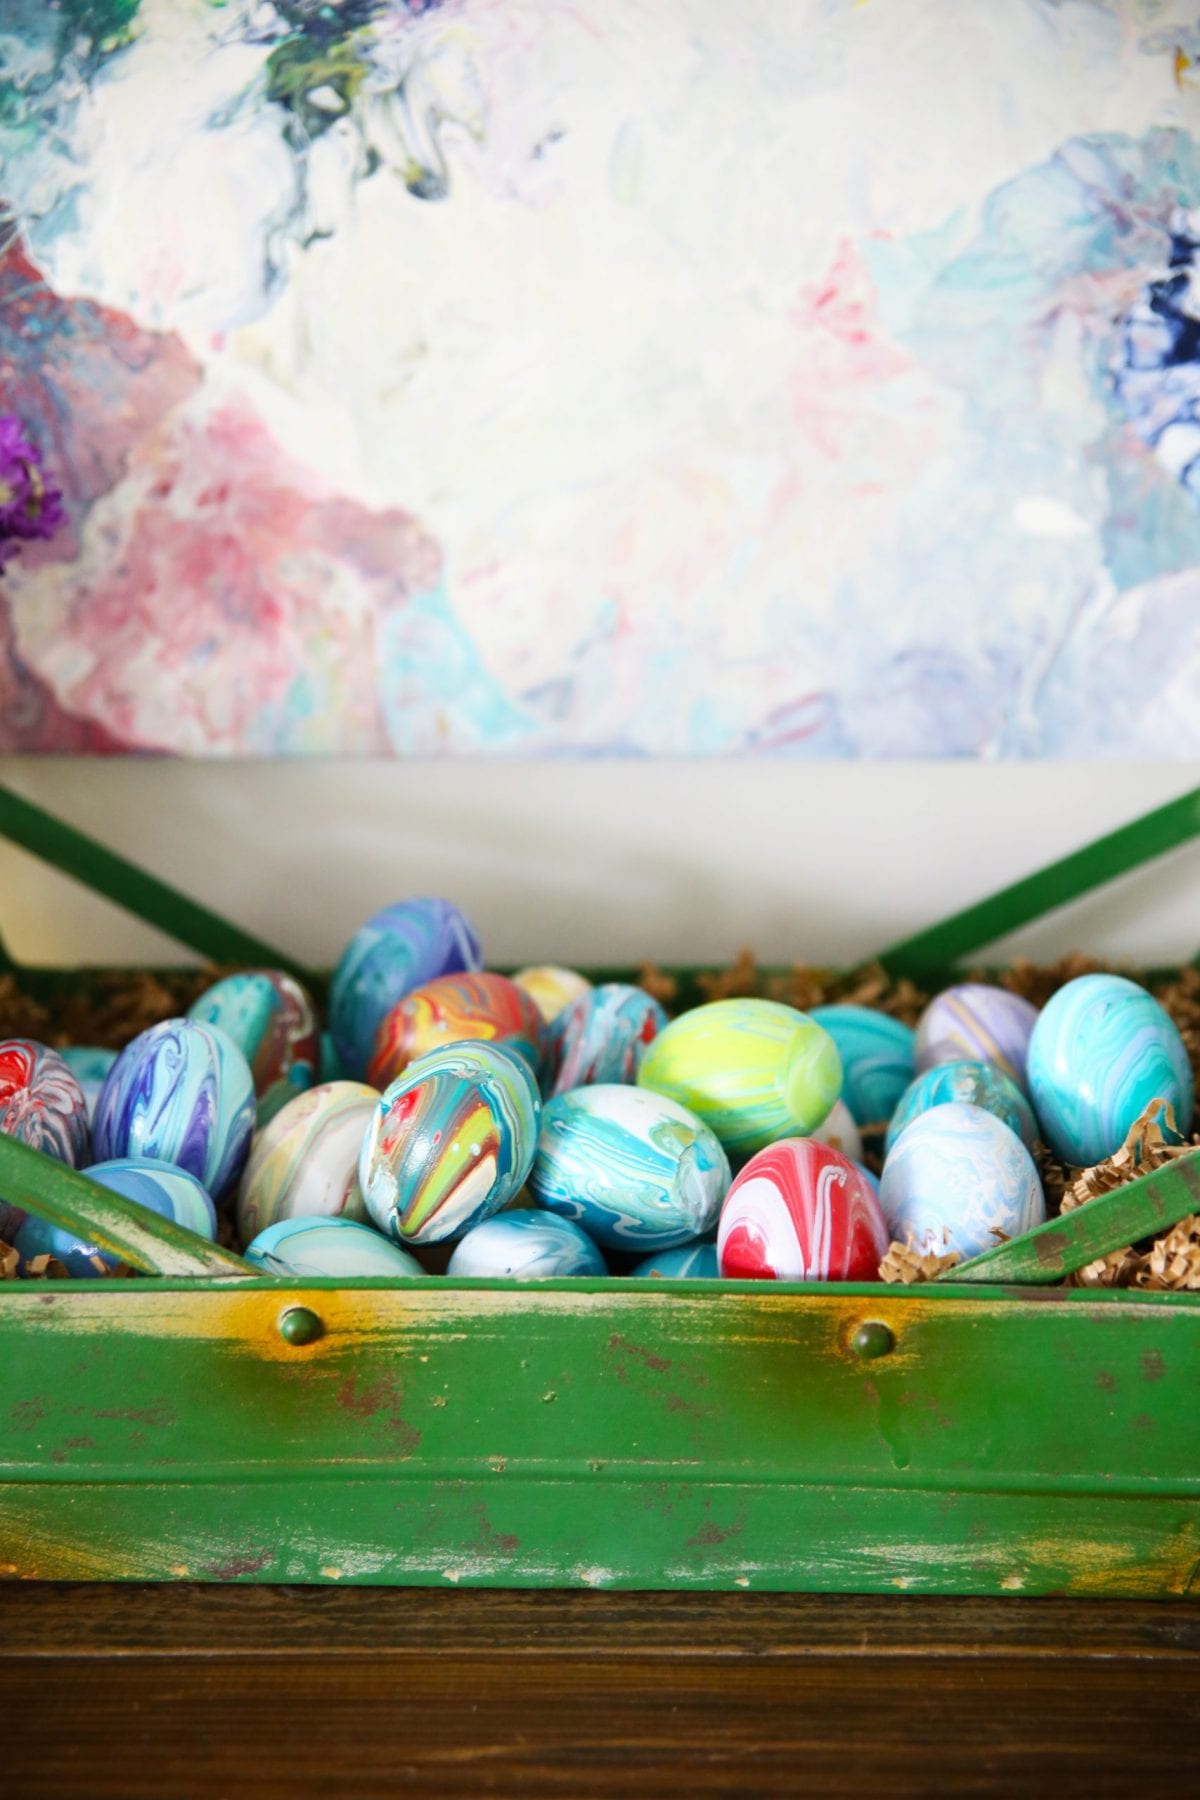
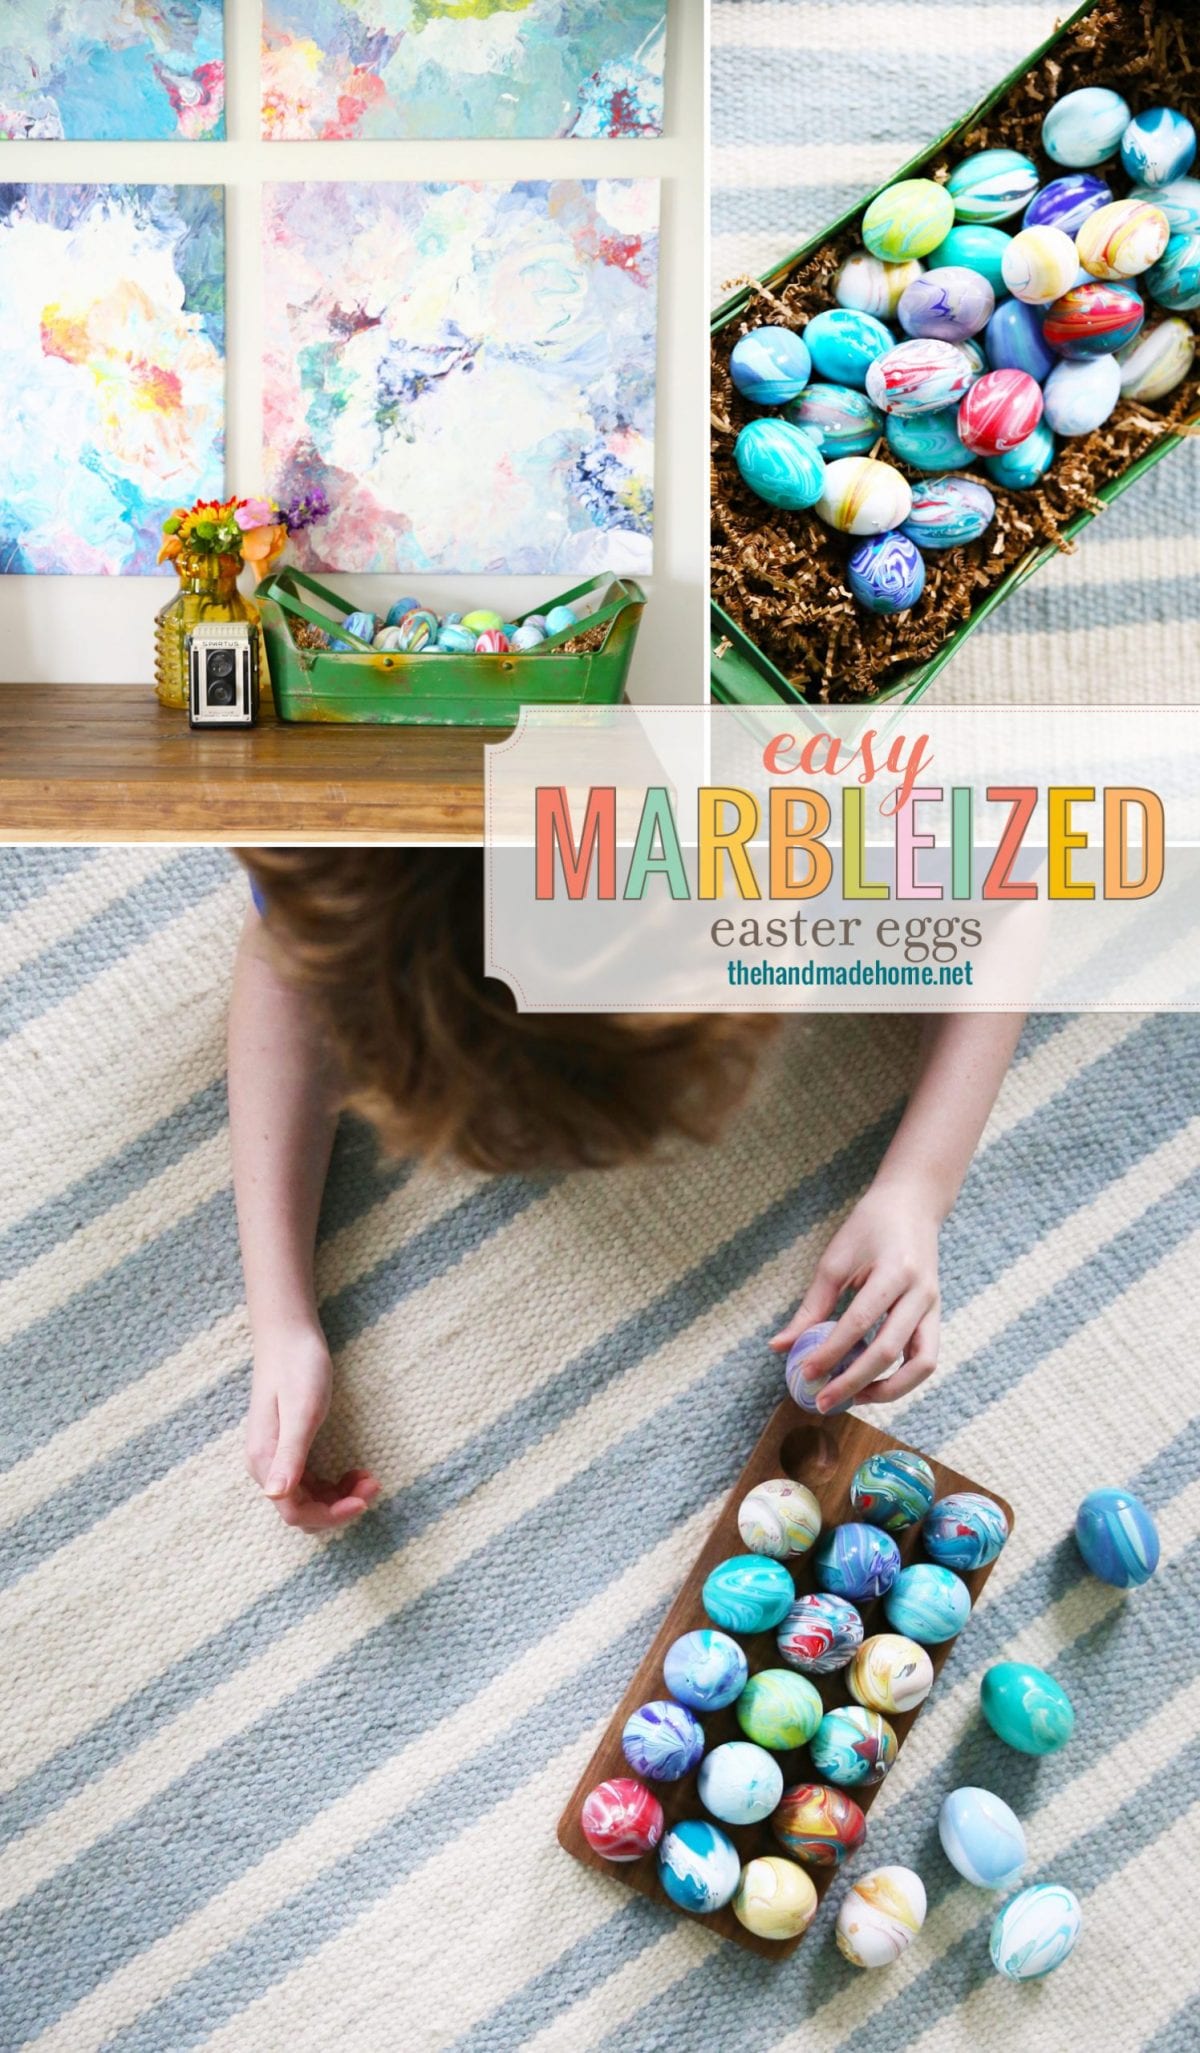
Oh and this holder for the eggs is pretty cute for a little display, too.
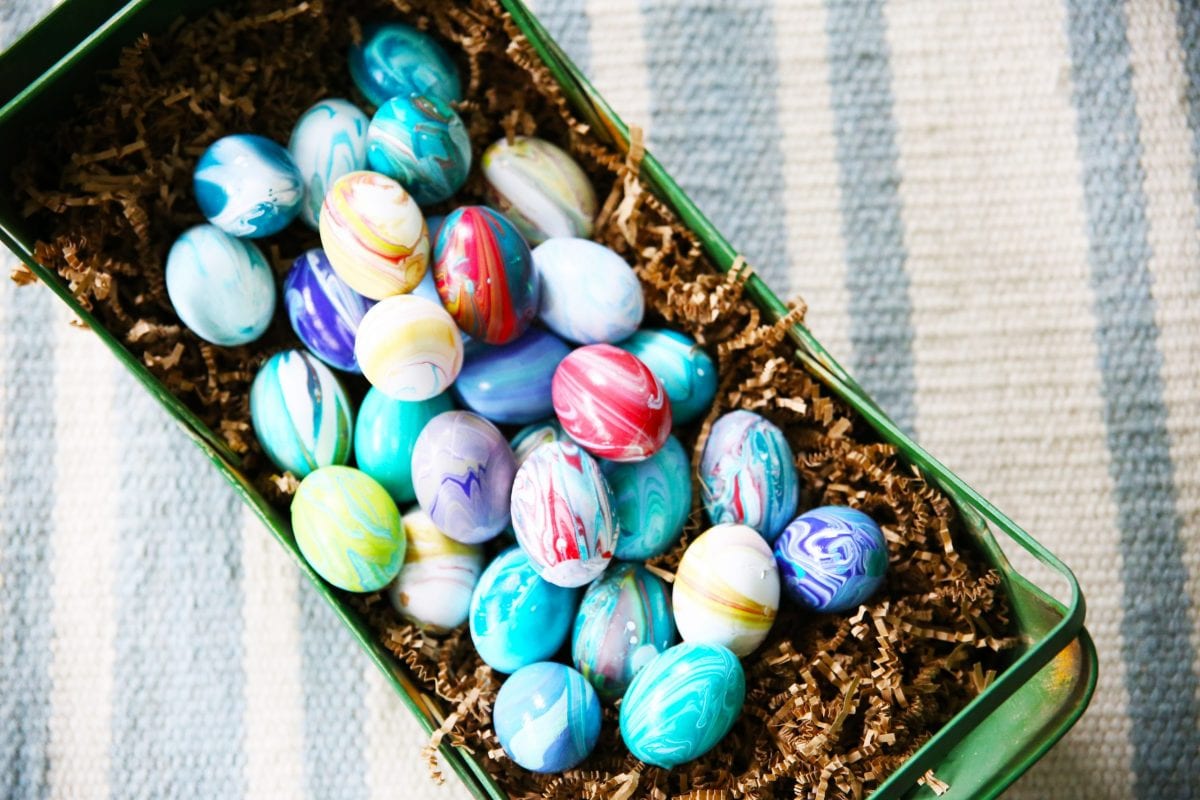
Just load them up in a basket, and you’re ready to go!
We love all these fun little swirly colors.

As always, let us know if you make some.
Have an inspired day!


Absolutely gorgeous eggs, and the best part, you can have these a lifetime. Even passing them down to your kids to have in their home. Tell your kids they did an excellent job and now they have to come to our home, and make these beautiful eggs fir us.
Going to try these with my teenagers this weekend. I think they will love this! Thanks for the step by step directions!
They will love it. The adults will too – and the good thing is they last as a little easter keepsake! Our kiddos were already asking to do it again and I have some supplies left over from last year. They’re the best!