A sweet gal named Misty wrote in with this question:
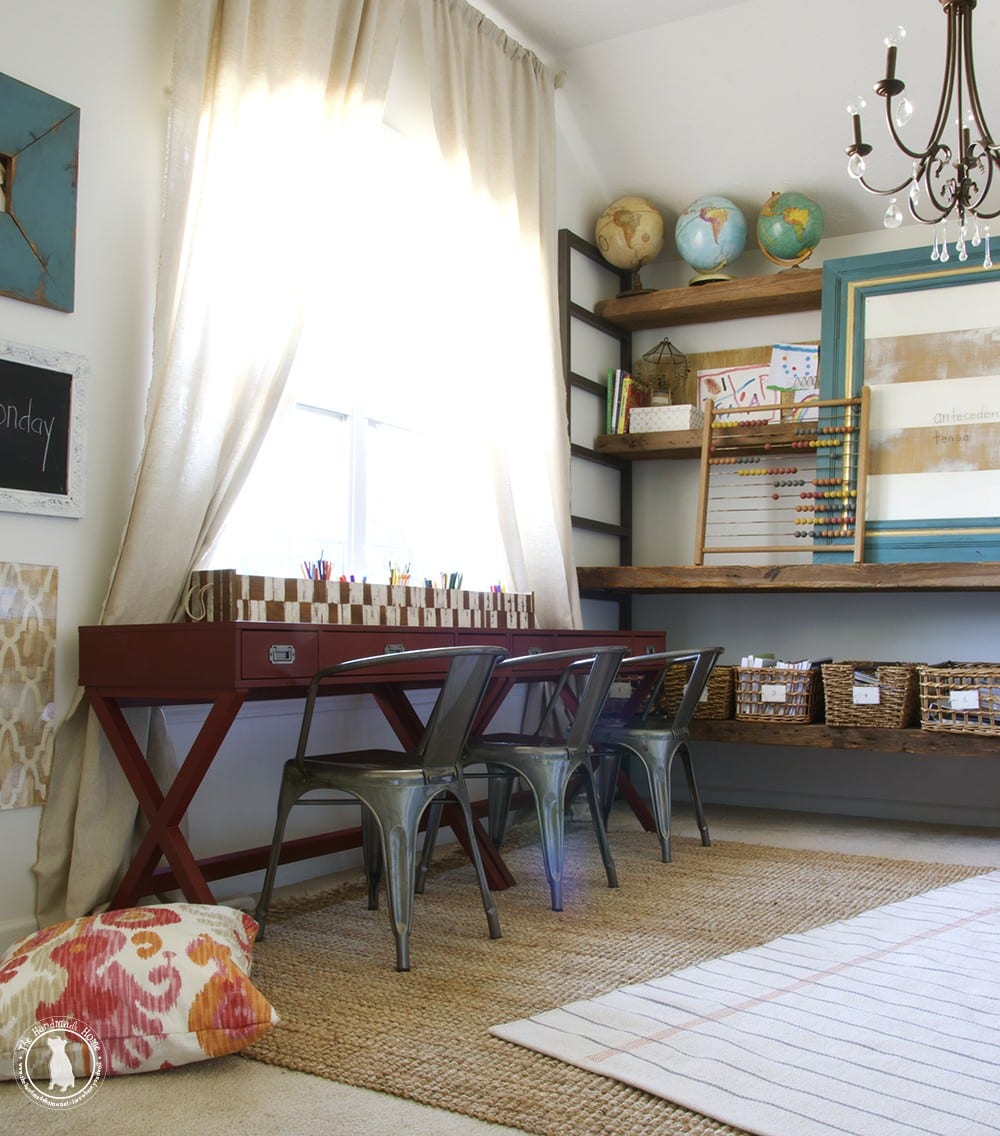
…I was looking at your homeschool room the other day, and saw that box you keep on the kids desks with all their accessories. It is the BEST and I must have something like it for our homework station. I was wondering if you could tell me where you got it? Or if you built it, how?…
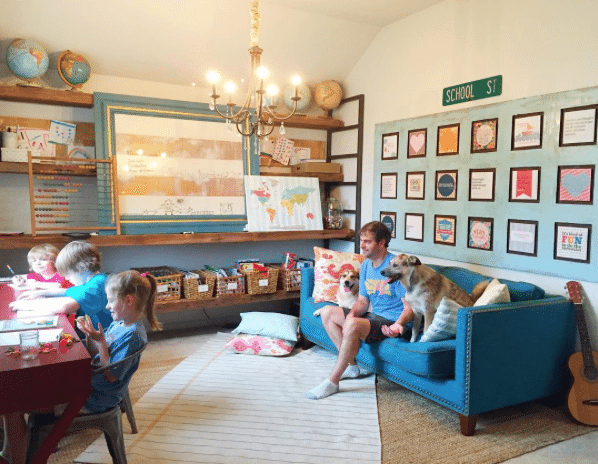
If you’ve been reading for a while, then you probably know that we homeschool. You may have even followed us from the beginning of this crazy journey. Or maybe you just dropped by and you’re all, hey! Those people homeschool! Good story.
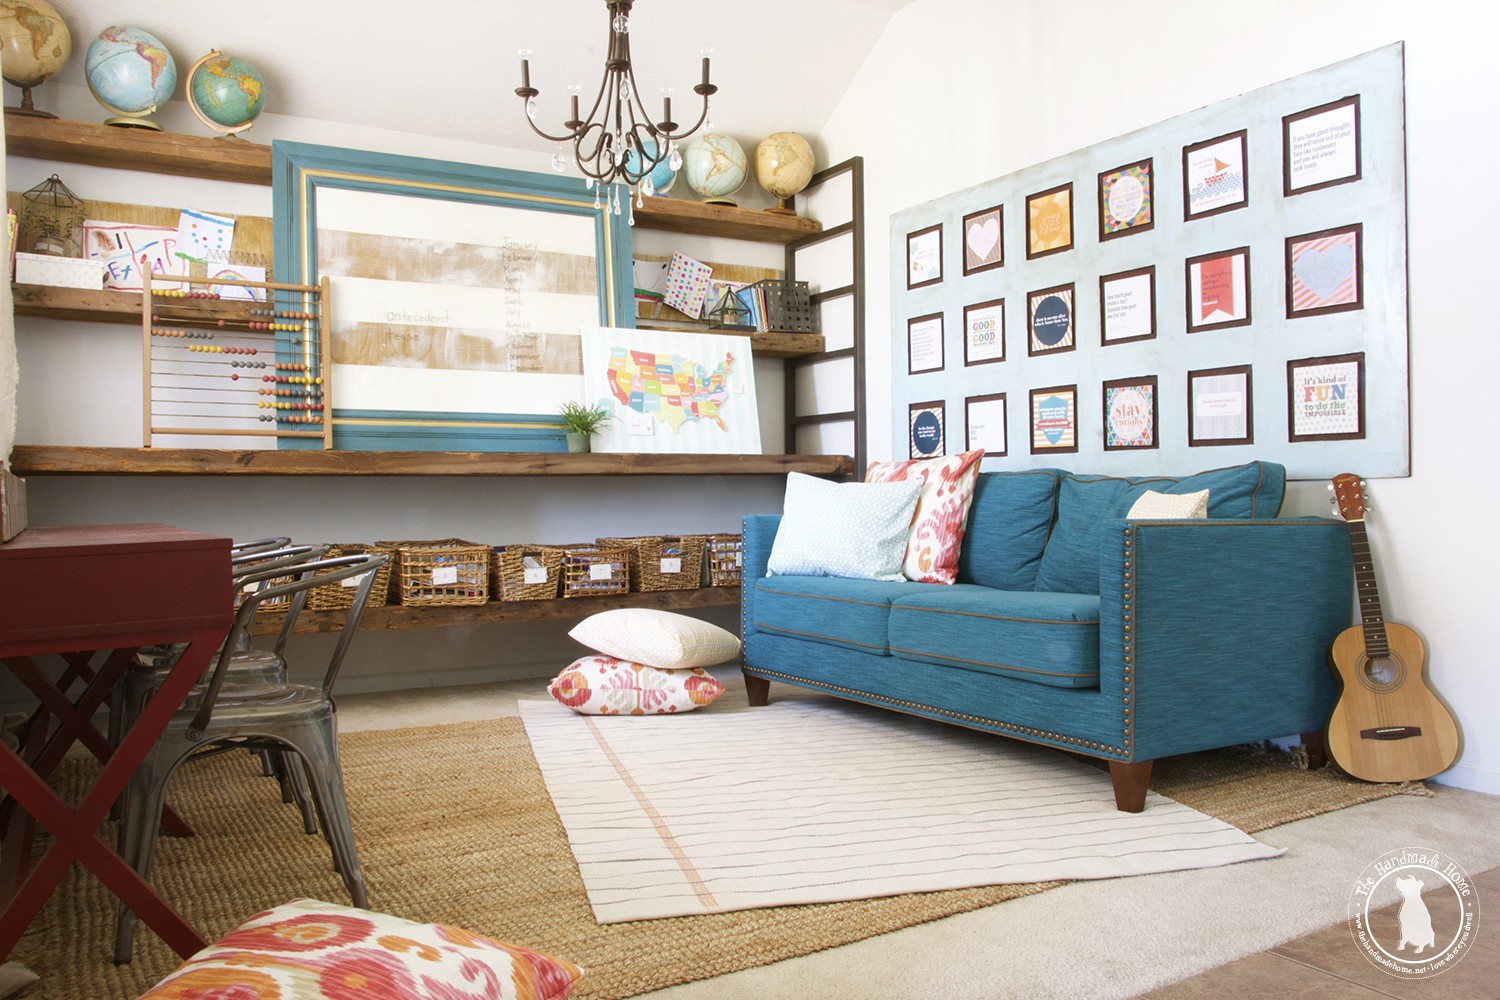
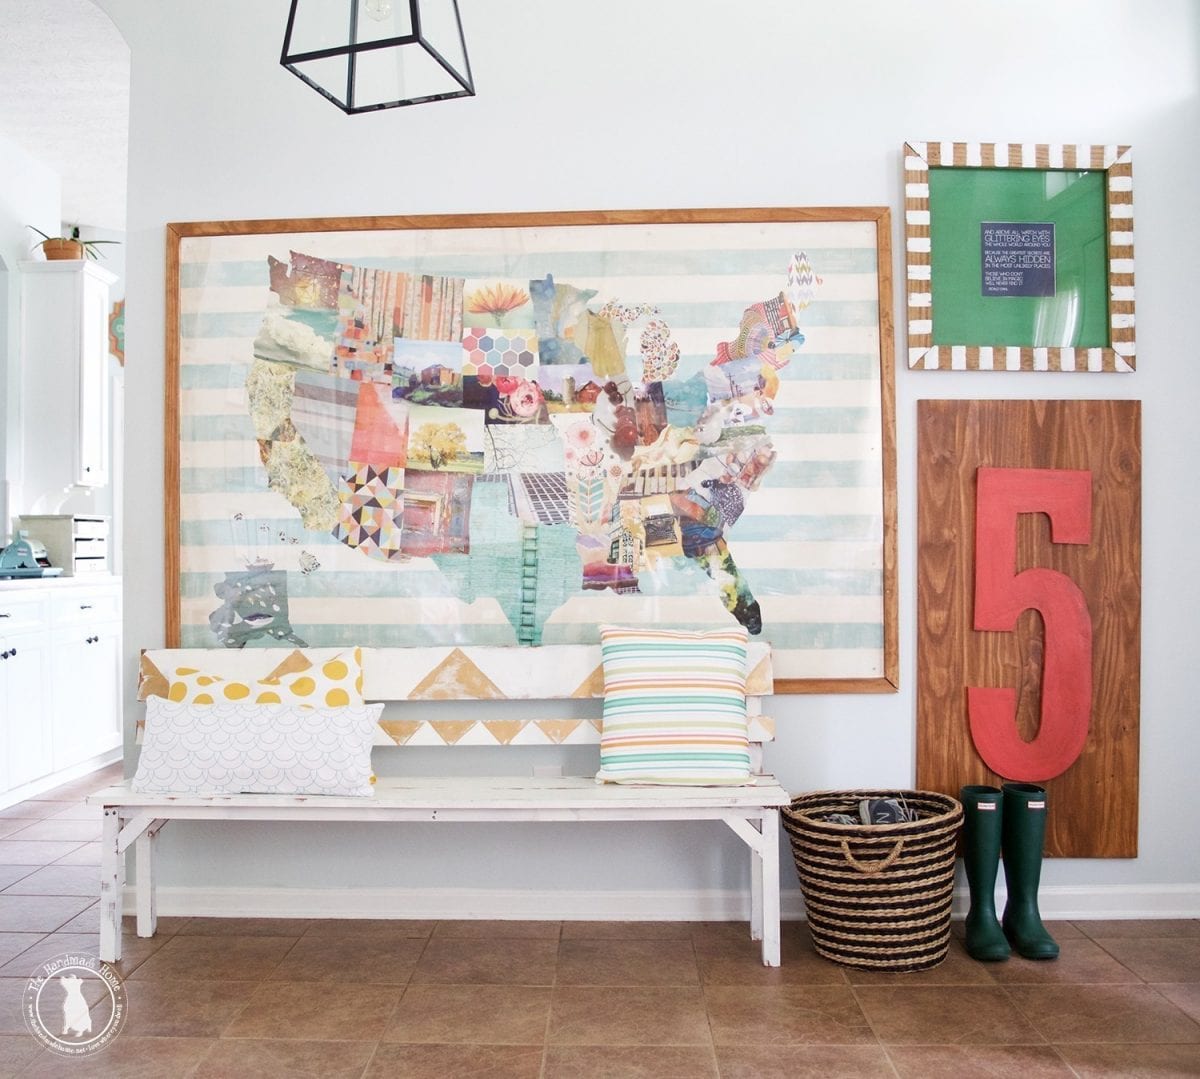
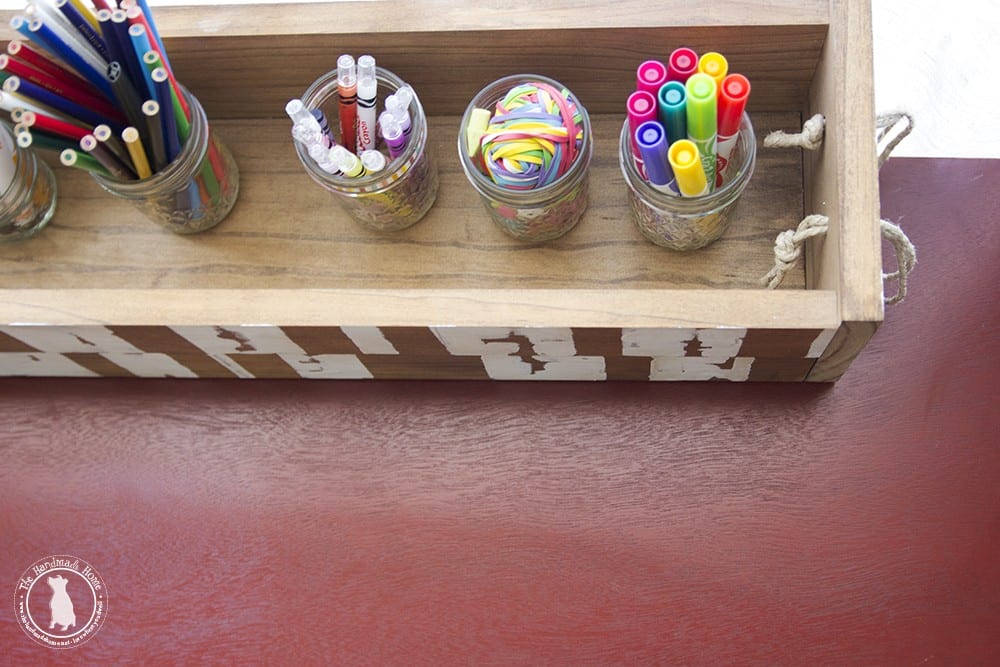
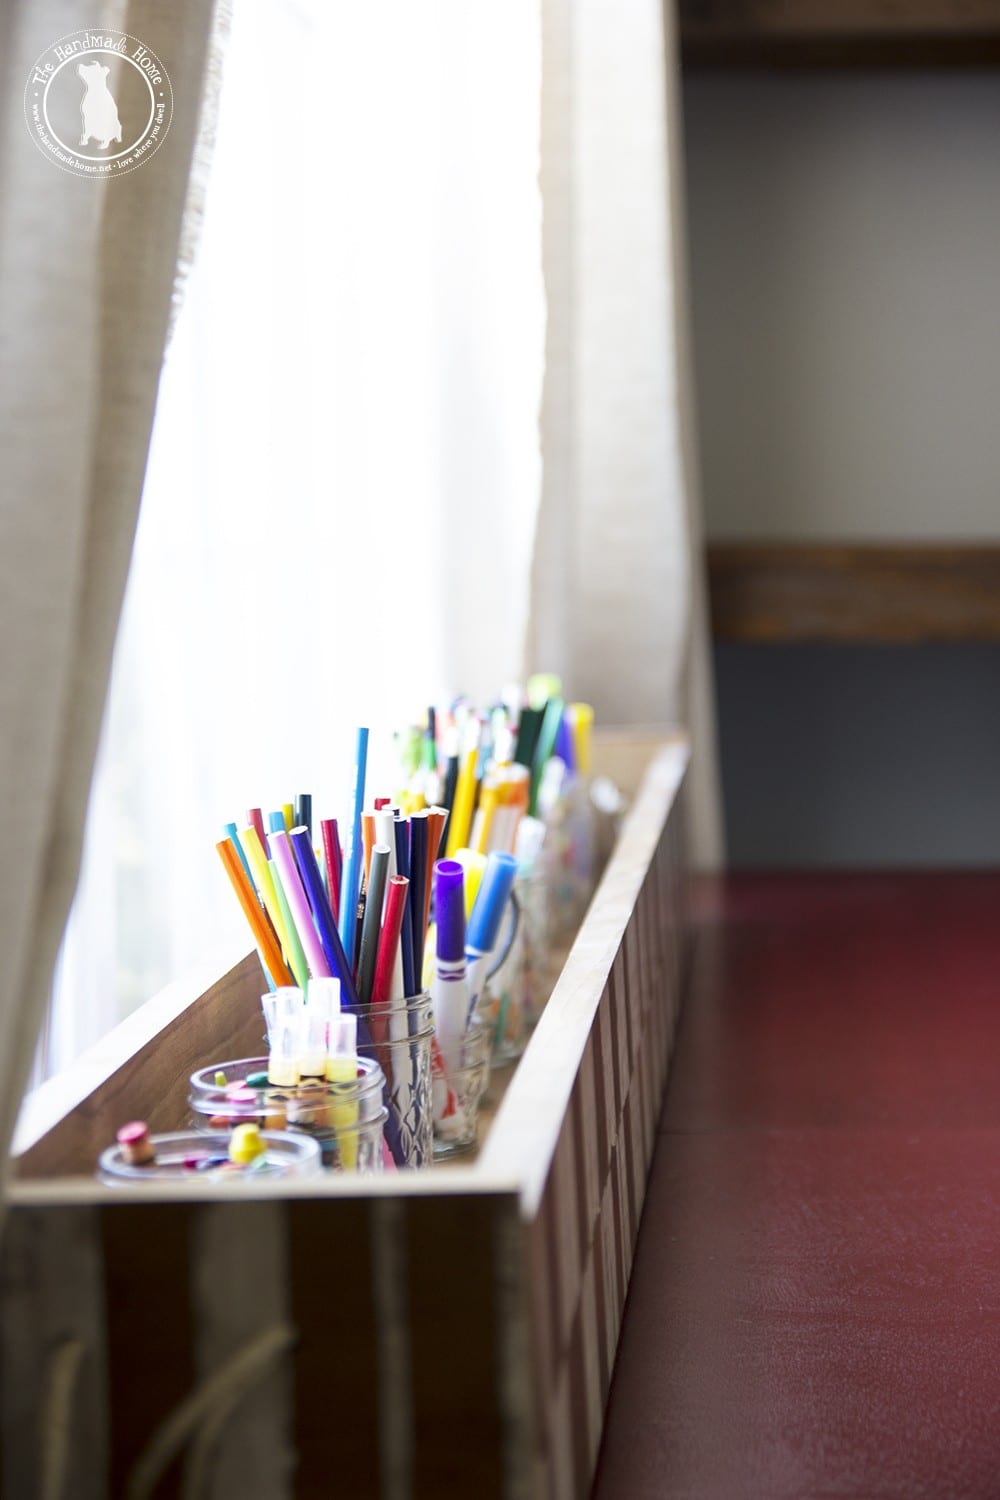
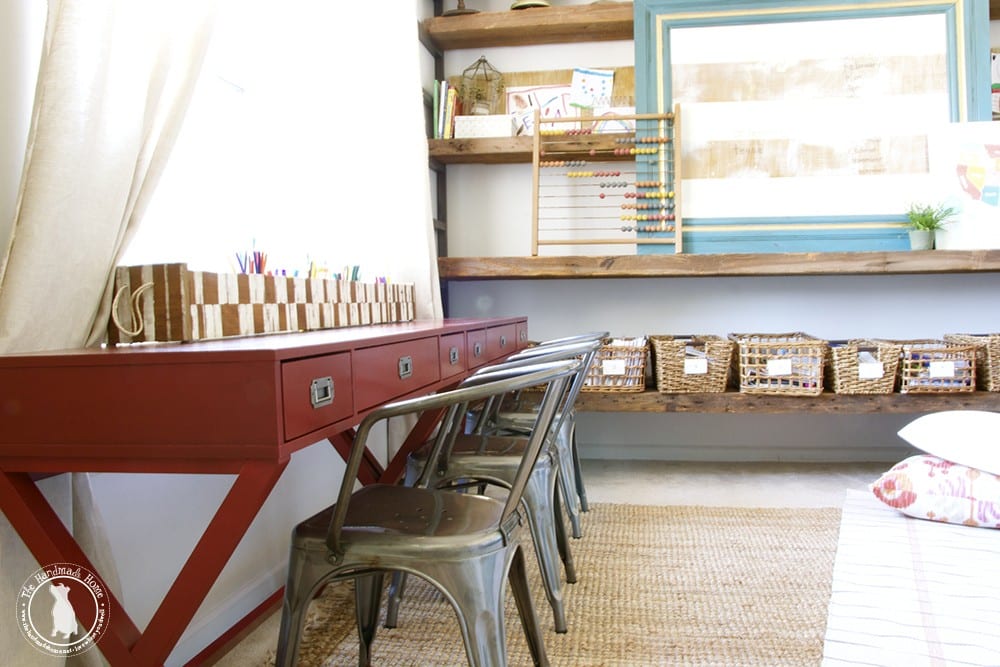
This room has made quite a transition of sorts, and has high functioning systems for our needs with three kiddos and their education. But we must say, one of our fave things about this space, is the little pencil holder we keep on their desk.
It’s so simple, but has made a huge difference in uninterrupted work and easy access to needed supplies.
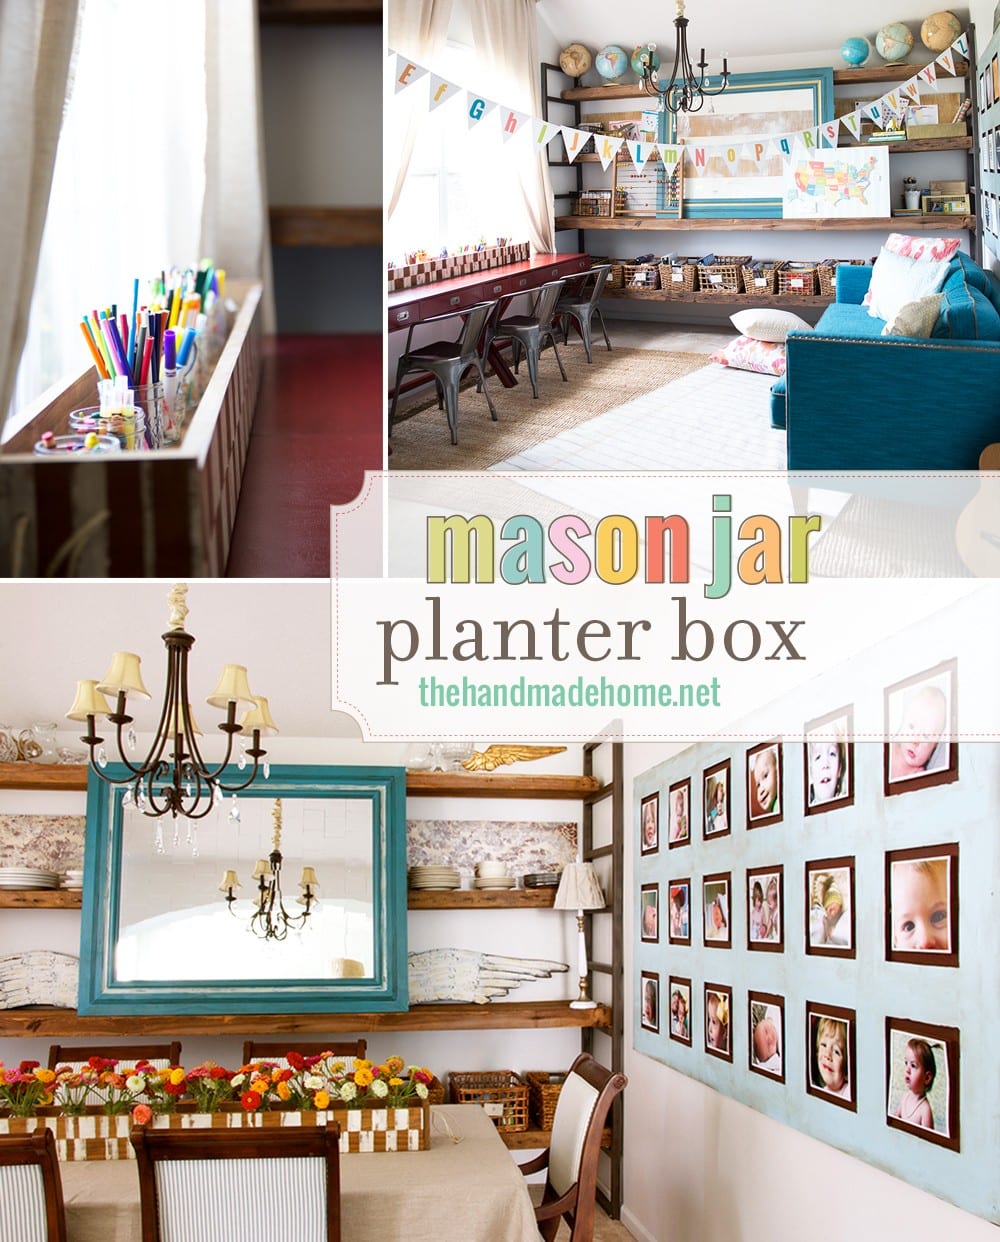
We’ve actually received quite a few questions about this little mason jar planter box, and instead of pointing you back in the direction of an obscure post that we’re having trouble finding ourselves, we thought we would rehash it here, with new photos, and what we actually use it for. Because sometimes it’s good to update the oldies, and make it easier for people to find.
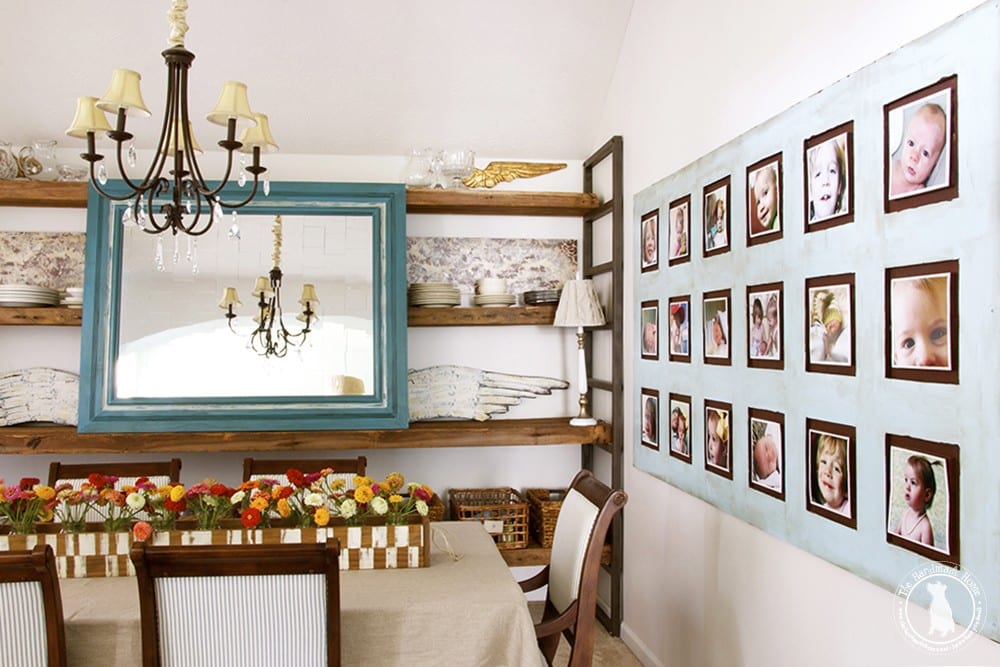
We made it years ago, and aren’t even sure what to call it… It’s more of a table runner / planter box turned pencil/accessories/everything-you-could-need, holder.
Once upon a time, it even sat in our dining room. So the possibilities for it are kind of fun and endless.
Here’s how we did it:

You’ll need:
• 4 @ 1 x 3 x 6’s
• 1 @ 1 x 6 x 6
• End pieces made out of scrap 1 x 6 x 1’s
We cut them down to 60 inches x 7 inches…the overall final measurements, once assembled, were 61 1/2 {L} x 7 {W} we also left the end pieces a smidge higher. I just liked the look of it all put together. Of course, as always, you can adjust to whatever size you want, but this worked the best for us and our dining room table, and should give you an idea of what to purchase if you wanted to make this simple little weekend project.

First things first, I went ahead and stained all the wood I would be using. On each side. {Except the bottom of the bottom piece. You can totally skip that.} When working with wood glue, I find it best to stain first, or else the glue can affect the outcome of your staining, if you get it on your wood. (And getting it on said wood is inevitable.)

We applied a strip of wood glue on the edge of one of the 1 x 3’s, and clamped them together to dry. If you don’t own one of these beauties, but wish to build things, these make your life oh so much easier…and are worth the small splurge at your local DIY shop.

Once tightened: Wiping away the excess, and making sure they were placed level together, we waited for the pieces to dry. We then repeated the same steps with the second set of 1 x 3’s.

When they were completely dry, I then decided to add a little paint to each piece. I wanted a “found” look, so I did some distressed stripes with a combo of a dry/wet brush technique, adding layers and interest as I went.
I started out with eyeballing and painters tape, and then decided it was just as easy to freehand with short strokes, so do whatever you are comfortable with. Just watch those drips! I also decided to treat each plank as if separate from each other, to make it look as though the pieces were found separately, and joined together, later. Like a fun, vintage piece.

Once the top coat of paint was dry, I went back over with the same stain {aka my fave finish color, seen here as minwax’s early american} and wiped the excess away. Read more in detail on the process of this lil wax on/wax off tea stain technique, here.
Once the painting was complete, it was time to finish putting the piece together.

Flipping it upside down, we joined it together, once again, with the miracle clamps and glue.

See? No stain on the bottom most part. Once we made sure it was all level, to avoid screws on the outside, we used face plates in four different places for each piece, to join them together. (Note: you can just stick with glue if you don’t have kids that might be a little rough with it or even try another fancy jointer technique if you have the time or desire, we went simple.)
An extra set of hands come in handy, to support it on the bottom side, while you join the first side, and bottom together.

We then repeated that step for the second side, and added the ends, as seen above. All it needs is a little felt over that metal, and you’re good to go on any surface.

The ends also had small holes drilled in them, for me to thread twine, to serve as handles. Tada! A sturdy, fun, ‘found’ looking piece for your table. And the best part? It can stay there…all the way through the dessert course, and your latest dinner partay.
Or if life throws you a curve ball, and you decide to jump on board with the whole homeschooling thing… it’s perfect for all their accessories, and each kiddo can reach anything they need with multiple jars inside. And if you just want something for your table in the meantime, it’s fun for that too.

It’s made a great, high functioning addition to our space… who knew all that time ago that we would create something that was so useful later?
As always, let us know if you’ve made it/used it! We would love to hear! The possibilities are endless.
Have an inspired day!


I love your school room! My mom homeschooled us through all grades, and I know it wasn’t easy for her, but I loved it and am so grateful she did.
This space is stunning! Love all the uses for the mason jar planters. Just post, thanks for sharing! http://www.lovesthefind.com/