I’ve always been a reluctant seasonal decorator.
The over the top stuff has always felt hokey to me, and aintnobodygottimeforthat.
But with our small touches, we definitely have one of our all time favorite projects when it comes to something small and fun for the fall holidays, it’s the perfect little project with kiddos or something to do with family in town, to create something awesome for your home.

So around our home lately, we’ve been getting into the swing of things with these pumpkin-y holidays.
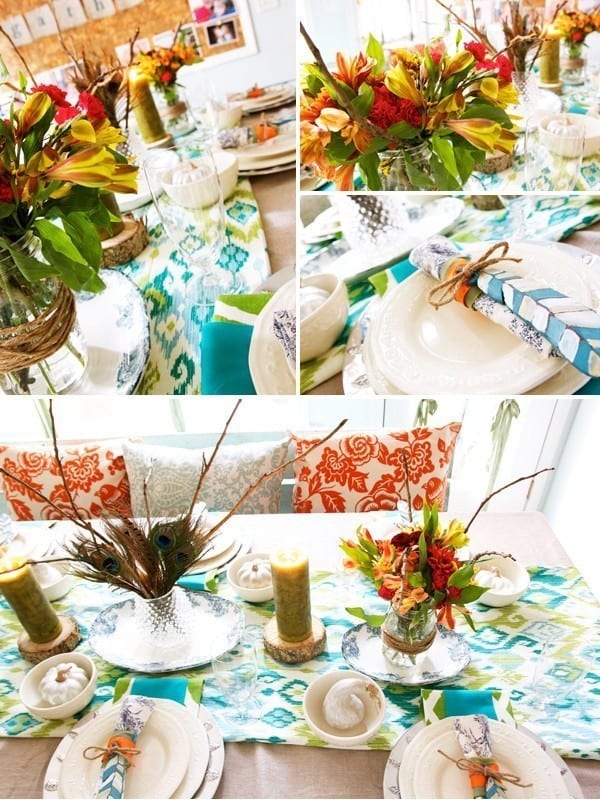
In the past, I’ve decorated with natural pieces, and over the years we decided to take a different route (Read: These don’t rot. Also read: I found said naturals one year, two days too late on our linen tablecloth. Ew.)
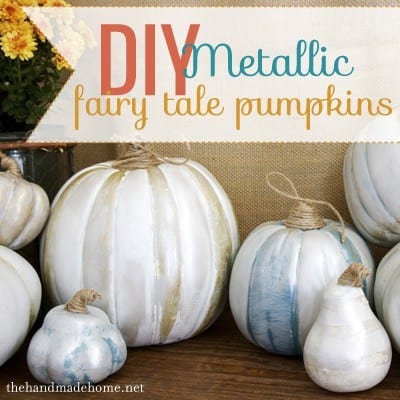
I wanted to do a different take on the typical ‘spooky’ look, with a little bit of a distressed / glamour-ish / kind of fairytale approach with our home’s decor. I have to say it was super fun, some of these will work as accents through Thanksgiving. The kids are all about it.
Looking back through our seasonal photos, we found that we’ve used them again, and again,
over and over in different ways.
They make such fun accents.

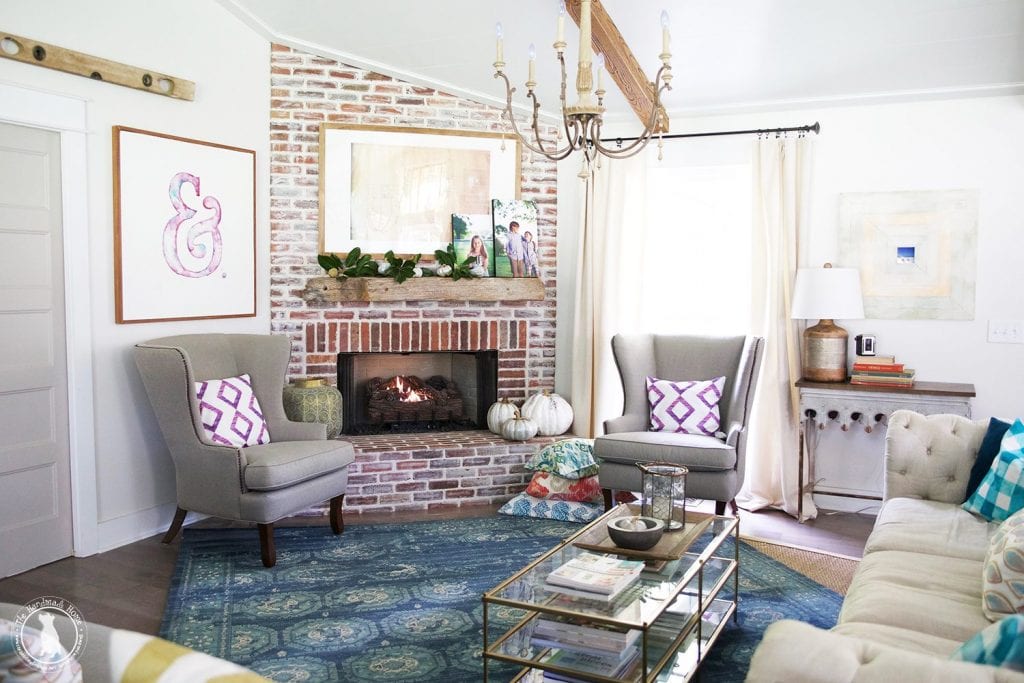
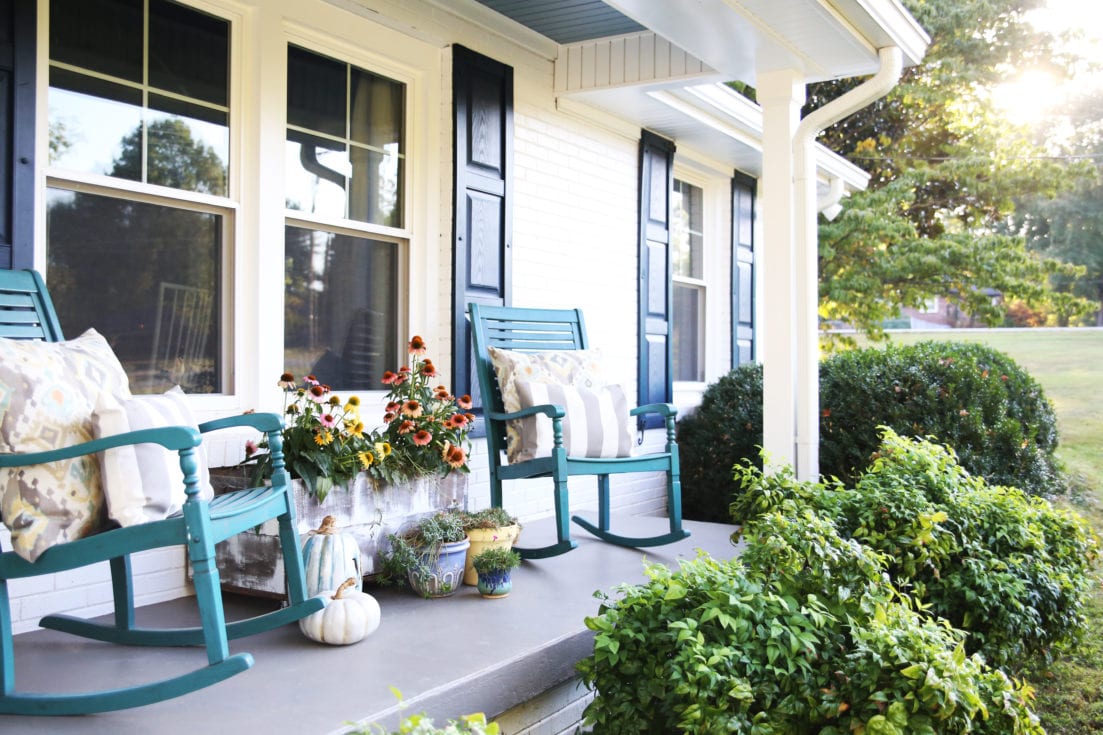
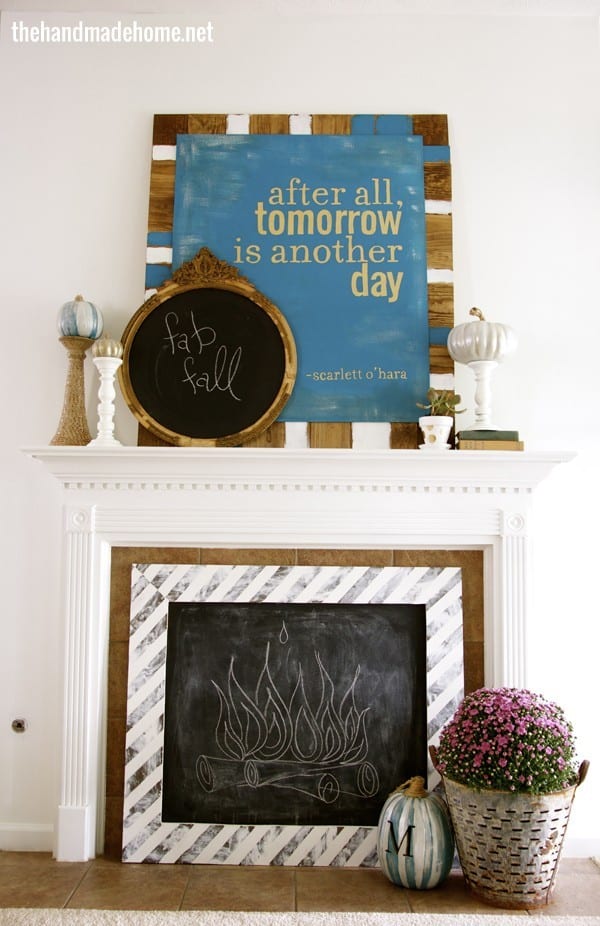
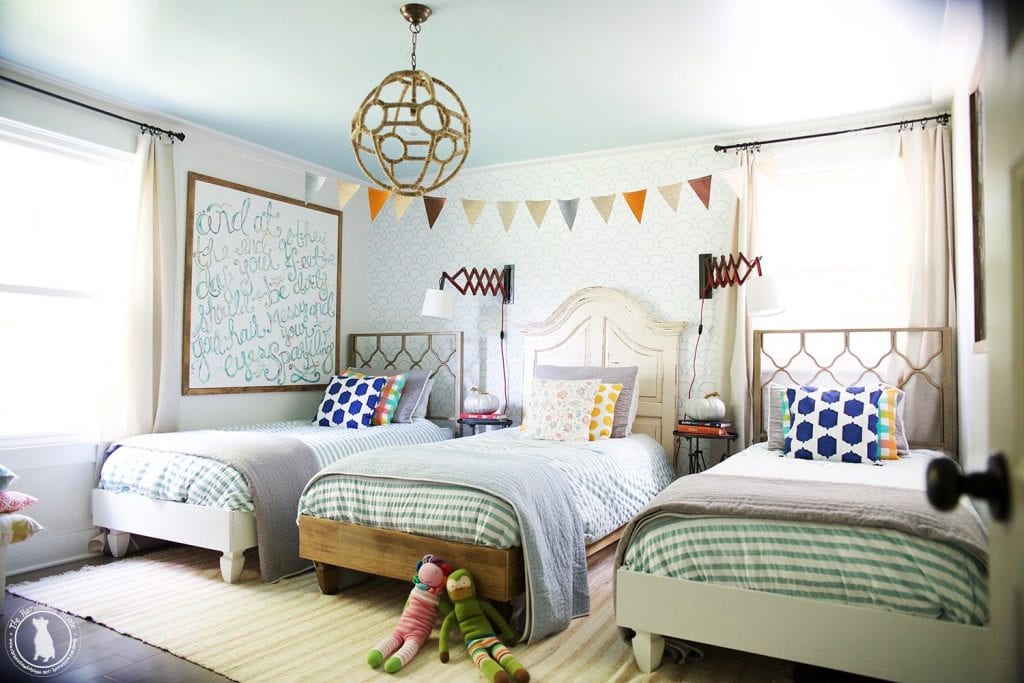
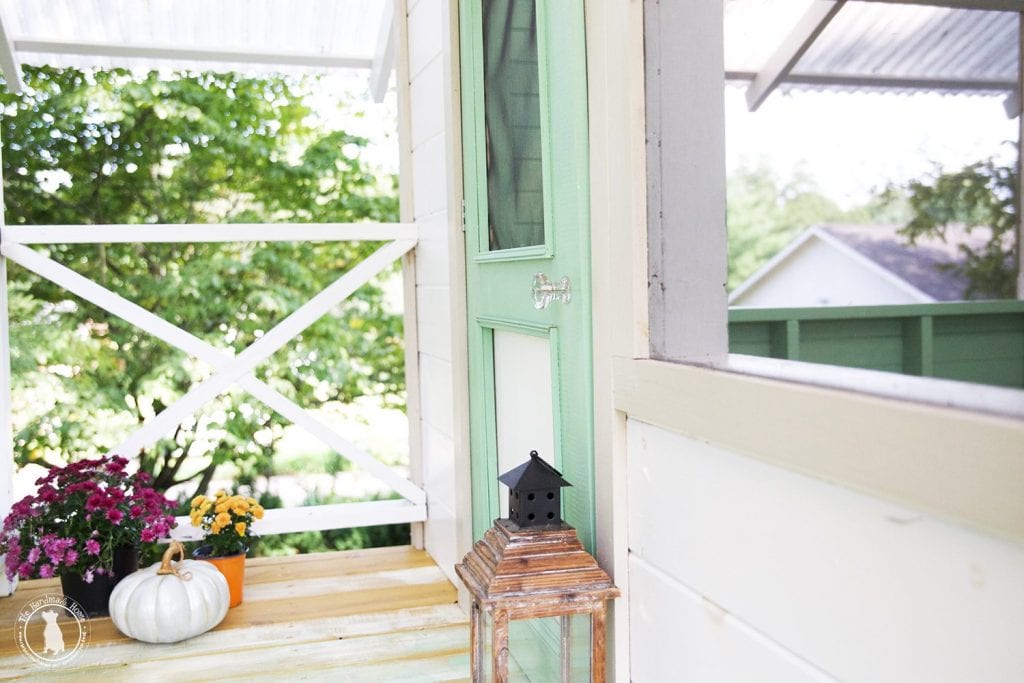
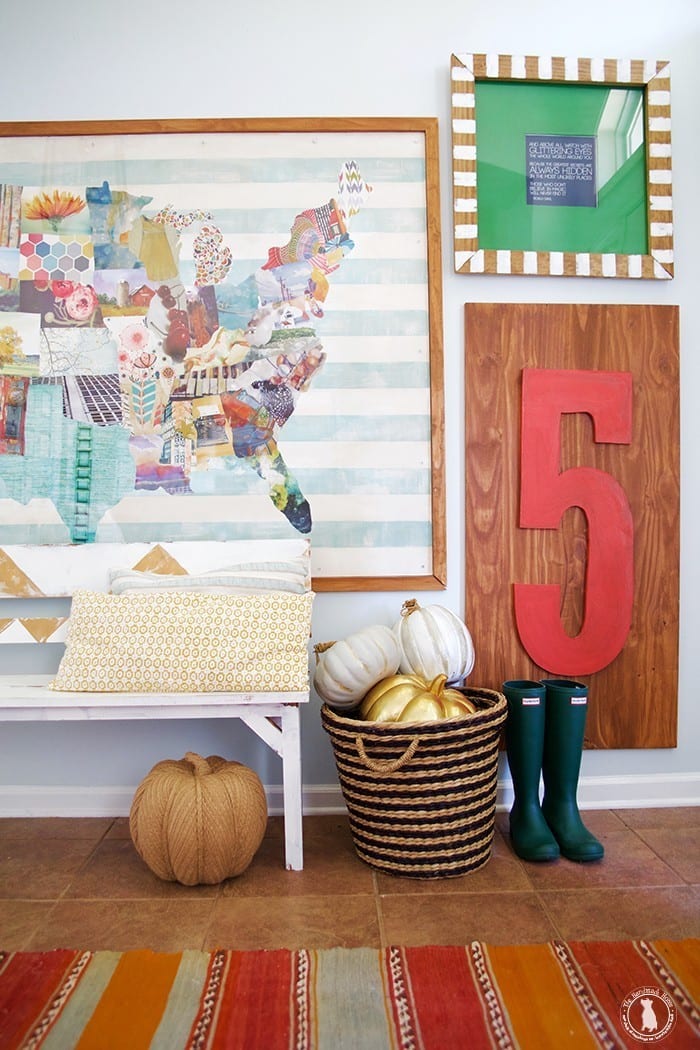
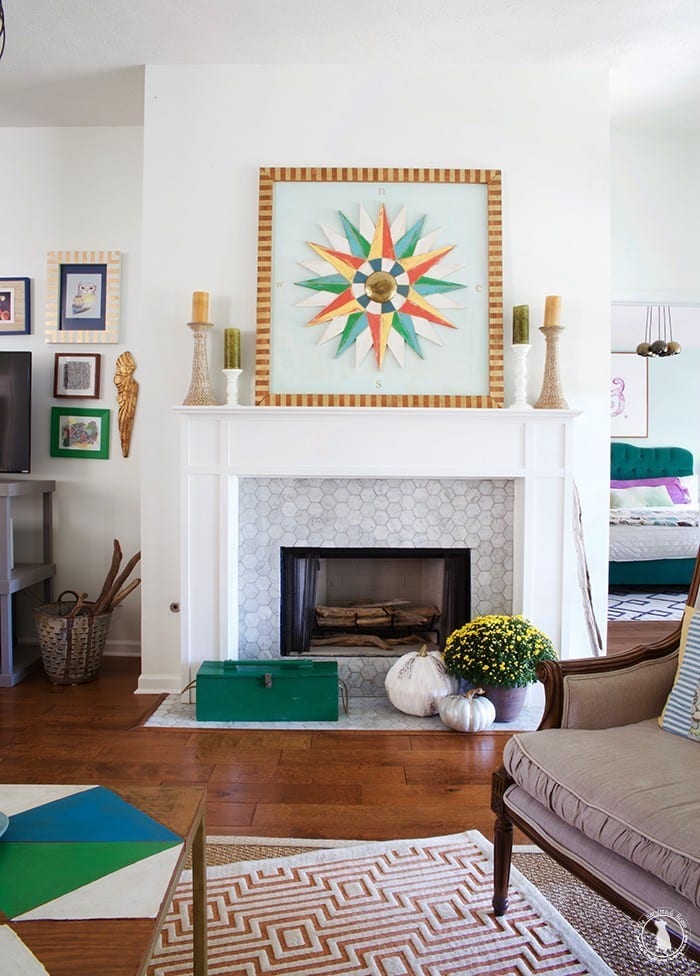
They’re kinda timeless, and add a glimmer of fun to the table/front door/fireplace/entryway/kids rooms {because they steal them}.

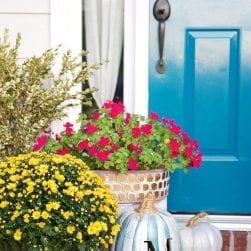
For this particular project, we used some great metallic paints to help accent some fun pumpkins we already had around our home, waiting to be decked out for Halloween.

A bit of distressed, layered shimmer gave them a new kind of interest from their former, neon orange life.

They do have a bit of that fall, fairytale vibe, don’t they? Sometimes, I feel like the princess who turned into the pumpkin.
I mean, whatever happened to Cinderella once she moved into the palace, had three kids, and an entire mess of a castle to clean?… Oh the laundry.
Isn’t real life a fairytale in reverse?
Being a pumpkin isn’t so bad, especially if I shimmer like these. ;}

The painting steps for these pumpkins merely vary in color and layers, and are all coated in different areas with this fun metallic paint we used.
Want to create this look in your own home? Here’s what we did.
First things first, for the monogrammed pumpkin, find one that’s hollow. They’re everywhere in the craft stores.
Of course, you can always carve and paint a real pumpkin but these last beyond this season for all the work you put into it. I would recommend reading on the label to confirm it: They usually come with tags stating that they are highly flammable. This means they’re hollow for carving. We used an LED light with ours, and are a must for any you create.

Once we printed our M, we cut and traced it onto our pumpkin. Remembering to use only a hollow pumpkin, cut out your M using any X Acto knife. (If you need to know for sure, cut on the bottom first before you go for the monogram. Watch those hands!) When you’re finished, it may take a bit to get the edges smooth so keep trimming the foam with your knife until you’re satisfied. If you have a hard pumpkin, a dremel would work as well. Then cut a hole in the bottom.
Next, using some metallic spray paint, we sprayed the inside quickly with a coat so it shows up at night and glows with our LED light.
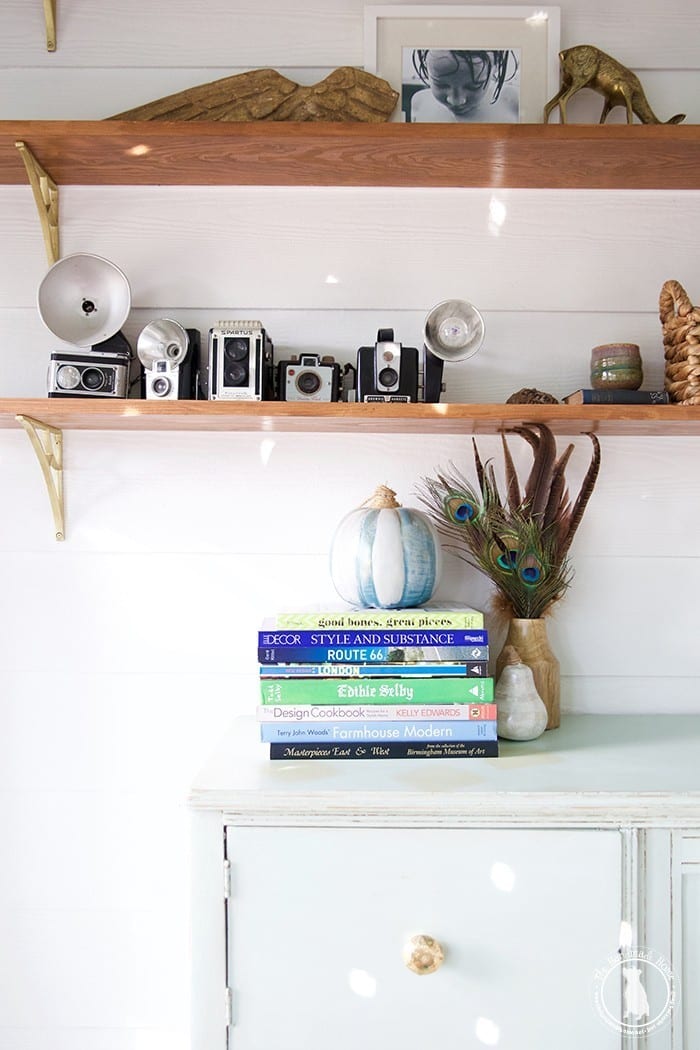
From there, we started by coating the entire pumpkin with blue. We then dry brushed it with white. Accentuated with some blue stripes and an additional dry brush layer, we added and removed until we were satisfied with the look.
If your pumpkin isn’t “even” in the number of ridges for you to alternate your colors, simply fake it by counting ahead and alternating as you go. Start on the front and move to the back, so if you have to cheat, it won’t be obvious.
From there, we used some metallic paint to accentuate the edges with a brush. We also needed to touch up the edges of the cut monogram from all the other layers of paint we’d applied. We then used our platinum finish to buff the edges and give it a sheer, overall shimmer.

This pumpkin was pretty much the same technique. Alternating a nice grey and white color and dry brushing with the lighter on top, we finished it off by loosely brushing on some gold over the grey stripes, and buffing it with the metallic paint.

This finish was a simple grey, and buffed with the platinum on top for that sheer shimmer.
The more combos you come up with, the more interesting they are!

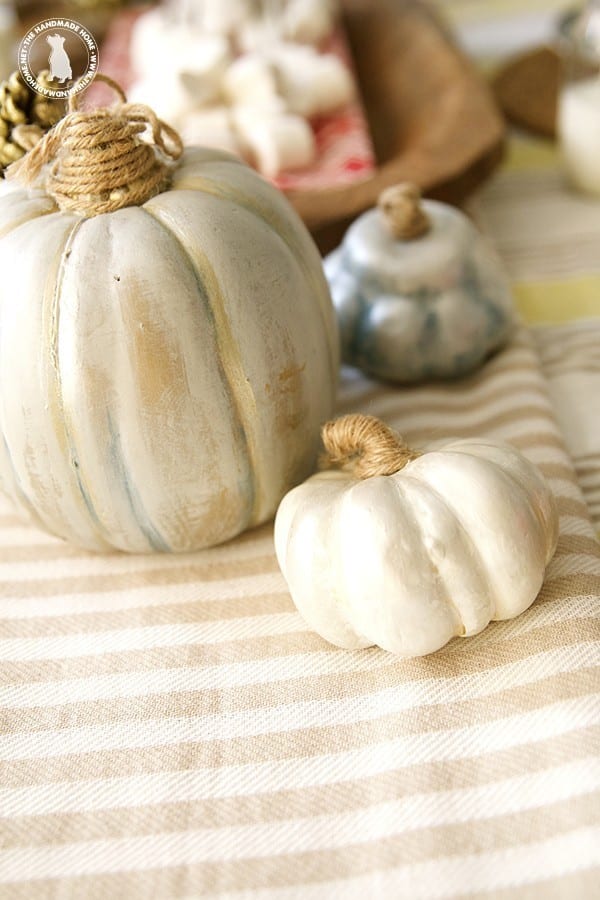
This little gold pumpkin started off with a hit of spray paint for that solid finish, and a dry brush of white rubbing it gently as we went. We touched it up in places with our gold paint. We then went back over the initial coat emphasizing coverage on the edges for dimension.
We finished it off with more platinum sheen.
We basically played with each little pumpkin until it looked right. Each one was pretty in it’s own way!

These little pumpkins were accentuated the same, with varying stripes, layers, dry brushings and sheens with top coats of shimmer.
It really is funny, looking back at the different ways we use them each year.
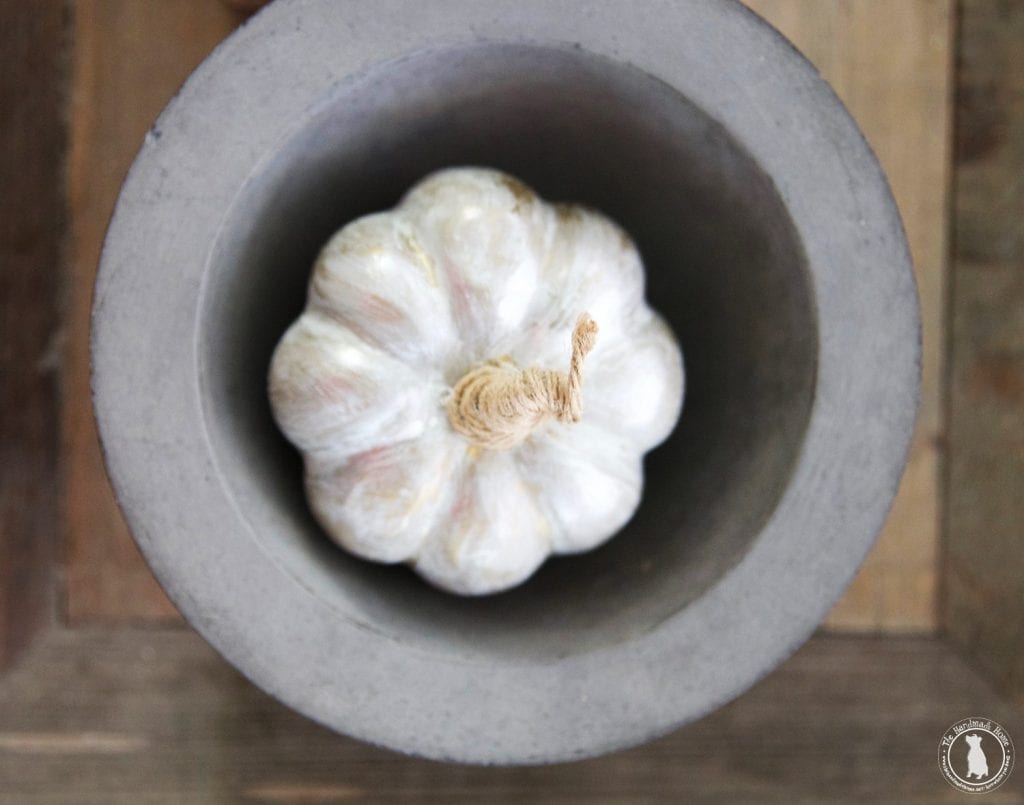
 When all of the pumpkins were dry, we finished each one off with some jute, and a hot glue gun for an extra detailed touch. Simply glue and wind it around as you go-and watch those fingers!
It’s a bit of a fun, light, stripey glamourous take on it all for some halloween decor. I think Cinderella, in her housewife super mom mode might approve. Have you tried the fairytale look?
It’s a classic.
What have you guys tackled for fall in the pumpkin department? We’d love to see. Leave us a link!
Have an inspired day, everyone!

[…] metallic fairytale pumpkins […]