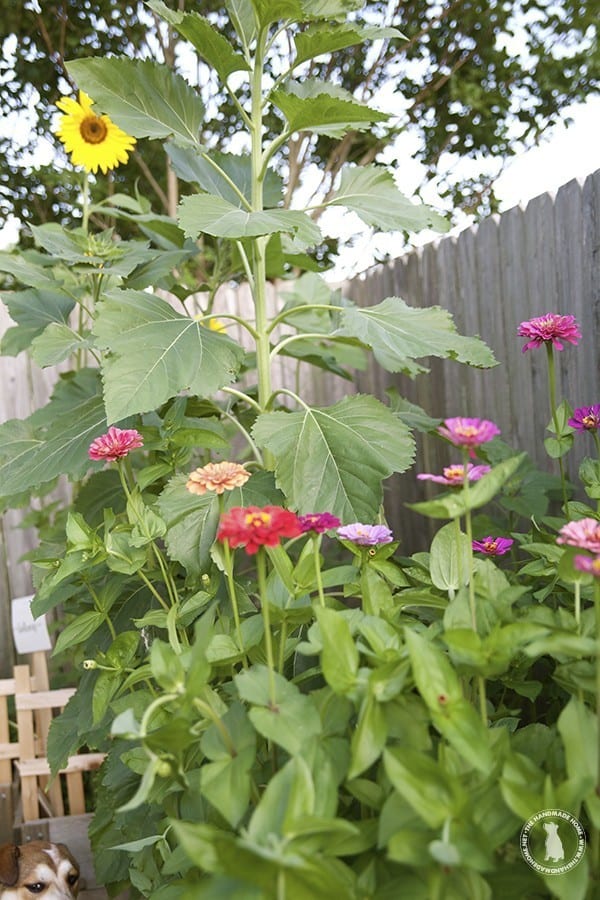
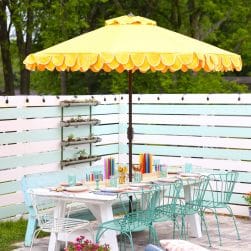
Living in the deep south has it advantages: Short winters, and rarely do we see sub-freezing weather… which leads to longer swimming pool seasons and pretty gardens.
Bonus points for finding the pup who likes to eat the zinnias.
On the flip side, the bugs wake up earlier and go to sleep later in the year. I hate mosquitos and I equally hate bug spray. Which is a bit if a dilemma.
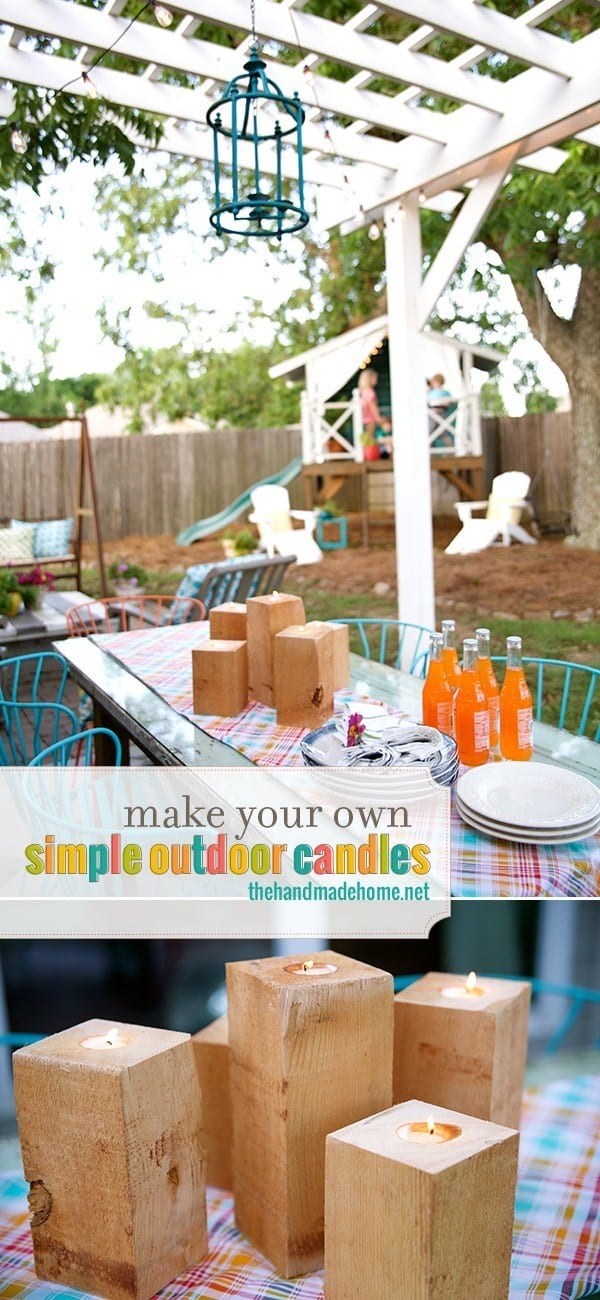
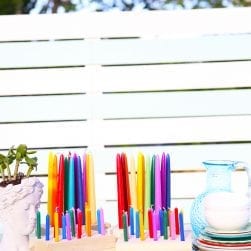
So today we wanted to share a fun little project to keep those pesky bugs away while adding simple outdoor decor.
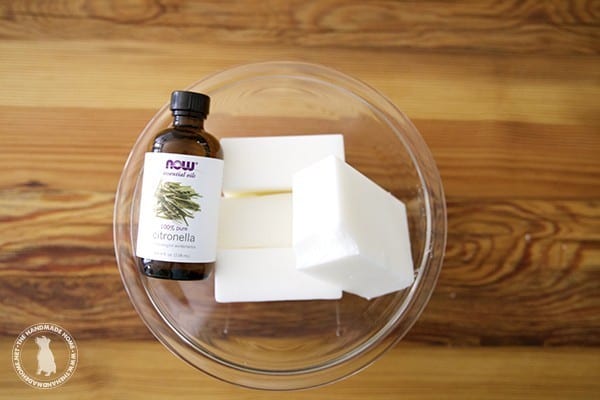
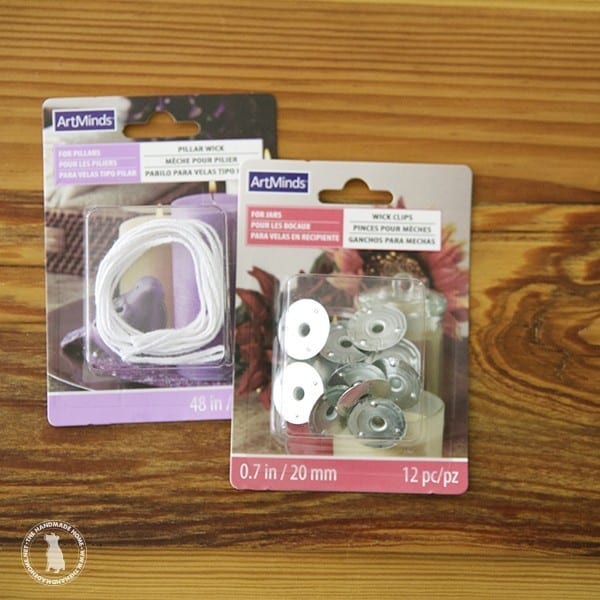
You’ll need: • candle wax, • citronella oil
Note: We had fun making our own, but if you want to simplify it even more, you can also use these votive candles with this design. We ended up making fun candles of various sizes so you may love this option.
• wicks
 • wood blanks
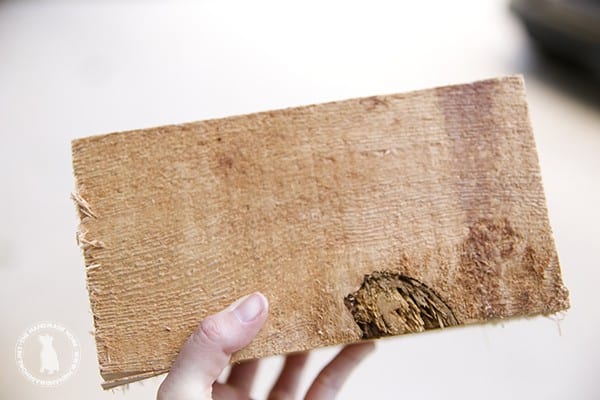
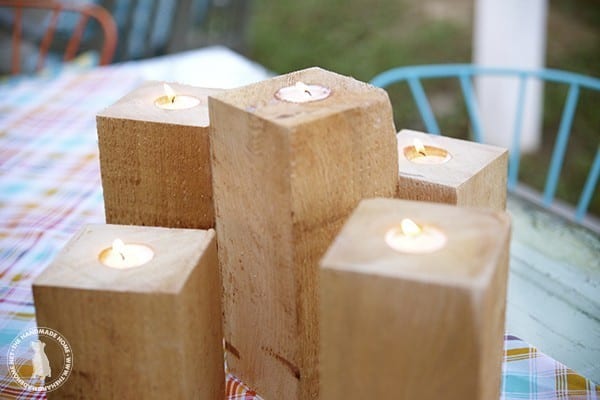
We used 4 x 4 rough cut cedar – a great option because there is no need for weather proofing and it’s the perfect earthy combo when finished, of cedar + citronella scents.
Don’t use pressure treated wood. Those chemicals are awful for you.
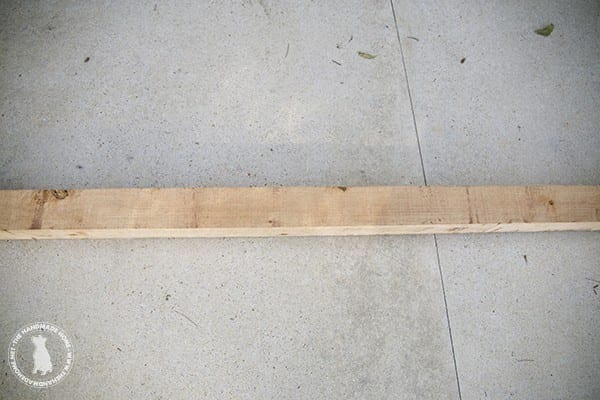
First, you’ll want to cut down your wood to the desired candle height.
If you use a large stock piece, you’ll either need a larger miter saw like the RIDGID 12 inch to cut it, or you can break out some mad skills and use a reciprocating saw.
If you’re buying it fresh and not pulling from lumber you have around, the workers at the home improvement store can probably cut it for you.
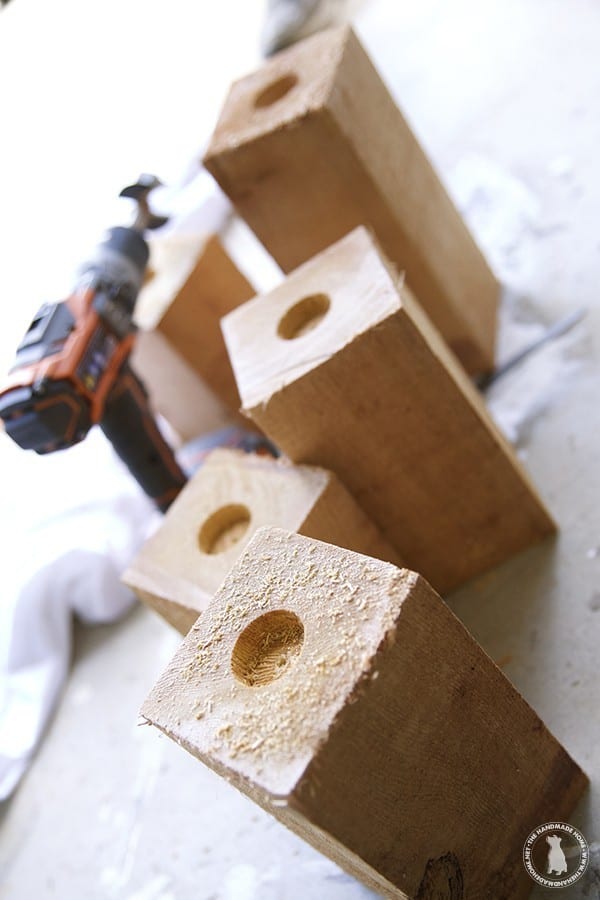
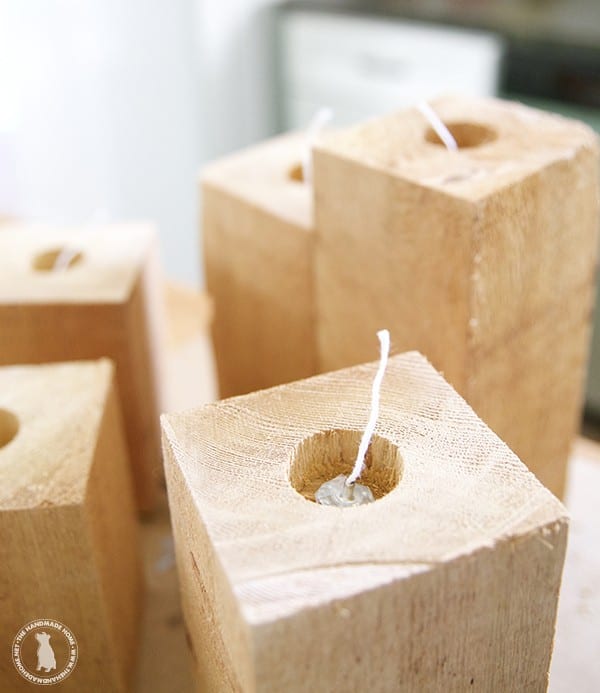
Once we cut it, we used our RIDGID hammer drill and a large spade bit to create our nesting hole for the wax to be poured in. Only drill in about 1 inch, this will help keep the flame off the wood (you can refill it again when it burns down completely).
 Then we cleaned up the edges a little with 100 grit sand paper.
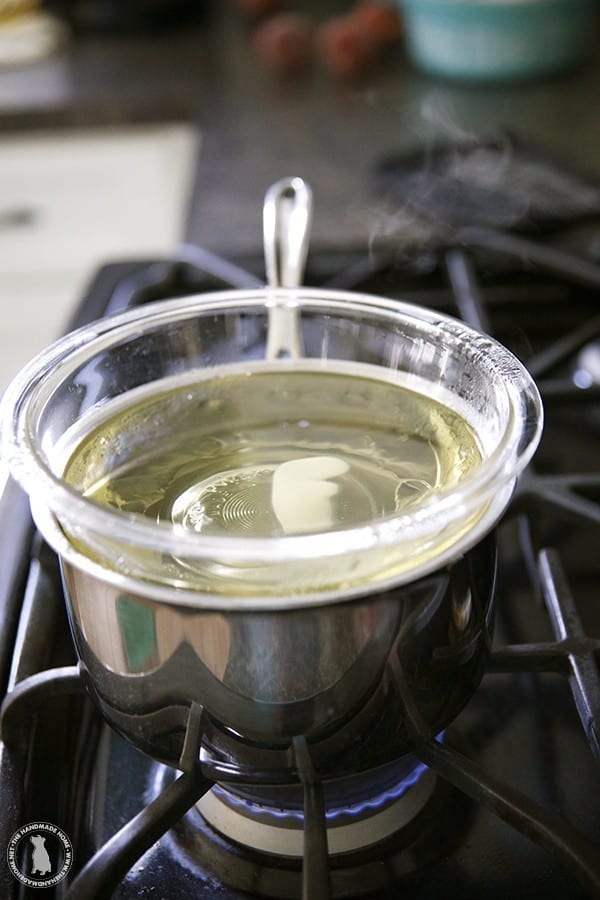
 We melted 15 oz of wax in our own homemade double boiler {every time we need one, we always ask why we still don’t have one} and added in 3 tablespoons of citronella.
And all of the bugs promptly tried to escape our home. Be ready.
 While it finished melting we placed the wicks in the wood blocks.
Once the wax was melted, we used an old plastic cup to pour the wax.
As always when working with something hot like this, watch your kiddos and pets. We had to shoo the pups out of the room for this one because they were so curious about the scent and were all noses. The kids watched from a safe distance.
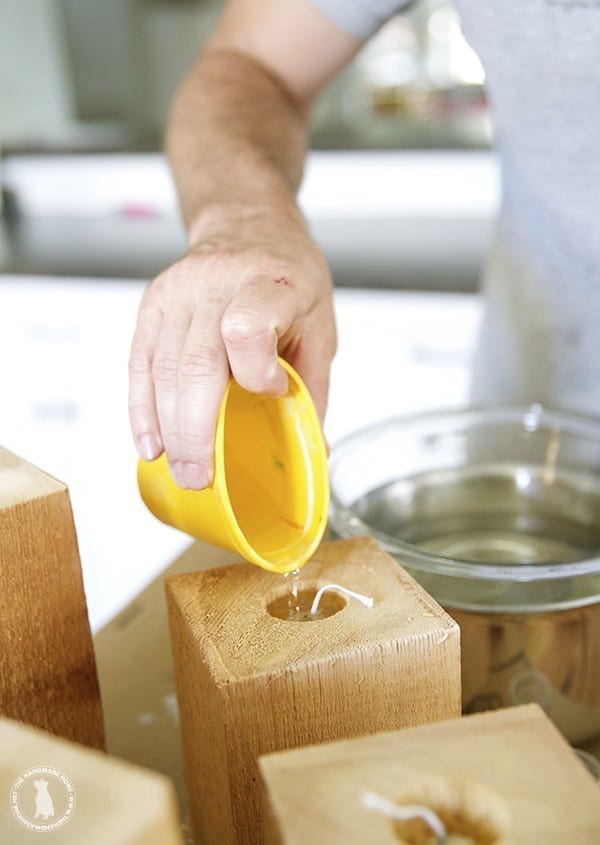
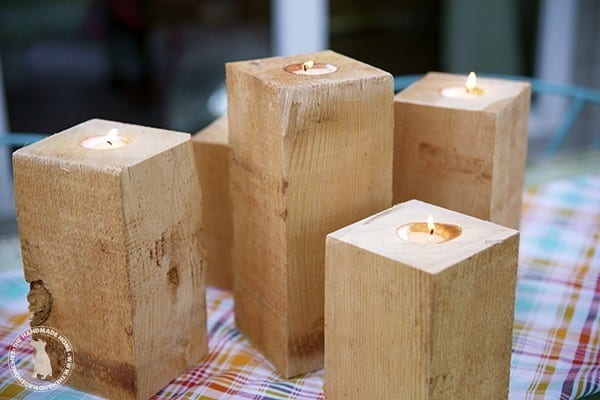
Make sure to fill them all the way to the top and let them cool until completely hardened.

Trim the wicks to a good length so that there isn’t an excessive amount left on top, and you’re ready for some outdoor fun!
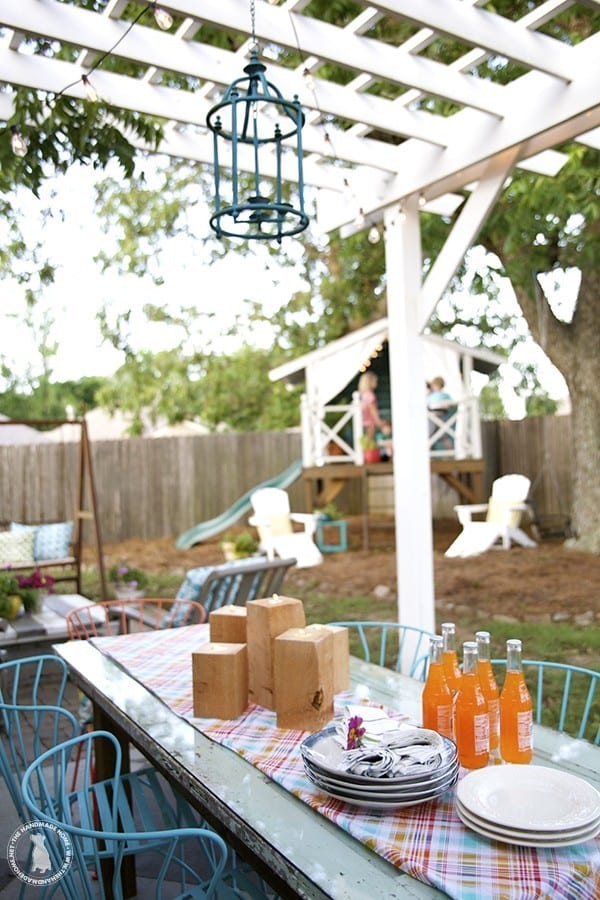
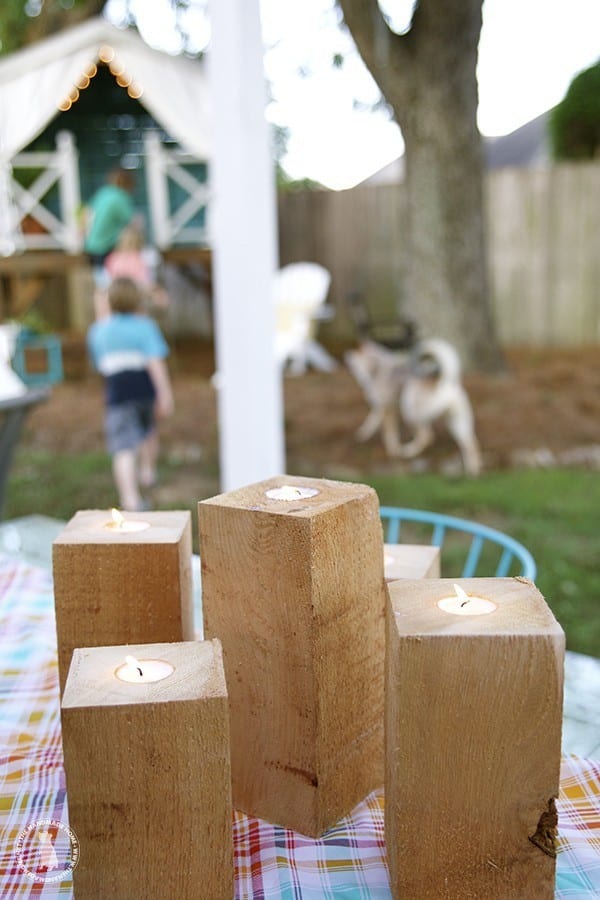 They make great centerpieces with purpose for all things outdoors.
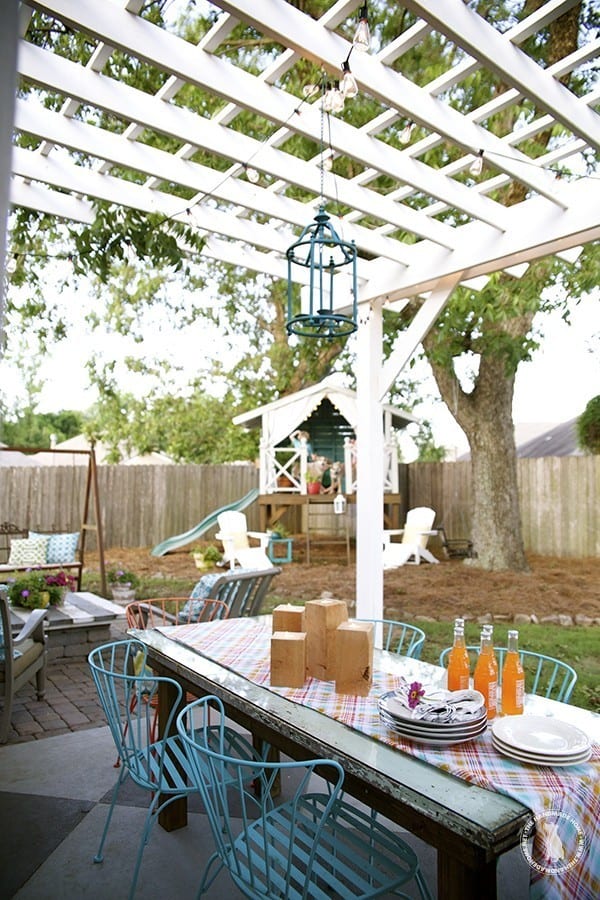
And should last long enough for a few hours of fun.
Once they burn out, just pop out the old wick with a flathead screw driver and pour some more wax into them for your next outdoor soiree. And like any candle never leave them unattended, or on any uneven surface.
Just a fun, simple centerpiece idea for outdoor fun!
As always, let us know if you try them or have any questions. Have an inspired day!

This is such a great idea! Love your back yard. It’s always so beautiful.
This may be a stupid question, but the wood really doesn’t burn? I just wouldn’t feel comfortable having a flame next to wood, but I’m sure the candles could be made in something else.
I am sure if the diameter of the hole was small enough, the depth of the hole was deep enough and the candle burned long enough the wood could catch on fire. This is why we went with a larger diameter and shallow depth. Also, like with any candle or fire, you should never leave it unattended. You can also purchase the candles we suggested and they would rest above the wood. Hope that helps!