Spring nights are slowly giving way to summer, and we’re ready to entertain again. So when DAP contacted us about trying out some of their new products, I was more than ready to put my creative juices to good use for dining al fresco.
Today we’re sharing how to make these diy candle holders with DAP!
Whenever we stumble upon a good product in our line of work, we love sharing it with others. I only wish I’d found this glue sooner, y’all. I’m always looking for the perfect clear glue that will work wonderfully with glass and other various materials. {AKA the alphabet magnets linked below}. This glue is so great, when I was done, I wanted to make more.
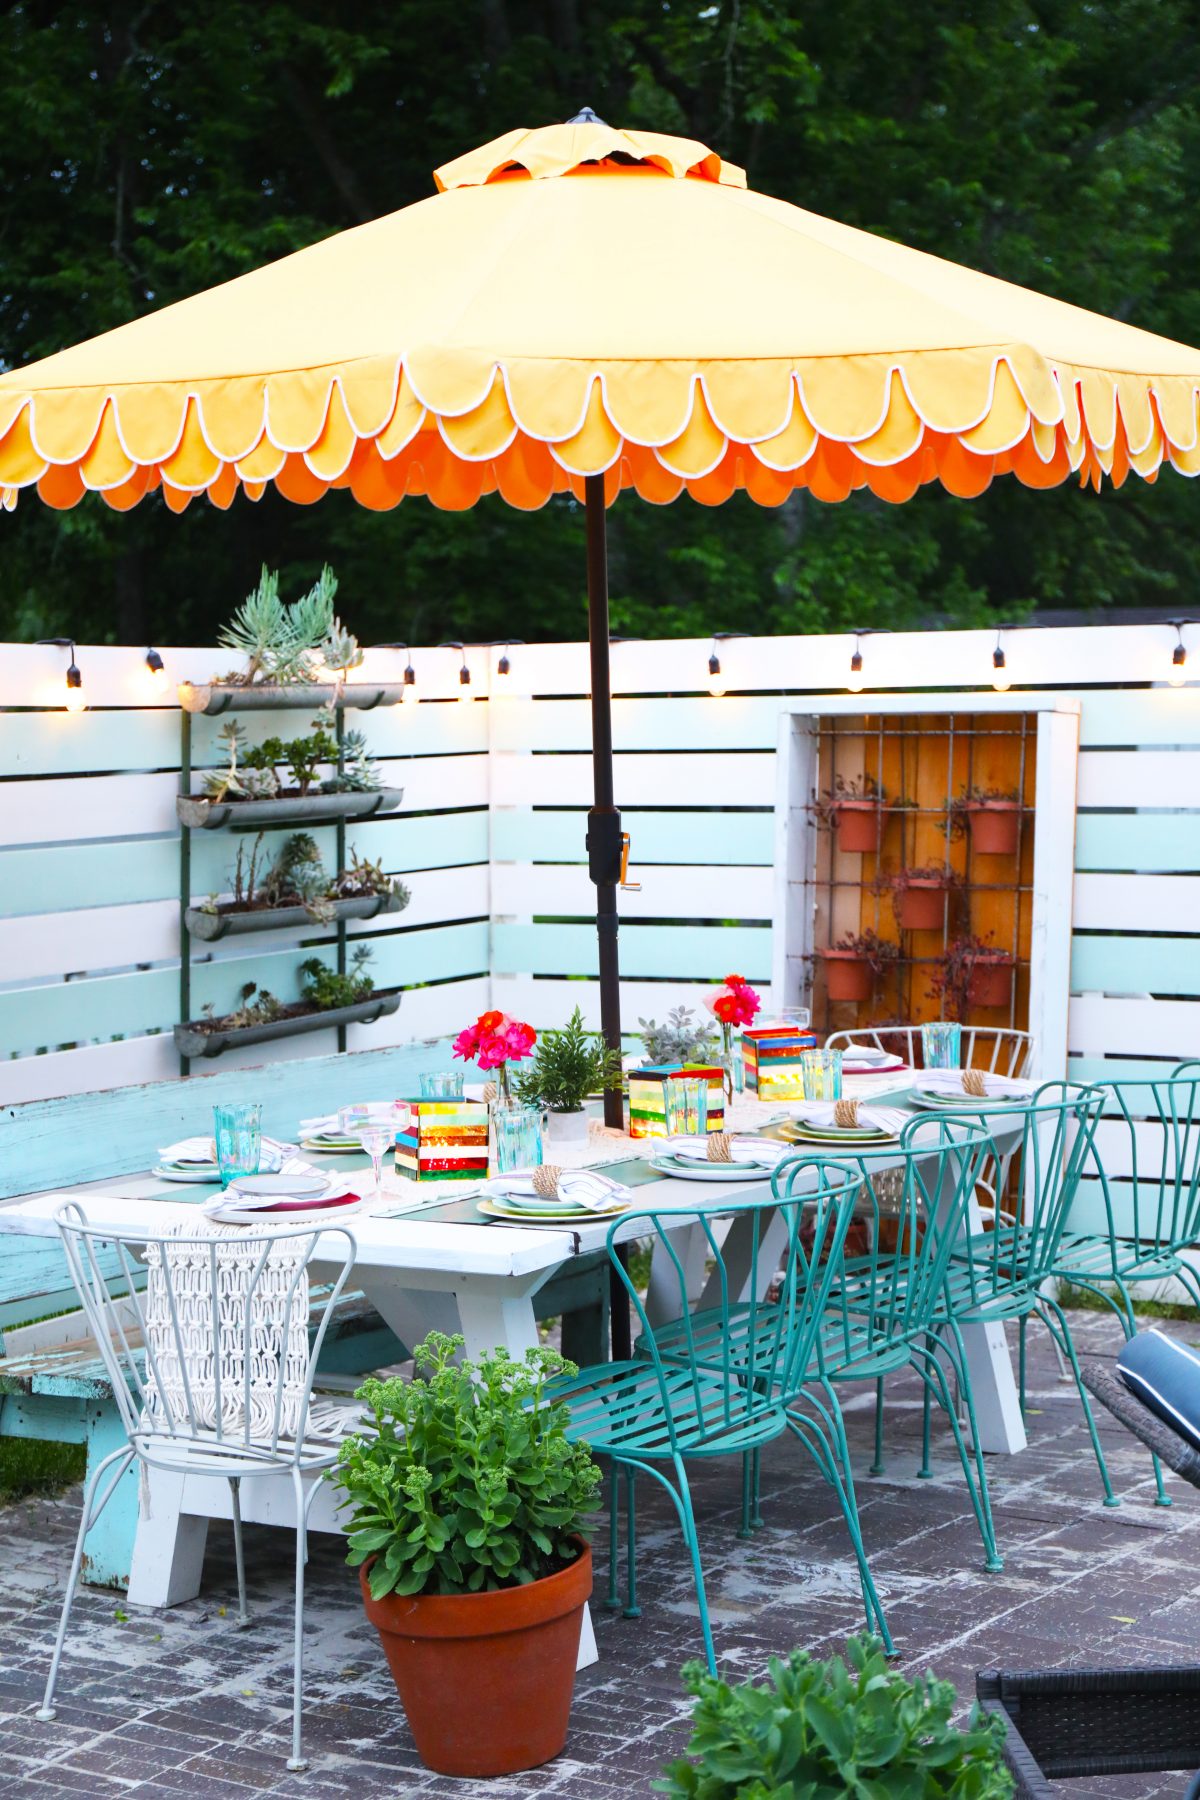
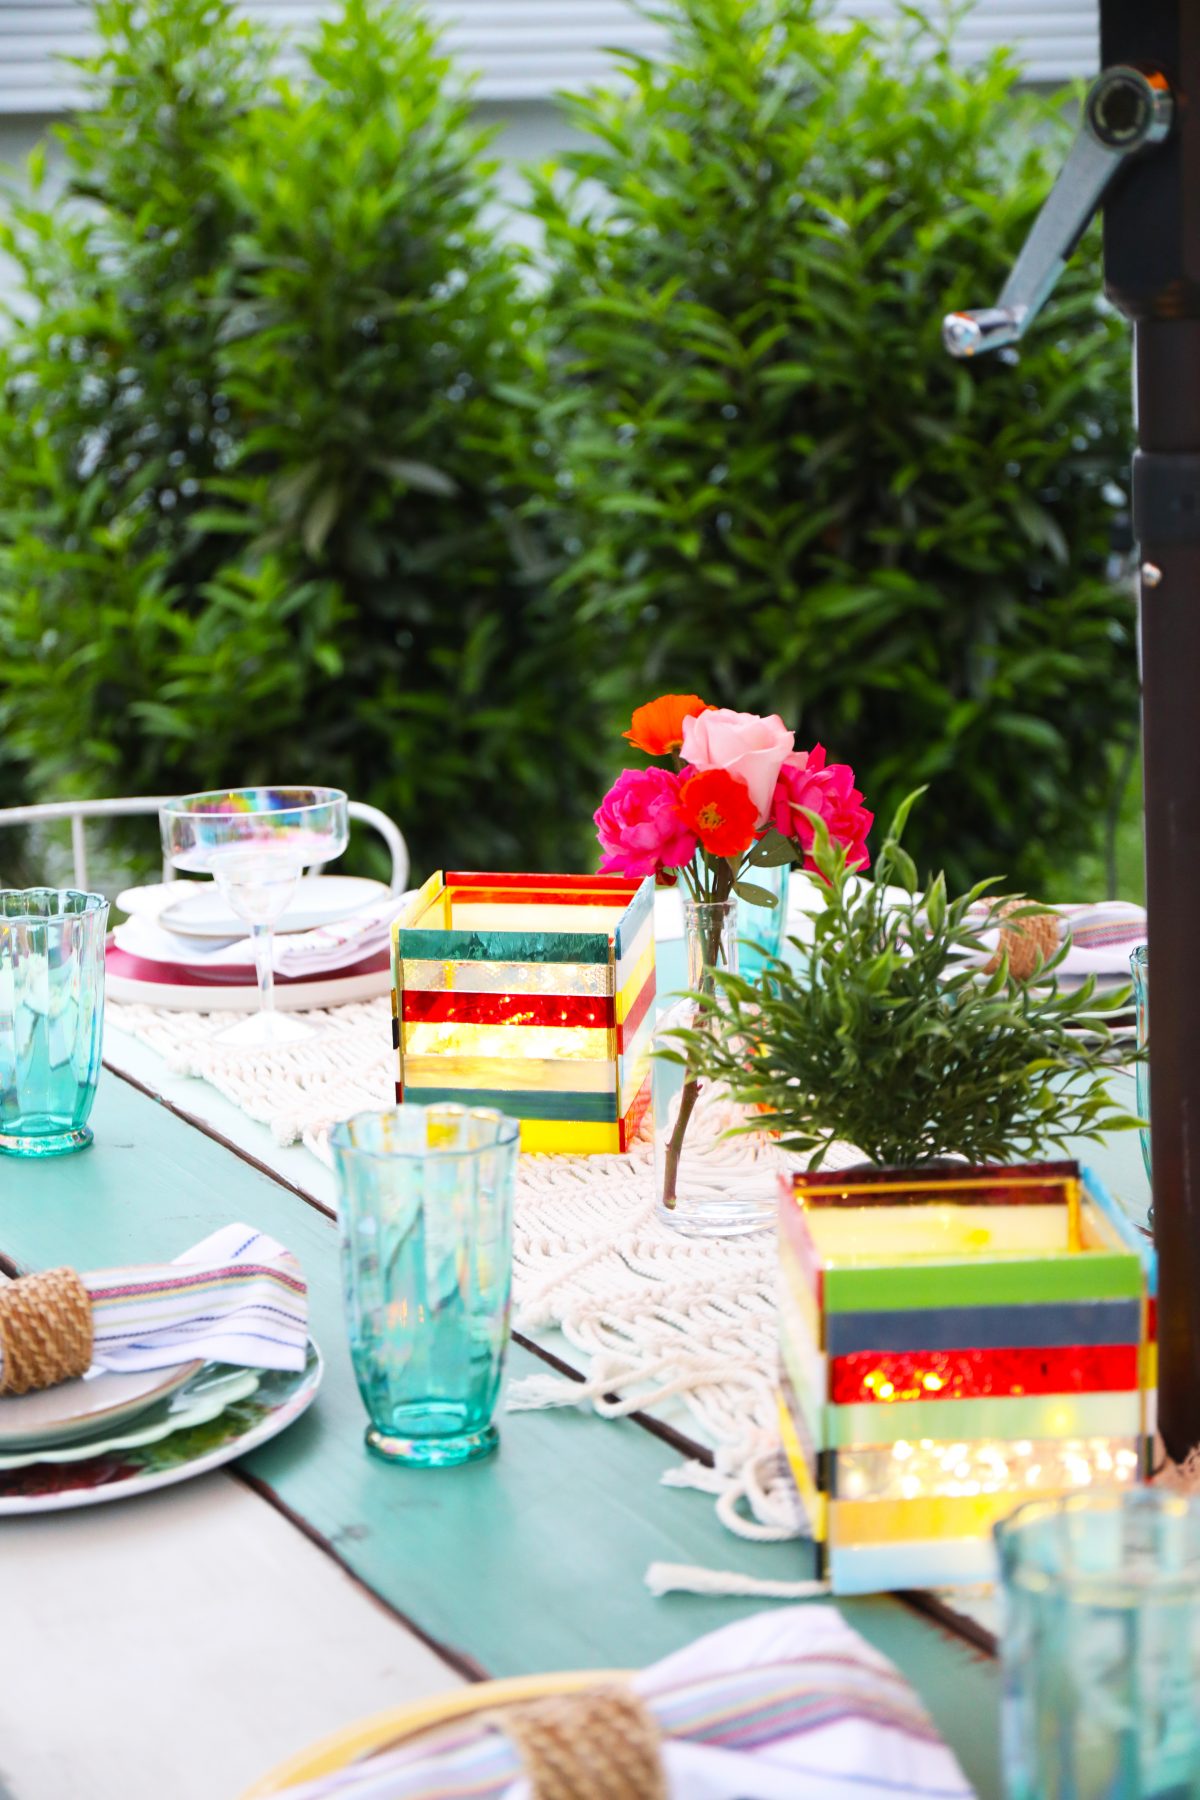
These are so much fun, and super easy. They make the most colorful accent to any table or space, and we were thrilled to create these for summer gatherings.
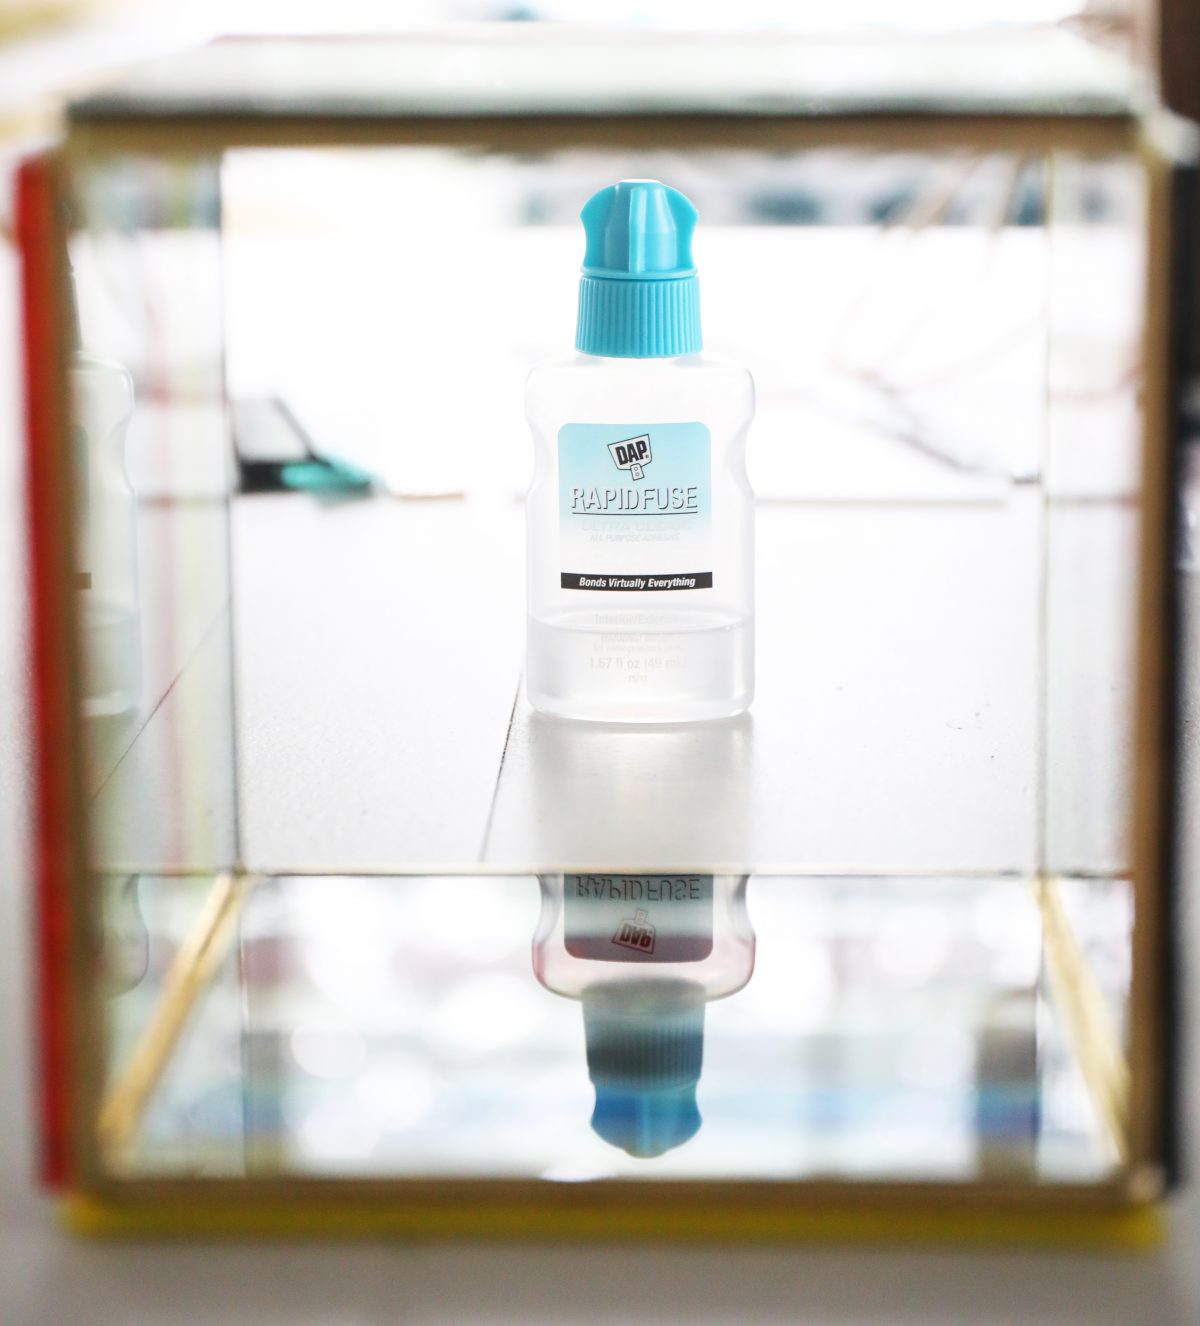
What I adore the most about this DAP RapidFuse Ultra Clear, is that it’s safe for outdoor projects, and works with glass. It doesn’t stick to your skin because it’s a hybrid polyurethane formula.
It also dries with a flexible hold, so it’s almost like a stronger rubber cement in nature when you mess up and leave it on your table after working. True story. Furniture not ruined.
It won’t yellow or flake as it ages, so that’s a definite win for all those awesome crafting projects. Especially the clear ones like glass.
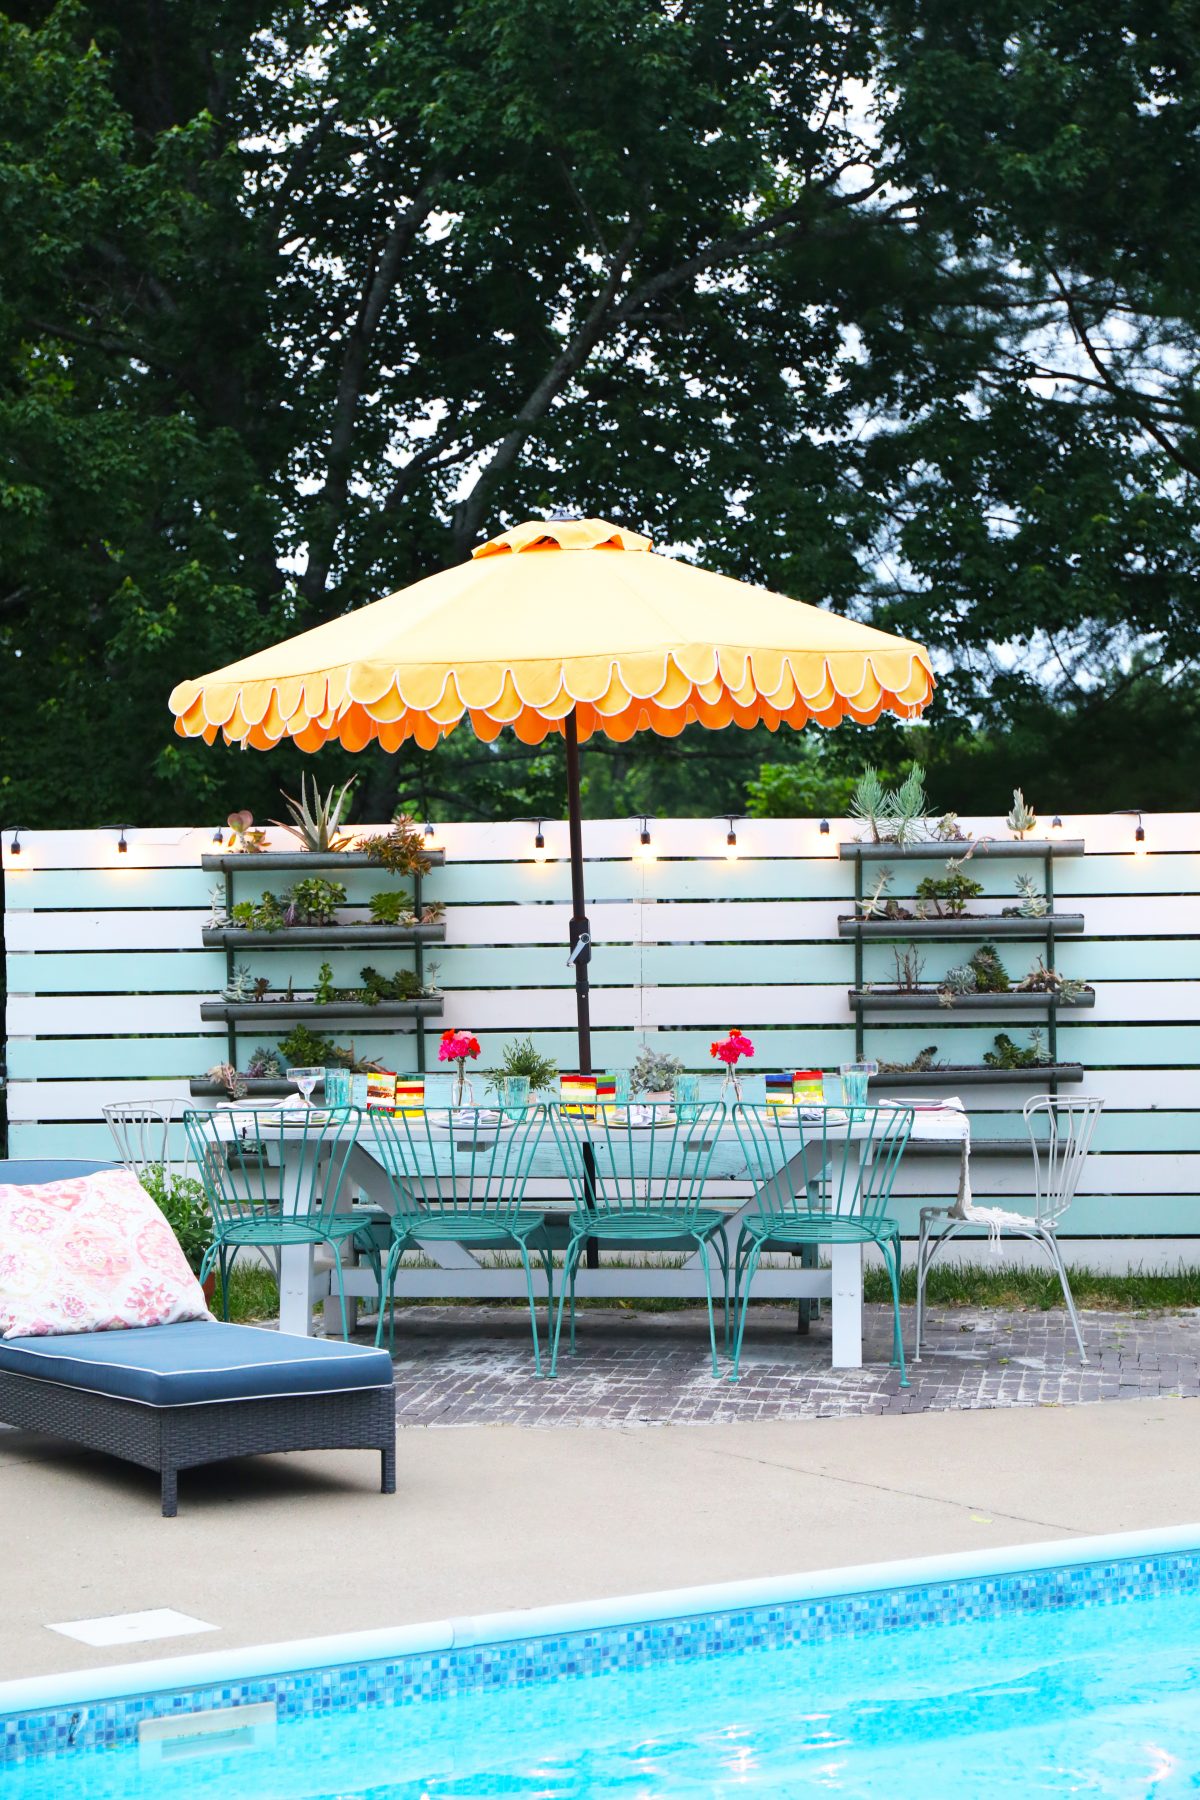
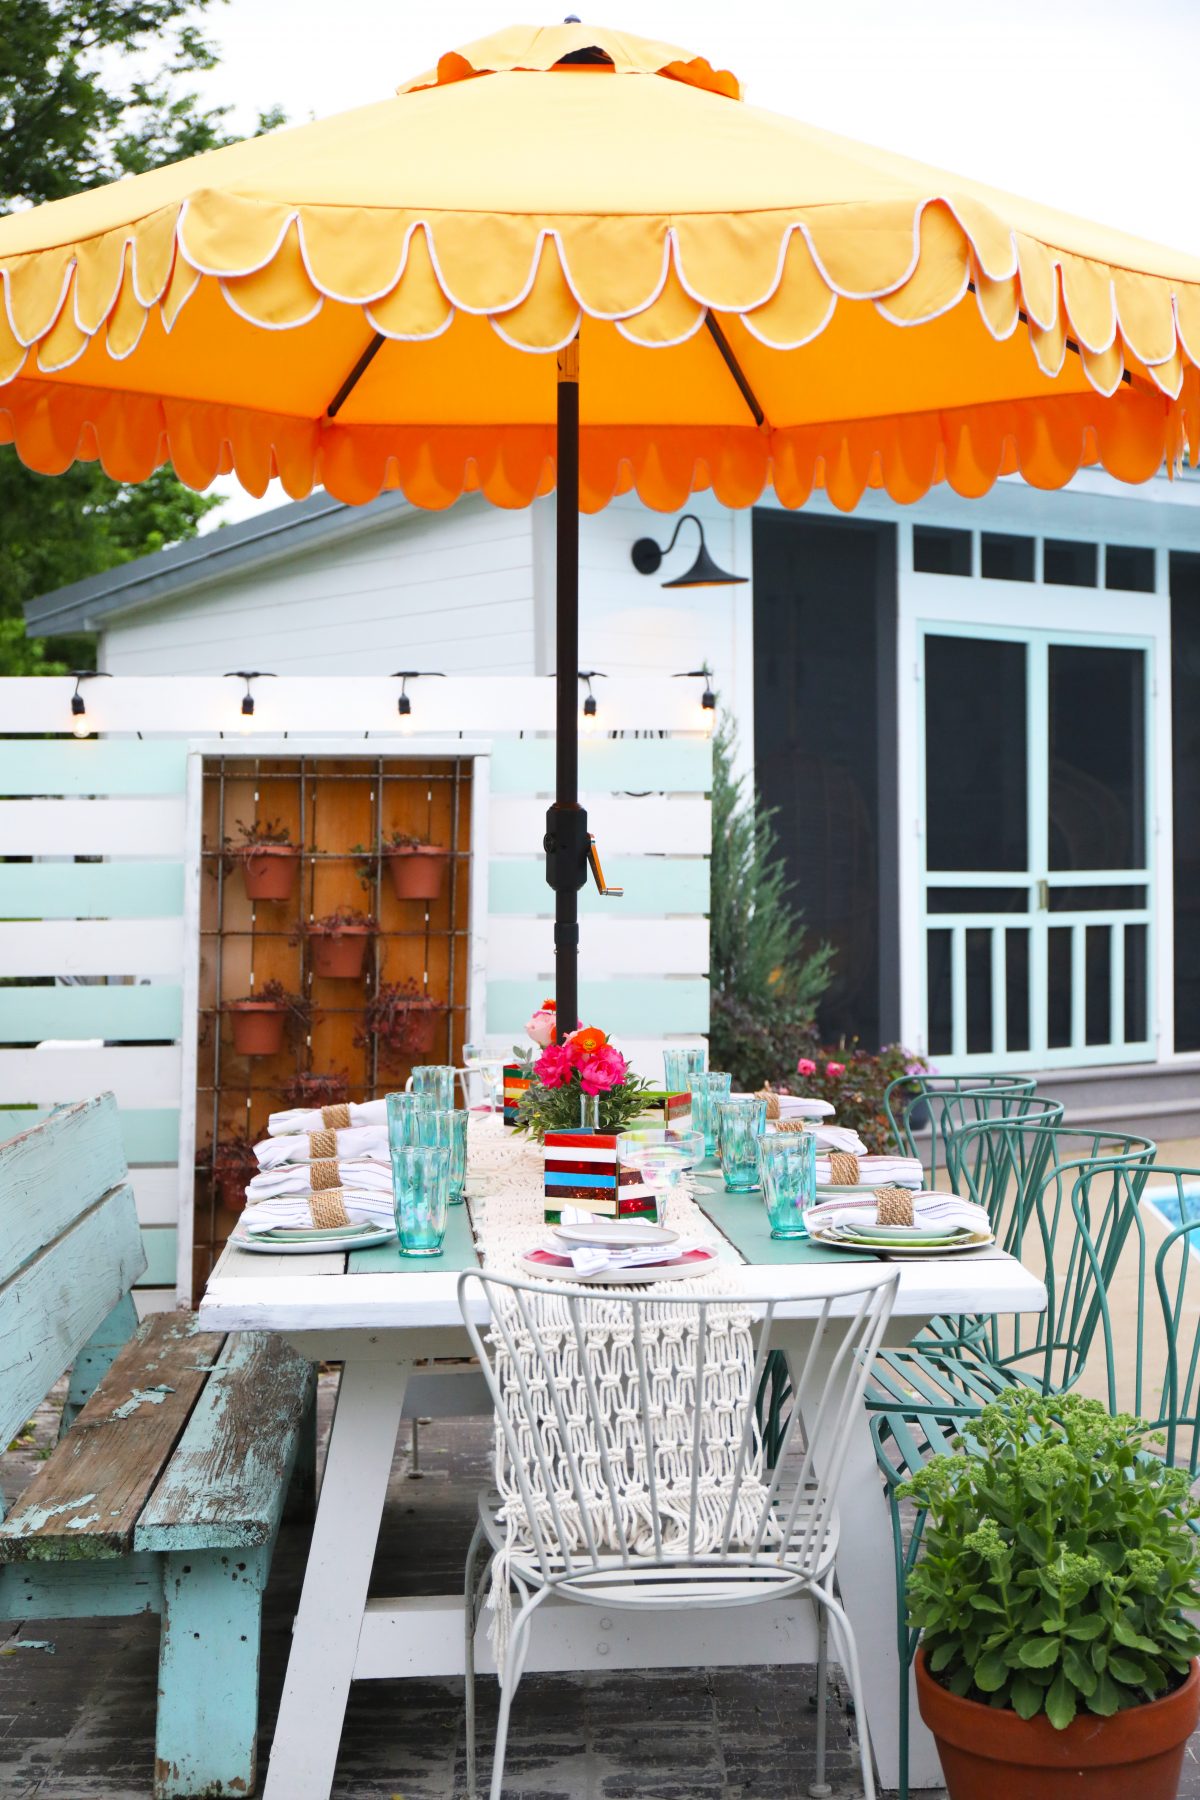
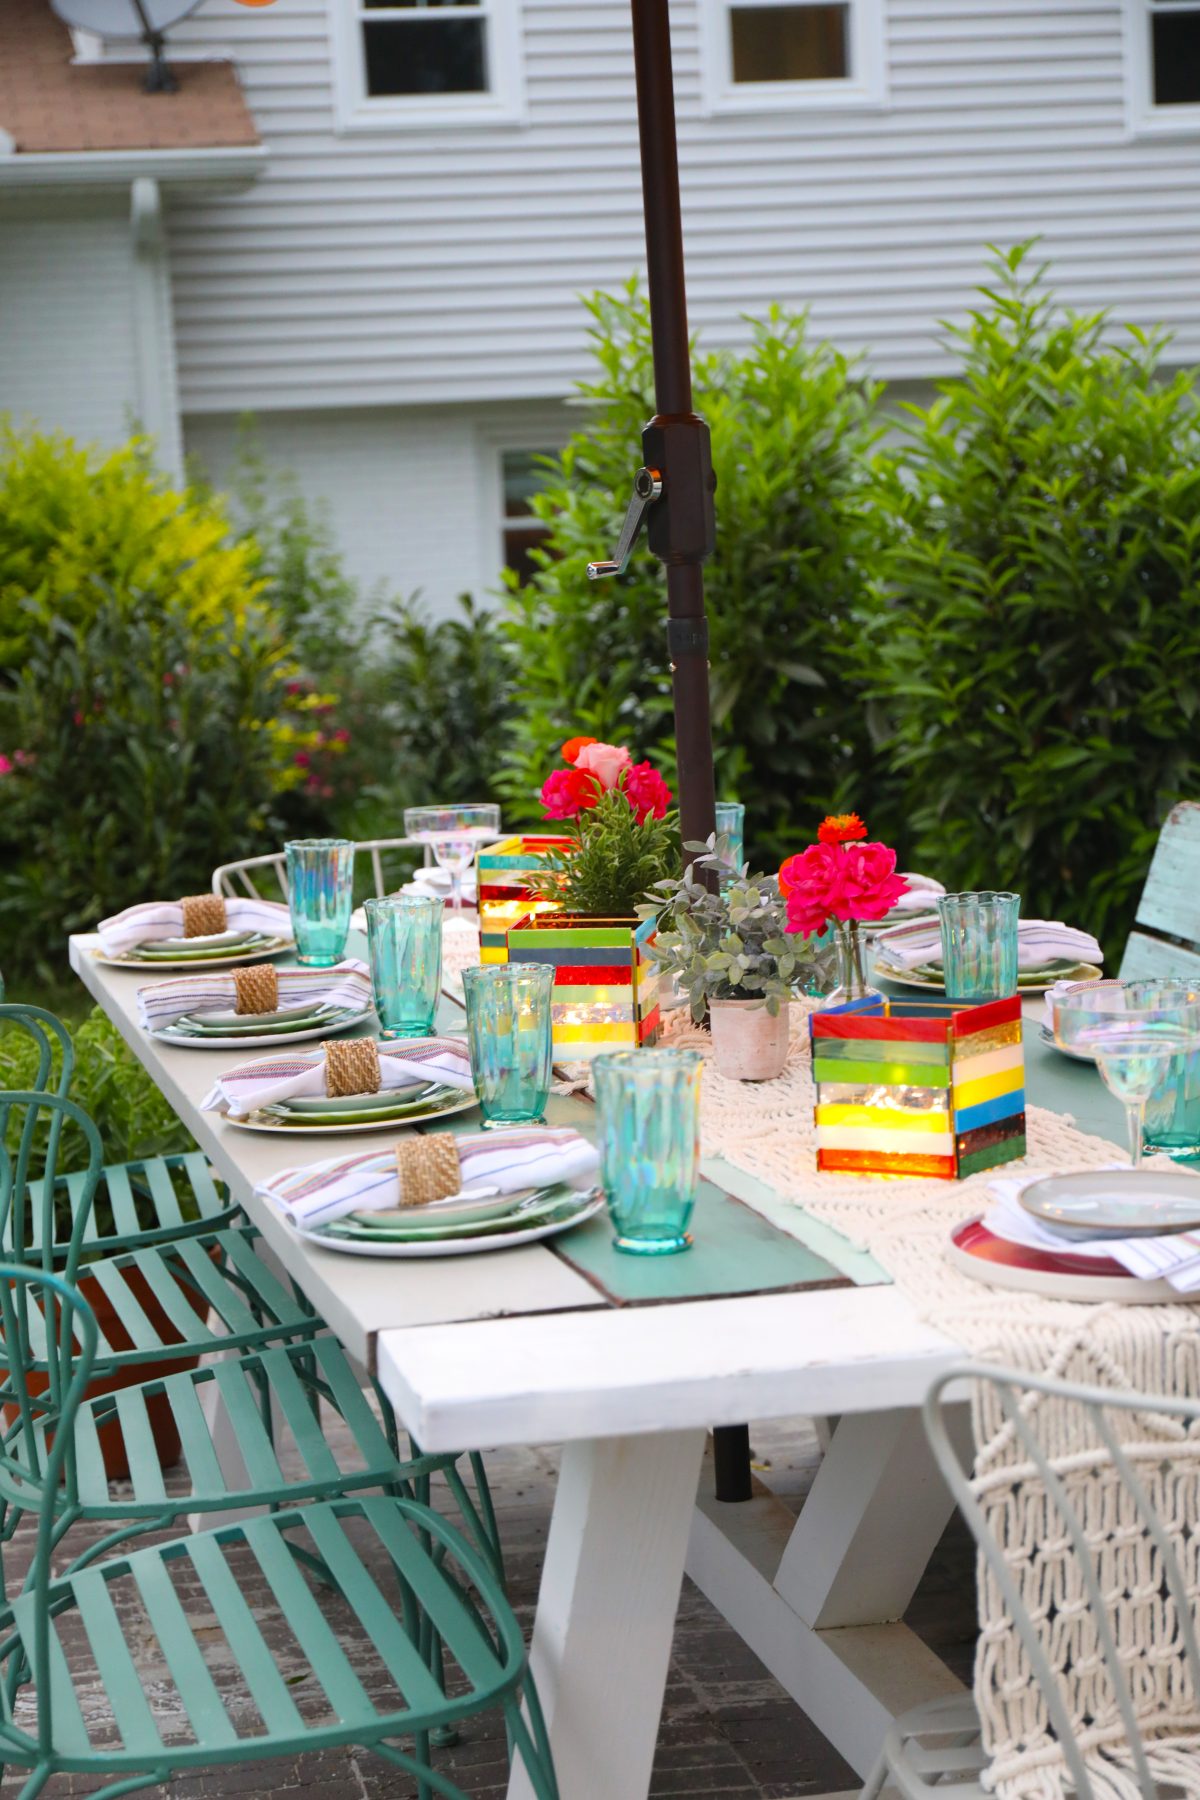
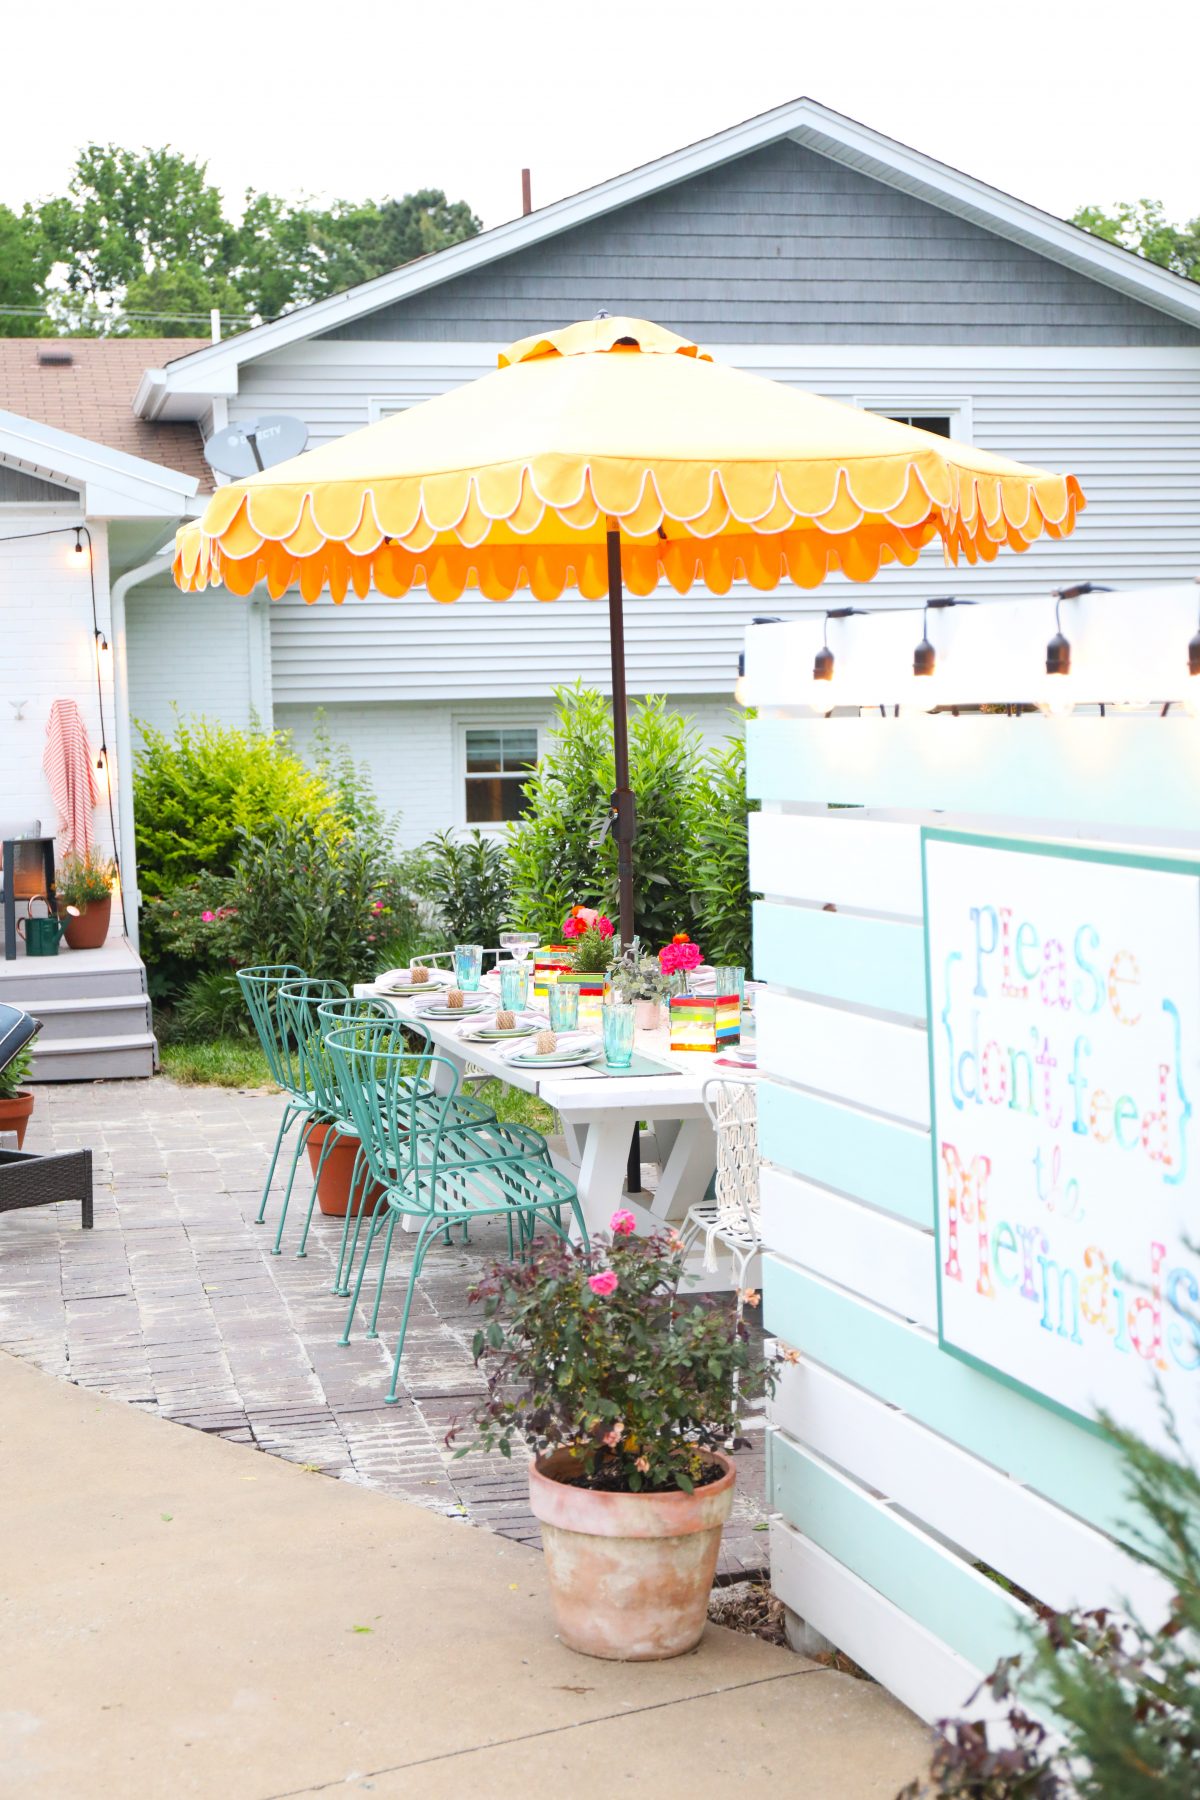
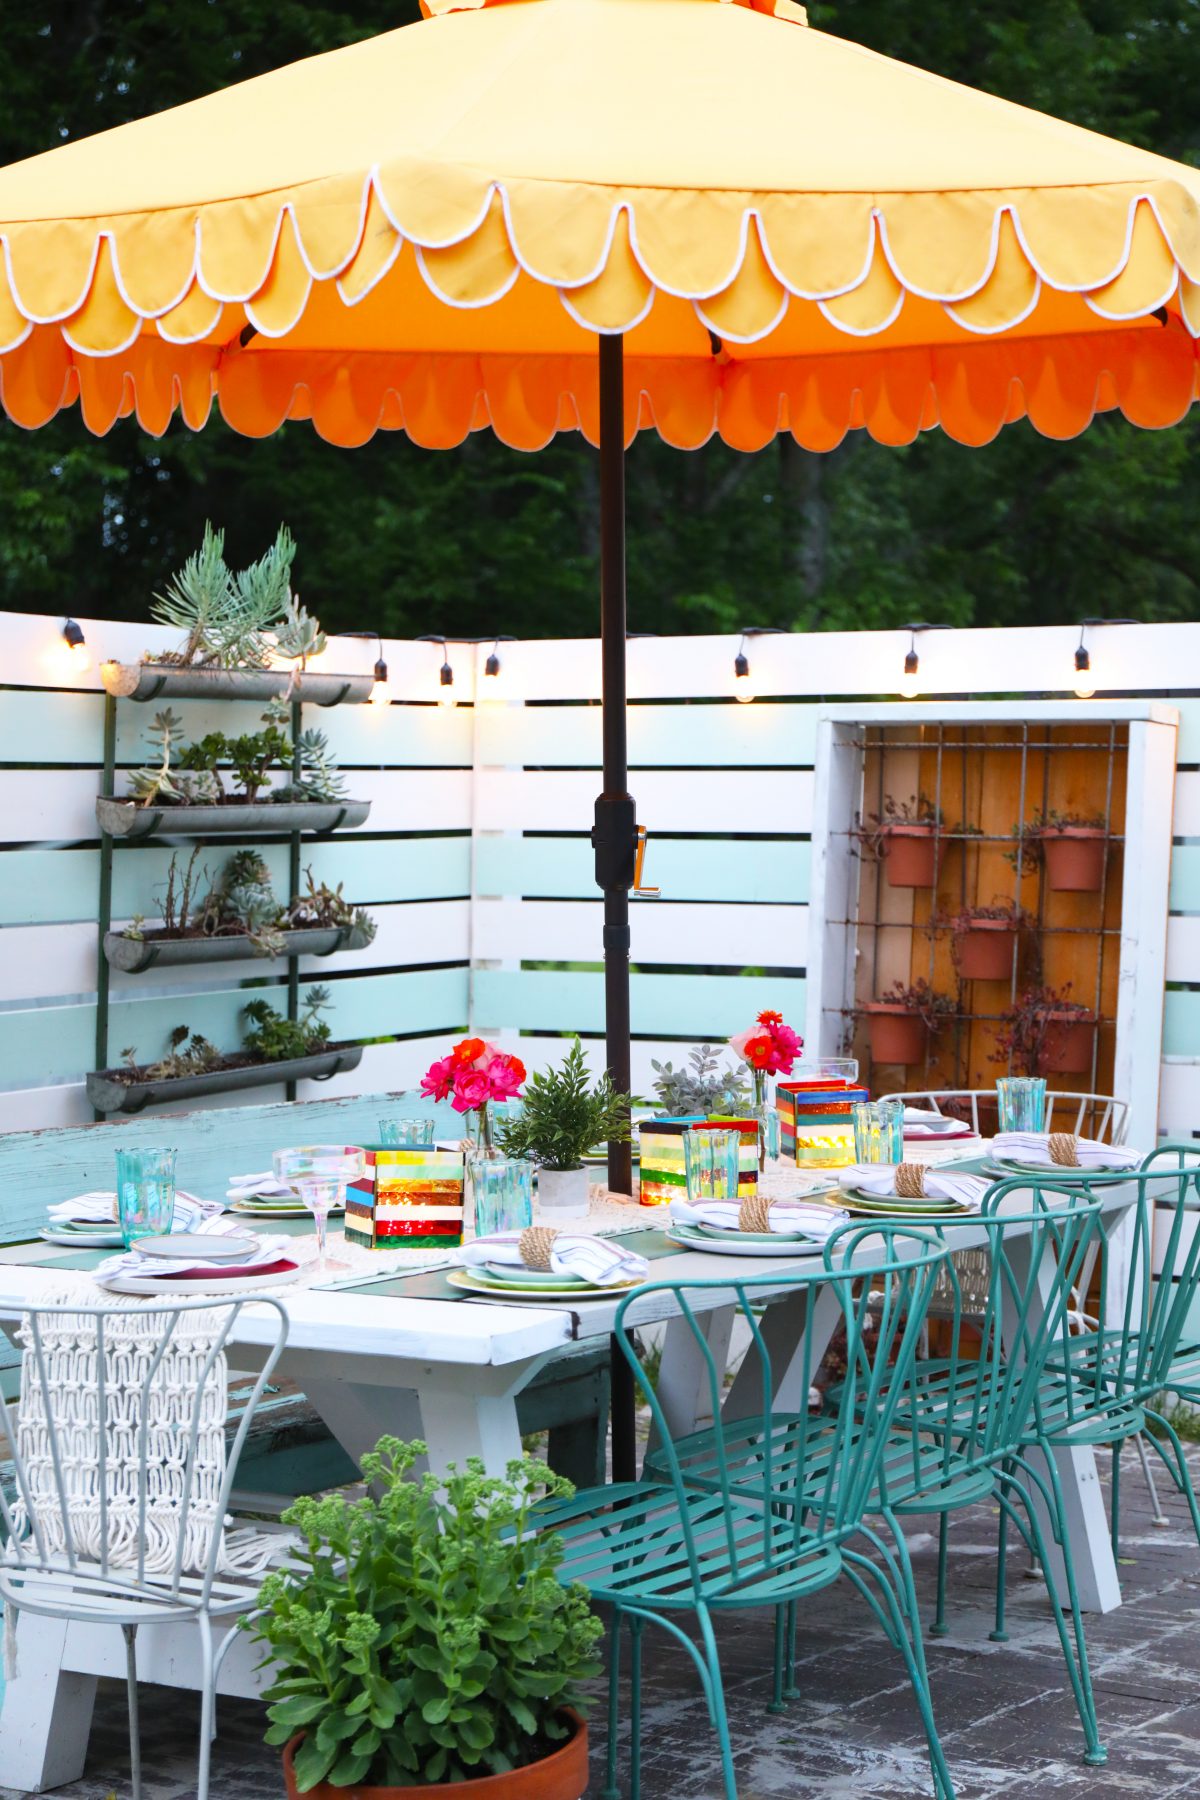
We love the colorful fun these easy projects brought to our outdoor dining area!
 Want to make some of your own?
Here’s what you’ll need:
• Dap RapidFuse® Ultra Clear All-Purpose Adhesive
• Gold square lantern – a great source for all things garden + decor, btw
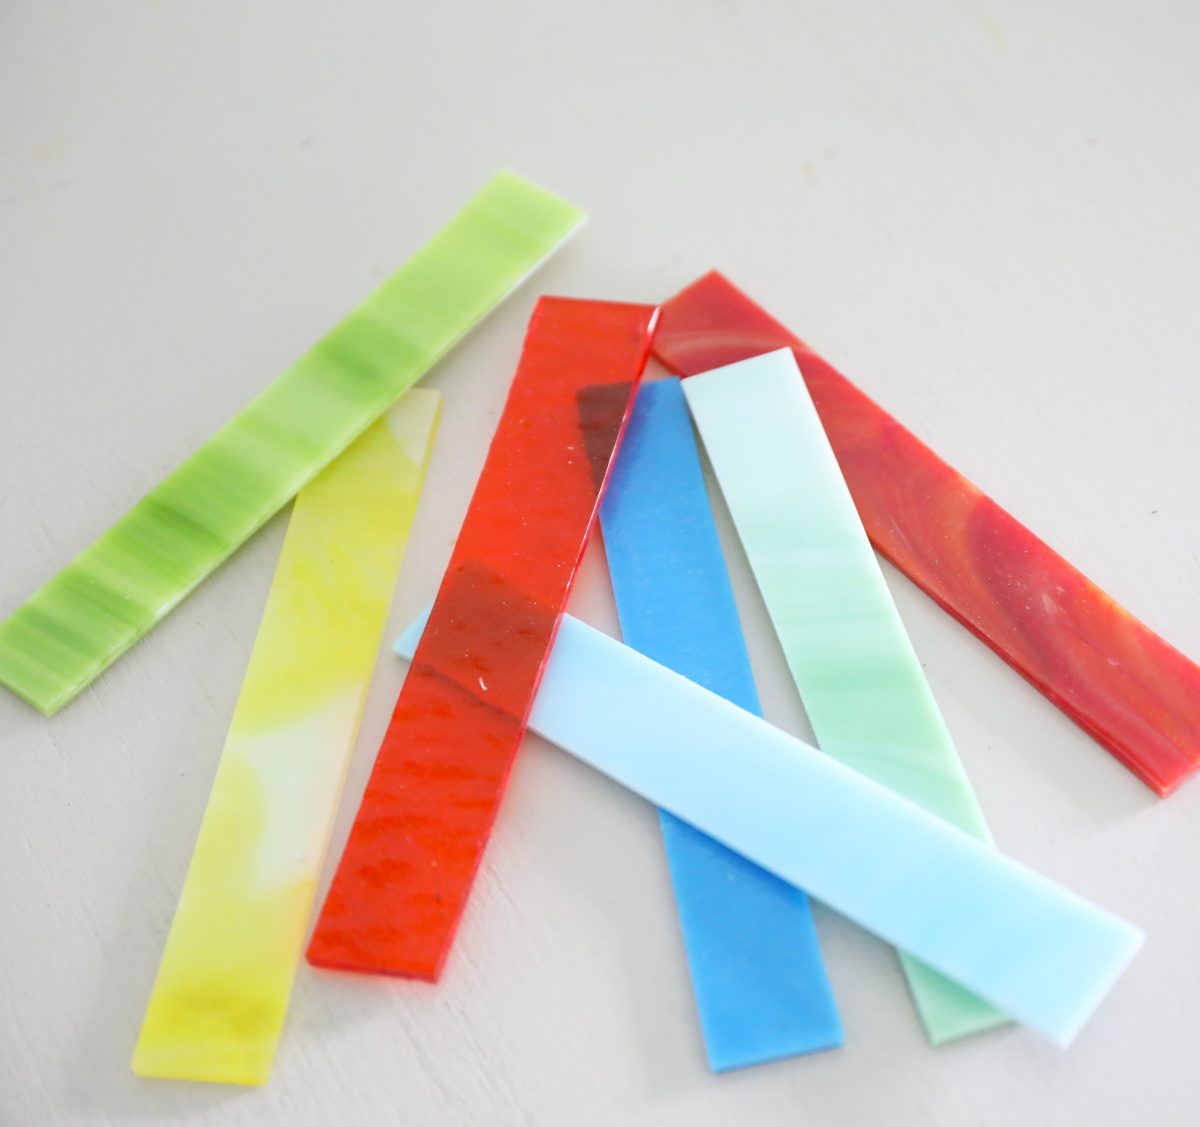
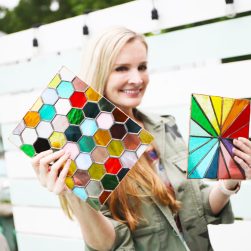
• Stained glass strips
– I ordered a quantity of four 3’4″ strips, which amply covered three lanterns
– You can specify colors in your order, which helps keep things light and bright for a lantern project
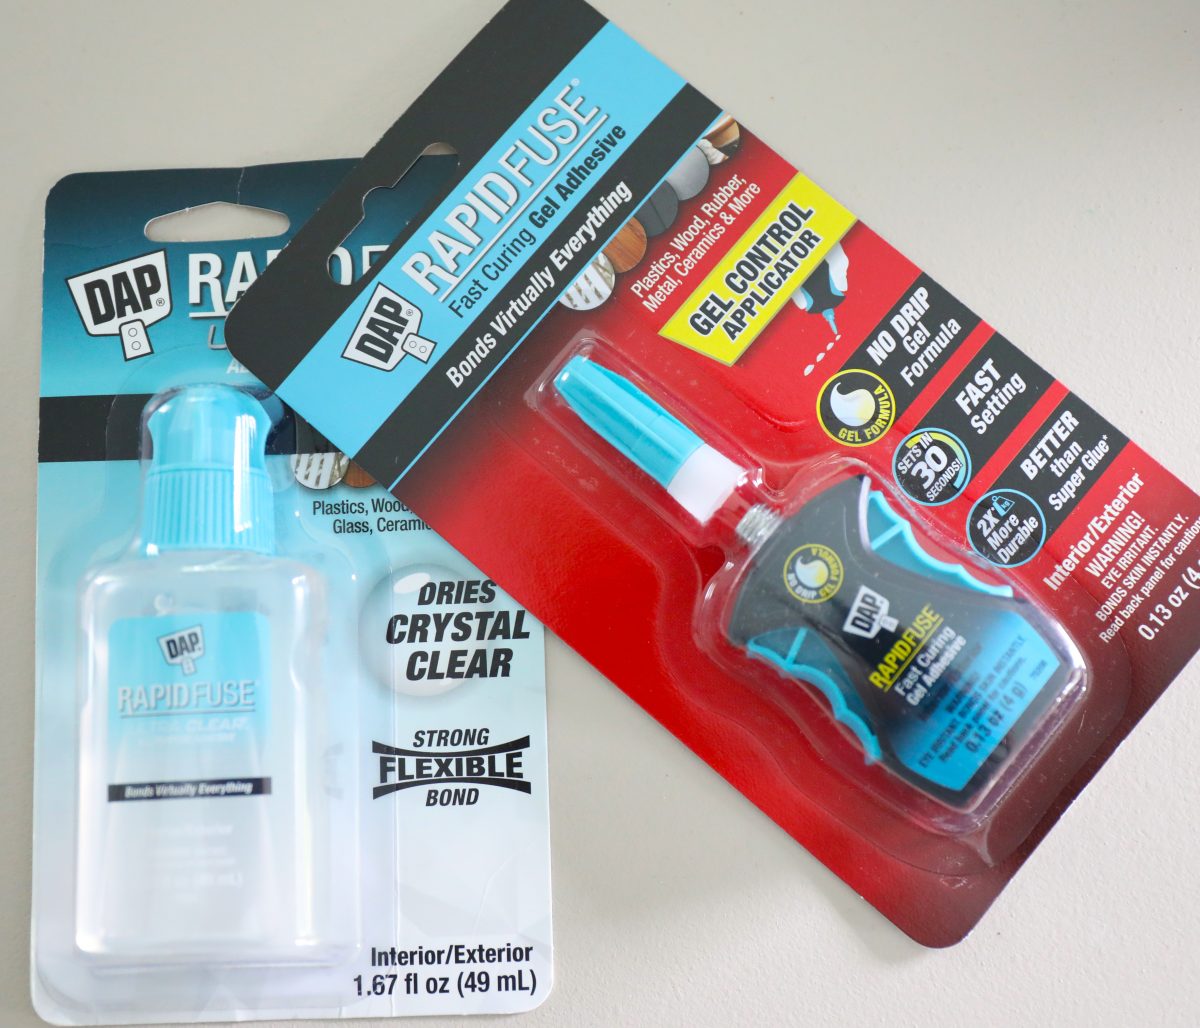
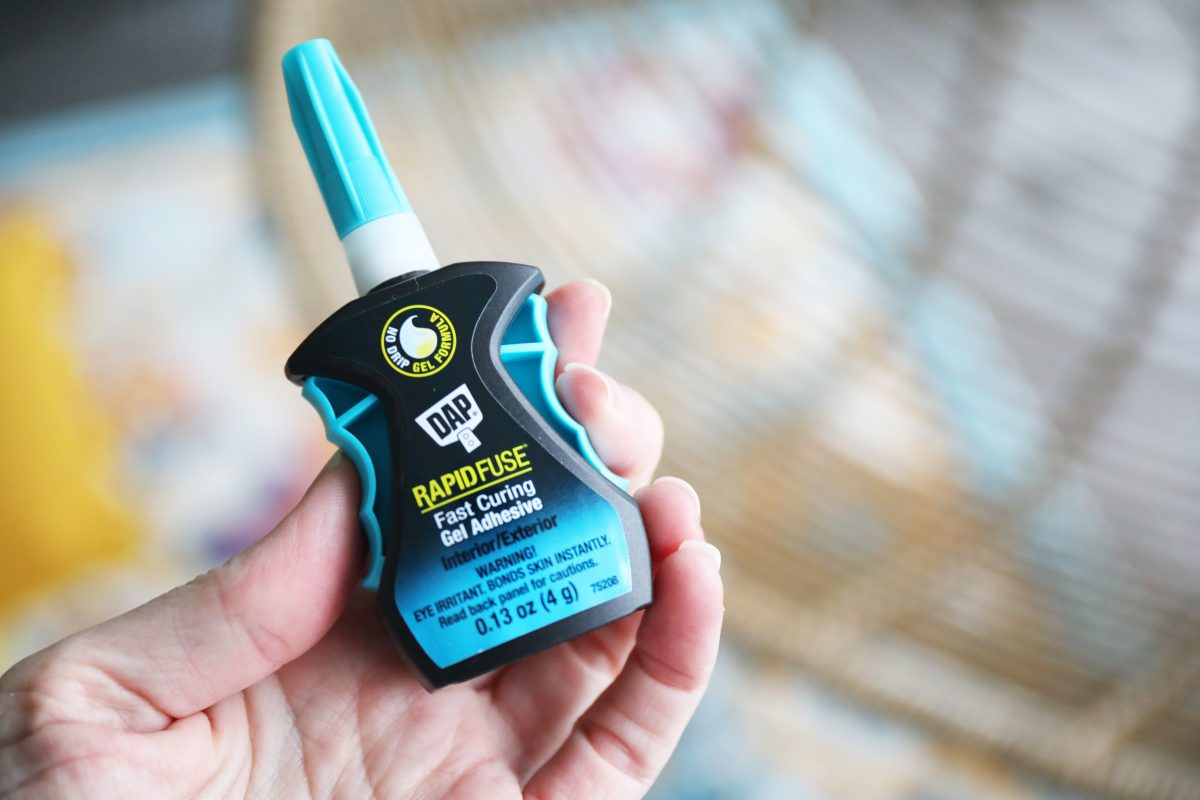
This is a photo of both glues that they sent, in their packaging. I tried the fast curing gel adhesive below for a practical project so see more about that below!
![]()
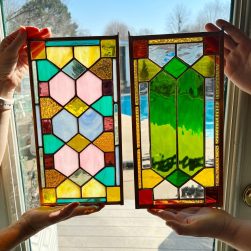
So the first step was arranging my strips as I wanted, and planning them out on each side.
Note: If you need to trim your strips, you can order a glass cutter online.
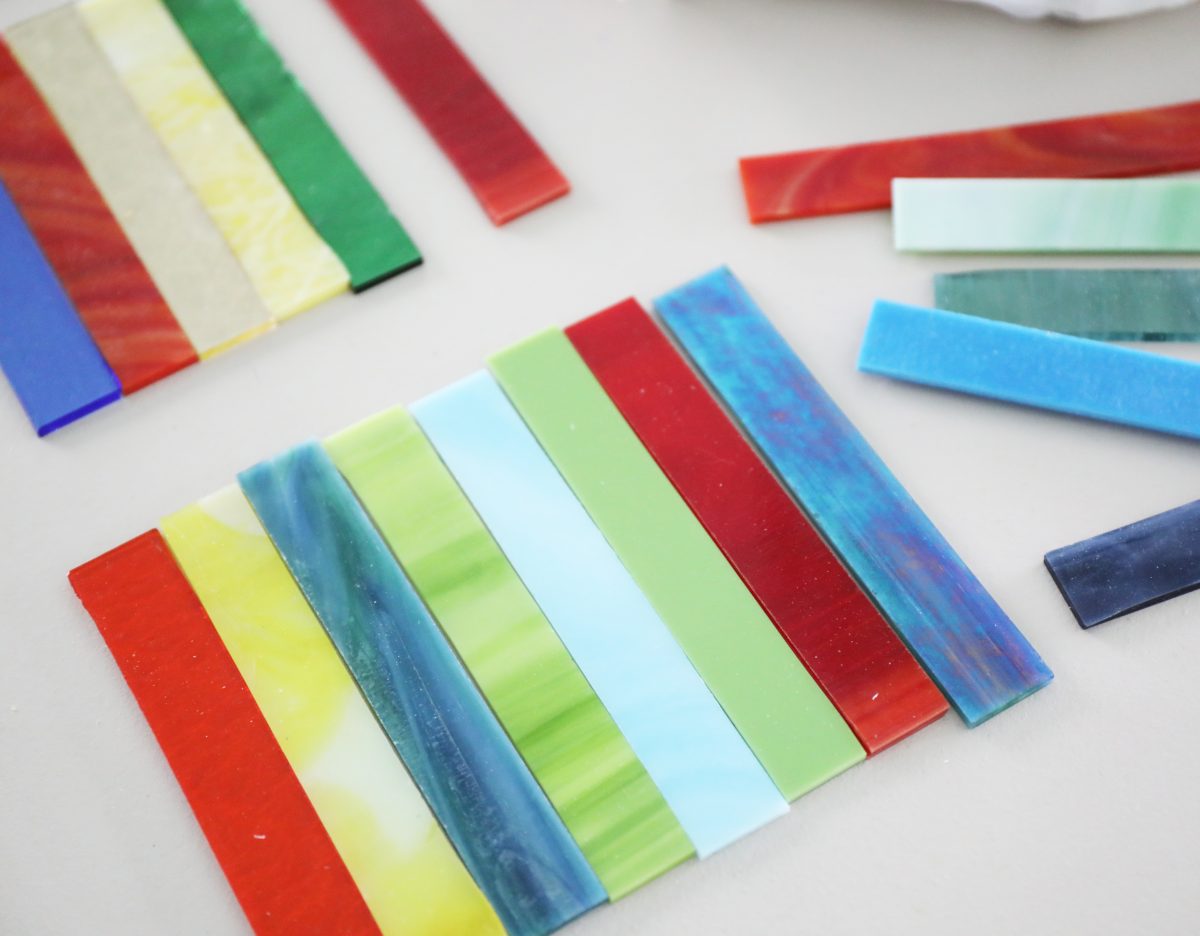
I took the lazy route and didn’t need to cut any of mine, since most of these are roughly the same size. I just stacked them as I went. It can be easy to get caught up in perfection when it comes to the final look, but I think the point is a fun finish, instead. So this is more like a lazy man’s stained glass.
Minimal work, big impact.
Then I simply laid them out, and glued.
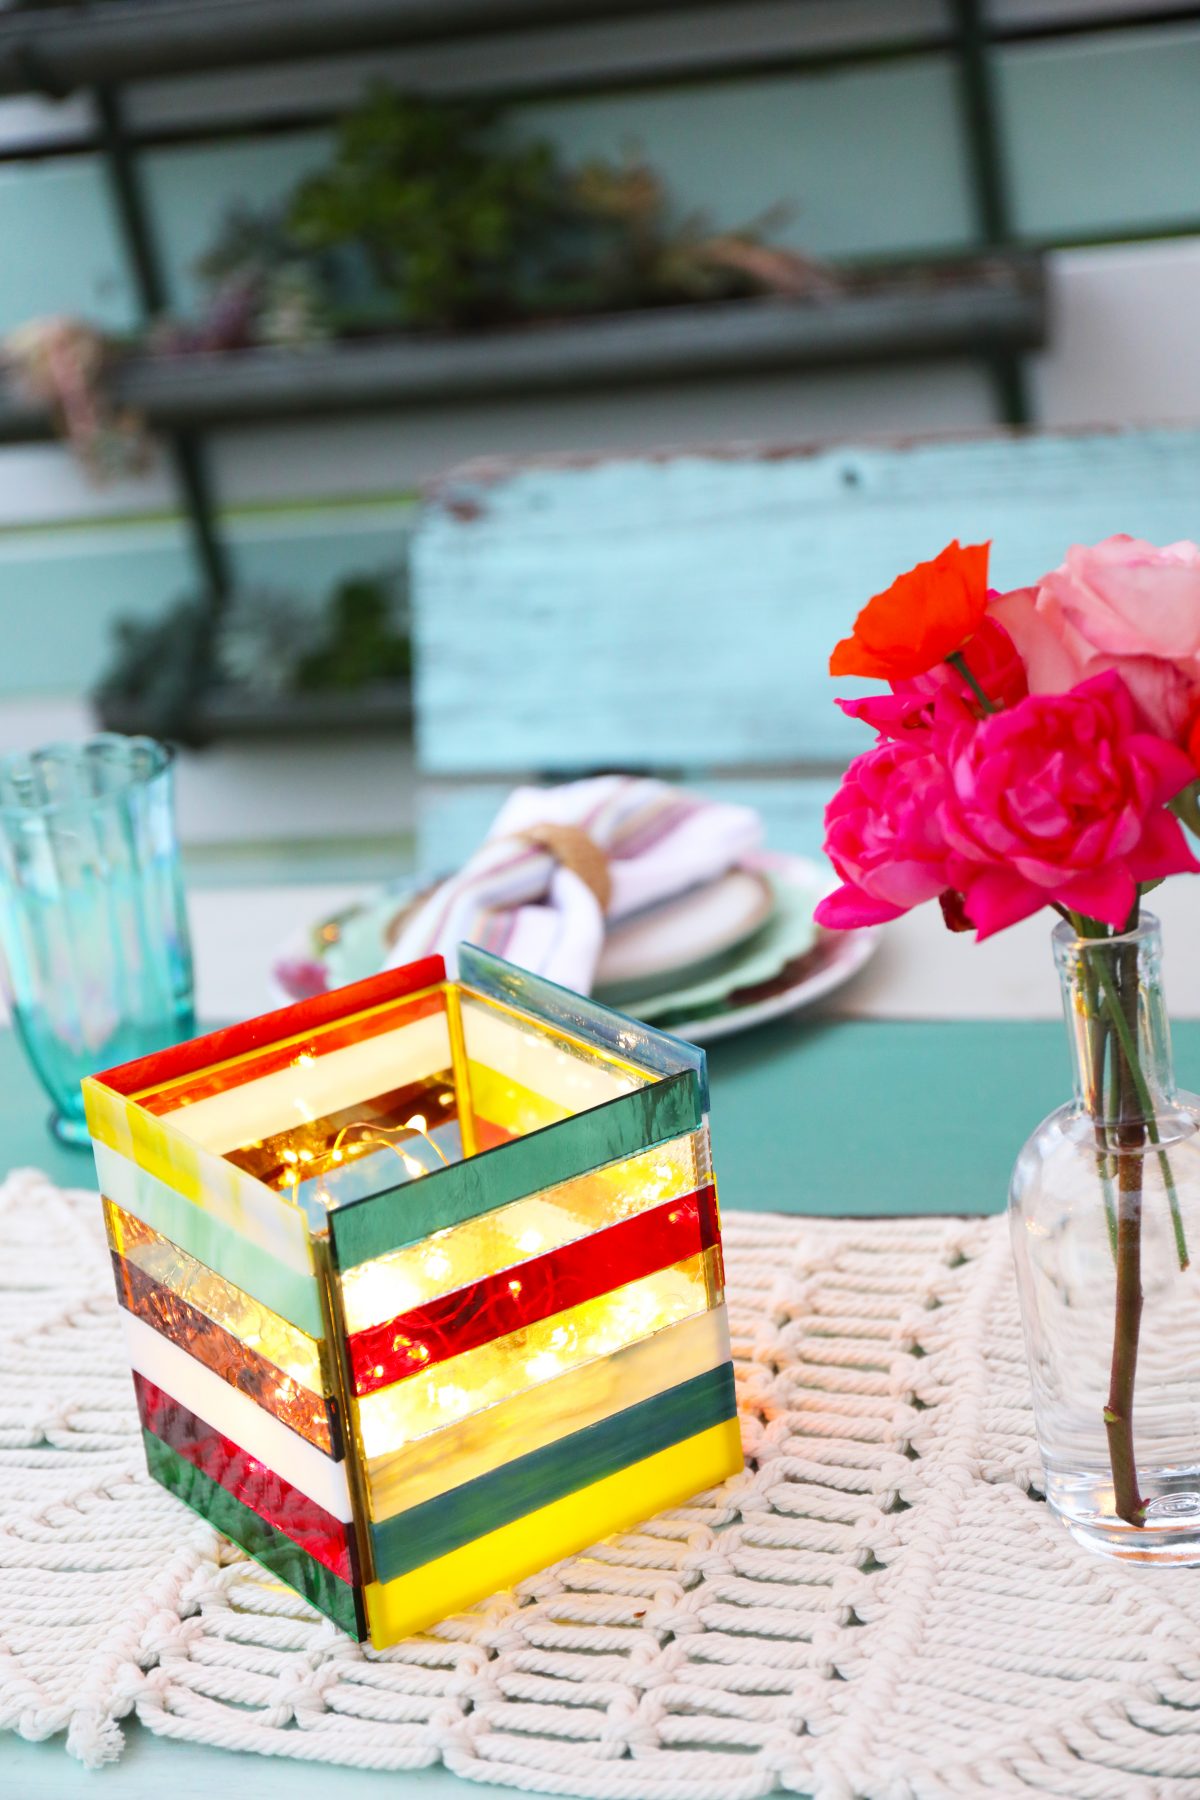
I ended up with seven mosaic strips on each side of the lantern. So I just chose fun colors that really went together. If you’re not into multiple colors, there are plenty of other options on the site.
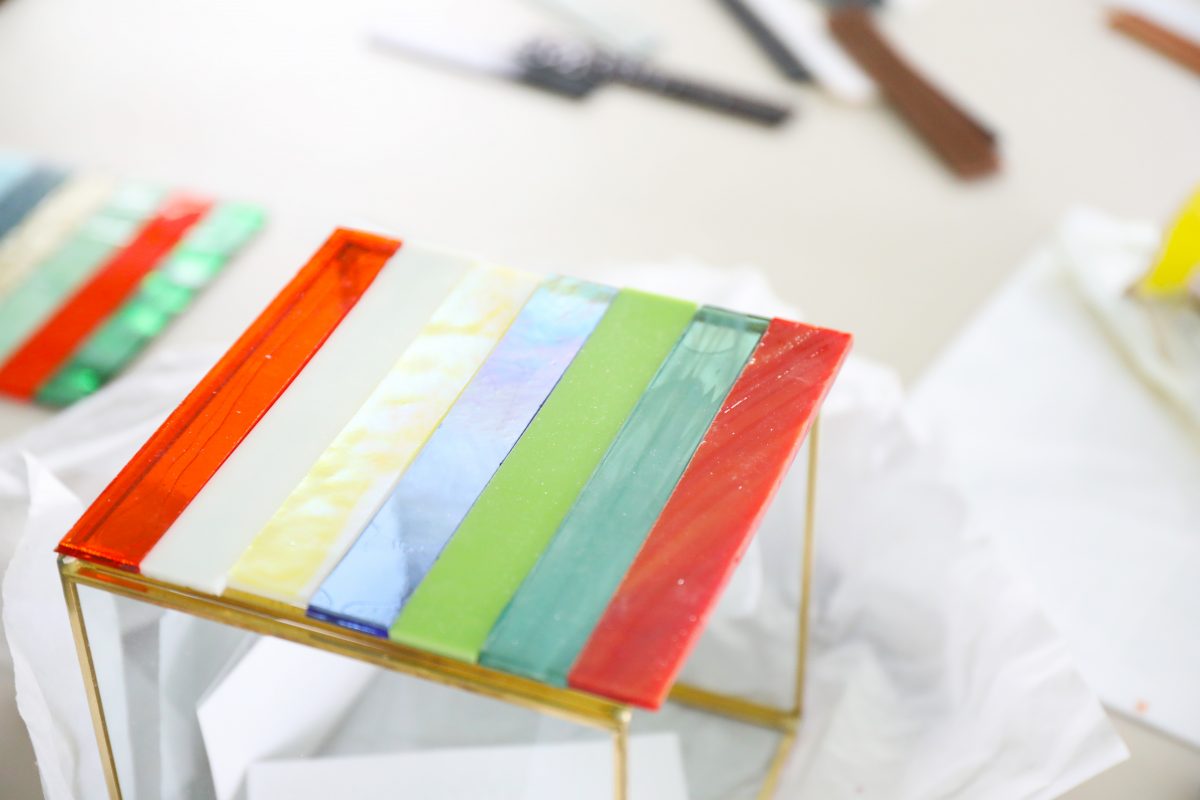
I placed a strip of glue on each row, and then placed the glass.
Total side note: I can’t wait to go back and try these out on another batch of my magnets.
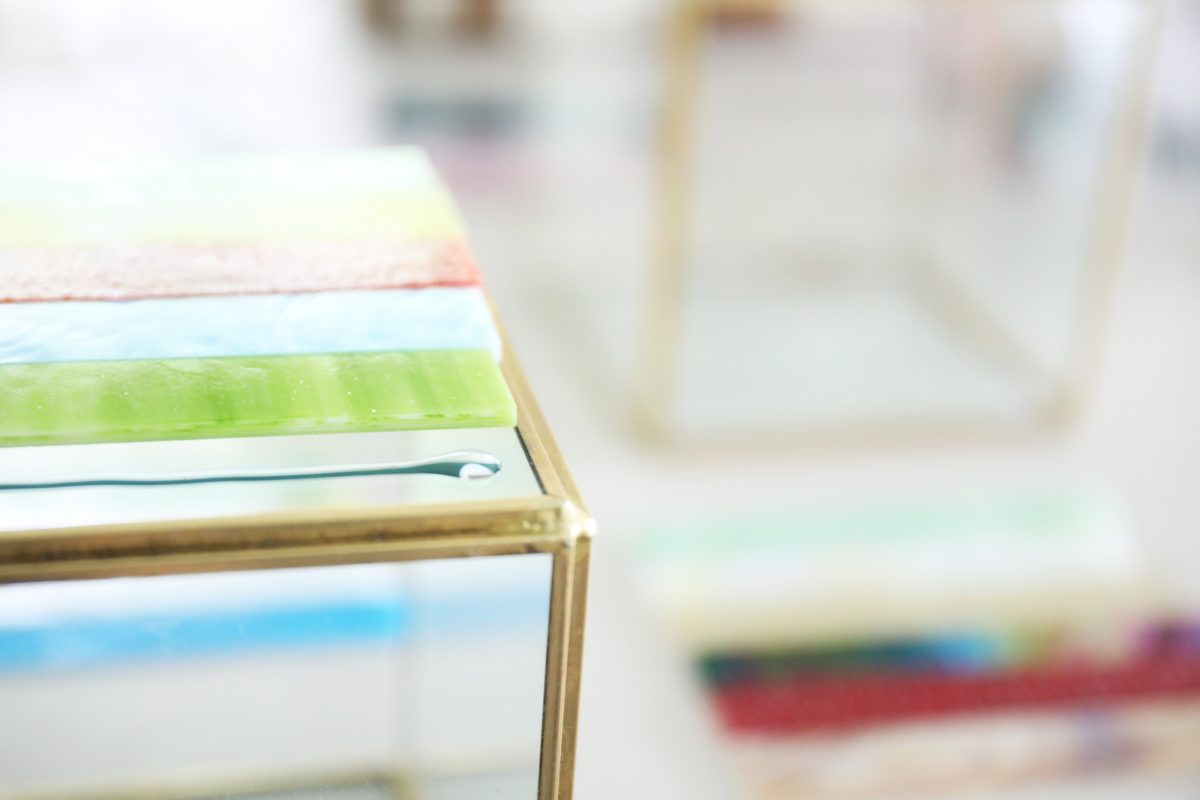
I did each side at a time, and left it for about twenty five minutes to ensure that it was dry.
When I came back, they were ready for the next side.
Sometimes the top little row would get a little wobbly, so I braced it with another lantern on top.
When I came back, all dry! Then I rotated to the next side, completing all four sides, sure to match up the glass on each one.
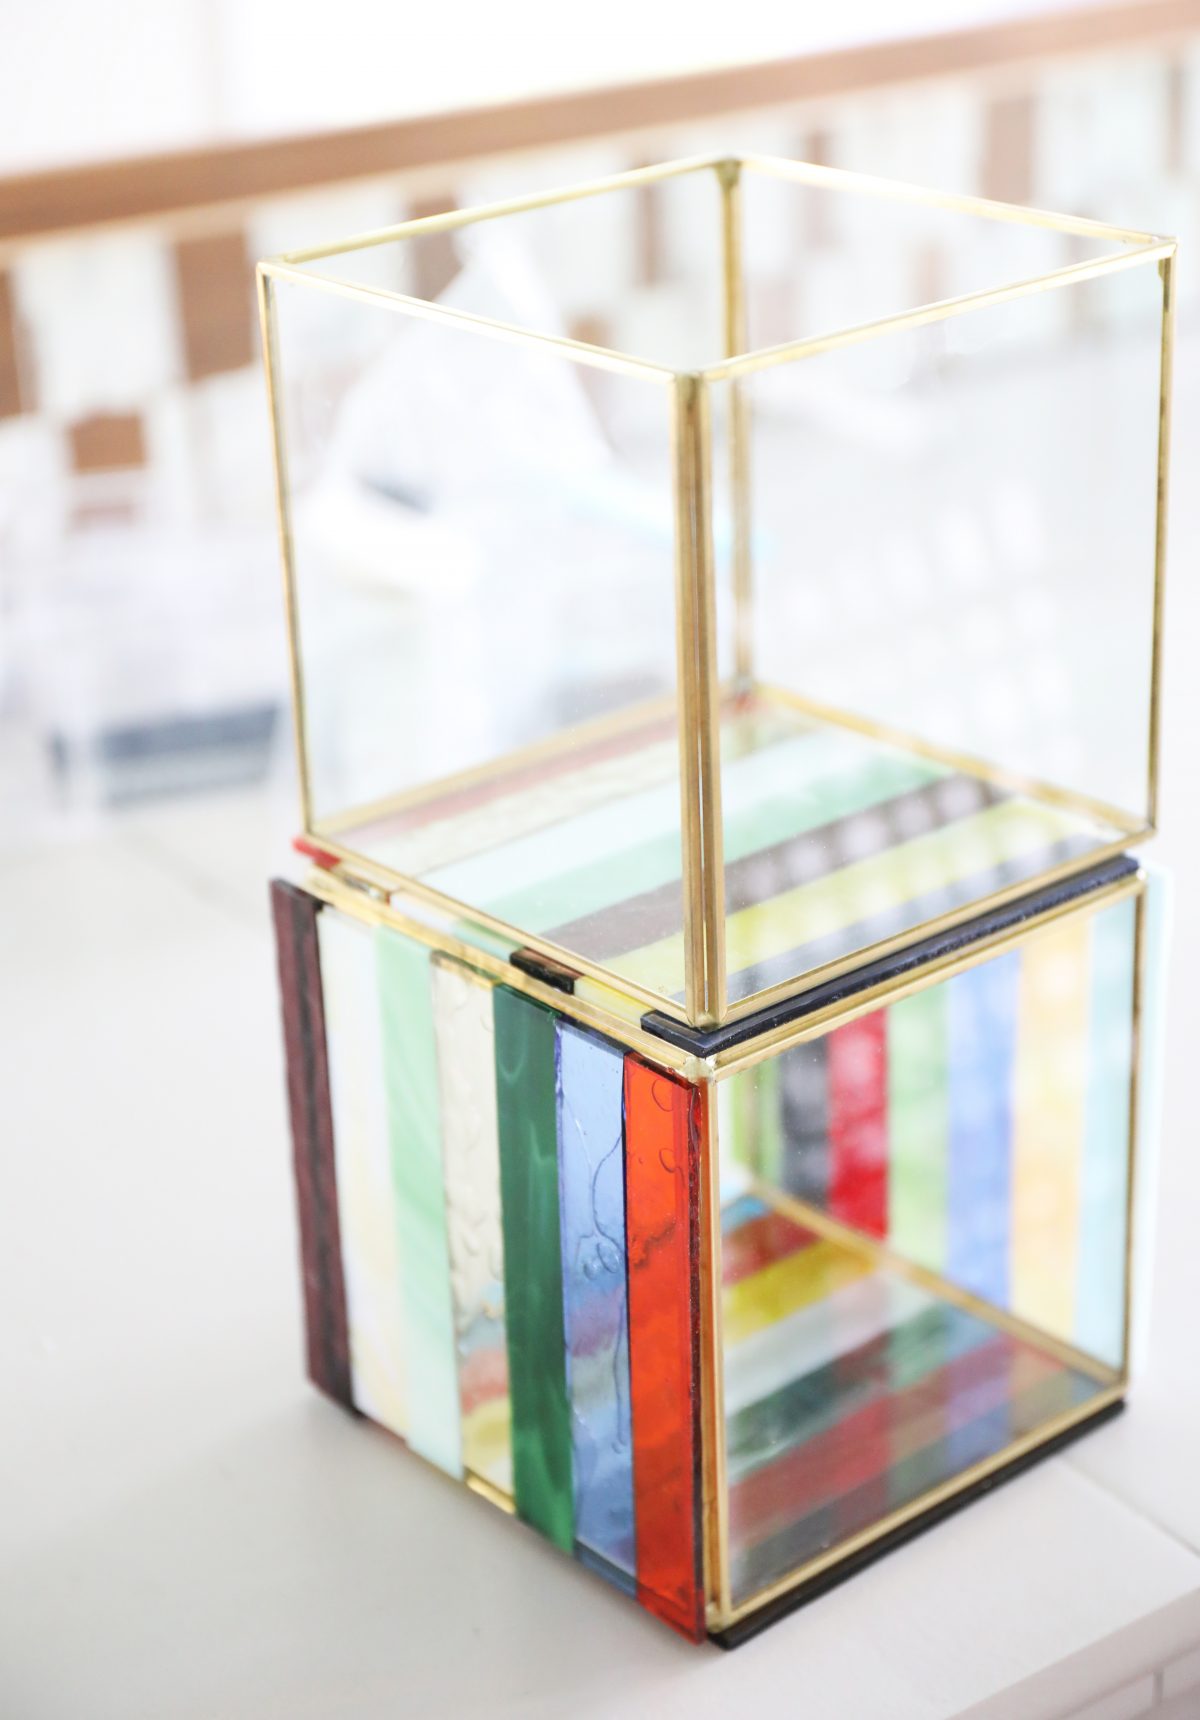
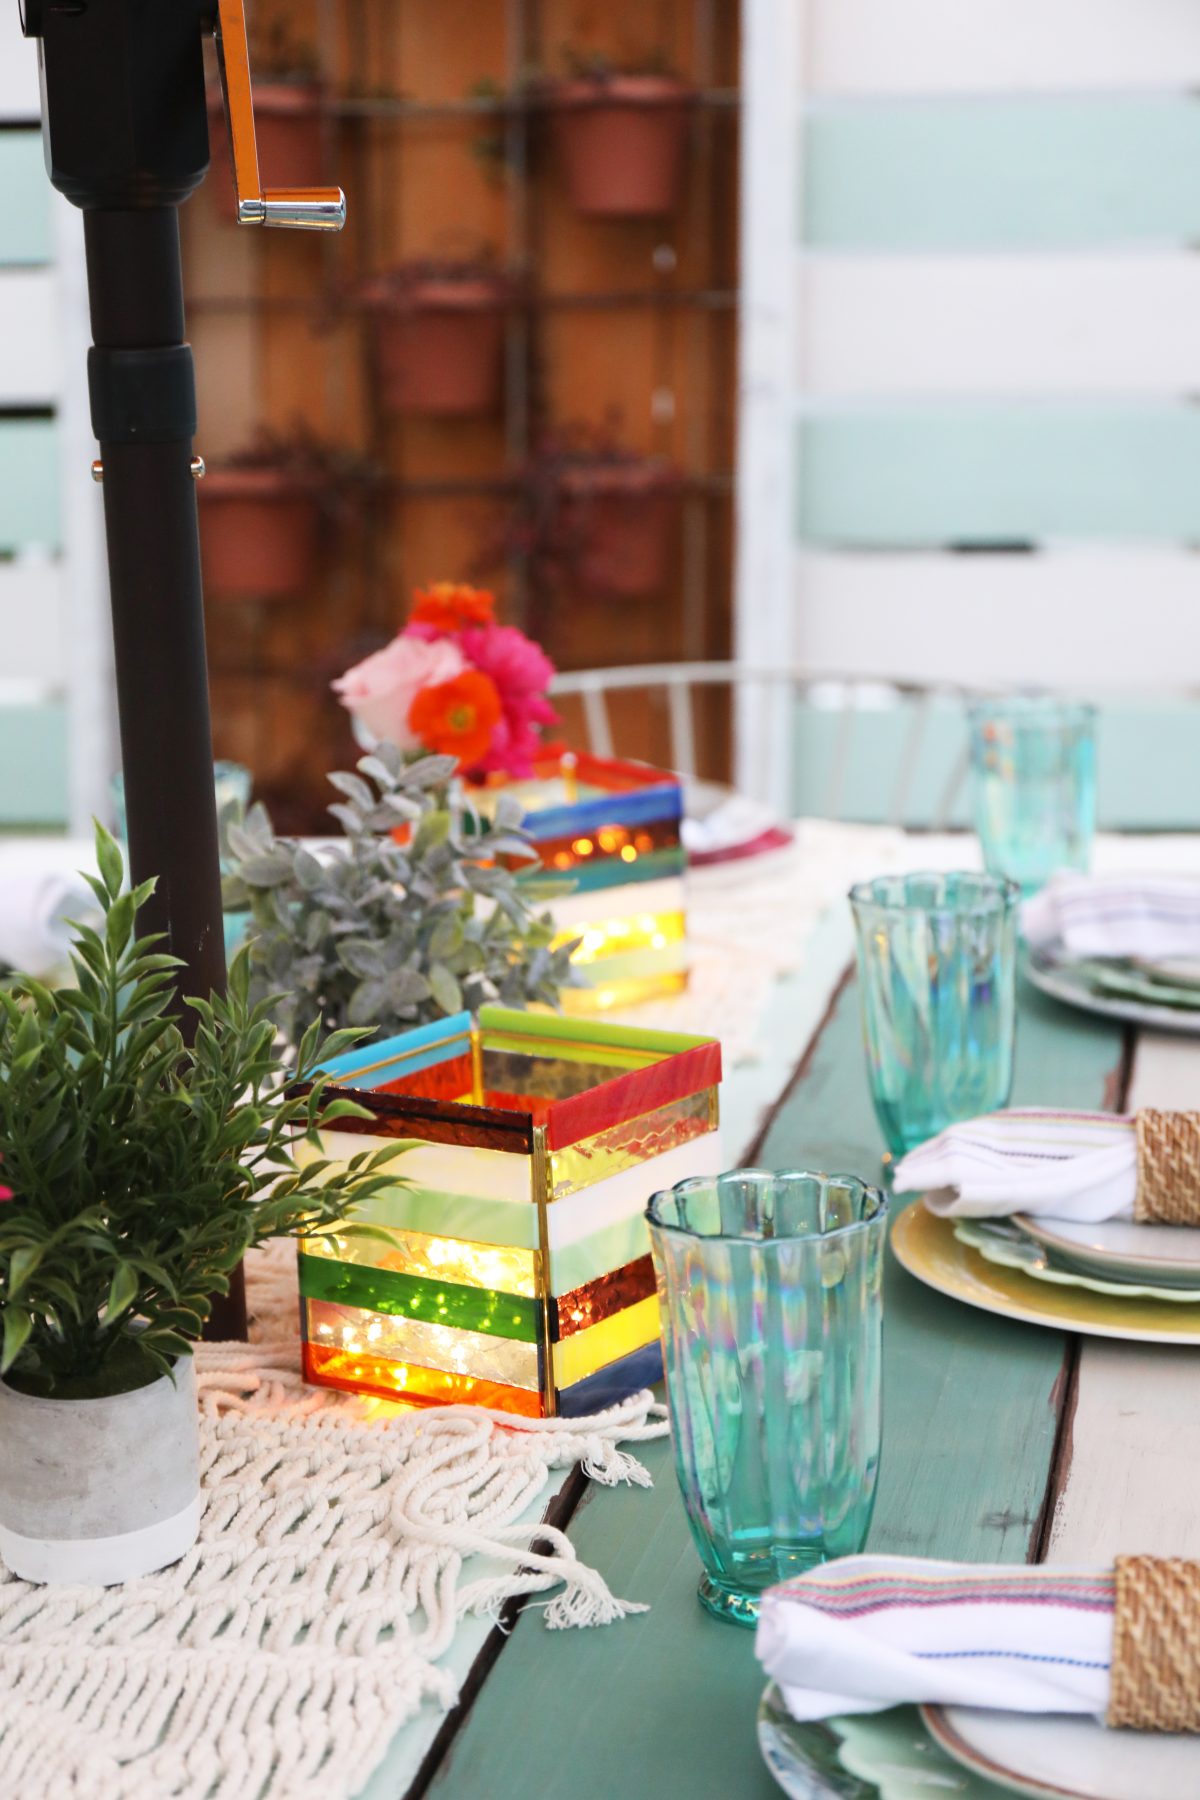
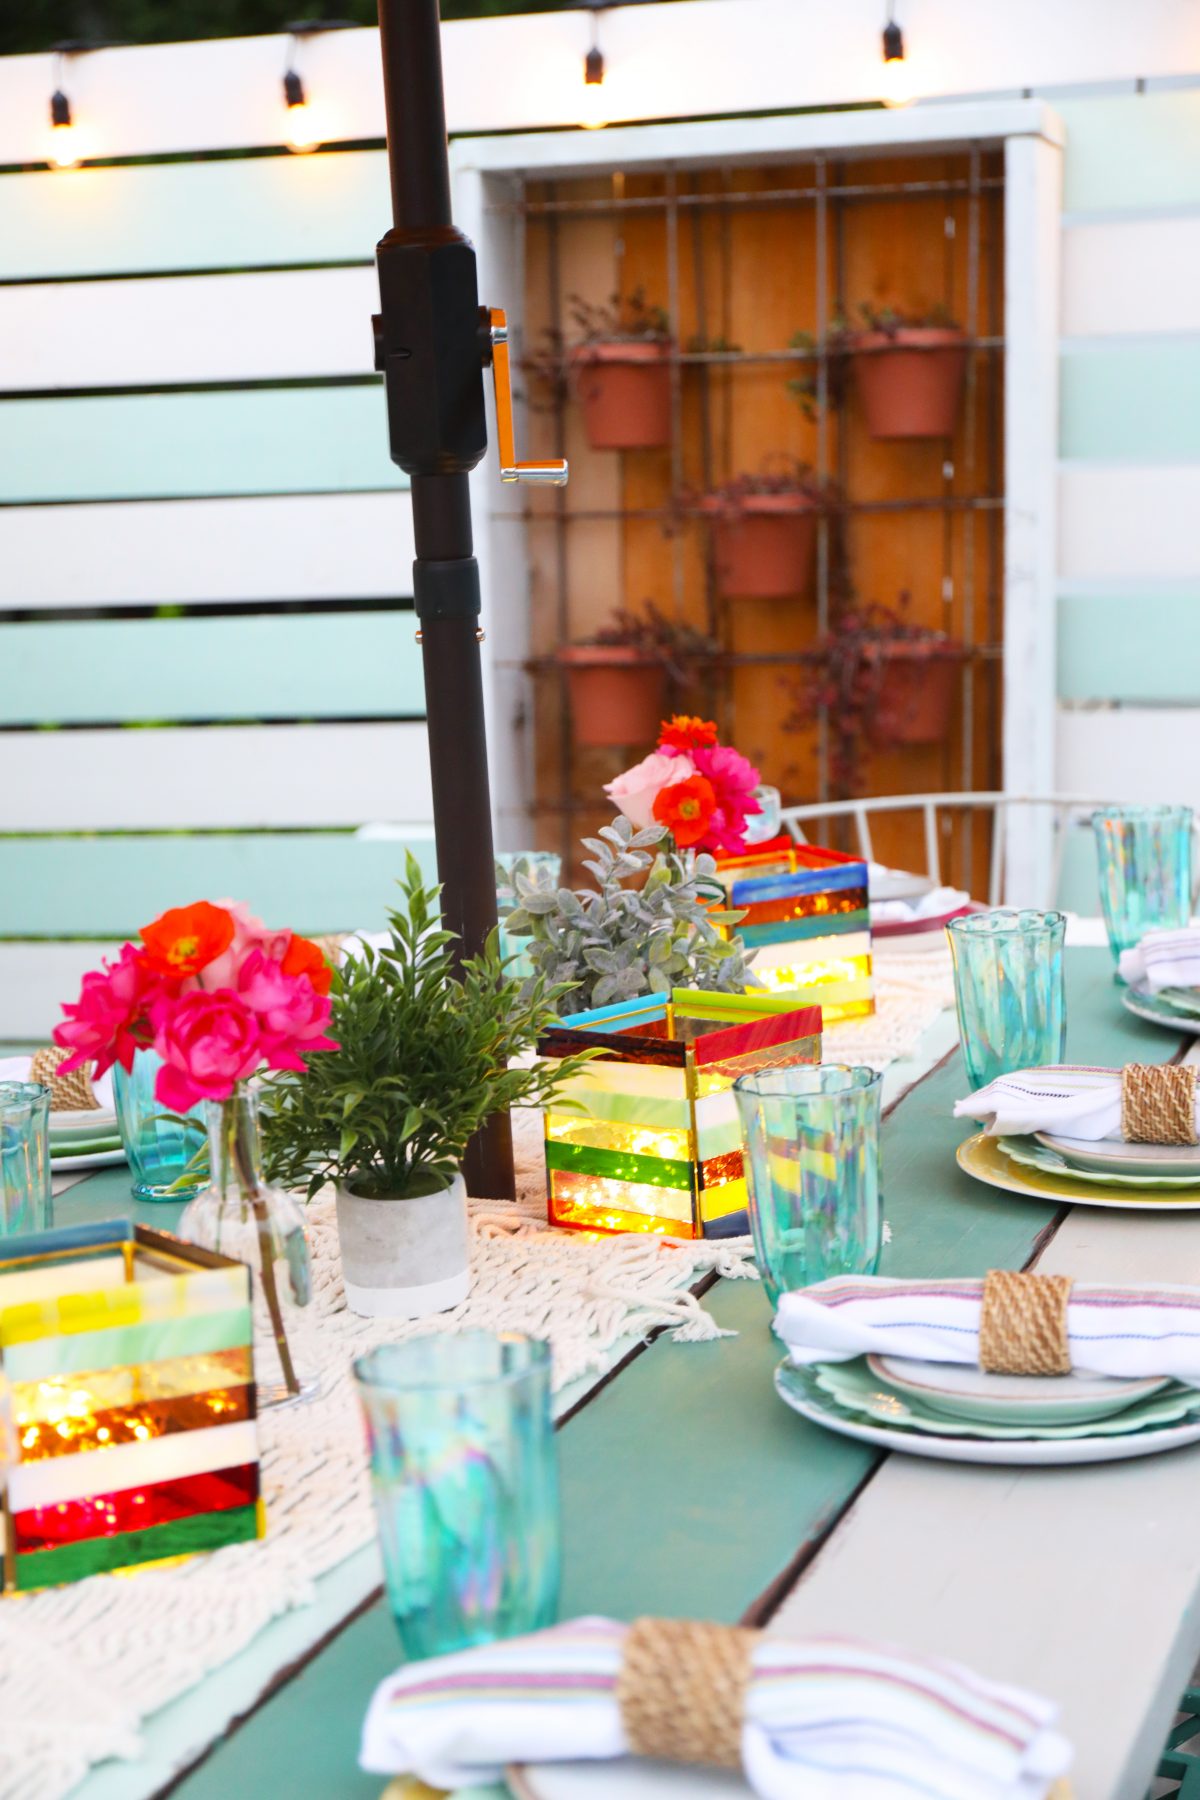
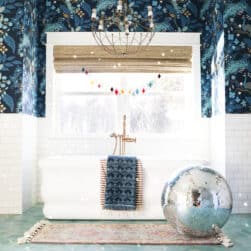
When they were dry, we placed twinkle lights in each, perfect for long lasting sparkles at the dinner table for sure!
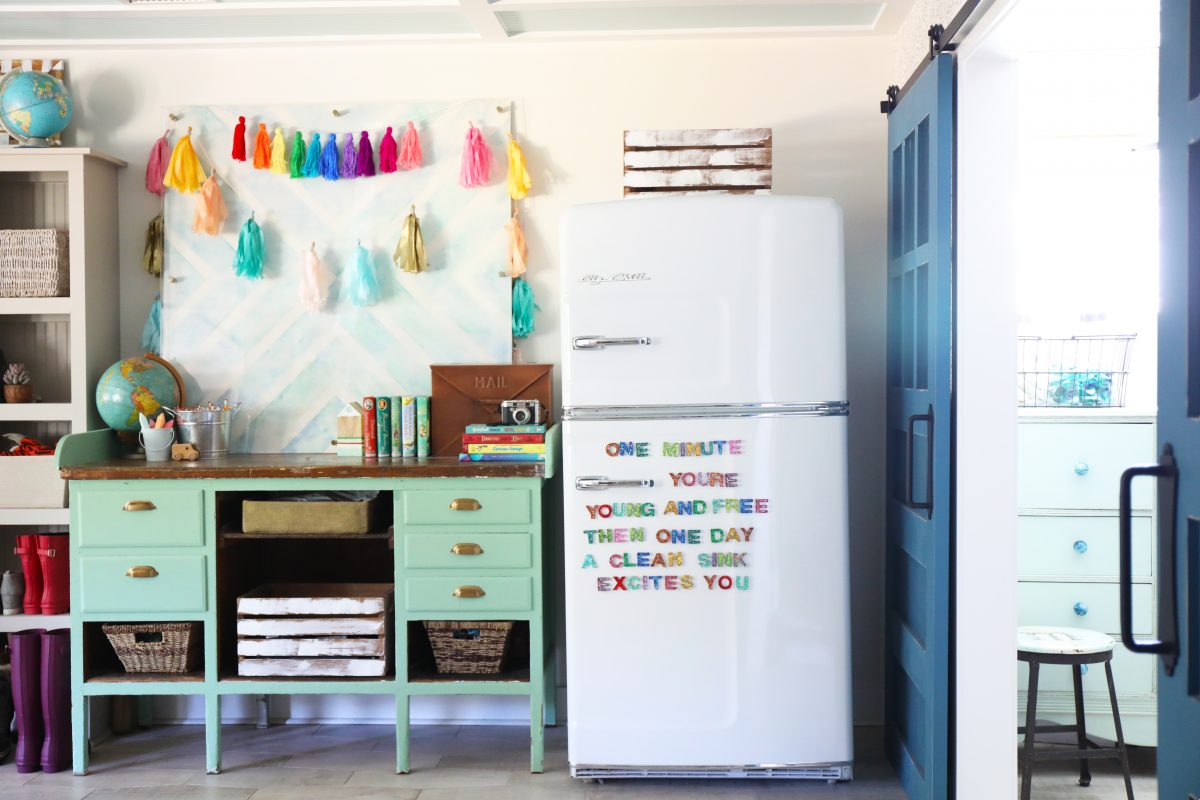
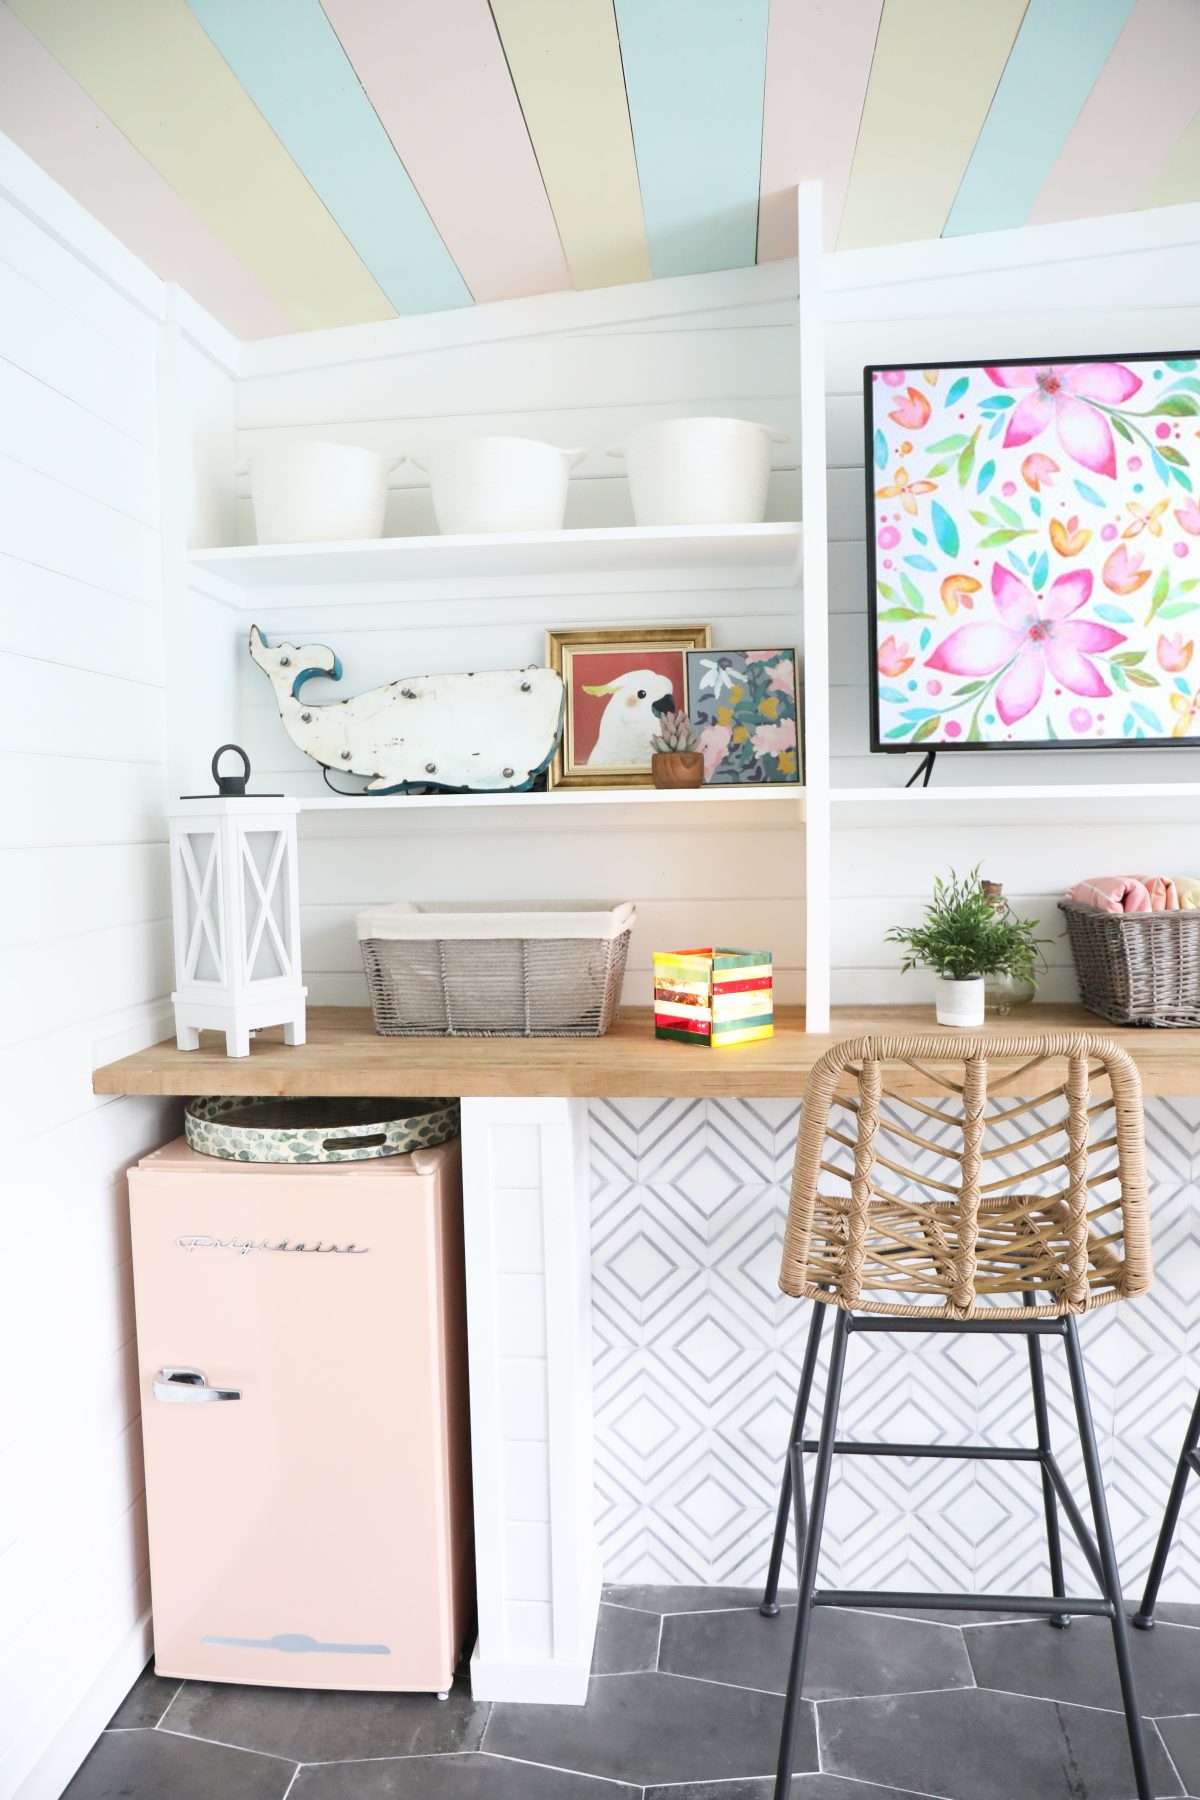
We love the multi dimensional color it brings to any setting, because when they’re not in use at the table, they’ll definitely be here in the cabana. Ambience at night? Yes please.
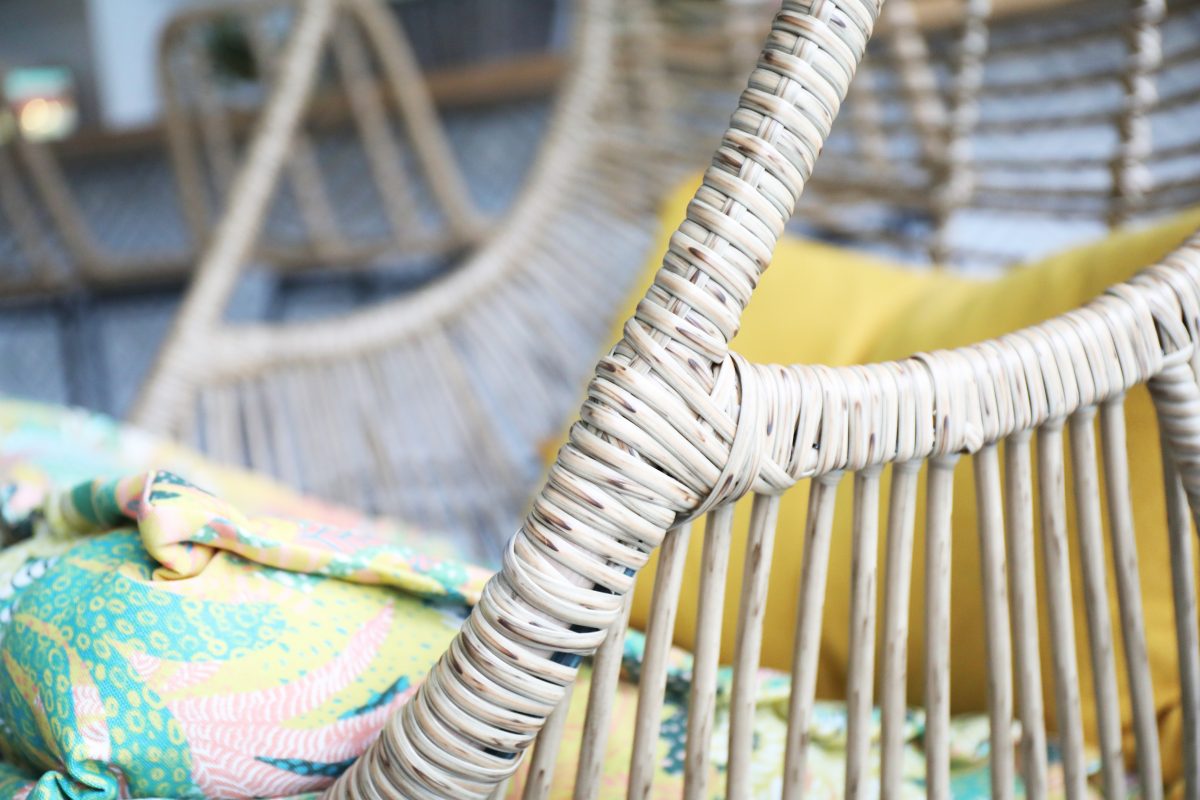
Speaking of the cabana, we had an unraveling of sorts happen recently with one of our swings, and I thought this was the perfect opportunity to try their other glue, RapidFuse® Fast Curing Gel with Gel Control Applicator.
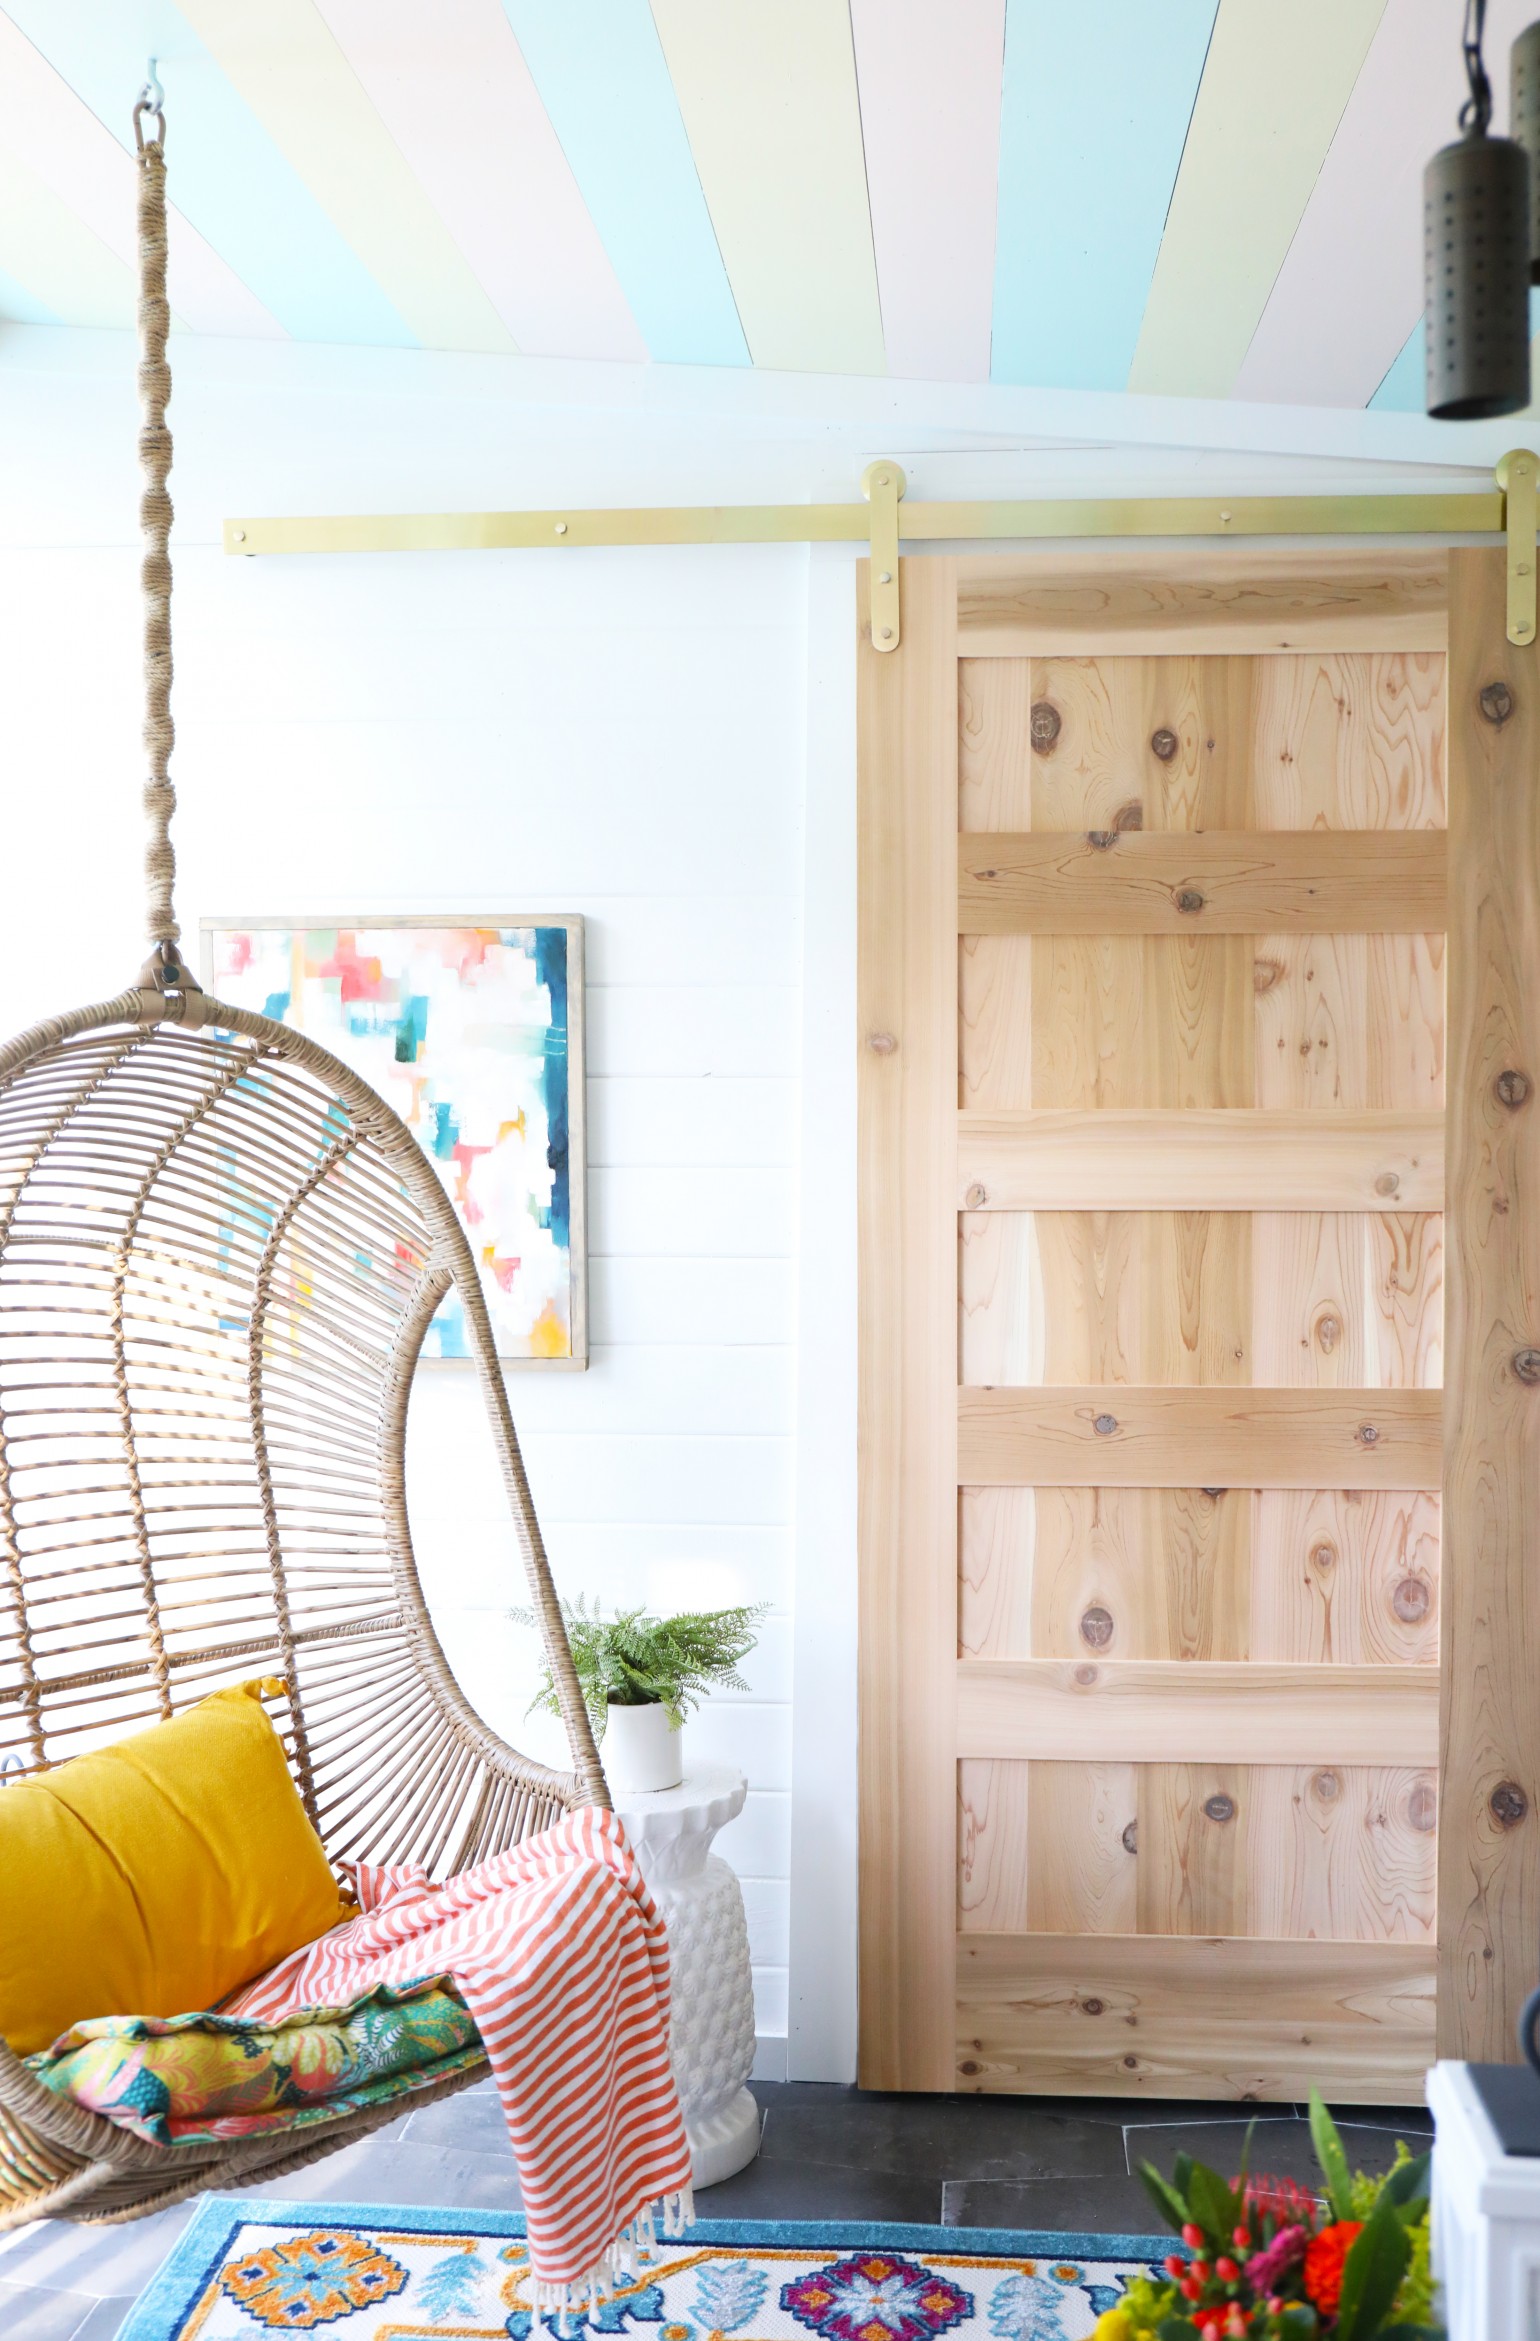
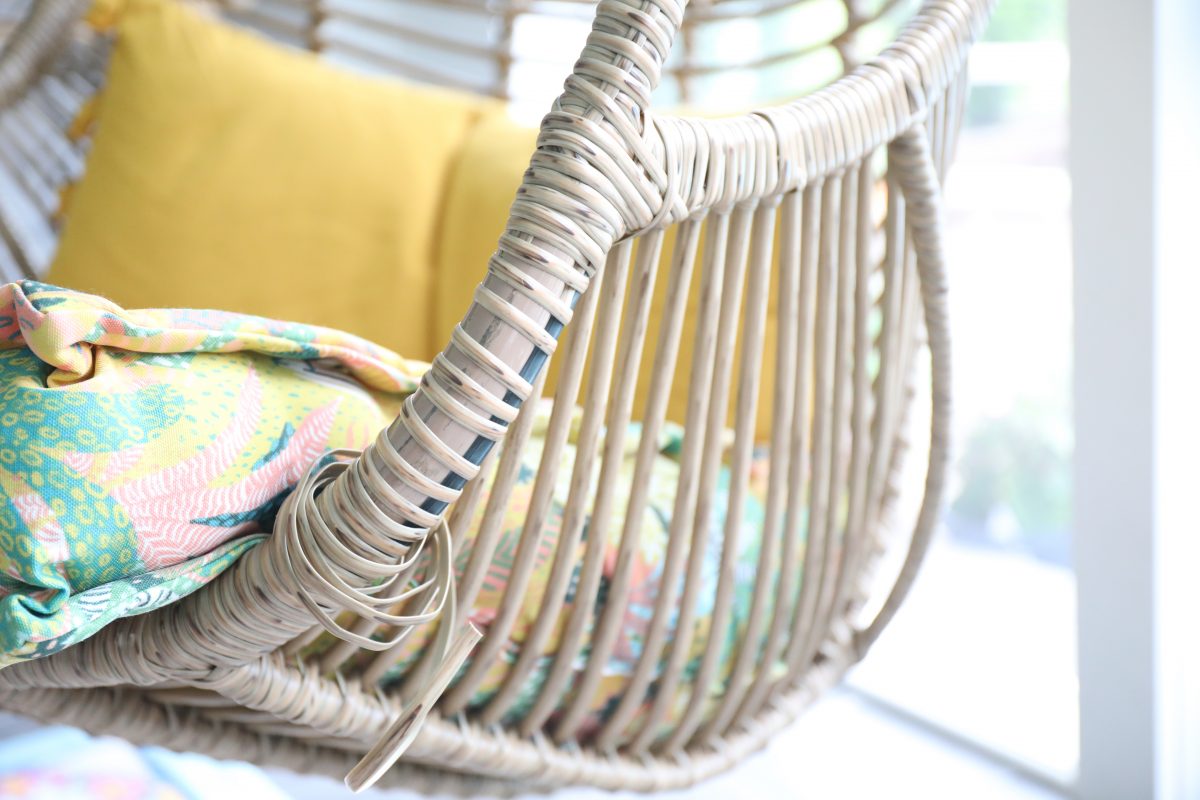
This was definitely a one handed job, and I technically needed about four for this little repair, in between the swing moving and the tight hold I needed to keep the wrap consistent on the swing. What I loved the most about this glue, is that it was easy to control how much was coming out, right when I needed it.
It also literally says on their container that it’s a no drip gel formula, which I was really grateful for since I was working over our rug.
I carefully wrapped it back up, gluing in little sections as I went. GOOD AS NEW.
The adhesion process was fairly quick. And I’m kind of obsessed that just like the Ultra Clear All Purpose Adhesive, it’s good for the great outdoors as well.
After this, I’m kind of a big fan. I’m off to repair the handle on that coffee mug my kiddo dropped the other day.
Funny, I keep coming up with ideas on where to use this handy stuff.
We love the way these fun pieces turned out – perfect for al fresco dining this summer!
As always, let us know if you try it. We’d love to see!

Have an inspired day!
 :: This post was brought to you in partnership with DAP. All opinions are 100% ours. Please read our full disclosure pertaining to partnerships here ::

Those are gorgeous!!
Thank you so much! They were so easy to make ;}
Sounds like good products. I will need to try them out!
Great information. Thanks!
So Beautiful and Inviting. Great job!
Thank you so much! We had fun making these ;}