We had so much fun sharing this space with you guys a few weeks ago.
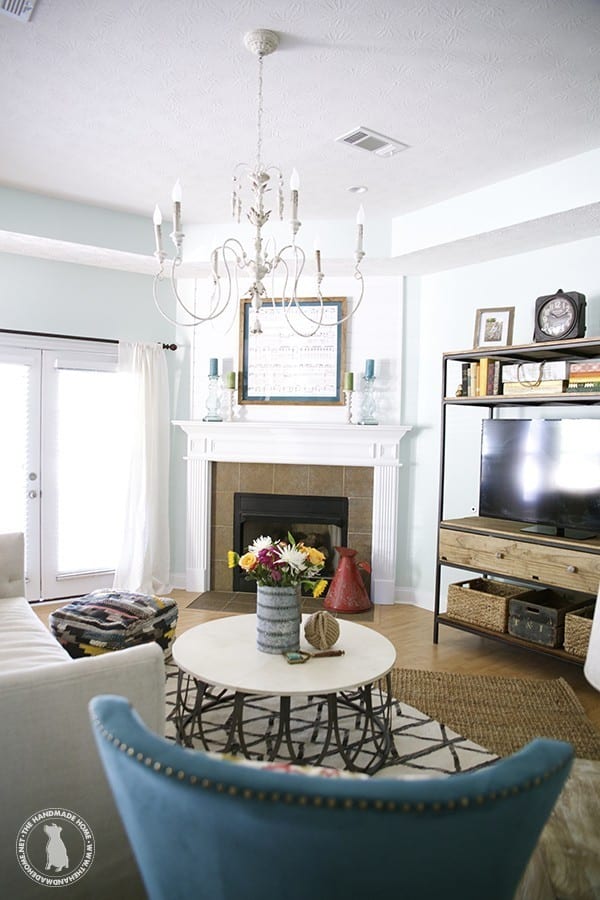
And we’re back, one post at a time to share the details behind a few of the handmade details that really made this living room a special, one of a kind place for Ginger and James.

We love combining finds from bargain hunts, flea markets and those investment pieces to bring together a beautiful cohesive space that truly expresses who the people who dwell there, are.
But one of our very favorite ways to bring in those one of a kind touches, are through handmade art with a special twist.
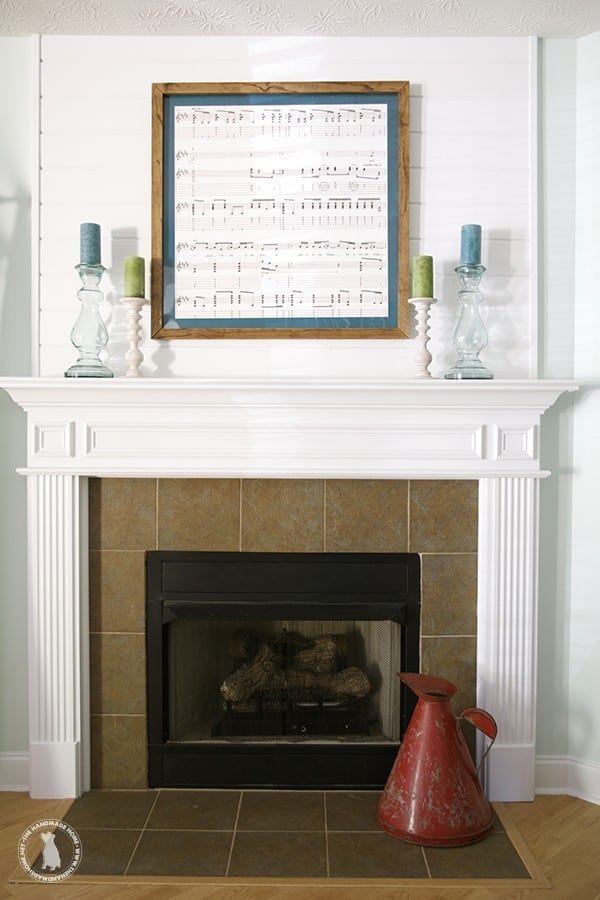
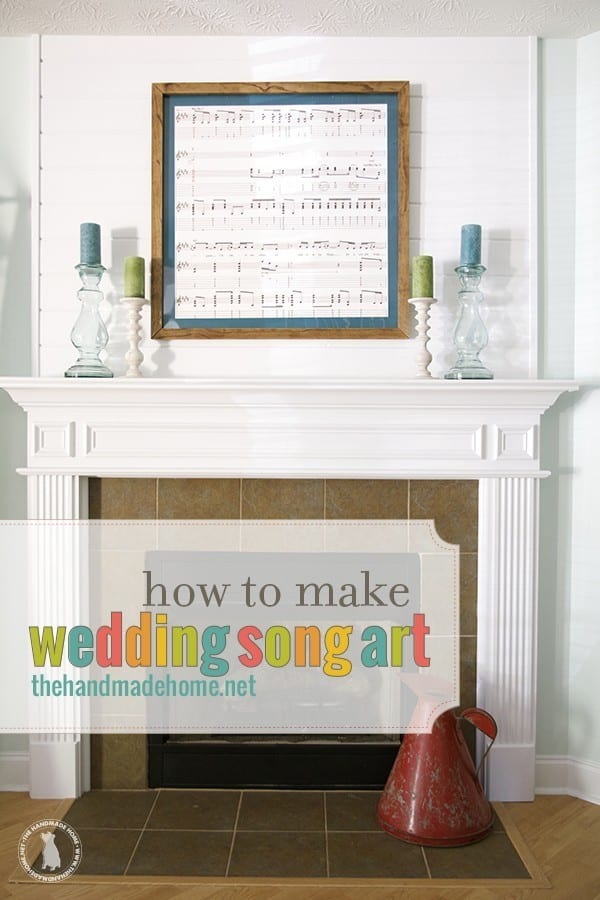
We surprised Ginger and James with this special little addition, and it was so much fun to show it to them when we put the space together – wedding song art!
I decided to blow up some sheet music from their wedding, and frame it just for them. The final piece is 100% handmade, and because of that, a fraction of a price than if we had it professionally framed. Today, we’re breaking down the how to for this handmade wedding art.
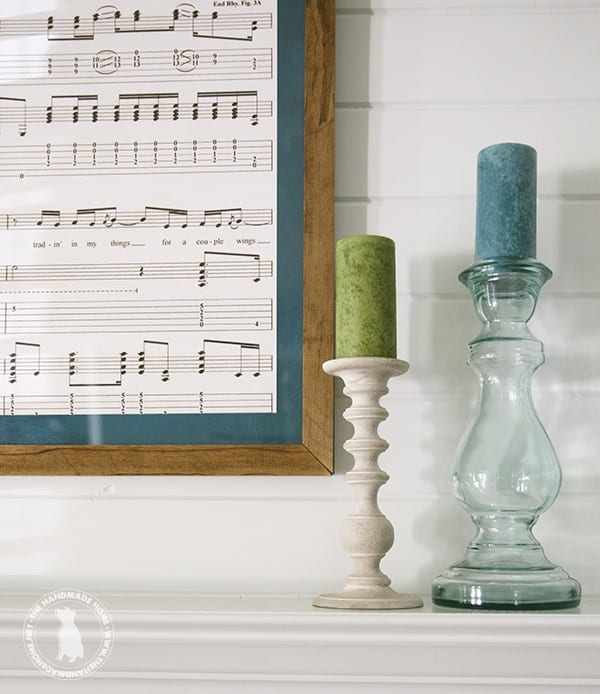
First things first: You can google for multiple sources, but we had this sheet music downloaded here. When we had it printed out at our home on a printer, and taken to a great little print shop here in town to have it professionally printed on thick stock. They simply cropped where we needed it, and then printed it out. You can have a cheaper option at any copy shop, but I was really disappointed with the quality…
Large prints {around 2.5 x 2.5} can range anywhere from a few dollars {really thin paper} to 100 on textured, over 100lb stock.
Chock it up to the graphic designer in me, but it was worth spending a pretty penny for a beautiful print with a textured finish and a great customized look. It was an archival quality print meaning it’s guaranteed to last for years. Sometimes a good print can make all the difference. So be sure to shop around and find what you’re comfortable with in your budget and wants for the space.
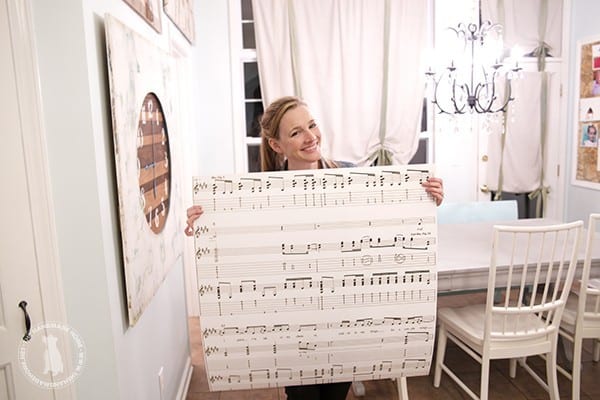
This is me and my tired face / crazy hair when we put it together… to have our little surprise ready on time!
The week before, I’d had some 1/4 inch MDF cut to 3′ x 3′ and painted in Dutch Boy’s Endless Ocean. When it was dry, I went back over it with a darker stain we had in our garage, simply wiping it on and off again for a bit of a deeper hue and aged look. To see more about tea stains check out this tutorial here, but think Karate Kid.
When all of that was dry, it was time to put it together.
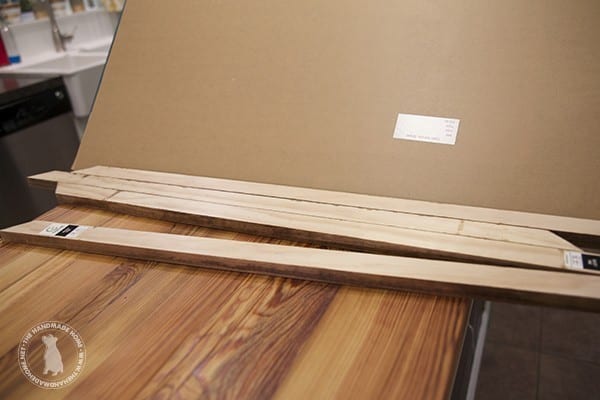
Earlier that week, we also had measured some 1 x 2’s to size, and cut at 45 degree angles and then stained with some more stain in our garage. (You can read all about cutting frames in our book, also available in e-book format. Oh and to celebrate the fun we had with our client, our e-book is 4.99 this week only using the code: music.)
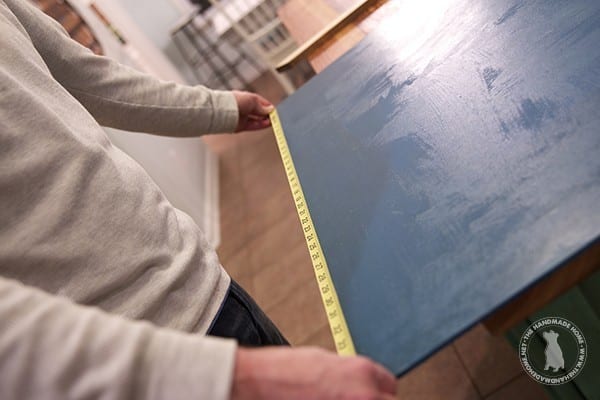
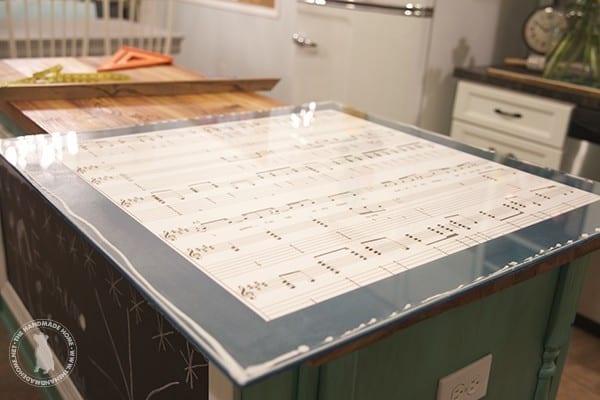
Then it was time to measure the MDF base for placement.
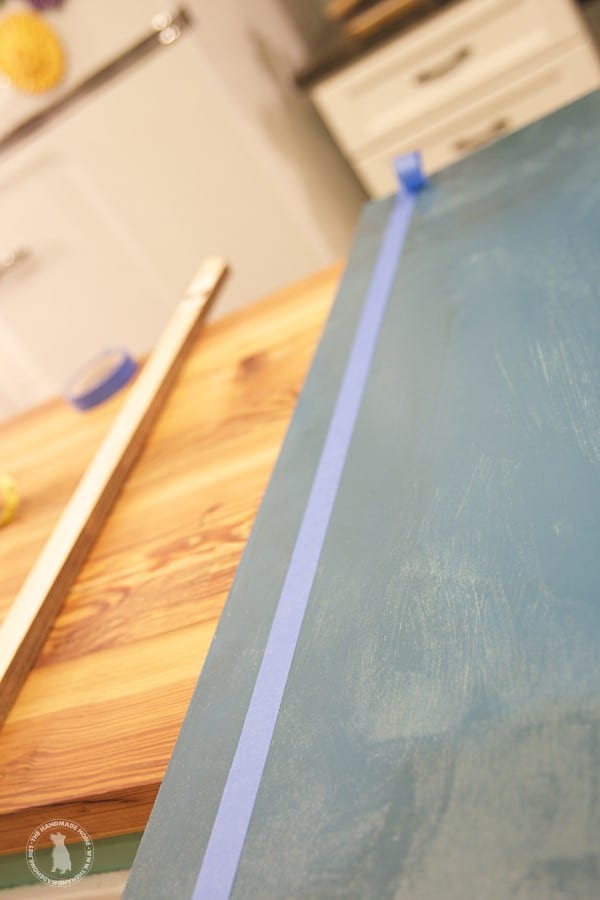
Allowing exactly half an inch on each side, we measured and then centered the music after marking the spot border with painters tape on two edges to ensure that it stayed straight.
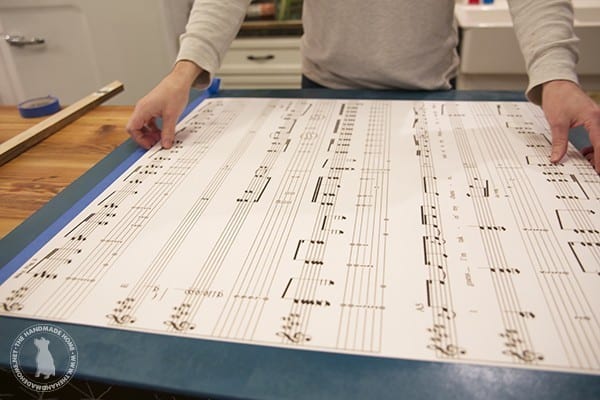
Becuase the stock was so generously thick, we used a {tiny} dab of glue on two corners to ensure it wouldn’t slip.
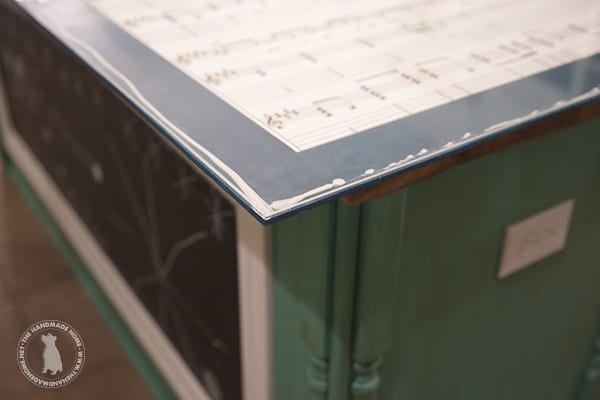
Then we had some plexiglass that we had cut to the same size {3 x 3} and placed on top.
Just a side note: If you’re not comfortable with cutting frames, you can stop here. You can have the MDF cut to size at your local home improvement store, and the plexiglass cut to size when ordered at your local glass shop. Simply drill in each corner with a screw and you’re finito! {When you drill, line it up and leave the protective coating on. Then remove the paper and your holes are ready.}
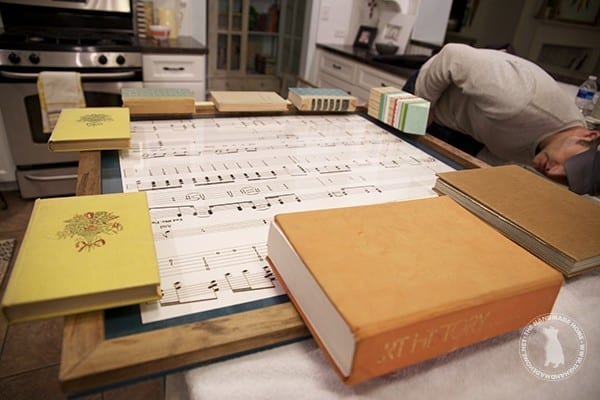
But we secured the edges here {because they would be covered with a frame} with some glue, and then added the frame…
And placed some pressure on top to help it dry.
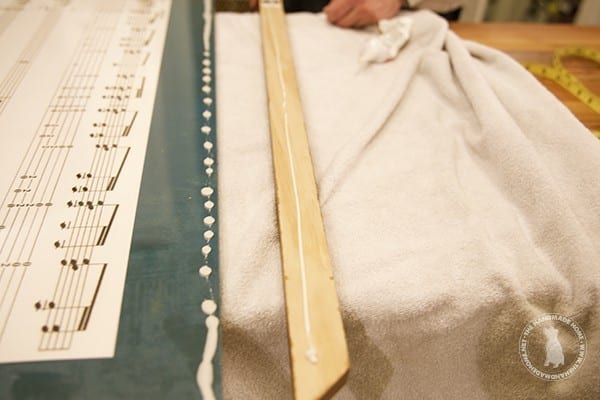
This helped ensure it would stay secure and dry properly.
We ended up securing it with a few screws from behind, just in case.
And we were done! A great one of a kind, framed art piece for a fraction of the price.
An amazing way to bring in some major personality in a space, that really means something to the owners. We may have seen some happy tears. ;}
As usual, let us know if you have any questions! And we’d always love to know if you create one.
Have an inspired day!


Another perhaps cheaper option for the music print would be to photograph the music, crop or color it in photoshop and print it out on high quality photo paper at a professional lab. You could also have it printed on canvas.
Thanks for the suggestion, Brooke! It’s definitely something to consider. Though through my experience, I feel a need to clarify, a clearer image is when something is directly scanned, even if you have an awesome camera – and if you have it professionally printed on good stock, the price won’t be that different. A canvas is a great suggestion to consider- its all in the look you’re going for! ;}
alas, photographing is my best kept secret for fine art work in my house. I’ve photographed original oils,posters, paintings in books, and even drawings and enlarged them and printed them on canvas and everyone is fooled into thinking they are extremely high end. You just have to have a high aperture setting (f8 ish) and shutter speed on your camera (at least 1/500) Tripods also help if the shutter is too slow and making a blurry picture as does the ability to shoot in manual mode. But I’m also a pro photographer with nice gear. In the end, you’re probably right, non photographers might have the most success scanning:) ha ha! But don’t disregard this option for other projects. It’s a great trick.
I love this! It turned out just beautifully!
Thank you, Anna!
Oooo! So excited that you shared this today! I’ve been waiting for how you did this! Love it- I’m thinking of surprising my parents with something like this for their anniversary. This may be just the project to take on.
What I thoughtful gift, Jennifer! Go for it! ;}
I’m seriously obsessed with everything y’all do. HA HA!! Love everything y’all have done in this space. Would you ever consider doing a series where your readers email you a photo where they’re stumped with what to do in a room and you give some thoughts/advice? Cause I have a real head-scratcher of a room. HA!!!