
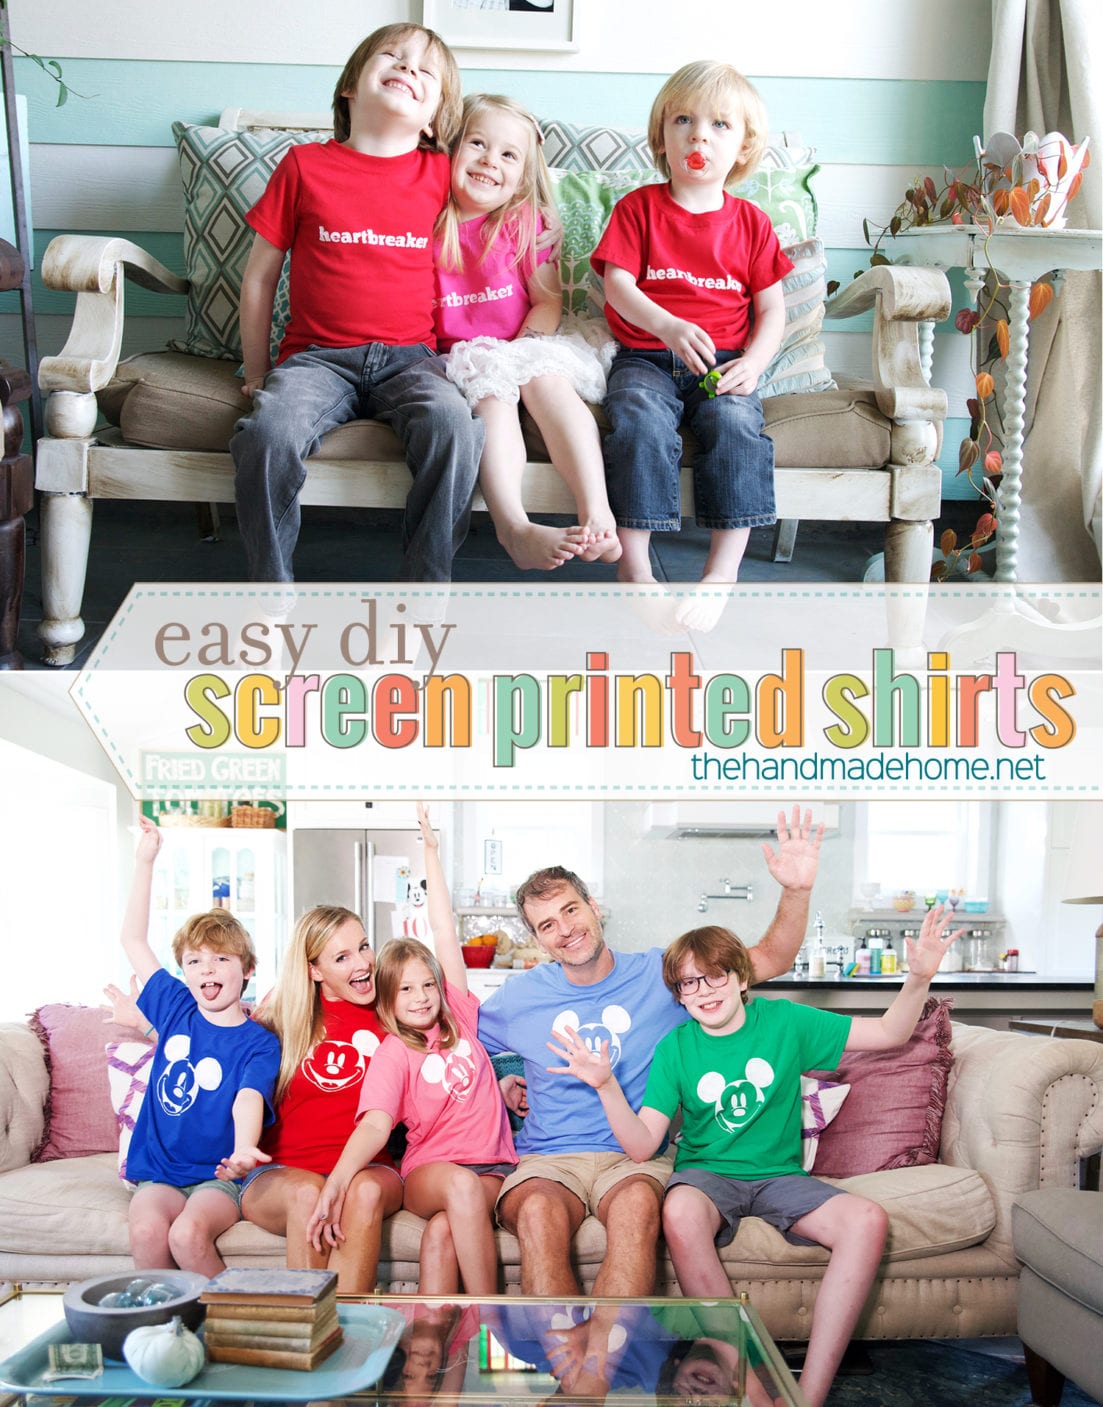
diy screen printed tees
This is one of our all-time fave projects, DIY screen printed tees.
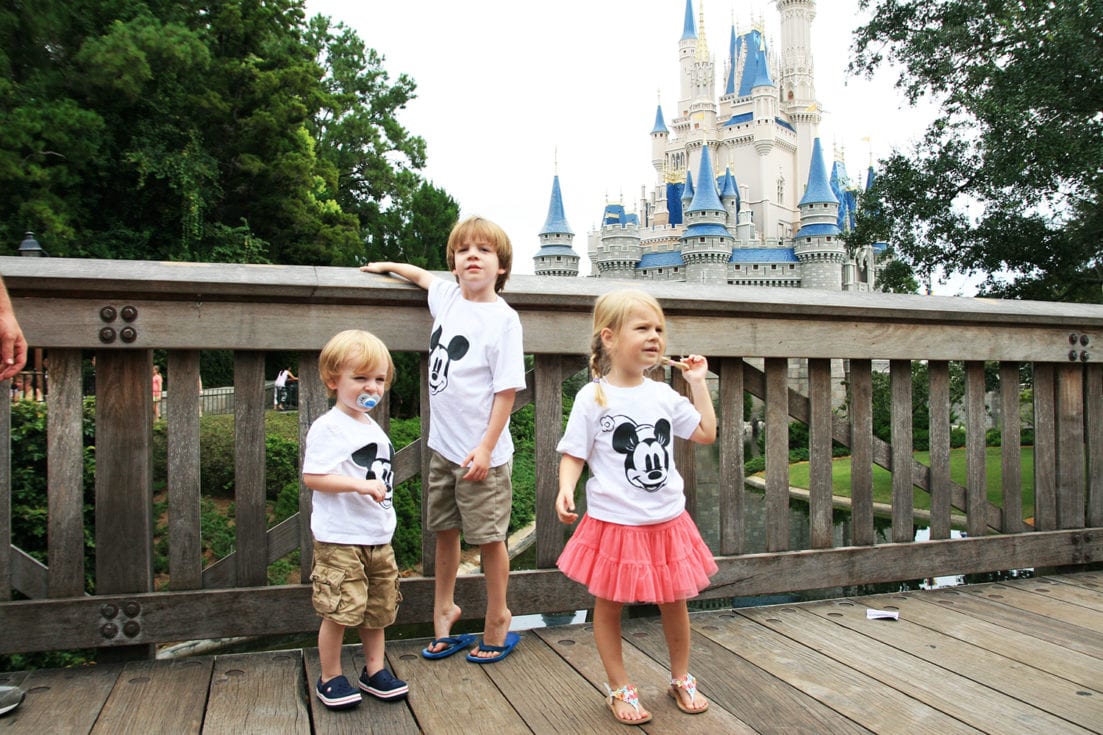
We’ve used it for years, for various events… from costumes to holidays and a little bit of everything in between.
DIY screen printed tees
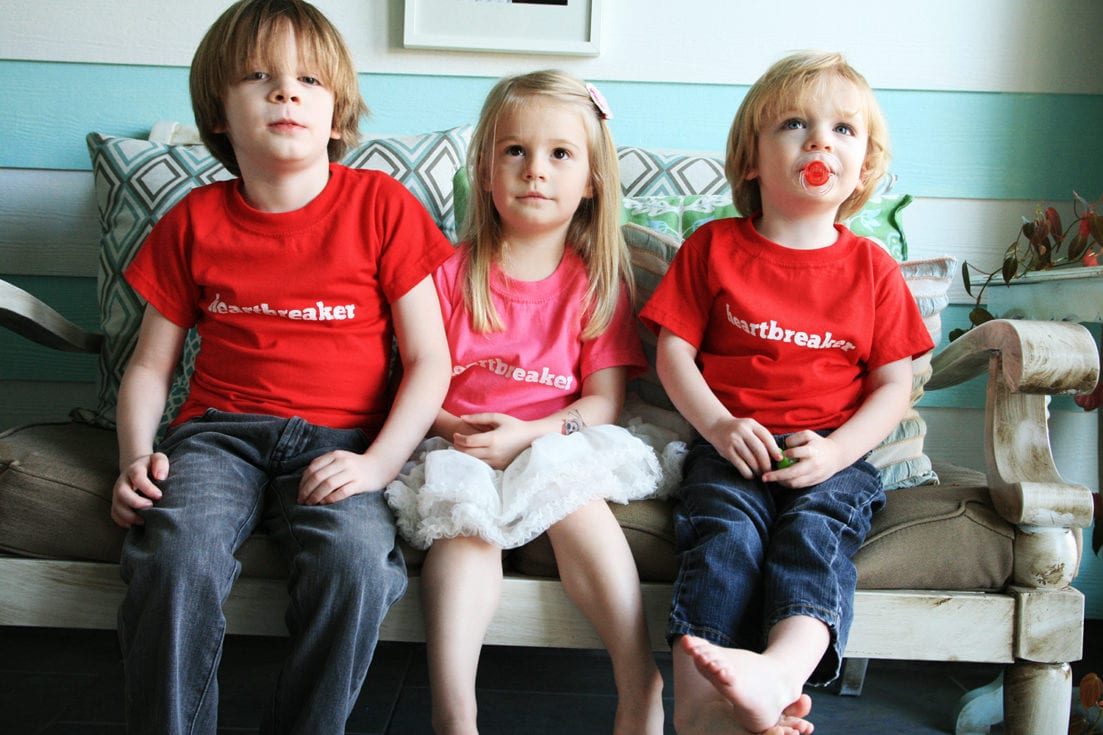
It’s the perfect option for all things muti-colored, matching tees, and a fun, therapeutic take on a little DIY screen printed tees.
You may have heard this referred to as “poor man’s screen printing”. I’m not a fan of the phrase since I like to defer to it by choice and not as a last resort, but both are a definite crafting pro, if you ask us. Money saving + fun matching tees are always a win in our book.
I recently made another cheesy batch for the fam, and decided it would be fun to share, here!
Also, I have no idea why I didn’t move the dollar bill off the coffee table, so let’s just go with it since I’m only noticing now, as I write this. I guess it’s all the moolah I saved with our DIY screen printing because subliminal messages and such.
Also also, make my kids stop growing? That would be gggrrrreeeeaaaattttt…

But since we’re the dorks that love these things, we thought you just may too. Especially with Halloween on the way! You just never know what you can use them for.
So, without further ado, diy screen printed tees.
Here’s a little video we made for fun, where you can check it out in action. Full tutorial can be found below!
DIY screen printed tees: video instructions

DIY screen printed tees – What you’ll need:
{affiliate links below}
• t-shirt{s} – These are some great colors for a good price. {shirts}
• a print of your choice, this will be the image that you put on your tee.
• safe cutting surface + Xacto blade
• freezer paper
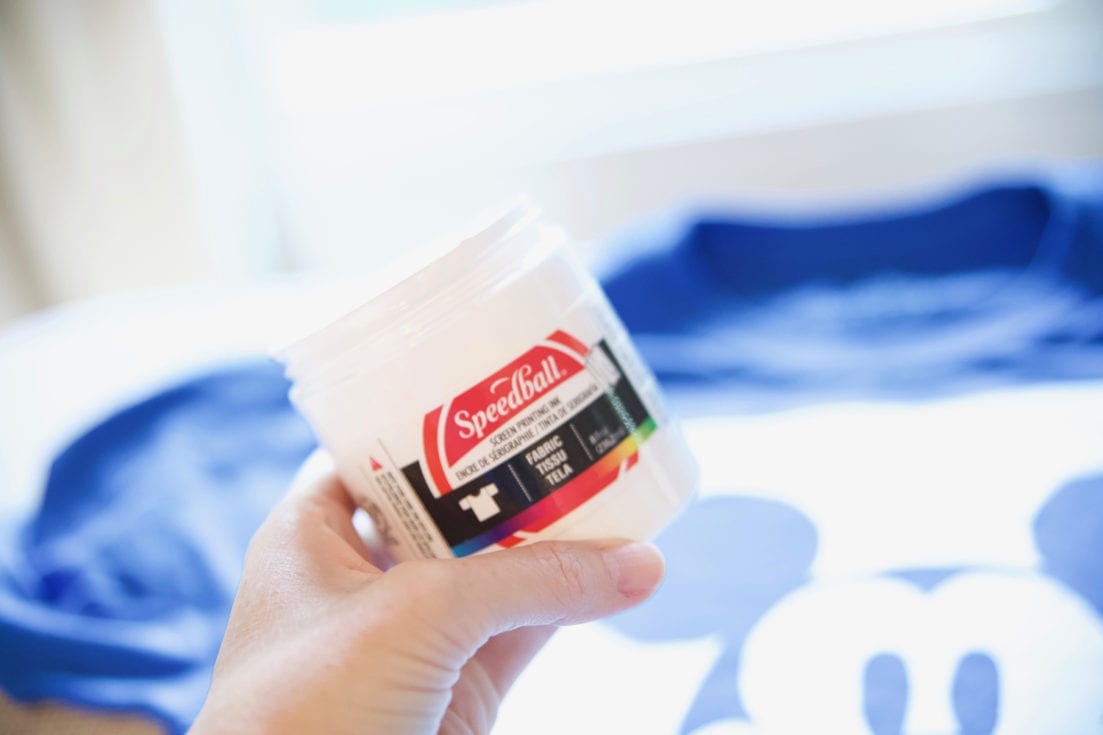
• speedball screen printing ink + various brushes of choice
• iron + ironing board
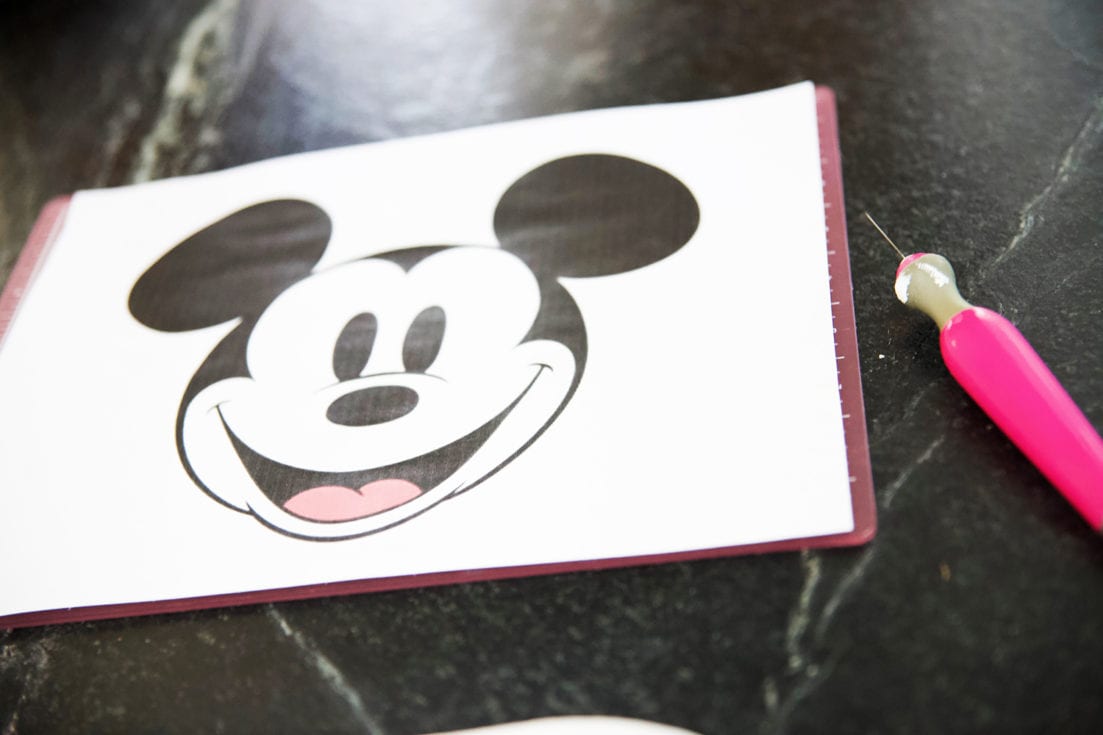
DIY screen printed tees: getting started
Gather your image, + freezer paper.
Place your freezer paper on top, and tape it down if it helps keep it steady.
Get ready to trace.

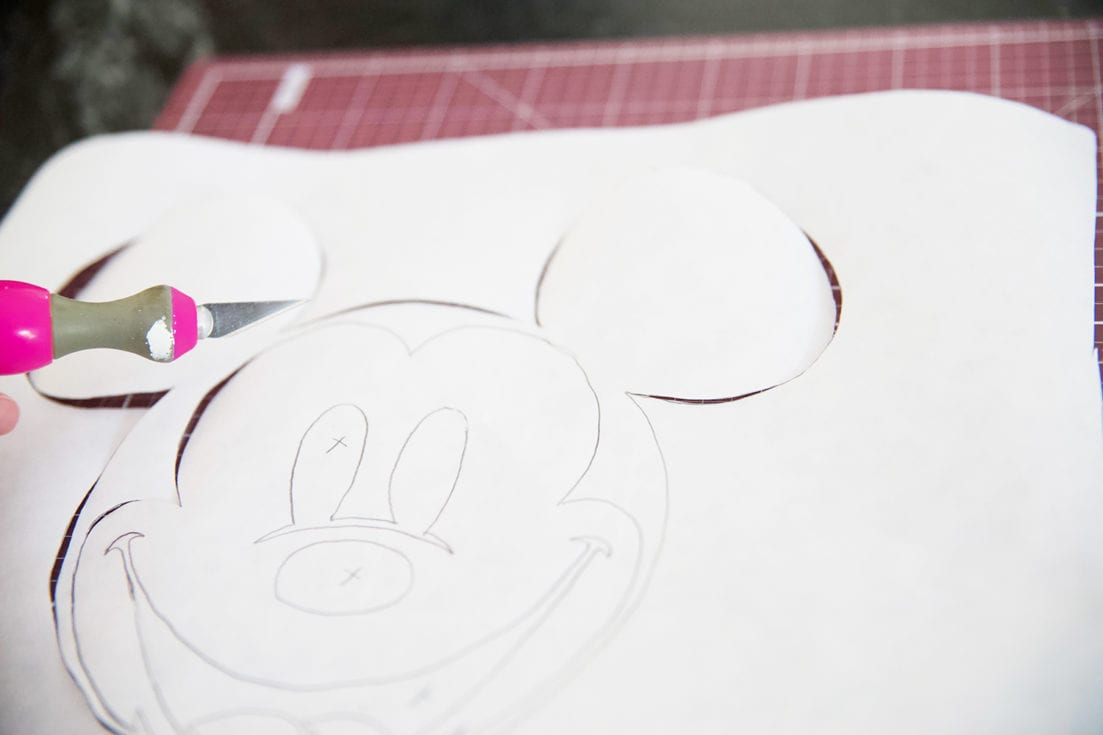
DIY screen printed tees: cutting
Once you’ve finished tracing your paper, remove the image underneath, and place it on your safe cutting surface.
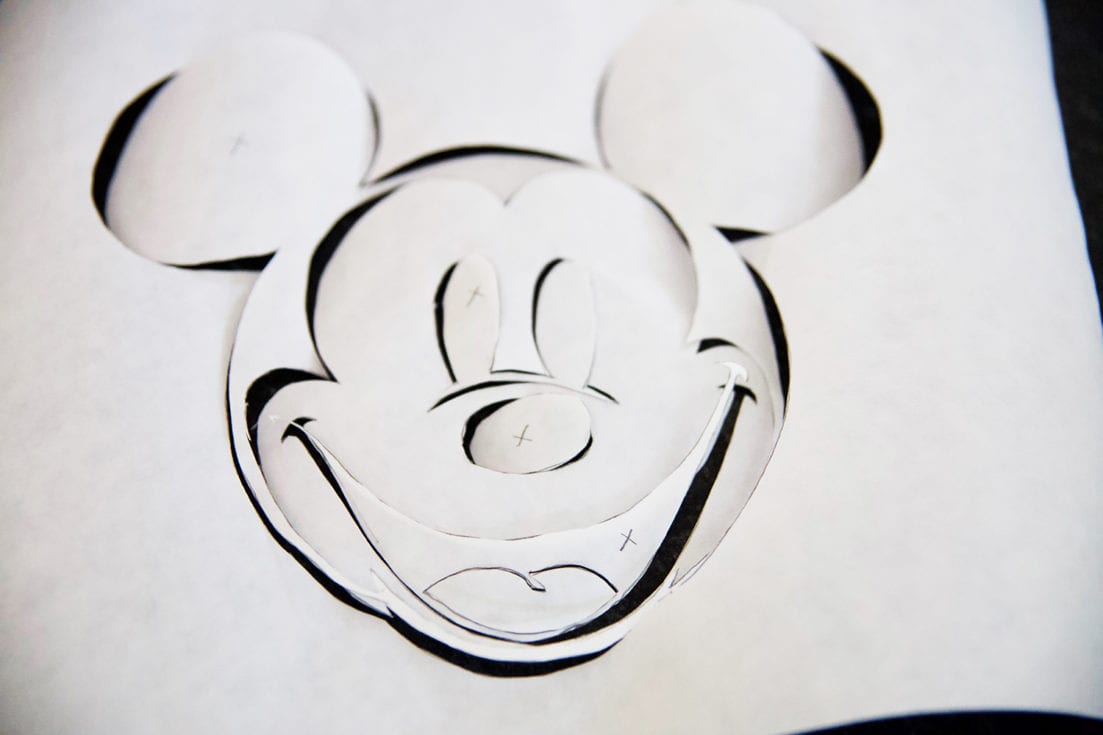
Cut the lines carefully with your X-Acto blade.
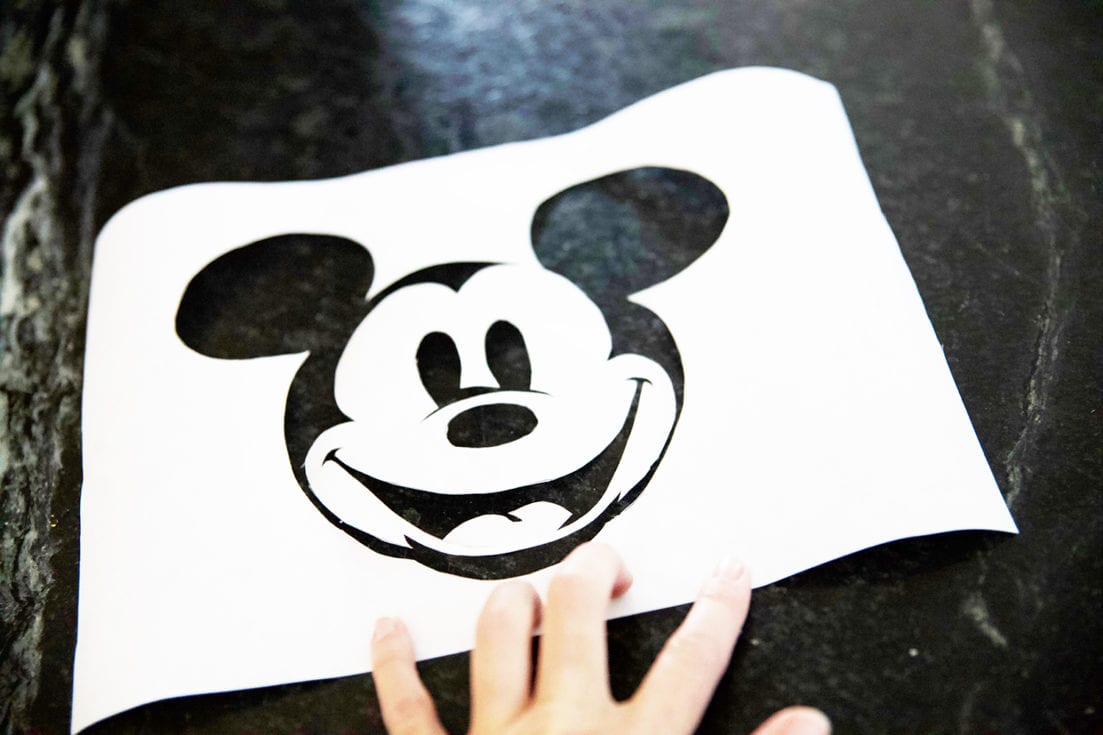
Once you’ve finished cutting, place all your pieces in one place to make sure you have everything you need.
DIY screen printed tees: prepping the shirt
Take all the pieces away except the ones you want to use.
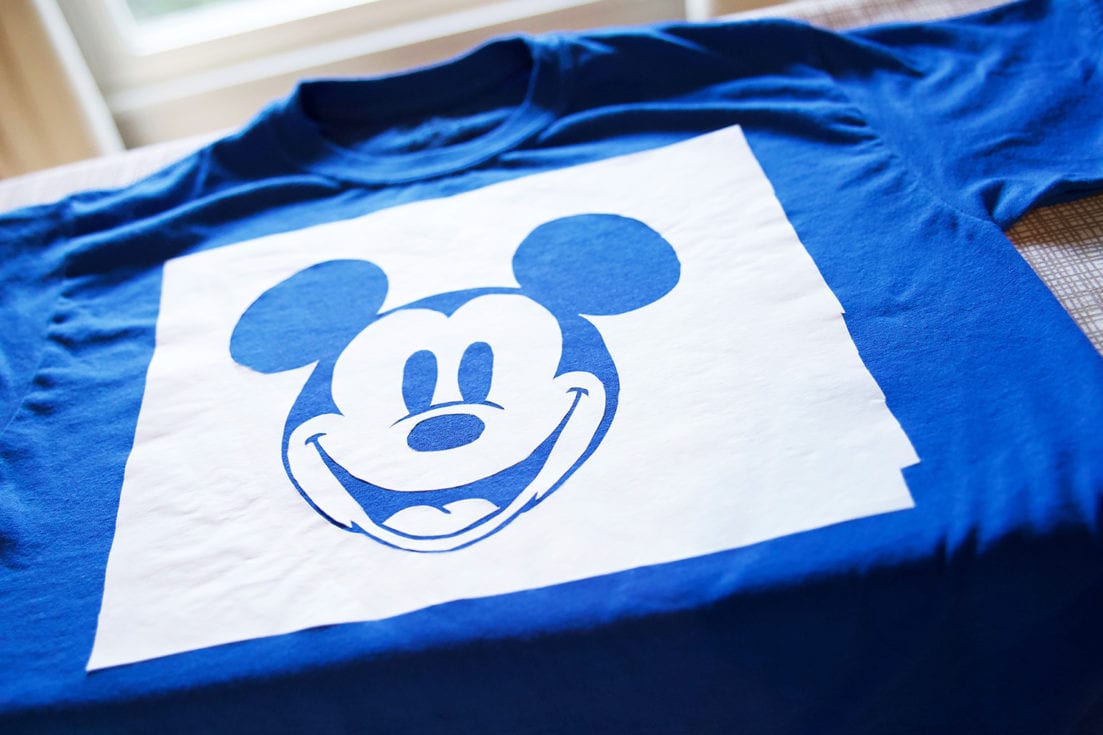
Get your t-shirt ready on the ironing board.
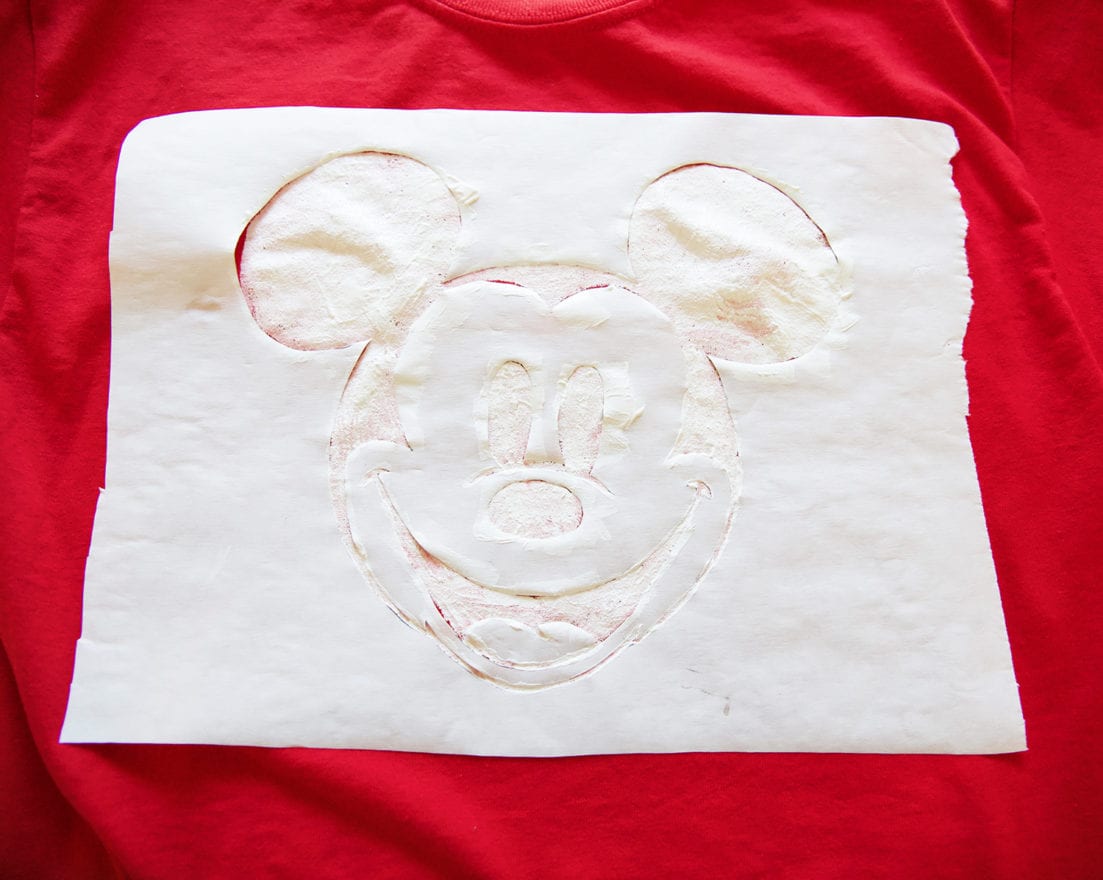
Carefully place the pieces as you want them on your shirt and iron them down.
*Be careful not to over-iron, because the paper may un-stick if you hold it for too long. Just a little is all you need.

DIY screen printed tees: printing
When you’re finished ironing, place a magazine or a piece of cardboard in the center of the shirt, to protect from bleeding. {This will be the hardest part, for some reason, remembering when to put it in and take it away… I forgot a few times} And you’re ready to paint!

Depending on the kind of design you have, choose your brush.
A smaller brush for smaller areas is always a good idea.
Carefully brush the ink away from the sides and apply the design to the shirt.
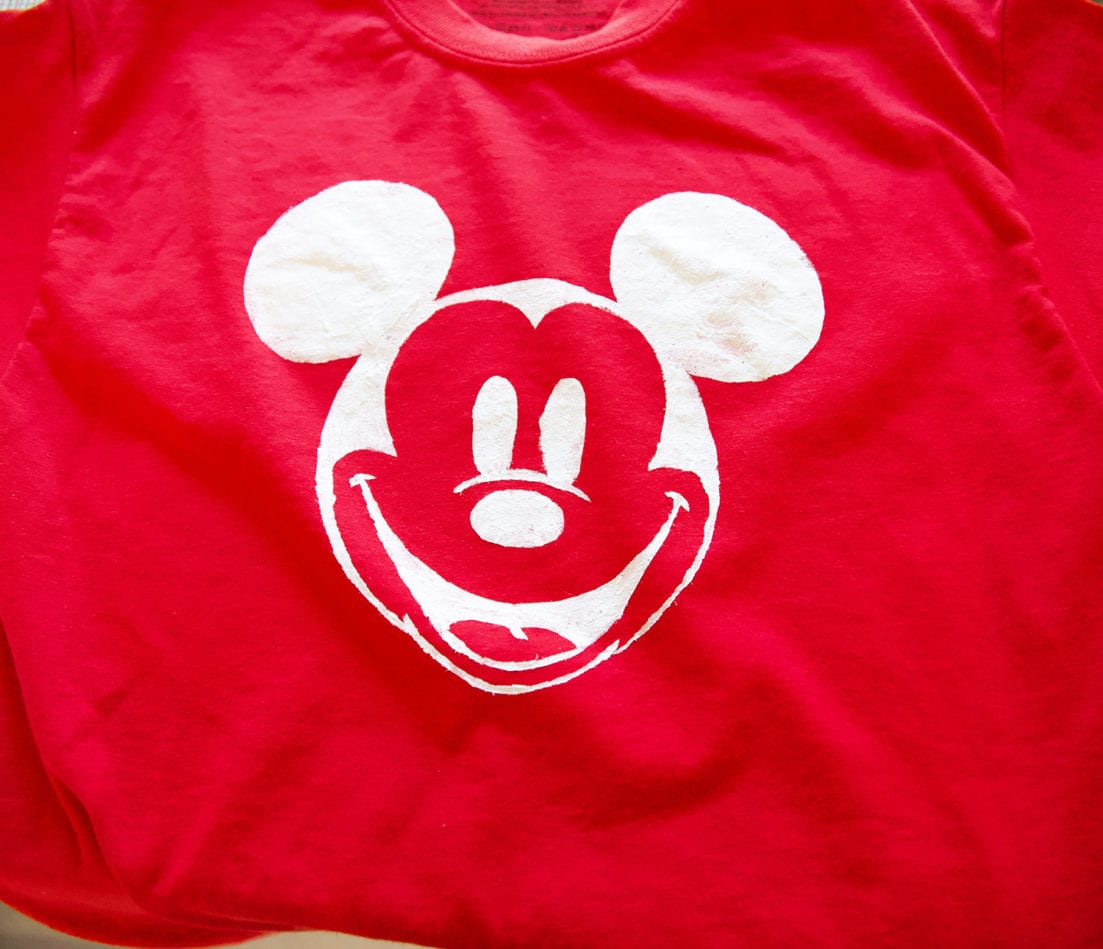
When you’re finished, remove your freezer paper to reveal the design!
DIY screen printed tees: setting the design
When it’s dry, remove the center protectant first.
Then you can heat seal the surface by ironing with a t-shirt over the design.
You’re ready to roll!

Aren’t these DIY screen printed tees so much fun?
As always, let us know if you try them.
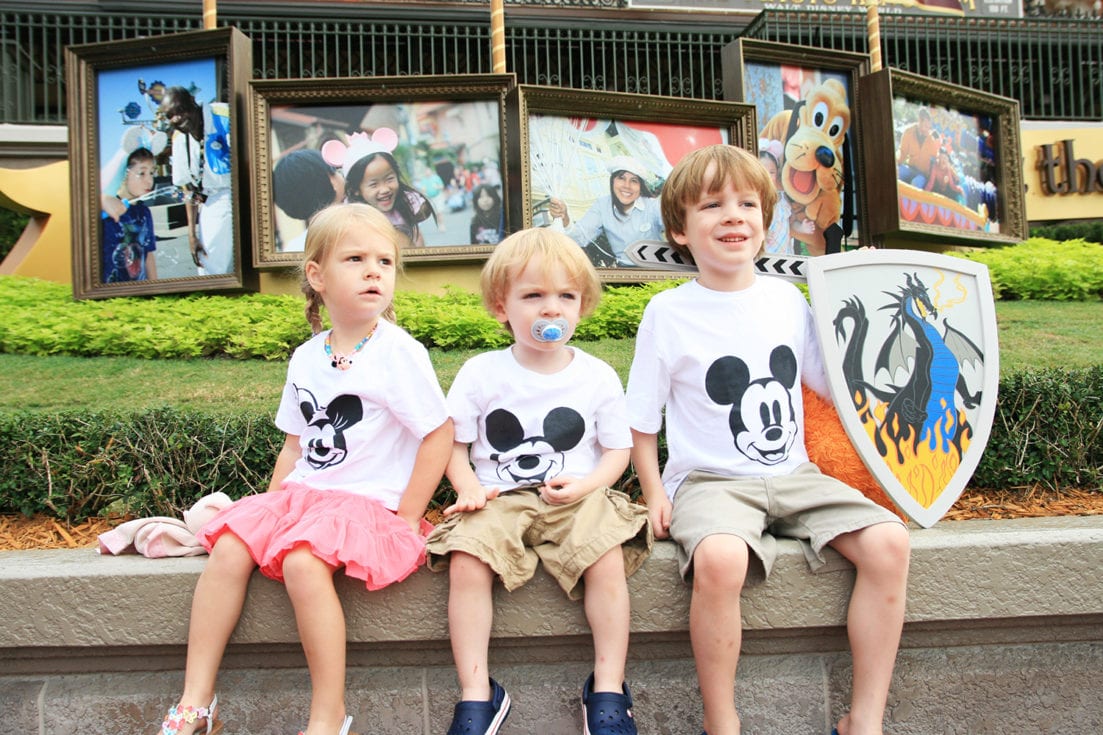
Per usual request, that iconic Mickey face you see in most of these were found via google, but here’s a good link to one, here. We hope that helps!
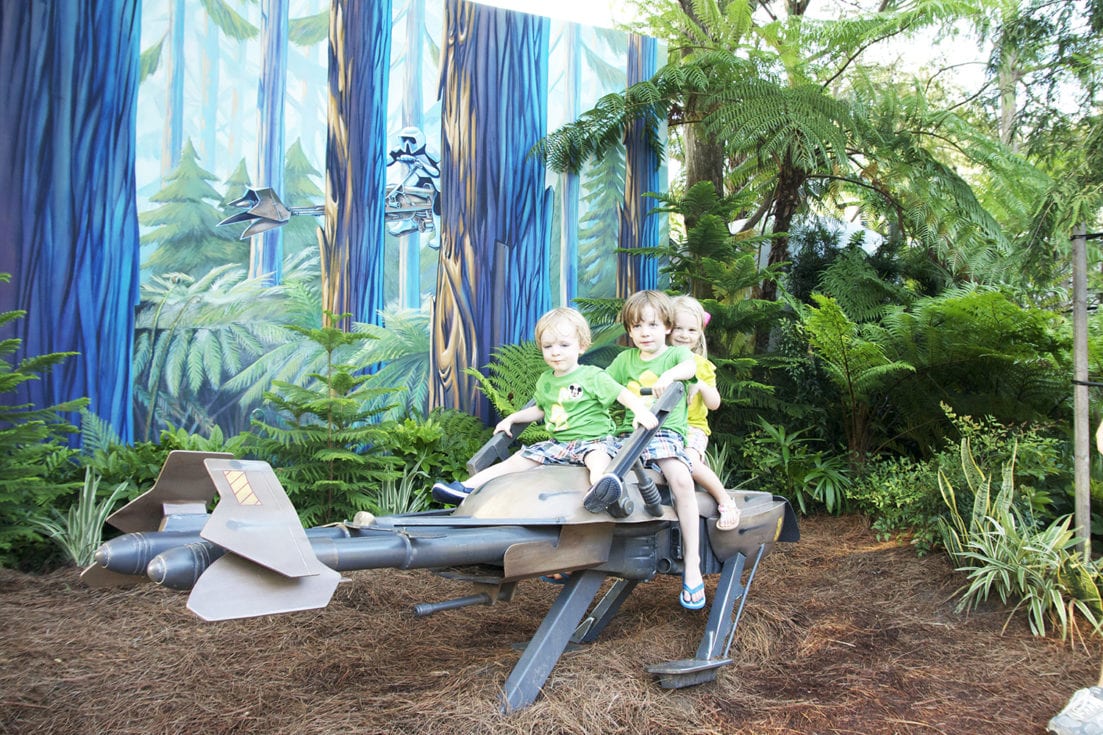
And if you’re headed to Disney with your DIY screen printed shirts, be sure to check out our Disney posts below just for fun:
• How Disney preps us for the zombie apocalypse
Have an inspired day!
This is the cutest thing ever. Thank you for sharing a how to!
You guys are adorable. Making some this weekend and for our upcoming Disney trip!