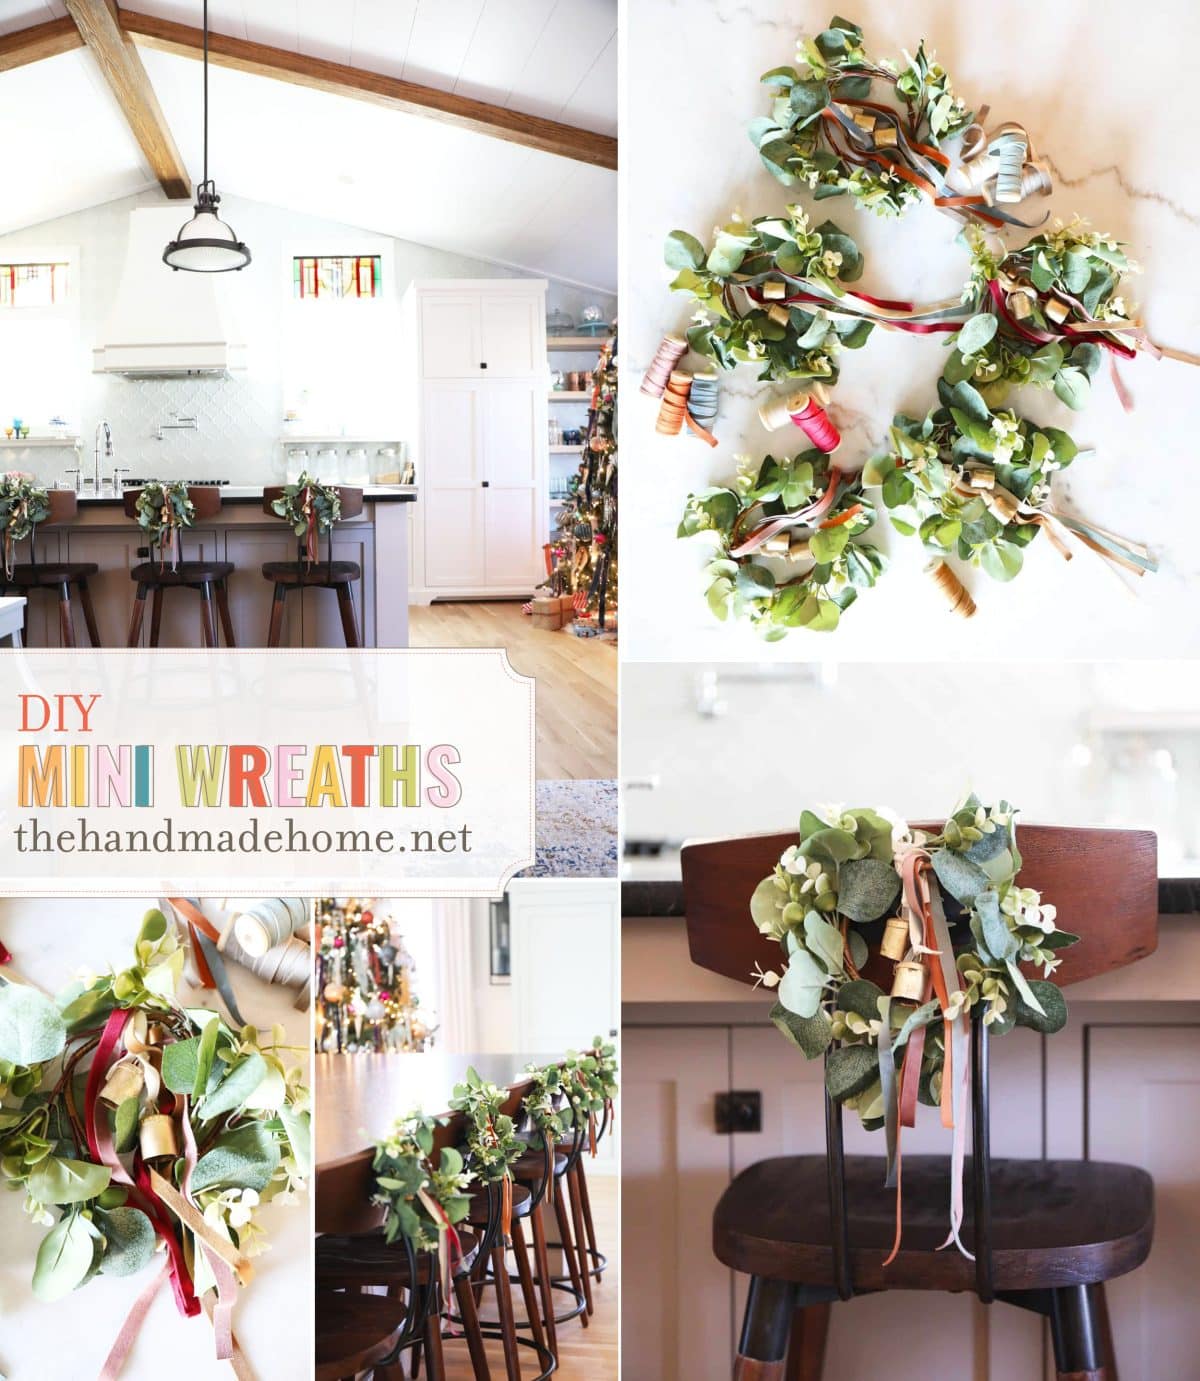
These little wreaths make the best additions to any space and are super easy to make. Whether something to dress up your space, a group craft idea, or the perfect hostess gift, we thought it would be smart to share these ideas with any last-minute decorators looking for a fun idea. So without further ado, these DIY mini wreaths! {Also the best little barstools wreaths you ever did see, if you ask us.}

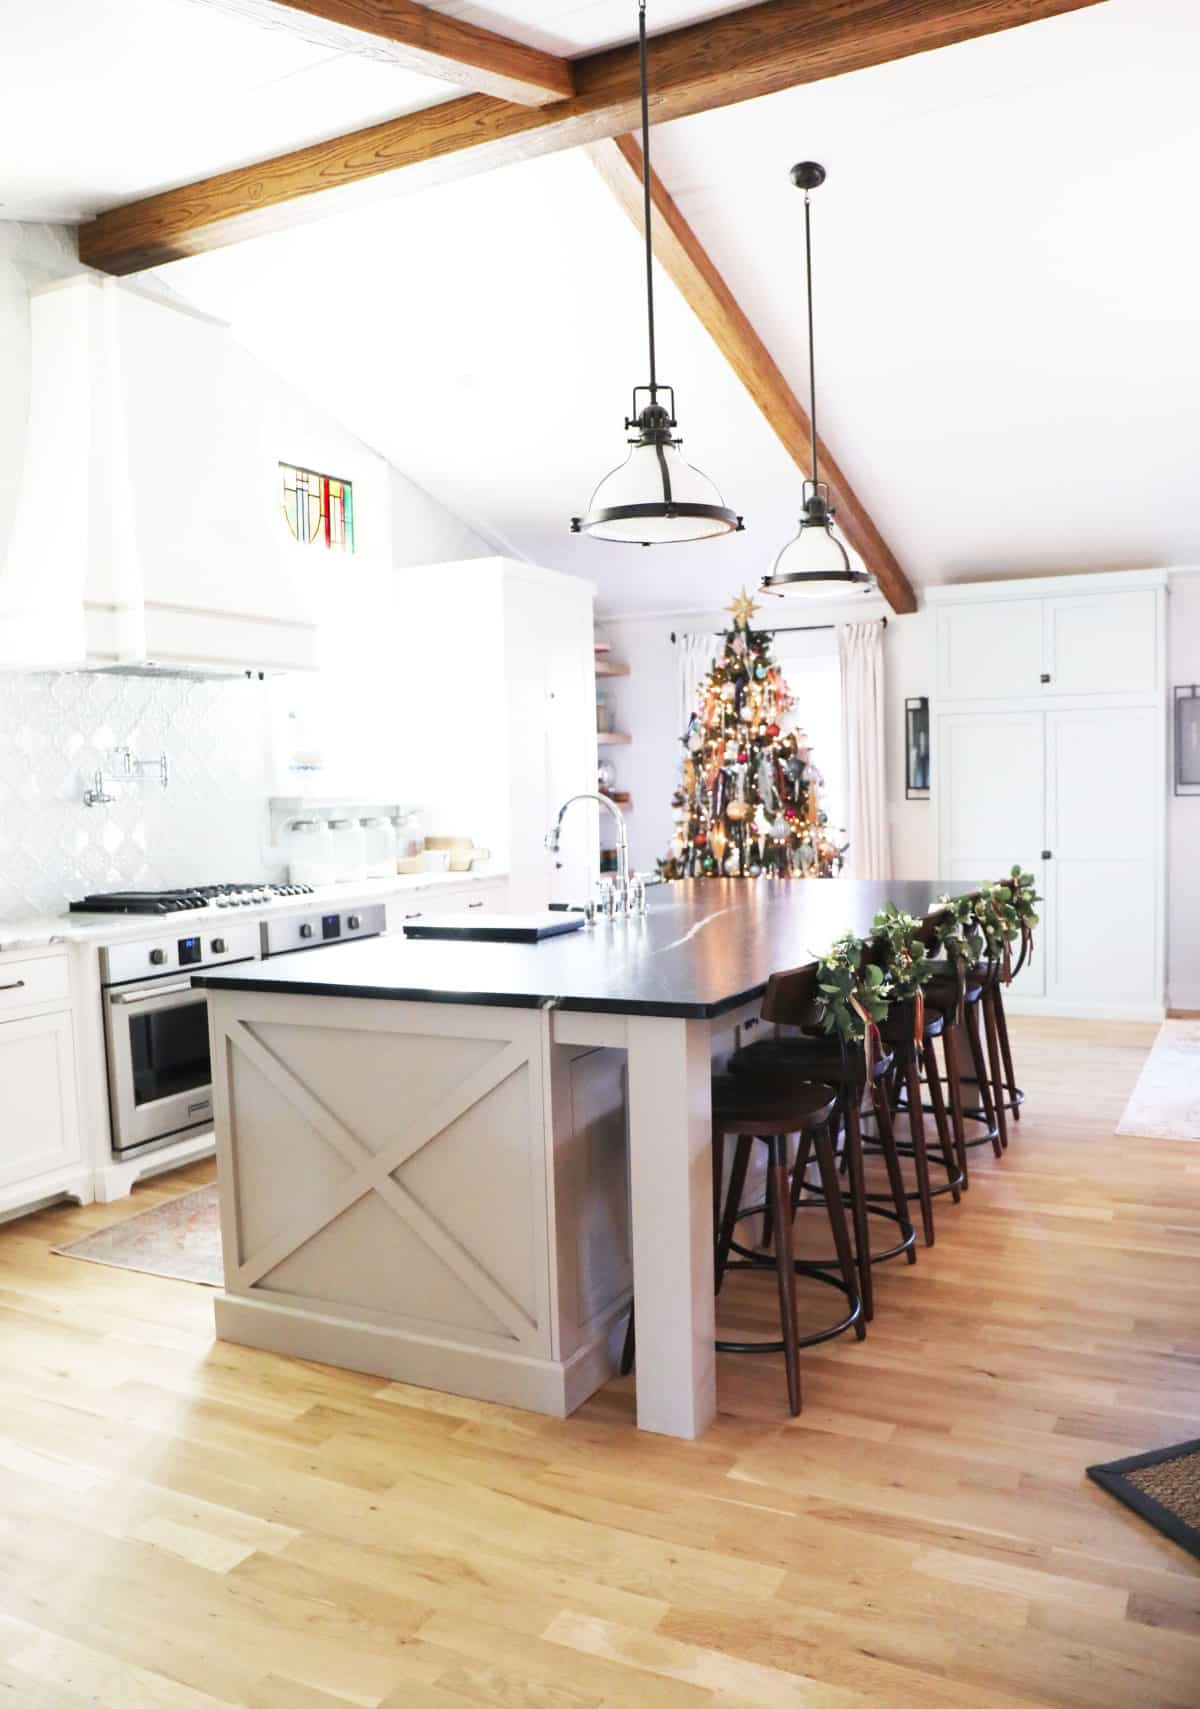
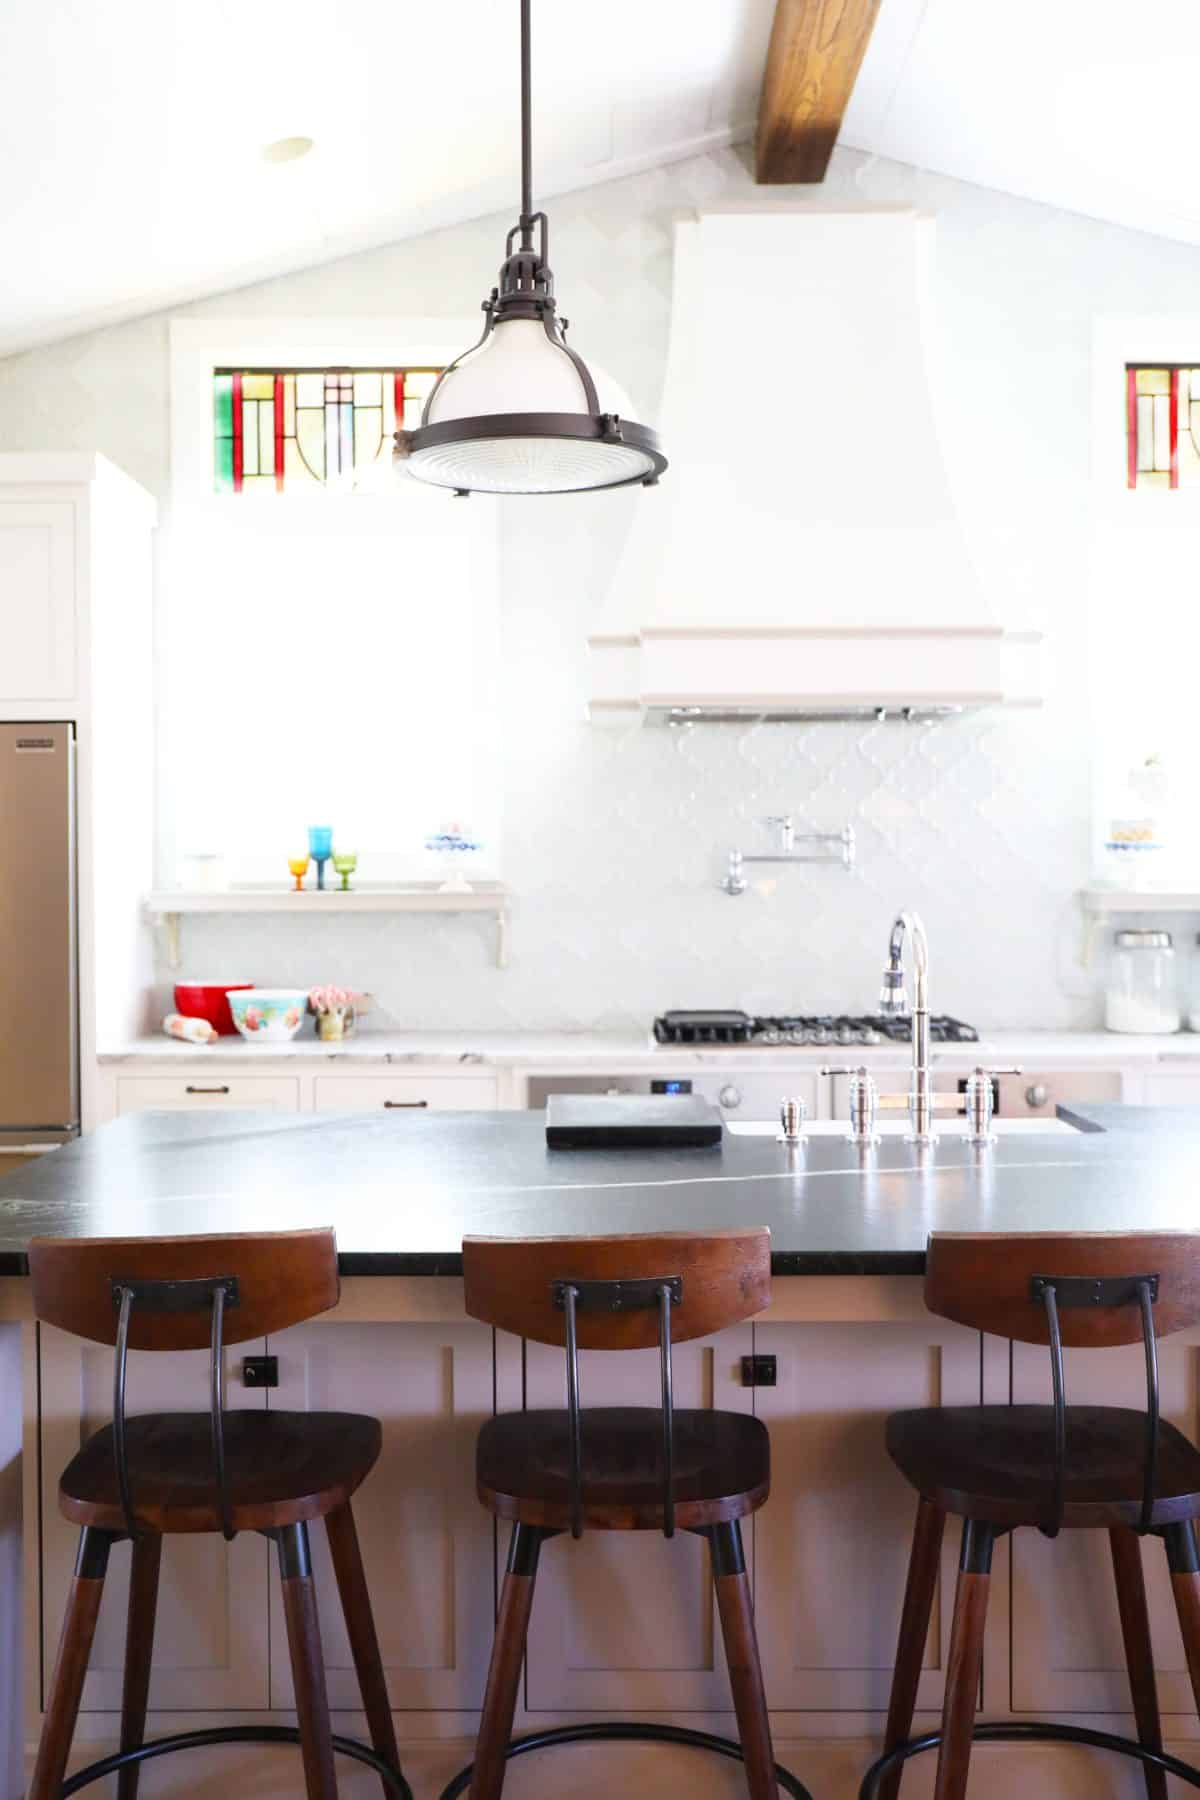
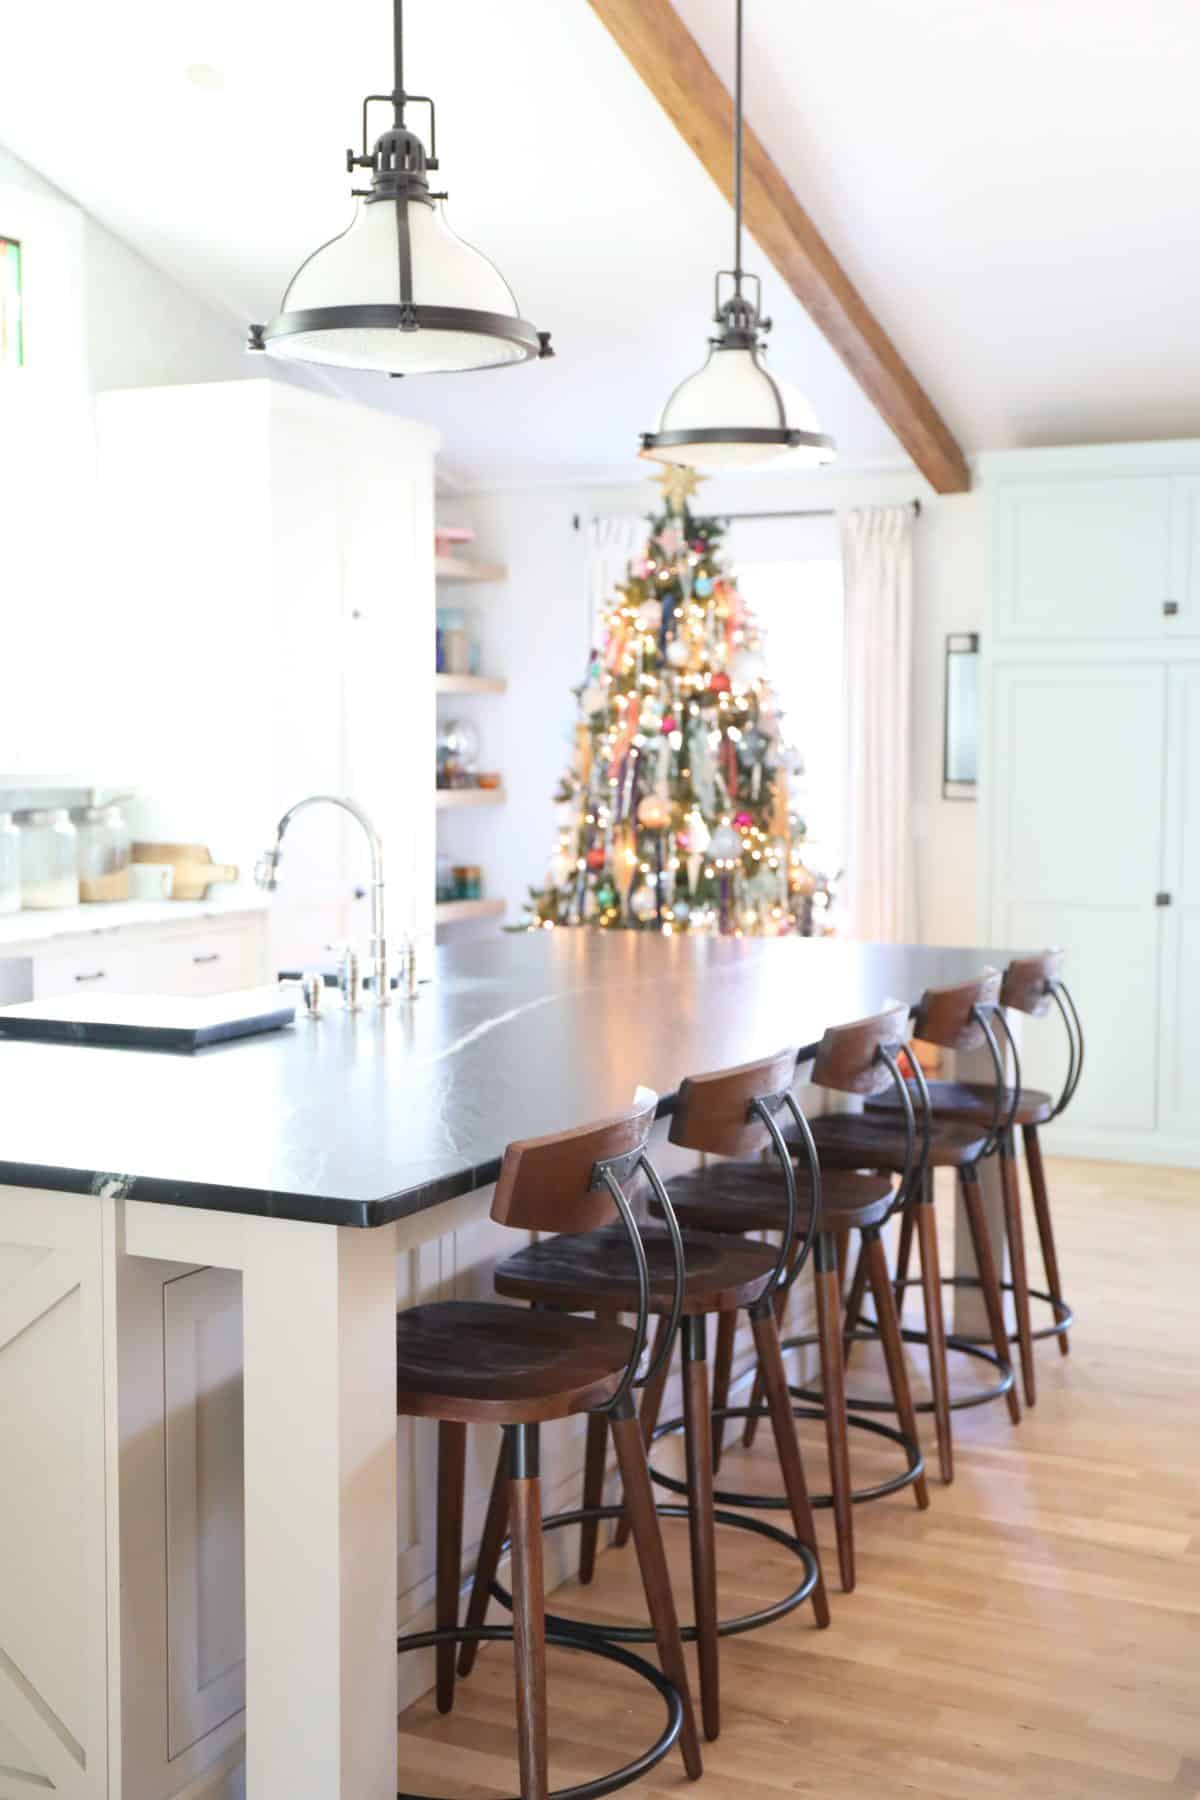
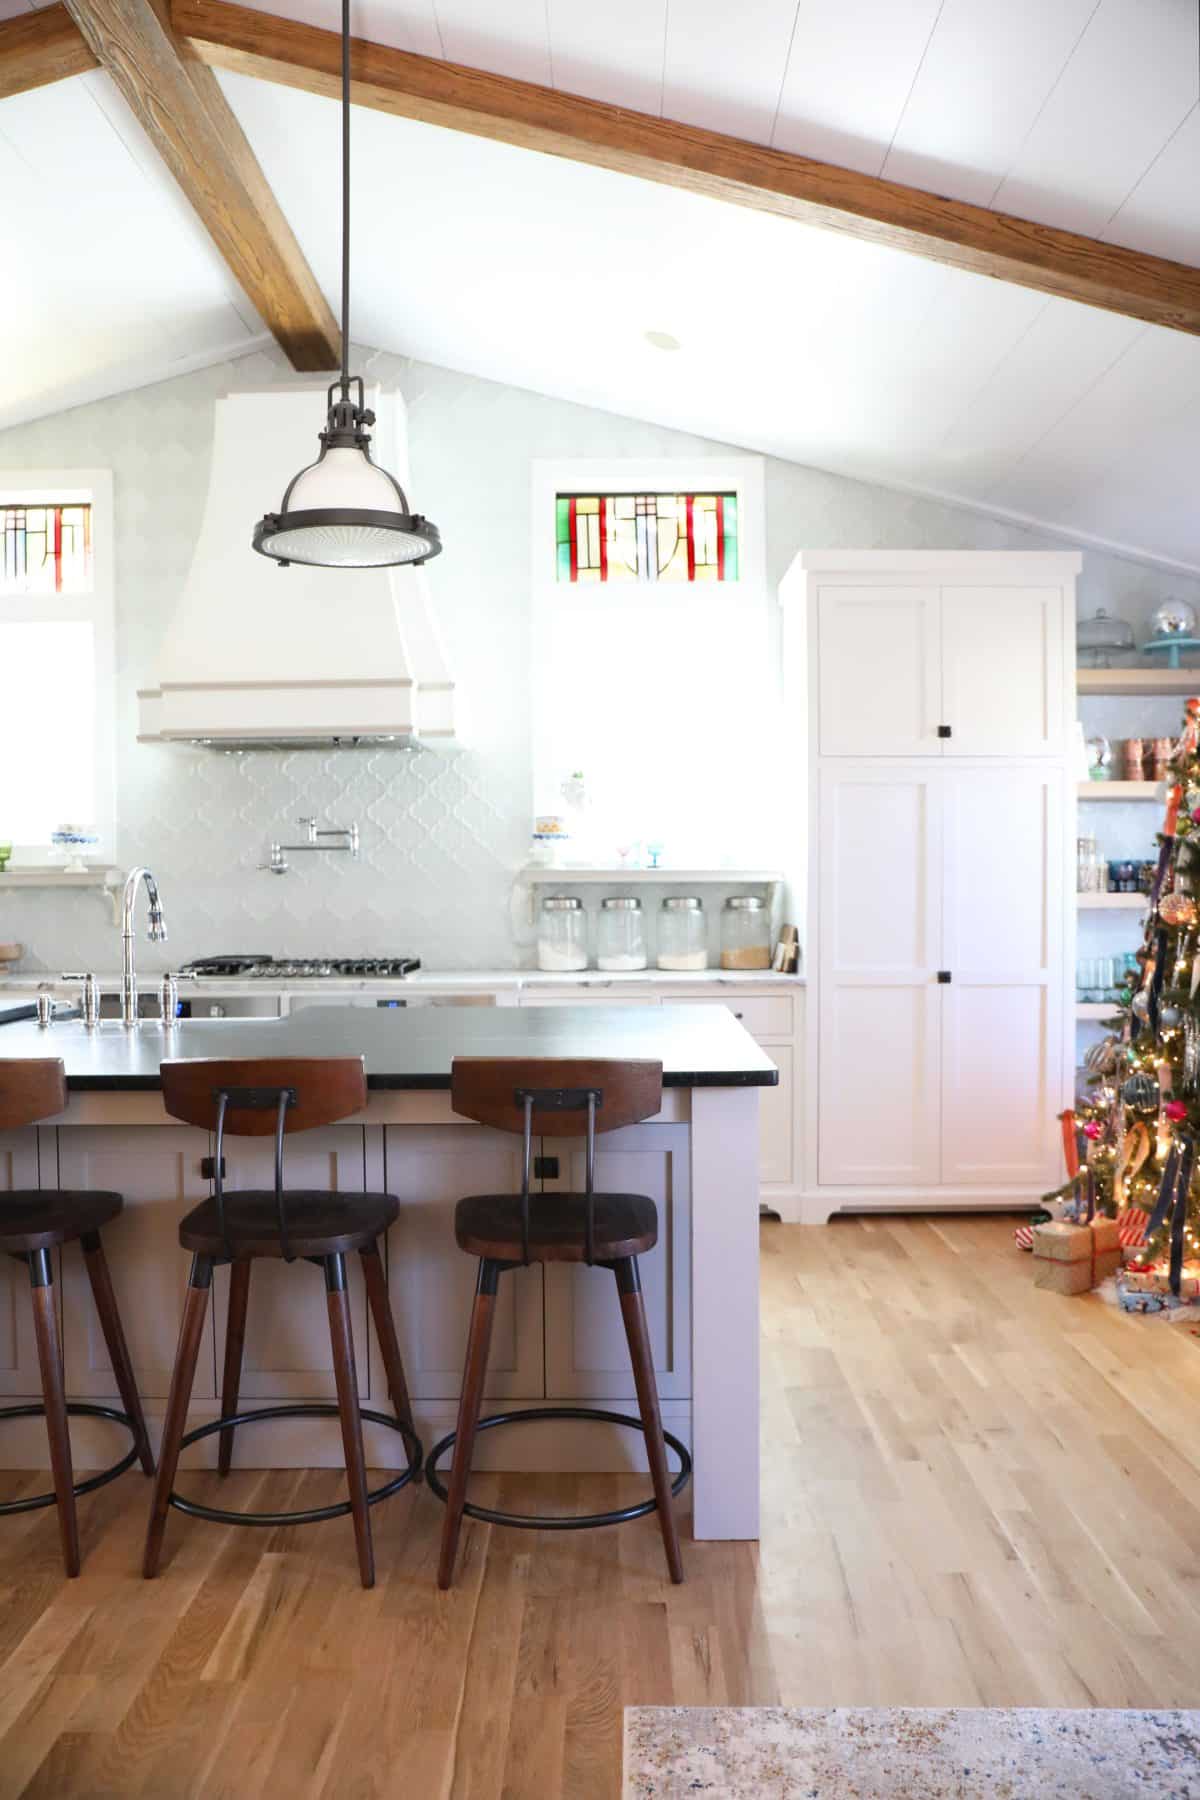
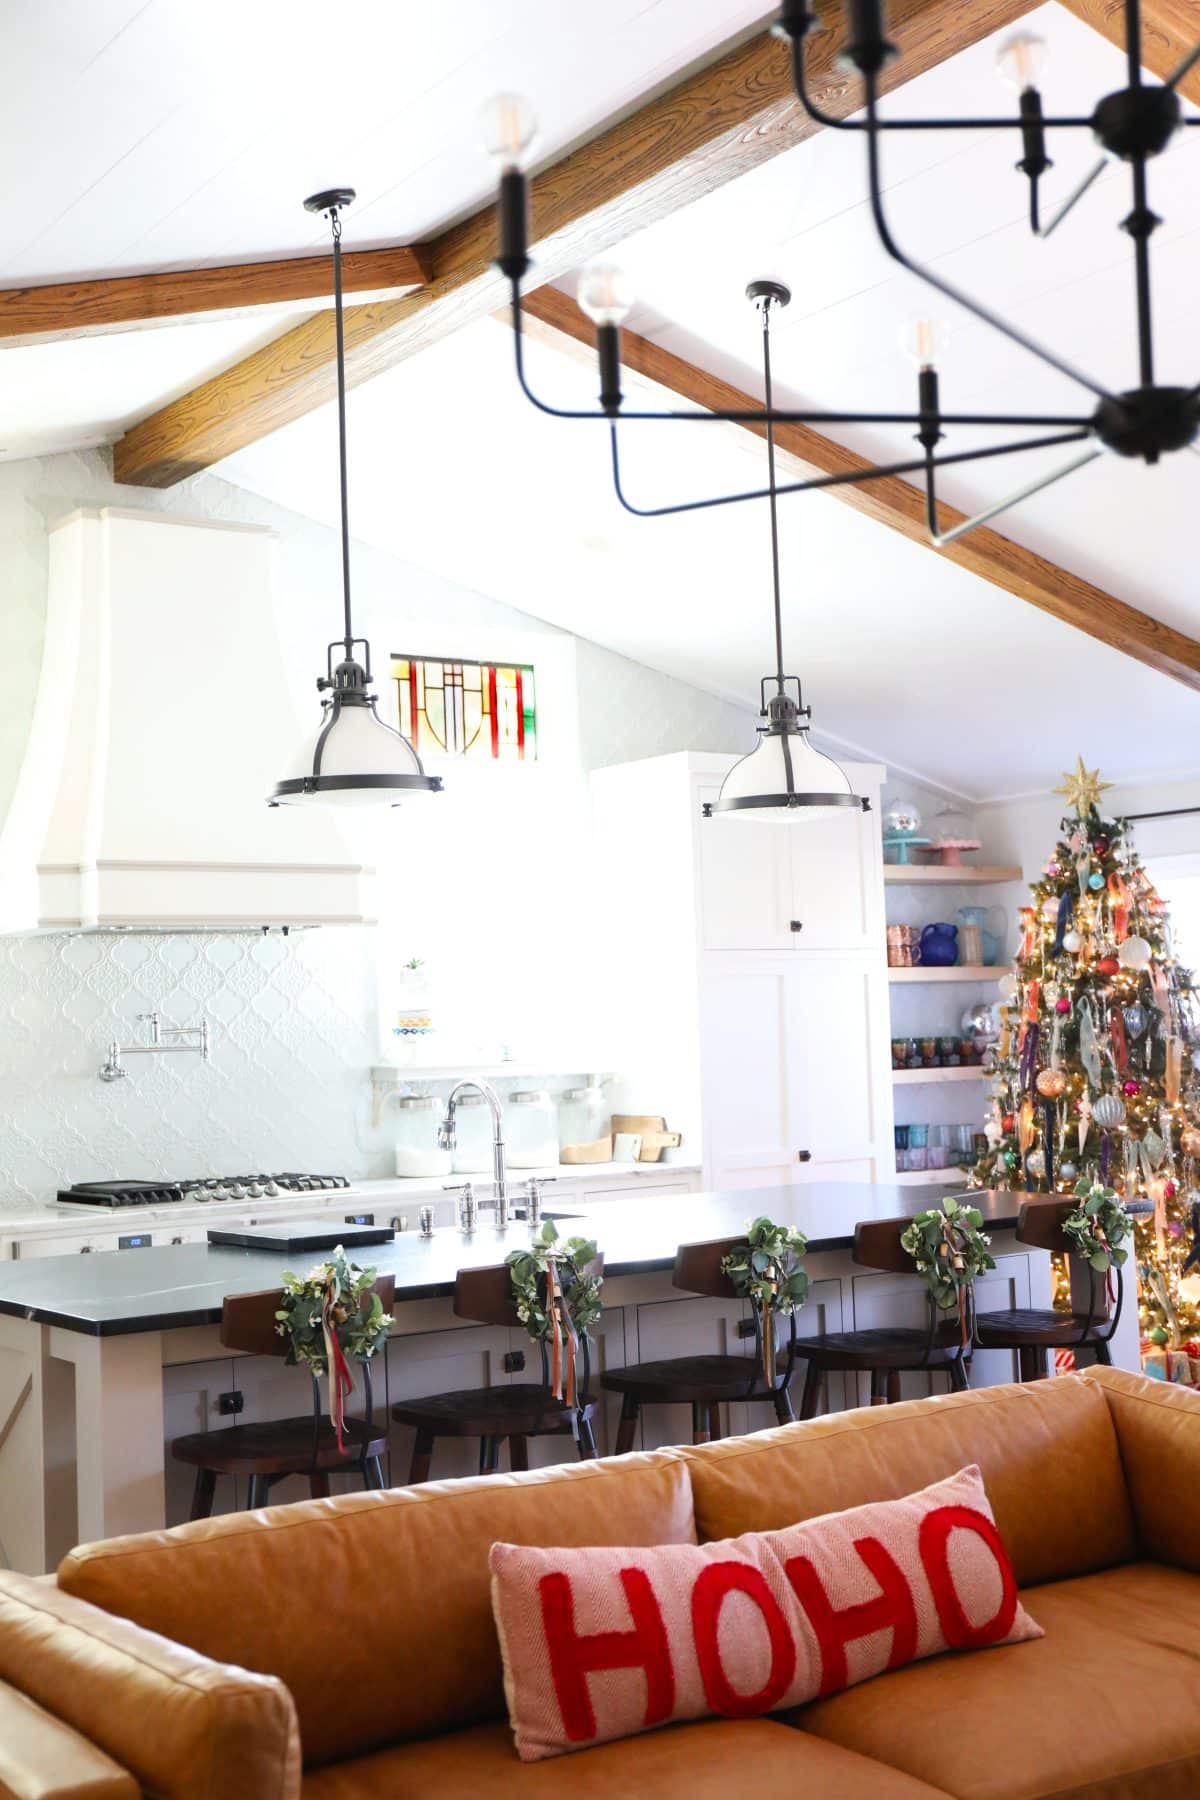
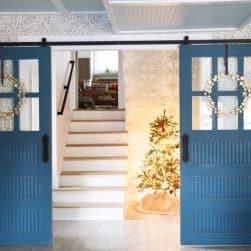
We recently added some fabulous new barstools to our kitchen. They are a much-needed addition after our old ones were wearing a little thin and started to break. They’d worked hard for our family for seven years, but it was also time for a new look since the old ones were kind of actually clashing with our new floors. I’d searched for a long time for something that met all our requirements and also worked with the rest of the design within the space. We love a good contrast with our existing chairs and adore this new look. These have backs, without being too intrusive on the eye. Let’s just say, it was time. Because we’re feeling the Christmas spirit, I thought that they needed some cute little wreaths to add to their backs!
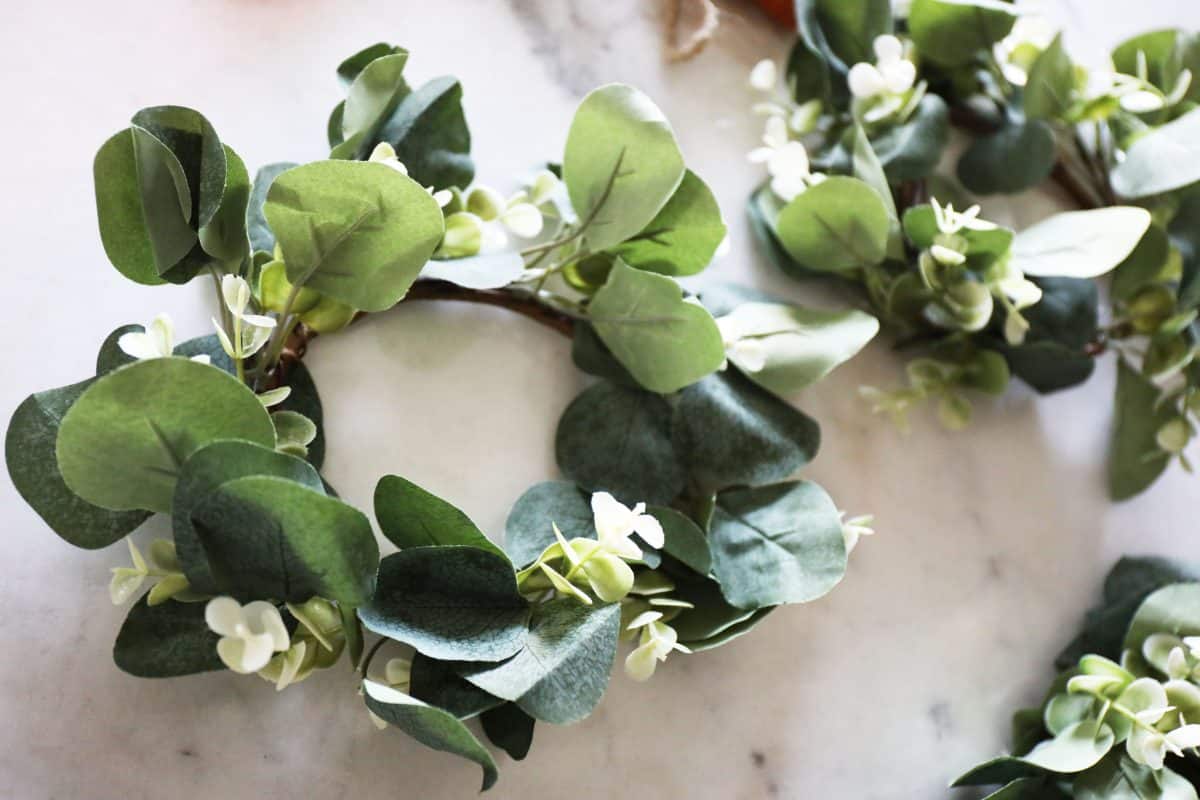
Aren’t they just the cutest things ever?
You can easily whip up multiples of these in an afternoon, whether for a party, a last-minute gift, or easy garnish in any space. We love the fun look and how it can warm up a room.
Here’s what you’ll need: Just three simple key elements.
• Wreaths
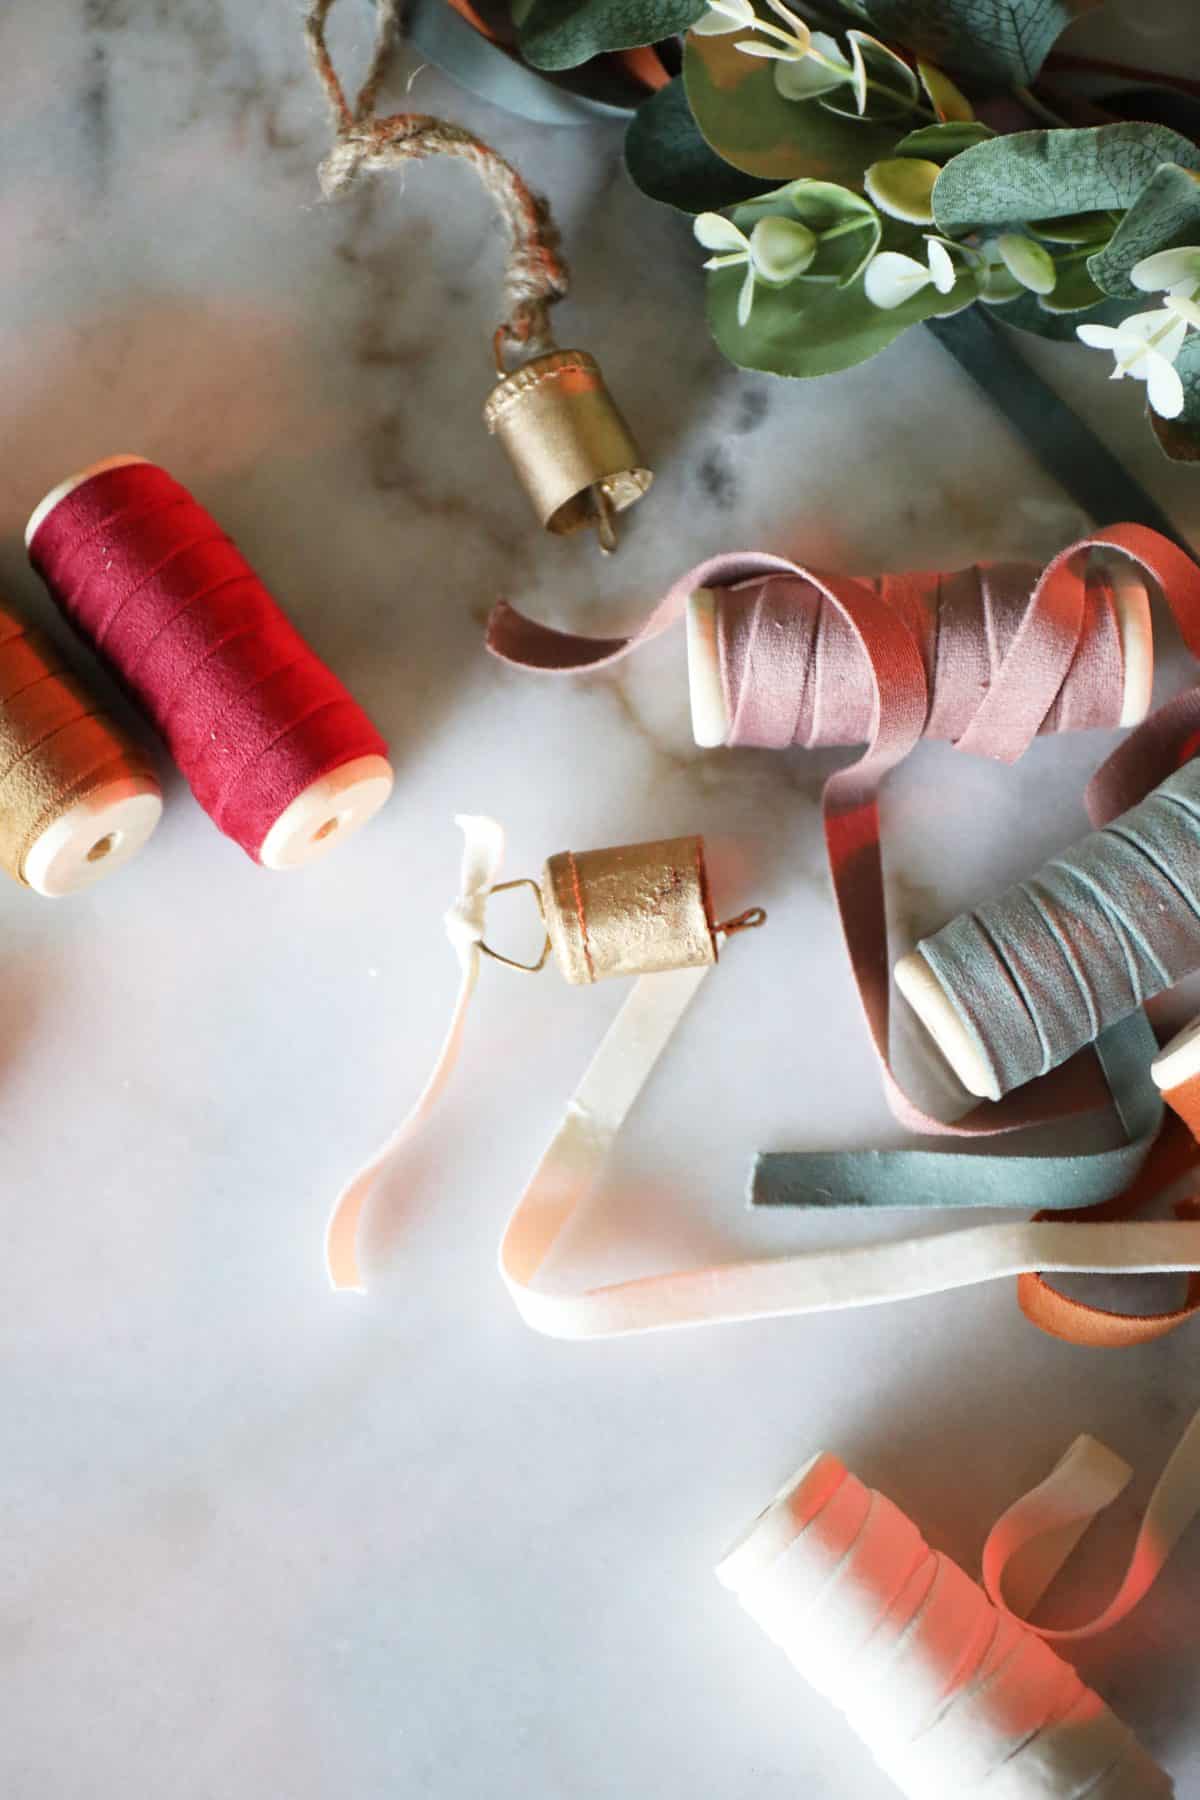
• Velvet Ribbon
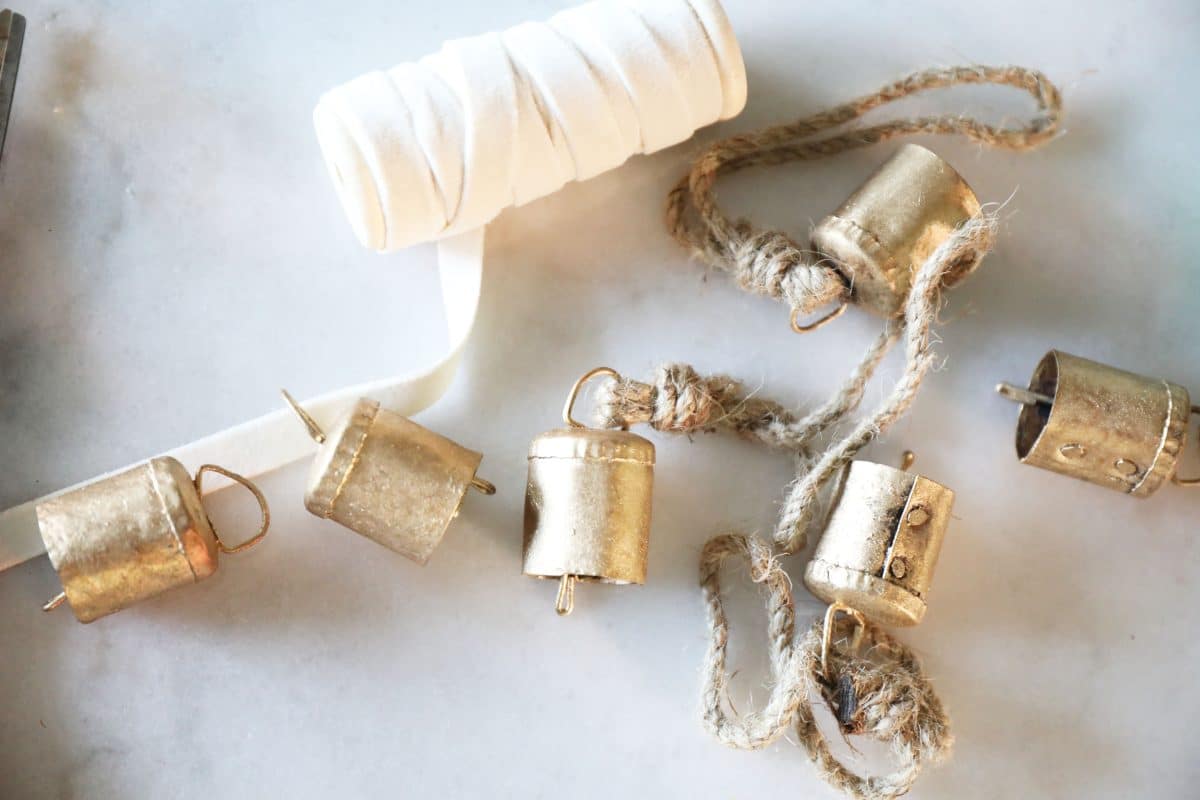
• Bells
• Scissors + hot glue
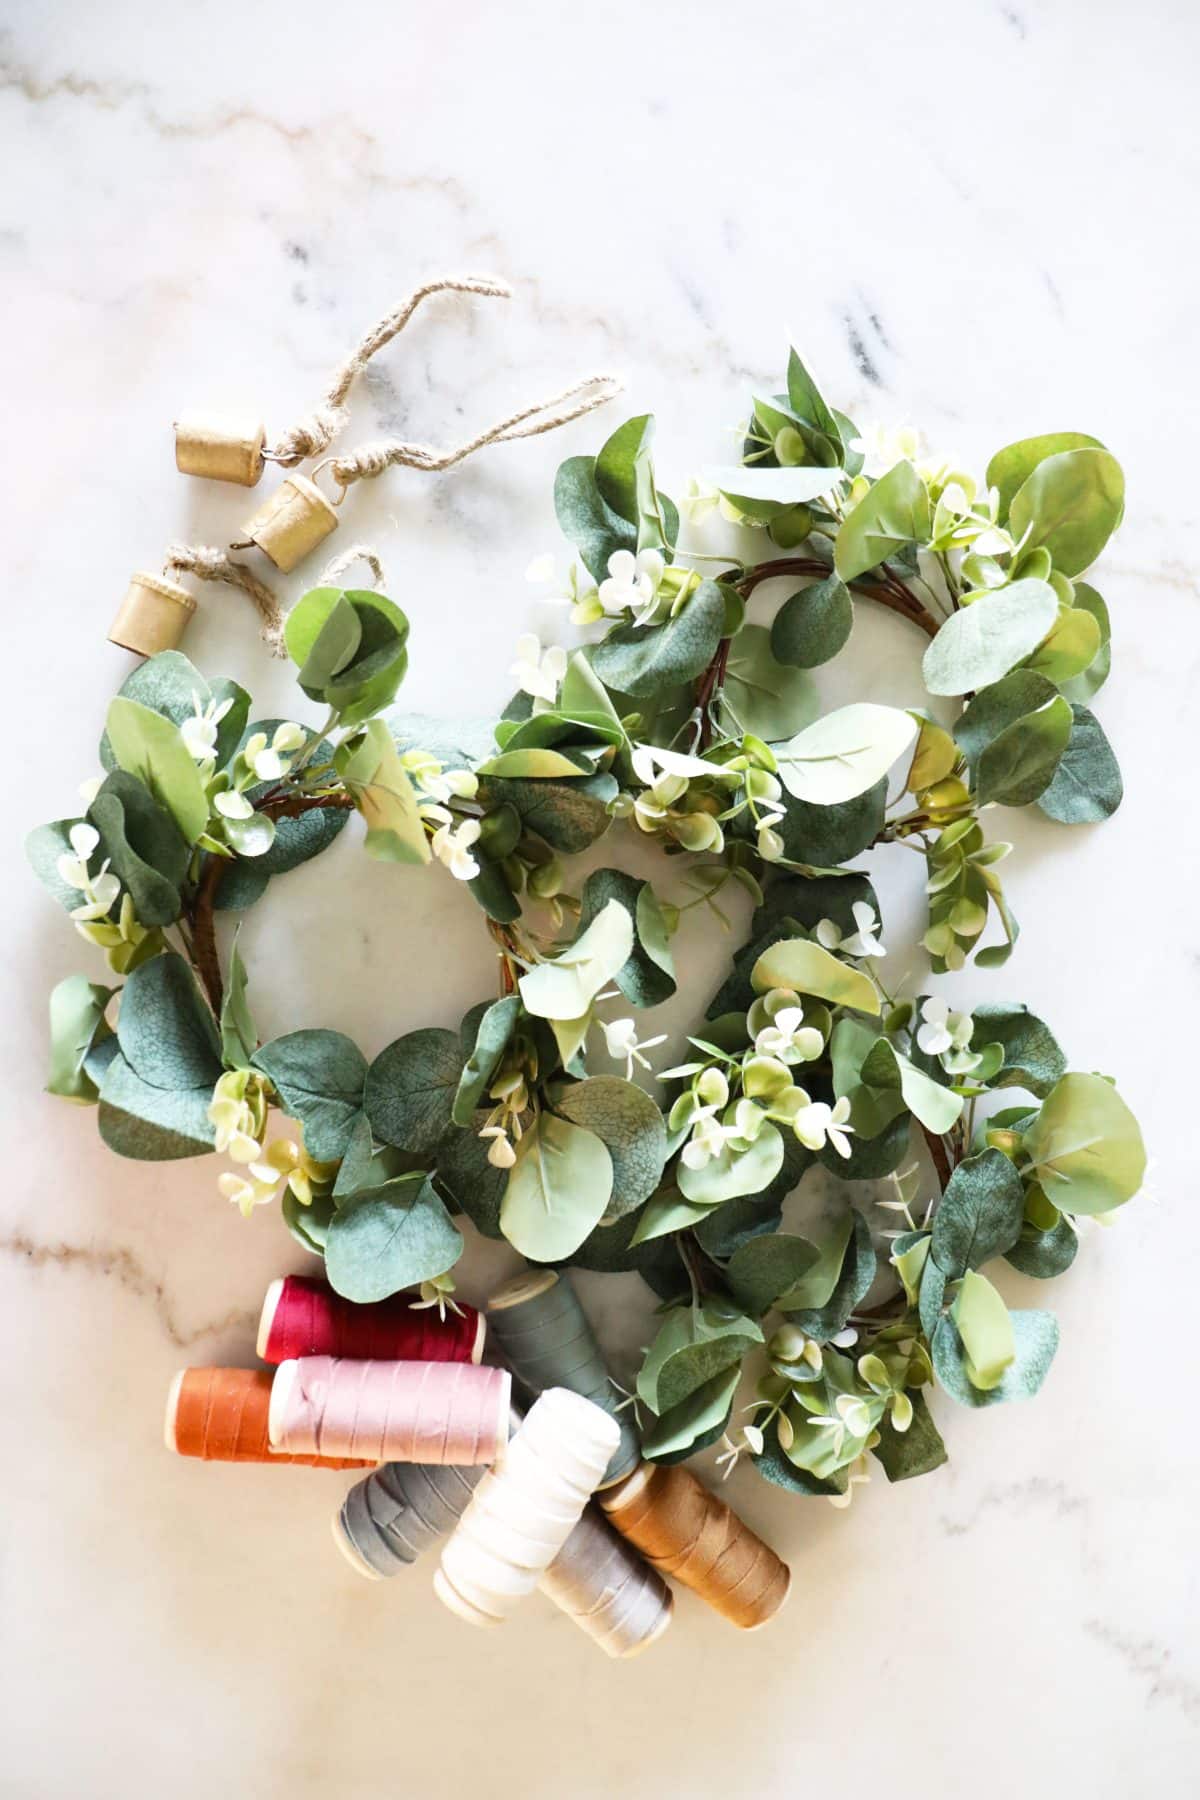
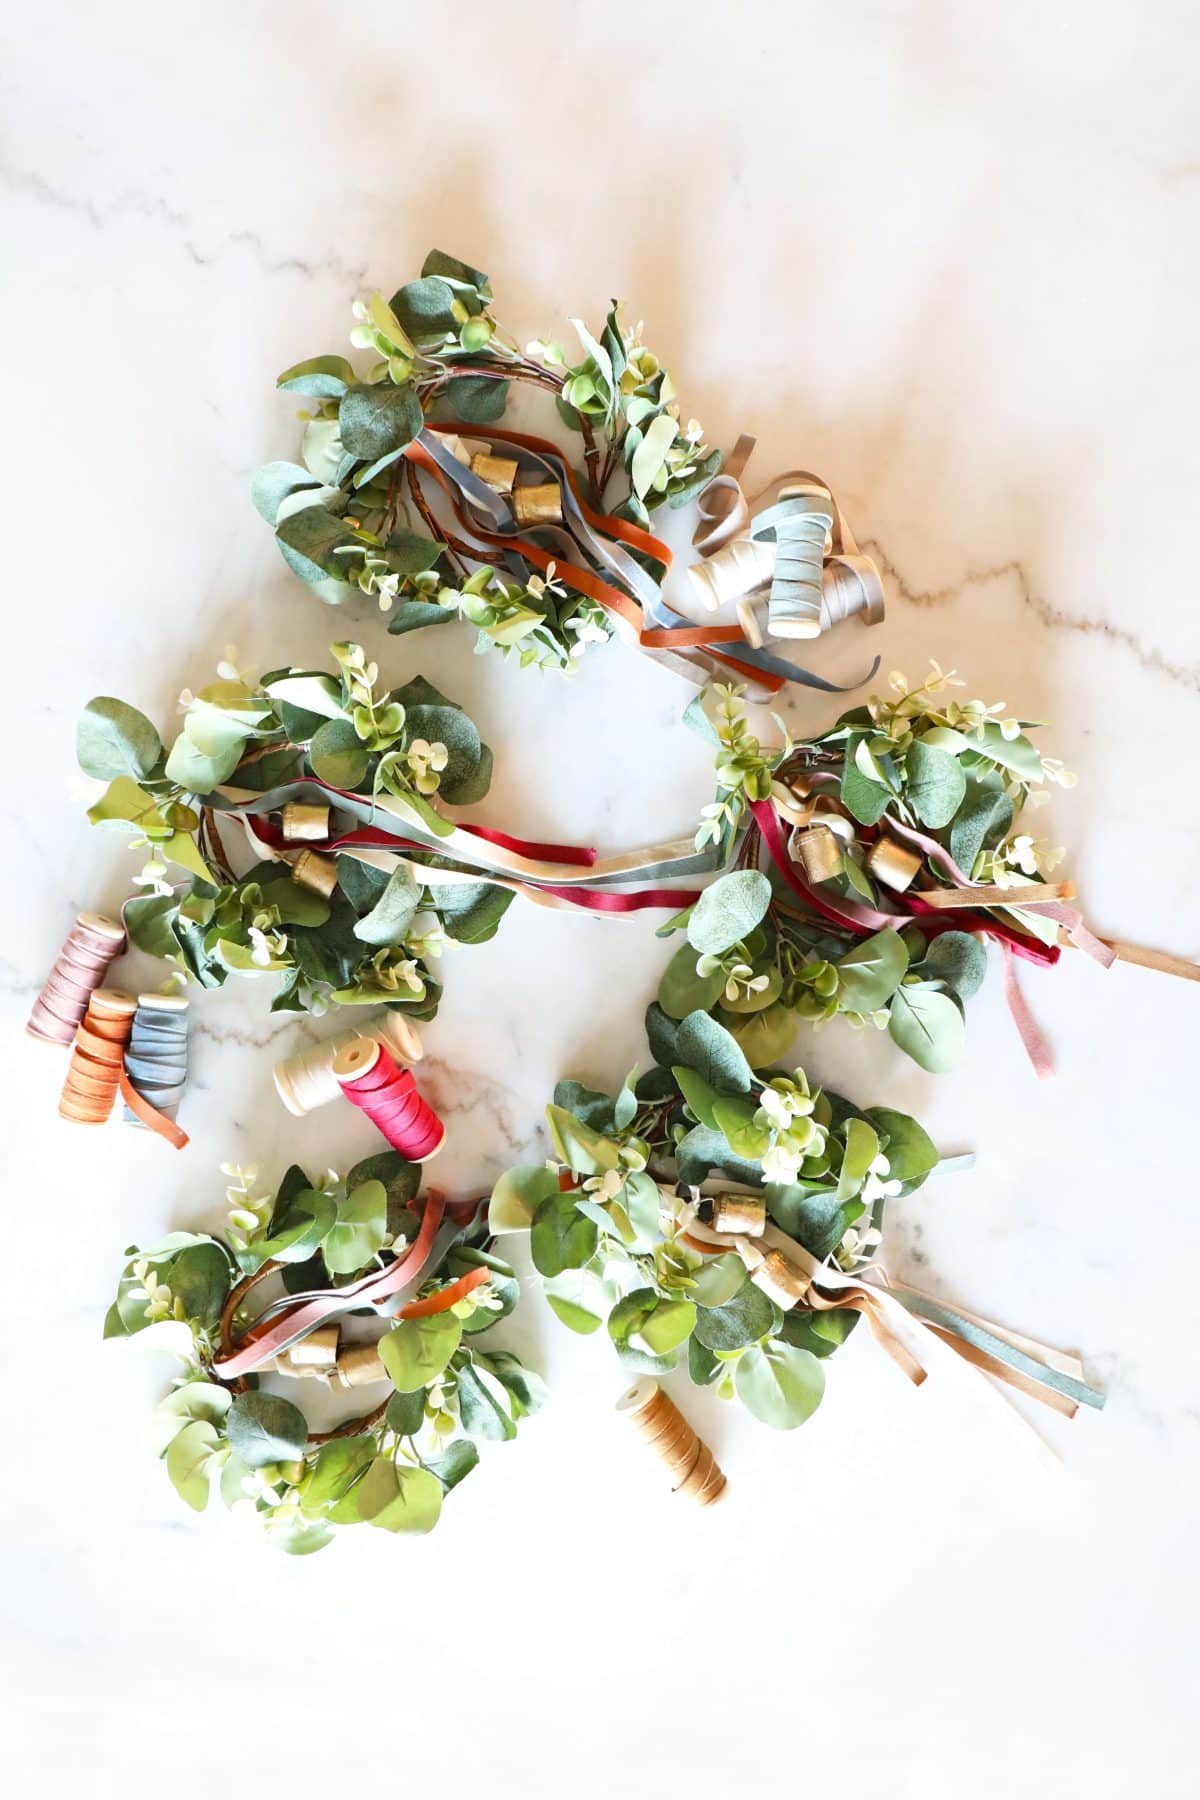
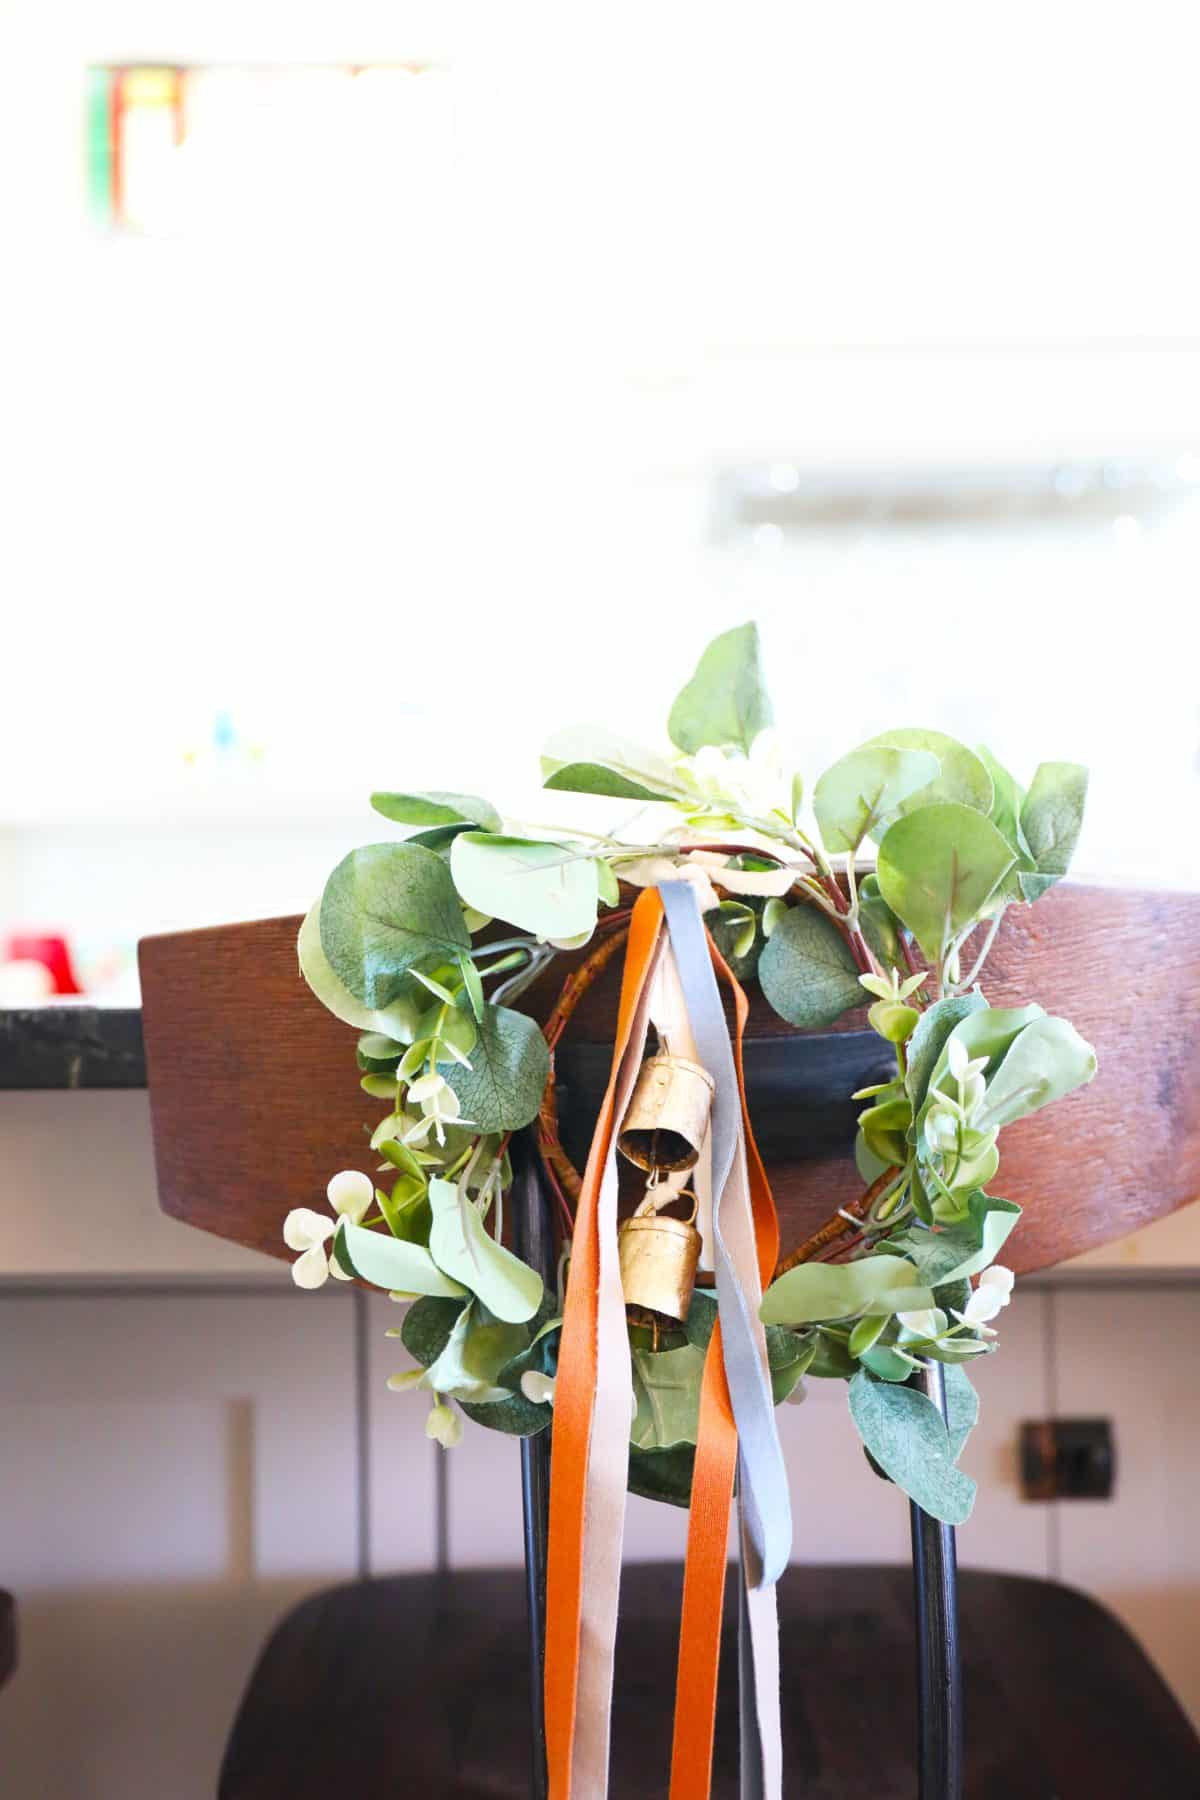
These little wreaths come in a pack, so they make it easy for mass production. I simply laid them out and fluffed their leaves a little.
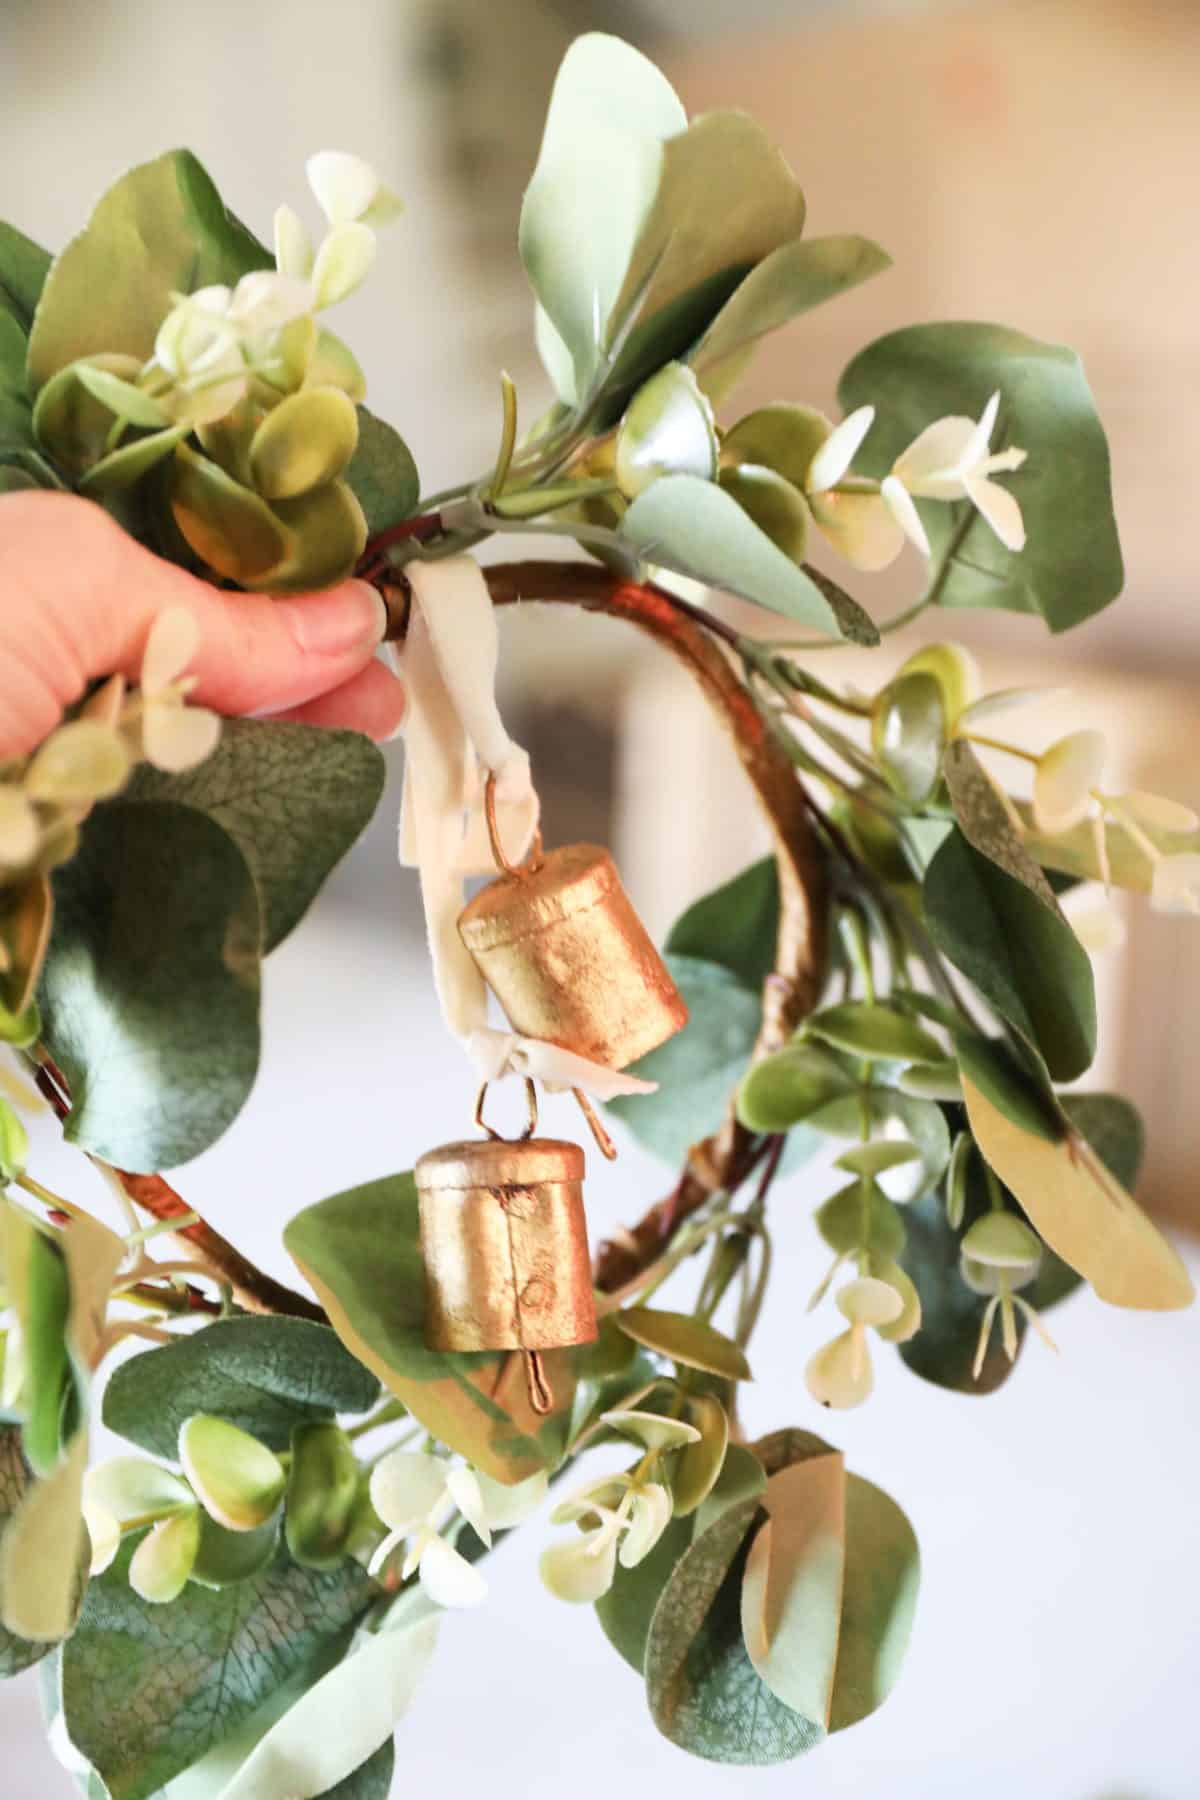
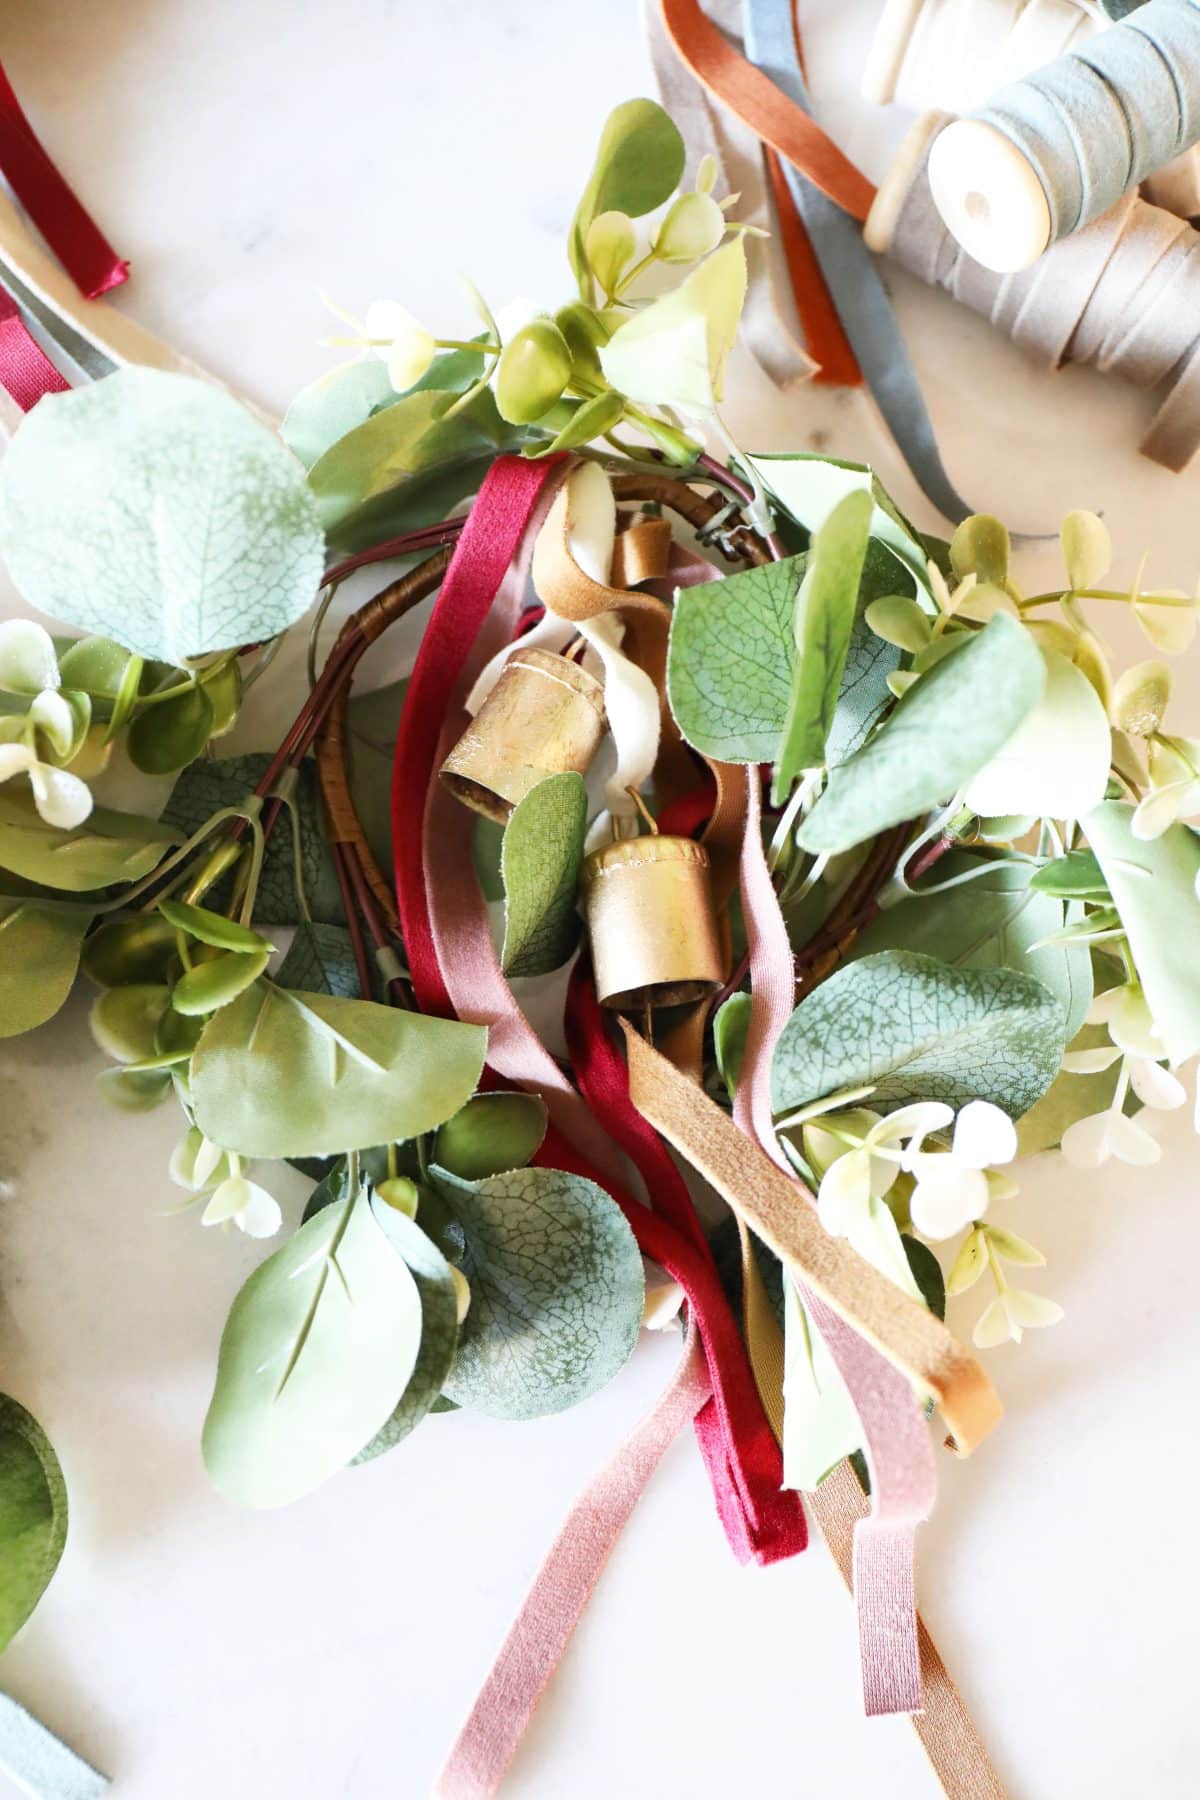
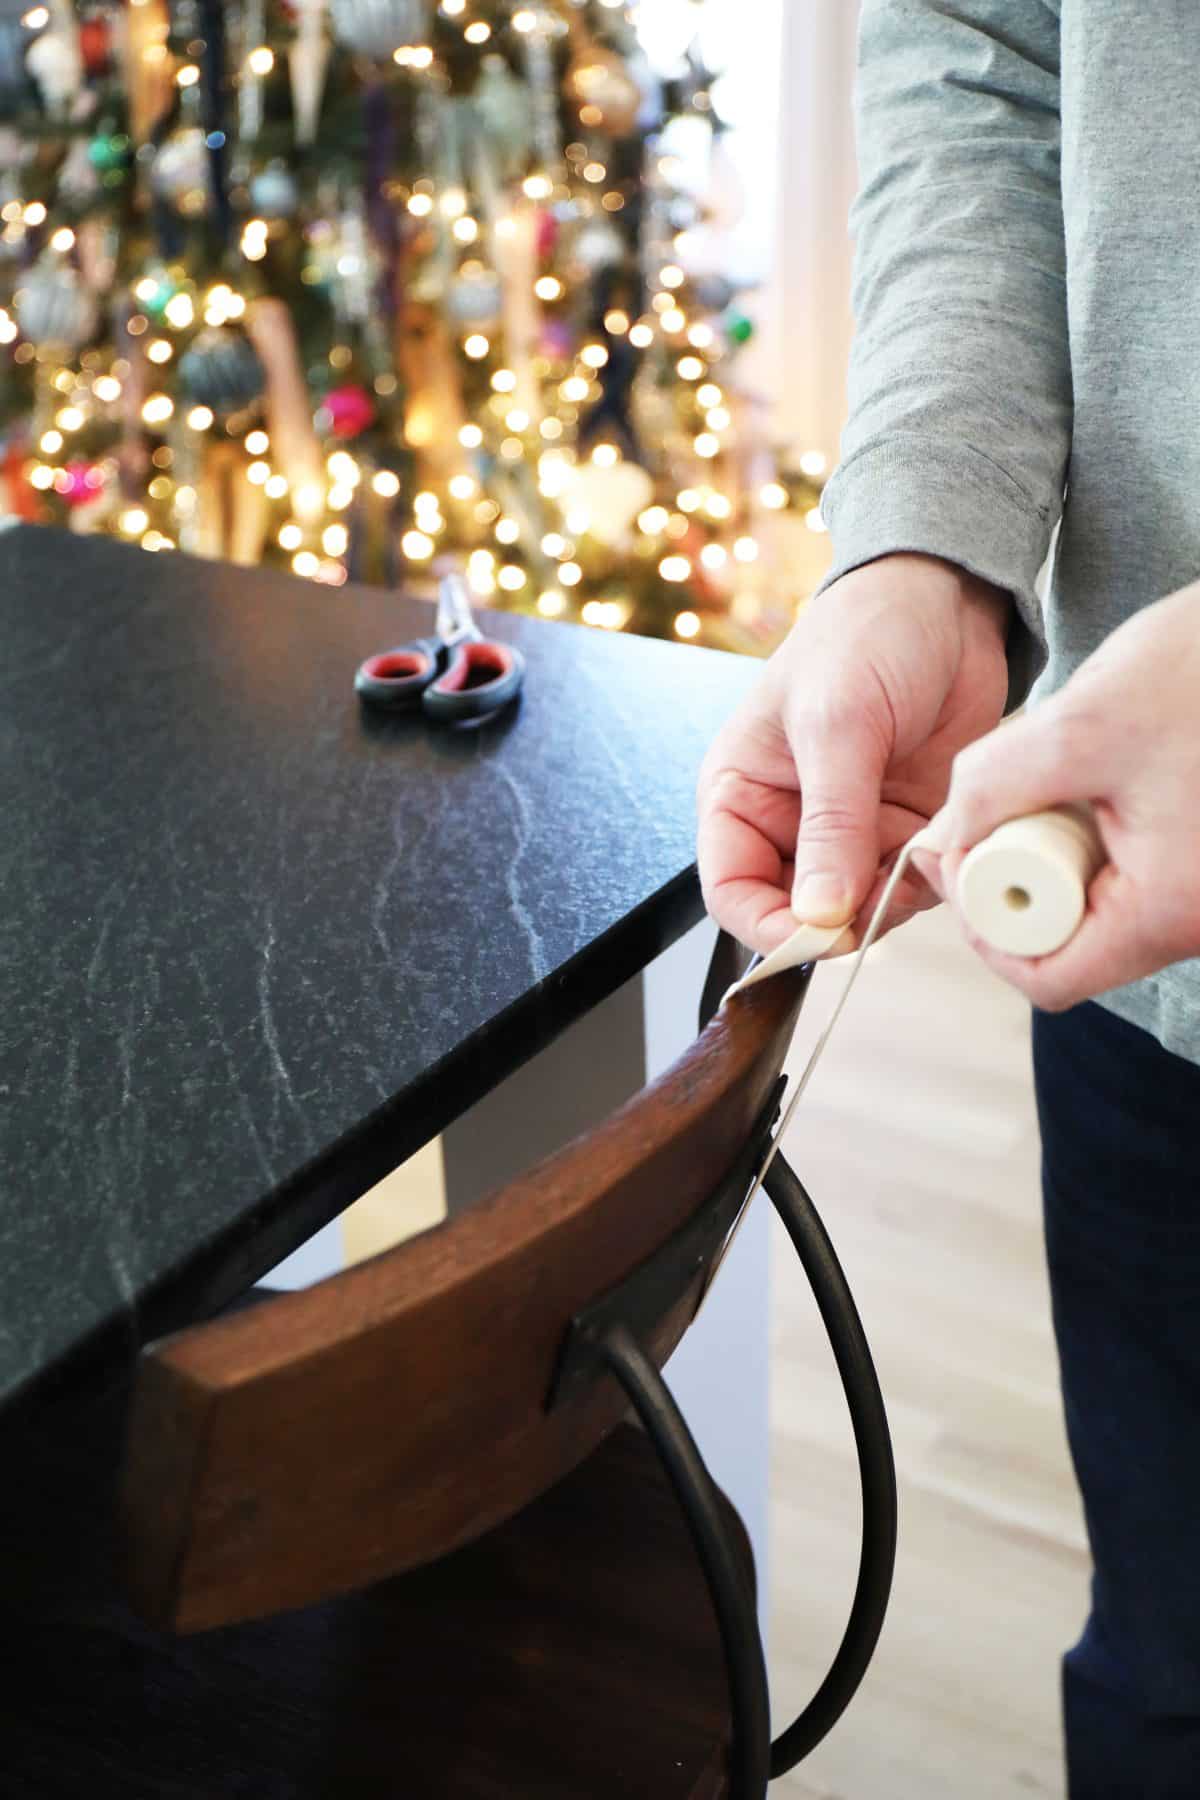
The bells are cute on their own, but it wasn’t the look I was going for. So I cut off the rope, and added a little ribbon on each one. Basically eyeballing it so that they hang at two different levels, allowing for about two bells per wreath.
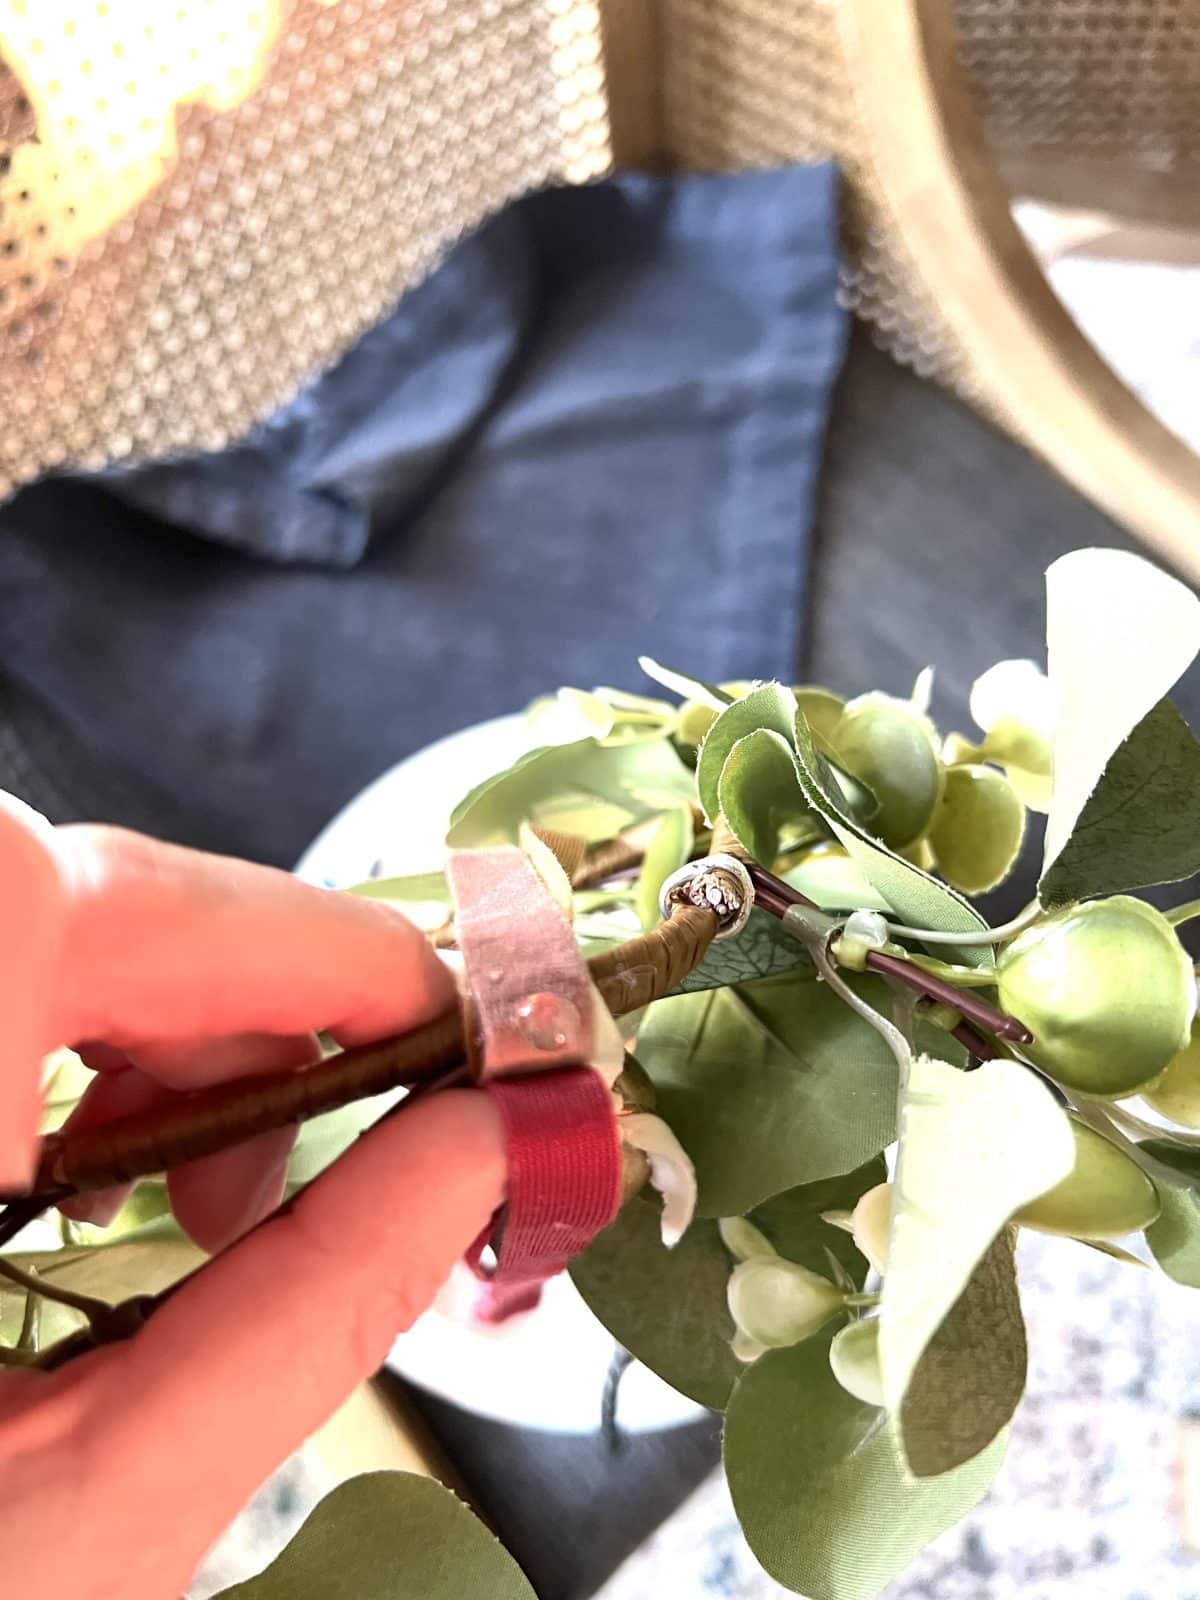
At the top of each wreath, I chose a good spot and looped the velvet ribbon over the top with a dab of glue. I repeated it until the second bell was added. I did the same step with the additional ribbon, but this is a shot with the colors for an example.
Then I was ready to add the colorful ribbon.
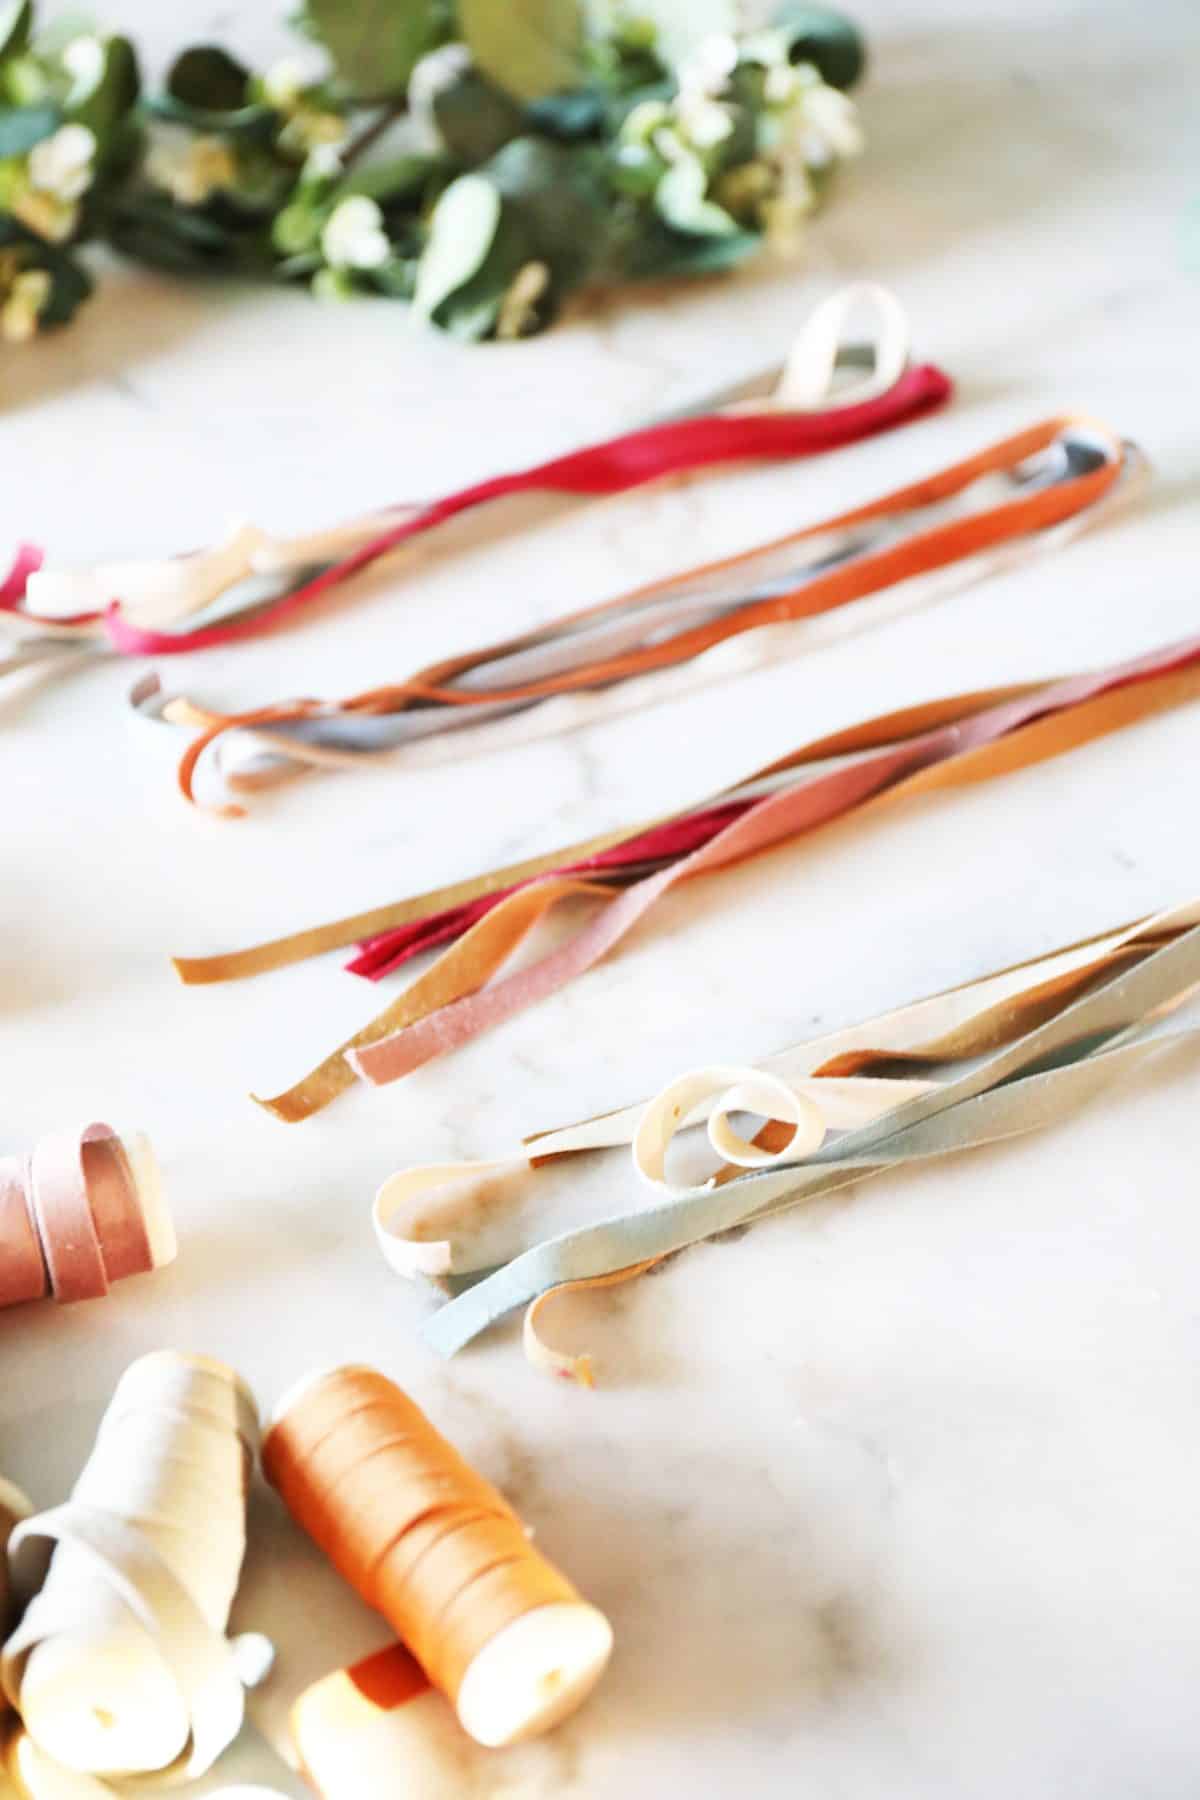
For each wreath, I knew I wanted to vary the colors. So I precut some to a length I wanted, to added them to each wreath.
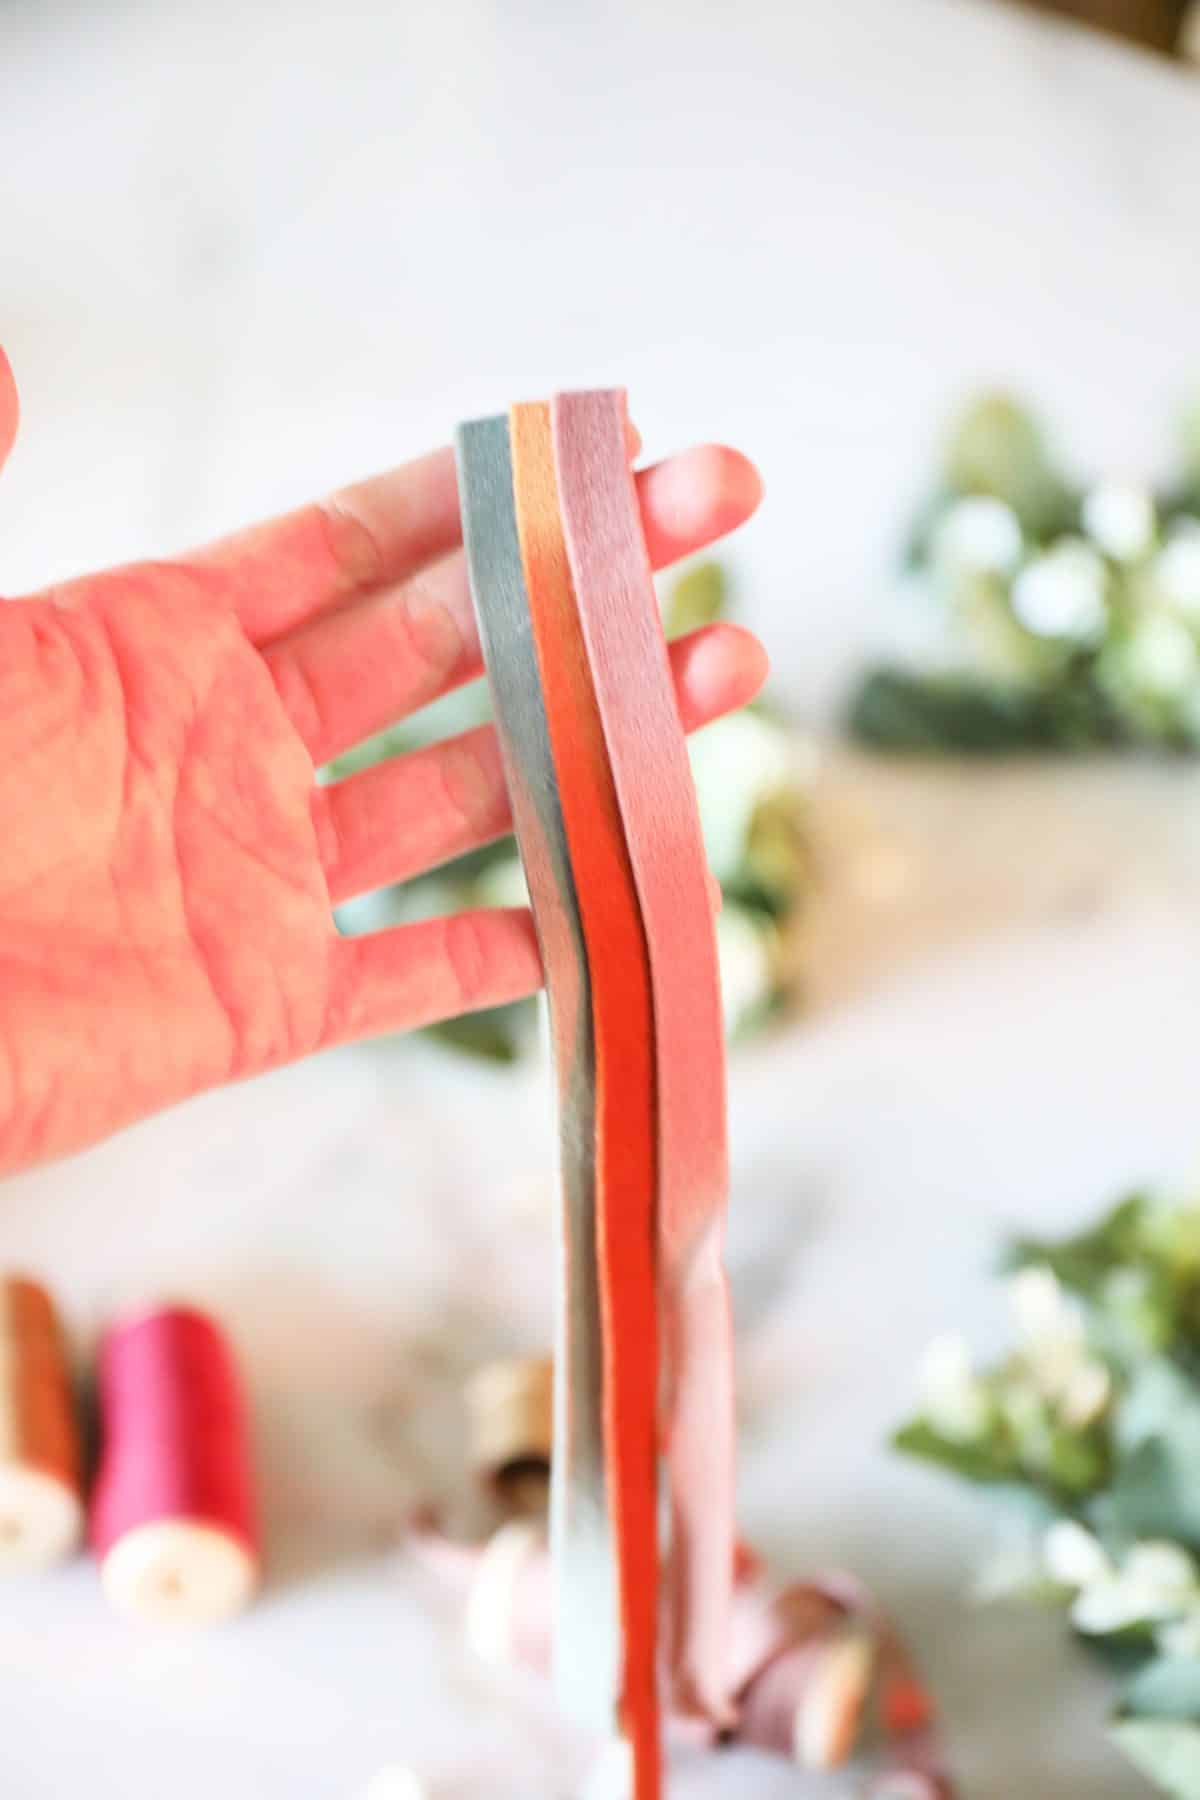
If it helps, you can lay them out ahead of time and plan your wreaths accordingly. Such fun, festive colors!
Then I added them to the top of each one with a dab of glue.
The barstools were ready to be decorated!
But they’re so pretty on their own, too! Here’s another look, of course.
So to add them, we looped a ribbon around each stool and tied it at the top. Then we individually tied each wreath to the top of the loop, so that the wreaths didn’t fall.
Tada! They’re ready to celebrate.

These are perfect for a party, or just because. And we love the idea of gifting them too.
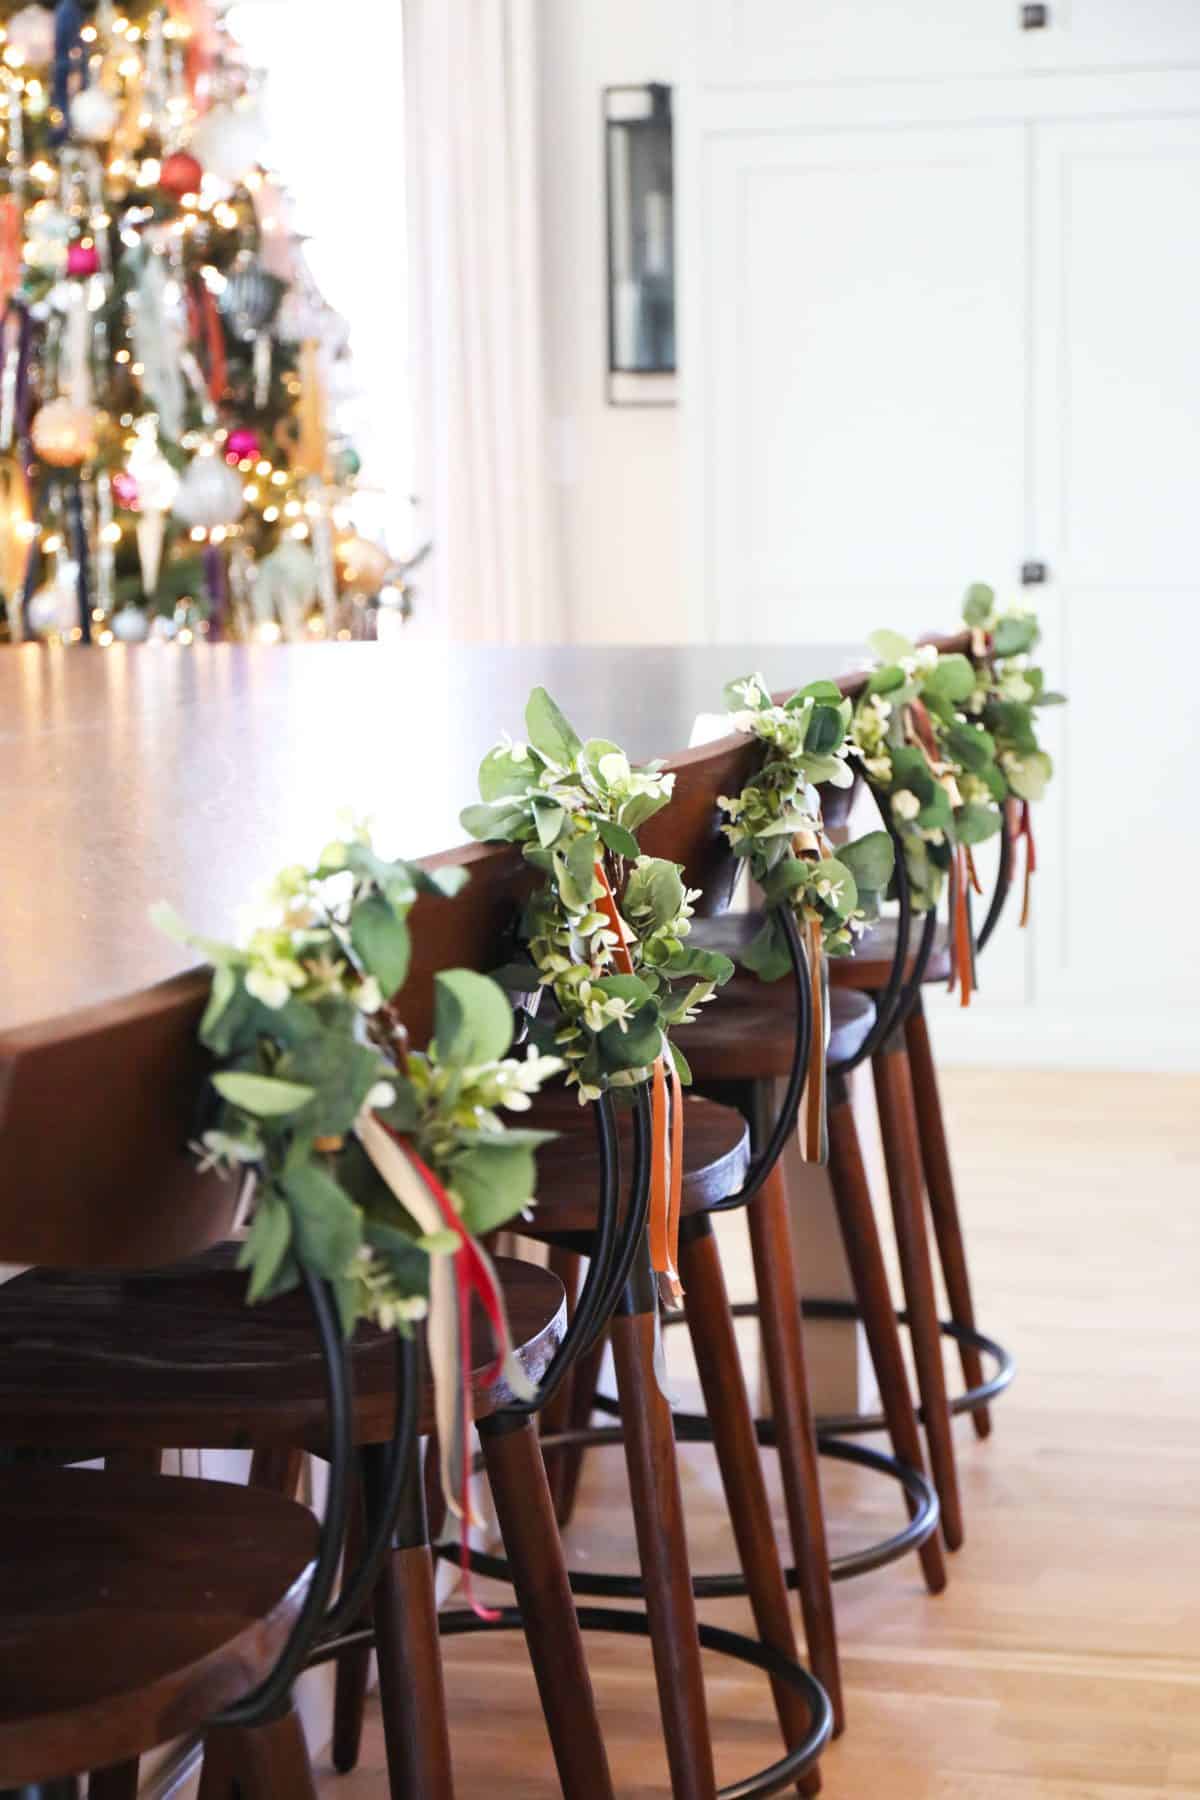
Such a great way to spruce up a space!
As always, let us know if you try them. We’d love to hear!
Happy crafting over the holiday season and have an inspired day!

Leave a Reply