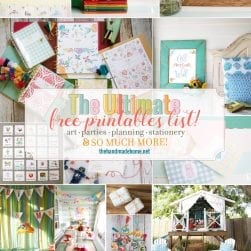
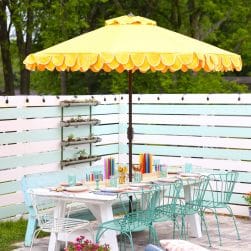
Yesterday, we were feeling the whole spring fever thing, and decided to make something special with the kiddos for the occasion.
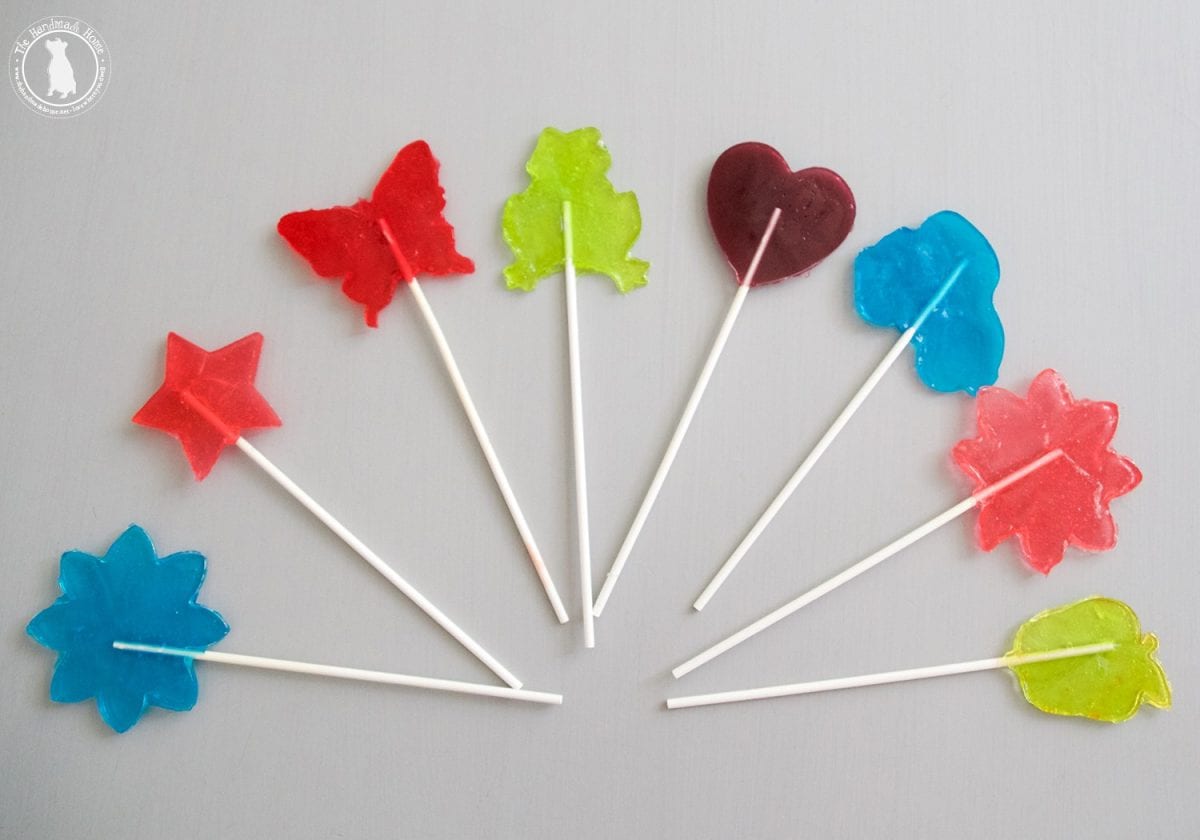
These colorful little lollipops may not seem like a biggie, but they were a super fun project… and they rocked their world. We’re sharing because you may want to keep this in your back pocket for a rainy day when you’re ready to pull your hair out, and they were simple and fun and we didn’t lose our everlovingminds over something complicated. You can personalize them for any season… but today we’re calling them easy spring lollipops.

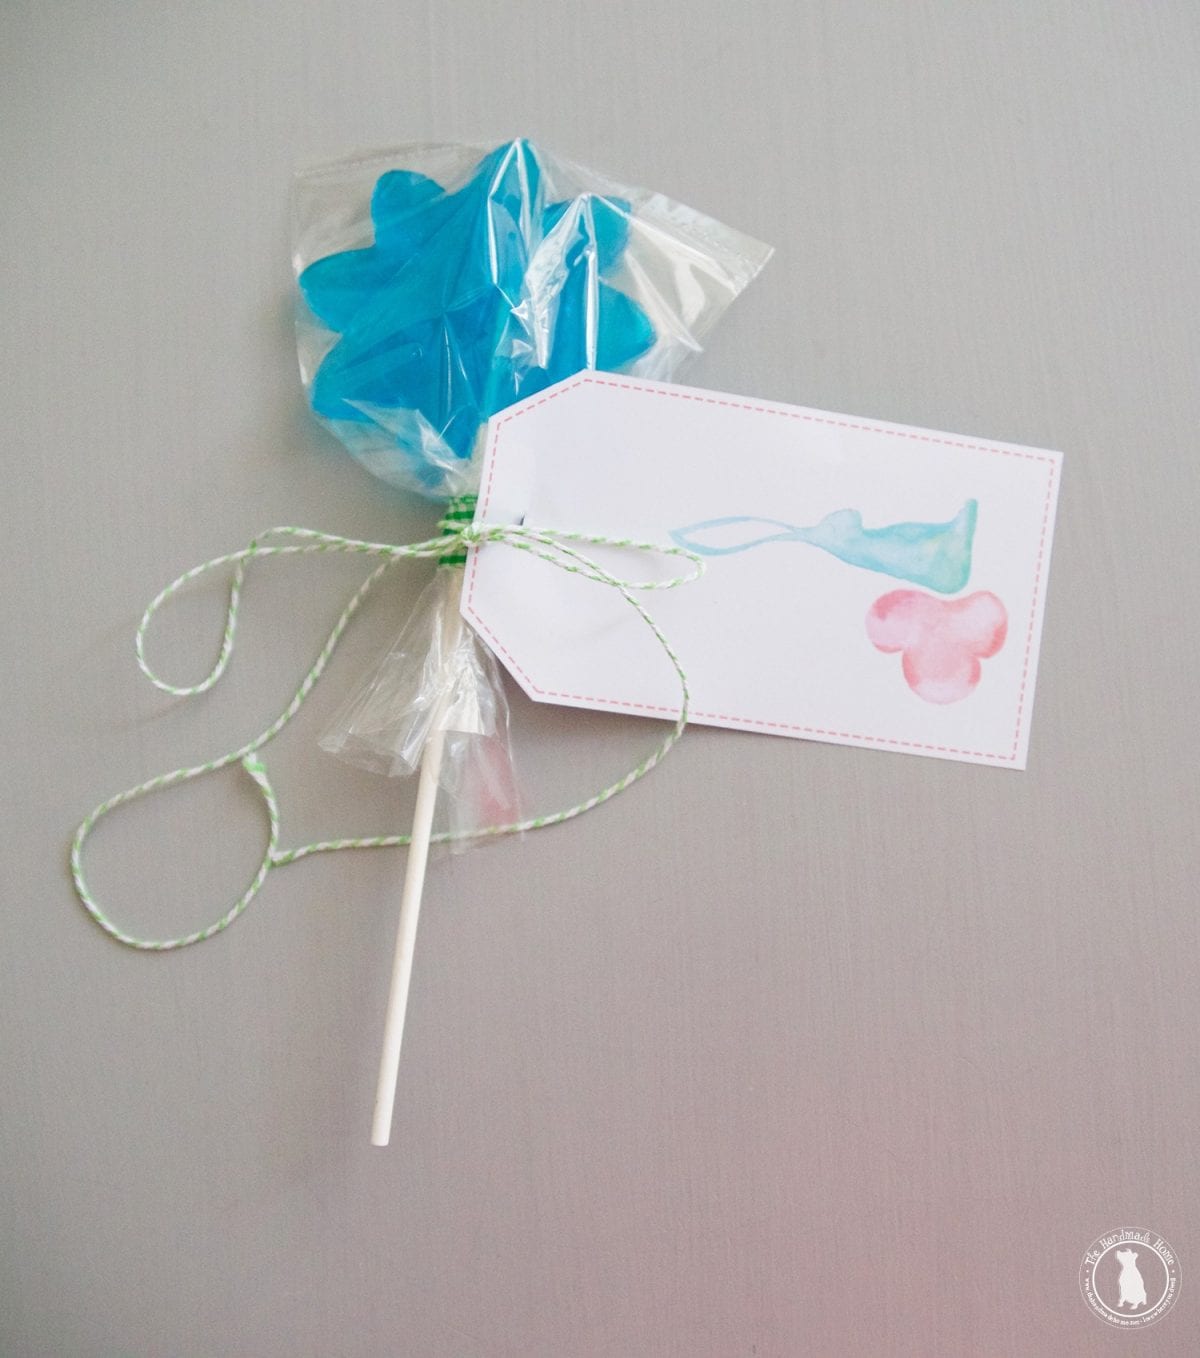
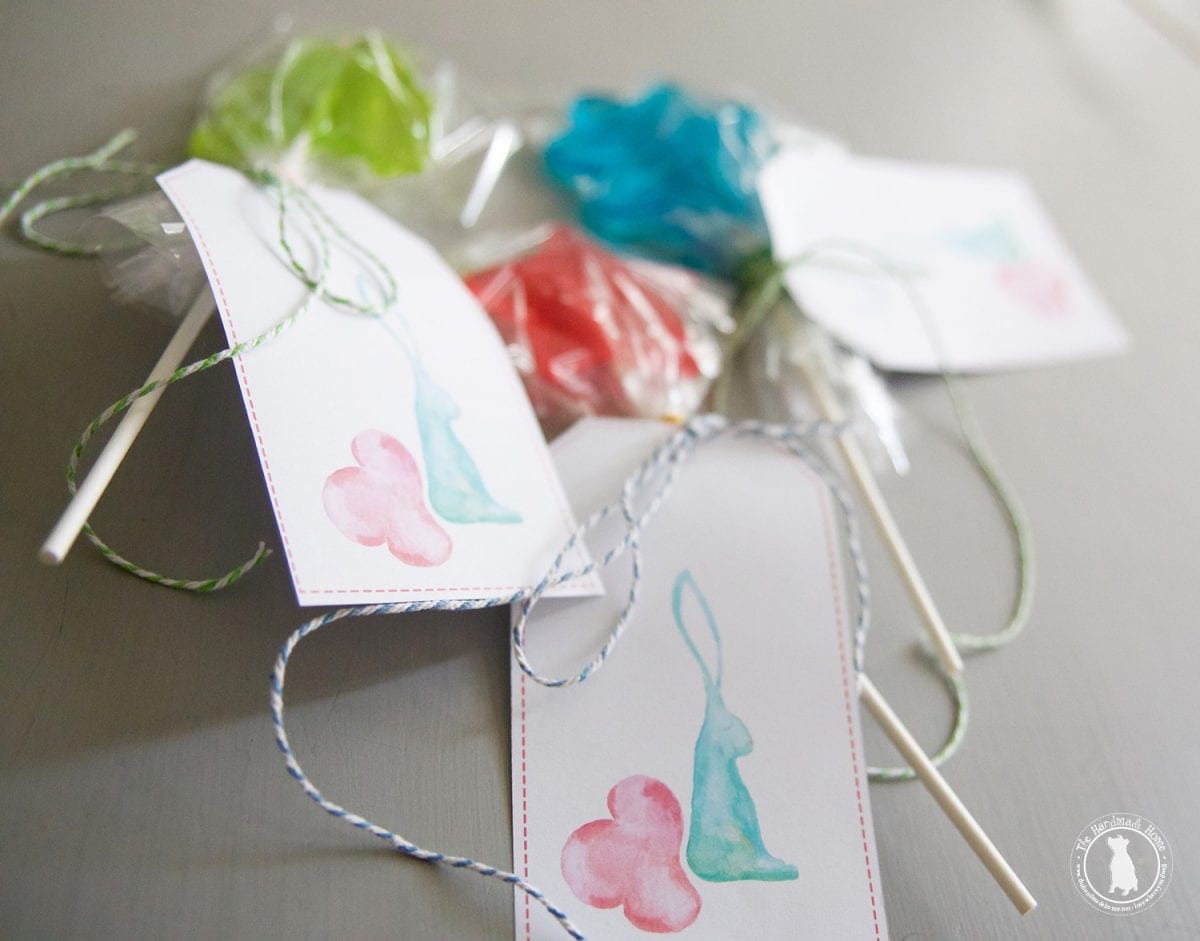
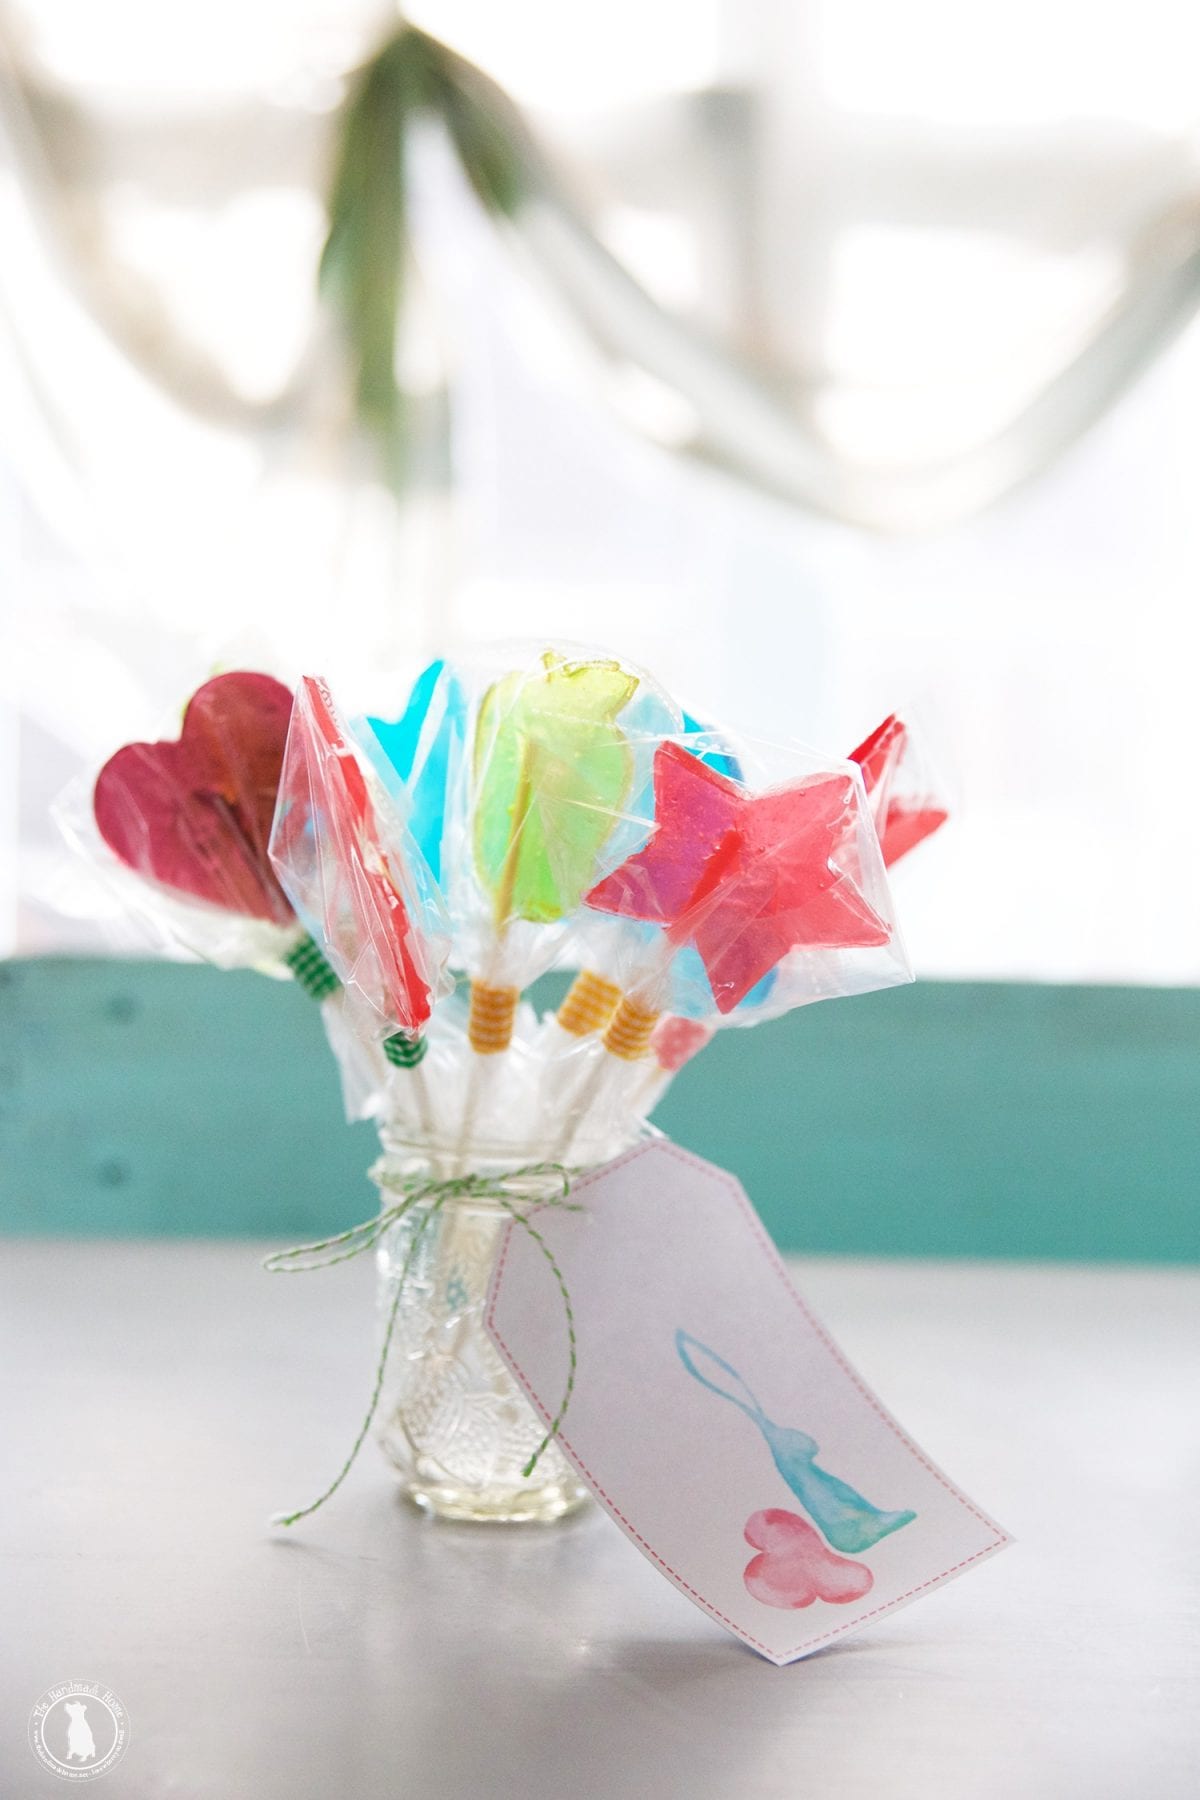
We even topped them off with some festive tags because this is your favorite website, and we always do nice things like that these colorful bunnies just seemed appropriate… but more on that below.
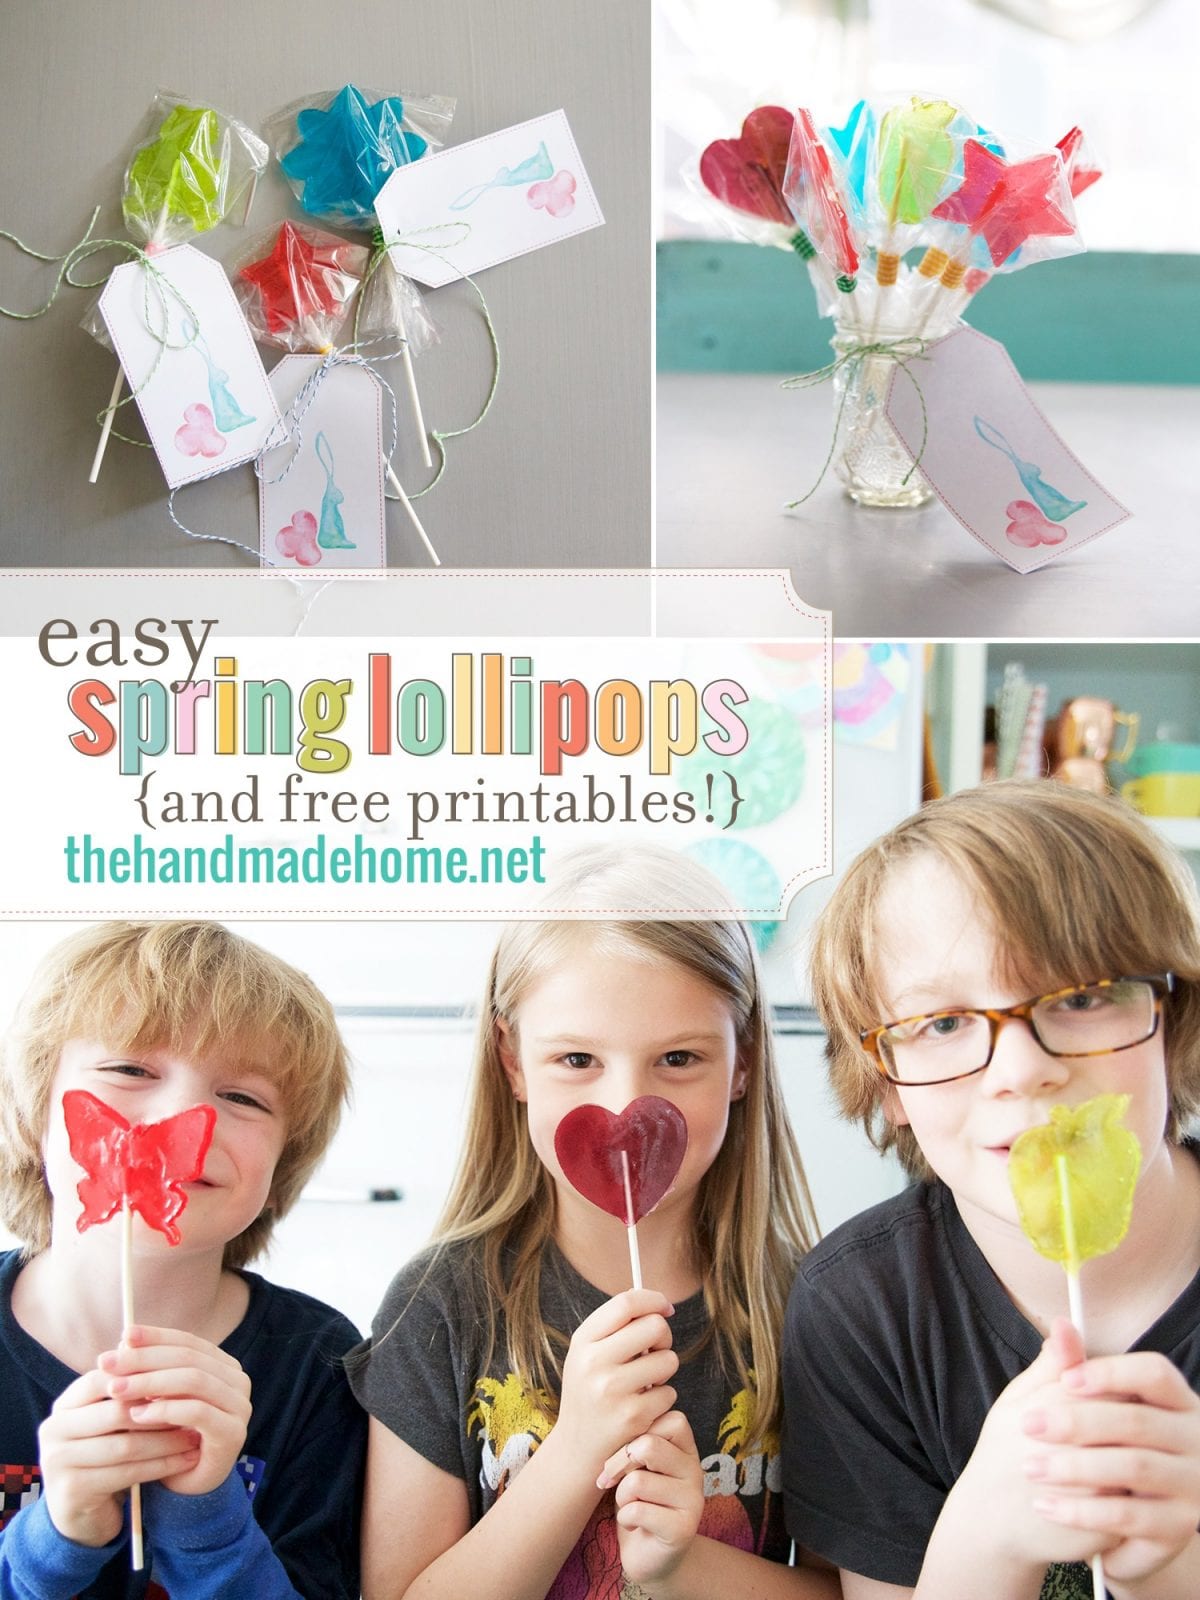
We packaged them up, prettily so they would make the perfect little gift one by one… or displayed in a jar with a tag for someone special would be perfect for something like a classroom, too.
Here’s what you’ll need:
• Jolly Ranchers of varying flavors, divided – we used about three small packages, and they yielded about 10-13 3-4 inch lollipops
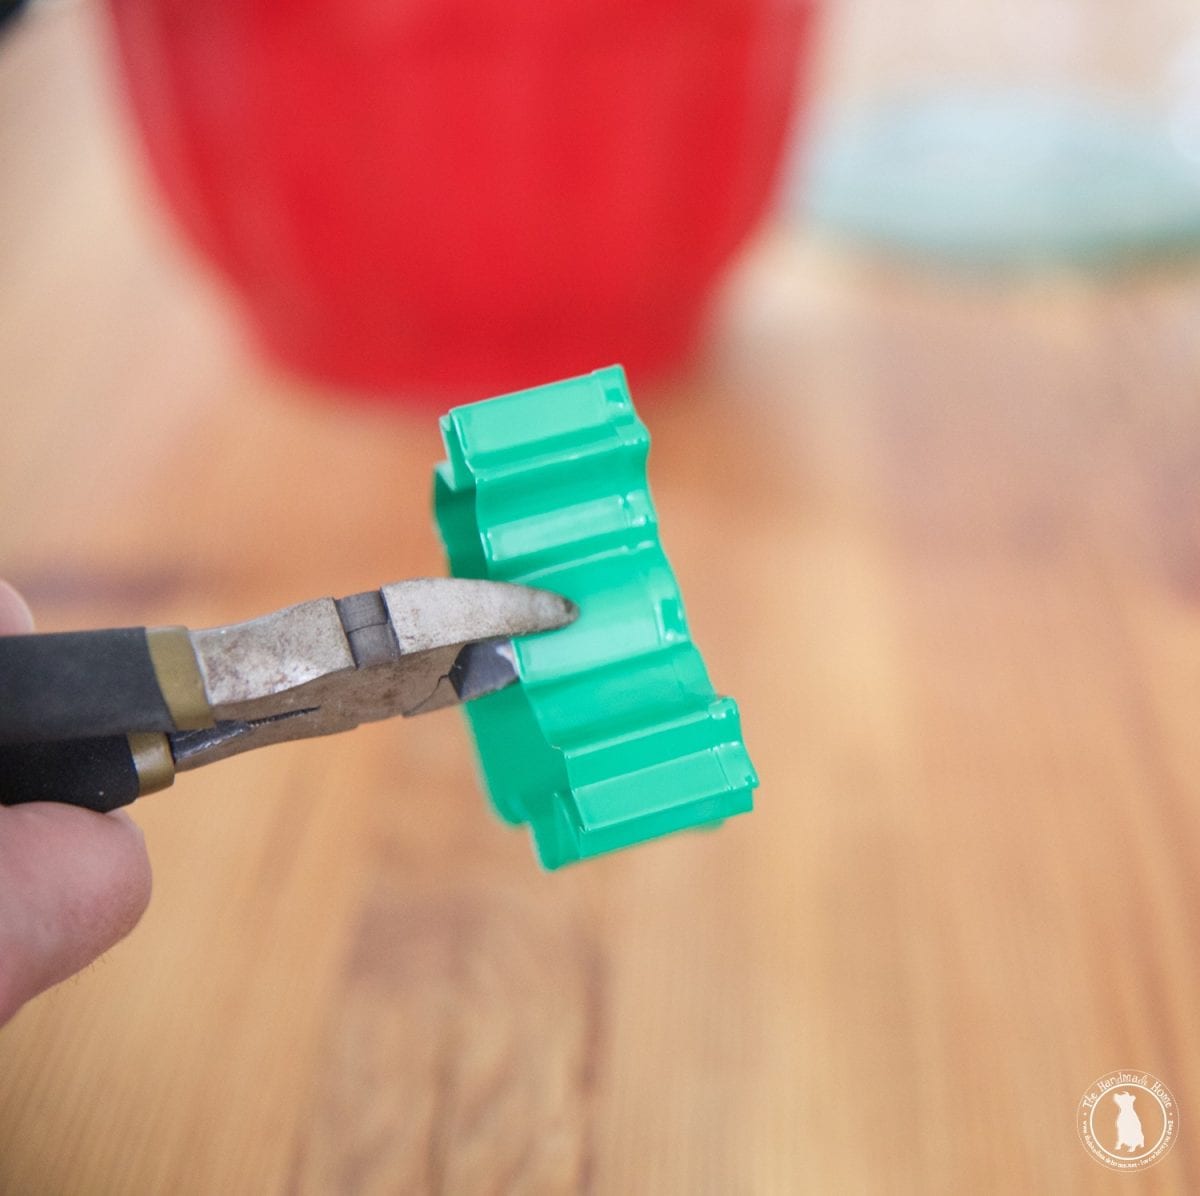
• metal cookie cutters of varying shapes – we grabbed these spring ones from Michaels for one smacker but found more like them {here} – we recommend cheap because you will be cutting them a little at the bottom
• fabric tape {or washi will do, too}
• twine
• lollipop sticks – look for the longer kind if you’re doing larger cookie cutters – we went big for dramatic effect and clearer shapes, but tiny would be adorable, too.
• baggies
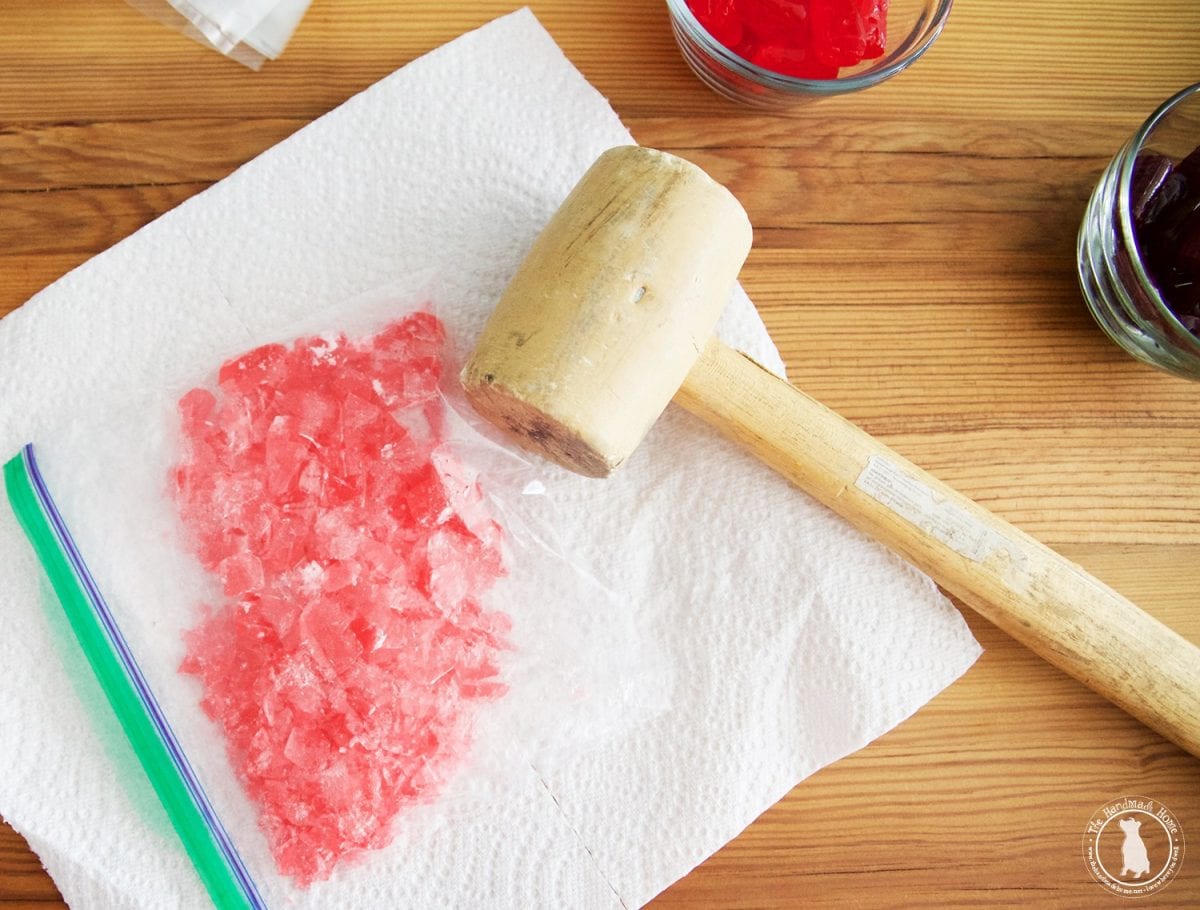
• ziploc bags + mallet or a food processor {we went for baggies + mallet because these things are sticky and hard to clean up in between each flavor/color}
• wire cutter
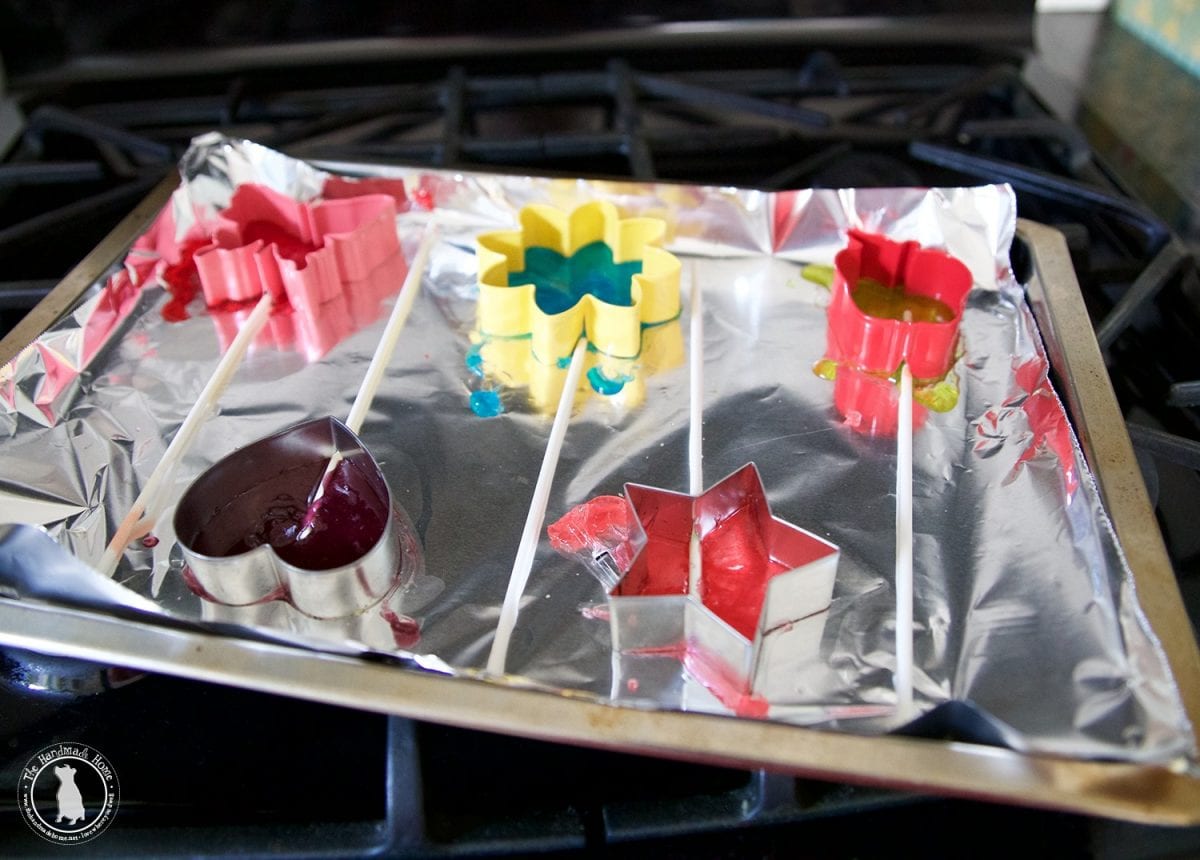
• cookie sheet + foil + cooking spray + oven
Preheat your oven to 300 degrees.
Take your flavors and placing them in a ziploc bag, crush them with your mallet. Helpful hint: Do not do this over tile. And you may want to cover with a paper towel, as the baggie may get little holes.
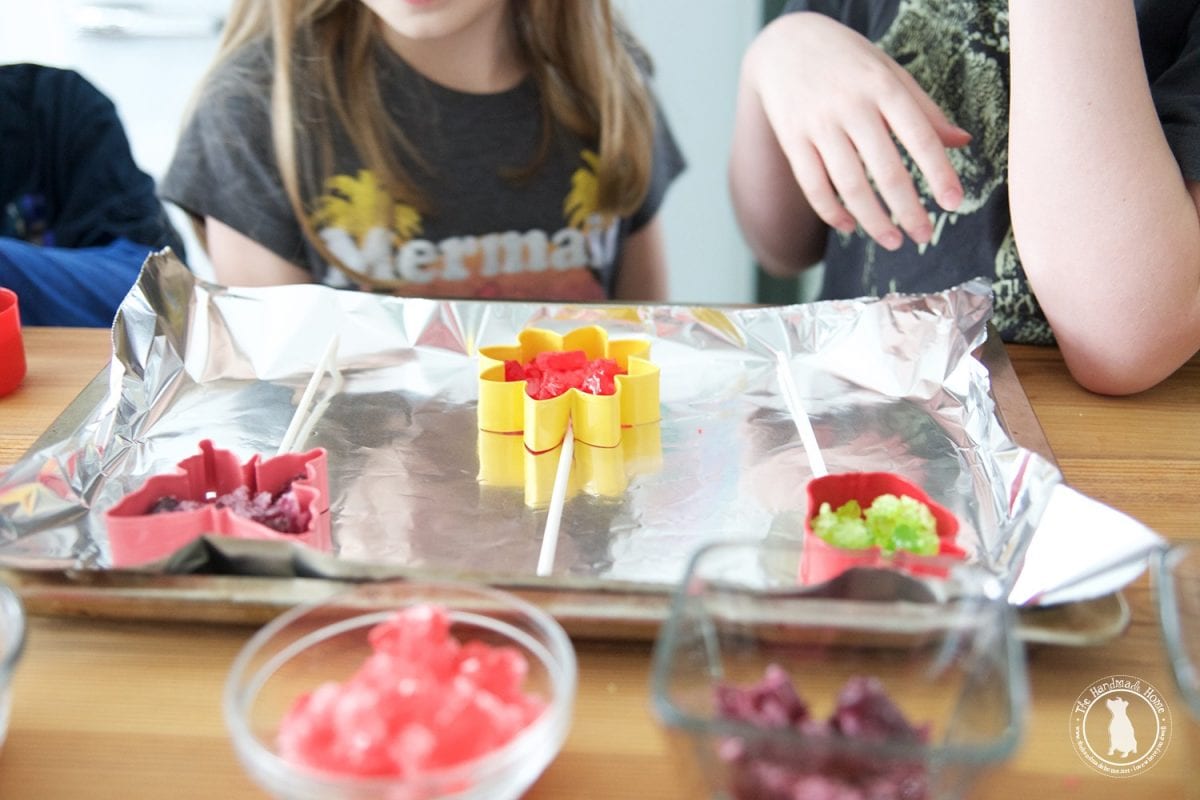
Cover a cookie sheet with foil, and taking your cookie cutters and wire cutter, cut a small notch in the bottom of each one. This is where you’ll want your lollipop stick to go, just large enough to slide into the bottom. {This is why we said go for cheap + metal} Then wash each one.
You can always use them again to make lollipops, + even cookies if you want. Just make sure all the metal is safely removed.
Important step once washed and ready: Spray cookie cutter with cooking spray.
Placing your cookie cutter + lollipop stick on the foil covered cookie sheet, place your candy of choice in each one.
The kids thought this was awesome.

When your oven is preheated, place your concoction into the oven for about five minutes.
Keep a diligent watch, though… because that candy will get too hot and leak out everywhere. {see me, getting distracted and totally forgetting about them for ten minutes until the house smelled like sour apple jolly ranchers, and the candy had melted completely, and swirled} You may want to do a test one, first… so you don’t ruin everything in one fail swoop like I almost did.
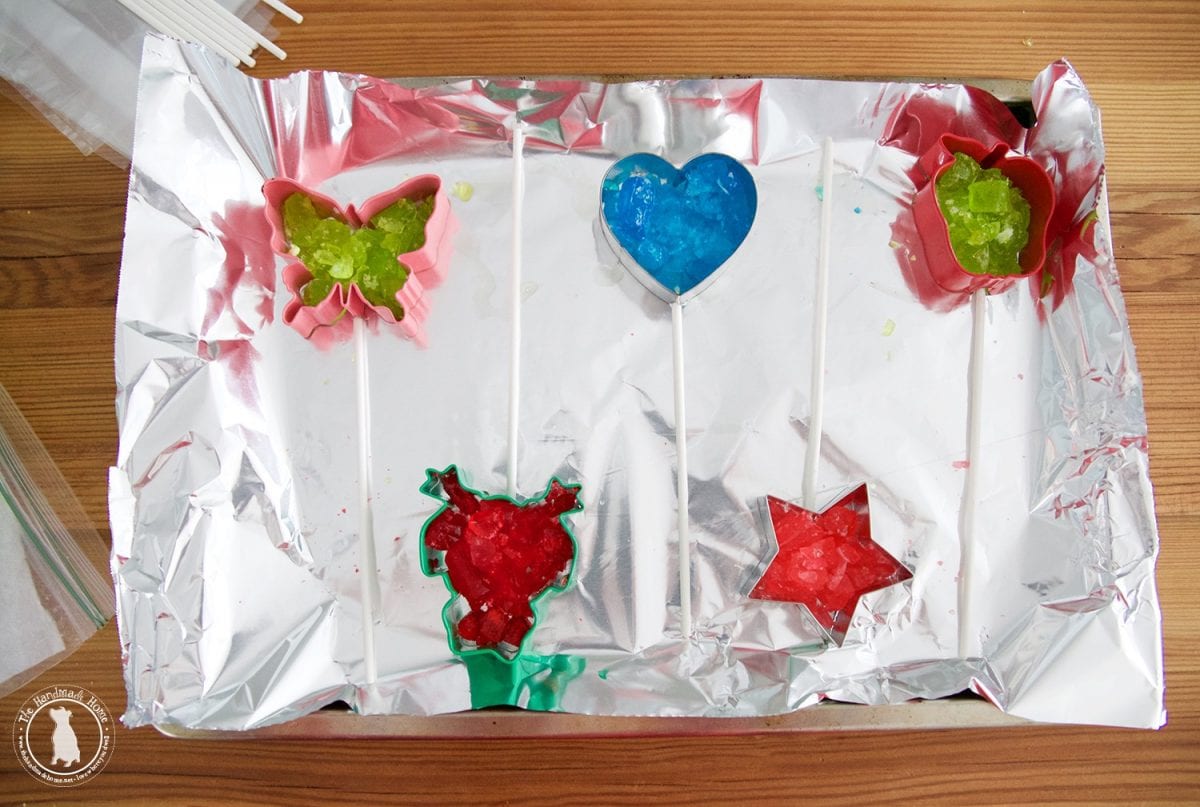
Helpful Hint: sometimes the candy will not be completely melted over the stick, but it should still hold. And when it comes out, you will have a small amount of leakage. When it’s still gooey, just pull it away with a small knife, as shown below.
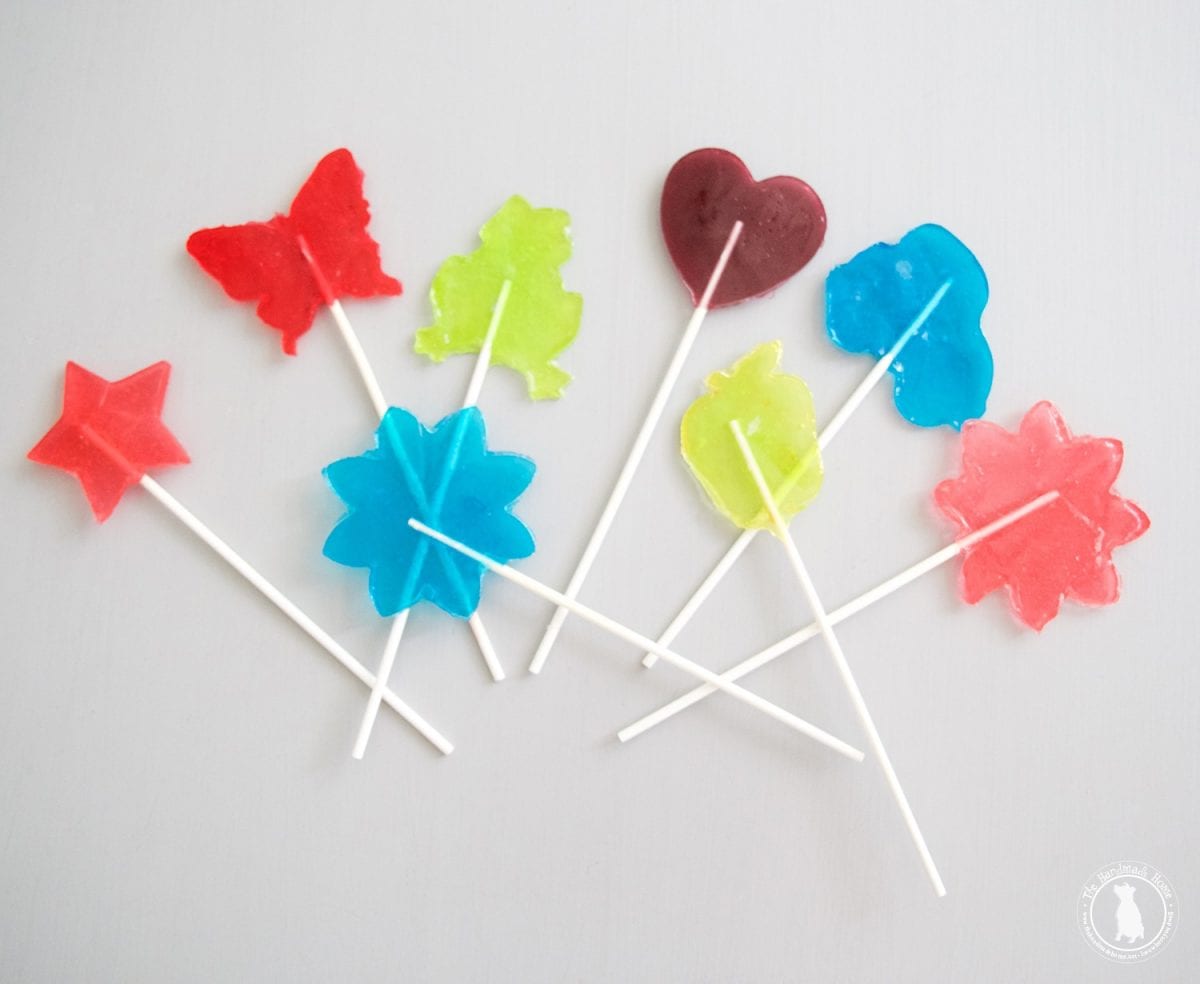
Don’t let them cool completely, but when the candy is no longer gooey, slowly work it off the foil, and out of the cookie cutter. There’s a learning curve, but when they’re almost cooled and not too hot, but not completely cooled… Clear as mud? Again, try a practice round first because there’s a learning curve.

Tada! Lollipops almost as big as their heads. Winning.
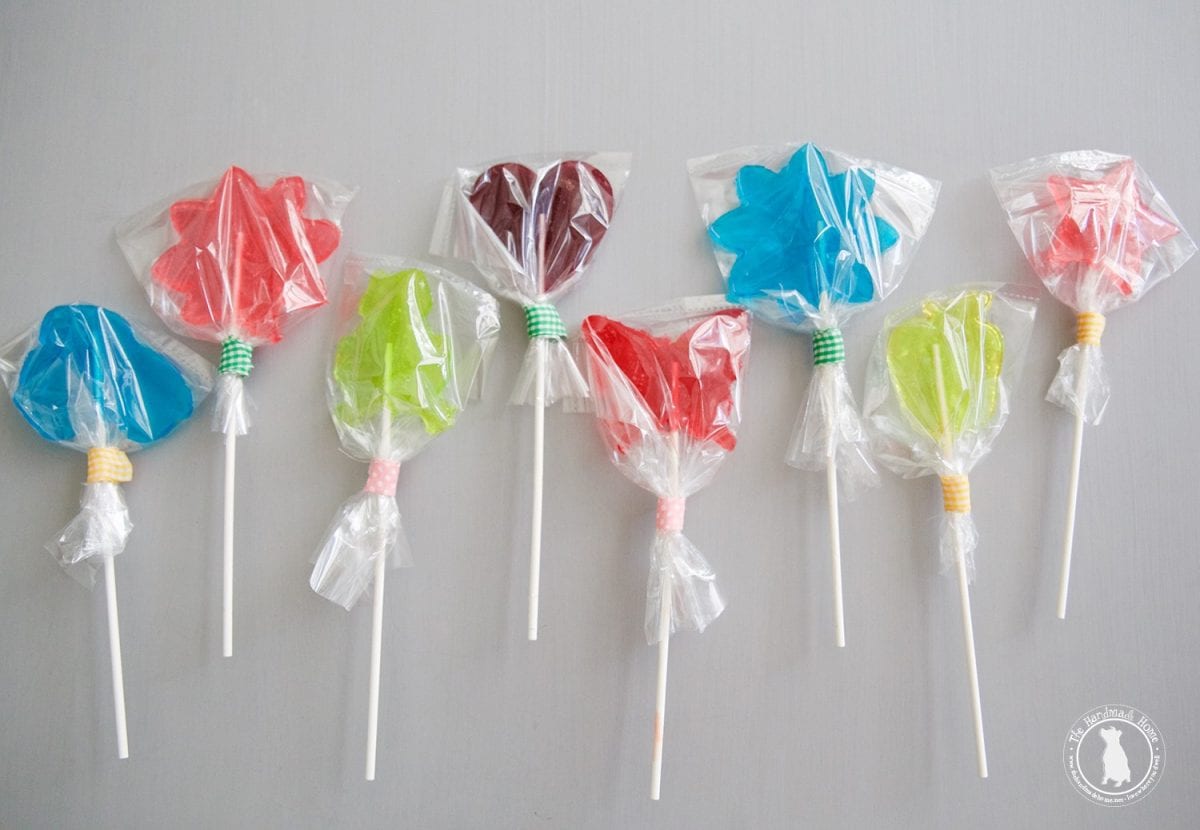
Package them up just like you want, and you have your very own fun spring lollipops.
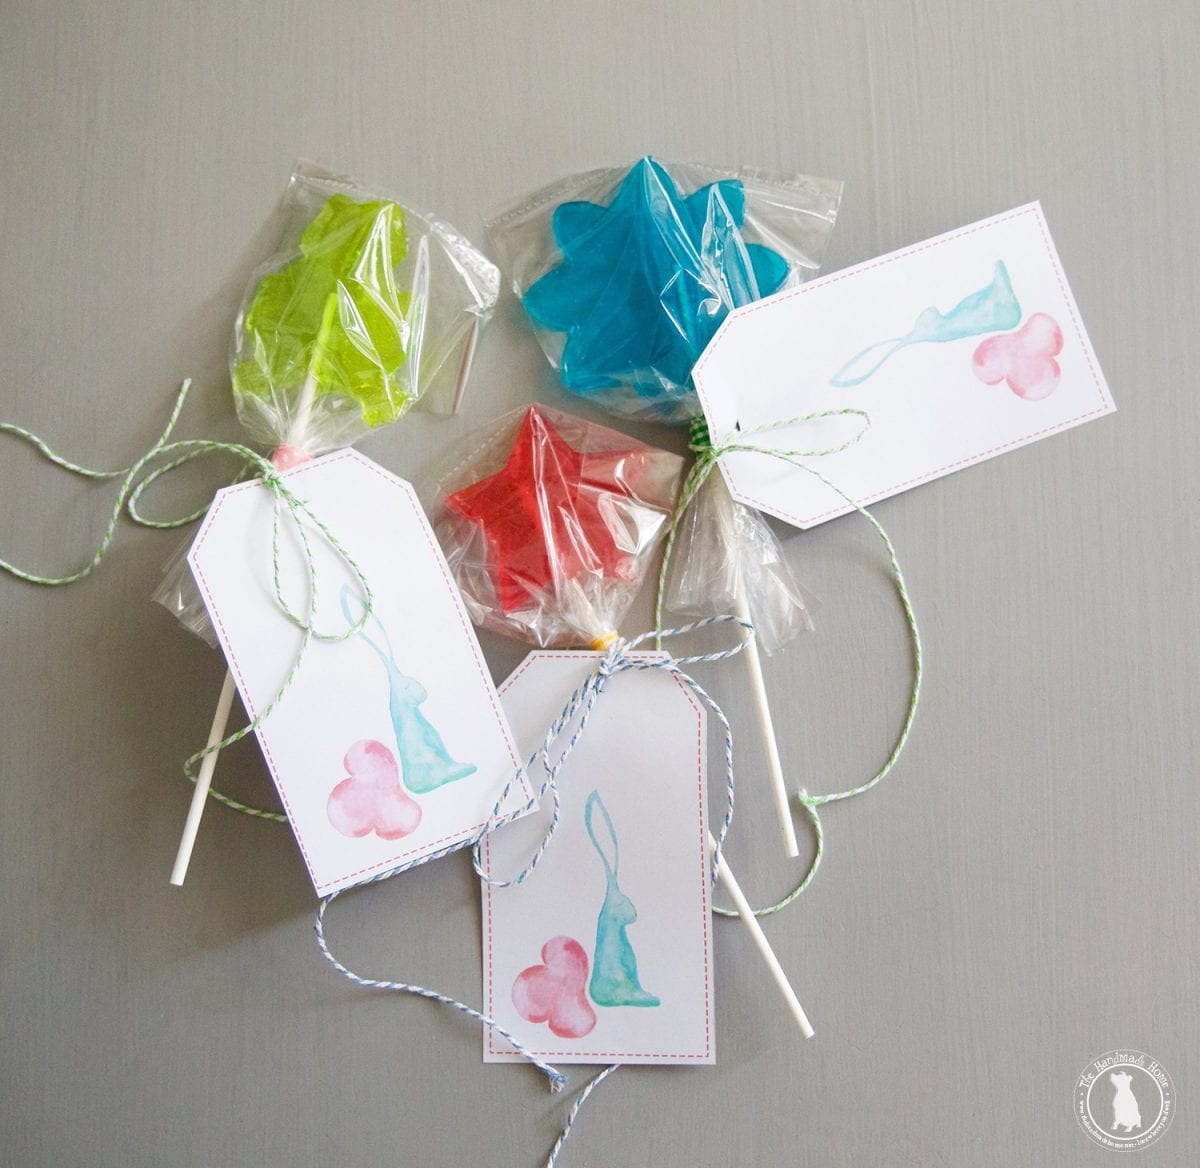
We topped them off with these adorable little bunny tags… you can leave them as is, or write some spring happiness on them! Get them here: {spring tag printables}
And there we have it! As always, let us know if you try it. We’d love to hear!
Have an inspired day!


Leave a Reply