Christmas Mantel : a DIY advent garland
I love decorating. {Duh.} And Christmas is fun and everything, but it can be a bit of a two sided coin, if I’m really honest. {more on that mystery that is christmas decorating coming this week…so sit tight}
Sometimes, the whole deck the halls with boughs of insanity, just doesn’t float my boat. Any of you out there with small children, I am sure, can totally relate. Our home, as much as I would love to ignore the whole my-kid-climbs-atop-everything-and-sticks-his-hand-in-light-sockets-issue when it comes to my decor ideas, I had to think it through. I’ve been spoiled with the two before him, and did not have to child proof one thing in my home. {yeah I know. flog me} And now I’m making up for that.
I’m usually that person with the big garland and lights and whole shebang. But this year, I decided to tone it down a bit in the mantel department when it comes to Christmas. I had two requirements: 1. It had to be baby proof. {Malone is my biggest grabber yet, and I do not wish to give him a concussion from falling giant pieces. {note: I do realize this could still happen, but chances are now reduced} 2. I would also like an advent calendar in this same space. I know right? Where did that come from?
I feel like at Christmas, the second most hub of excitement for the kids, is the mantel. Maybe more so than the tree. Trees are great, but our tree is in our dining room, and our mantel is in our living room. And this year, they would ask me a bazillion times how many days til christmas…I could simply get them to count the candy canes left on the mantel. (educational, too, if I might add…)
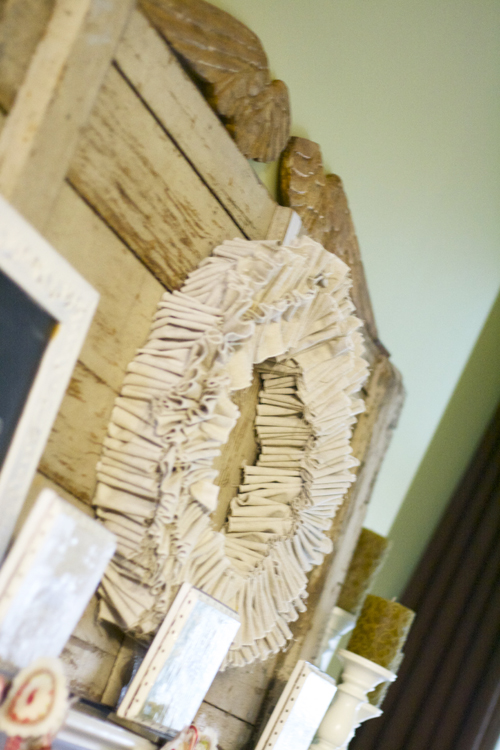
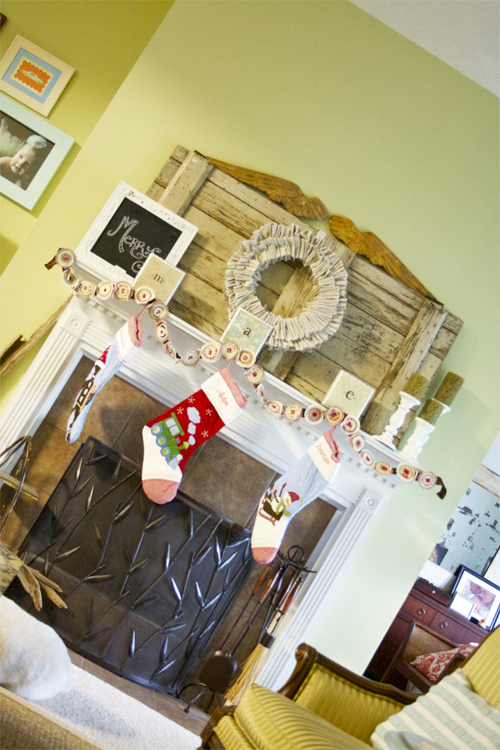
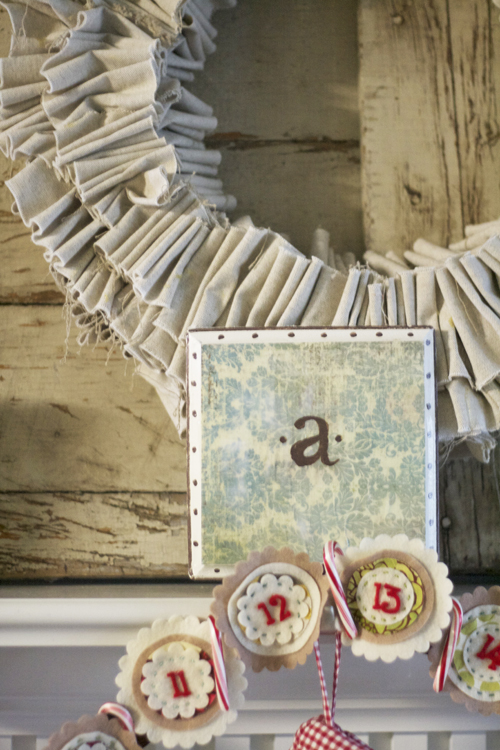
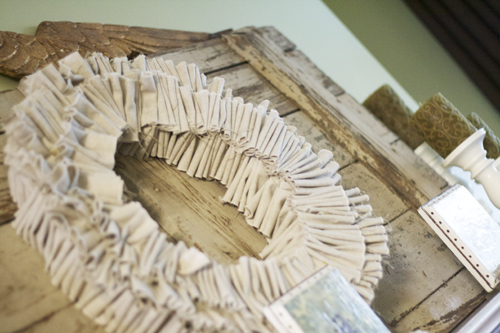
I started with the same barn door I used for our fall decor. And moved the former outdoor wreath back inside to grace us with it’s presence, and make room for our christmas one. Those are golden angel wings above the door. I found those at the nashville flea market. I love the found feeling they have. And from there, I pieced some felt together, and basically glued them to a backing ribbon to form the numbers representing the days of christmas for a garland. I felt like I could start with a simple background, and add a bit of whimsy and color in the garland as I went.
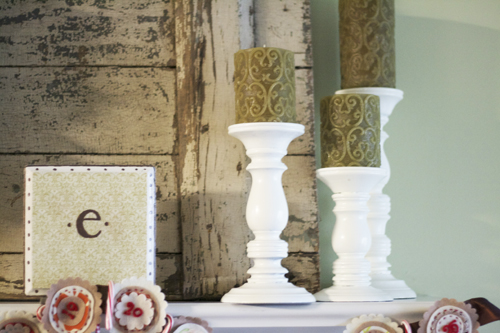
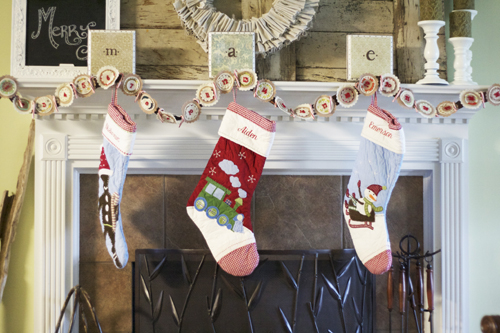
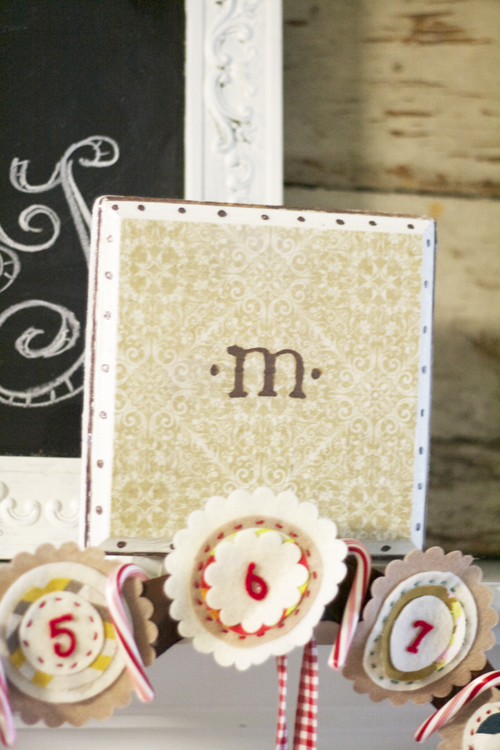
I also made some new stocking holders for the kiddies, to blend better with the overall look, and personalized them with coordinating initials. I basically mod podged a piece of paper to a painted piece of wood, and glued it to our old holders. When I get tired of it, I’m sure I’ll pop it back off.
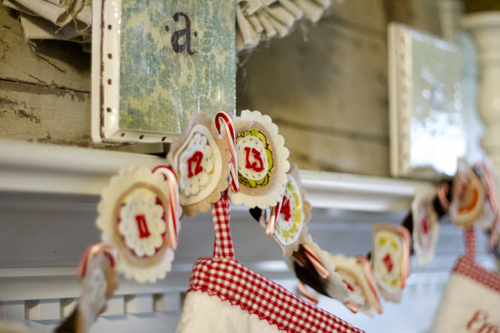
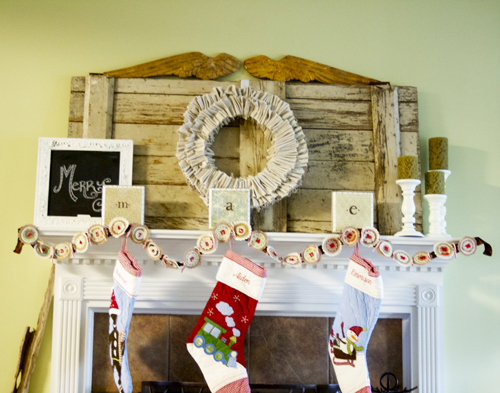
When I was finished making the garland, I simply draped some candy canes to go with the numbers.
Let the count down begin!!!
Want to know step by step how I made it?
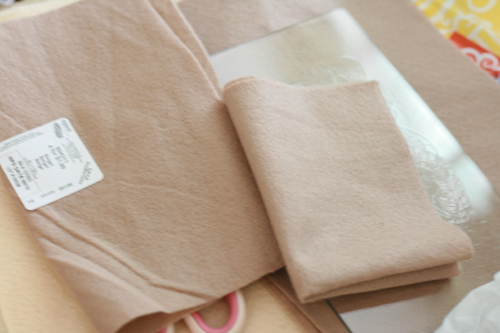
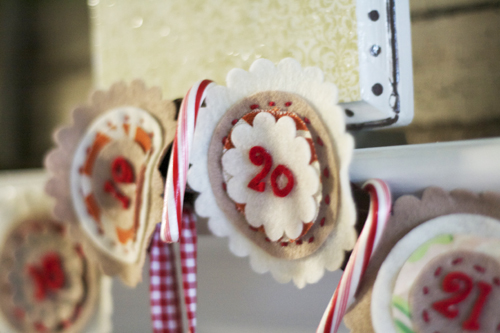
What you’ll need: 1. various shades of felt. My garland is mostly taupe and cream with red felt numbers. I alternated the base color of every other number. {For example: 1 is taupe. 2 is cream.} And then added on top of that. 2. a few different patterns of fabric. 3. scissors. Note: you may also use a this or this to weed out your cutting time. 4. glue gun 5. different shades of embroidery thread and needle I ended up sewing mine together while watching a movie, and if I’d hand cut it all, I’d be pulling my hair out. So I highly recommend. 6. a thicker ribbon (at least one inch in width, to glue your final numbers to, and provide stability for your garland. I chose something with a thin wire on each side so I had a bit more freedom when adjusting it on the mantel)
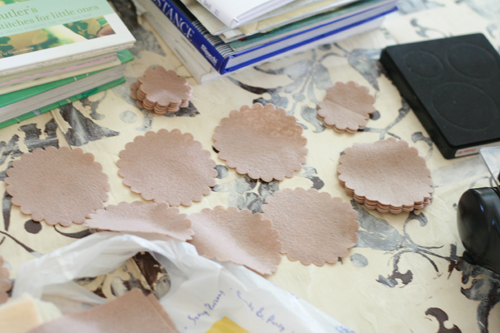 start by cutting all your pieces. you’ll need 25 bases and then work from there.

this photo has absolutely nothing to do with anything. But the kids had fun helping cut and build the pieces. So it can be a fun little project for all of you, especially if you have older children.
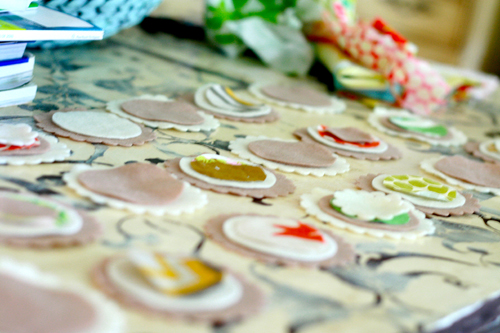
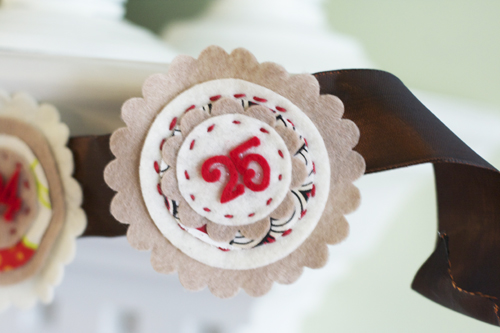
Build the layers up, one at a time. I used a scallop for my base piece, a slightly smaller circle for my second, in felt, and for my third, I added a patterned fabric in a circle, as well. Then, on top of that, another piece of felt.
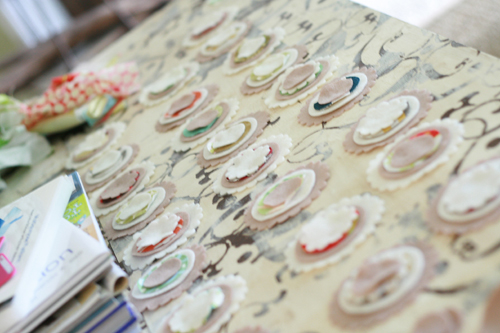
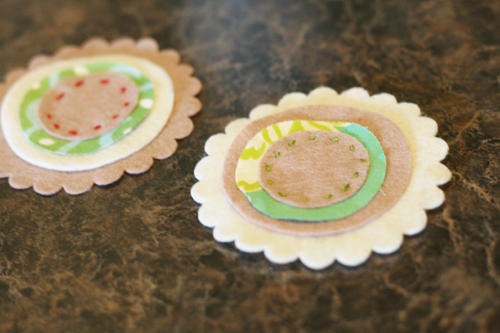
Stitch together, however you like. You don’t have to stitch if you don’t want to. I love the detailed layer it adds to the overall design. So stitching away I went. Some I did not stitch completely, but simply added glue to join all the pieces together.
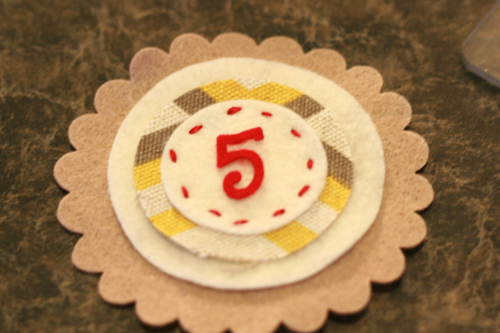
Cut your numbers. Another example where this would come in handy. (I have the 60 dollar one) you can buy little dies that cut your numbers. I would also use chip board numbers from your scap booking section. You could also, always stitch your numbers. And as you can see, mine are so not even close to perfect, so I hope this takes the pressure off all you Martha Stewarters out there.
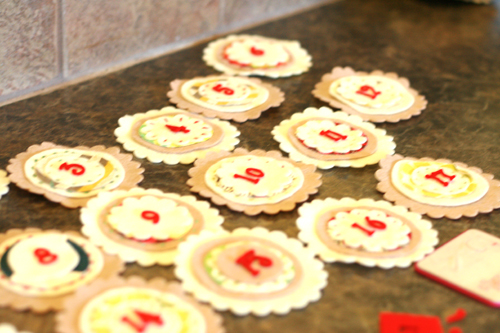

I added the numbers with glue, and as a final step, attached the final pieces in order on the ribbon. I totally cheated, and mounted the ribbon to the mantel with hot glue, btw. shhhh. Don’t tell Jamin. (It comes right off)

And there you have it. Drape your candy canes over your ribbon beside a number in the end, and you have your completed piece. We’re starting a new tradition, where the kids get a piece of candy cane before bed every night, to count down the days. I think this may be something we do for years to come.
Think you may try it? It’s fun! Let me know if you do.
What traditions do you celebrate in your family every year?
{-leave a comment…here!-}
oh! this just in: check out more mantels & inspiration at the lettered cottage’s mantel partay, here: