I tackled a little project the other day, that I’ve been wanting to try for some time. And I don’t think my first attempt was too shabby. We were issued a bit of a challenge this time around with our blogger friends, and it was to create a post about peonies. I don’t have any in my yard {note to self, I’ll be planting them this fall} but supplies have also been scarce because #apocalypse. I thought that creating a few little paper peonies would be kinda fun. So without further ado, how to make paper peonies.
PS. I don’t think I’ve ever shown you my bike before. We purchased some new ones this fall {Jamin and I} to ride with the kiddos when we went camping. I had no idea how in handy it would become during all things covad. {Yes, I know it’s covid. But around here, covad. Why? Because we can.} I haven’t had a bike since college, but if I were a bike… this would be me. It made such a fun shot in front of the hideaway, I couldn’t resist.
They’re so fun, and perfect to make if you have a little time on your hands.
Here’s what you’ll need: {some affiliate links to fund this site + my ridiculous crafting addiction}
• These peonies templates – if you’d like to follow along – we recommend cardstock – linked below.
• crepe paper – We used the two lighter shades of pink, + peach + green for leaves
• self healing mat + X-Acto knife + refills
• floral wire + tape
• glue gun
{ignore the scissors in this photo because I totally changed my mind.}
I divided this into two afternoons so that my hand didn’t cramp up. So the first day, it was cutting. Here’s how to save time if you’re doing multiples:
1. Cut out your templates.
We recommend card stock because it makes for easier cutting, and you won’t save the individual petals on said template, so much as the remaining negative space.
The smallest one will be your light pink, as shown below.
The second one will be peach.
The third one will be your darker pink.
2. Trace your templates onto the crepe paper.
Crepe paper has a way of folding up on you. Since I knew I was doing roughly 6 flowers, {I did more because there are more petals than you need here} I did 6 layers of crepe paper taped down neatly on top of my self-healing mat. This way it didn’t move later when I was doing the cutting. This saved me from having to do each individual sheet.
If you’re fancy and have something like a Cricut, then you can save time by doing it this way. But for now, I did the old fashioned approach, and still saved time. This photo below is for the peach paper, which is to be used with this template – just as listed above.
3. Then by color, cut your petals.
You may have to switch your X-Acto blades out as you go, since they get dull over time.
4. As you cut, place them aside
On top of the template so you can keep up with what’s what.
keeping it real: toward the end, your fingers will be covered in stringy glue and it will be mass chaos. But it helps a little to know what order you’re going in, because as you glue on the petals, you will go from left to right, all the way around the flower. If you get confused, just go with a few layers, alternating… but I’ll cover more on that below.
5. Repeat for the other layers, and place aside.
Note: these petals are the smallest template, and to be used for the lightest pink. As mentioned above.
I also cut some leaves from the green pieces that I had. Just a few, random sizes.
6. Once you have them all cut and placed aside, {all three colors} you’re ready to begin.
Again, it doesn’t have to be perfectly organized.
Ignore the circle in this photo. Sometimes this is a job hazard with figuring things out as I go. I’ll explain more on that next.
7. Make your center.
Tear off a little of that lightest pink, and wad it up into a ball. Using your hot glue, add a little to the center, and form it into a ball around the wire. The more variations in the center, the more they look like the center of a peony.
Note: My floral wire actually didn’t show up in time for my little deadline, so this is why mine looks a little different. Use any wire, but floral wire as listed above, will probably cause less headache.
8. Lay out your wire, and wrap it in floral tape.
Feel free to secure parts of it with hot glue because sometimes it can be tacky and difficult to work with. We recommend working on low heat, which means more “cobwebs” but less burns.
Now you’re ready to begin adding your petals.
9. Start with light pink.
Simply add these in a circle, moving from left to right on the template, as you go. I made sure to slightly curl or bend each petal as I went. Since the crepe paper has the natural texture, but I also wanted the shape of the flower. Add as many as desired, but for the fullest of flowers, all of them are nice. When looking at a photo of a peony, some curl inward, some curl back {especially the ones toward the back.}
I got kinda tired by flower no. 7, so I started doing what I wanted. {I do what I want!}
10. Move to the other colors.
Next, add peach. Using the template, left to right, adding them in a circular motion as you go.
Here you can see how we attached them from the back.
Then just get them as full as you want. Pull away those cobwebs as you go. Then, the darker pink color will be the last one.
11. Add the leaves
We just attached them to the stem at the end.
Finally! You’re done!
This was definitely a fun little craft to make.
Kind of rewarding for a first try thing.
These are perfect for photography props, or little gifts. I think I’ll be trying my hand at different kinds in the future.
As always, let us know if you try them. We’d love to see.
And be sure to check out the rest of these awesome peony projects from our favorite sites!
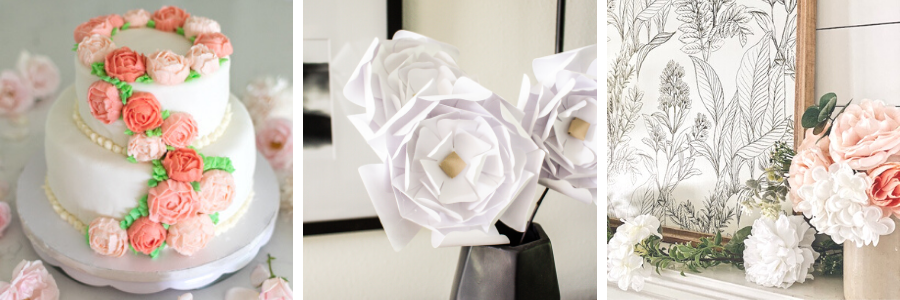
How to Make a Simple Floral Arrangement – Happy Happy Nester // Free Peony Printable Art & Lock Screen Download – The DIY Mommy // DIY Potted Peonies in Milk Glass – Life Is Better At Home // How to Make a Felt Peony Basket – My 100 Year Old Home
Peony Tips & Tricks – Modern Glam // DIY Peony Line Drawing with a Sharpie – The Happy Housie // Tips for Creating a Peony Arrangement – A Blue Nest // How To Make Paper Peonies – The Handmade Home
Watercolor Peonies in Ginger Jar Art – Craftberry Bush // Easy Foraged Peony Arrangement – Zevy Joy // DIY Peony Canvas Art – My Sweet Savannah // Easy Peony and Lilac Arrangement – Inspiration For Moms
Iced Peonies: How to Make Buttercream Flowers – Jennifer Maune // DIY Paper Peonies – Taryn Whiteaker Designs // Easy Summer Mantel Styling With Florals – She Gave It A Go
Have an inspired day!


Ashley!!! Those are awesome, adorable, amazing! Whatever name you can think for them!! I’ll just pay you for some because I don’t have that kind of patience for sure. 😂 Great first job girl!
Thanks so much friend. ;D