
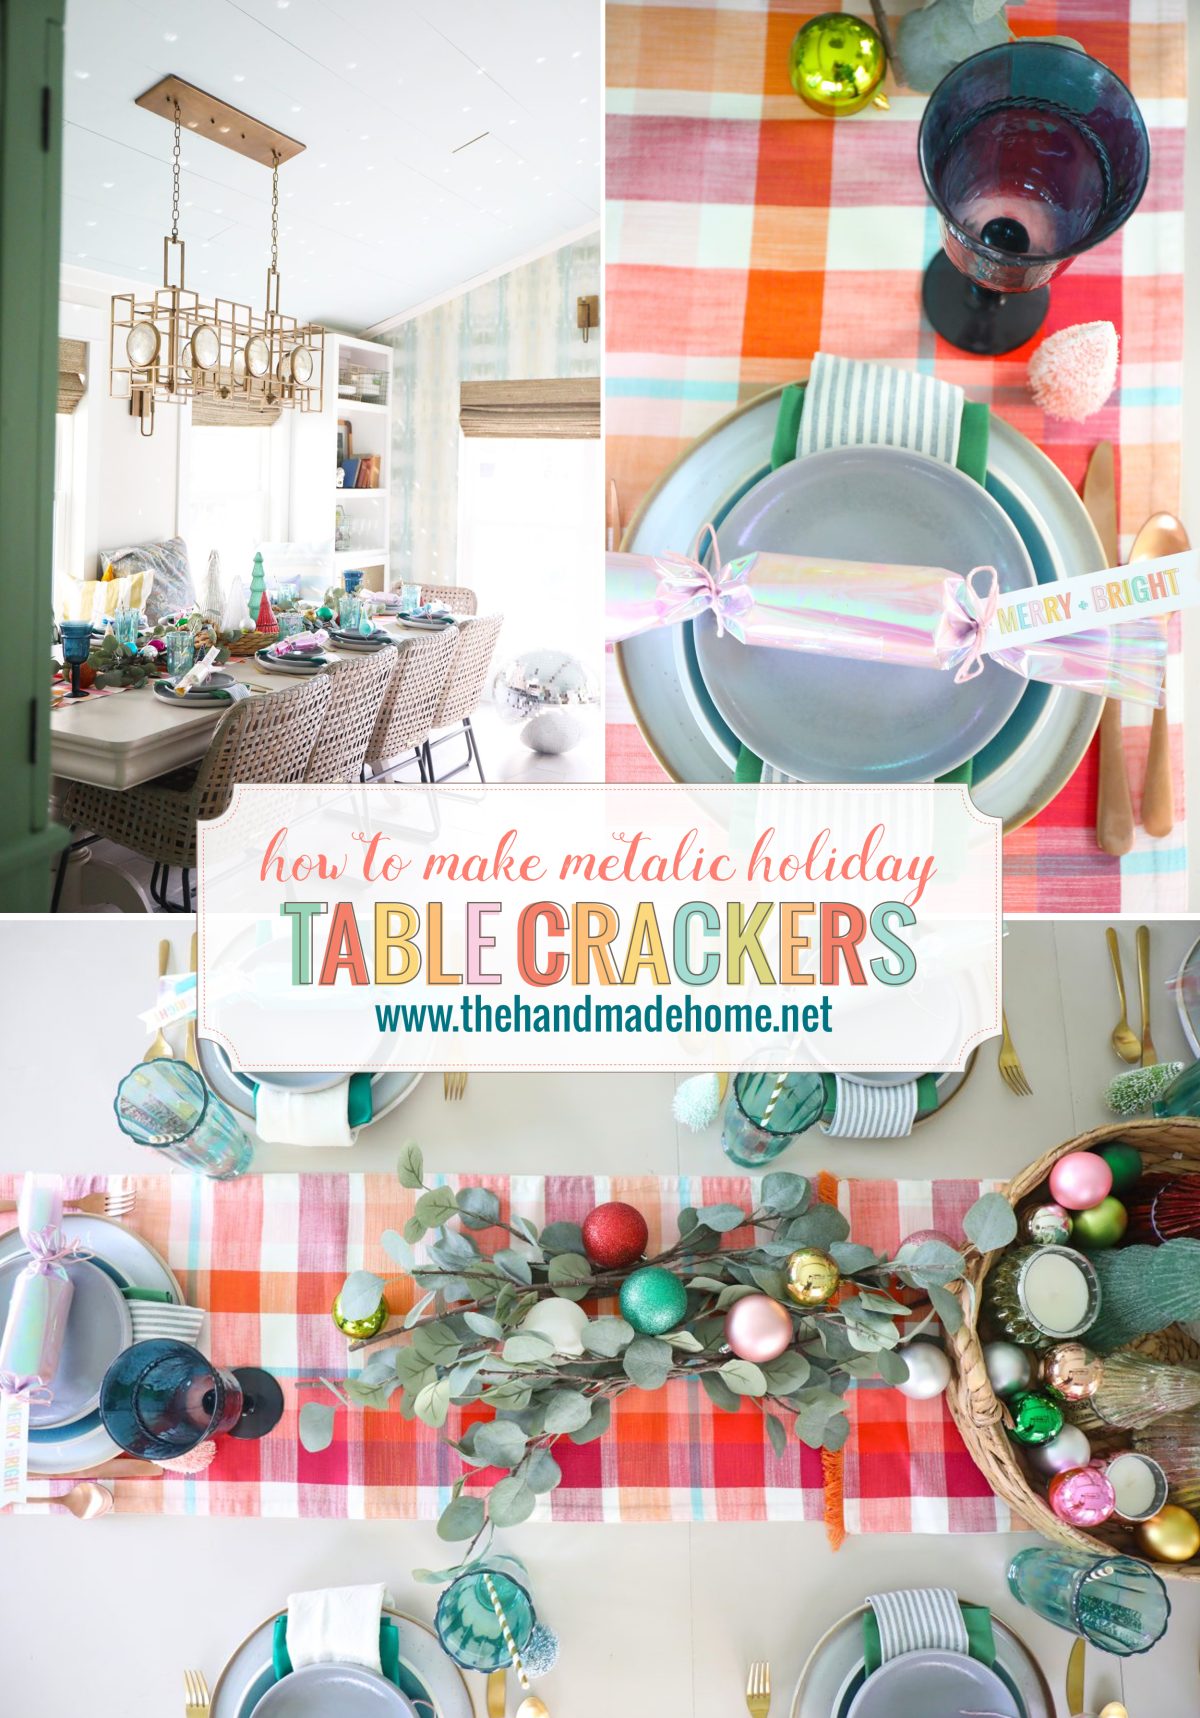
how to make metallic table crackers + free printables
We’ve been slow to break out the holidaisical this year, because I think we just wanted to take a moment and truly enjoy fall + Thanksgiving, especially here on our site. But I wanted to go ahead and share this little project with all of you, when it comes to something fun for the table: how to make metallic table crackers + free printables!
This is something you could also integrate for Thanksgiving, and it’s a fun idea for the holidays, no matter when you use it.
Table crackers are a tradition in Great Britain, and as soon as I saw it, I knew I had to recreate this fun idea. They’re perfect for any table!
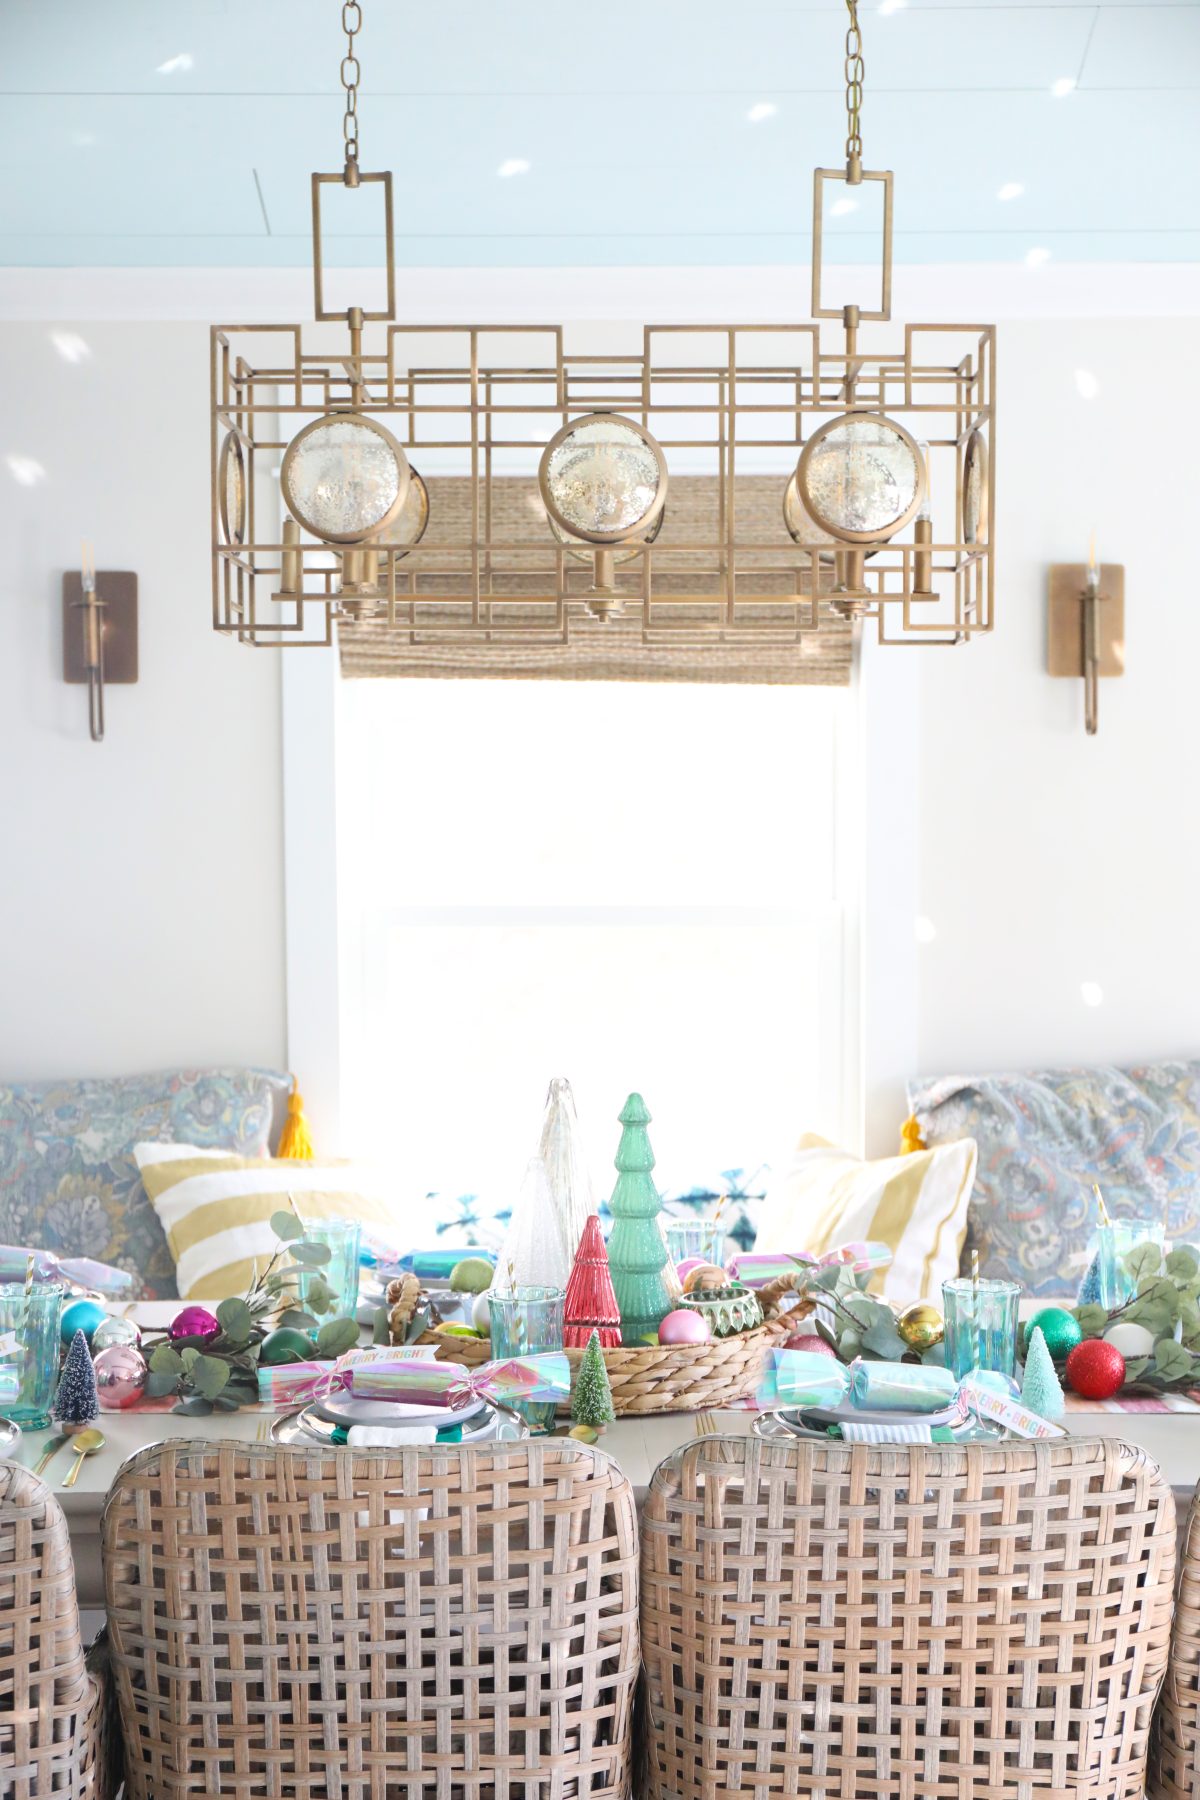
Table crackers first originated circa 1845-1850 by a toymaker called Tom Smith.
Best explained from this site:
Legend says that, one night, while he was sitting in front of his log fire, he became very interested by the sparks and cracks coming from the fire. Suddenly, he thought what a fun idea it would be, if his sweets and toys could be opened with a crack when their fancy wrappers were pulled in half.
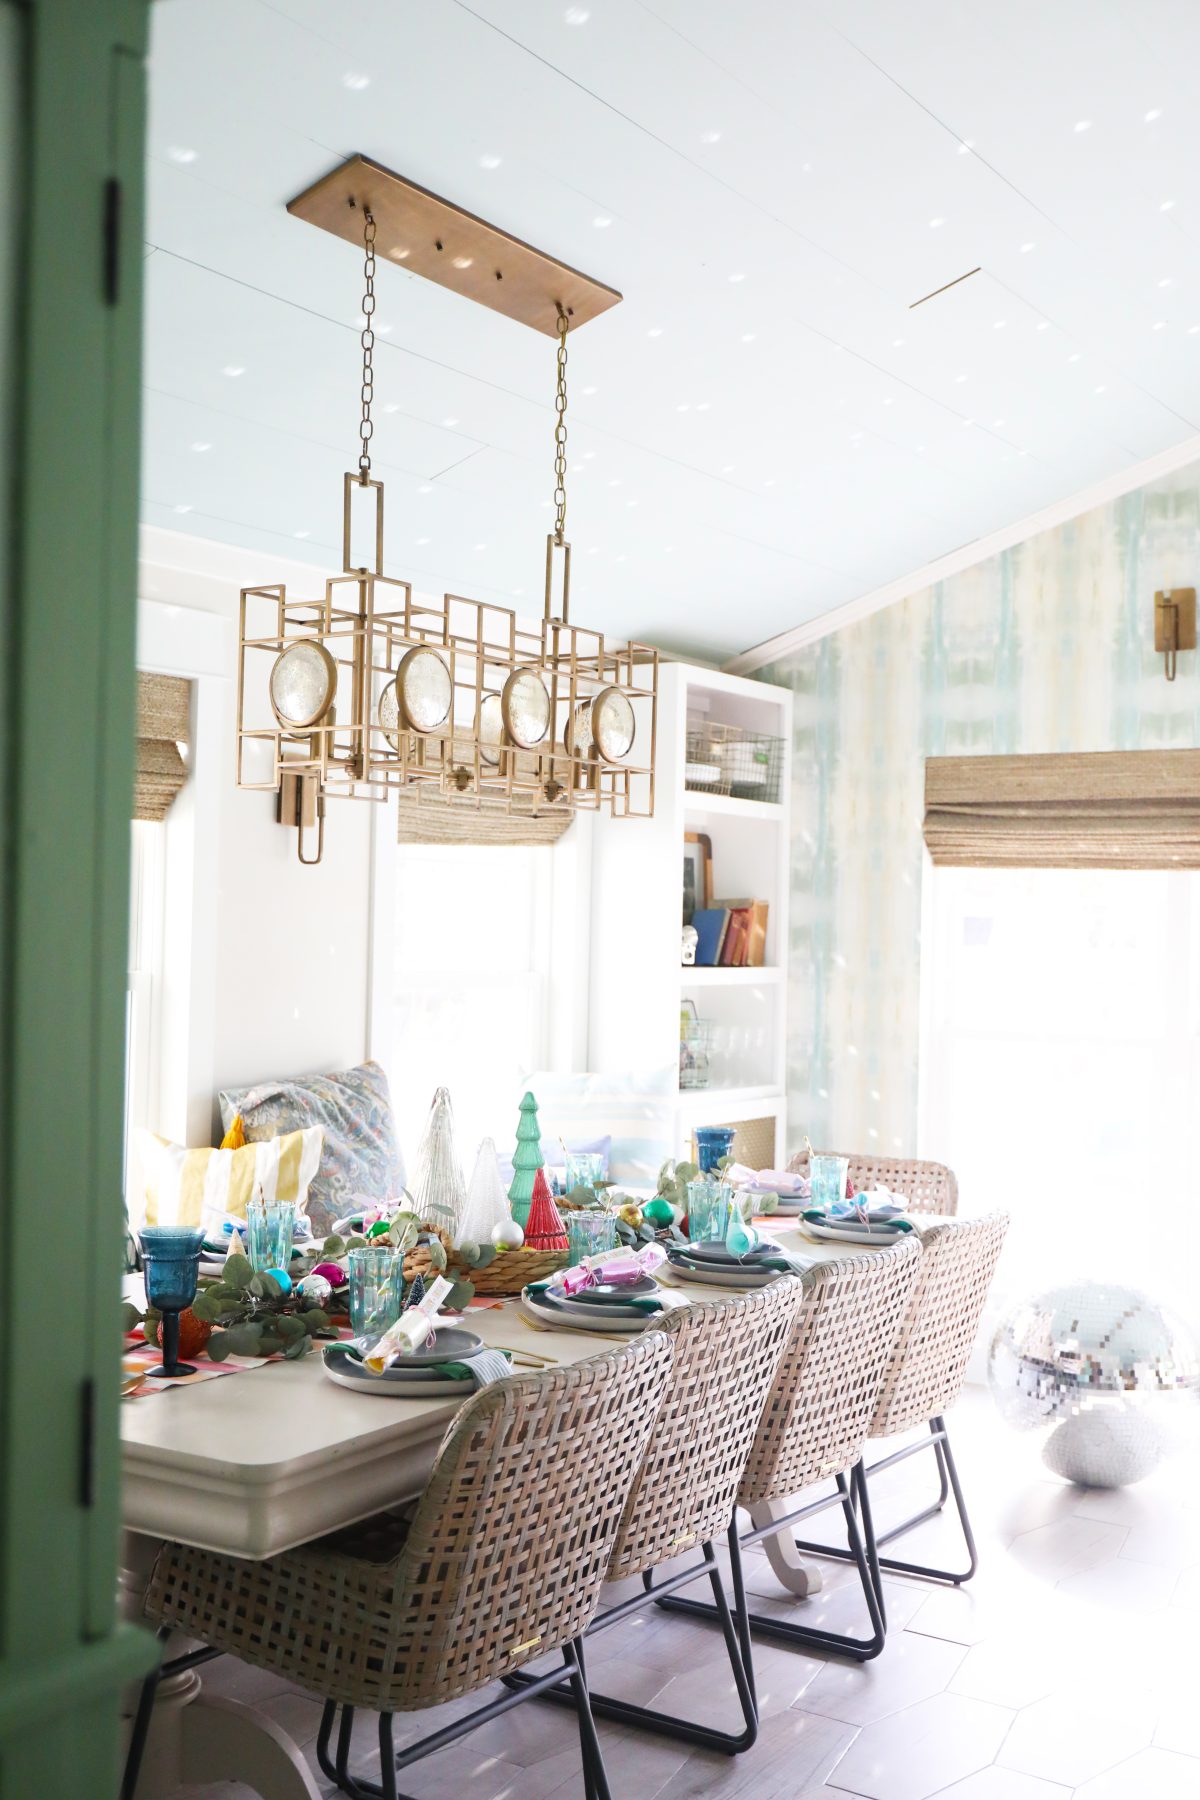
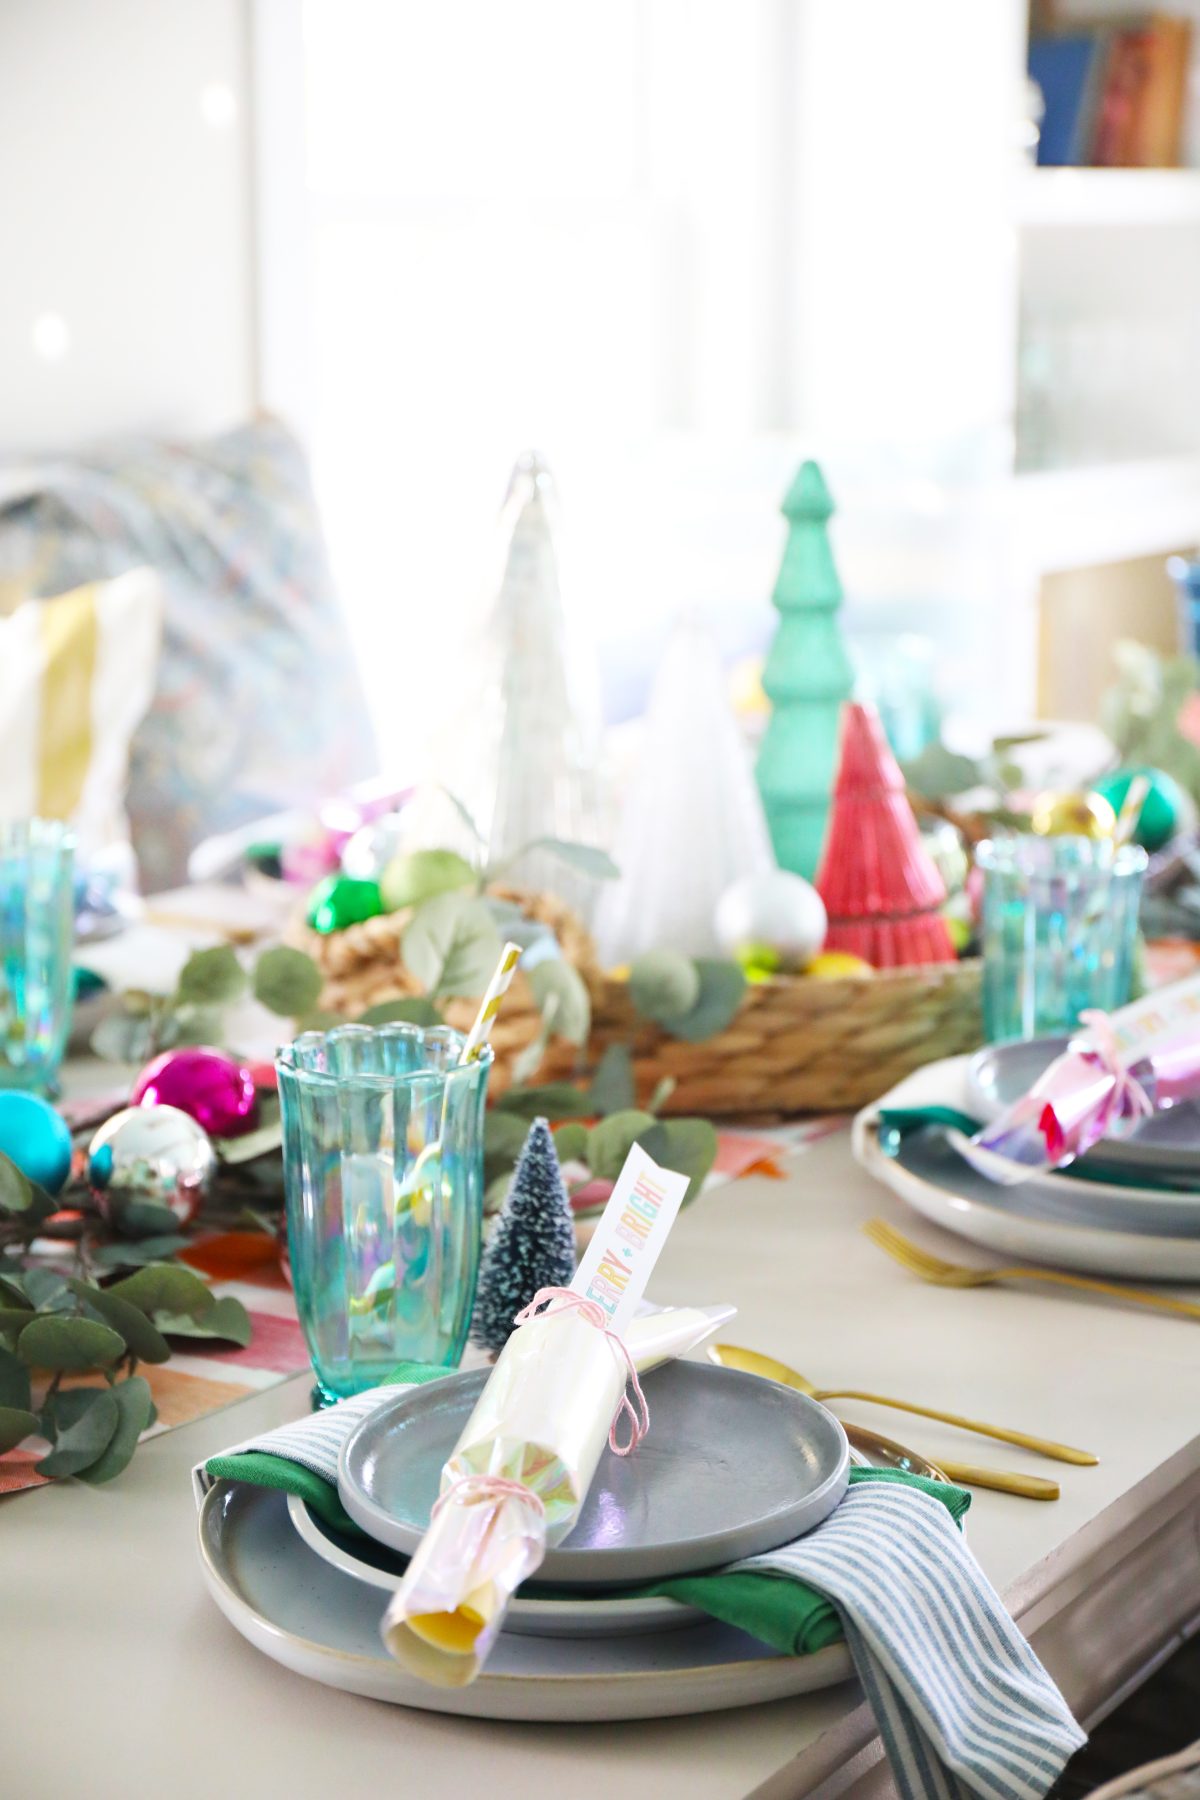
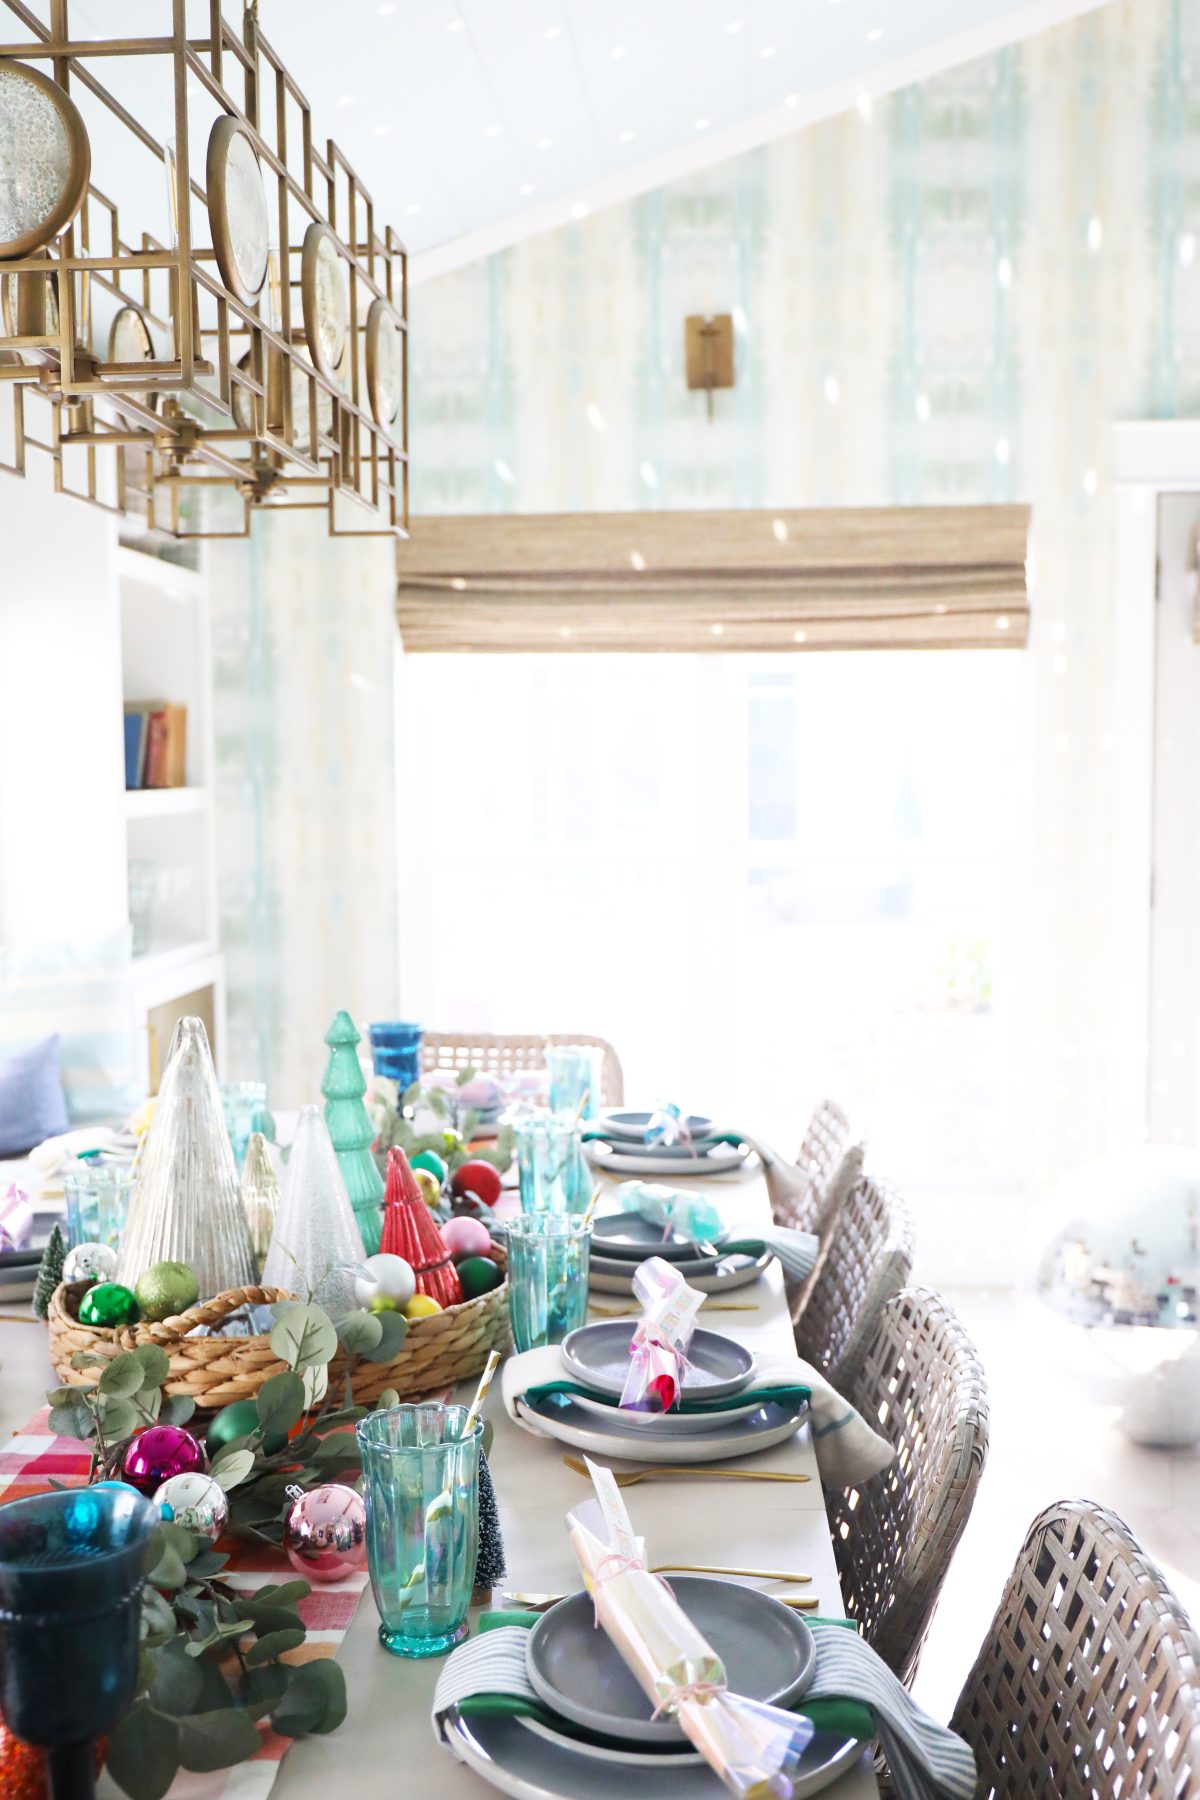
So we very much love this adorable tradition, and thought it would be really great for all things holidays! And even place savers, if you will.
They can be used in many ways, pulled together in a “wishbone” scenario with prizes inside, or each person gets their own.
We went with the each person gets their own bit, and love the idea of them sitting at each place.
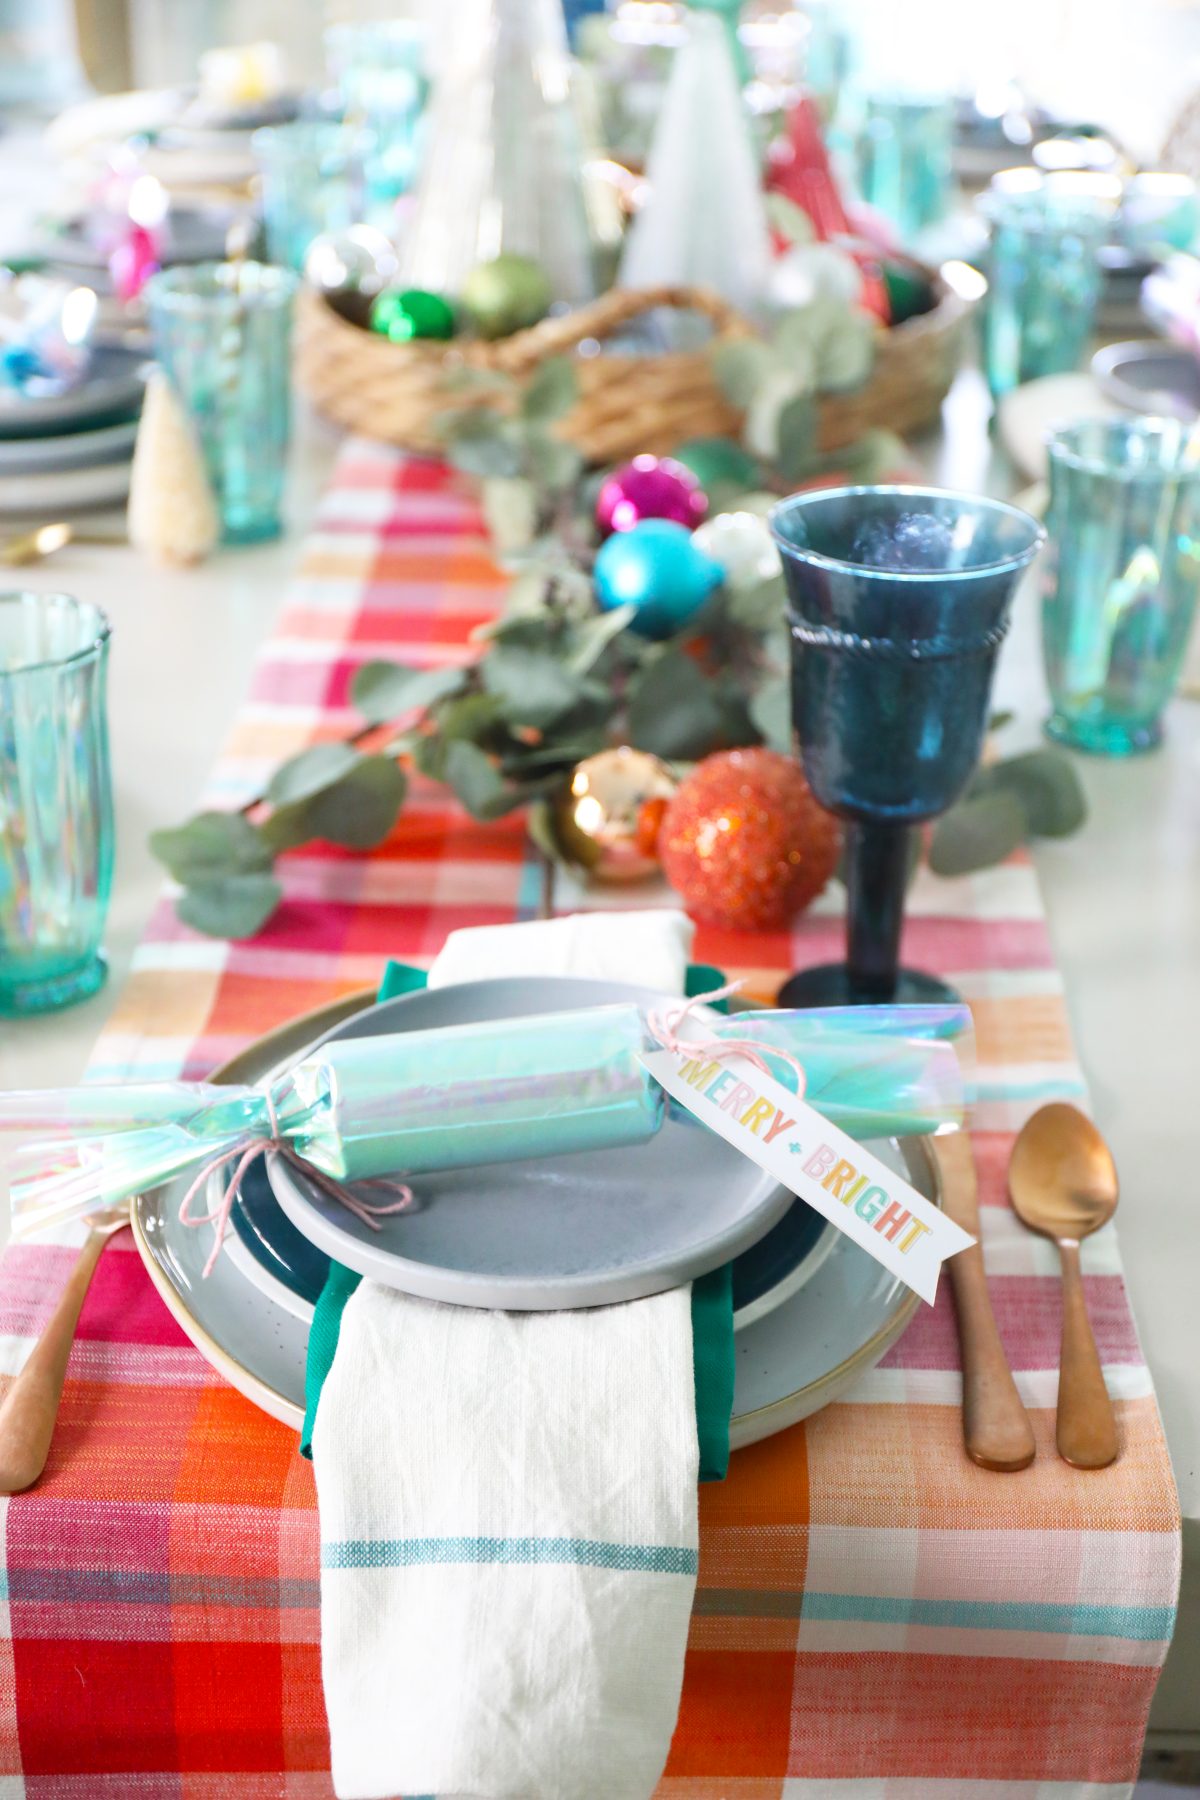
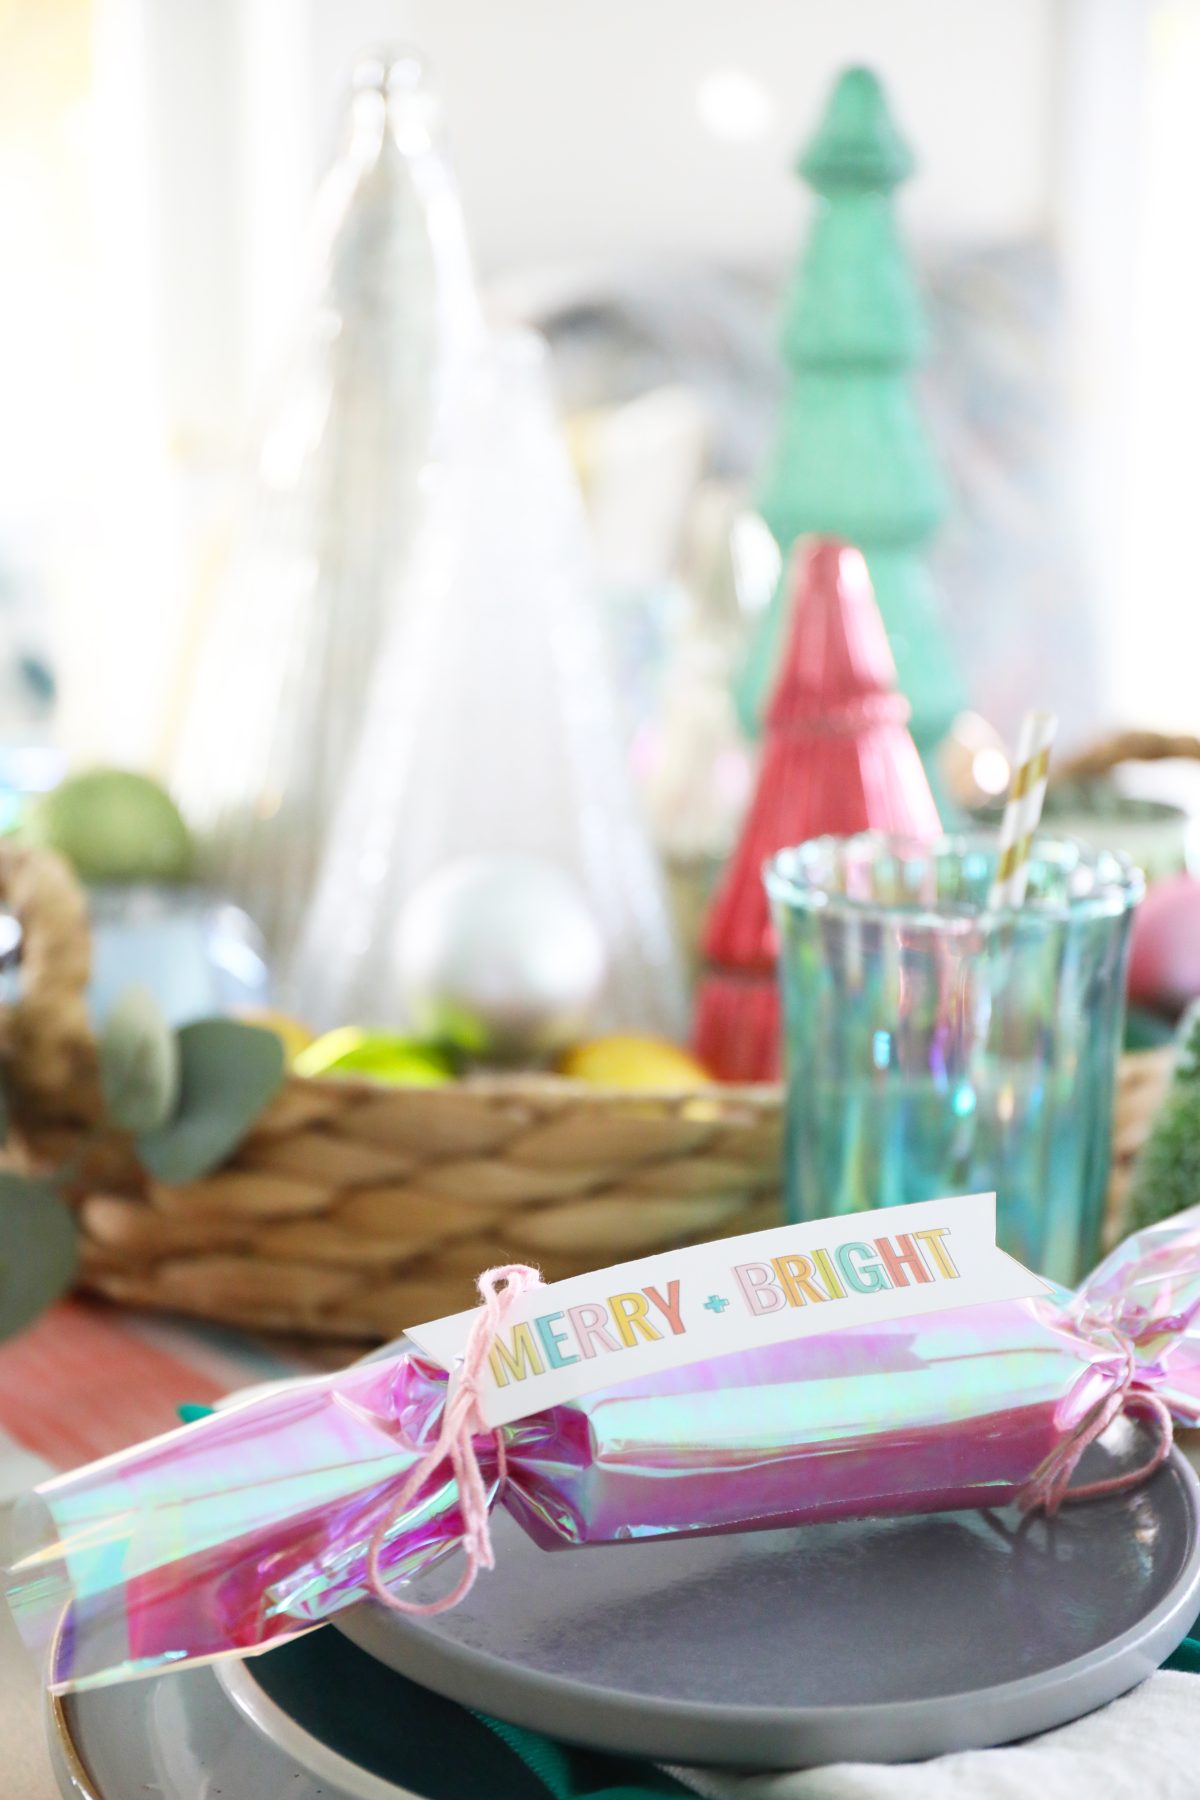
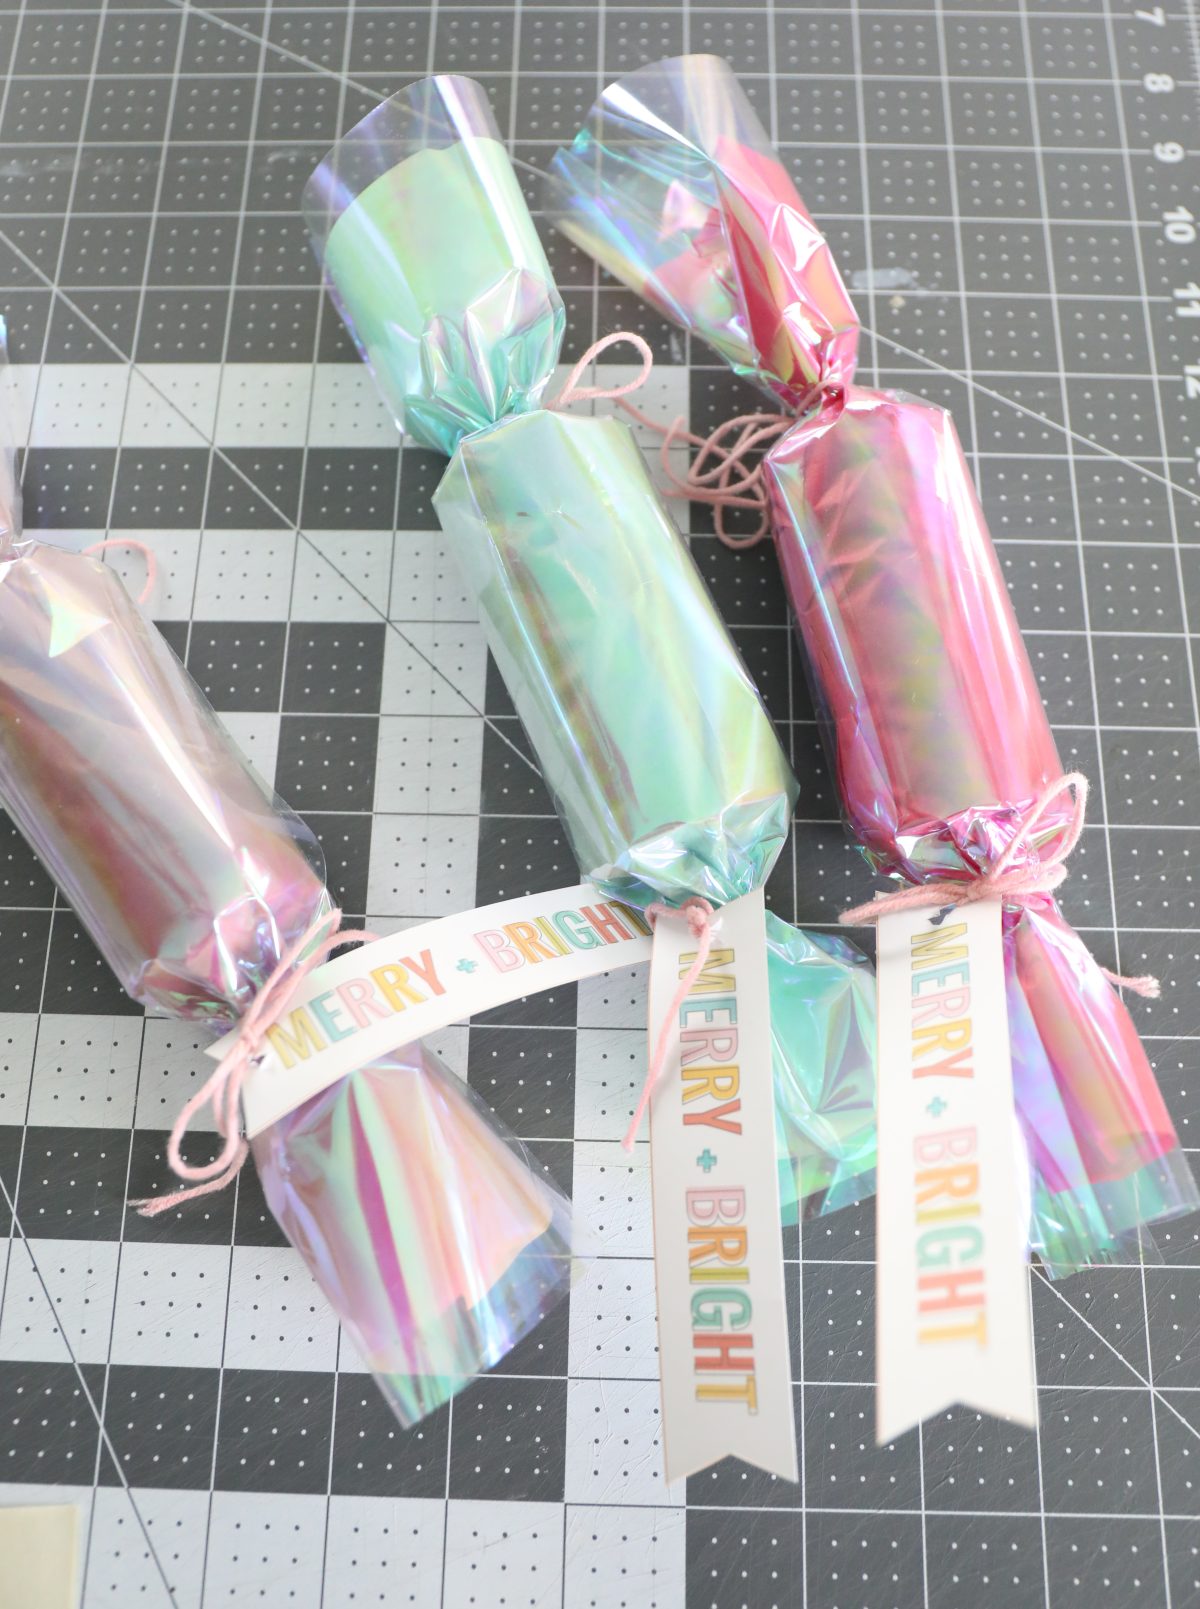
We even added our own free printable to up the colorful ante.
Get them here: Merry + Bright – just click + print and cut and add! We added a small slot at the top for twine to push through and add at the end.
But we definitely love the way that they turned out!
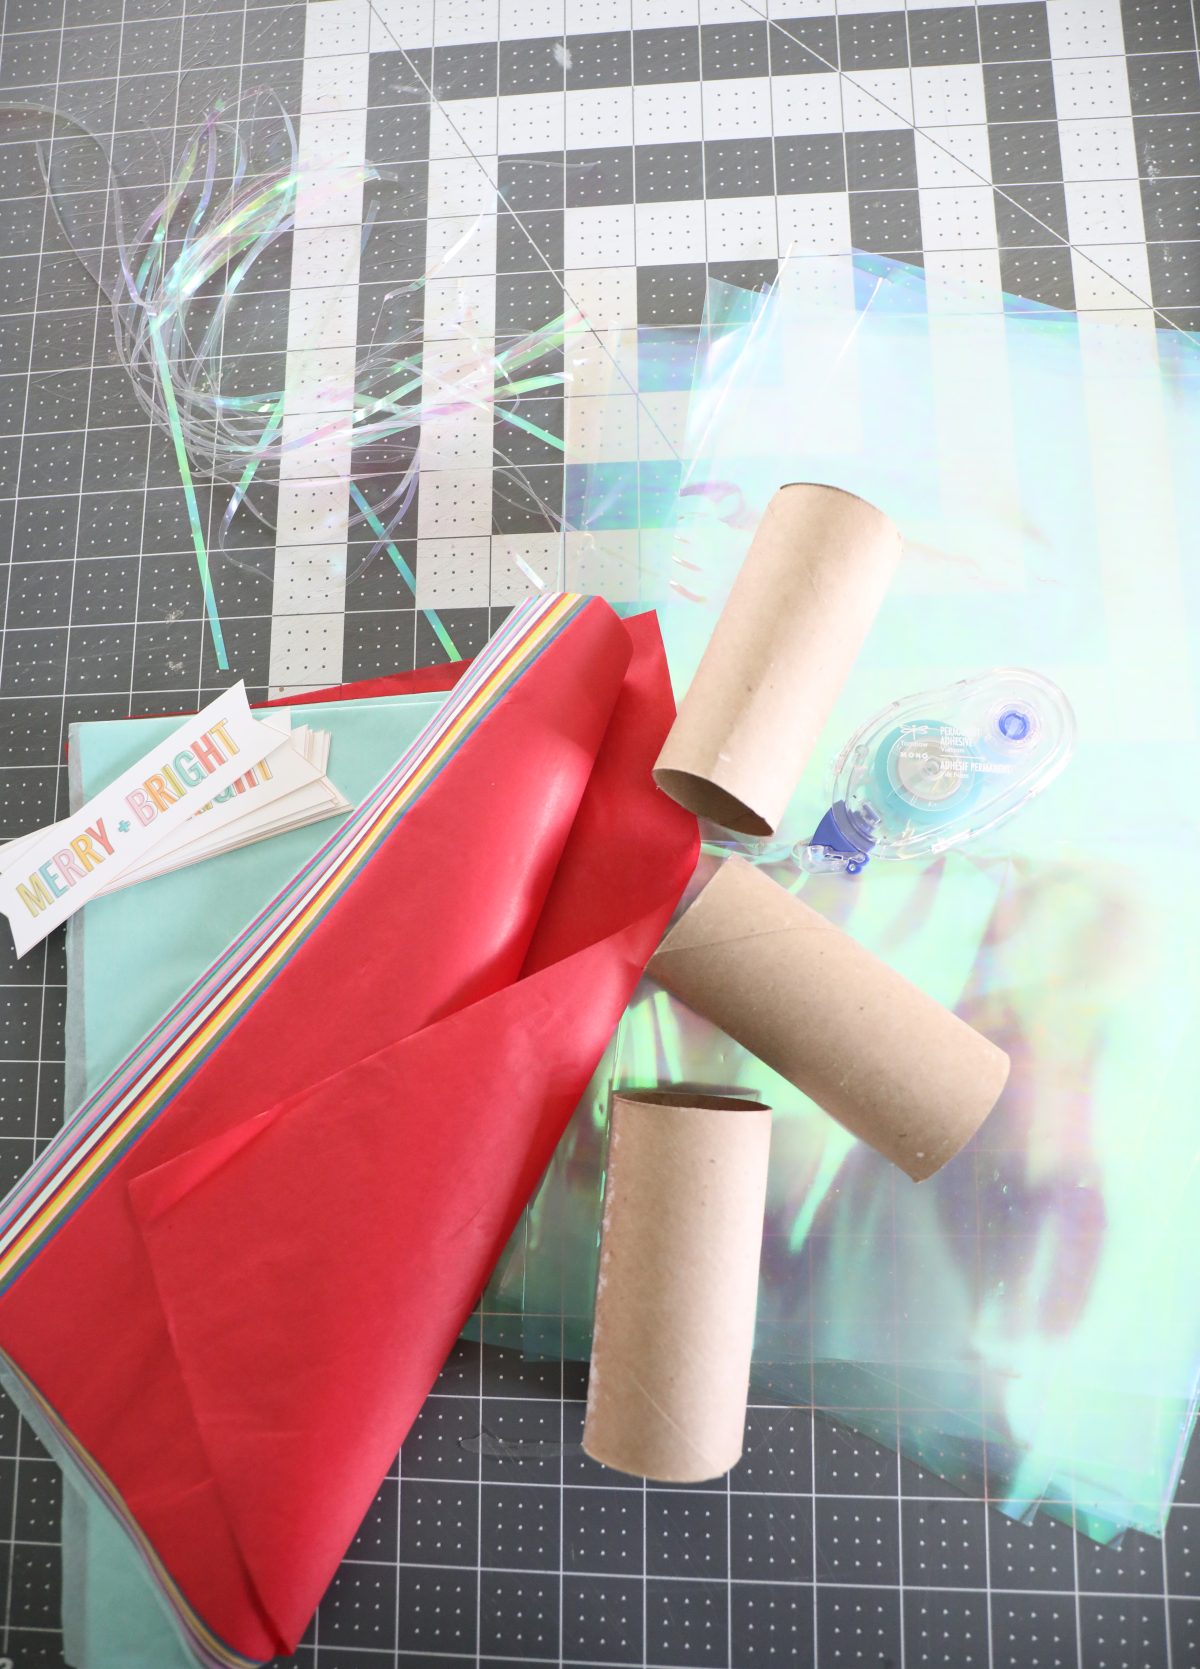
Want to make one of your own? Here’s what you’ll need!
• Toilet paper rolls {I saved ours for about a week and a half – it’s crazy how much a family of five will go through}
• Colorful tissue paper
• Tape
• Prizes {more on that below}
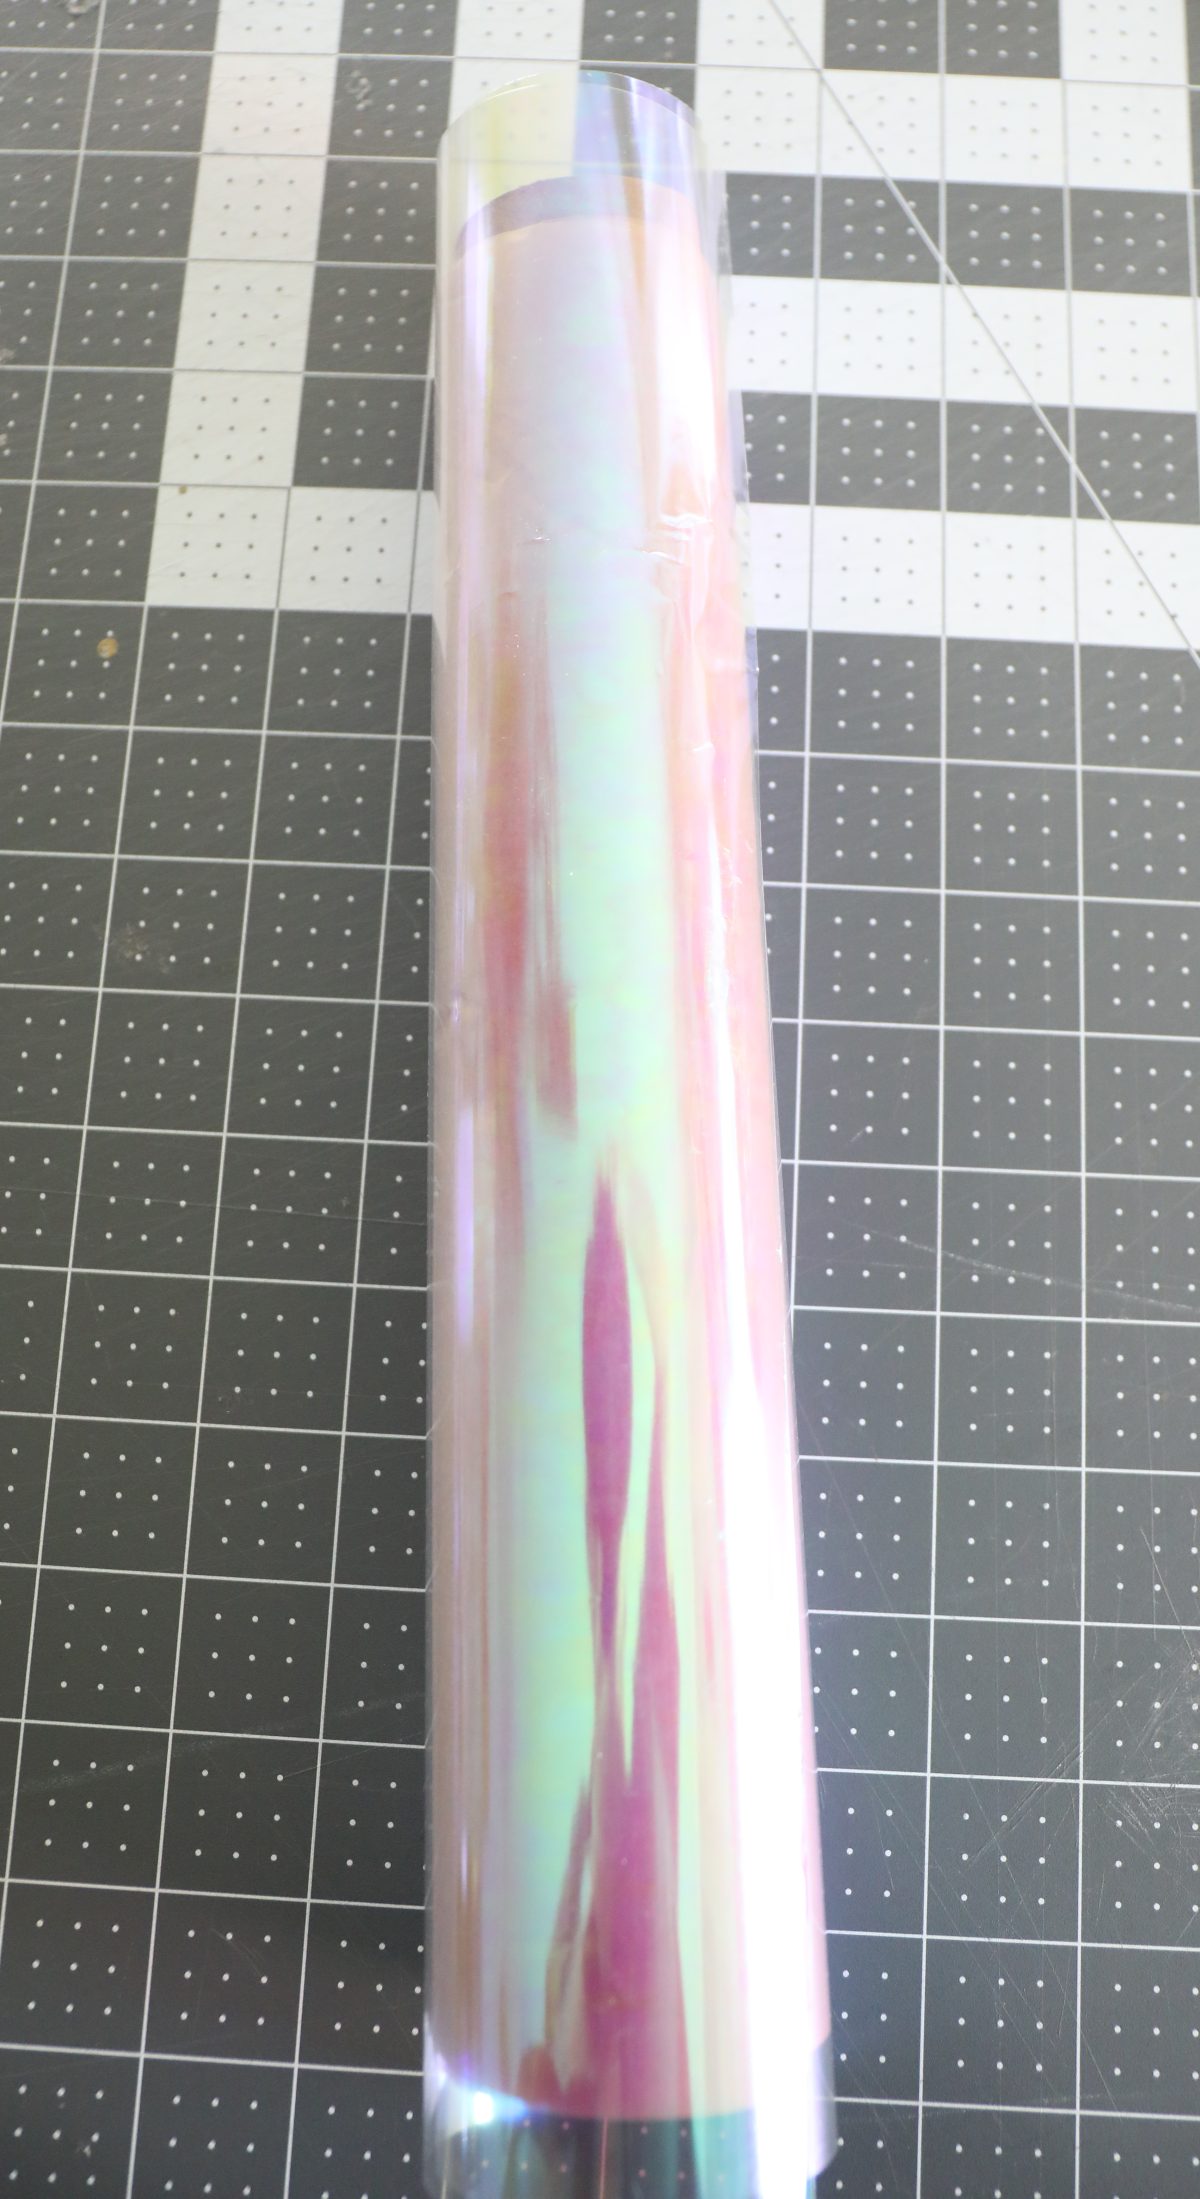
•Iridescent cellophane wrapping paper
• Optional: table cracker snaps – I skipped these but they’re so that the table crackers make the actual snapping noise when opened.
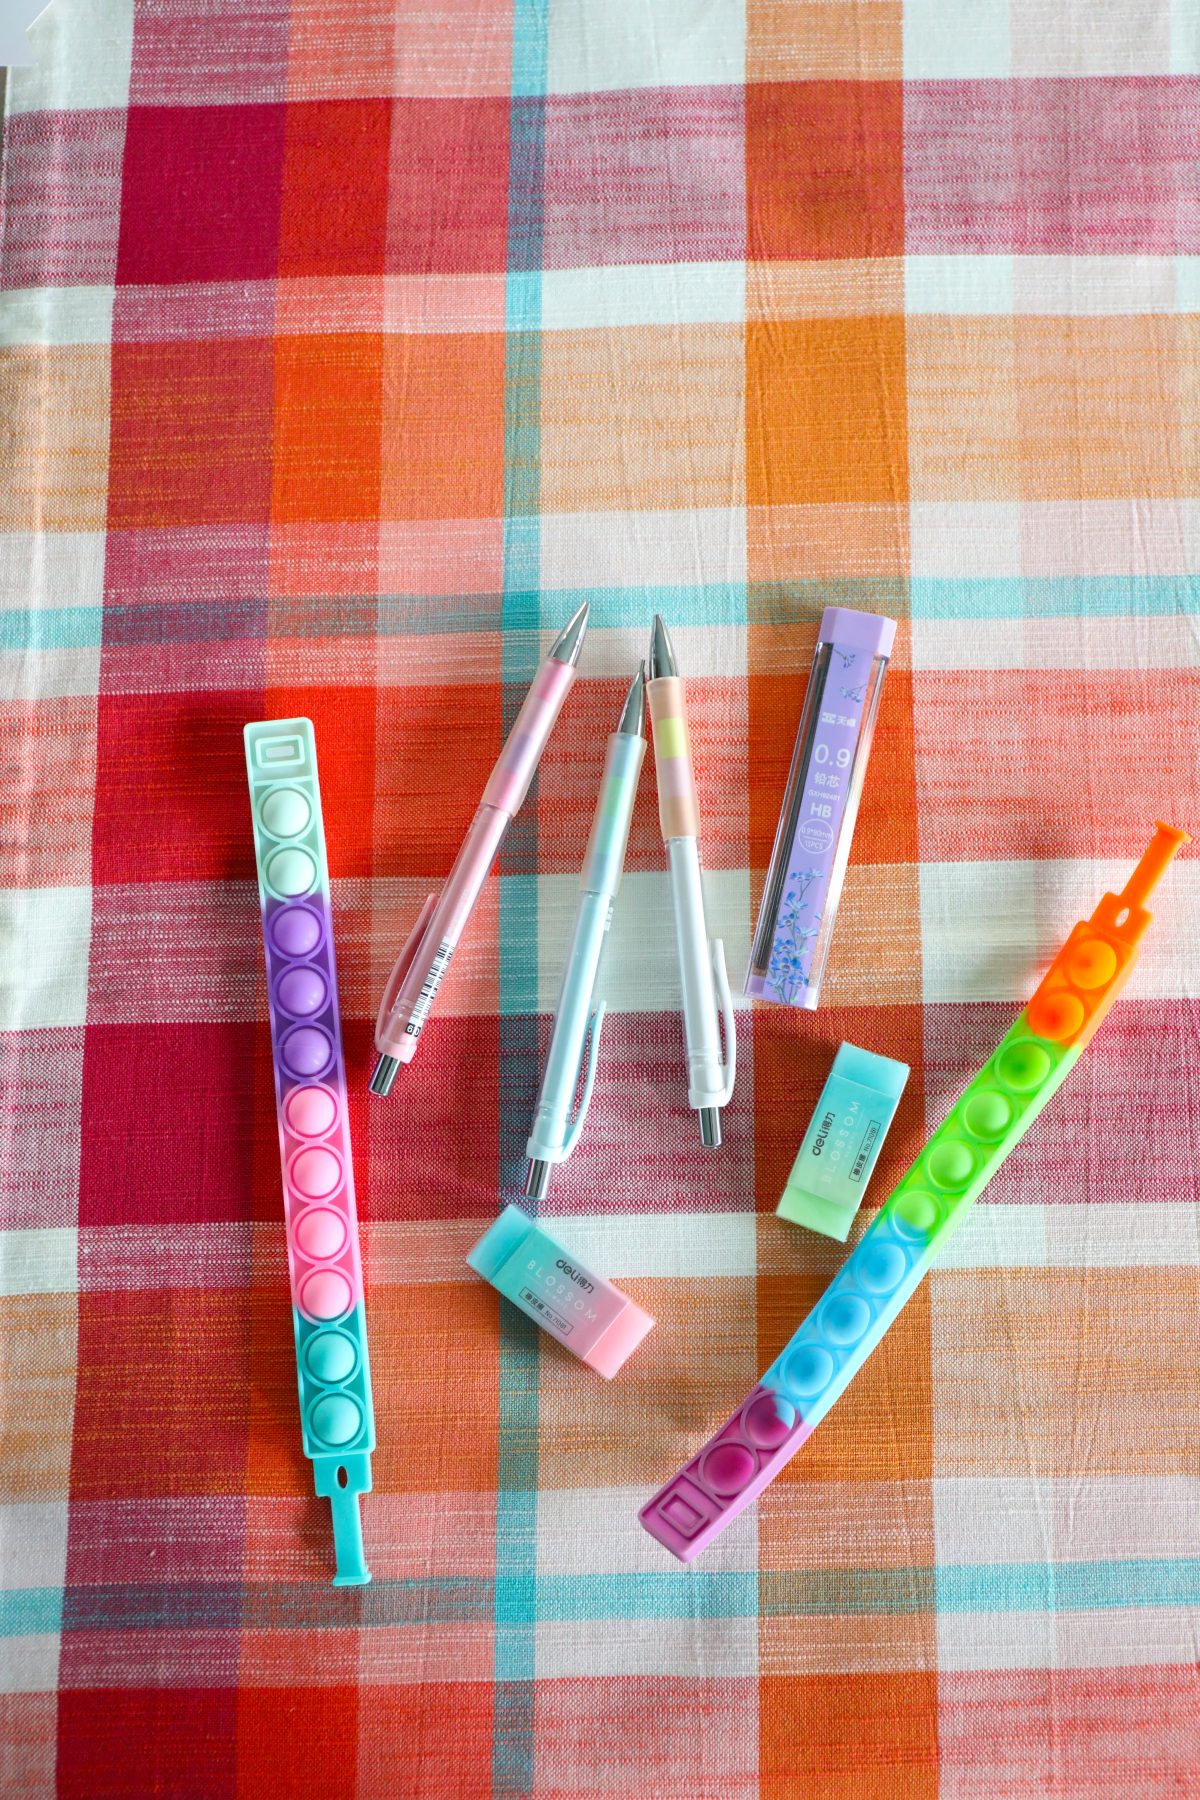
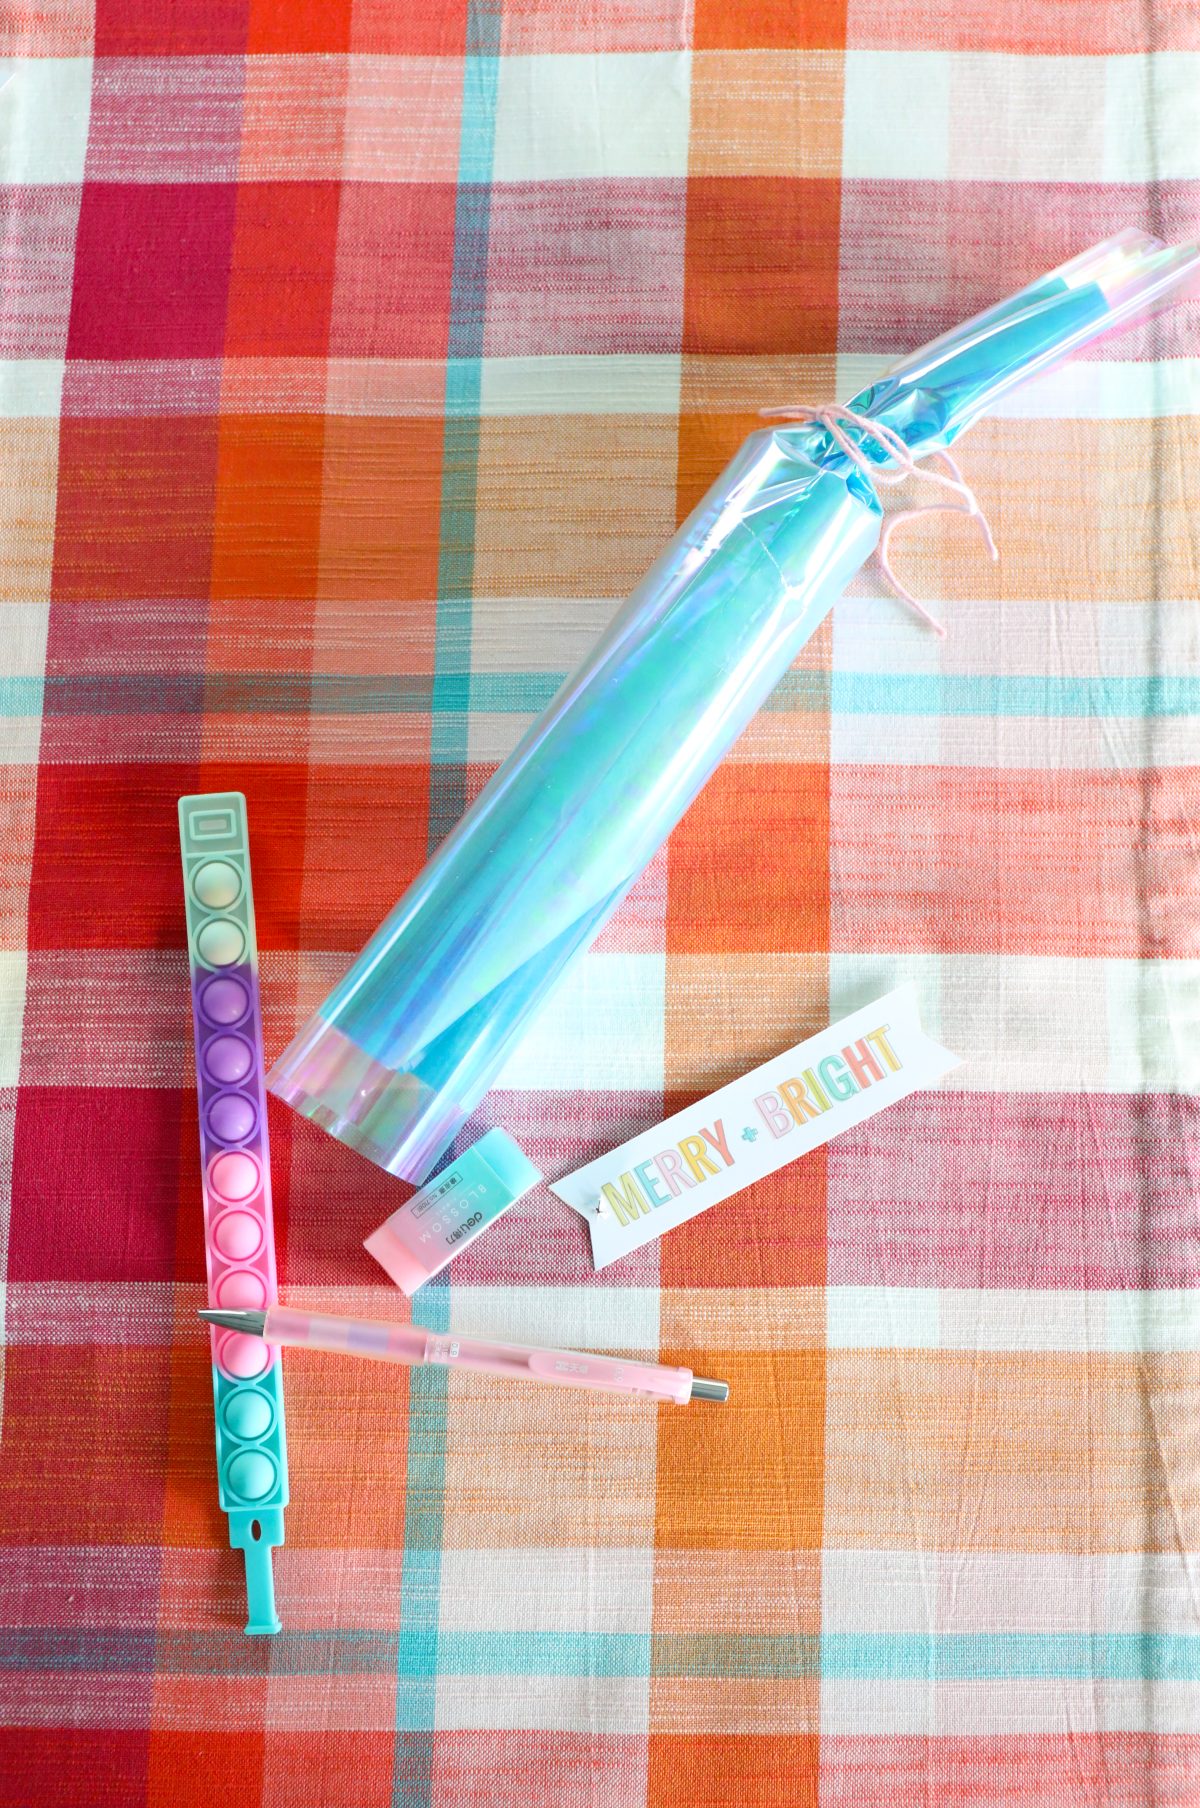
For the prizes, I chose something our older kids would actually enjoy. Even if they were still a little silly – ya never know these days with teens. But something that can fit inside a toilet paper roll. You can compensate with the wrapper part.
• pencil + eraser sets
• push pop bracelets
You can also fill them with simple things like candy, or these adorable squishies
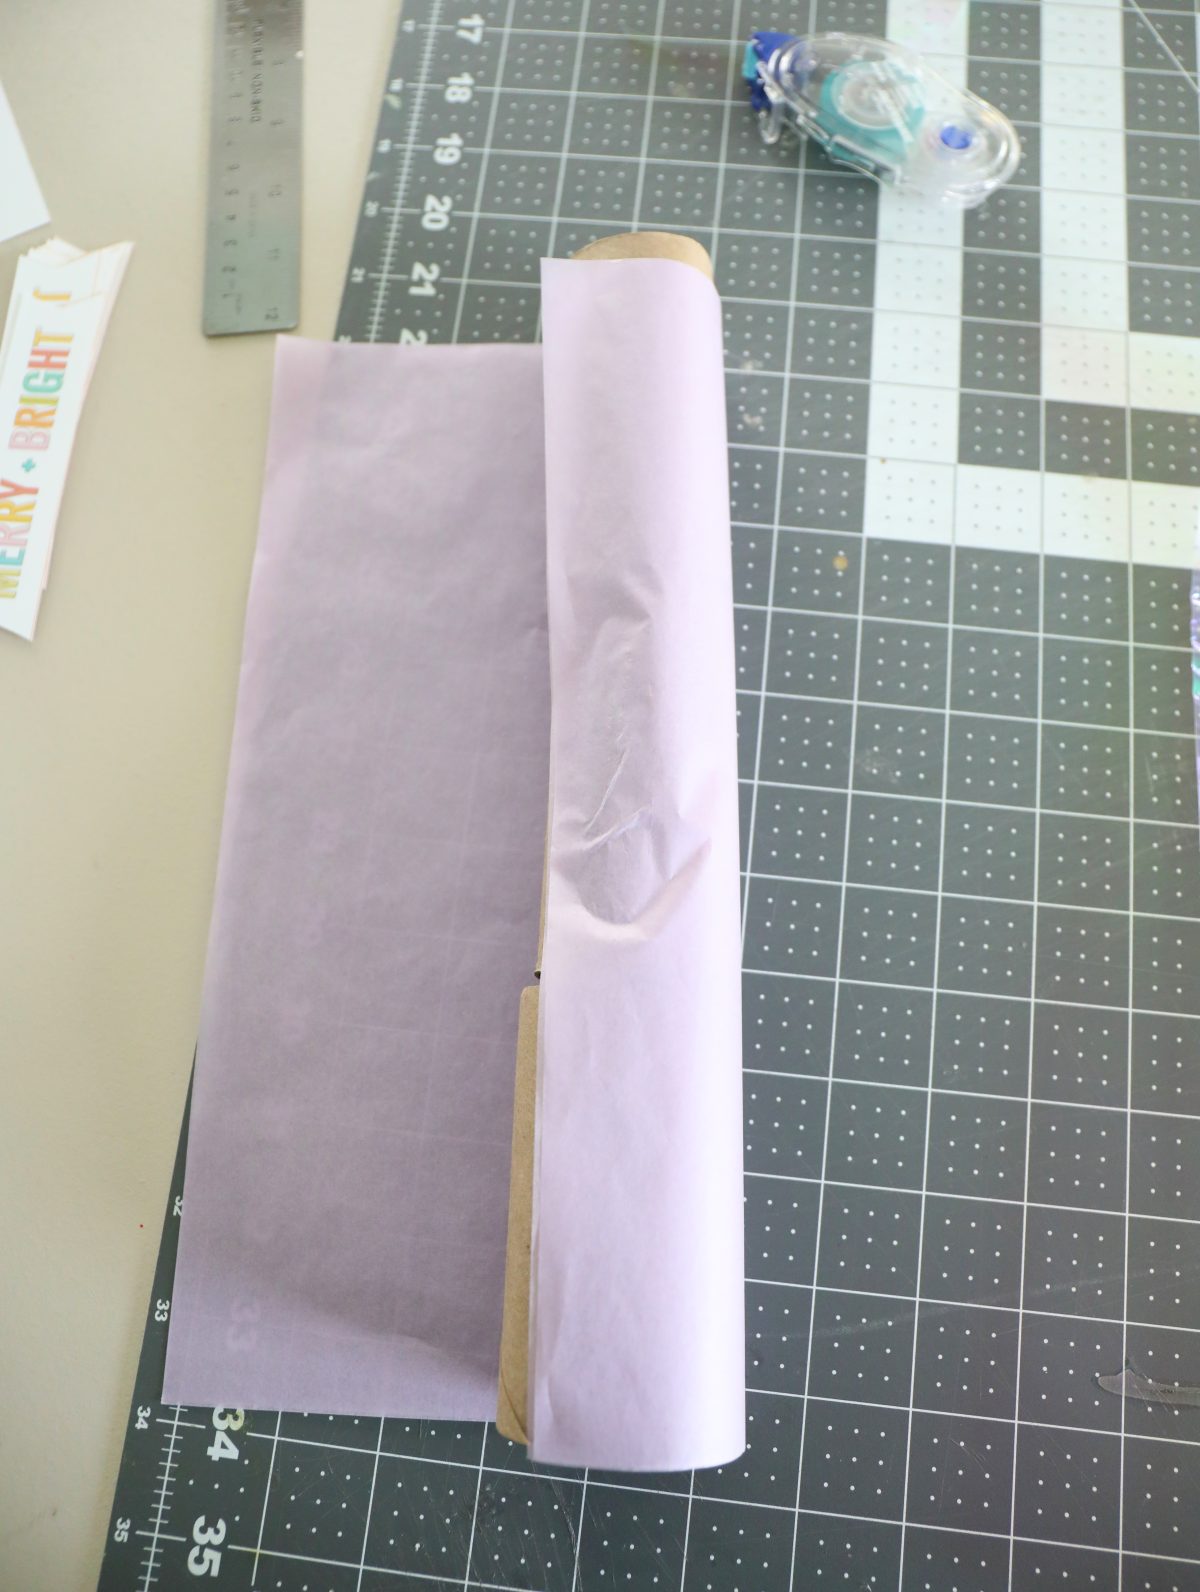
So to measure the correct length of paper, line up three toilet paper rolls.
Cut the paper to the length and width so that it can easily wrap around the roll.
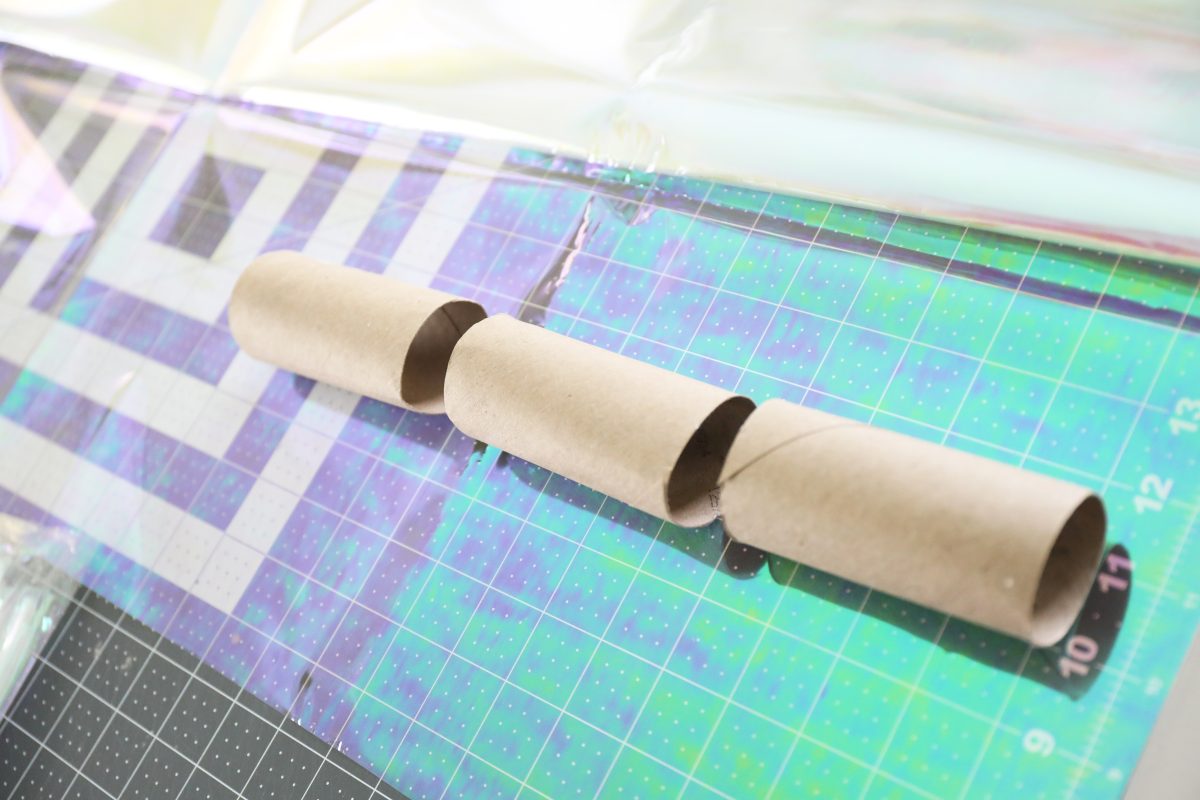
Once I was done cutting these, I sat them aside.
Next, choose a sheet of tissue paper. One sheet of these linked above, is the perfect size with no cutting required. I used two because they were so transparent.
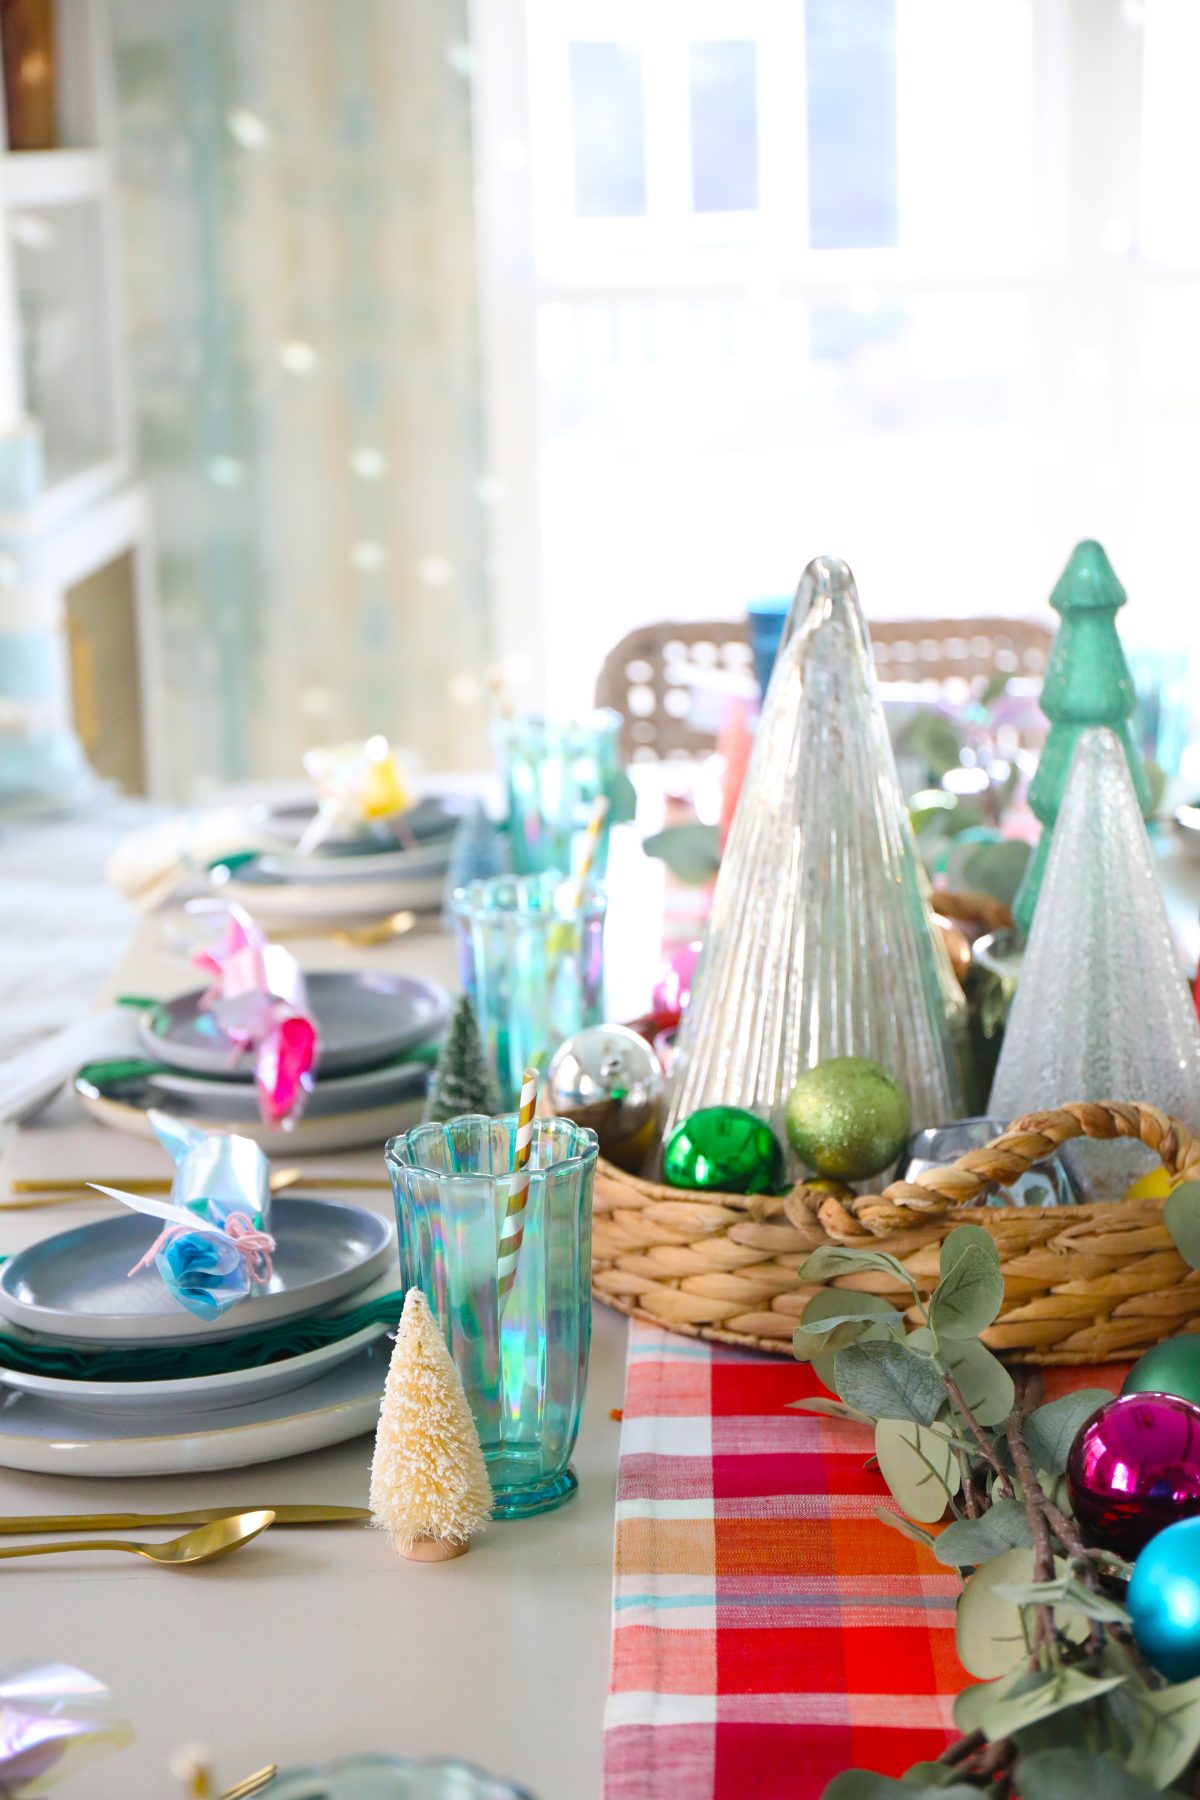
Note: I made ten of these because of the number of seats, so you can do two of each color if you like repeating some, etc. Just something to consider. What I love so much about these colors, are the fun pastel vibe they give off with the wrapping paper on top!
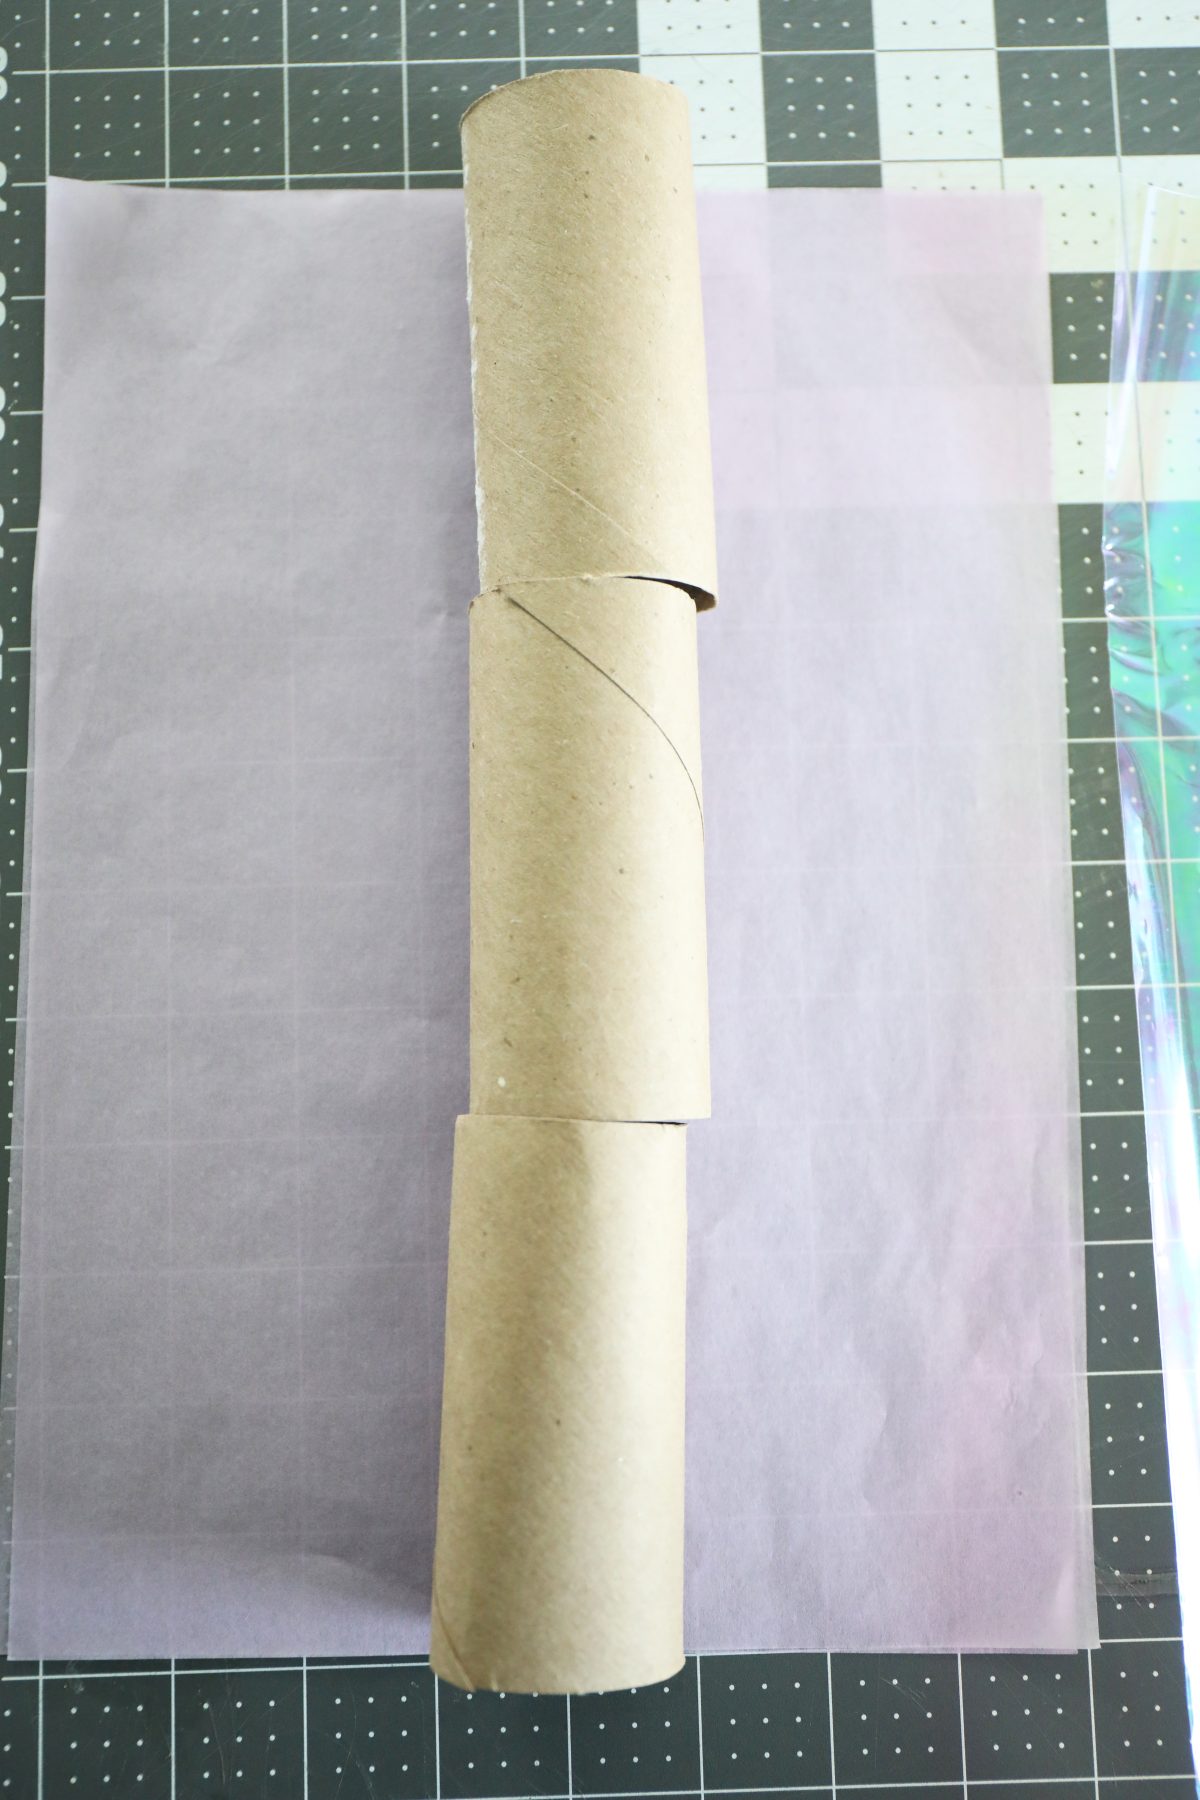
Go ahead and wrap them around each side and tape to secure.
Note: I used this “fancy” tape. Mistake because it got all hung up on the tissue paper. Just use regular tape with this tissue paper. You’ll be glad you did.
Next, add your sheet of wrapping paper on top, and repeat the process.
If you opted for the cracker snap part, slide this in as well once the wrapping paper is added.
Where you’ve held your other two toilet paper rolls in place, gently separate the first two, and add a piece of twine at the gap. If you’re using regular paper, you can twist and keep the bottom part stiff, but I just went for a tie at the bottom.
These have just been place holders, to keep the appropriate length.
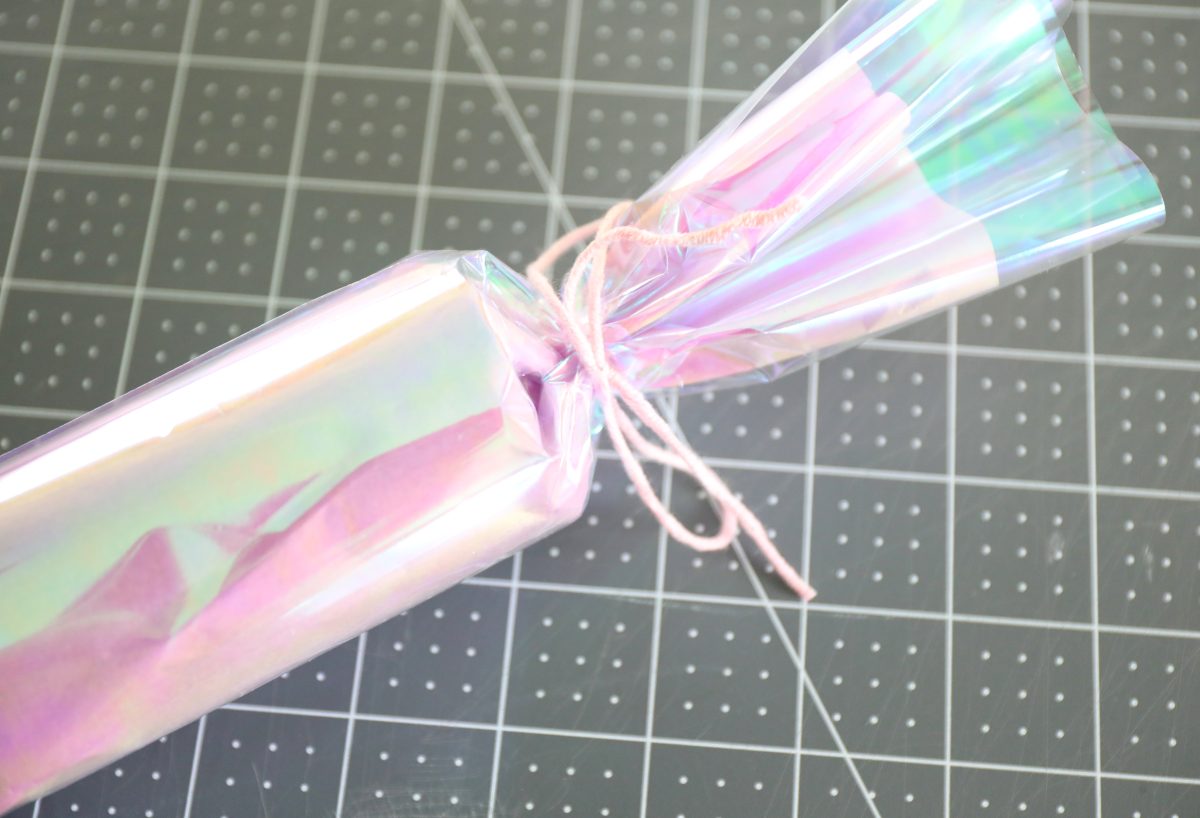
Now slide in your goodies, at the other end.
Once secure, repeat the last step by gently separating the toilet paper roll from the middle section, and twisting a little to secure the paper with twine.
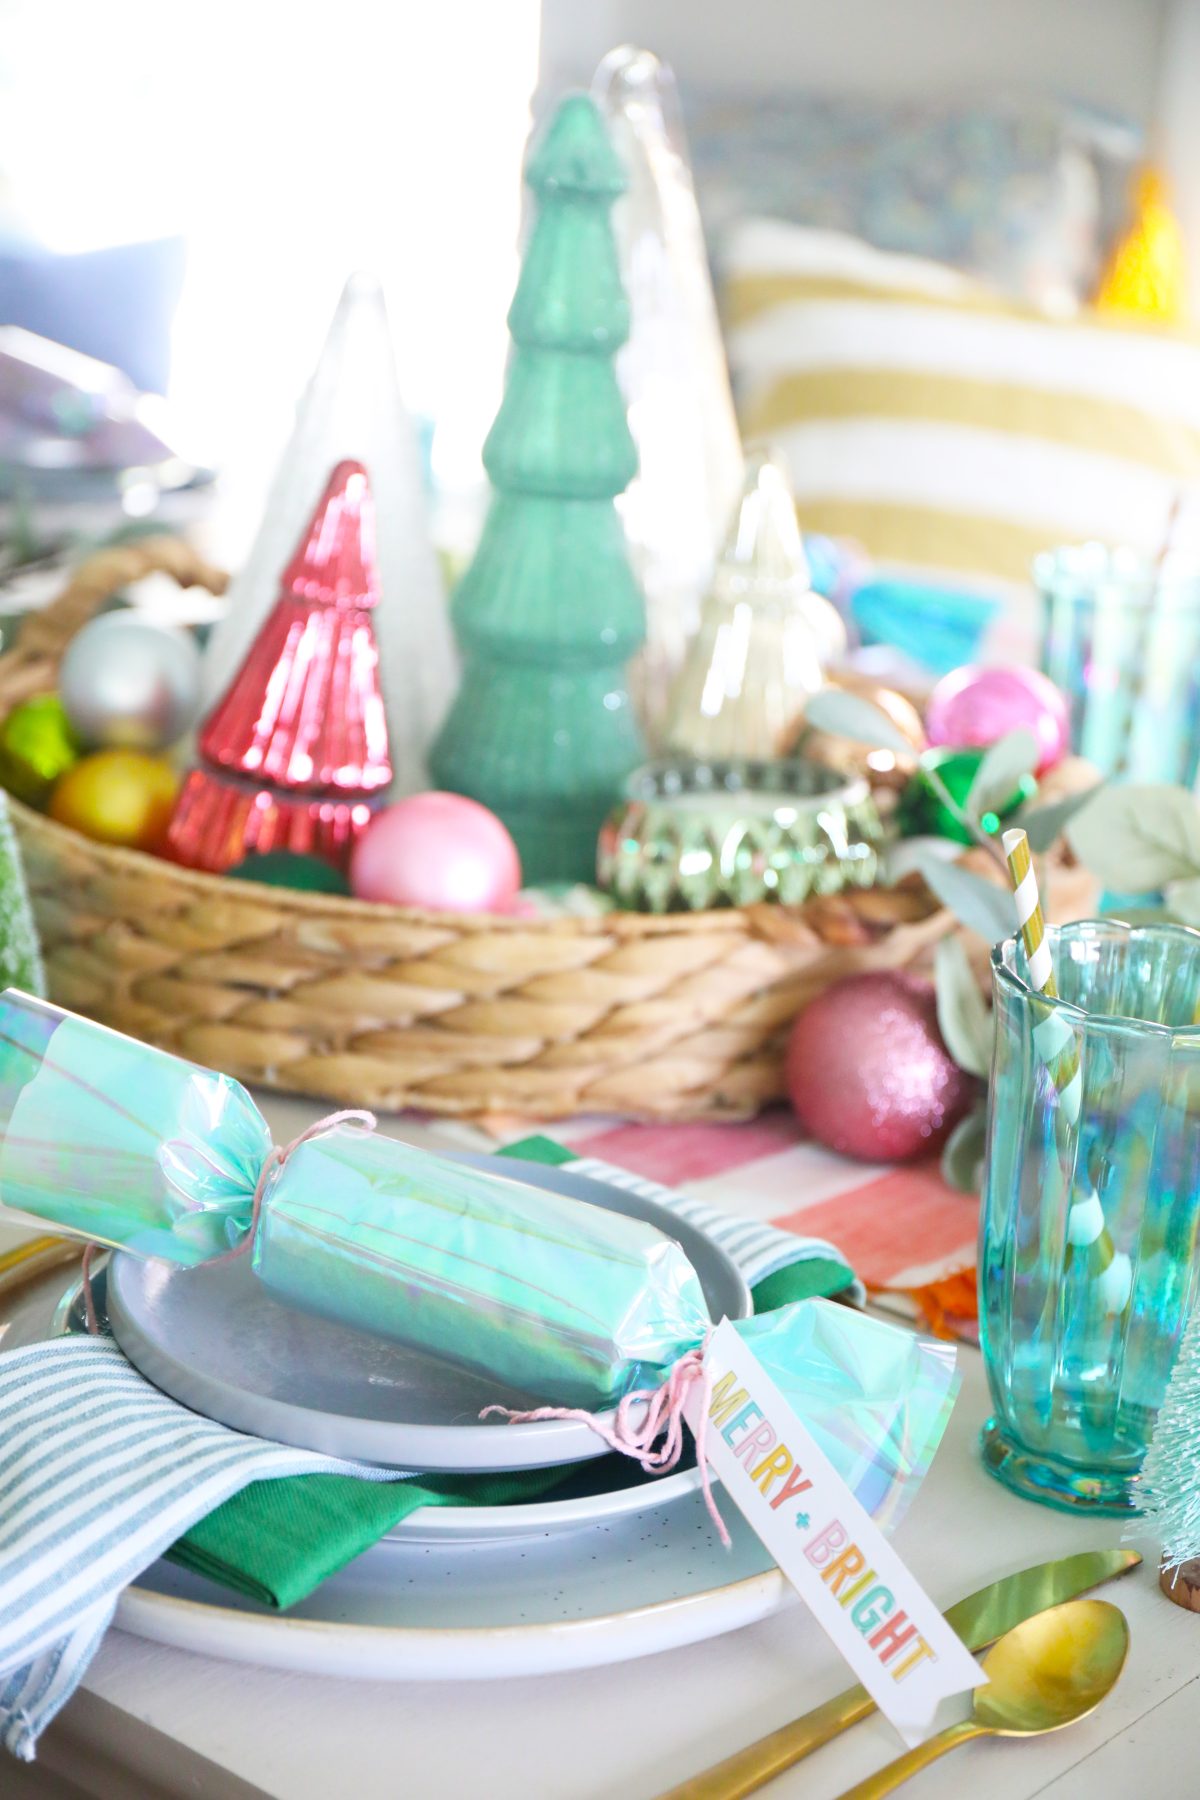
Add your labels and repeat until you’re finished making them all, and you’re good to go with your fun table cracker place savers!
This iridescent wrapping paper gives it a slightly different shape, but we love the colorful effect so it was worth the trade off.
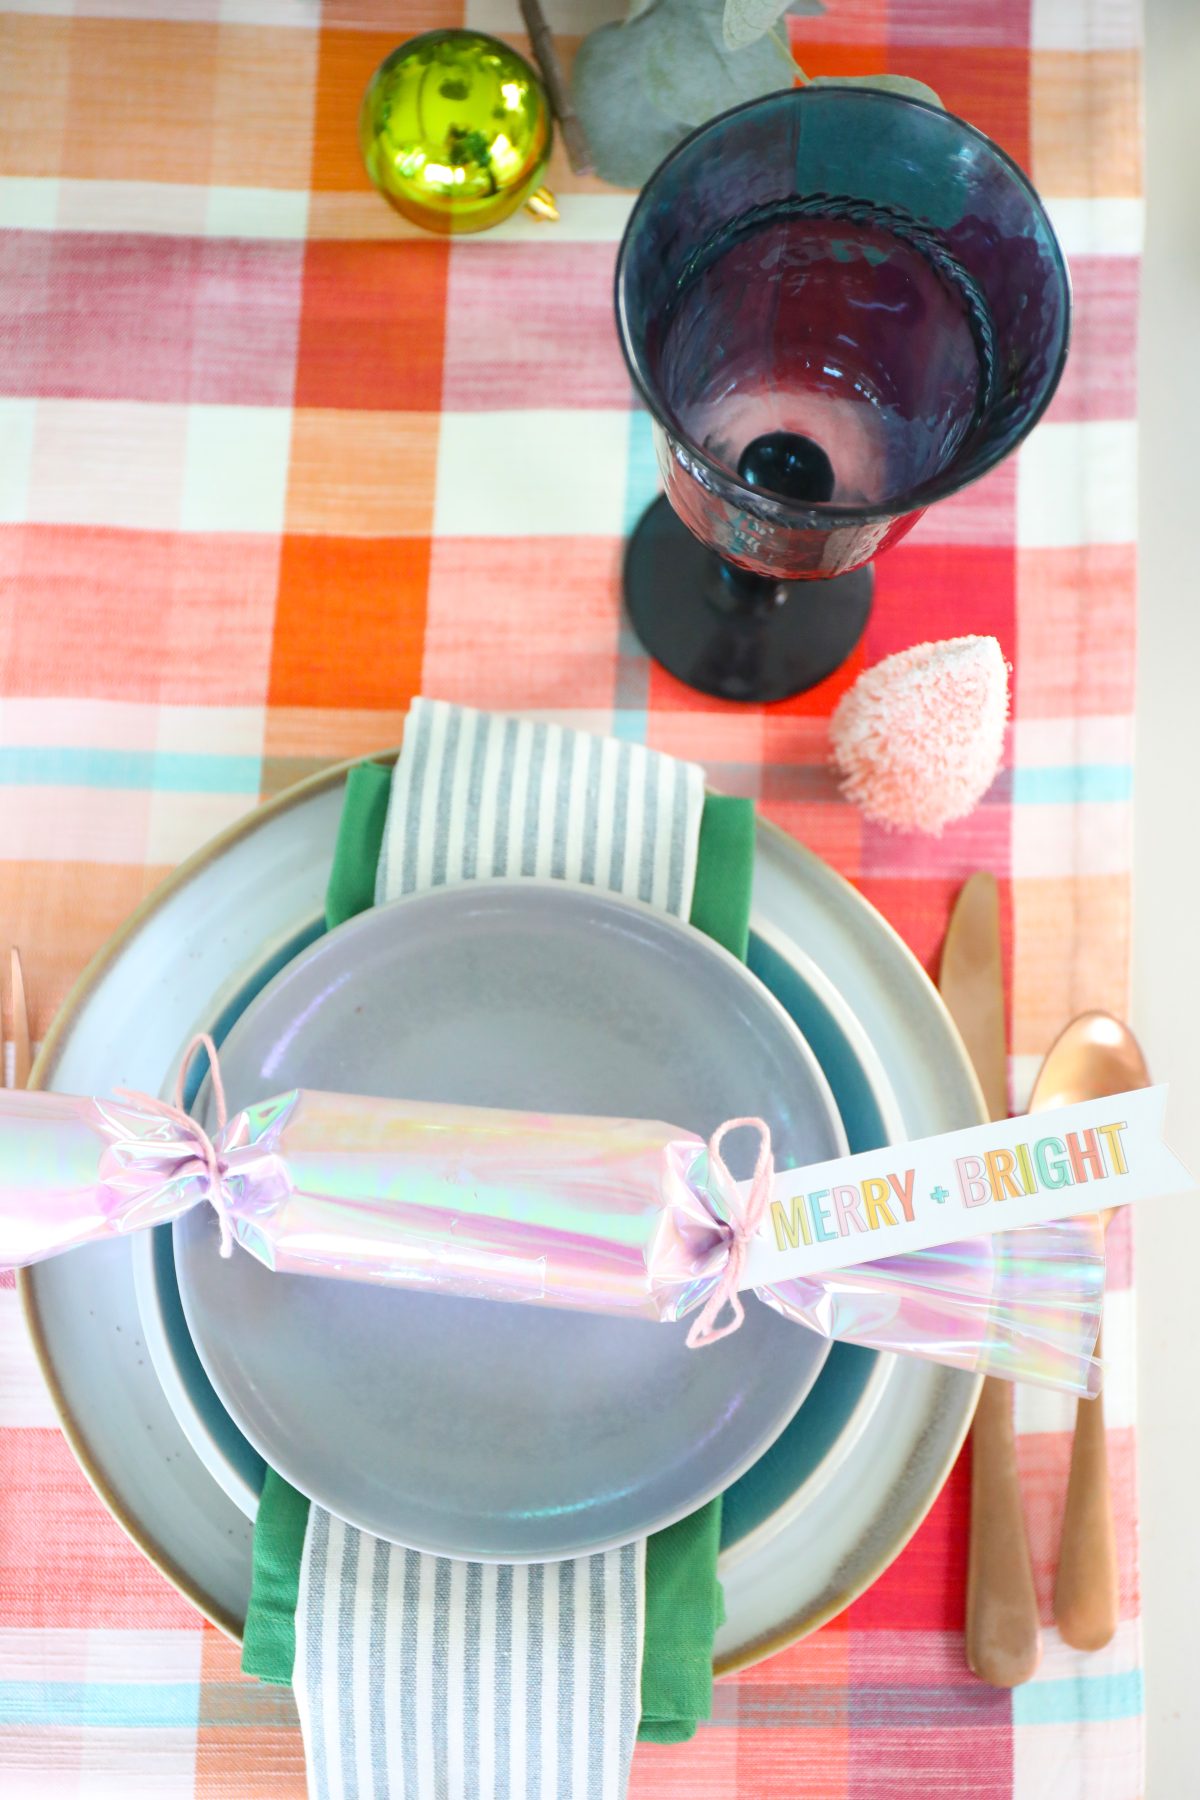
The element of fun festive color that they add to any place setting is oh so awesome.
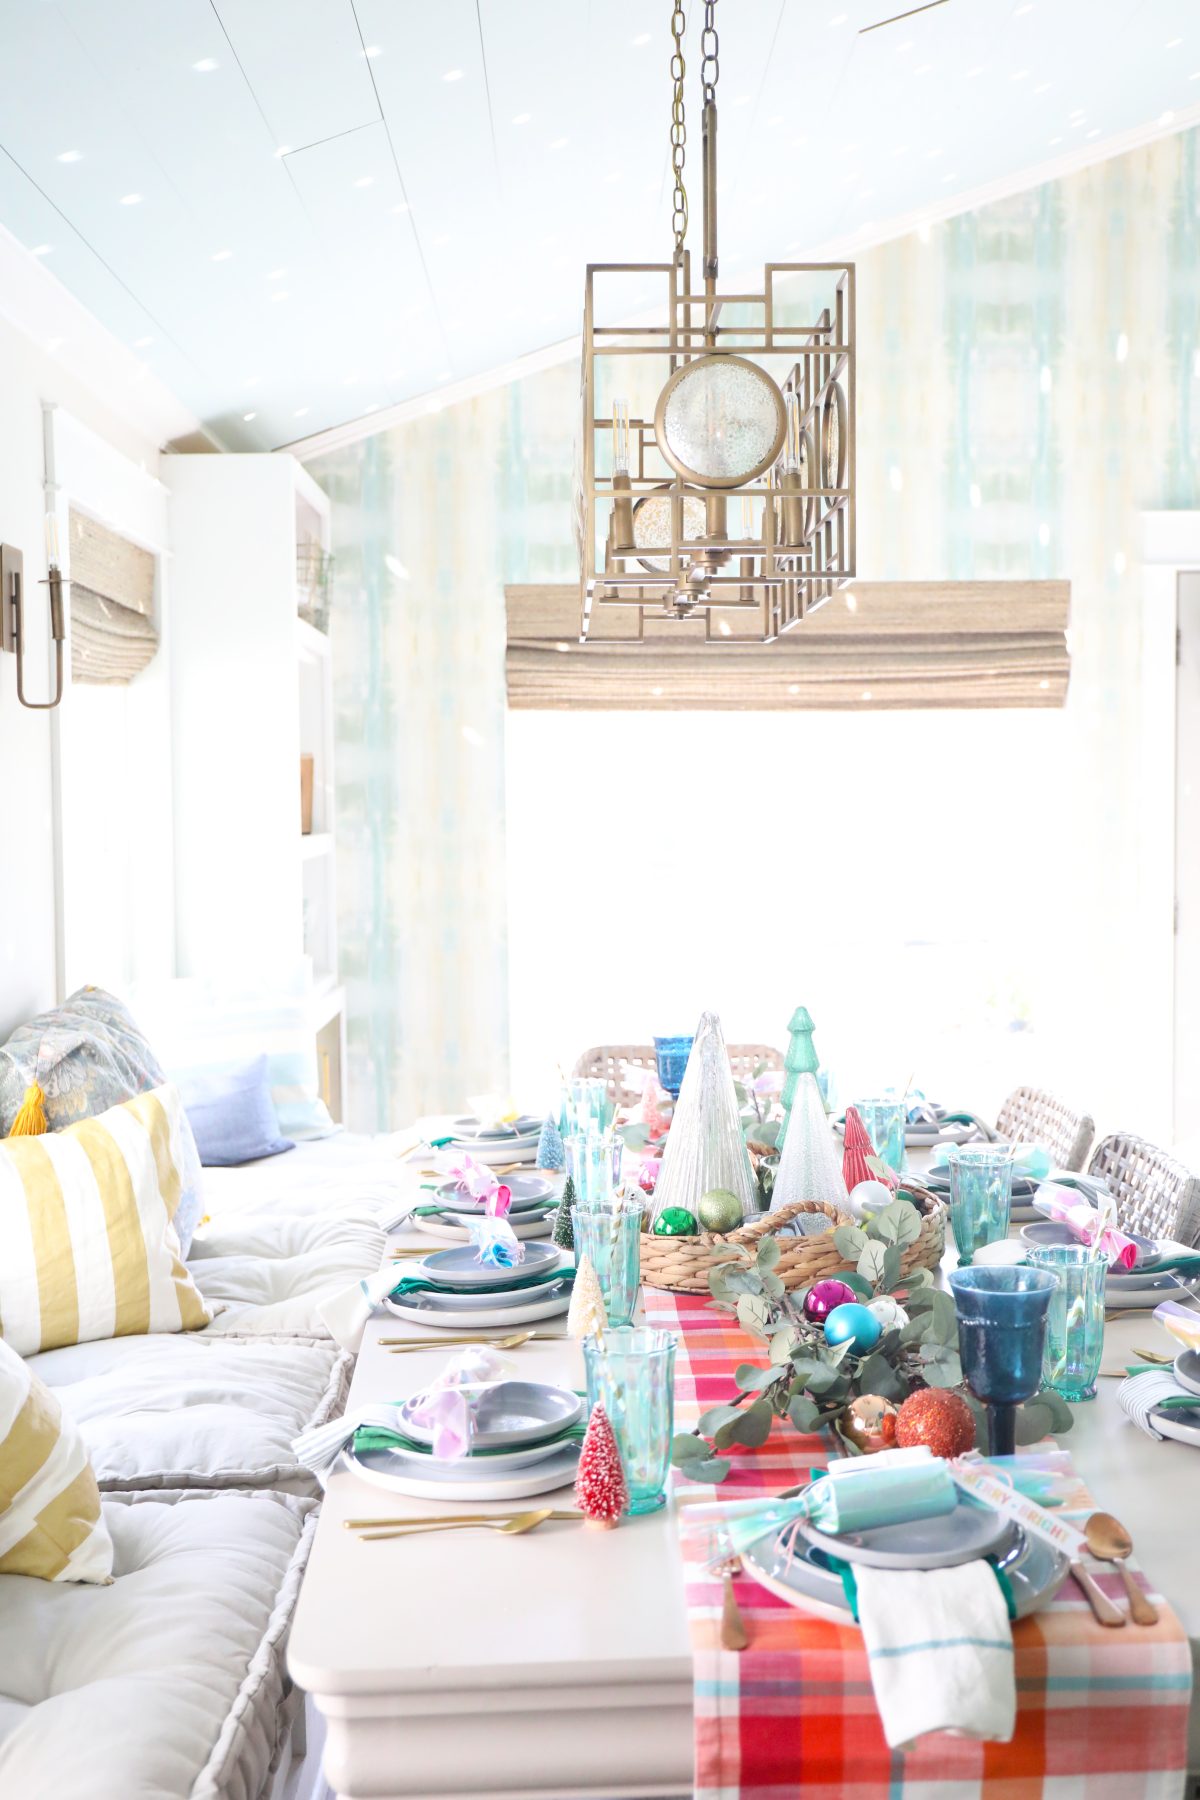
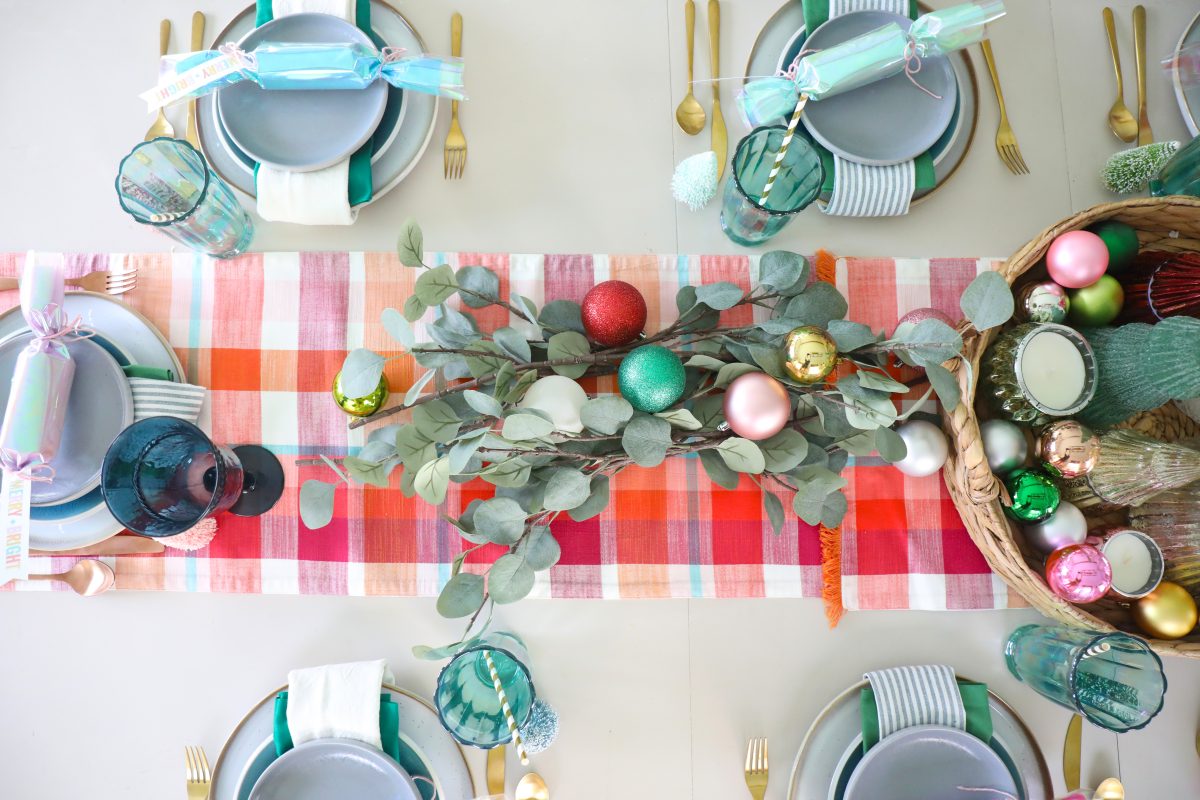
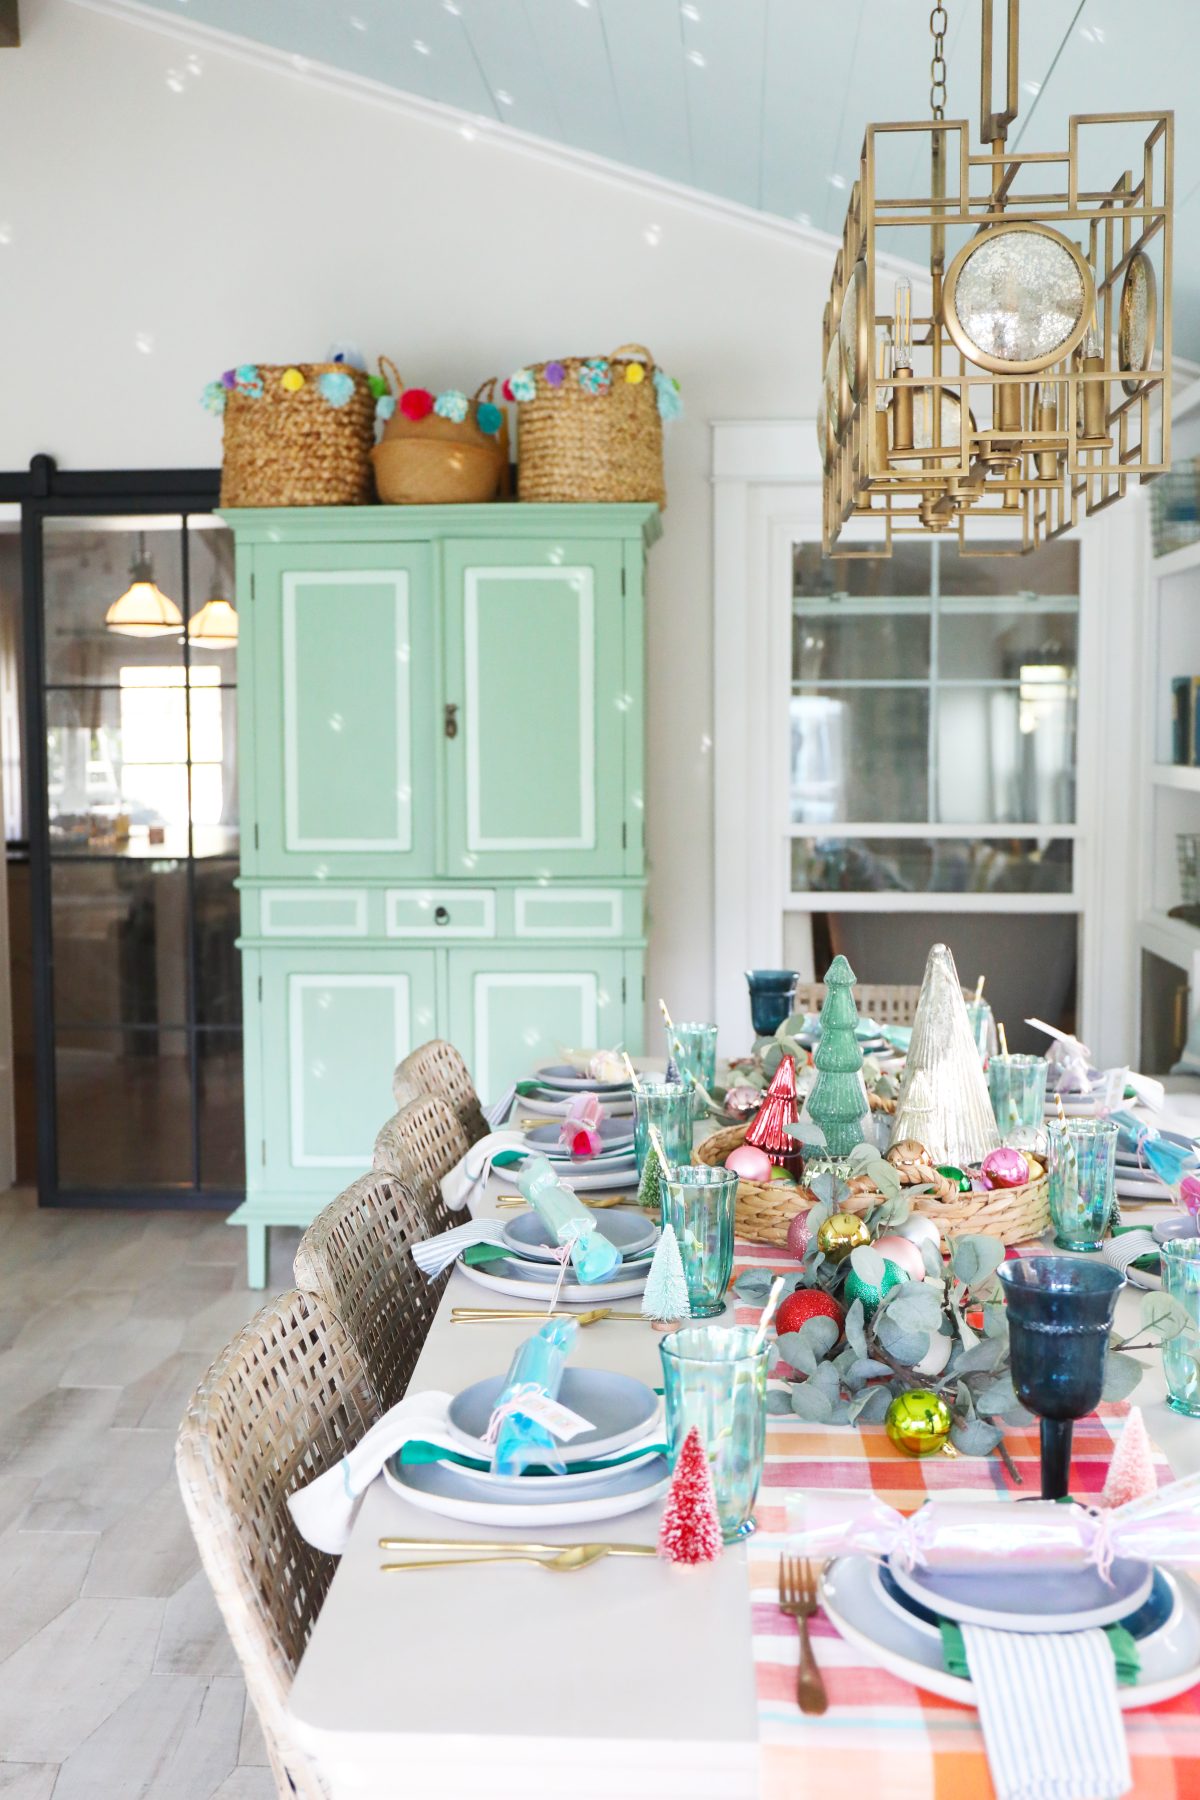
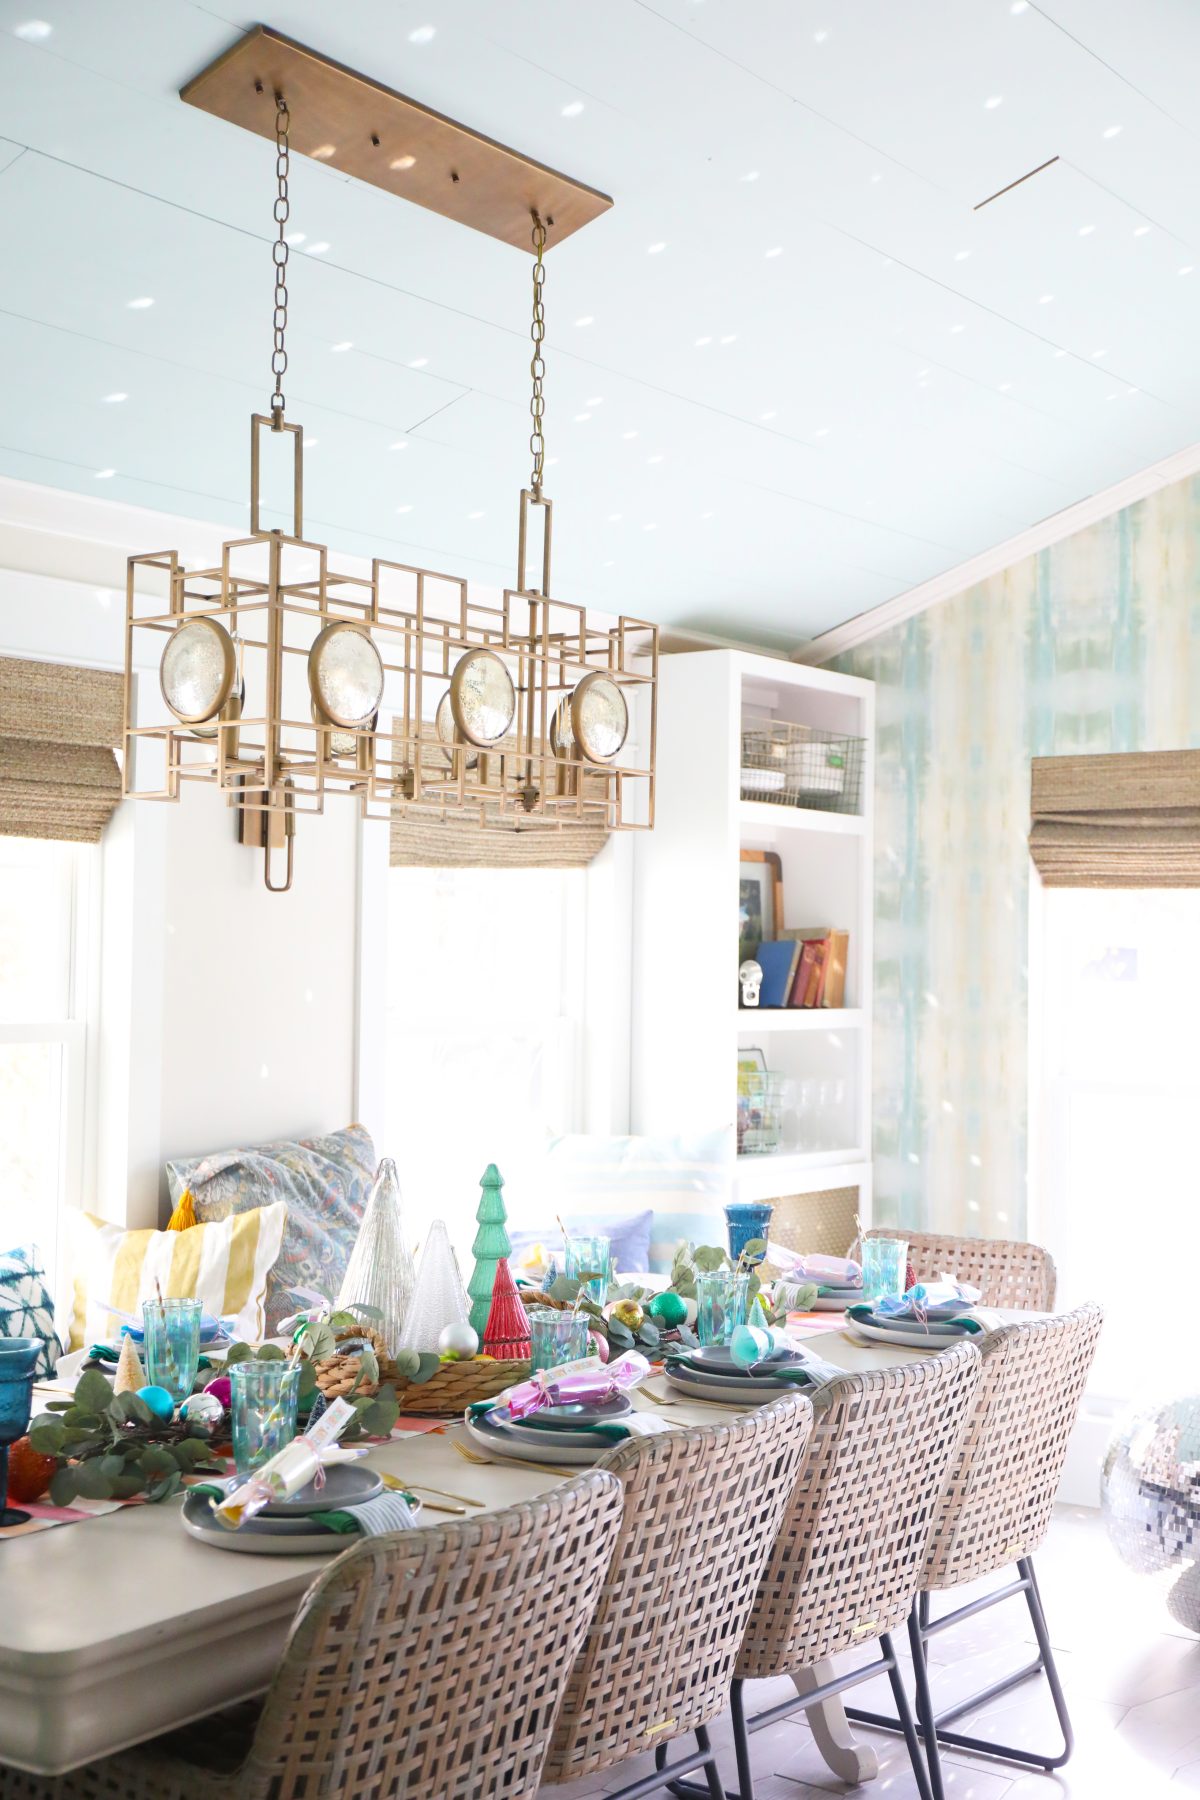
Bring on the holiday cheer… we’re officially ready.
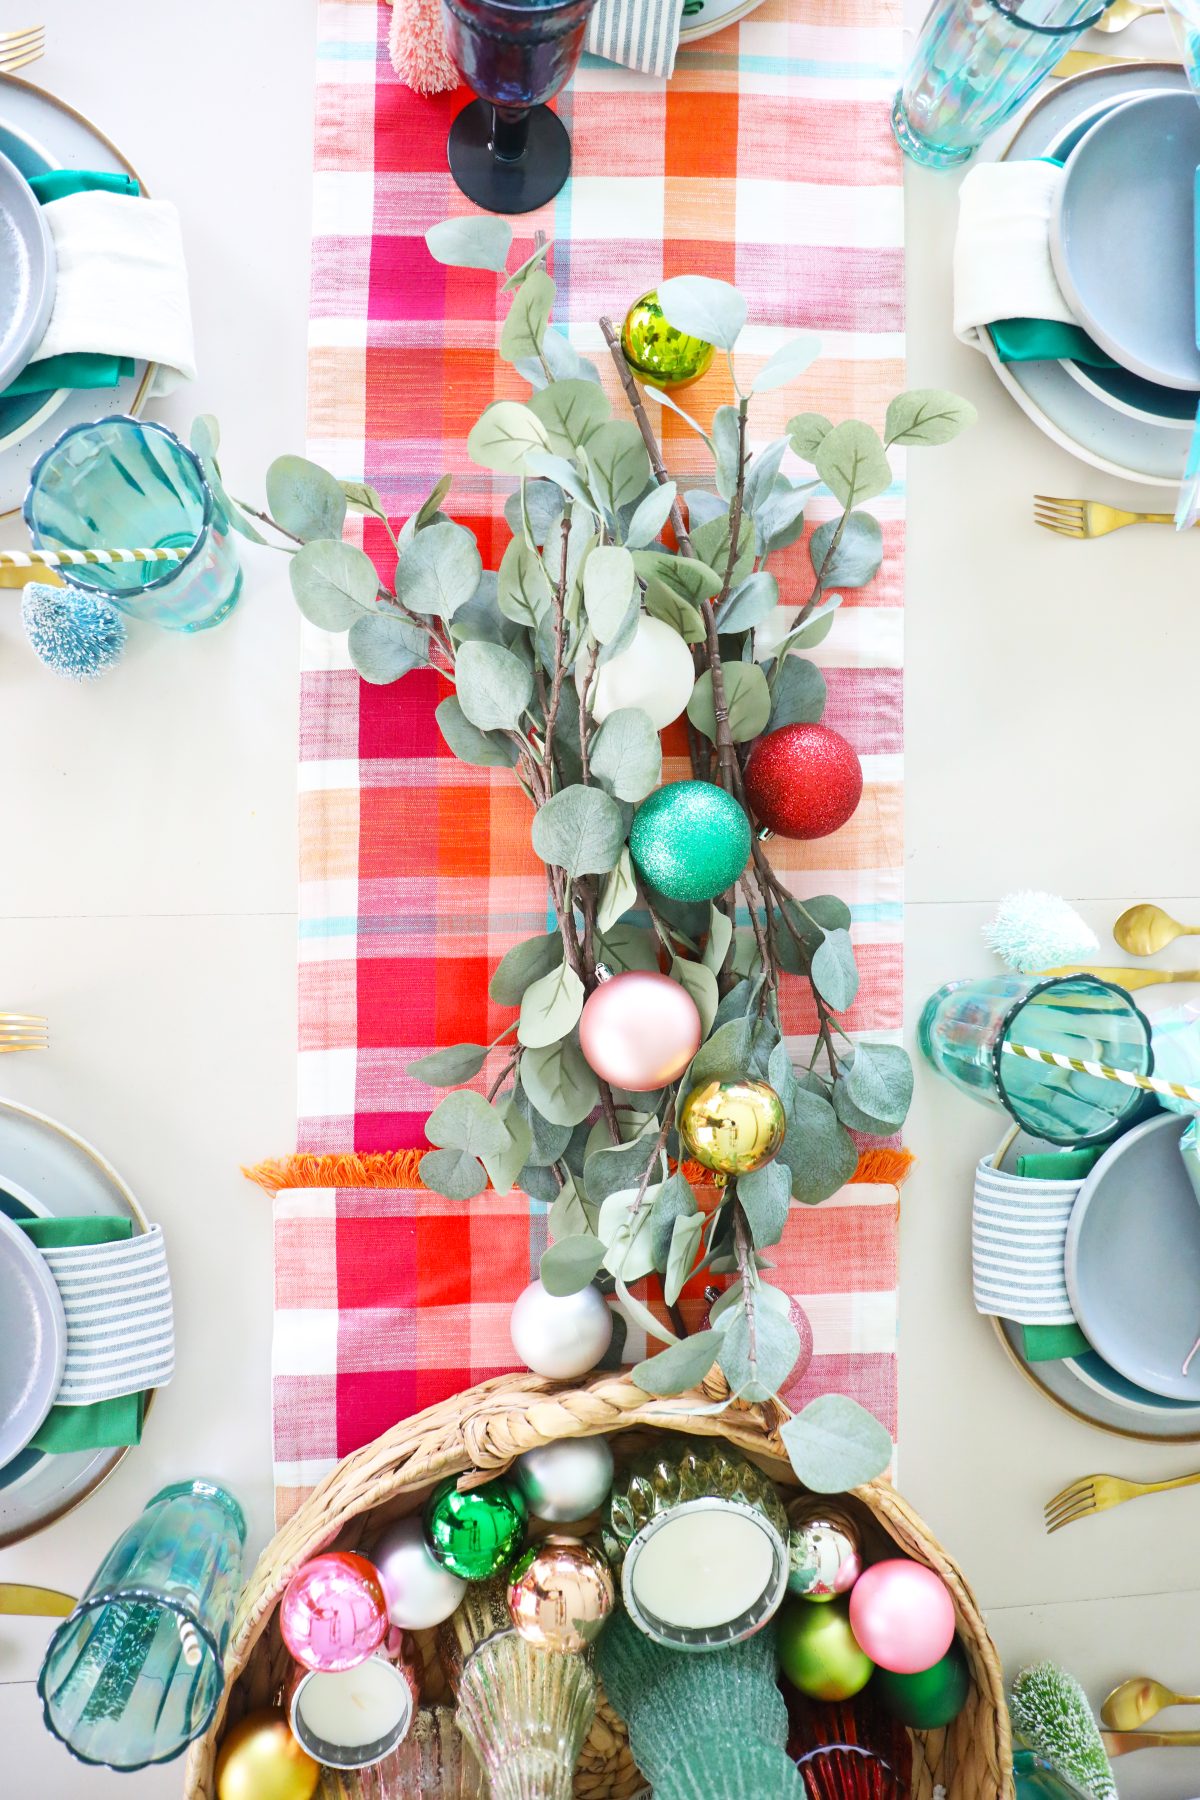
The more colorful, the better!
So fresh and fun! I can almost pretend that the outside isn’t totally covered in crazy construction and mud. HA!
SO as always, let us know if you decide to make some this holiday season, or if you have any questions.
Have an inspired day!

One Comment