DIY modpodge : my own quirky take on things
Whenever I get the Pottery Barn Kids catalog in the mail, (or any catalog for that matter) I’m always taking mental note of things, and then filing them away for later. I feel like these little signs have been cropping up everywhere. I wanted a little update for our playroom…a simple spruce up if you will, and decided that this would be the easiest way to do it, but with my own little personal twist. I kind of wanted mine to be different…so bear with me as I totally take the random path much less traveled by, a-la robert frost crafts.
If you want to make your own, this would be the perfect little thanksgiving craft to do with your sisters or sil’s over the thanksgiving holidays. After everyone has eaten, and you want to take a nap, but can’t, because the children are running rampant, bust it out on the table so you can come back and forth as the layers dry. We always tend to do something for our homes when we get together. SO…just a little idea for you!
What you will need: • MDF board • paint • paintbrushes • Scrapbook paper (the big square kind) • Mod Podge • scissors • chip board letters (or a painty pen and stencil) OR your silhouette OR any vinyl letters you can order from anywhere <–I’ll explain the options in a bit. OH, and of course, a drop cloth or towel.
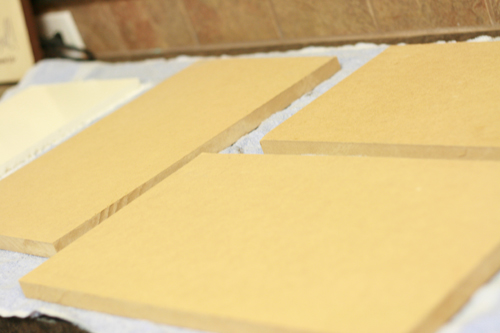
I literally started with some found pieces of MDF we had in our garage. {When are there NOT found pieces of MDF in our garage.} So to begin with, I still had the basic rectangular shape, but the proportions were already different. I was looking for something a bit chunkier, and these guys totally fit the bill.
I coated each one with a quick layer of paint. And while they dried…
I grabbed some paper. {Side note: I decided to make three of these. Sometimes I make things, and discover the perfect spot for them later.}
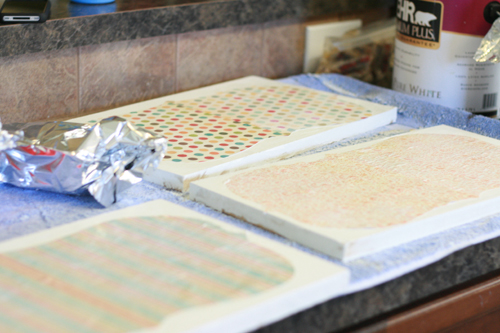
SO, with three sets of matching scrapbook paper pairs, I pressed forward with my DIY mod podge project… three sets of the standard square scrapbook paper, that is.
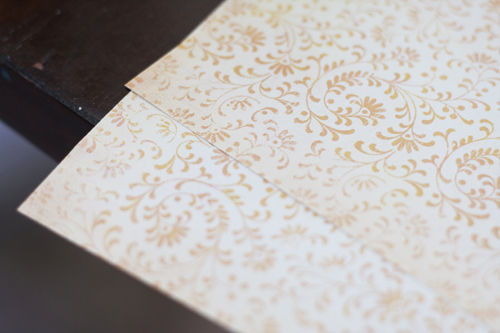
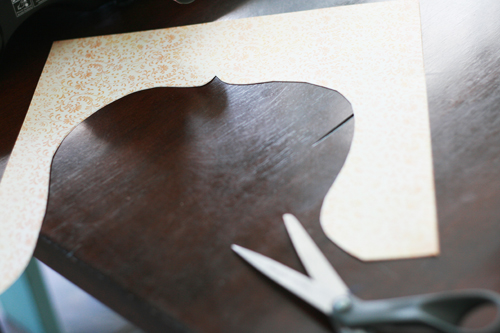
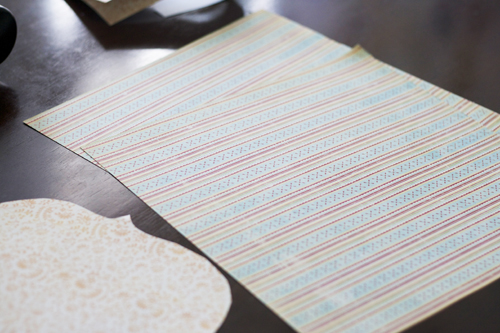
Placing my first set, two squares of matching paper stacked, I cut my shape with a pair of scissors. I made the shape up as I went, and for my other two signs, used my first shape as a template for the other two. (You can do the same by starting out with a pencil, and drawing a simple shape, if it makes you more comfortable to do it that way.) You can also do something like a simple rectangle if that’s easier. Rectangles rock.
see where I’m going with this?
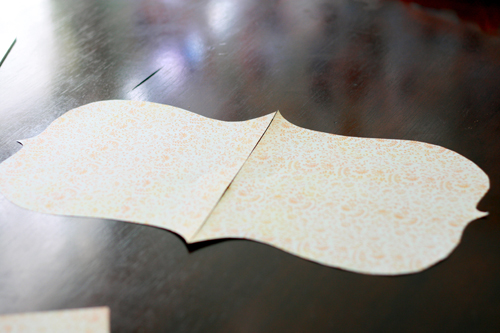
Viola. Because I had stacked two pieces, and cut them together, I then had two mirrored halves. A funky, whimsical shape. Nothing perfect, as you will see in the end…but I think it totally adds to the collective awesomeness in the finished product. It all adds up to a very Nick Jr. art kind of look. (I just so happen to adore Moose and Zee and all those little in between educational programs with their awesome design. Anyone else out there with me?) But you can totally mimmic half of this with a pencil, stack, and cut for the same effect.
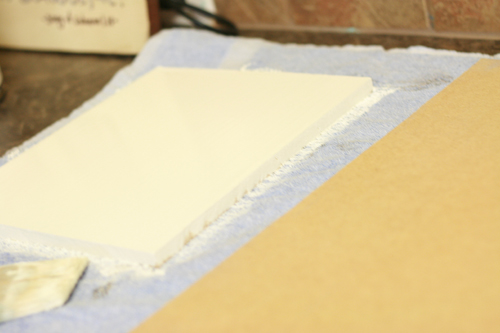
Butting the two ends next to each other, it was time to bust out the mod podge.
See how they’ll go on the mdf? Maybe not? stay with me…
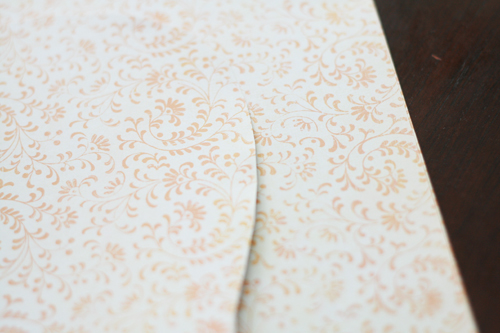
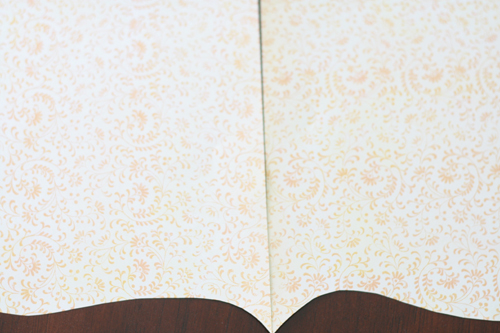
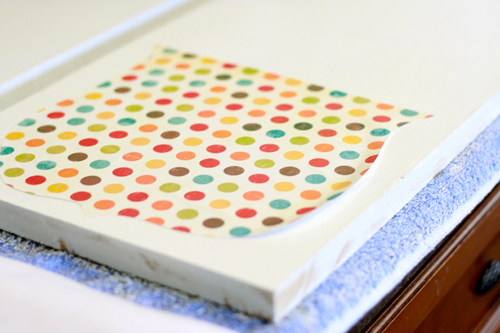
I simply eyeballed it, and even had to trim my paper down a bit…but cut your paper to the size of your original board.
This is a simple repeat of the previous steps, but with a new scrapbook paper pattern. Using the original cut as your new template…stack…place…and cut. (If you wan to make multiples, and you want them to match)
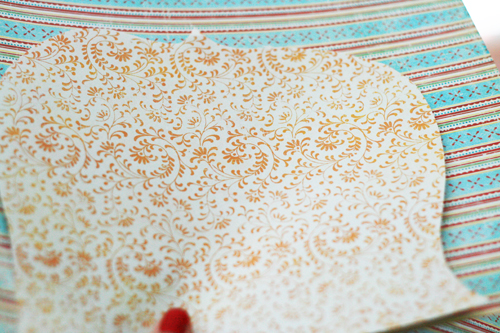
I did this once more for my third piece and pattern. SO I had three funky shapes in three different designs.
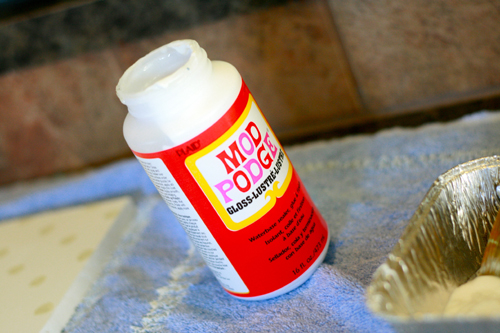
Mod Podge is, like the exacto, another long time frenemy. I’m not so sure we really understand each other.
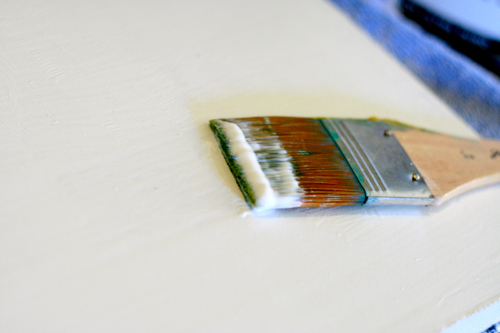
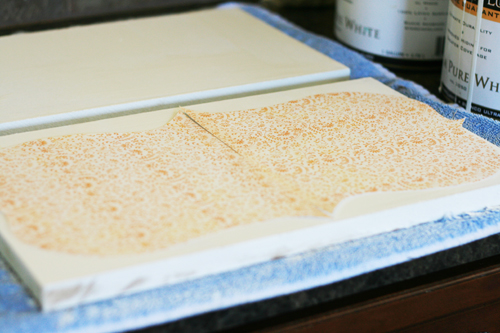
Lay your paper on the board, making sure the paper shape will fit nicely on the board piece. Take it off. Put a light coat on the MDF. While that sits, take the first half of your patterned paper and flip both sides over to the back. (the non patterned side)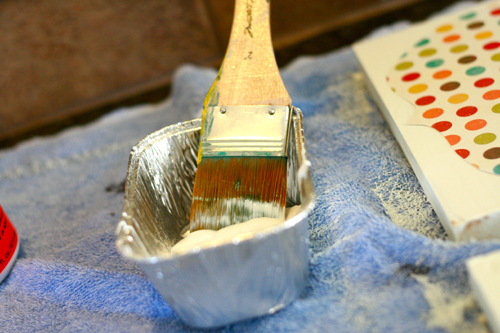
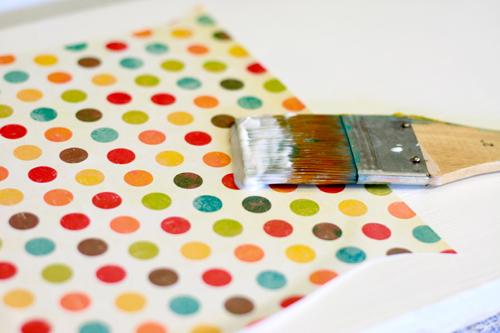
Coat it as well, and after waiting for a moment, gently place it on the board, joining the Mod Podged sides together, pattern side up.
Note: Bubbles will immediately occur, so start from the inside middle, and smooth with your hand to the outside edges. Continually work the surface with your hands to eliminate any major bubbles.
 Repeat this step with the other half of your shape, for the same piece of MDF. Smooth as best as humanly possible. As you smooth, take your brush, and begin your top coat of Mod Podge. Continue to smooth with your fingers, and brush on your first layer, so that the shape is now joined together on the board, and your first coat of Mod Podge has been established.
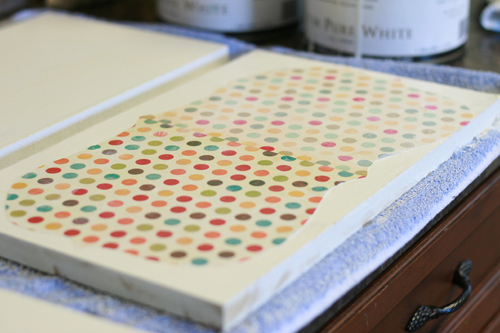
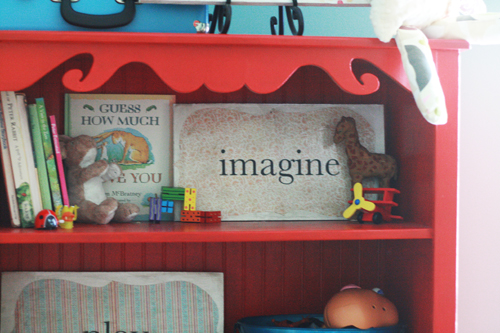
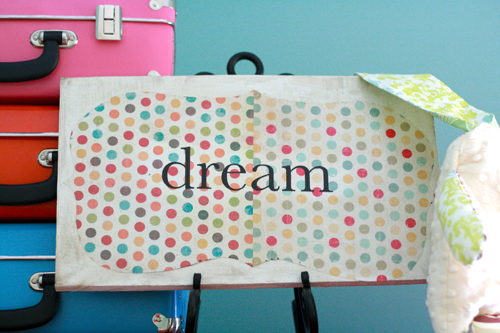
Check out my polka dot shape. My second piece was a bit lighter than my first (the polka dot design on the left) so I made up for it in the end with a light layer of stain on top of my much protected Mod Podge Piece.
Perfectionists beware: there is no perfect way to do this, and for a simple sign, this method completely serves its purpose. Any visible bubbles are, for the most part, gradually diminished in their obviousness as you continue to apply layers over the original, now dried mod podge. Layer after layer… I don’t think you can ever have enough Mod Podge.
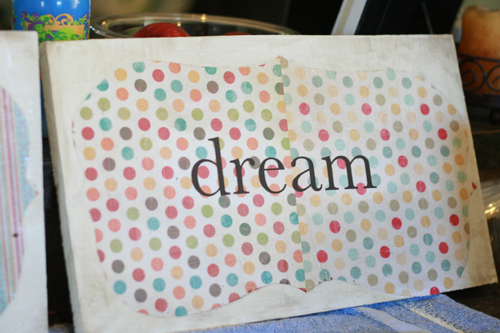
For the next to final step, the wording, the possibilities really are endless. You can always freehand, but if a neater, typed look is your forte, I recommend a stencil (try your scrapbooking section in any major craft store) or one of my personal favorites, chip board letters. You may paint each one a nice dark contrasting color, and form your word with a ruler for guidance. I used my handy dandy silhouette for this one. The possibilities for your lettering and words are kind of endless.
I took a paper towel with a smidgeon of furniture stain on it, and pulled a karate kid with a wipe on, wipe off action. It gave the words a more aged look, and balanced out my uneven polka dots. (a little. meh.) Make sure you have a ton of dried mod podge on top, before you go for it with the stain. And I recommend NOT coating yoru letters with it. Simply wipe around, or do them last.
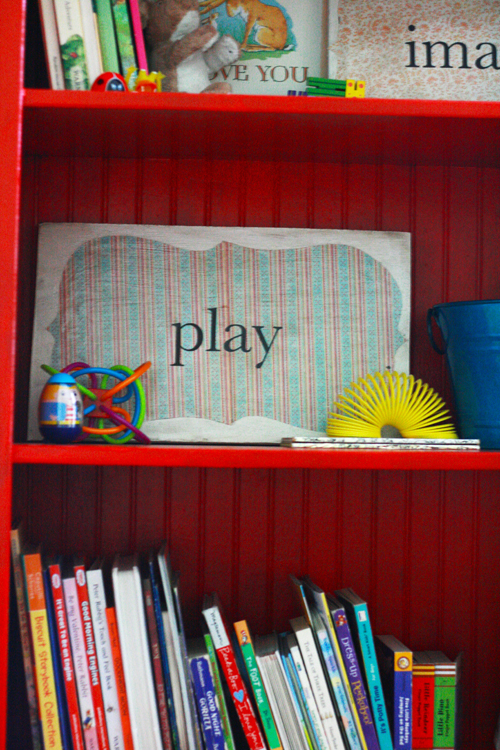
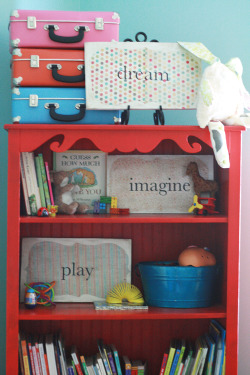

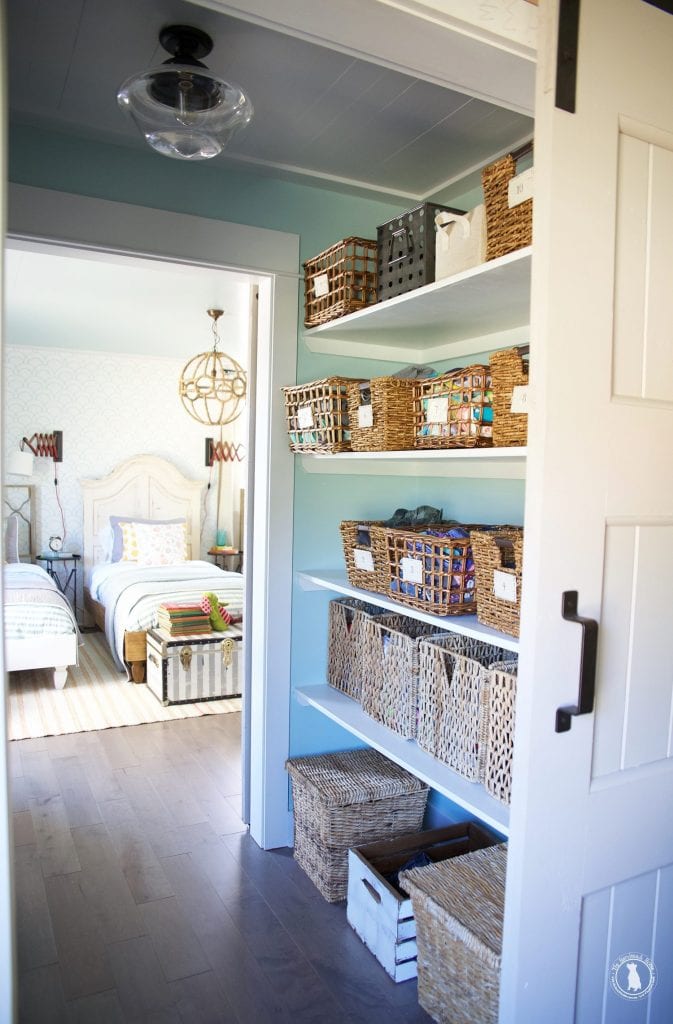
Our playroom now has a nice little spruce up, with a totally unique look…and without the hefty price tag…
Hope you guys find this one useful and fun. Let me know if you try it ~ or have any questions!!!
{-leave a comment…here!-}