
fire pit table top
Hello lovely friends! So if you’re anything like us, you’re probably realizing all the spruce-ups that need to take place in the yard before spring officially starts. It can be a little overwhelming… and a job that feels like it’s never done. But we’re actually kind of excited about this year because we’ve decided to start dabbling in a little gardening.
I’ve also decided I’m good at gardening even though I kill every plant I’ve ever owned. Sometimes I just decide that I’m going to be good at something and fall flat on my face. Like the time I tried to join the dance team in high school. Should be fun. (Stay tuned!)

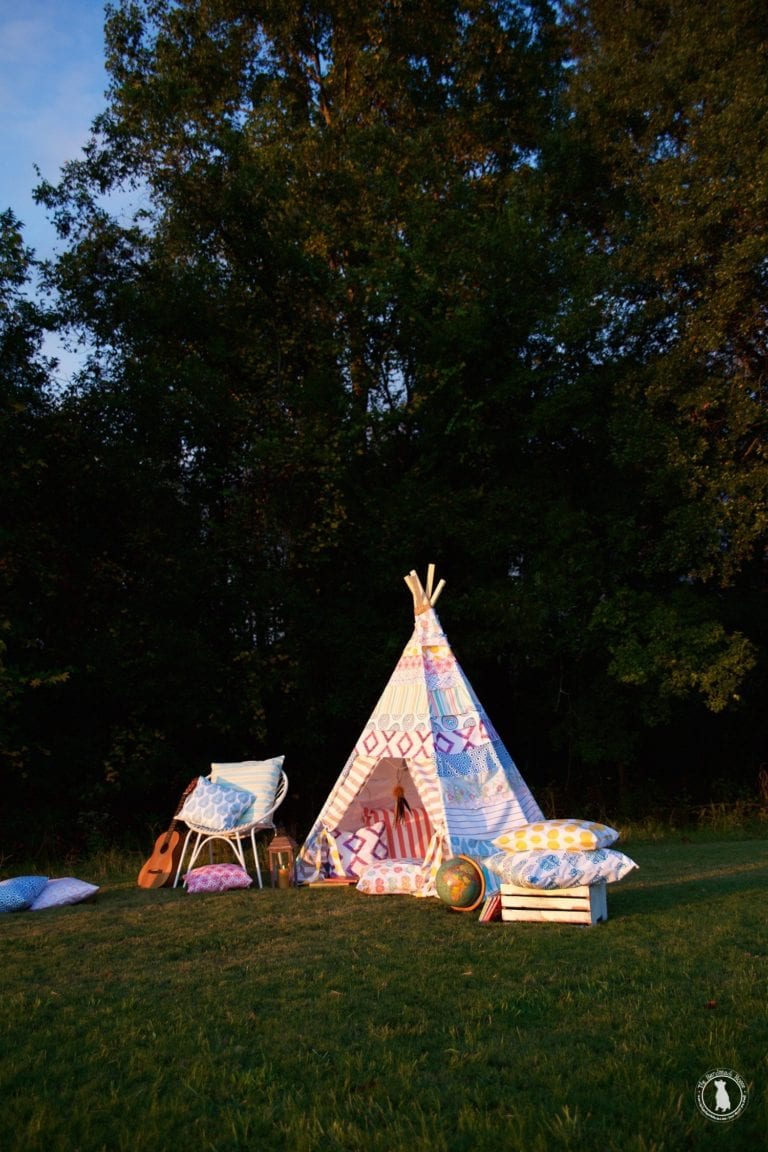
Instead of snow, we’ve got the massive beginnings of pollen here, but we’re starting to take off those covers that we only occasionally removed over the winter, to entertain, barbecue and have some back yard fun with our friends!

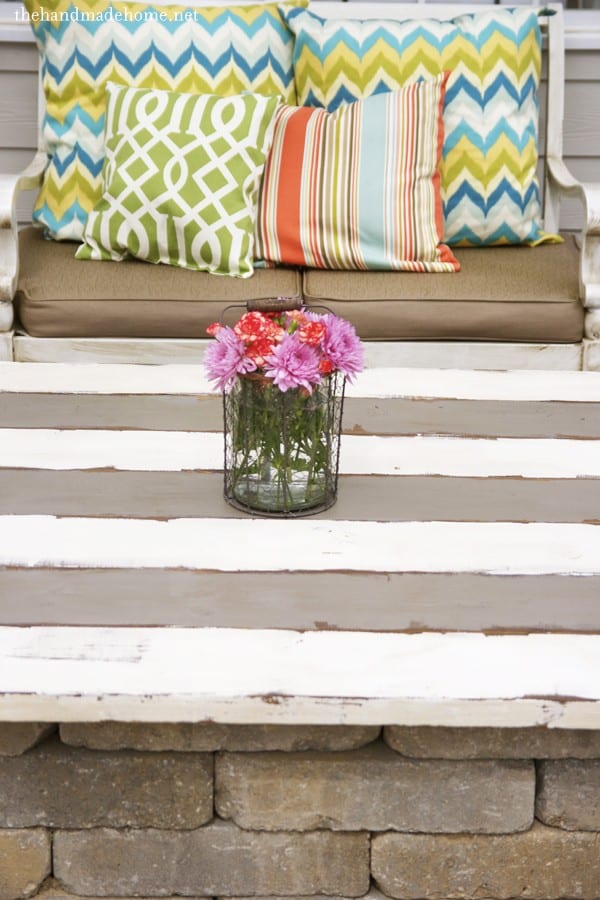
We decided to tackle a really quick, practical project to add to our patio this week. We knocked it out one afternoon while the kids played in the back yard. One of the things we wanted to do, was use our fire pit during the day as another surface when it wasn’t, well, on fire.
While we have our “official” table and chairs that we love, it just made sense to be able to use the fire pit as an additional surface. Especially with small kiddos. When we want to use the fire pit, we can simply remove it and set it to the side. It’s multifunctional, and super fun for the back yard.
(Side note: check out our lime trees! They had a rough winter, but they’re making a come back a-la Robert Downey Junior.)

So we made a really simple little top to place as a fun, makeshift surface.
Cue the lazy susan and platters of food for parties! We are so making one of those, next.
So here’s how we did it:
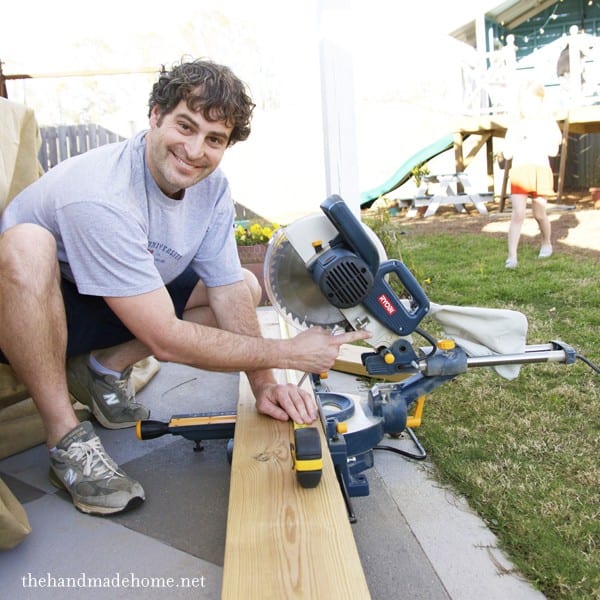 First things first, measure your fire pit (or area you plan to top off) and decide how large you’ll want your table to be. Jamin busted out his miter saw (we heart Ryobi!) and began to work on some wood (pressure treated pine) we still had lying around the yard from our project this fall.
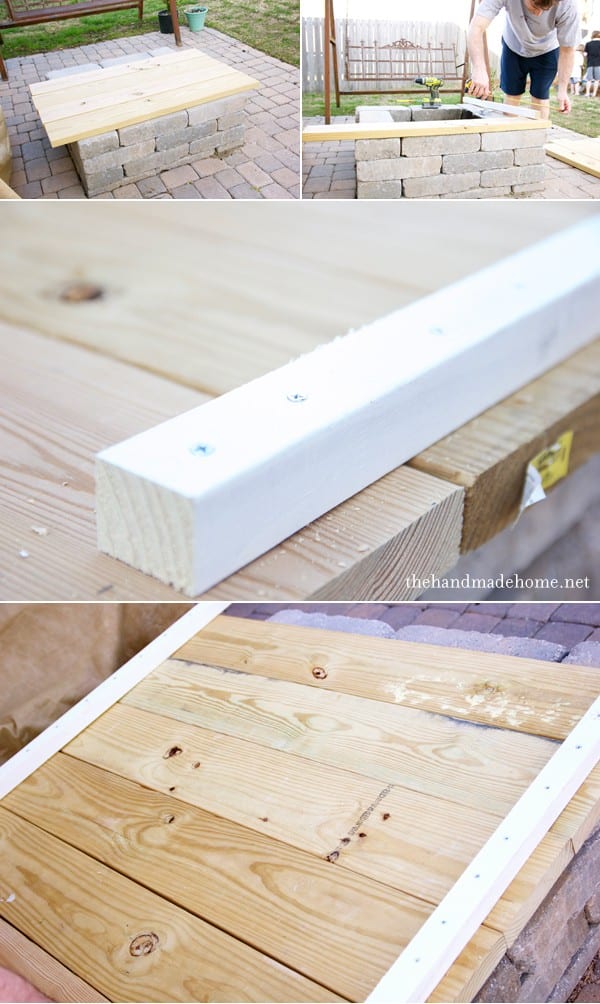 We knew we wanted a bit hanging over, so we decided on this size. We had some extra 2 x 8’s and cut them down to 50 1/2 inches (which would make your coffee table top sit evenly on top of the fire pit.) We used 2 2 x 2’s to join them on the back. Using our handy dandy drill, we used three inch screws and basically used 4 on each plank, two for each end. When we were finished putting it together, we got to my favorite part.
 Cue shameless selfie to document my involvement since I’m always the one behind the camera. You’re welcome. I make eye surgery look
 absolutely traumatizing sexy. I also resisted the urge to go teenibopperduckface. It’s a real condition, y’all.
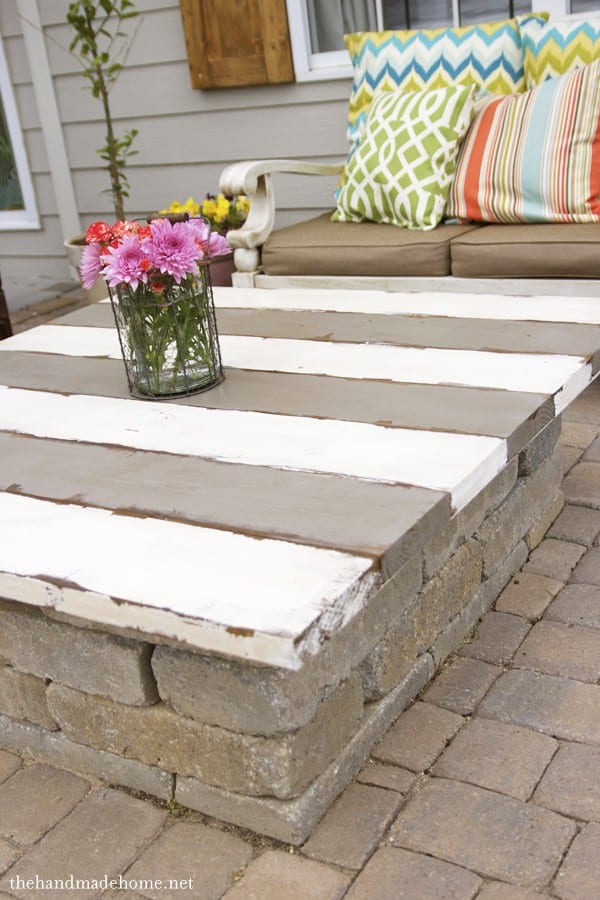
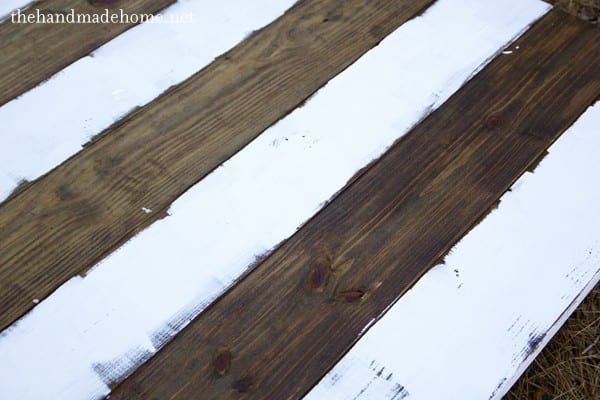 We stained the planks, first. (Here, we used Minwax’s Early American.) When the stain was dry, we went back over every other plank with some white we had from the first time around. (I’m pretty sure this is (surprise!) Chantilly Lace.) I love that gloopy look with distressed edges for a timeless look and feel.
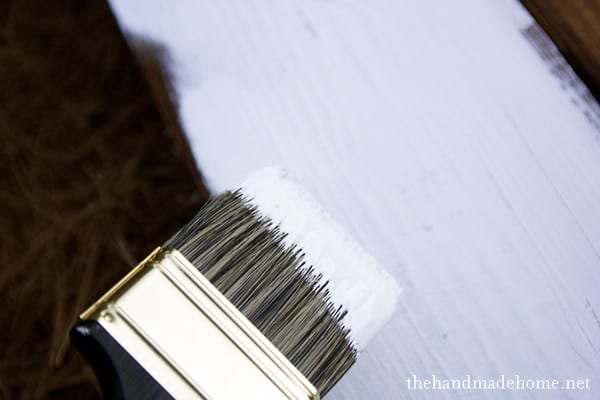 To paint our planks like this, I simply load paint on a brush, and go from every direction, keeping it lose in different areas. I even did the sides, pushing and pulling, varying the finish and kept it uneven so that distressing wasn’t necessary in the end. It has a fun, outdoor rustic look. The kind that small hands and feet can’t do a thing to hurt. Or the weather, for that matter…
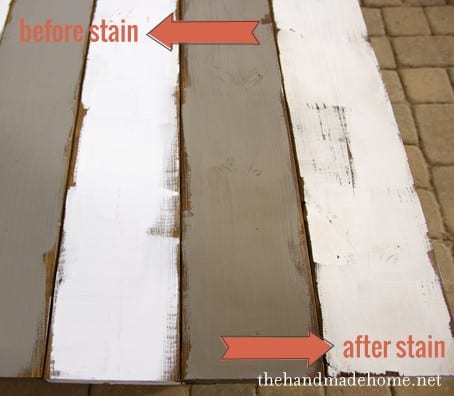 When we were finished with the white, we did the same process on every other one with grey. This fabulous grey : Benjamin Moore’s Eagle Rock.
When those were dry, we wiped it down with our tea stain technique. It’s pretty subtle, but leaves one more layer of protection, and gives it that touch of something extra.
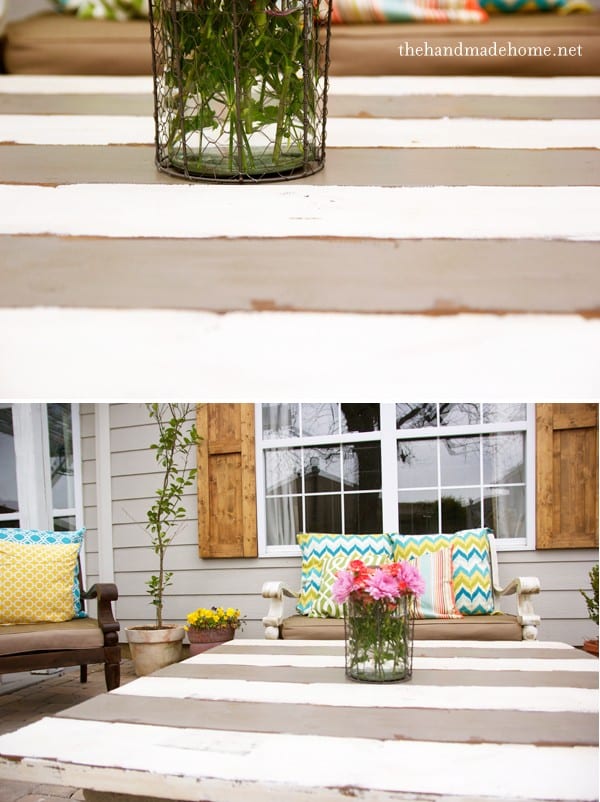 Tada! A simple project for our back yard to add to its comfort and fun.

 And there you have it! A super simple table topper for your back yard soirees! {And family afternoons in my yoga pants with a good book.}
To see the rest of our backyard bliss series, be sure to check it out, here!
Have an amazing day, friends… and of course, let us know if you try it!

I love, love, LOVE everything about your backyard and especially love this new table top. Great job!
~Sarah
Hi Ashley – it looks wonderful. Lots of fun evenings spent around the fire are in your future. Do you have the smore fixings ready?
I want to move down south – Flowers and warm weather in March. I woke up to snow 🙁 Hope your eyes are feeling better.
My best- Diane
LOVE. Great job, guys!
Your selfie make me happy! Hope you are feeling better!
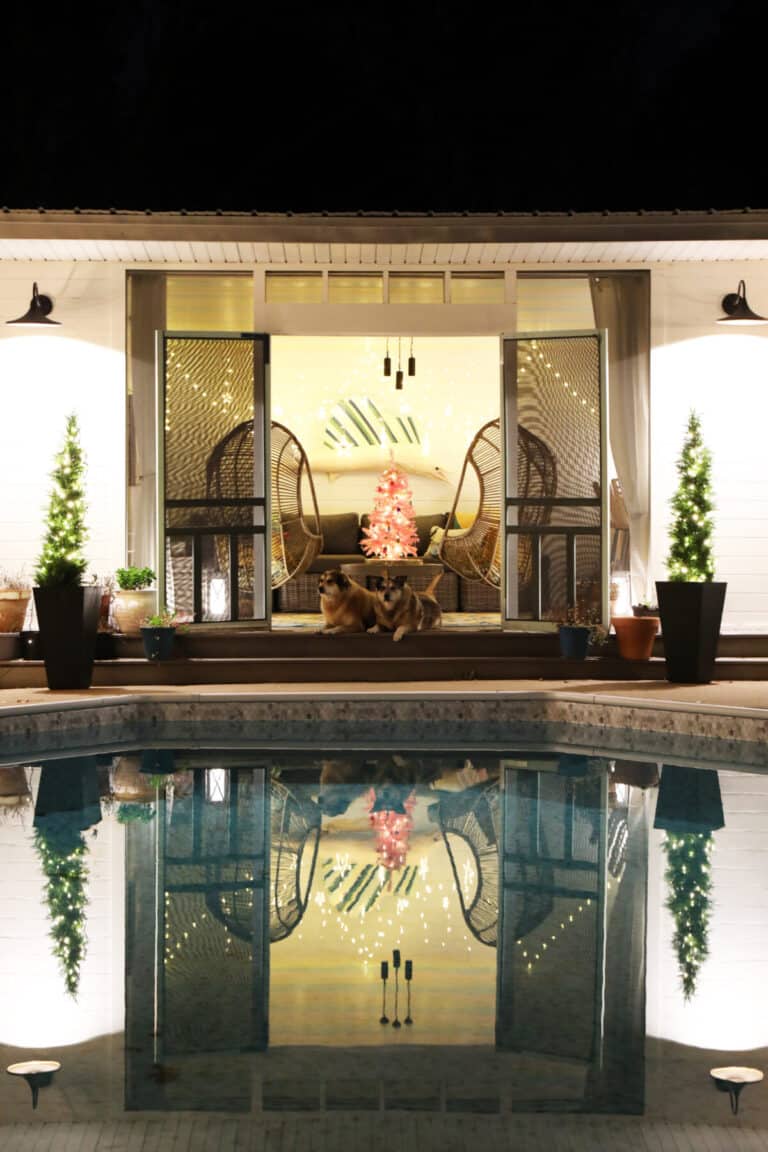
Sigh. Have I told you lately how much I love your outdoor space. It truly is inspiring!
I love it! You should check out the above “redo” we did for our porch last summer….I think it would look super snazzy on your sweet patio! -dcb
awesome idea! Love it!
ok ashley…take the picture …you two are adorable and speaking of duck faces..my 13 year old..Grace does a selfie duck face at least once a day and her brother .. who is 18 says if he sees her do that one more time…he detests girls and duck faces..thinks their stupid.. in which case i laugh.
oh your days are coming when they are all teens…
i know this is random but i am loving that miter saw…i want a new one soooo bad..i look everytime i am at home depot…
LOVE this project as always….xo
Haha! Jamin is a youth minister. Don’t. I. Know. It. (See: terrified!) ;}
WOWWWWW…the entire back deck looks great
I love the fire pit table and may very well shamelessly copy you when we finally get to our back yard!
Question: Did you keep the lime trees in containers outside for the winter? Covered? In doors?
I’d love to have lemon and lime trees, but wasn’t sure if I could keep them outside at our zone and I don’t have space to bring them in. And for the record, I think a good PLANT is one I can stick in dirt, fertilize once and water regularly, except when I forget. I’ve never considered whether I was any good at gardening. 🙂
Hey Jessica! Thanks so much! That’s actually a really good question. We had to bring the lime trees indoors. When I said I wanted lime trees, it would have been good to research, because dwarf trees would have been a better investment for us, but I love these. ;} Lime trees can not be outdoors in anything below freezing. And we brought them in over the winter to our veranda. However, they were not getting direct sunlight (which they also need) for most of the day. When a lime tree drops its leaves, They aren’t getting the proper nutrients. Mainly sunlight. The things you learn on google. So, all that being said, it’s been a challenge to keep them well all winter but the one with less leaves now has blooms all over, and I’m ready to keep it thriving! You live… you learn.
Love this idea! Nothing than a piece of “furniture” that is dual purpose.
http://happinessiscreating.com/
Love it! Pinned to the BHG board 🙂
found this through your Pin, jessica…thanks!
“teenibopperduckface”
Made me laugh. Definitely a condition. We just had an in town youth retreat and for kicks had each home make a duck face and peace sign (aka, peace and pout) for their picture. Nothing like making grown men pose like a teenage girl…so fun!
Oh, and I love the table top. 🙂
wonderful project! I adore that rustic been-there-forever look. thanks for sharing and for the great tutorial.
Very cute! Do you have a tutorial on making a fire pit? I would love to put that on my DIY to do list this summer. (And if I do, I will definitely make a tabletop!)
Hey Lauren! You can read all of our backyard bliss series, here. Thanks so much!
Can you possibly get any cuter? And I am coming over for your next soiree! 🙂 What a perfect idea for a outdoor oasis. 🙂
Loved your fire pit – coffee table conversion, I have been thinking about doing he same thing and came across your picture while researching alternatives. My fire pit is round and my wife wants a round table so I’m trying to come up with ideas that will be structurally sound. Seen anything that works well?
John
How did you build your fire pit, I cant seem to find how to on your site.
Hi Laurika! You can read all about our fire pit here and everything in the backyard bliss series here. ;} Hope that helps!
How to you seal the cracks to keep water out?
Hey, LJ. there is really no reason to seal the cracks to keep the water out. The water will simply absorb into the earth.