a painting tutorial : the basics and a how-to on tea stains
I wrote this post a looooooonnnngggg time ago. And I thought I would give ‘er an old revamp, and post it again, because of some requests I’ve gotten from you guys this week. A lot of my views on things have changed, and my resources have grown, so I added a little of this and that…
And without further ado:
There are tons of wonderful tutorials on painting, out there on the WWW. Once upon a time, I kinda figured my own little technique out, so I think it’s good to experiment, and get a well rounded view to decide which technique you really want to take before you begin such a task.
I by no means think I am the know-it-all of furniture painting. But I thought anything I have discovered may help you on your own undertakings. I’ve received quite a few questions regarding all of this, so I thought I would share what I know.

The first piece I ever touched was Aiden’s nursery chest of drawers. But I have loved painting each piece since then. It kind of requires a bit of determination, bravery, and elbow grease, especially depending on the shape and complexity of your design. But obviously, well worth the work and reward gained, once completed!
So take a deep breath, and repeat after me: painting furniture is an art, not a science.
{Now say it three times and promise not to drive to my house in the middle of the night and shake me awake in sheer desperation all because you feel betrayed by shoddy directions. Kidding. But a professor in college once told me this: painting is the most forgiving medium.
Now take another deep breath and repeat after me: I am my own worst enemy.
What I’m trying to say is: hang in there. Be patient.
Everything is truly fixable, and for the love of all things beautiful, try not to be so anal. Be fearless.
I’ve had to teach myself this. I still give myself pep talks on a regular basis. I can pull this off. This will work. Yadda Yadda Happy accidents DO happen. But I’m still my own worst enemy. (we’re working on that one)
And finally: I will make my piece relevant.
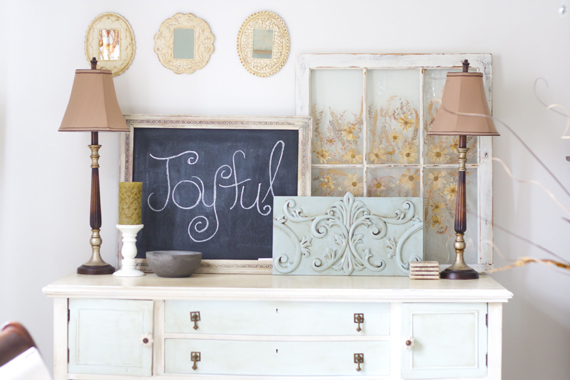
I have WAY too many conversations about painting furniture, and in doing so, angering your sister’s dogs great aunt matilda twice removed who got her knickers in a twist since she didn’t think you should paint her priceless antique. (or that bad 80’s piece your MIL passed down to you because she didn’t have space for it in her house but couldn’t bare to do anything to it) Yes. I know. Not all pieces should be painted. But I will say this: priceless antiques are completely irrelevant in a house full of pointless, crusty browns. No one enjoys them for what they are, when they’re completely pointless. Painting an unattractive piece a beautiful shade of white, can completely FRESHEN a space. And a beautiful tone of peacock blue can bring real interest to that boring corner.
What you’ll find here, a basic outline, and then for sheer entertainment purposes, a brief narration on each technique used with each peice, (all are similar) to give you a clearer idea as to what takes place with a redo.
a. Gather the essentials: what you will need: {a general, all encompassing list}
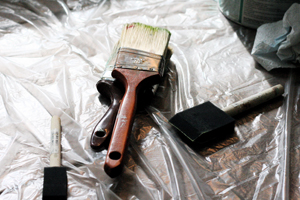
• regular paint brush
• sponge brush (I enjoy these for trim work, so use with your own discression)
• A roller brush and accessories if you wish to avoid brush strokes.
• a cheap sprayer, if you REALLY want to avoid brush strokes, and have lots of grooves
• a small paintbrush (for more detail work ideally with the finishing glaze and hard to reach angles…)
• PLENTY of old rags,
• SPRAY PRIMER (EUREKA!)
• drop cloth (you should see our garage floor)
• paint of choice (I usually go for a semigloss but again, it depends on the effect you want-high gloss can be magnificent)
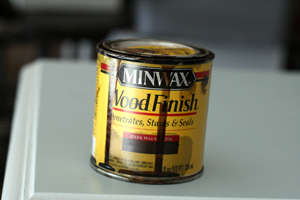
• varnish of choice {Above pictured is what I use: I like it alot…(brittish accent)}
• sand paper (ideally a sander-your new bf) (med to light)
in my case: a long series of naptimes for my children = absolutely essential
*** please note: there are many different types of finishes you can acheive. If you wish to distress with a sander, do not prime. This will sand down to the primer and has the effect of white underwear showing…etc. You get my drift…this is literally a touch and go process depending on each piece.
b. clean it off: thoroughly, remove all drawers, knobs, any
exposed hardware, etc.
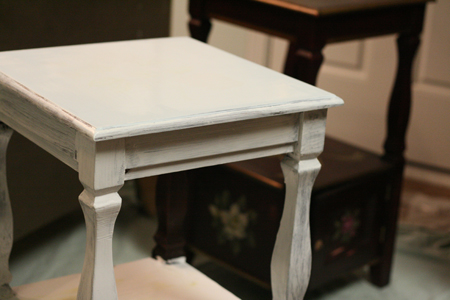
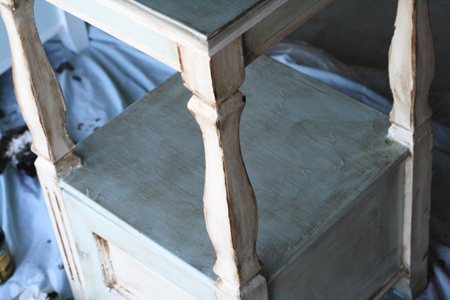
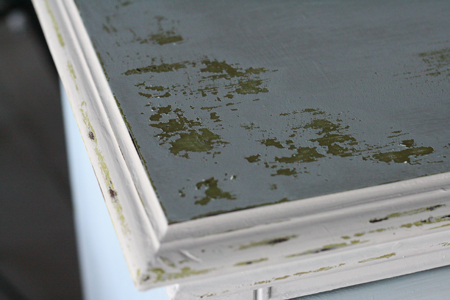
 c. prime ** see the pic above? Yeah. If it’s already been painted, priming = not usually necessary, unless there is a high gloss, in which case, priming will in fact, be necessary. I’ll come back to this piece.
If you need a primer, but wish to distress, consider paint with a built in primer. {It sticks better.}
But I HIGHLY recommend the kind that comes in a spray primer.
side note: remember your paint guy at your local hardware store. Ours knows us by name, and is always all, “what are you two pesky paintin’ kids doing now?”
Beware the floral motif (old, heavily stained pieces)
d. prime again (sometimes this requires two coats.) I have found, that with flea market finds, sometimes the funky old finishes tend to bleed through. This is also a trial and error process. But remember these guys?
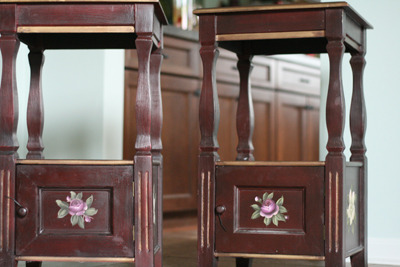
These horrid floral motifs started bleeding through. Each coat. Yeah. Thorn. Flesh. (I think it’s the resin)
So eventually I gave up on the primer after about two coats, and started with the paint, which had a better effect on each surface. After about three coats of paint, it went away…just sayin…don’t freak if it happens like I DID.
If you spray, stand back far enough to do it in short bursts. I highly recommend one of these (cue angels singing)
Back to Priming…after its dry, rub your hand over the first coat and see how rough it is. The primer WILL look awful and uneven. (sometimes sanding is NOT required, and I usually skip this. It usually depends on the effect you want: smooth vs. painterly.)
It’s just a preference….usually the paint evens out on top of it, with each coat. But if there are dripping places, where it dried in globs, you will want to sand it down.
Again, it all depends. Just take each step slowly and think it through.
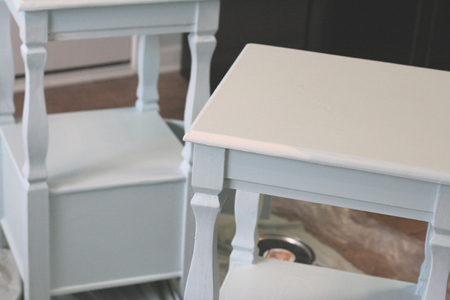
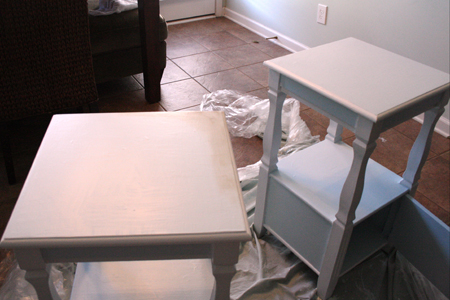
e. Start painting. Use your brush of choice. The brushes listed above will
will give you different effects and it all depends on what you want to do. This will usually take about two coats, especially going from dark to light, but it depends on how much primer you used.
If you are working on a two tone project, I recommend working from: top to bottom, dark to light. Main to trim. In other words, analize the piece and work in an orderly fashion, one increment at a time. I say this, because I tend to get excited and start going all over the place, forgetting to monitor the smaller places and groves for drying globules. Gross. You’re probably all smarter than me and non spaz-like, so the last paragraph was completely pointless.
f. Here comes the fun (totally optional depending on the piece) part. I usually give each coat around 6-8 hours to dry before I do this. Break out the varnish and rags. Literally, it’s wax on, wax off, karate kid style. Apply with one rag, wait a mere second, and then rub it off in random directions with your clean rag, to give it an aged feel. I recommend doing the entire peice in an even coat. I use small, cut up pieces of a tshirt, so that the entire thing doesn’t drag through your stain and mess you up.
g. the REALLY fun (second optional) part: once the piece has an even coat, break out your smaller paint brush. Drizzle on the corners and edges, in any place you like. Break up the lines you create with a rag or towel for a more natural look, as you go. {Otherwise you may acheive a cartoonish look with bold outlines.} Rub on, rub off. Drizzle on, rub off. Play with it until you are satisfied with the results, working in small areas.
h. Let the final glaze dry for around 12-24 hours. Sit back and give yourself a big PAT ON THE BACK! You rock.
Below are some similar yet slightly different techniques…
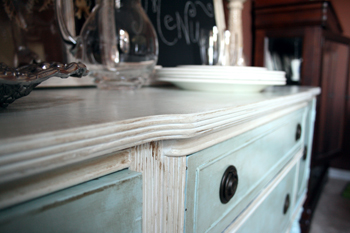
Same exact treatment, a little less glaze, and two-toned blues. I kept the hardware because it rocked.
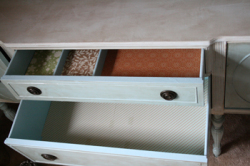
lining the drawers with scrapbooking or wrapping paper is always a nice finishing touch.
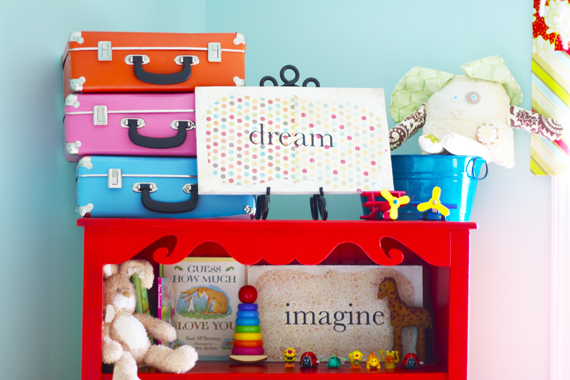
And then later, a complete redo, as “Chloe” found a new home in our playroom.
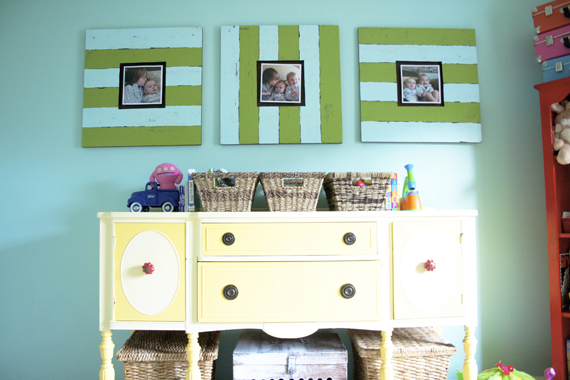
So she got a new color scheme, a couple of new knobs, and no glaze at all.
Next up: remember this one? Same exact treatment minus one less step: No two tone. One color. Primed. Rubbed finish. Old hardware.

Side note: does it kill anyone else to back and look at their bad older photos? My living room was still brown!
 Same here. Anthropologie hardware. Easy on the drizzle.
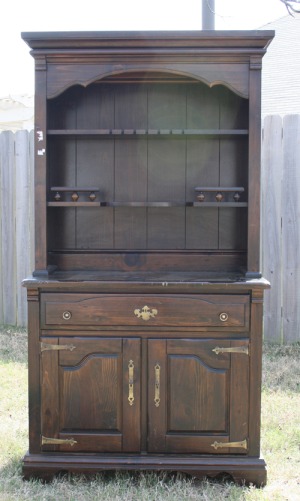
This is the hutch Jamin and I rescued for Malone’s nursery. Just a thought: If you’re not comfortable painting just yet, start with fabric on the back like this piece.

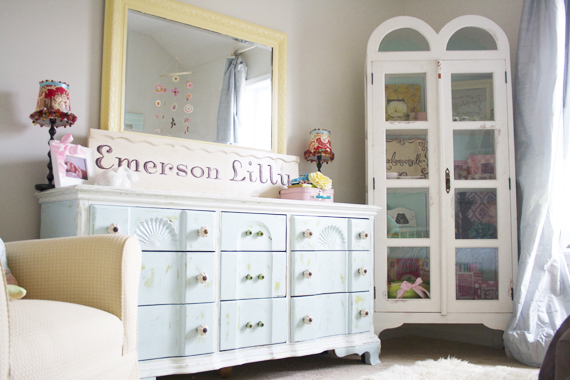
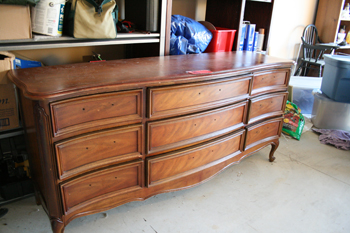
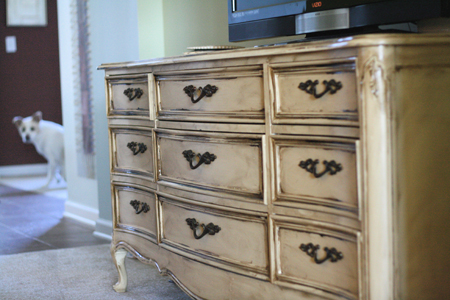
Remember this piece? This is my childhood furniture. I’ve had it since I was ten. My parents handed it down to us when we were first married. I’ve had this dresser for twenty years. The hardware was formally shiney brass. I painted the hardware right after we were married, and left the rest for later. It was time to deal with the rest…
So last year, I painted it green. And I hated it.
SO on went the two tone…
And once I painted, I sanded. Lightly. VERY lightly. To reveal the green underneath, which was now quite complimentary.


Does that give you all a basic starting place?
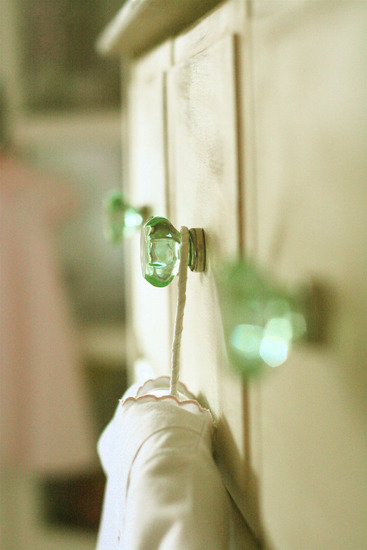
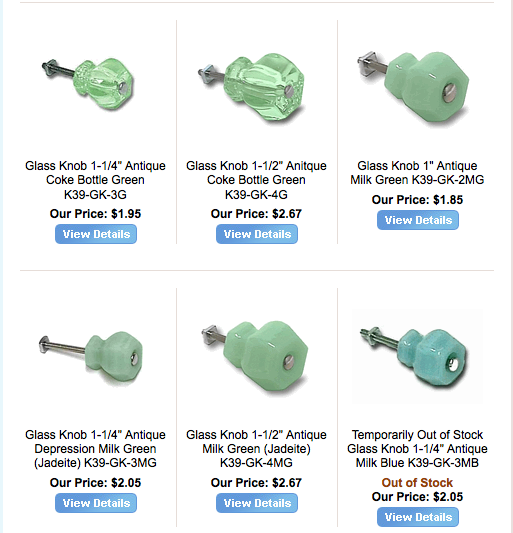
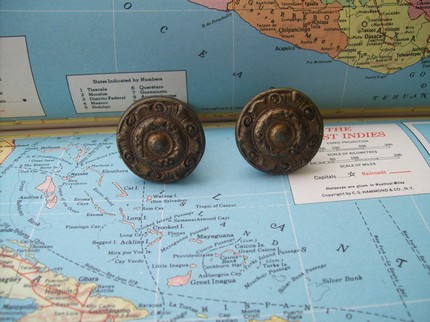
Regarding hardware: Much to Jamin’s distaste, I have an obsession with good hardware, just like a good pair of shoes.
dlawless hardware is my favorite for glass. ABSOLUTELY totally affordable. They do have a ten dollar shipping and handling charge for anything under fifty, but you still can’t beat these prices. I should be getting comission for all the people I have sent their way. You hear that D Lawless??? 😉
The other I do so love?ANTHRO.
But a lot like Anthropologie, is Hobby Lobby.
Bonus: they now sell their knobs online, and their stuff goes on sale every other week…
This is my latest little discovery on Etsy.Violette Slippers.
Awesome vintage finds.
And of course, Lee Valley
Hope this little entry helped someone. Just remember: you can totally do it.