
the basics of painting: our best tips and tricks
For those of you who are no strangers to our site, you know I love to paint. I even have a shop, here. I’ve received a few questions lately about the subject of oil painting from some sweet readers, so today, we’re sharing the basics of painting: our best tips + tricks!
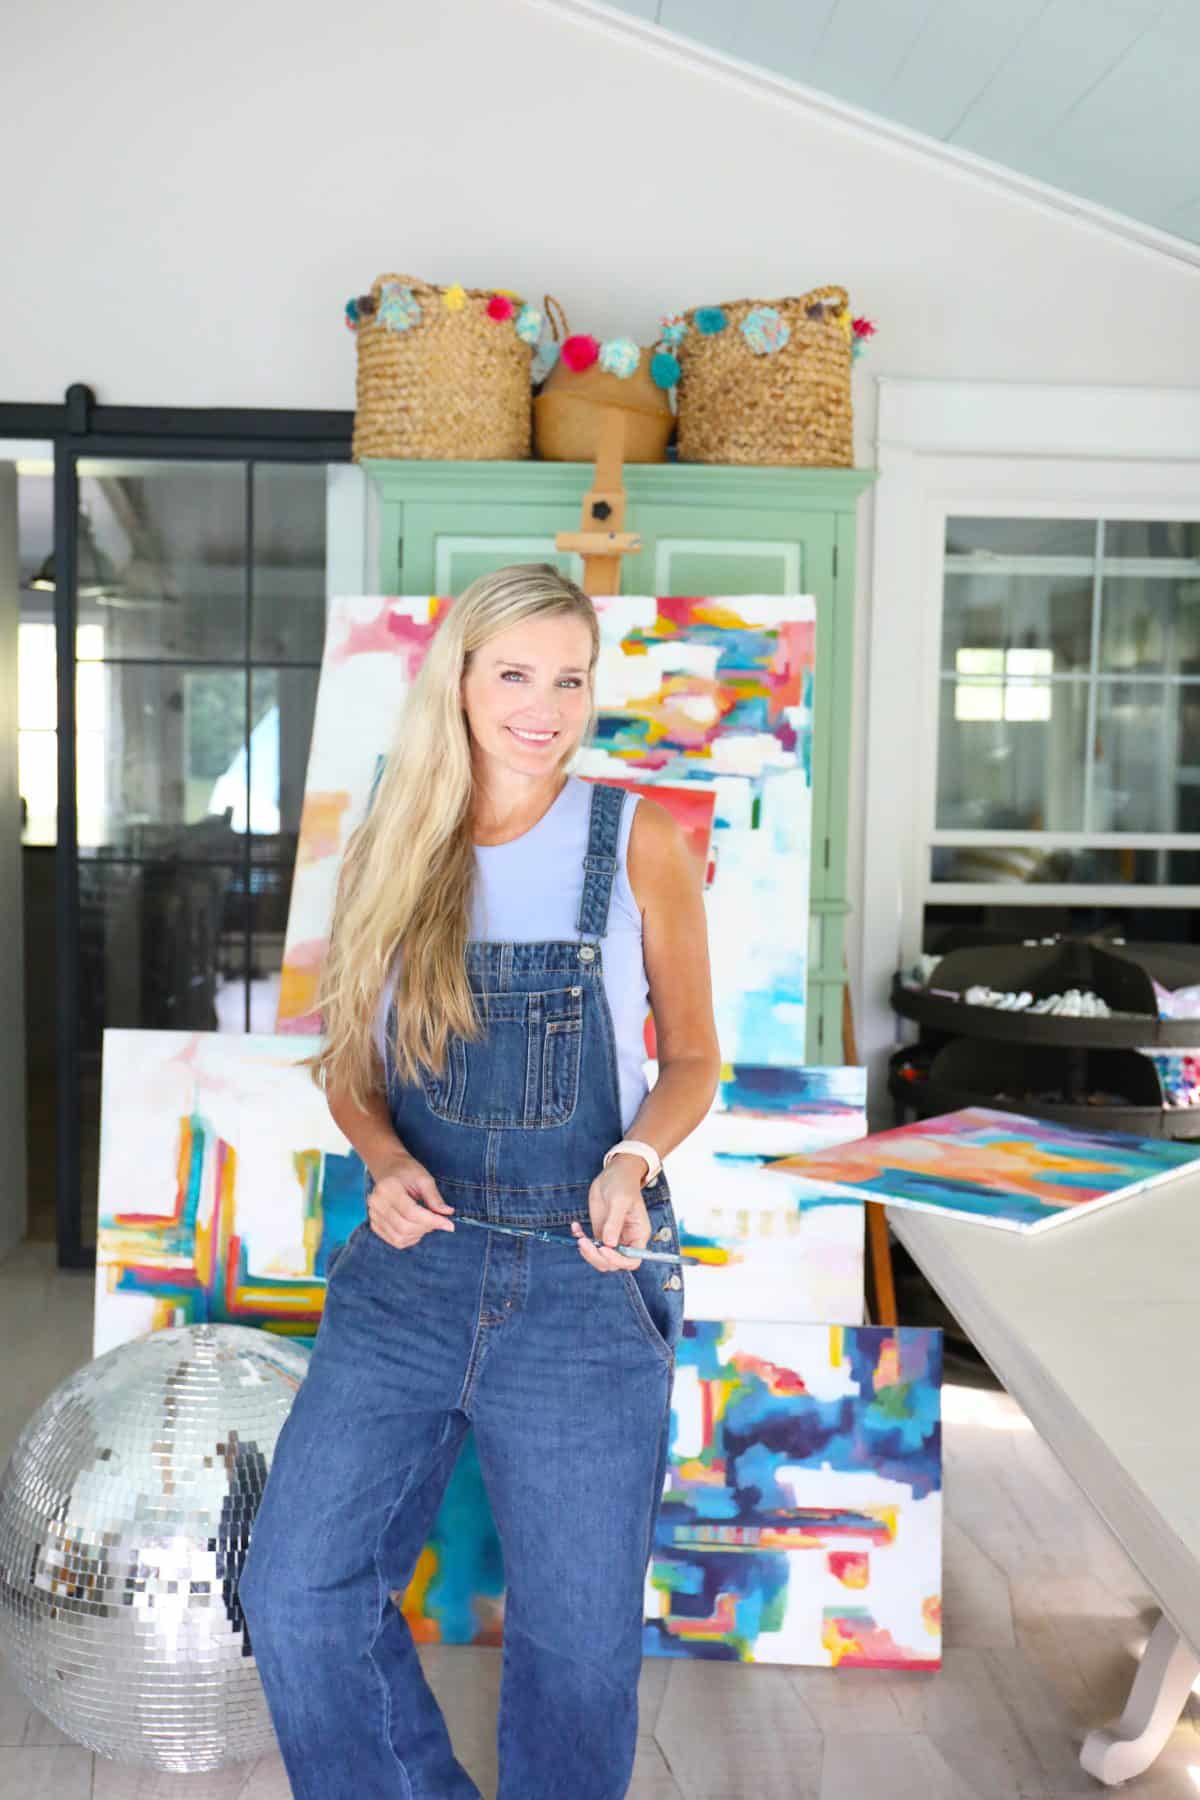

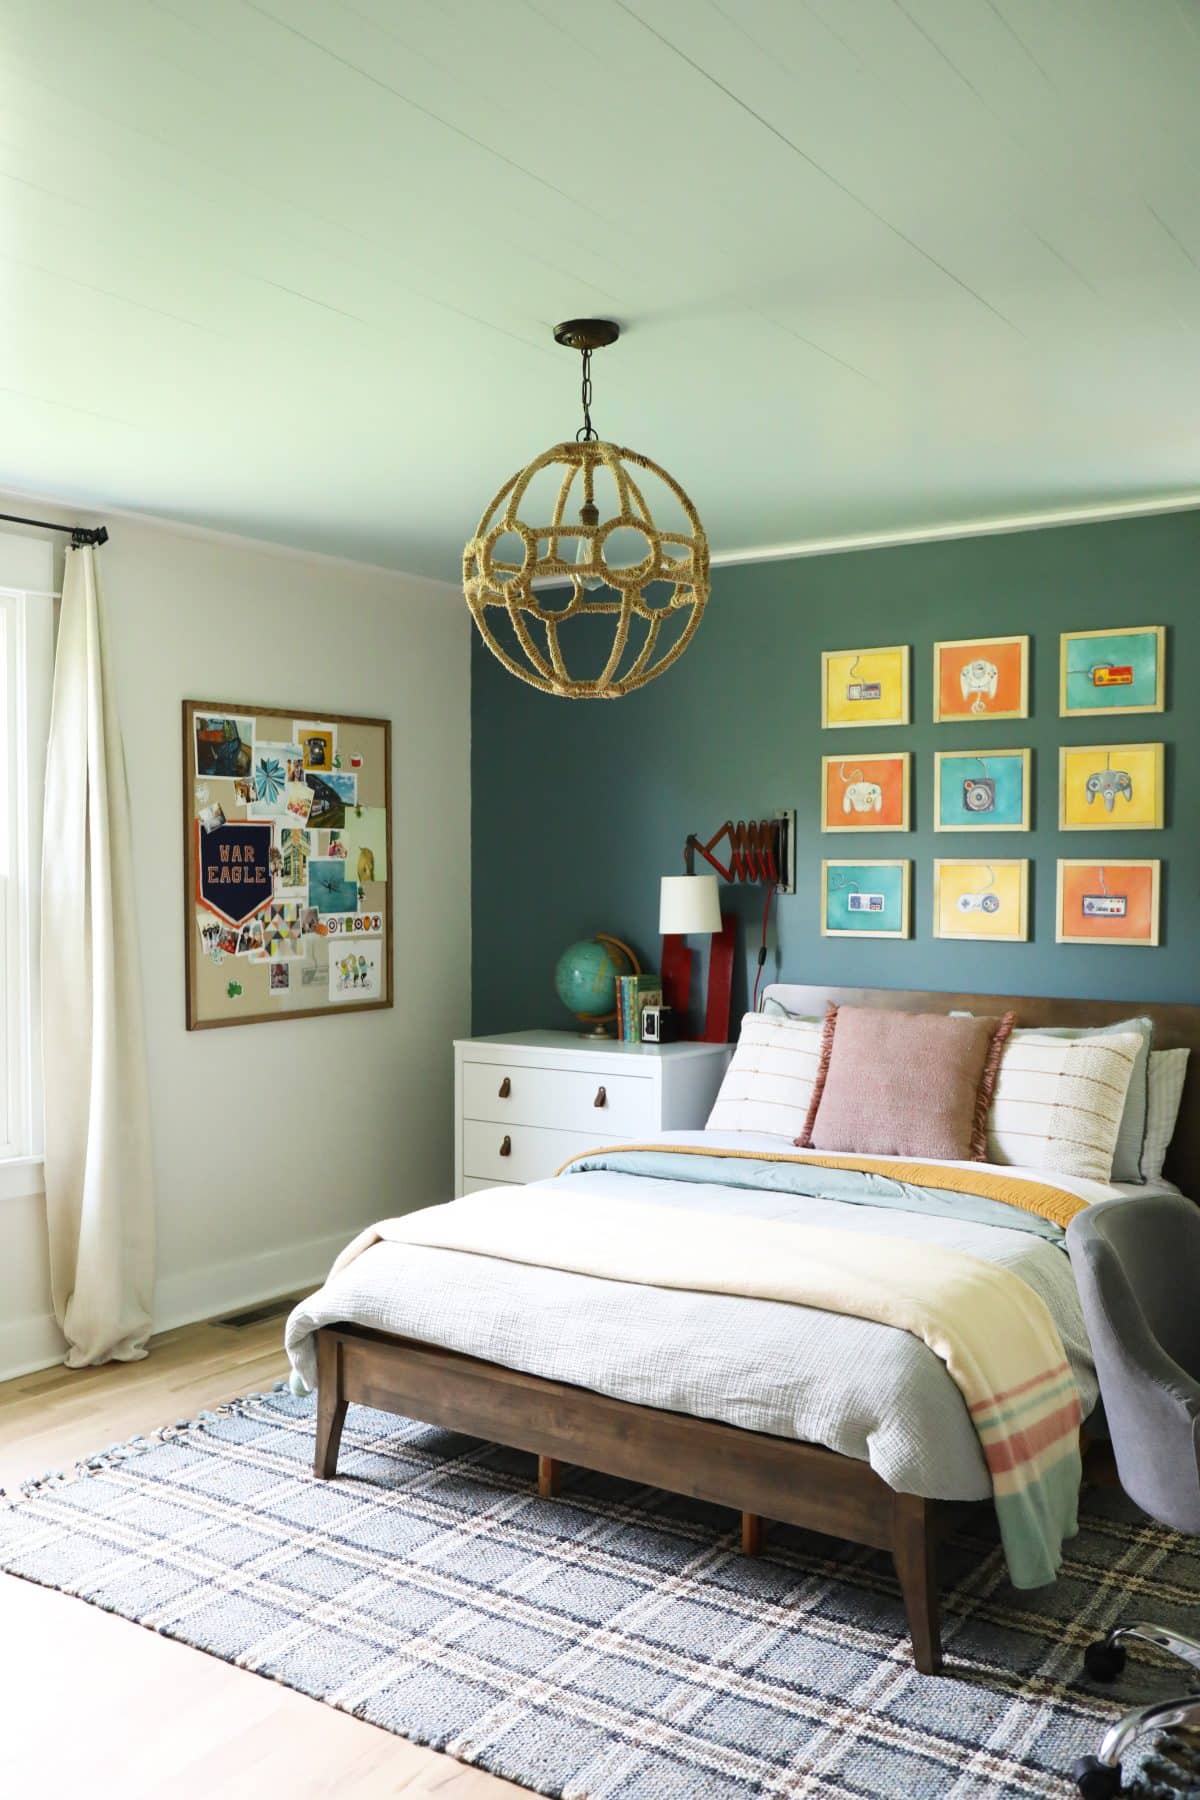
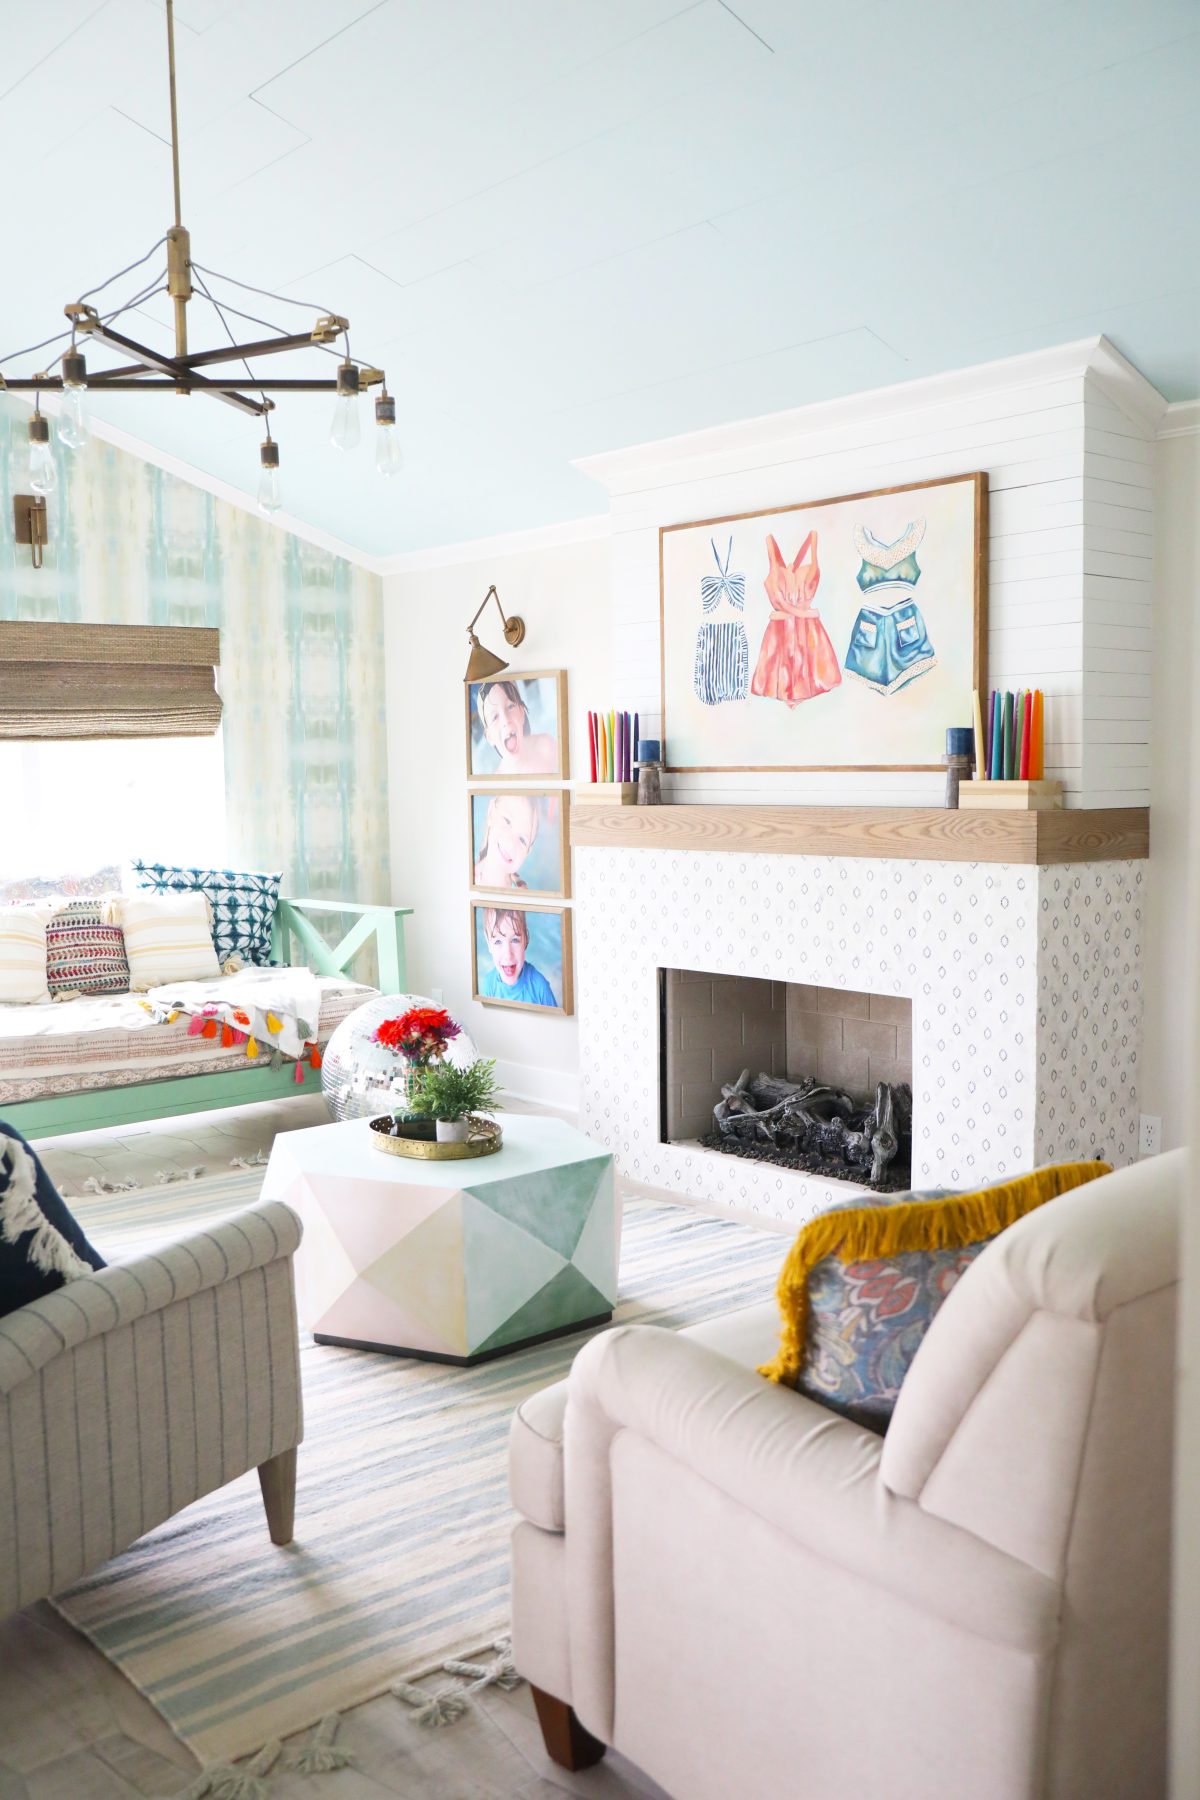
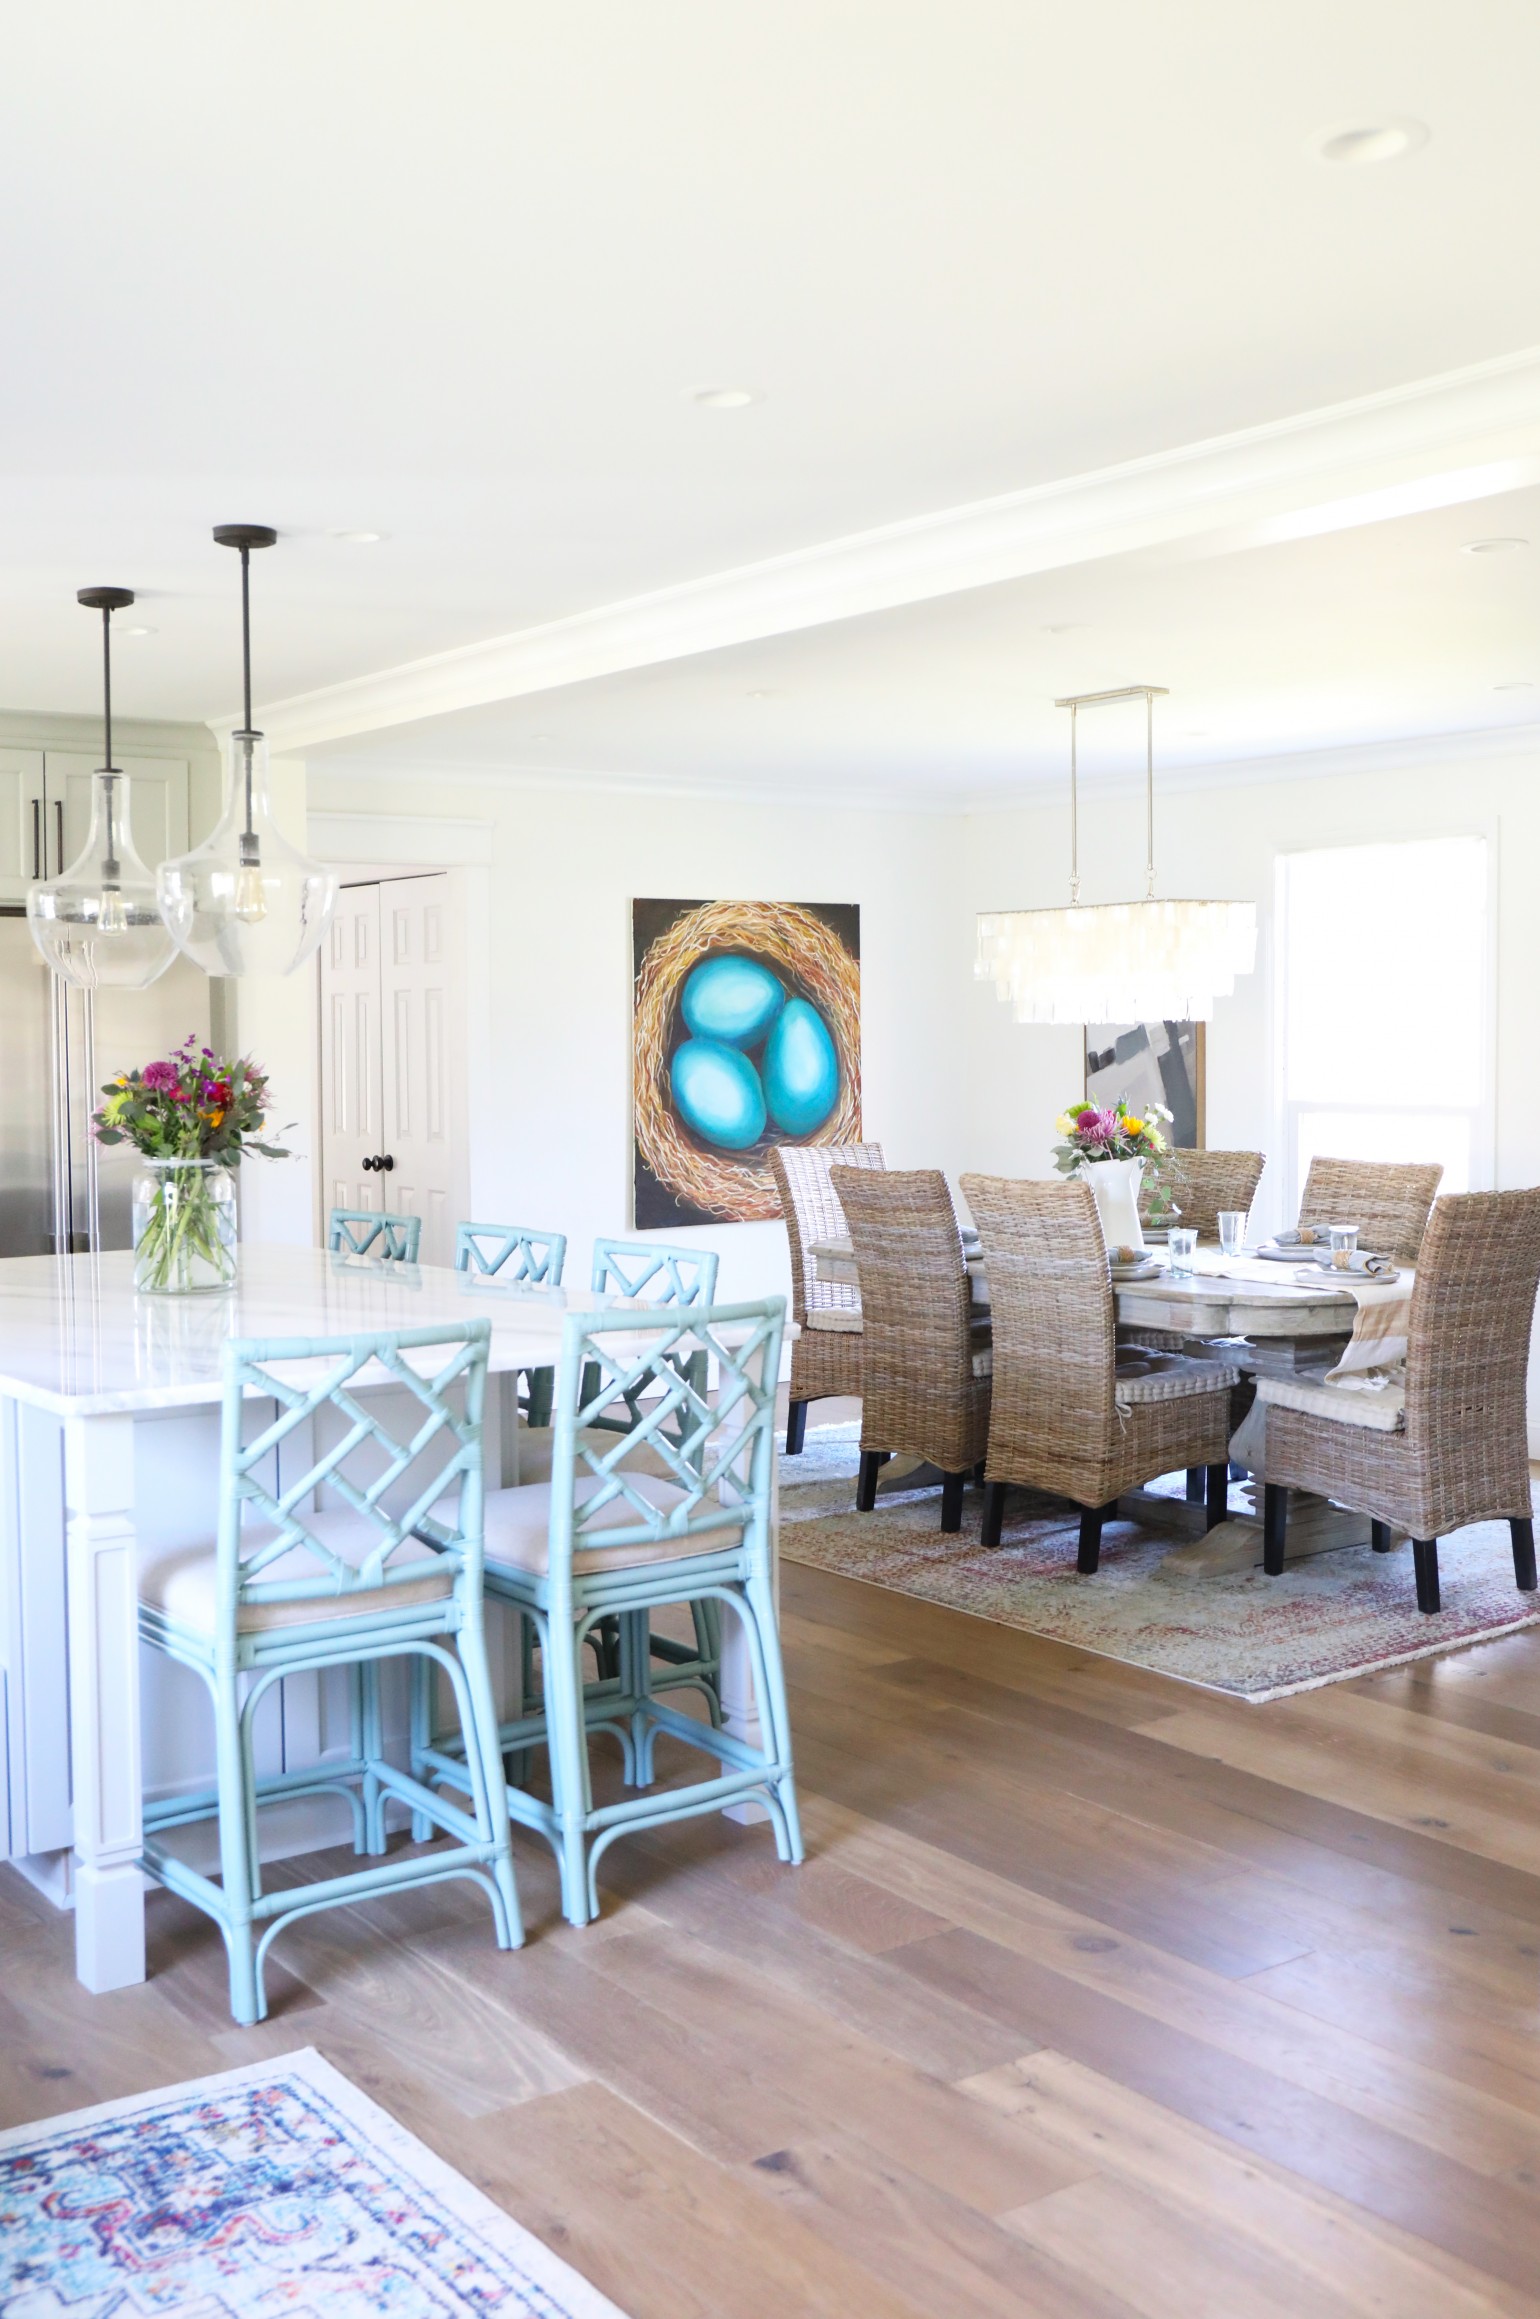
I love a good piece of art, and it’s a great way to bring so much one-of-a-kind character to your home. I guess because I’m an artist at heart, I’m always dabbling around the house.
The Basics of Painting: Where to Start
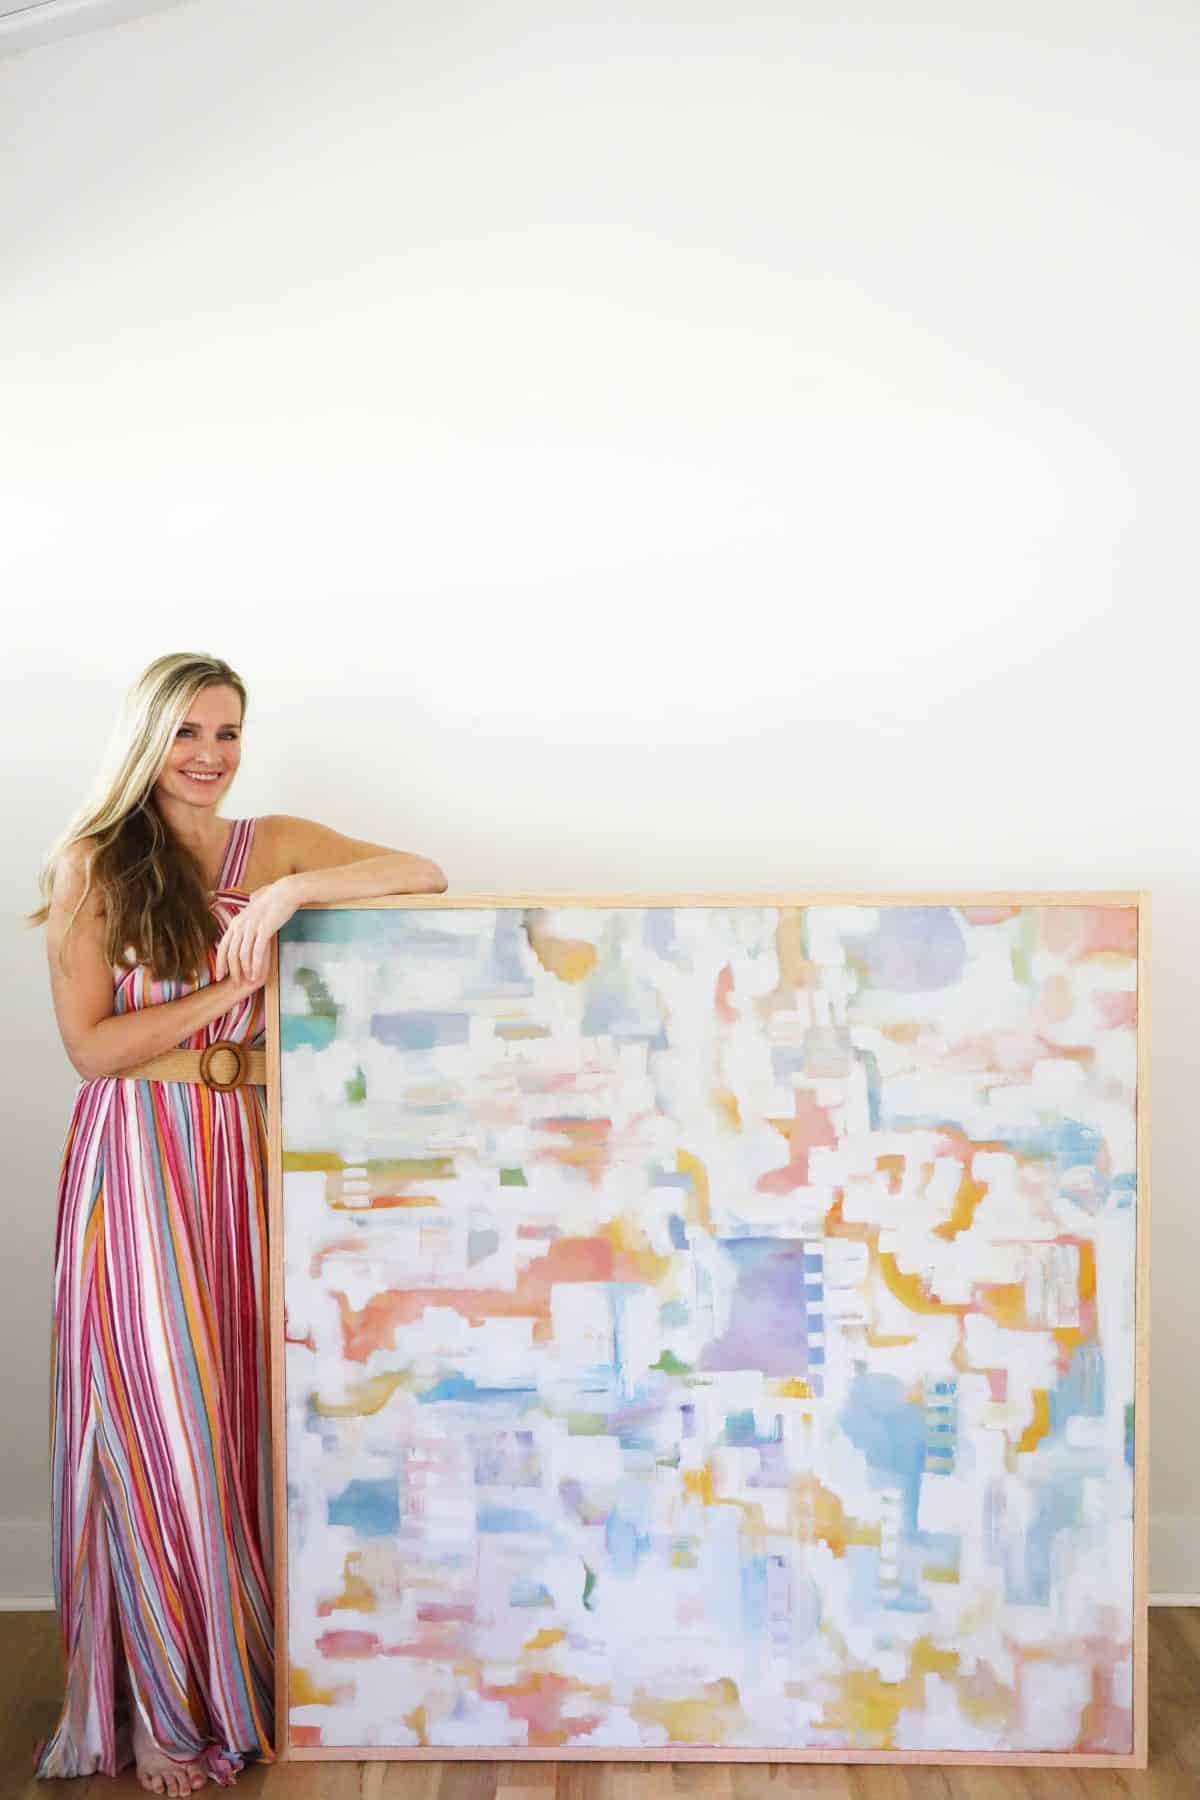
I’ve shared a little in the past about abstract art, so I’ll make a few recommendations here on where to start if you’d like to experiment with painting in general. All for the sake of basics.

When I started, I began with acrylics. Sometimes, I still enjoy them. I think the key is getting your hands on some inexpensive bottles of paint and learning about the relationships of color, since painting can be an investment. Acrylics make for a great afternoon project, with easy cleanup that doesn’t require additional chemicals.
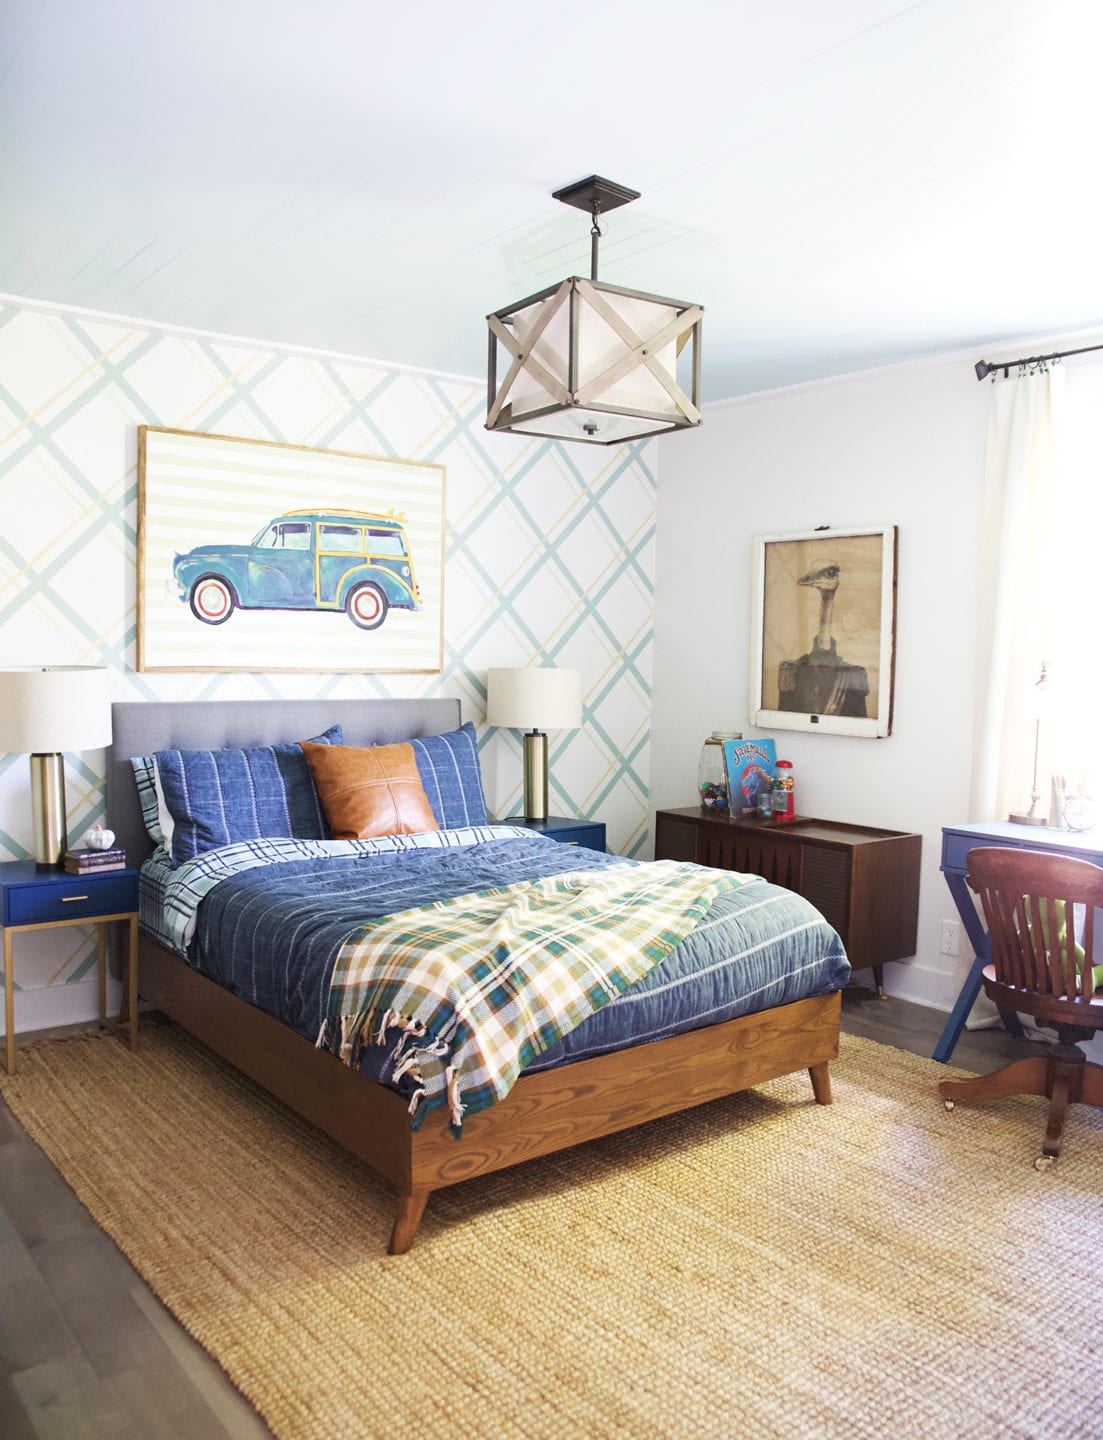
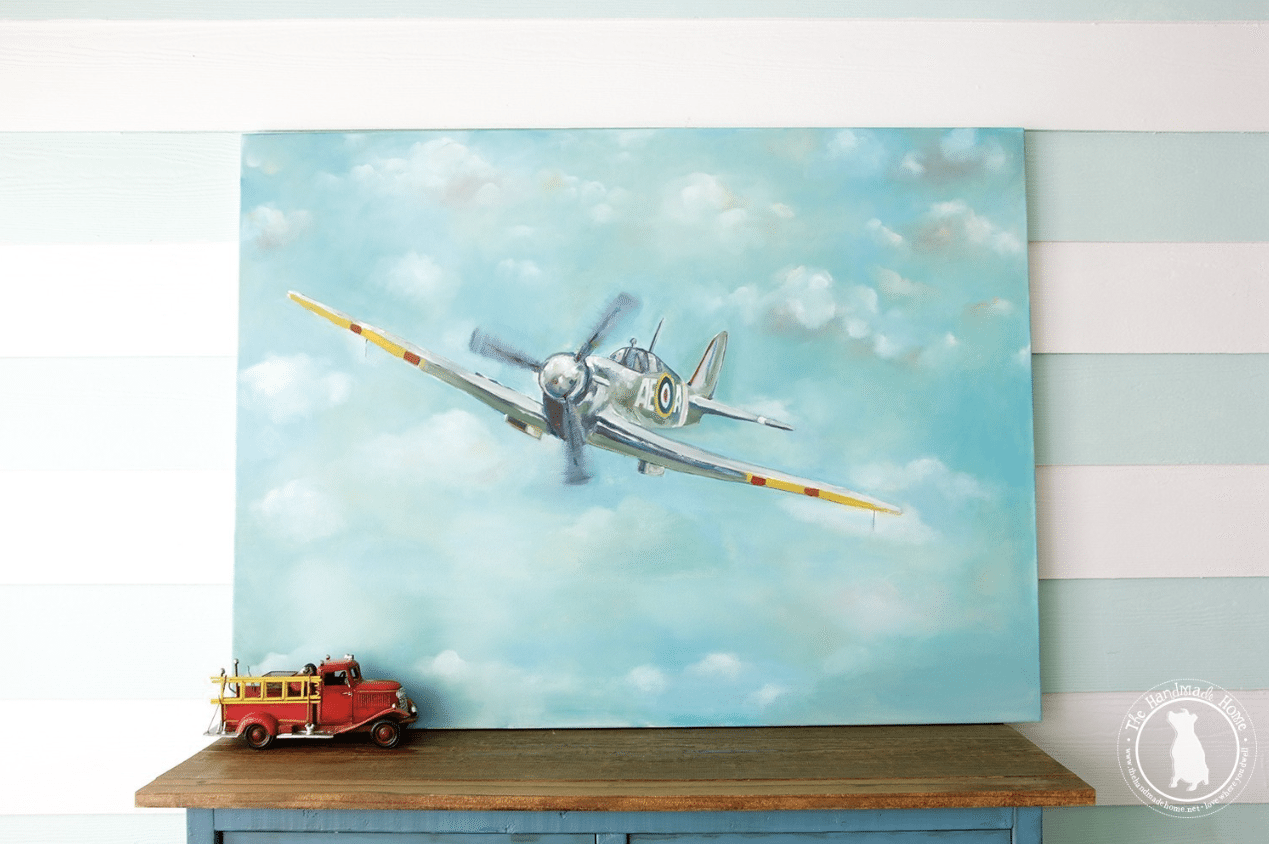
Pros: it dries fast. Cons: it dries fast. I list it as both because once you start working with oil paints {more on which we’ll be focusing on below} you won’t want to go back. The car painting below was composed with acrylic. While it’s more of a stylized / graphic take, I have seen gorgeous paintings created with acrylic. So it’s all about what you love.
Acrylics can be watered down for a watercolor look or mixed together to give you more experience with layers.
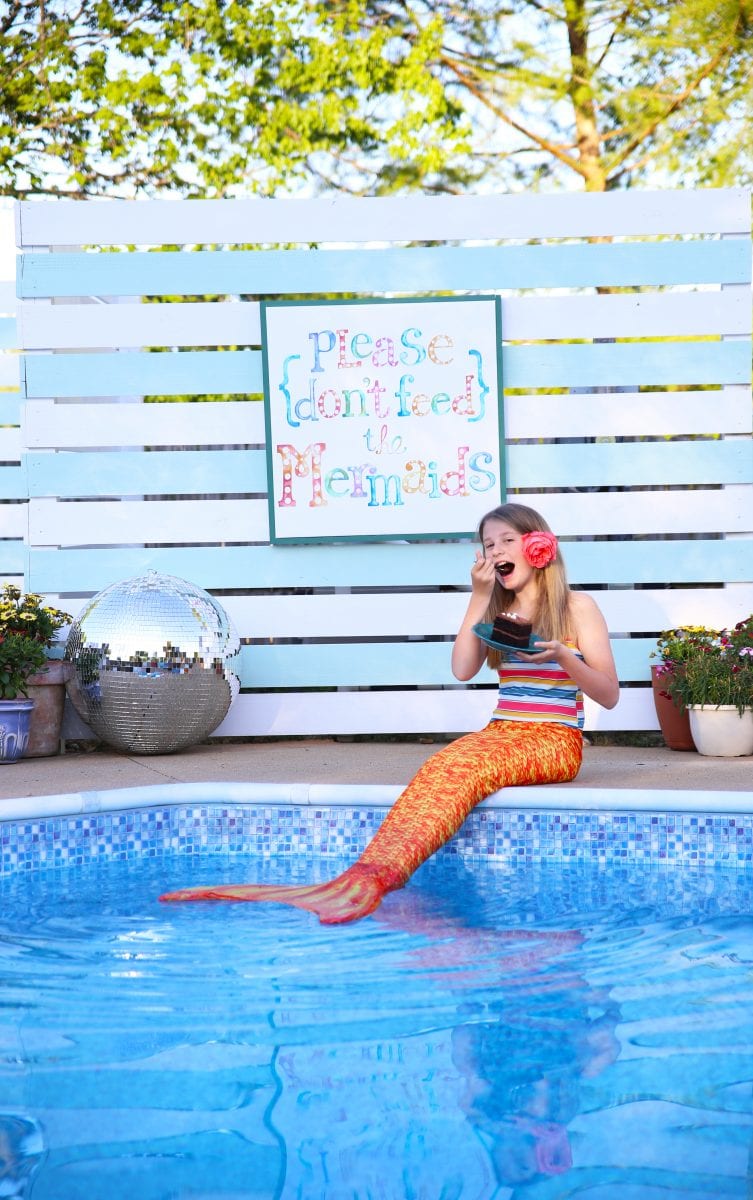
This will give you experience with watercolor and oil behaviors from a novice’s standpoint. These two paintings were made with acrylics {above and the one below). One made to behave like watercolor with thin layers in lettering, the other with heavier layers and a ‘legit’ painting. They’re just a good material to have in your arsenal.
The Basics of Painting: Basic Materials for Starting Out
So for any hand lettering I do, I work with MDF that’s painted over in a white matte acrylic paint {you can buy cheap cans of basic white acrylic paint at your local home improvement store}, or cheap canvas from the local craft store. I can touch up by painting white around my mess-ups. I’ve also done it on canvas, too. It’s all about your preference.

Regarding Frames: I have an entire guide for how to frame your paintings, here.
It’s about becoming familiar with a few key things and then exploring from there. This is a great money-saver.
I was always intimidated by the cost, process, and chemicals until they were all required for a class. Otherwise, I don’t think I would have jumped in like I did. But the first tip is a great one to revisit and gain experience over time.
This ampersand is another example of acrylics, thinned out with water to behave more like watercolor. Fun fact: these fabrics below were hand designed by myself with acrylics.

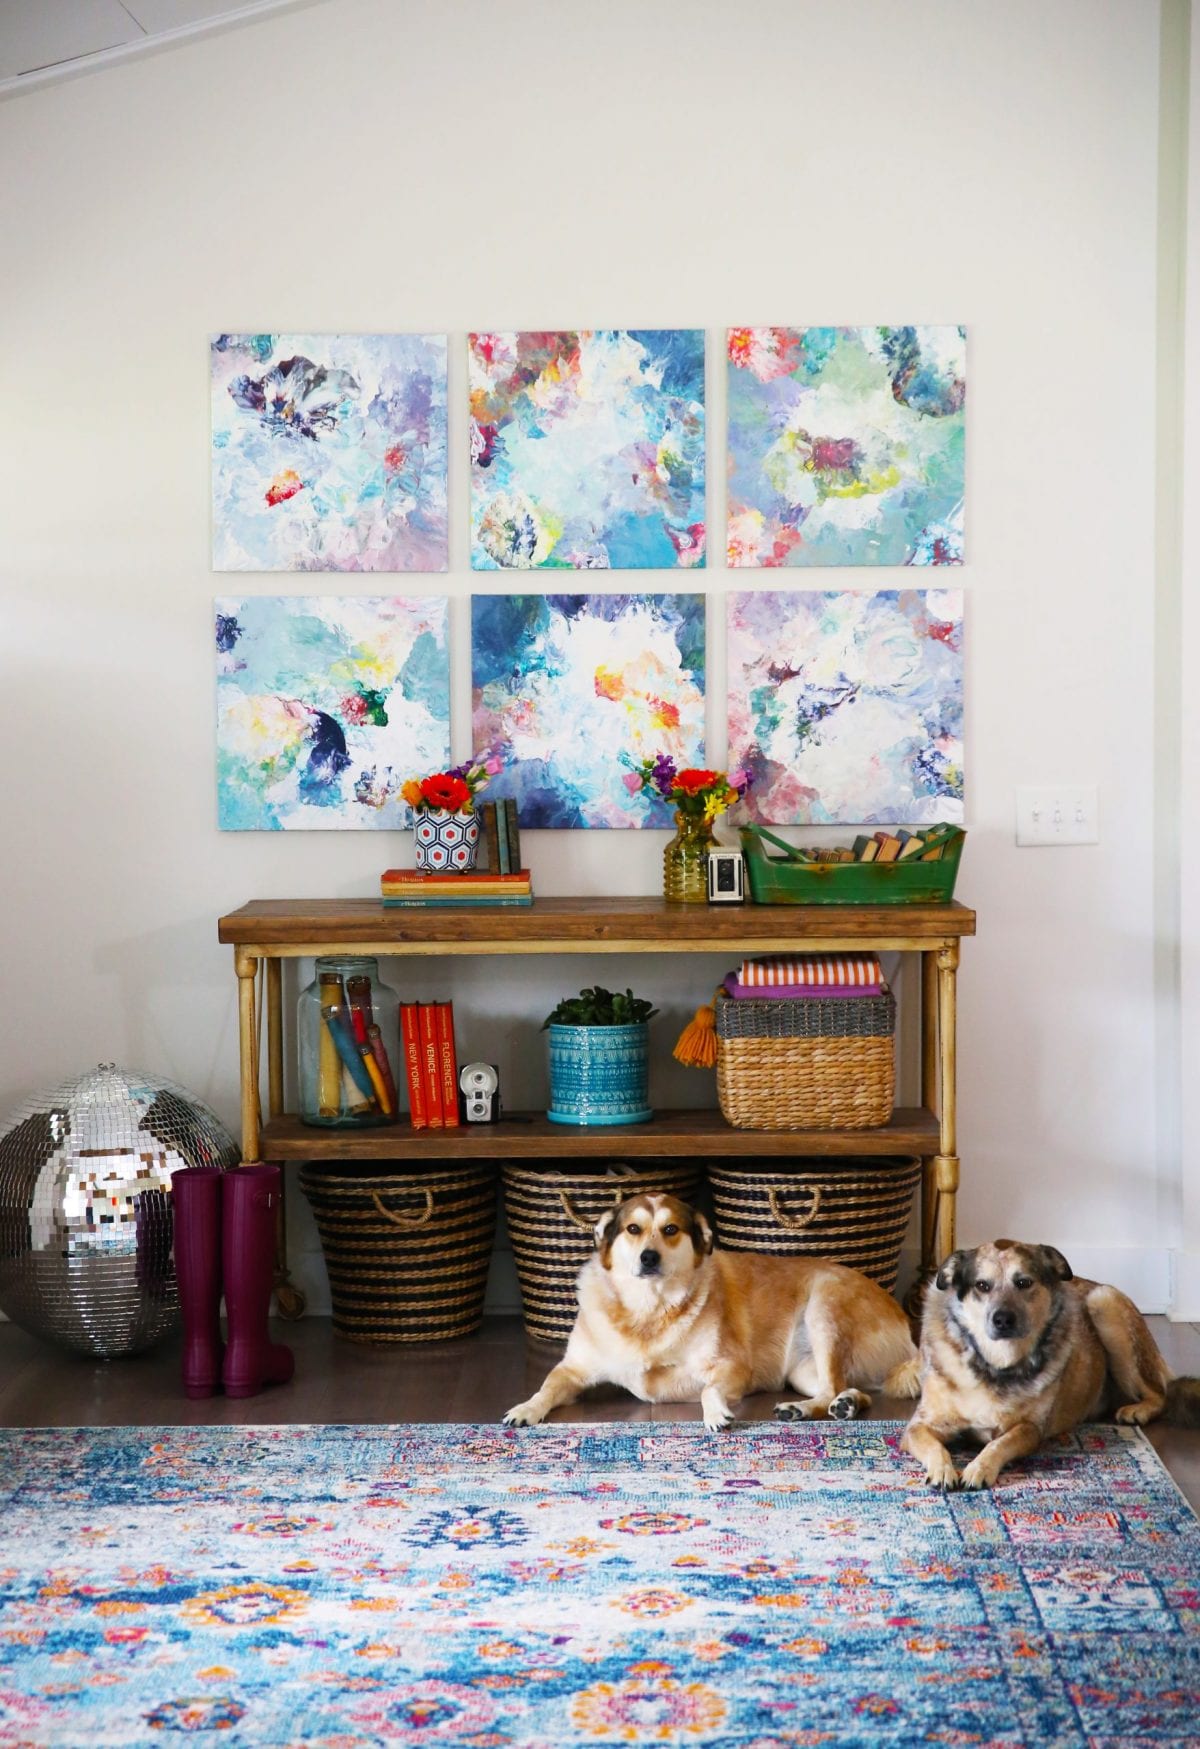
There are also so many different ways to treat acrylics. Well, just painting in general, so this will definitely be a basic overview. For example, this series of canvases is layers of wet paint and a blow dryer. Easy and oh so fun!
But on to what a few of you are curious about and what I consider the good stuff: Oils!

The Basics of Painting: Oil Supplies
Once you’re more comfortable with paint and its behavior, I’d recommend these things to get started. Granted, the more experienced you become, the more you may want to spend. But these are a great starter list. And I still stick with a lot of these main supplies. I’ve listed them here because oil painting can be an entirely different beast, if you’re not familiar with the inner workings.

I’m going to go totally out of order here with what makes the most sense, so bear with me. You can definitely find an entire shopping list here, but I’ll explain it all right here.
• Canvas
I always check for sales at my local craft store and Amazon, depending on what size I need.
This little packet is a great way to start!
Note: You can also make your own to really save if you plan to be working in multiple quantities or REALLY large sizes. This is a whole post all it’s own. See our full tutorial here with all necessary supplies.
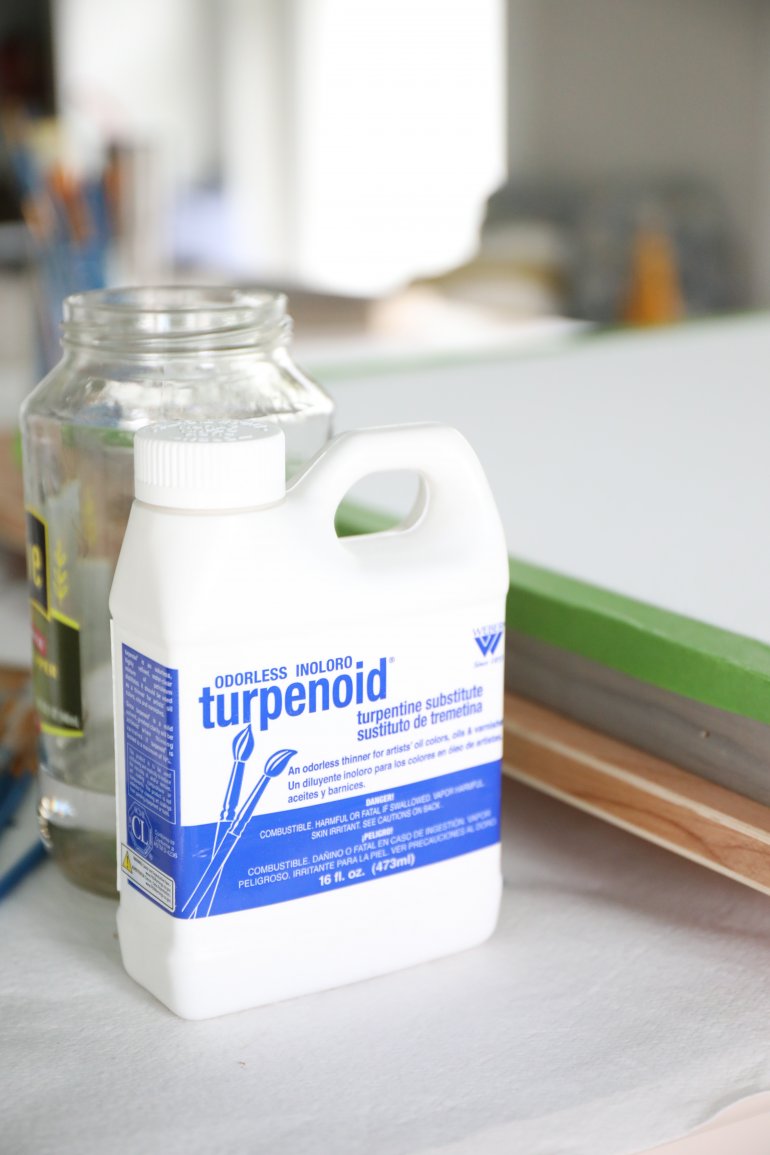
• Turpenoid
Don’t be afraid of it.
It has less toxins than the other stuff and is relatively easy to work with. As always, be sure to work in a well-ventilated area. The rudest comments I’ve received lately are those from the safety brigade with a side of rabies who think they know me and my life, so know that I am cautious. Same with stained glass. No, really. Stop freaking out. Ventilation and proper management of chemicals is always key.
The only issue {aside from ventilation} is having a place to safely and properly dispose of it when you’re finished. This will be the same place you can get rid of old paint cans, or even a local college to help you safely dispose. I take ours to the local disposal center in our county. Let it be known {covered more below} that I recycle my Turpenoid over and over again.
• Jars with lids – There’s a reason I have a pickle jar above. That’s because these are the best. Recycled – anything from pickle jars to jelly jars. At least two. We’re always washing them out and saving them when empty at our house. You’ll use those to store the Turpenoid and to paint with. You can use the Turpenoid, wait on the paint to settle, and use the top part again and again, in a new jar. I simply switch out jars as I go.

• Brushes – These don’t have to be pricey or even fancy the first or tenth time around. Not to sound old or anything, but I feel like brushes have come a long way since I was in school. The more experienced you get, sure. Splurge. But I’d start with something simple like this. I still use the simple ones because I refuse to blow money on brushes.
I also love these wide brushes, and this silicone brush. A game changer for me with abstracts has been playing with this tool. It’s perfect for layering on heavy paint, especially when combined with cold wax – which stretches your painting further but also gives it a fun texture.
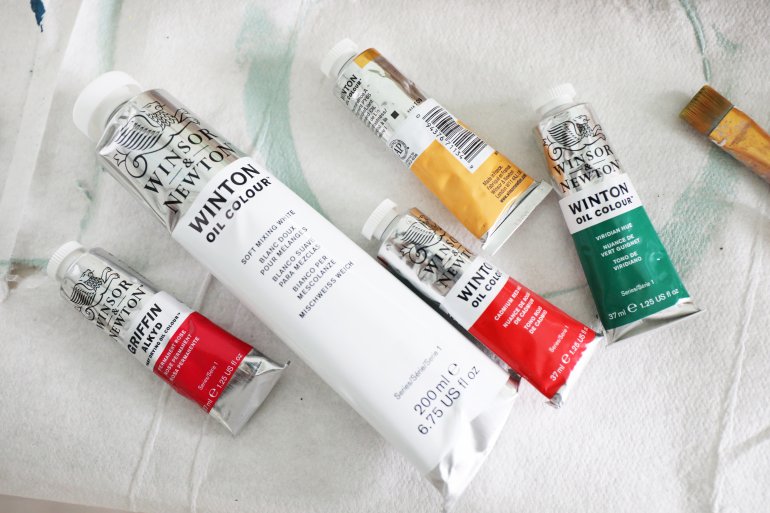
• Paint
Purchasing kits of oil paint is always easier to get started with.
You can save there but here’s a good starting point of a list for colors you’ll want. You can select all of these colors from the list.
• Titanium White– get it in the largest tube. You’ll use this more than you know.
• Ivory / Lamp Black
• Cerulean Blue {Cerulean blue hue is fine too}
• Ultramarine Blue
• Burnt Umber
• Alizarin crimson
• Cadmium Red or Cadmium red light
• Raw Umber
• Burnt Sienna
• Yellow Ochre
• Cadmium yellow or lemon yellow
Here are a few more that I do love to add {Once your collection starts to grow!}
• Pthalo Blue
• Pthalo Turquoise
• Cadmium Yellow Pale Hue
• Cadmium Red Deep Hue
• Sap Green
• Quinacridone Magenta
Regarding greens: I try to mix them from blues + yellows, but sap green is suitable for all things landscape.
It’s also worth noting that mixing different brands of oil paint is generally okay, as each brand may offer your favorite color. I just started using Gamblin’s Titanium Zinc white for a better mixing medium, and I use it with all my Windsor Newton brands. Just be sure to check out the reviews first.

• Paper palettes – Reusable if sealed in between sessions. I use this to hold said palette. I can make a paper last for weeks at a time.
• Easel – I also use a drop cloth when painting inside {home depot}, along with a large easel. If I’m working smaller, I also use this simple table top easel.
• Storage – I’d also recommend a tackle box or old caboodle {wheee!} to store your paints – I have these curated here for easy storage, too.
By the way, just to make it easy, I have a whole section on craft storage here... because I’m always looking for new ideas.
• Towels or paper towels – I end up using both

The Basics of Painting: Turpenoid
As I mentioned above, Turpenoid is pricy because it can be used repeatedly.
I use it to clean up my brushes at the end, then swirl it around in the jar. After pouring it into the temporary storage container with the lid, wipe it out with your towel, and the jar will be fresh.

Arrange your colors on your palette from dark to light in groupings. I like to arrange mine like the color wheel, in a rotating order. And sometimes I’m random. Do just a little of each paint color, working as you go. This way, once you start, you’re not constantly starting and stopping, trying to get the right amount of color. It ends up like this in the end because I use that palette over and over again.

The Basics of Painting: Underpainting
A great place to start is with an underpainting. I always view it as a negative of the actual painting. A rough draft, if you will. Start with your plan, and sketch it onto your canvas to use as your guide. A white canvas can be daunting, and an underpainting gives the final product more depth. On the first day, apply washes of paint underneath to help blend your colors and get a feel for the paint.
So wherever you think you’ll use green, use red underneath in a wash. Wherever you’ll use orange, use blue underneath. Think complementary colors, as an underlying use. It doesn’t have to be exact, but a nice general wash will help. That way, you’re not fighting the white the entire time, since it can take a while to build your paint and values.


The Basics of Painting: All About Oils
Back to the drying part. It’s hard to describe until you’ve tried it, but the delayed time takes a little getting used to. If I’m working on a deadline or need something finished in time to frame, I have to account for that in my painting time.
Now when I go back to acrylics, I often get frustrated because there’s nothing to work with anymore. This takes a little understanding of all things color, and knowing how they will react when with each other.
They call this alla prima, or direct painting.
Indirect painting is waiting for certain layers to dry in between. It helps to do both. And the latter requires some patience, and knowing when to take a break to let the paint colors settle.

The Basics of Painting: Dive In {with a few little guides along the way}
Give your underpainting a day or so to dry. Once it’s dry and you have a nice foundation, it’s time to get to work. I do think that the best way to get started is to dive right in, so now that you have a nice foundation, that’s definitely possible.

Work dark to light
It’s easier to build up depth and volume in a painting, when working from dark to light. You can always go back later and add more, but I’d recommend starting there.

Don’t get stuck
Never work in one section of the canvas. Work around in different areas, and seek balance with your color applications. There’s no reason to obsess over one area. Rest and come back when you start to get frustrated.

Vary your colors
Think in terms of warm and cool tones + how they work together. Some of the best and most interesting tension on a canvas can come from the way those colors play together. I love mixing yellow into blue and watching green appear in between, in a really fun organic way. Which brings me to…
Avoid “bottled” or “tubed” colors
I had a professor tell me once that the most interesting paintings come from the nuances of color. The individual hues that you create by mixing them on your palette. I couldn’t agree more with that. Go for it, and see what you learn about colors while you’re at it. You’ll be amazed by what you can apply to your home in terms of knowledge.

Heiarchy
Every painting and piece of art has it. Whether its the dominance of one color or shape, or something else, play with that in your canvas, and see what you get. Consider this in your over all composition.
Points of interest
Look for points of interest within your paintings. Opportunities to create interesting shapes or color combos or all of the above.

Finger painting
I’m not above it. Sometimes it’s great to mix it up so that you can get a smoother result. It’s probably one of the best applications when it comes to alla prima. Experiment with this when working on thicker areas to smooth them out. You’ll be surprised with what you can create.
Texture
Bring it in with the applications of your paint. Wet paint vs. dry paint is a great place to start. Dry brushing on top of dry layers is awesome for those points of interest I was talking about, above. Cold wax is an excellent starting point to work in texture, if that’s something you wish to explore. There are so many options with palette knives, and various other tools, we’re only scratching the surface. Don’t hesitate to experiment and have fun!
Rotate
When it comes to abstract pieces, sometimes those happy accidents a-la Bob Ross happen when you least expect them. Play with your canvases and see which orientation becomes more interesting.
We hope this gives you a great starting point / crash course with all things oil painting! I’m seeing you now with a cup of your fave warm drink and a good e-book on a quiet Saturday morning. {Just don’t accidentally dip that brush into your coffee by accident, because been there. Done that.} Dive in, and you certainly won’t regret it.

Have an inspired day!
Oh, and want to add a frame to your own project when you’re done?
Be sure to check out our simple, all encompassing framing guide here for some affordable solutions.

So what are some of your favorite tips for paint? We’d love to hear anything you’d like to share, or if you plan on diving in soon! Be sure to shoot us a message.
Have an inspired day!
Pssstttt… be sure to check out our shop here!


You are sharing amazing tips that will definitely help us.