
a super fun valentines party for kids
Hello lovely friends! We’re back this week with an incredible little Valentine’s party by the fab Natalie Bradley! You may remember her from this post – She has great ideas for all things parties + holidaisical, so I was thrilled when she shared this one. It’s great inspiration for your own version of a simple Valentine’s soirée! Warning: super adorable little models ahead… So without further ado:
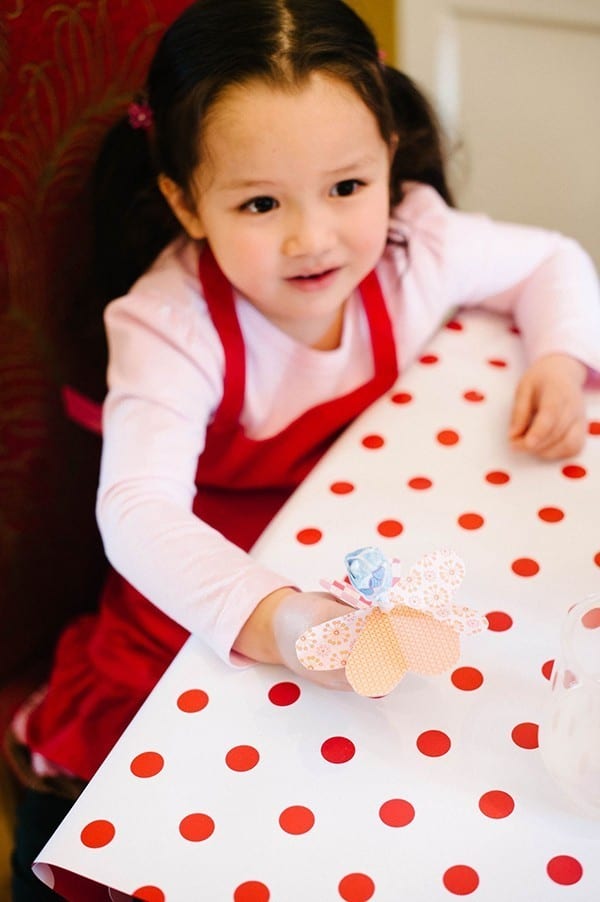
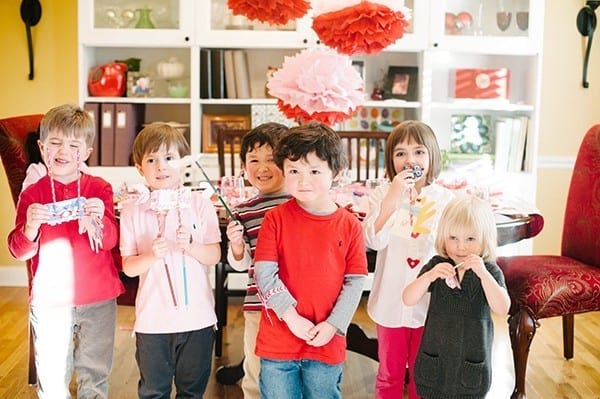
Having a six year old for me makes Valentine’s Day that much more fun. Before she came along, quite honestly I wasn’t that much of a fan of the holiday actually. But kids just make all things Valentine an exciting challenge to come up with new and creative ways to celebrate love!
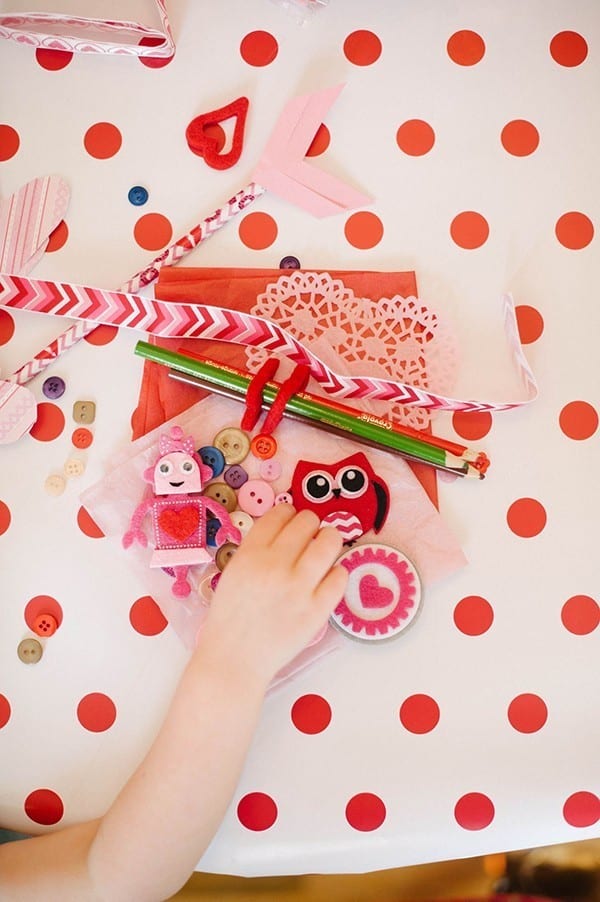
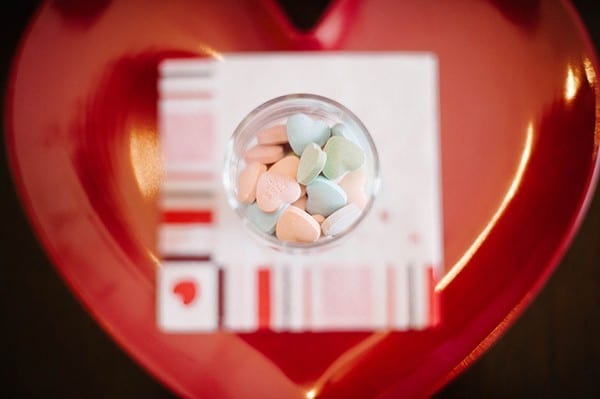
This year, we decided to create a Kid’s Valentine Craft Party and we invited a few friends to join us in making their very own one-of-a-kind creations to take home and share with one another.
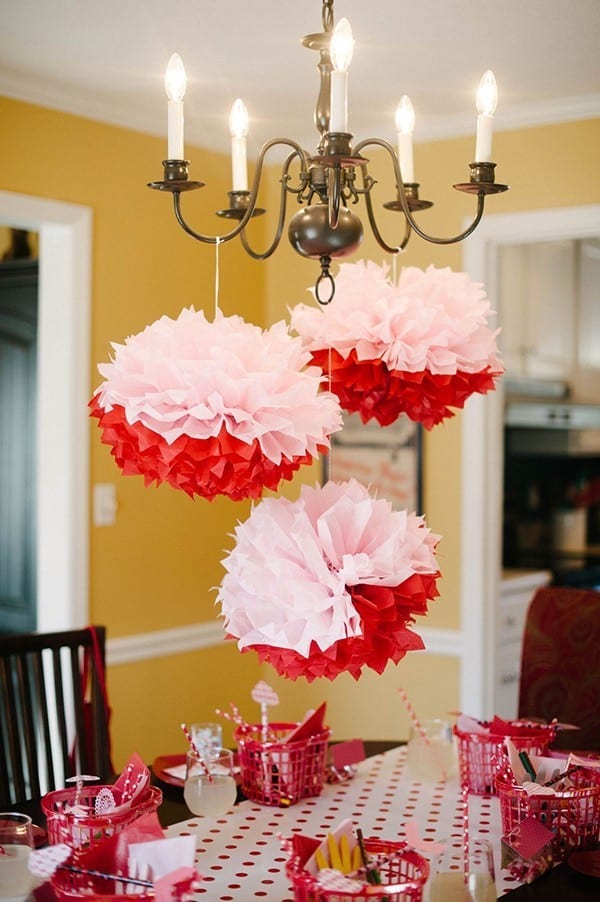
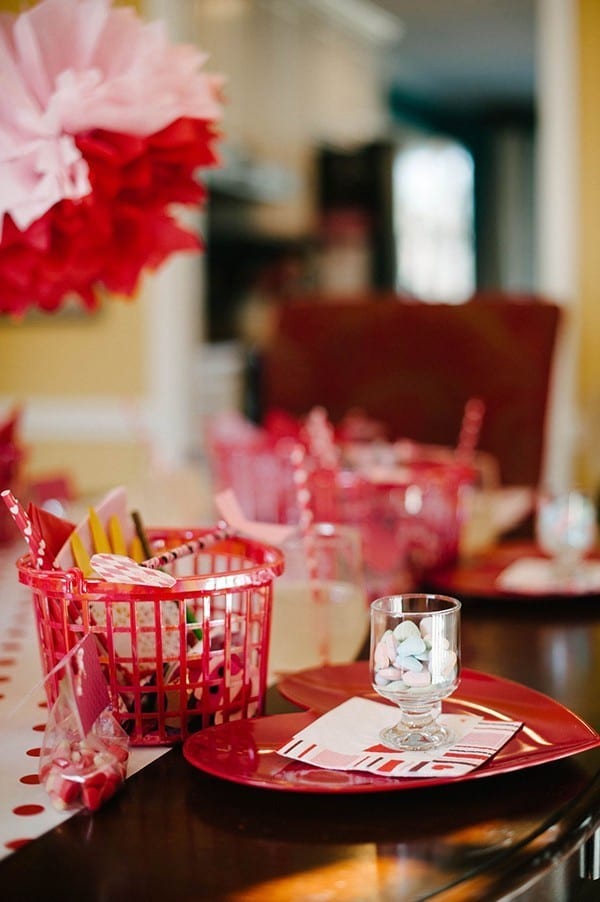
 For the color scheme, I decided to go with red, pink and white so that it wasn’t too girly for those boys to come play with us. And for the decor, I wanted to make this pretty simple for moms to create at home on their own, so I used as much as I could from what we already have at home.
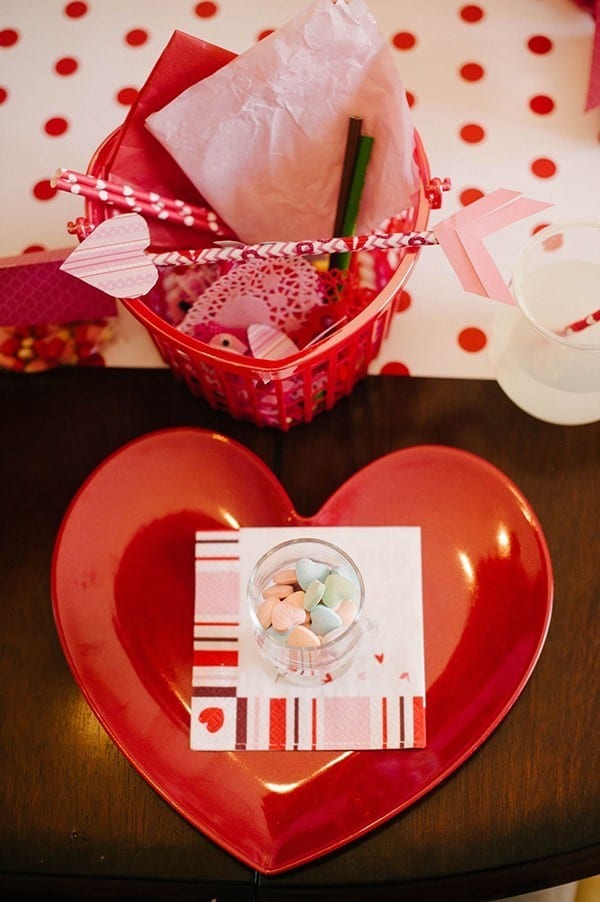
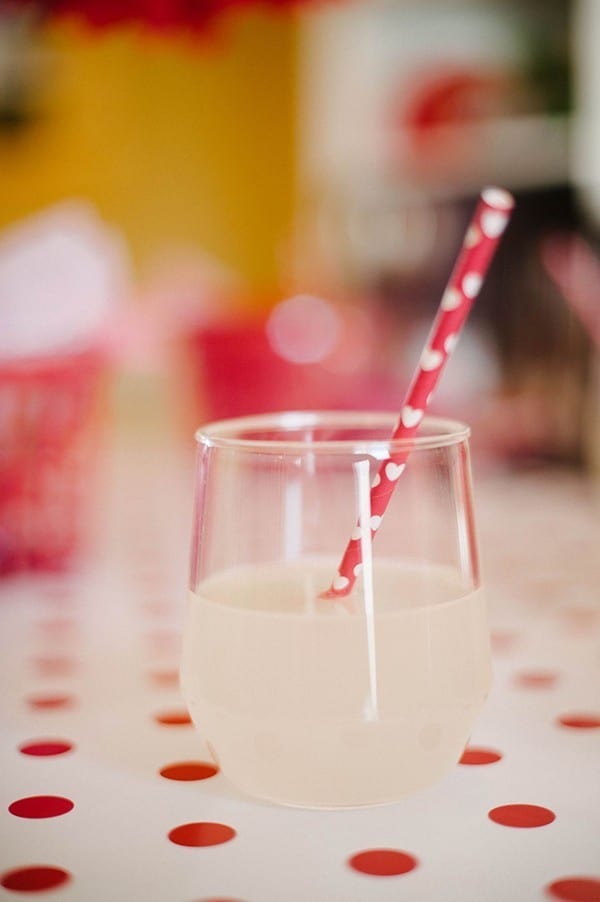
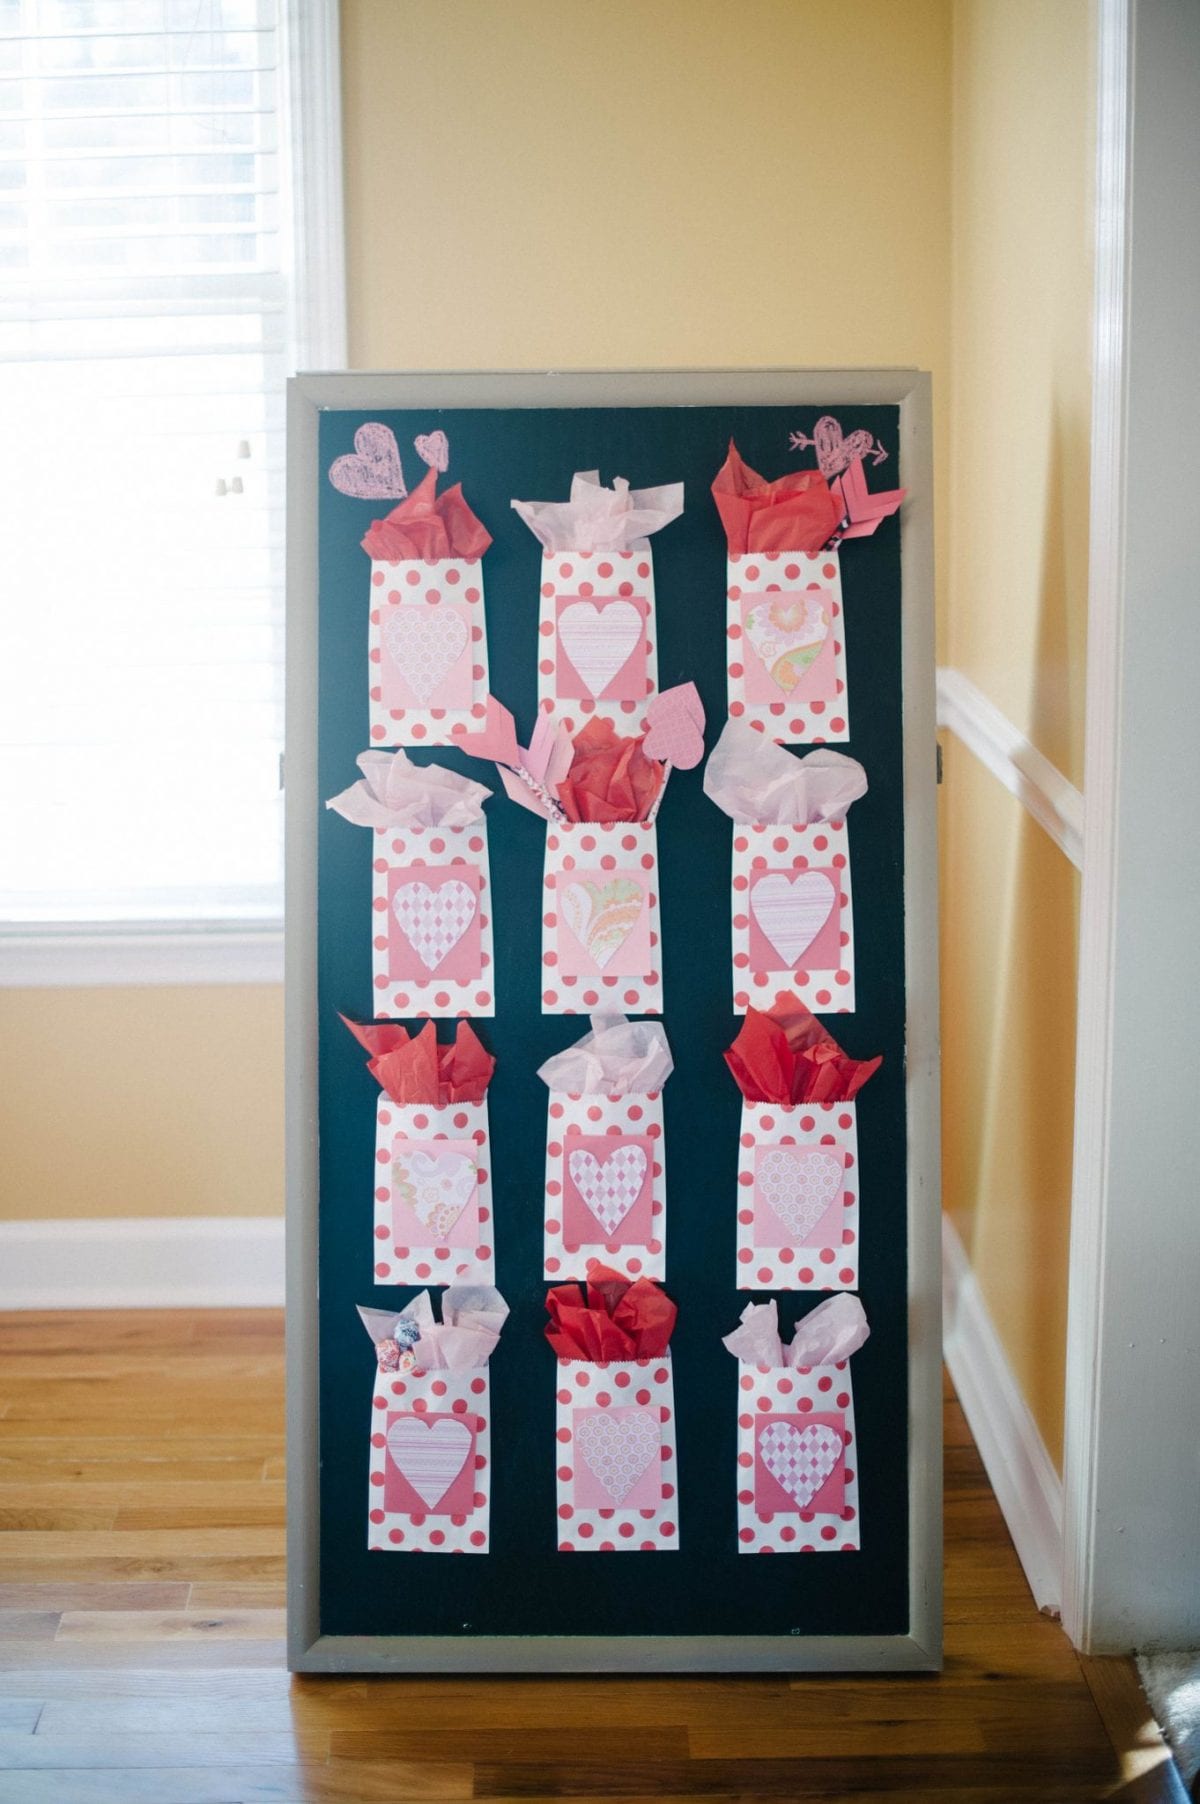
For instance, the table runner is actually a reversible wrapping paper that I purchased months ago for a school fundraiser. It serves as the perfect combination of cuteness and functionality so that the dining room table was protected from glue and markers while pulling the party look together. The main focus of this event was on the craft supplies. So incorporating the actual supplies that we used into the party decor kept the cost down while creating a great focal point at each child’s place.

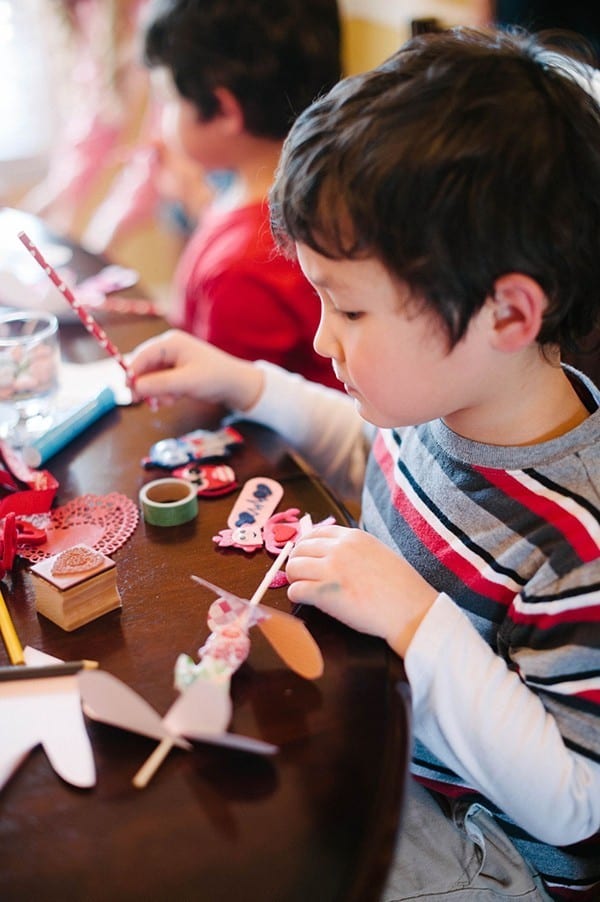
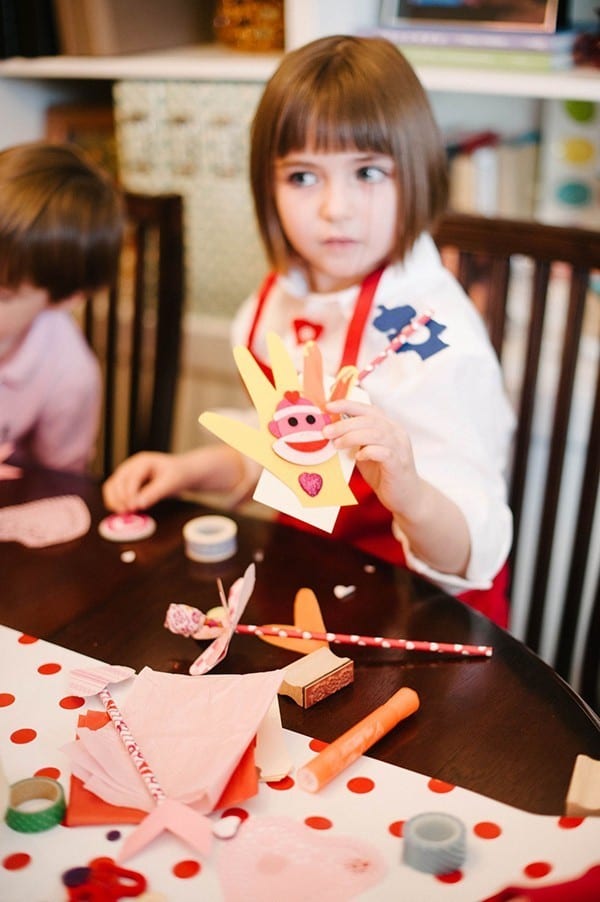
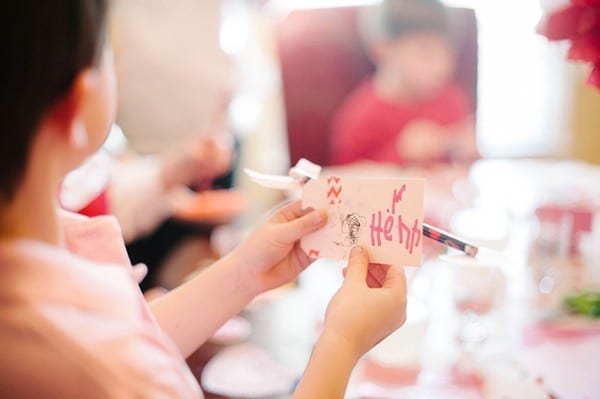
We really wanted to let the kids run their own party, so we just gave them a little direction in the beginning, then let their own imaginations take over. As you can see, the results were just perfect!
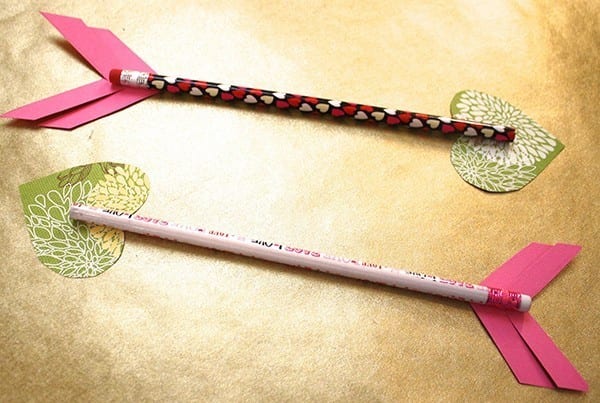
How to for Cupid’s Arrow Pencil Craft:
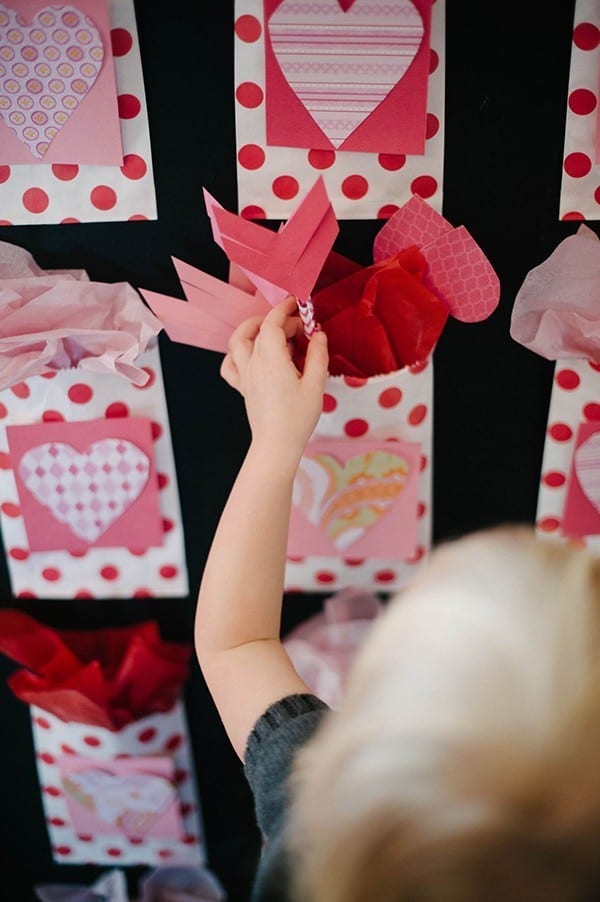
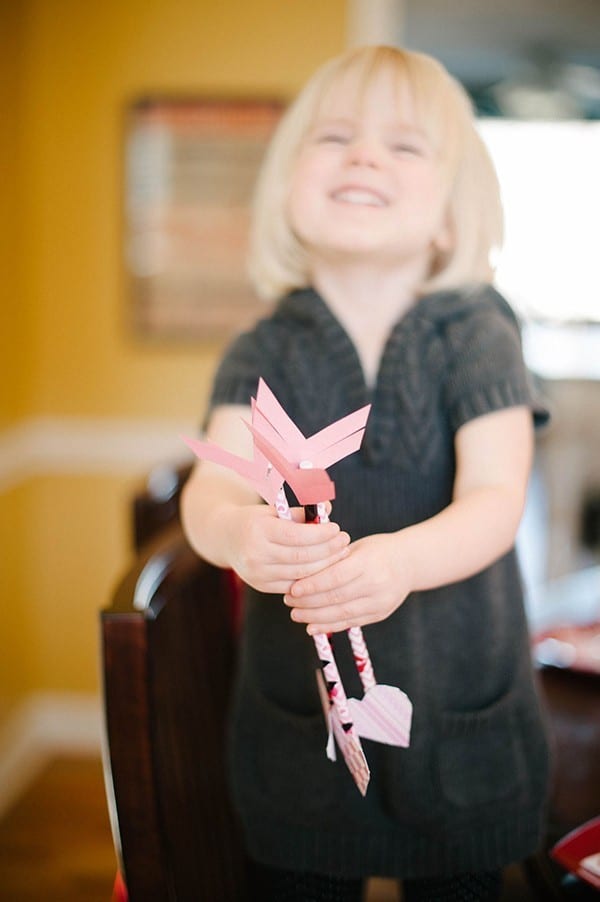
This Cupid’s arrow pencil is just one of the many craft details we incorporated. We loved these so much that my daughter is also using them on her Valentine Cards this year too!
![]() This is what the end result looks like combined with a valentine card (isn’t it super cute?)!
This is what the end result looks like combined with a valentine card (isn’t it super cute?)!
![]() What you will need:
What you will need:
Valentine’s holiday themed pencils • Craft glue or adhesive. • Cardstock in solid and patterned designs patterned card stock • Scissors • Ruler • {For the valentine, you’ll also need Stampin’ Up! fringe scissors, banner blast stamp set, pink card stock and more patterned card stock (we used the Designer Series Paper Floral District from SU). Also, for the Valentine, we added one more chevron to the end of the pencil to jazz it up a little more!)
1. Use cardstock to draw and cut out a heart template to serve as your arrow point.
2. Next use cardstock to create a chevron shape for the opposite end of your arrow. To do this, start with a strip of paper about 2 inches wide and use a ruler to draw two lines from each corner that connect in a point. Do this twice with about 1/2 inch between each line.
3. Every two lines will be the appropriate size, so cut out the shape, making sure to exclude the bottom triangle
4. Next use craft paper to trace your template for both the hearts and the chevrons
5. Once you have cut them out, make a slit in the chevron shape halfway (1/2 inch) and take them almost to the center
6. Finally, use adhesive dots/glue to attach the heart point down to the end of the pencil that would be sharpened. Attach the chevron to the eraser end of the pencil with the point facing the heart
That’s it! Simple, fabulous and fast!
How to for Candy Favor Craft:
I’m (Natalie) an independent demonstrator with Stampin’ Up!and they’re my favorite go-to company because of the quality of paper, stamps and other products, so you’ll notice that I used those products exclusively in creating these. You can use any products of you’re choosing, incorporating your own favorites. If you use the links below to Stampin’ Up! to purchase, you’ll actually be purchasing through Natalie’s online catalog.
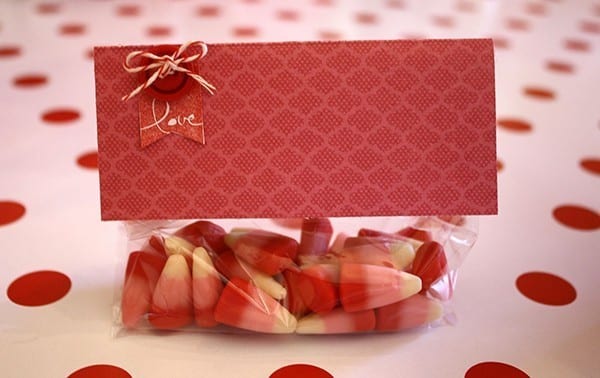
You will need:
{You can definitely create your own version of this, here are a few suggestions.}
• Stampin’ Up! cellophane bags • Stampin’ Up! banner blast stamp set • Stampin’ Up! patterned card stock (we used the Designer Series Paper Floral District from SU) • Stampin’ Up! red or pink buttons • Stampin’ Up! twine or ribbon • Stampin’ Up! adhesive • Stampin’ Up! stamp pad • Stampin’ Up! white card stock • Valentine’s candy corn {we purchased this from Michael’s
1. Cut the bags to the desired height.
2. Fill the bags with candy corn and set aside.
3. Measure paper to equal the width of the bag, score vertically in the middle and set aside.
4. Use stamp it up banner blast to stamp a piece of white cardstock.
5. Cut out each shape that you stamped.
6. Cut a small piece of ribbon or twine and tie it through the button holes into a bow.
7. Now you are ready to assemble.
8. Fold the filled bag over at the top and secure with adhesive.
9. Put the scored/folded piece of stamp it up paper over the top and secure with adhesive.
10. Secure the banner shape to the left about 1/2 an inch from the left side and 1/4 inch from the top.
11. Finally, add the button above the banner shape with adhesive.

Full credit to these wonderfully talented people for this adorable event:
Event Planned, Designed and Styled by Natalie Bradley Events
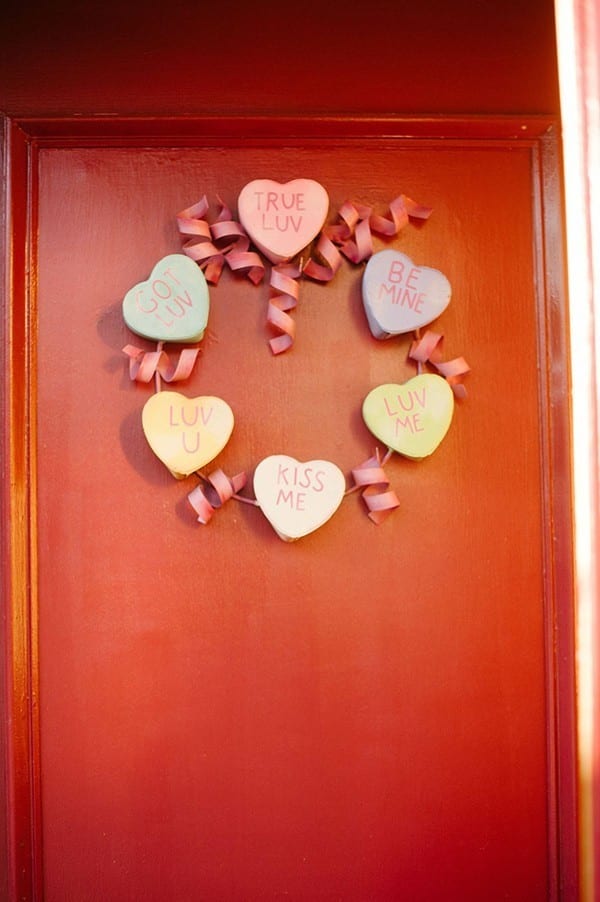
Wreath, Heart Plates and Napkins from plainjanedesigns
Photos by Sara Wise Photography
Natalie Bradley owns an event planning and design company, Soirée by Natalie Bradley Events, launched in May of 2003. On her blog, Soirée Secrets, Natalie shares DIY planning, styling and crafting tips and tutorials, along with digital products and classes to help party hosts around the world create their own fabulous events.
It’s amazing how little ones can make every holiday a whole lot more fun!! Thanks for these fun ideas. I LOVE the poofy tissue paper decorations hanging from the light fixture. So fun!!
Amber – the tissue paper balls are actually from Hobby Lobby (or Michael’s) and come in a fabulous kit that’s so easy to use! 🙂 Glad you liked them!
Oh my! This is the cutest thing ever. I love all the little details!
Thank you so much Anna!
Oh my goodness! We have a family get together this weekend. These are so easy, I may just throw some of these things in a bag to take for the kids to do. Such fun little projects! Thank you for the great ideas.
They ARE so easy!!! Have fun with your kiddos Layla and thank you! 🙂
Lovely!
🙂
What a fun party! I love the two-toned tissue paper puffs. I have made them with more than one color before but not a half-and-half look. The kids look like they had a great time. Very cool!
I love those paper puffs too! The kids had a blast and were VERY proud of their original creations… Mine is the little girl with the bob hairstyle with bangs. Any excuse to do arts and crafts and these kids are in heaven!
super cute v-day ideas and even cuter models!