
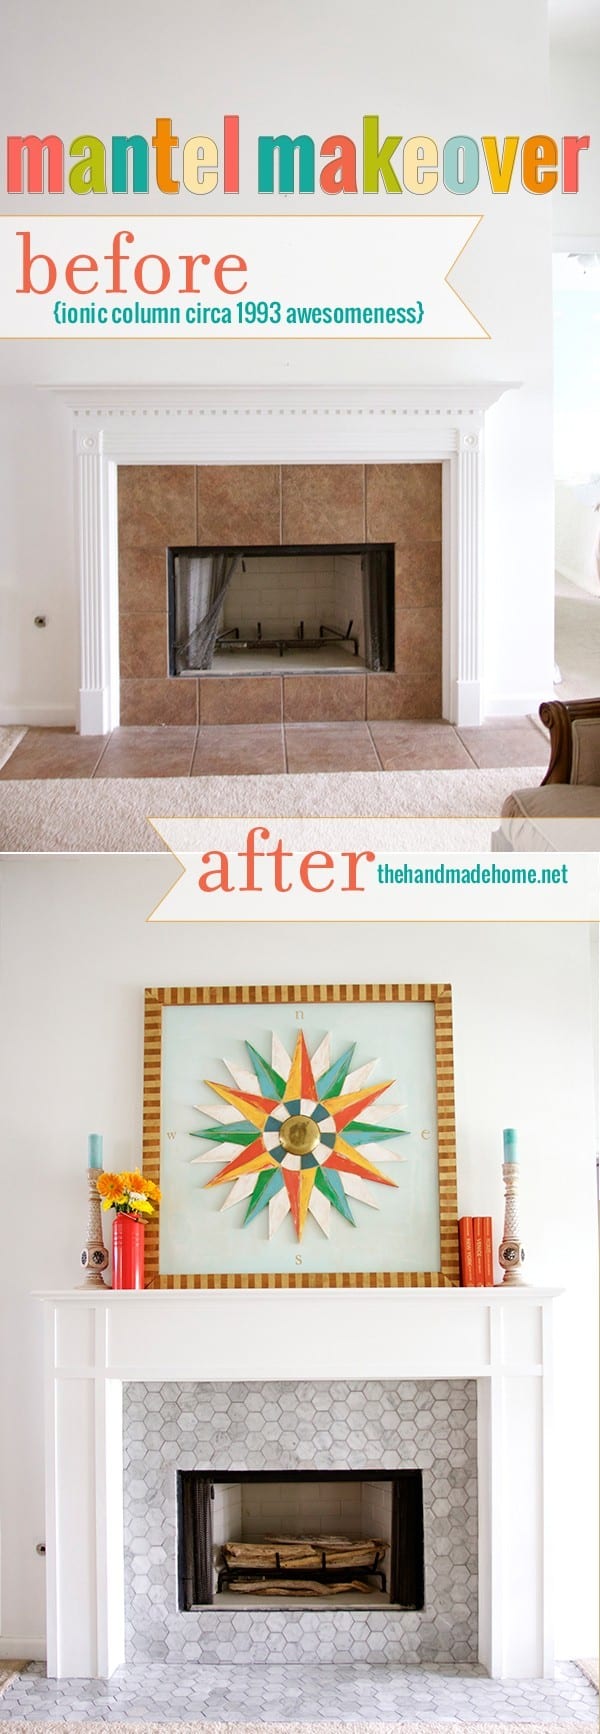
salvaged mantel makeover
When you’re in the middle of a bath/bedroom redo, the sensible thing is to rip out the mantel too, right? I mean we’ve already lost our minds… may as well go all the way.
Well, ok. Only if you’re changing the flooring out… because the damage spread to the bedroom flooring right beside the living room, too. {This is how we justified it, anyway.}
 Once we made the decision to go back with hardwood instead of carpet, we knew that if we wanted to make a change to the mantel, now was the time. The project is probably easier than you think, just a little time consuming.
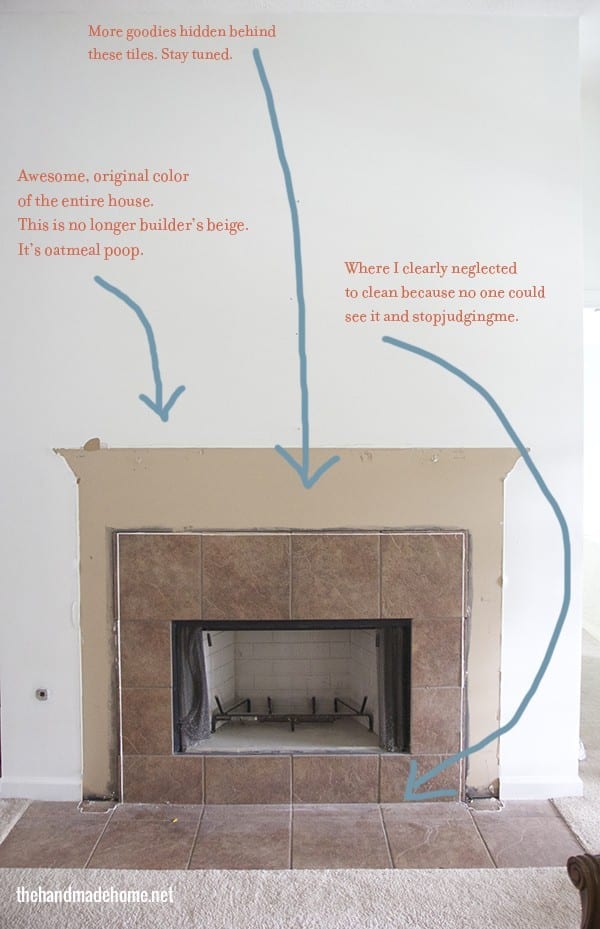
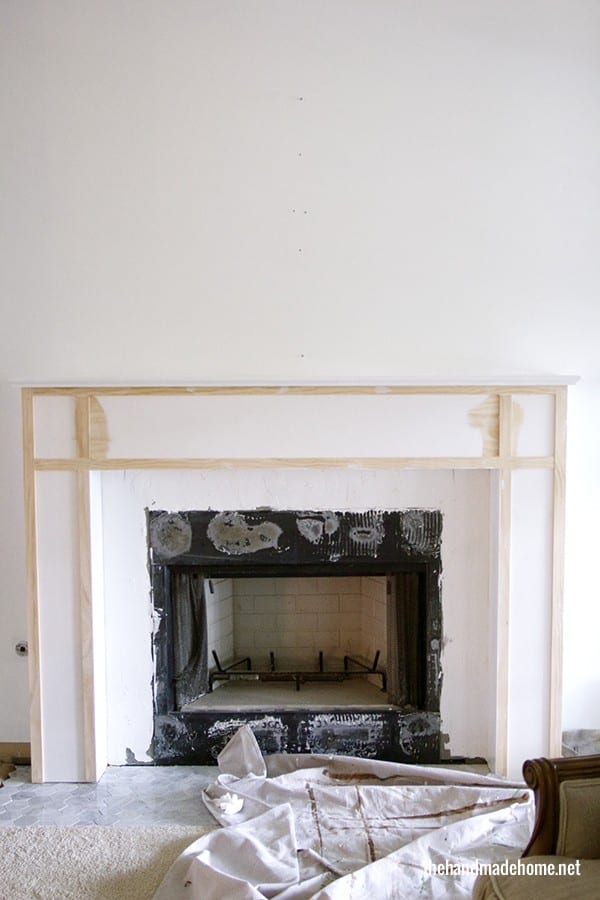
We started with cleaning off the mantel and removing the chalkboard that made its home there in the past. See hiding as much of that tile as humanly possible.
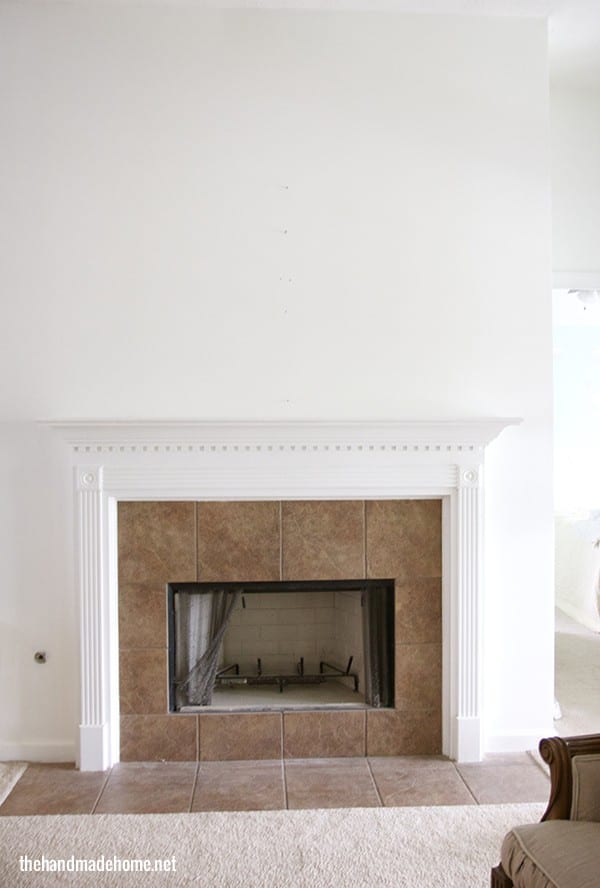
We decided to revamp the old mantel, because it made sense to use it as a great base for the new look.
First, you’ll need to score the top and sides of the mantel that touch the wall. The goal is simply to cut through the caulk that was used to finish off the mantle. That is what’s helping secure it to the wall.
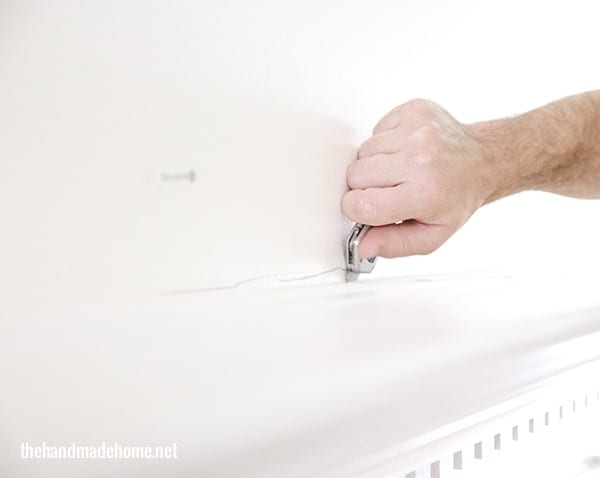
More than likely, your mantel is only attached with a few nails/screws and a little glue. If there’s extra trim on the inside part around the fireplace, remove it first so you can re-use it later, if you wish. Then, since this is the demo stage, simply use a crow bar and pry that bad boy off.
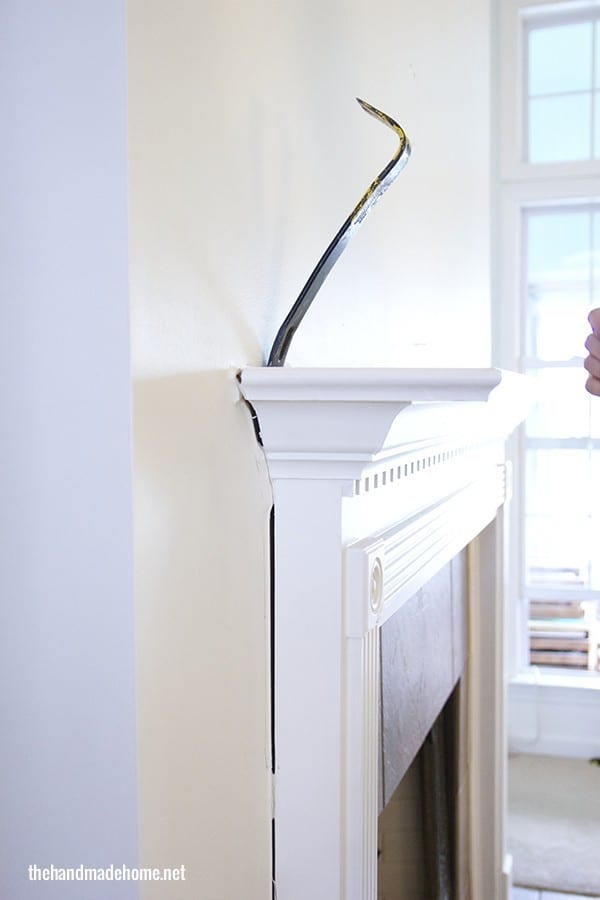
Move from one side to the other, to slowly ease it off. If necessary, score it a little more as you work.

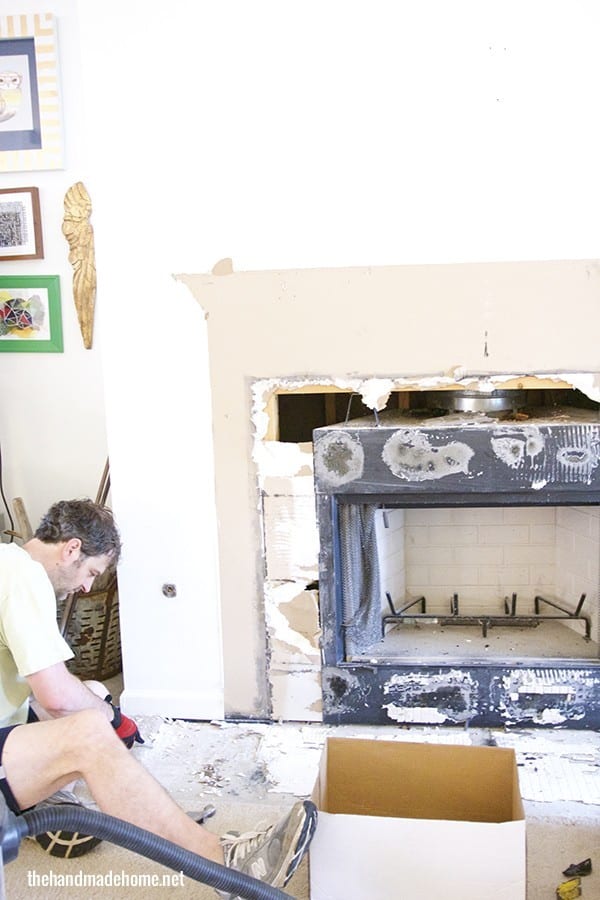
Removing the tile is just as easy. {It’s always a good idea to wear eye protection and gloves.) With a chisel and mallet, pry the tile from the wall and around the fire box. When you get to the floor, the fun begins.
Grab a hammer and begin smashing away. {But be sure all the little ones are out of the way, you’ve covered your furniture and protected your flooring. Because it gets messy quickly.}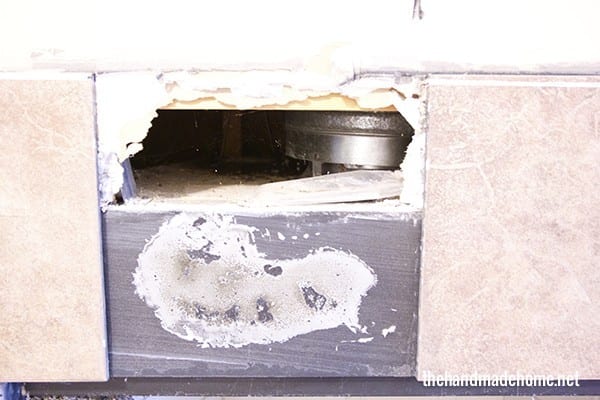
Once you remove all the large pieces, you’ll need to scrape all the thin set cement and tiny pieces off your slab/subflooring. You’ll want to provide as smooth a surface as possible for your new tile.
This is the part where we found more goodies stashed away for us in the wall. The instructions to the fireplace. It’s a thing for our home. Yay.

Tile laying is simple, but you need to be a little OCD and patient. And you might want a little helper.
Little helpers are always a bonus.
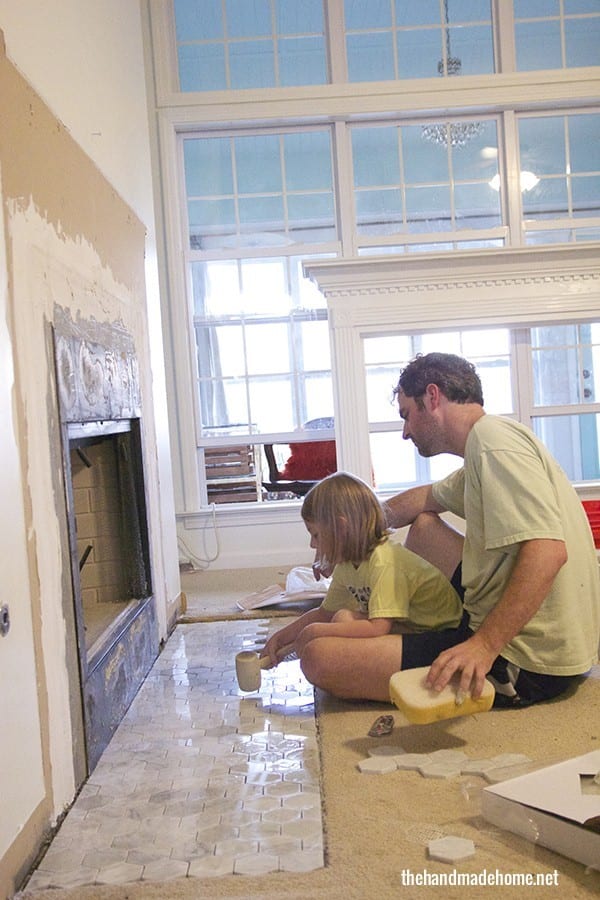
First, you’ll need to mark the center of your area and lay out your tile to mark any necessary cuts on the first couple pieces you’ll use. (We’re big fans of the Rigid saws.)
Spread a layer of thin set, using your trowel to put grooves in it. (We like the premixed thin set for a small job like this, even though it is a little more expensive.)
Lay your tile on top of the thin set and use a clean mallet to tap it into place. Continue laying the tile on the floor until it’s all covered. You’ll need to let this sit for a day, but it gives you plenty of time to move on to the mantel. If you’re using small tile like we did, make sure all the pieces are level and flush. Also check your lines to make sure they’re lining up.
(We moved on to the mantle before we tackled the wall tile.)
 Our mantel had trim on it that we didn’t love, {Ionic columns circa 1993} so we removed it with a wood chisel and mallet. Then we sanded off all the glue with a belt sander and an orbit sander for a smooth, workable surface.
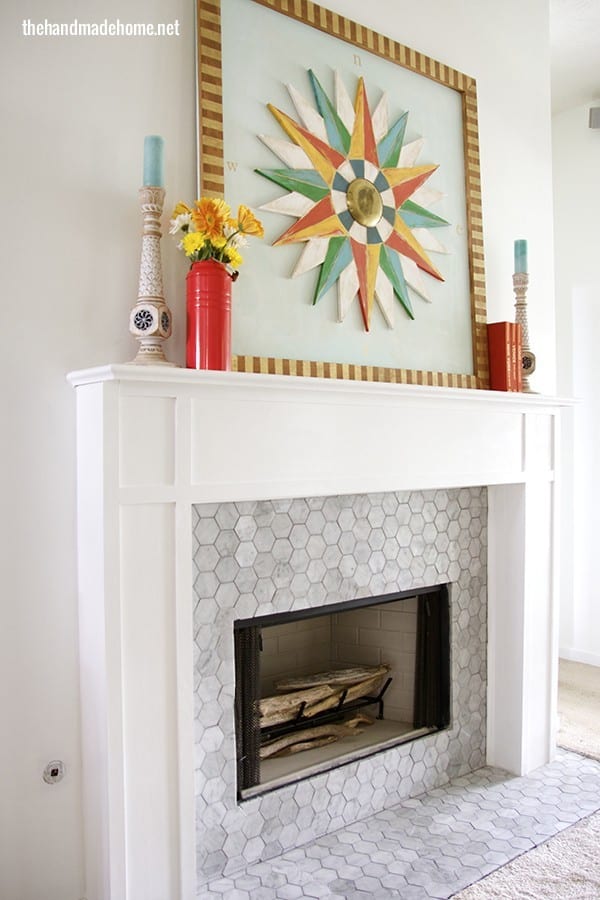
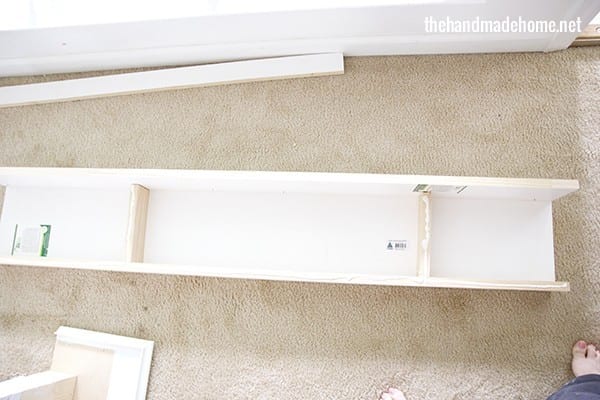 Next we measured to where we wanted to add on to our mantle on both sides. We wanted our mantle to have a depth of 6 1/2 inches and a width of 8 1/2 inches for a nice, chunky look. Our current mantle had a 3 inch depth, and a 4 inch width.
The height of our mantle was 53 inches.
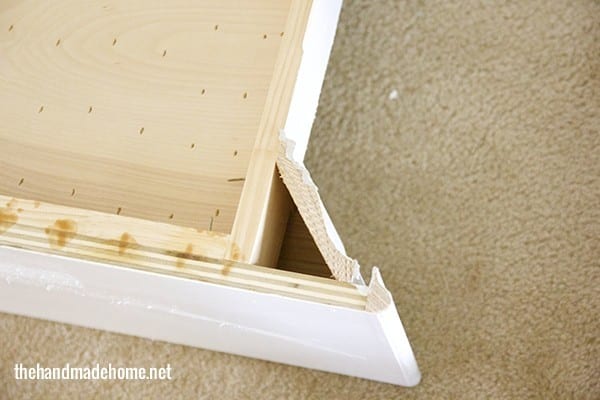
To build the two boxes that would cover the legs, we cut a 1 x 4 x 8 down to 53 inches and cut (4) 7 inch pieces (I used a compound saw). We also ripped a 1 x 10 x 6 down to 8 1/2 using a table saw and cut it to 53 inches. We ripped a 1 x 8 x 8 down to 6 1/2 inches and cut it at 53 inches.
I then used some wood glue and our finish nailer and 2-inch nails to build the box overlay.
To build the box, first attach all the 7 inch pieces as cross bars to your 4 inch and 6 1/2 inch piece. Then lay your 8 1/2 inch piece on top and attach it with glue and nails.
Repeat the above process for the other side as well. Once both sides are built, go ahead and attach them to the existing mantle using wood glue and your finish nailer.
Now you’ll need to measure your center piece and build it. Again this is the same process as building the sides: A simple box with a couple of cross supports. After you build it, attach it to the existing mantle using wood glue and your finish nailer.
Now you’re ready to attach the mantle back to the wall. For this, first make sure your wall is cleaned and sanded. Then, secure the mantle to the wall using at least (4) #10 3 inch wood screws. We put (2) in the bottom inside of our mantle and screwed them into the rat seal or the 2 x 4 sitting behind the wall on the floor. The other two we screwed in on the inside top, because we knew there was a stud there. The key is to make sure you are attaching to a stud, not dry wall.
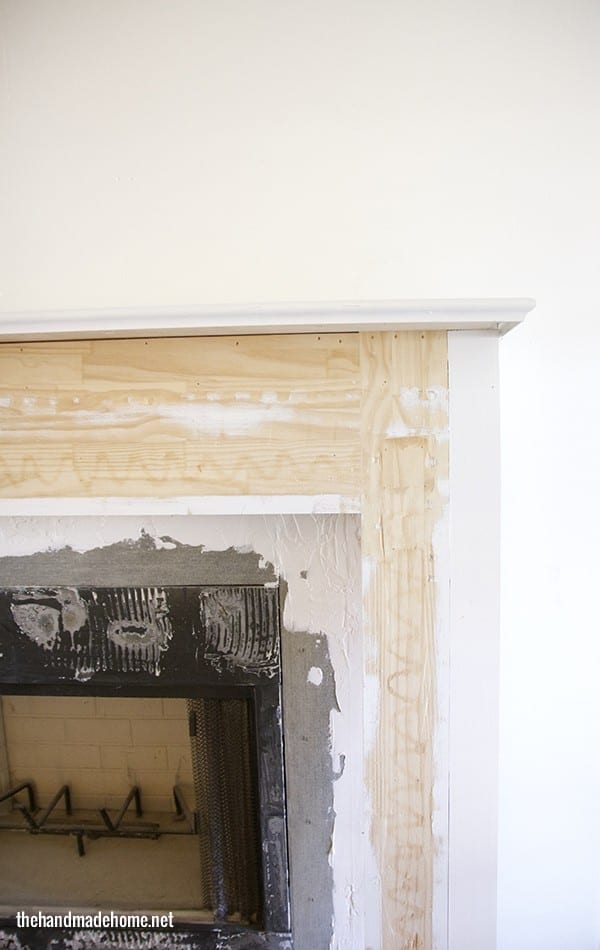
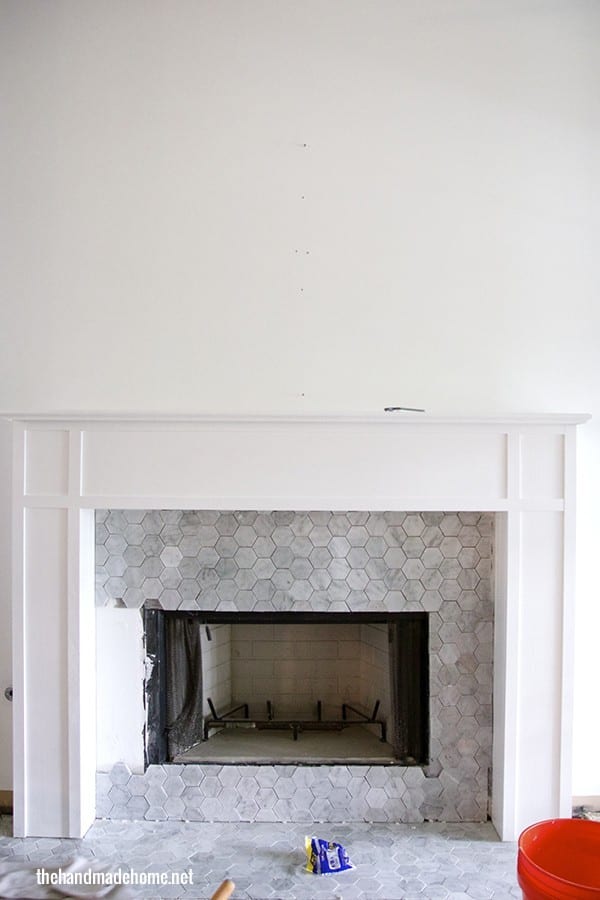
To really give the mantle that finished clean look, we decided to add some simple trim. We took a few 1 x 2 x 6’s and ripped them straight down the middle using a table saw, cut them to length, then simply glued and nailed them to the mantle.
Next, we simply caulked around the outside of the mantle, and anywhere there was a nail hole. (Make sure to use a paintable caulk.) Once everything was dry, we painted the mantle.
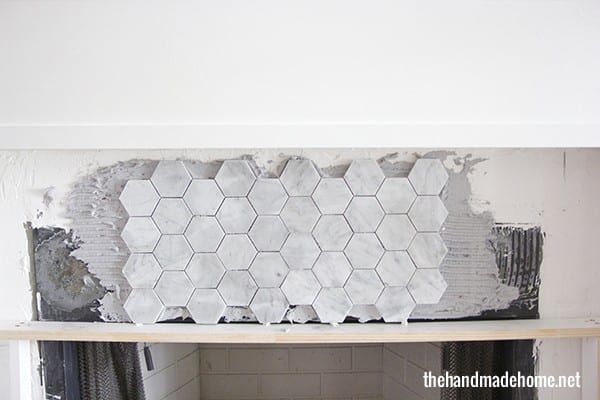
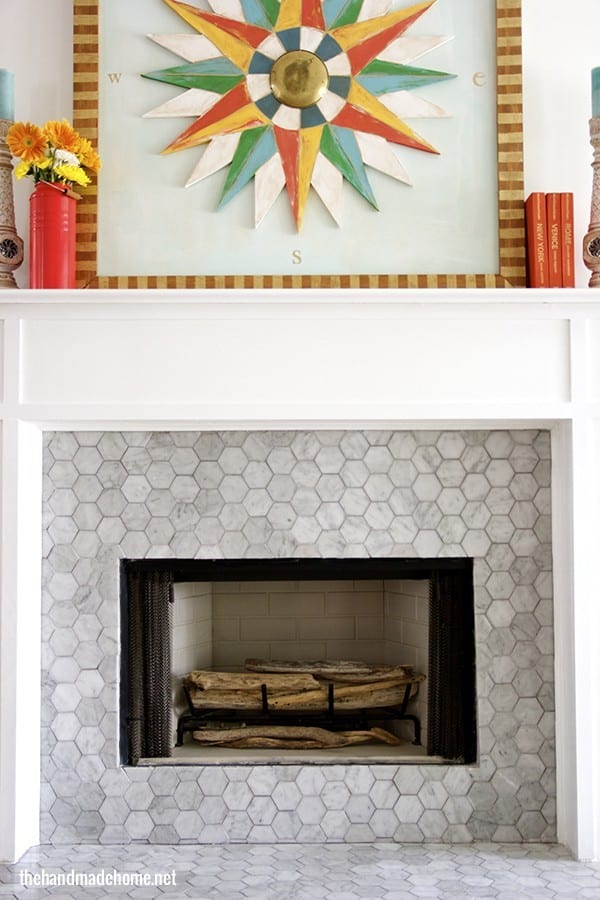
Then it was time for the wall tile. You will lay this the same way as the floor, except you need to support the tile. Gravity = lots of fun.
We chose to start at the top center so that any cuts we would make would be against the floor or sides. We also laid the top row and supported it with a bridge we built to size for a support. We let this dry over night, before we came back the next morning to finish out the rest of the fire box. (You can start at the bottom and work up if you want as well, and it’s probably faster, but we were more concerned with where our cuts would end up than speed.)
 I would suggest starting at the top on one side and working your way down and around. You will probably also need a few spacers to help hold it all in place. (As a side note, do your best to cut all the side pieces and have them ready to lay. As you can imagine, the top one will not stay without a little support from underneath.)
 On the floor, make sure to use a spacer, because you will want some space between the floor and your tile for grout. (Factor this into your cuts.) We used 1/16 inch spacers.
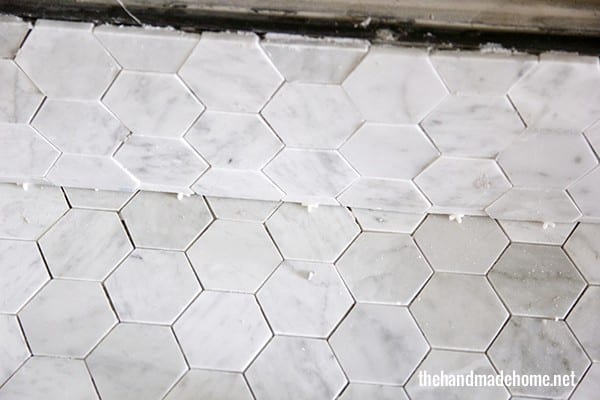
To grout all your tile, you simply need a grout float, a bucket with water, a sponge and some cheese cloth. We also like having a flat trowel to help get the grout on the tile.
Make sure all your inset is dry, and remove the spacers. Then begin spreading your grout over your tile. We put a pile on with our trowel and pulled it across the grout with the grout float pushing it into the grooves.
Then we came back across it with the float at 90 degree angle to remove the excess. Keep doing this until all the tile lines are filled. Then after about 20 minutes, come back across the tile with a wet sponge to remove any remaining excess. Wait another 20 minutes, and come back over the tile with some cheese cloth to clean it. up.

Finally, reattach your inside trim {ideally, the stuff you salvaged at the beginning} on the fireplace with glue and finish nails.
We went back to fill in any seams on the insides next to the tile with more caulk and touch up paint… just a little of the finessing process that you’ll be glad you did.
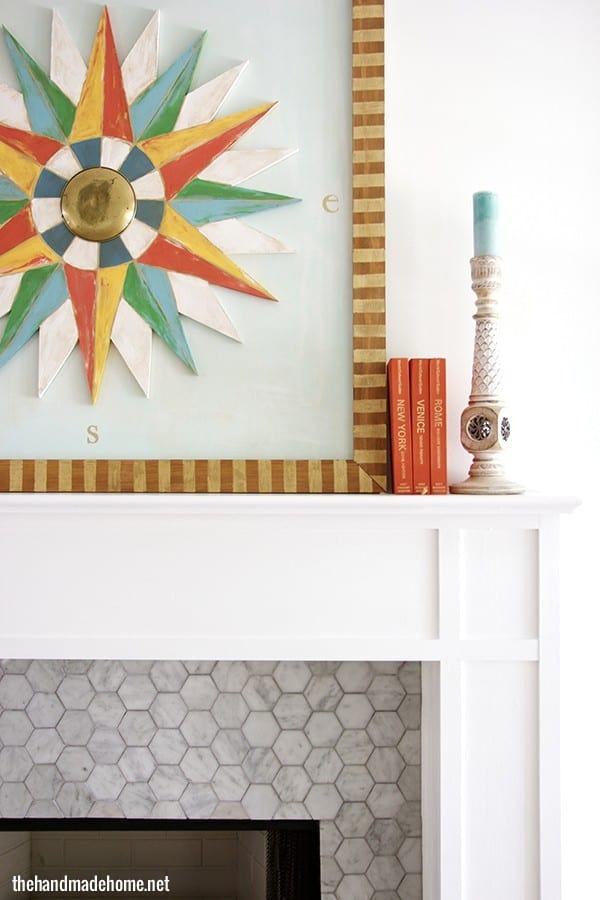
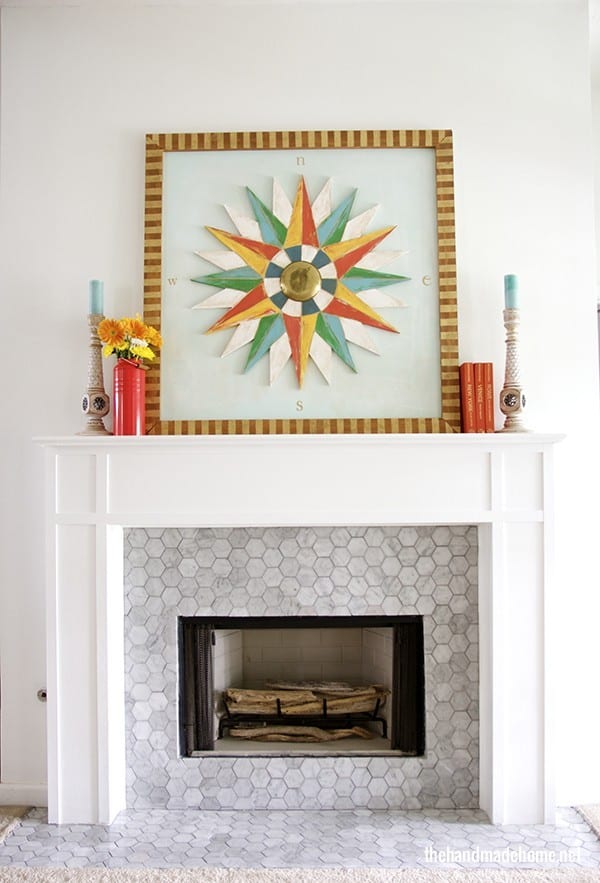
And you’re finished! A whole new look for just a little elbow grease and the cost of tile + a few supplies.
Changing out your mantle really is that easy! With a little elbow grease, you can have an amazing upgrade with a great impact for the look in your home.


This is soooooo beautiful! I LOVE the honeycomb tile! My mantel/fireplace is in desperate need of a makeover.. thanks for the inspiration!
It looks beautiful! Do you kinda want to rip out the rest of your walls to see what else is in there? Your home is time capsule!! 😉
Haha yes. At this rate, I wouldn’t be surprised to find some money and a body or two. It’s escalating quickly 😉 Thanks, Rachel!
Fantastic! I love that you took something old & made it new again.
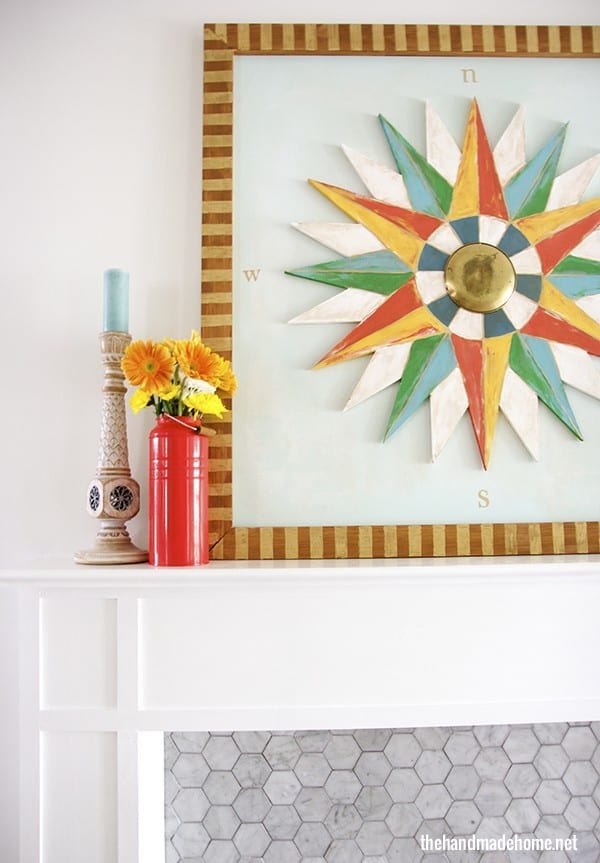
Really stunning . . . and I love the artwork above it too!
I love this! Looks great. Inspires me to finish my fireplace!!
The upgrade is absolutely gorgeous Ashley! I love the boxy craftsman feel of the new mantel – so pretty and so much more substantial. Don’t even get me started on how much I love that tile! Happy weekend:)
Where can I find the cool compass pix on top of your fireplace? Love your fireplace!
Thanks, Lisa! You can find the how to, here! ;}
hello! I know this is quite a few years old now, but do you know the name of or where you got this tile!? love it!
Hey! If I recall correctly, it was Home Depot. Their Jeffrey Court selection probably has something similar. ;}
What size Hex did you go with for this? Looks like 2 or 3 inch?
Hi! It’s been a few years. So I honestly have no idea. ;} Probably 2.5 inch, if I had to guess. Hope that helps!