
make your own giant letterpress number
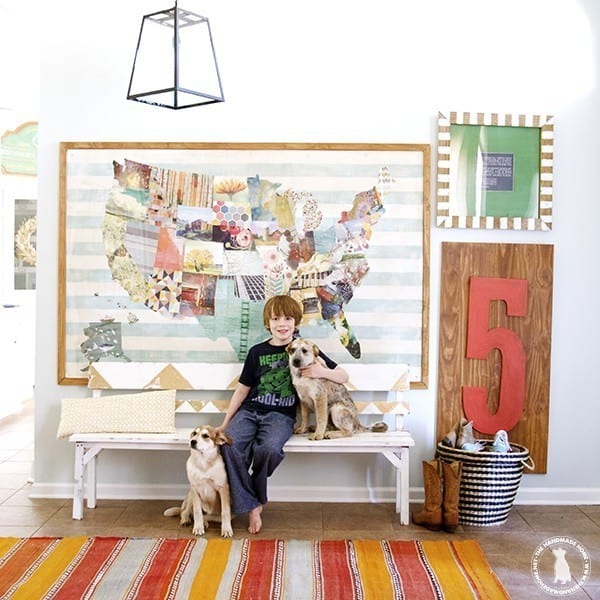
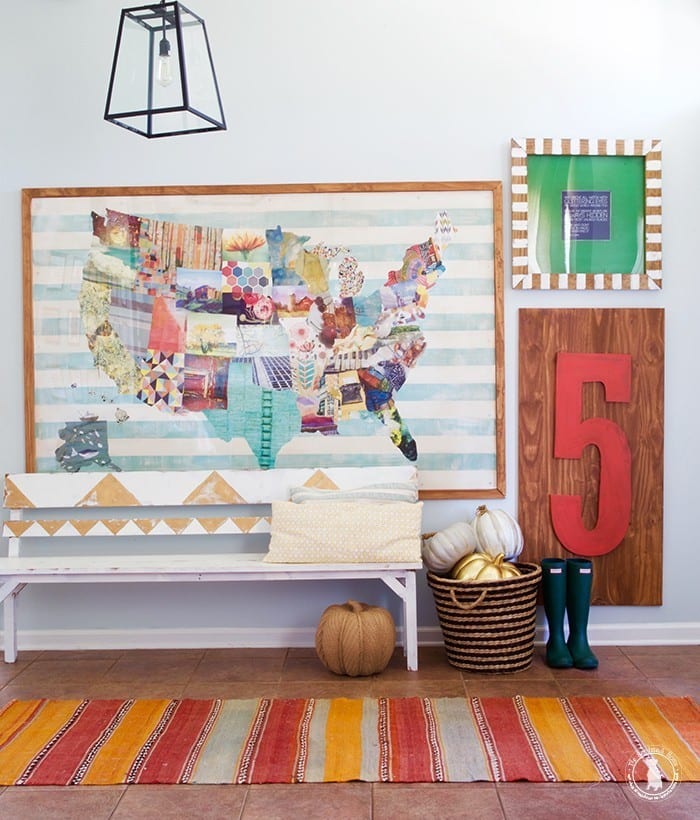
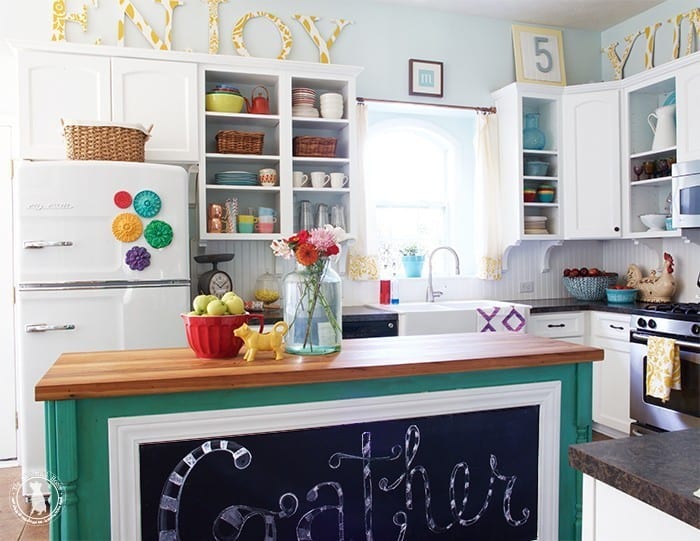
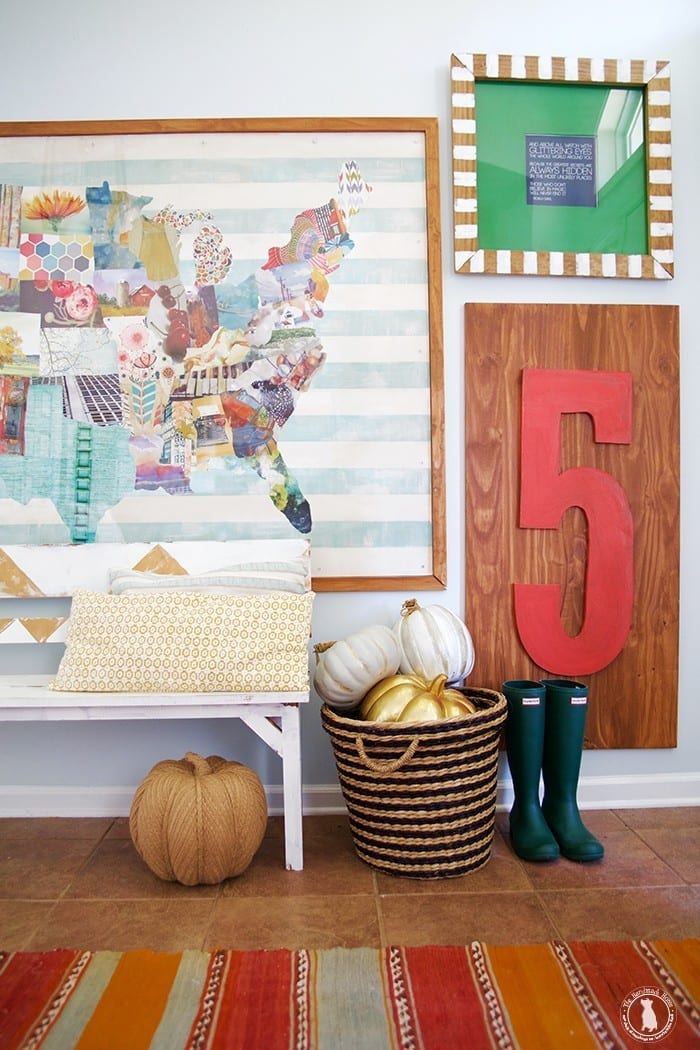
Last fall {just a month shy of a year ago, to be exact} we had a blast sprucing up our entryway with a little book challenge of sorts. And in the process, we decided to change the entire wall up. With one of our favorite quotes, and this {not so} little number five.
But then we were all, JK because we kind of forgot to share how we made this giant letterpress number with you. Fail. And no, it’s not really a giant letterpress number. But it kind of feels like one, and sounds super exciting/important… thus the title.
The questions came in, and we realized we kind of dropped the ball. So today, we thought we’d share in more detail, how we made one of our favorite pieces in our home.
It’s a pretty basic piece, but one with major character. The best part? You can use any version of this from letters to numbers… customized to your own home. In any size.
Many of our large and in charge art projects are made with the same materials, but different combos.
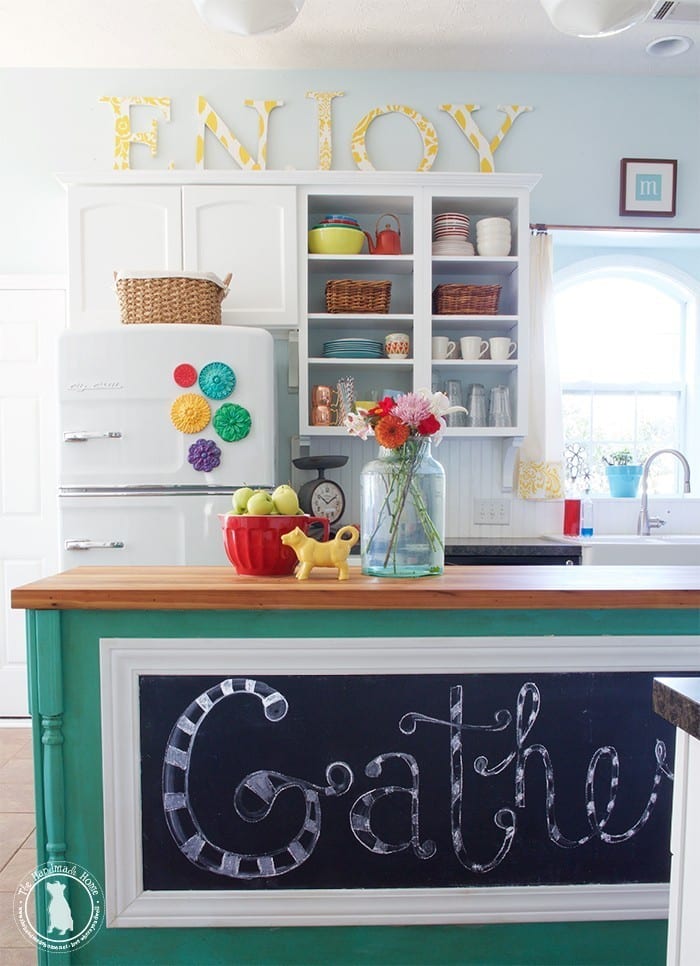
This is a bit of a hybrid project, from the letters over our cabinets, just mounted on a piece of wood.
And with the combo of a projector, paint glue and saws, you can make just about anything.
Here’s what you’ll need:
• A projector : digital or old school overhead… you can even borrow one from your local library, church or school… chances are there’s a treasure trove of oldies but goodies just around the corner. If you go with digital, you’ll need a file containing your simplified art of choice, or one printed out on transparency {You can get those printed up for a couple of bucks at your local quick printer}. + A pencil or pen for tracing.
• MDF big enough to contain whatever size you wish your piece to be – we go with 1/4 to 1/2 inch in thickness – sometimes the 1/4 to save on weight especially if it’s a larger piece mounted to the wall. The final size of our 5 was 32 inches long x 12 inches wide by 1/2 inch thick.
• Wood or MDF to mount it to – we grabbed up this oak press board so we could stain it, for a nice contrast between the painted 5 and mounting piece – the final size of our board was 2ft x 4ft.
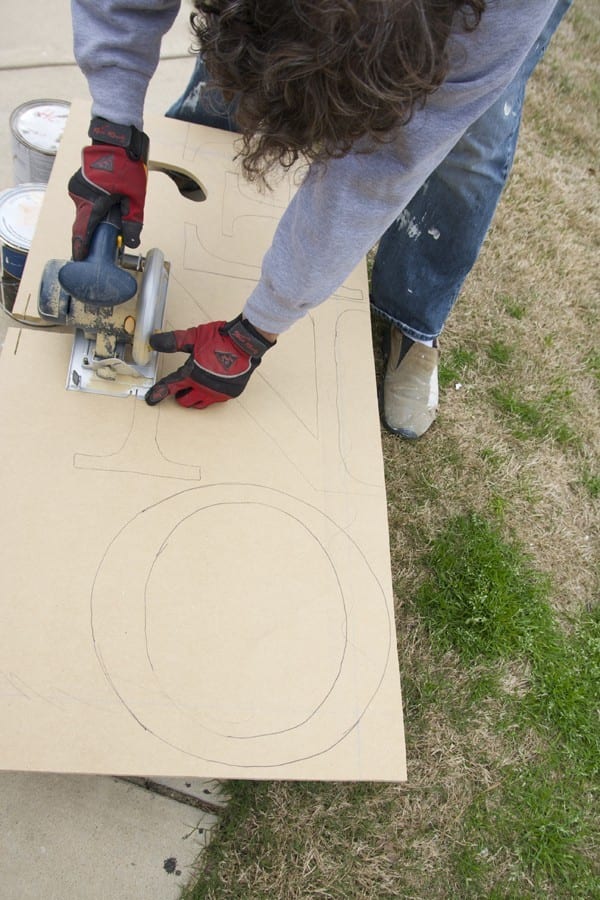
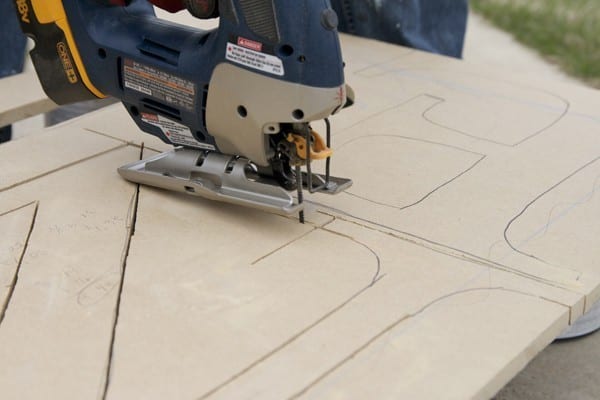
• Saws: We used our RYOBI Jig and RYOBI circular saw + sand paper or a sander {optional}
• Paint, stain + glue. We used Benjamin Moore’s Bird of Paradise, combined with Cabot’s Cinnamon – a hot glue gun and wood glue to put it all together.
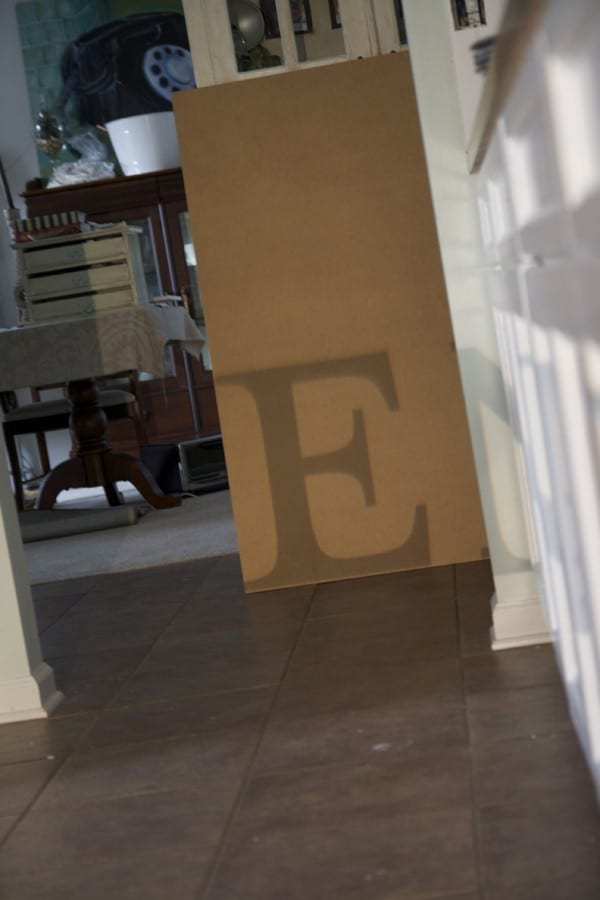
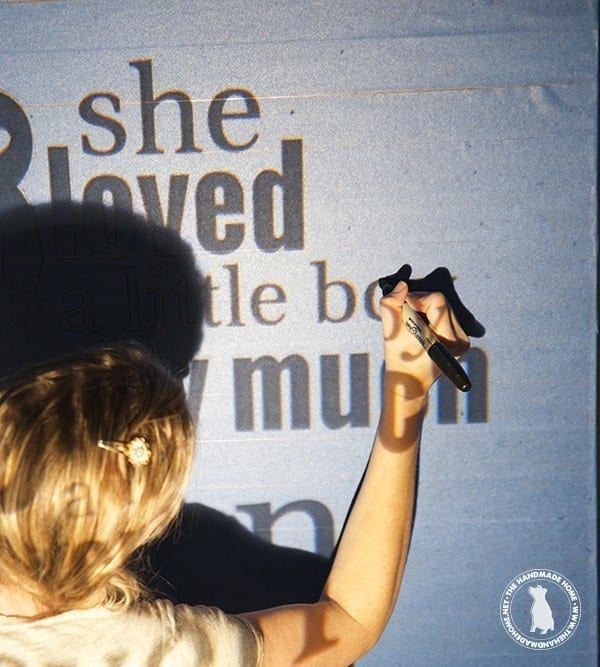
So first things first {Check out this old photo with paint all over our floor} project your desired image on the MDF board.
Helpful hints:
• I couldn’t begin to tell you what font our 5 was in. So that’s not so helpful. What I do enjoy doing is perusing fonts that I have, and freebies online for the best possible combos that would look great in my desired piece. Be sure to check out a ton in our own font snob series here for great potential finds. Our five is actually probably from one of those ;} I just can’t remember!
• I always scoot my projector back and forth, until the size is just right {measure with a measuring tape to check in between.}
• Try to prop it as straight as possible, so that your letter or number doesn’t end up warped, and trace it with a pencil or pen.
• Trace your desired art onto your piece, and if it’s one letter or number, put it on the very edge for less cutting. ;}
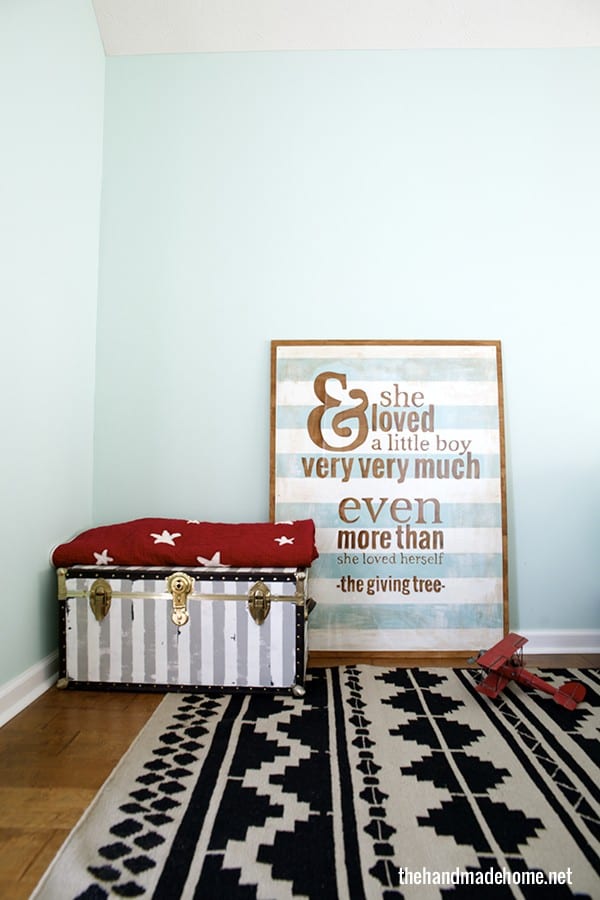
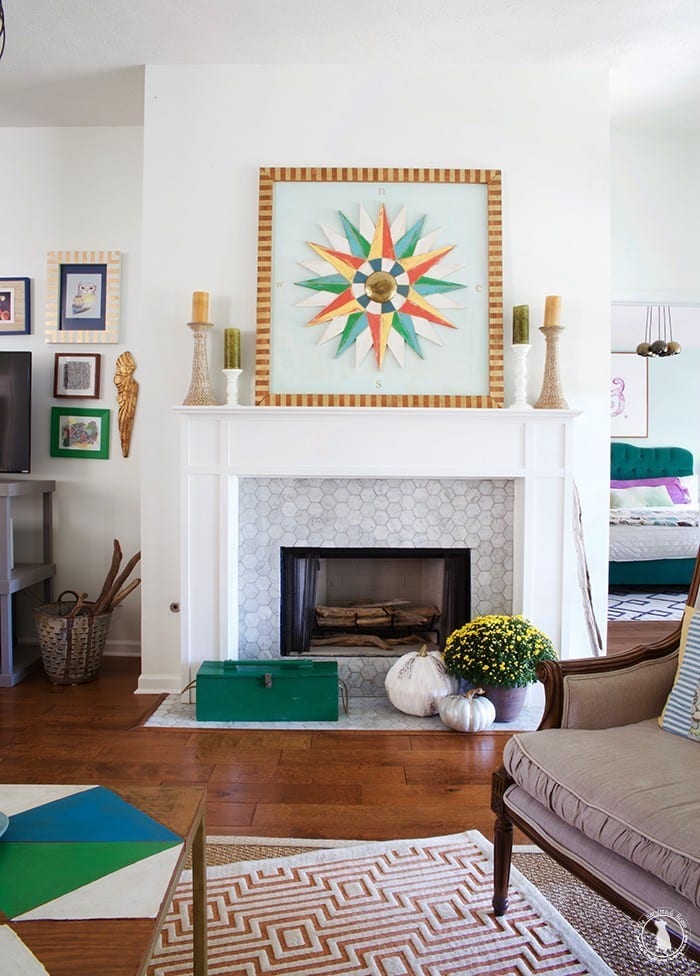
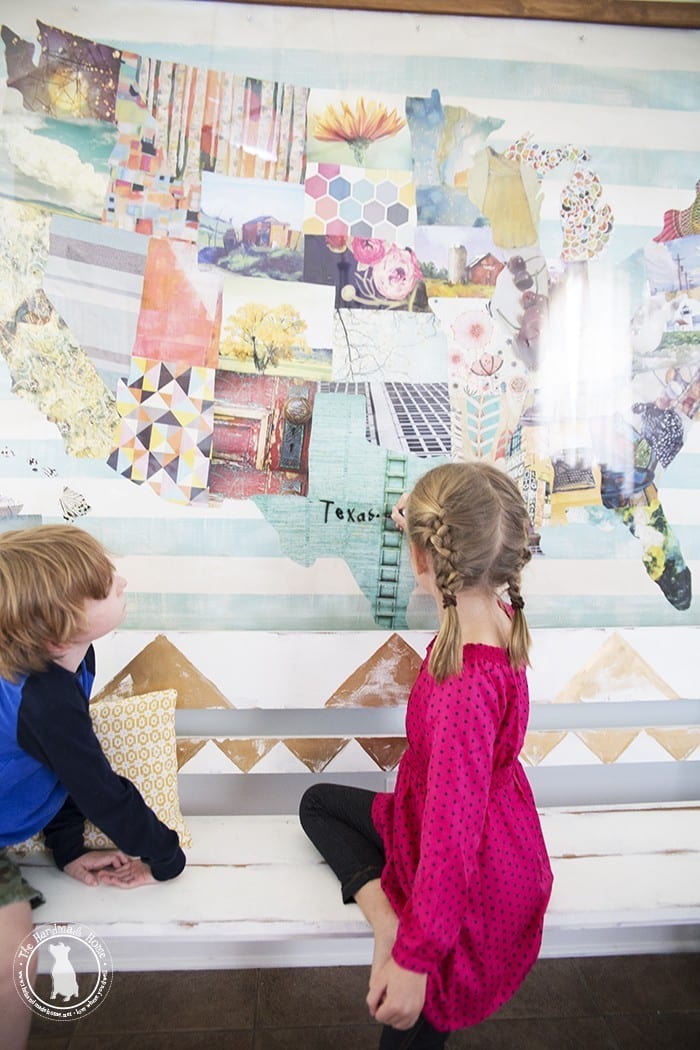
You can see we did the same thing with our giving tree art + our compass art.
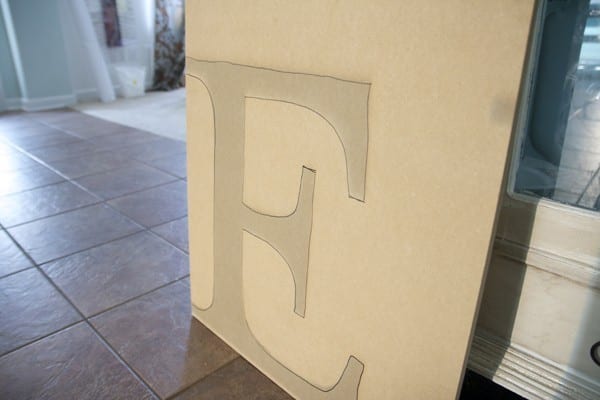
Once it’s finished, you’re ready to cut!
Helpful hints:
• Start with your circular saw, and work your way in to a nice cutting position you’re comfortable with. Taking all the straight lines with your circular saw, it gets the majority of the cutting out of the way with most letters and numbers. If it is a tight space, you can always drill a hole and use it as the starting spot.
• When you’re finished with those cuts, work out all the finer details with your jigsaw.
• Each number and letter will be different, but work with it and manipulate it until you can finagle the piece lose from the board. Sand lightly if desired on those rougher edges… and tada! You have your letter or number.
From there, we gave it a couple of coats of our desired paint color. {Paint liberally for that fun, vintage look – more below}
While those dried, we cut the board it for mounting, and stained it.
For that timeless antiqued look that we love so much, we usually give our pieces a tea stain on top of a few layers of paint. To read more about our {super ancient post yet totally tried and true} tea stain technique, be sure to check it out here.
See? Total hybrid post. And that, ladies and gents… is why we were dorks and forgot to share our how to.

As always, let us know if you have any questions. We hope this helps get you guys started on some fun art for your home! Have an inspired day!

Oh how I love this. This will make a great addition to our family room. What a brilliant idea. How do you hang it? With one of those saw tooth hanger things or a wire? Thank you for the idea, I just love your site.
Hey Sarah! We used this here. We think it’s better for the heavier stuff. Maybe even a wall anchor, too if you don’t have a stud. Hope that helps!
I’ve been looking for the right projector and a push to go ahead and purchase it! I’d like to do the digital projector. Can you tell me how it works? You save your file on a jump drive and does the projector find the file or do you have a menu? Can you have multiple files on the drive or do you need to have the single file for current use? Thanks!!
Thank you for posting this tutorial!