
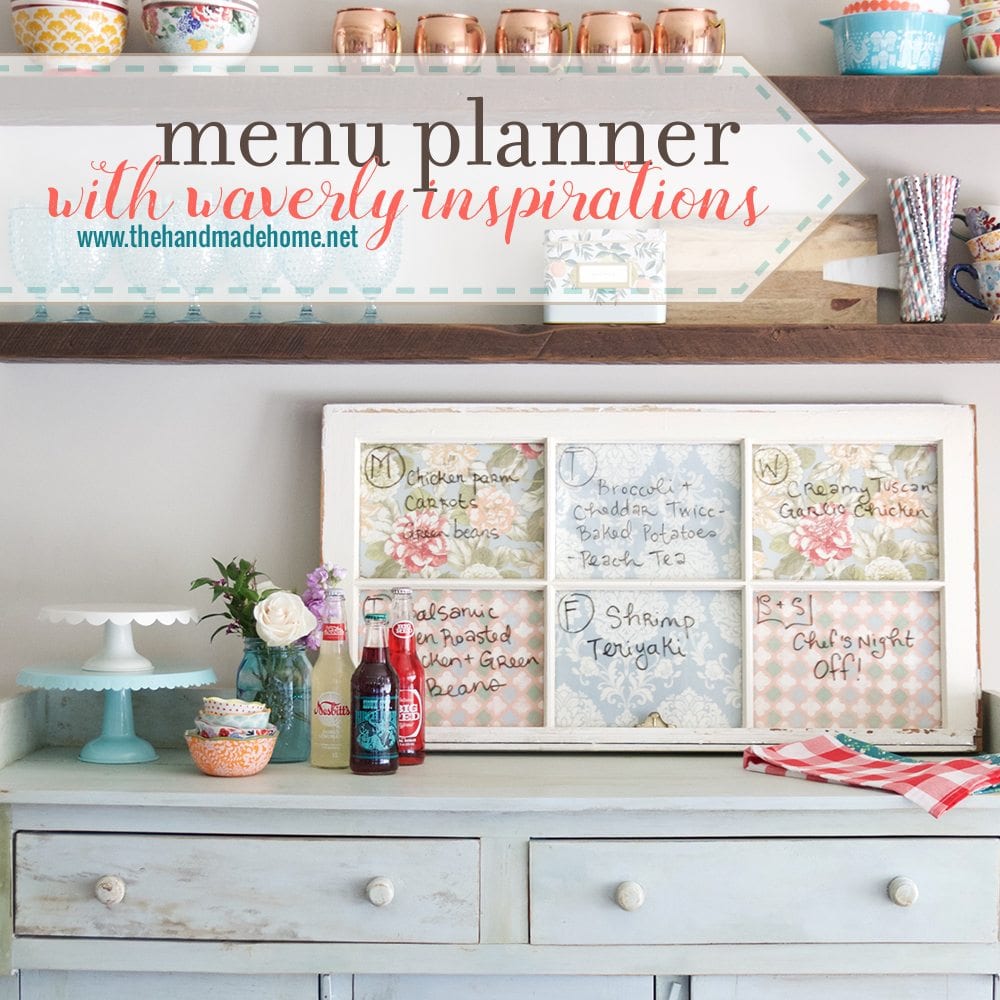
diy menu planner with waverly inspirations
:: This post was brought to you in partnership with Waverly Inspirations and its parent company, Iconix. While we were paid for our expertise all opinions and ideas are 100% ours. Please read our full disclosure pertaining to partnerships here ::
But Before we get to it, don’t forget about the amazing Spring FREEBIES from grove collaborative, check the offer below.
It’s round three, y’all!
Remember that fun little challenge in which we’ve been participating, where we teamed up with the fabulous Waverly Inspirations to bring a fun project straight to you each month depending on what they sent?
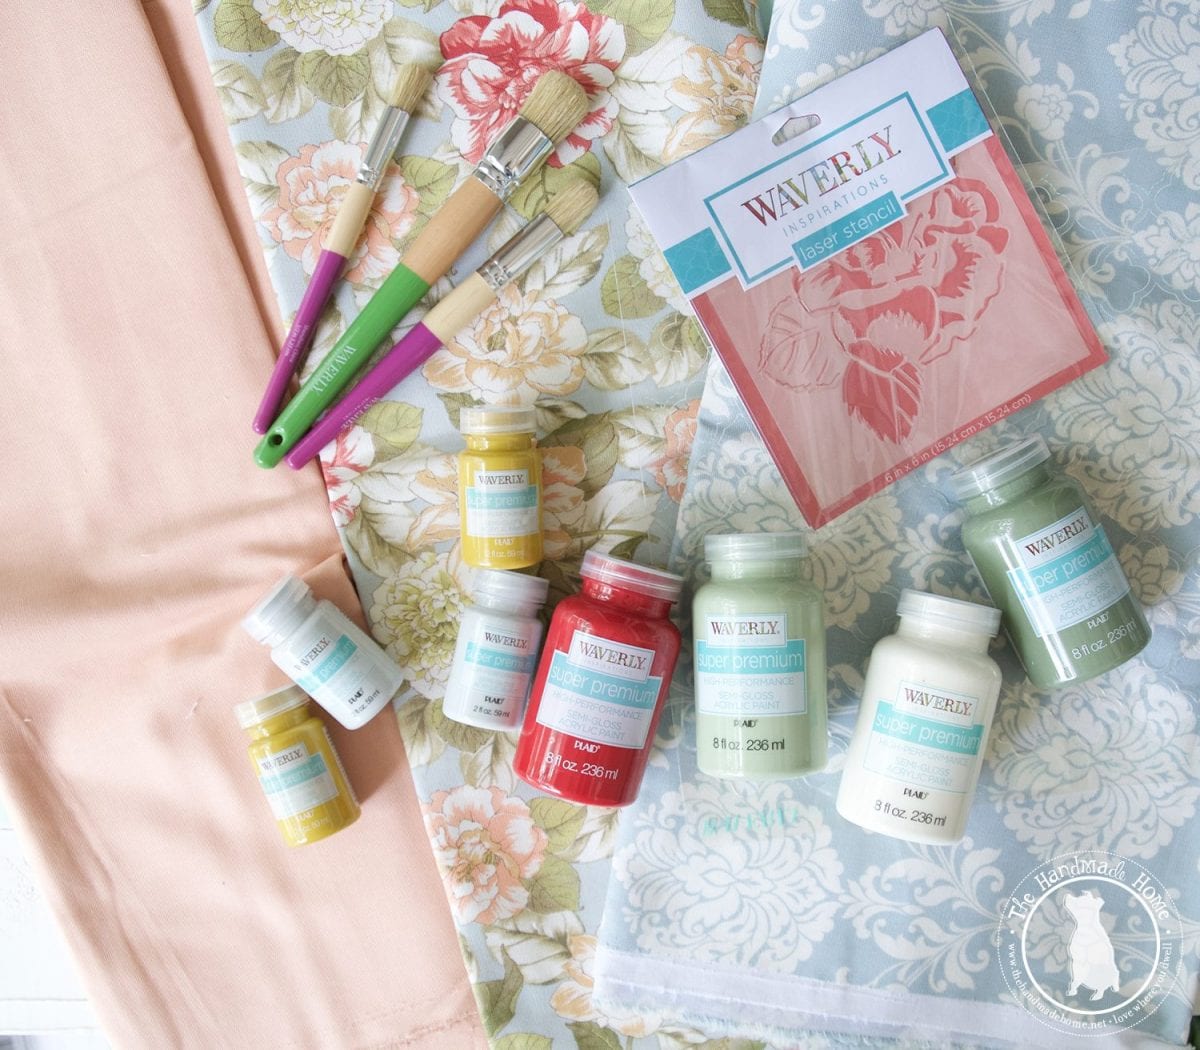
This time, we got a boatload of fun paint and stencils, and some more of their gorgeous fabric. Yes, please.
The artist in me was quite pleased.
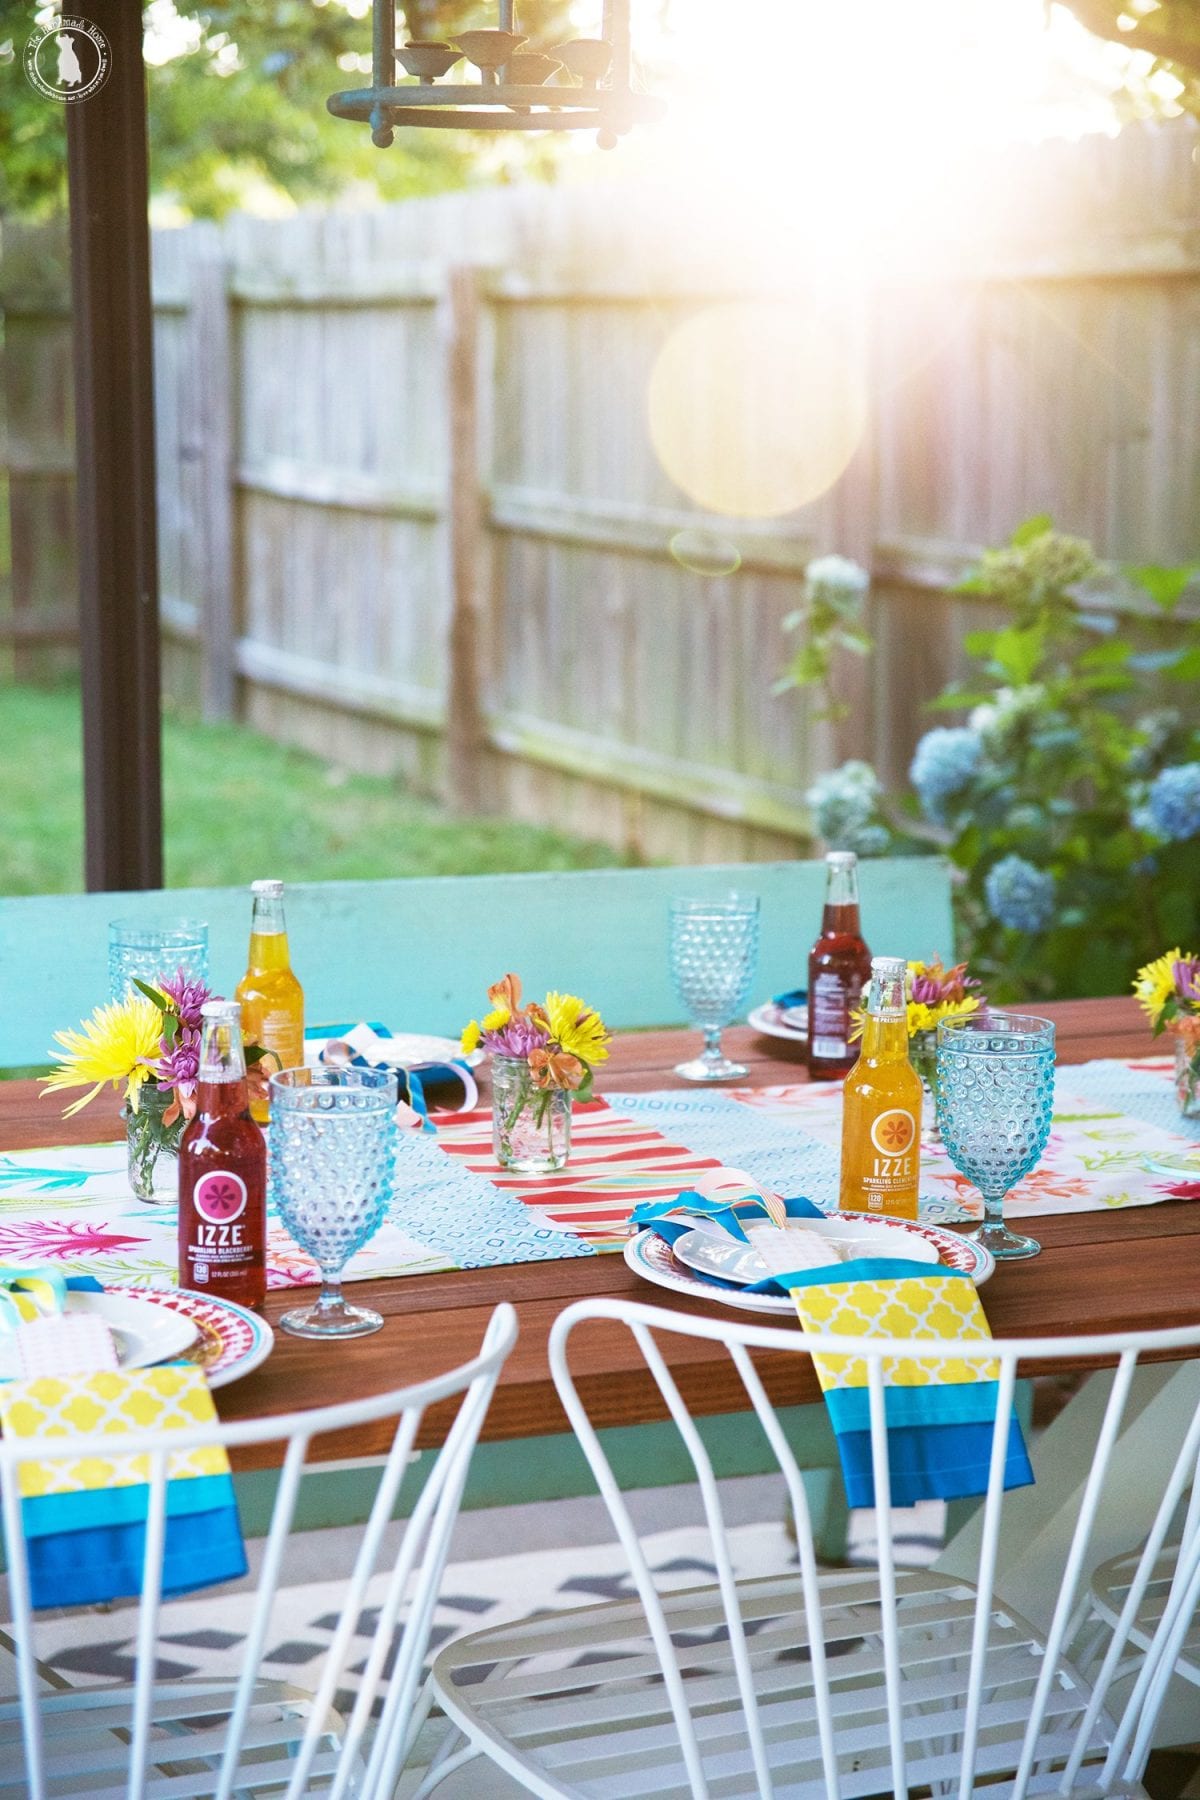
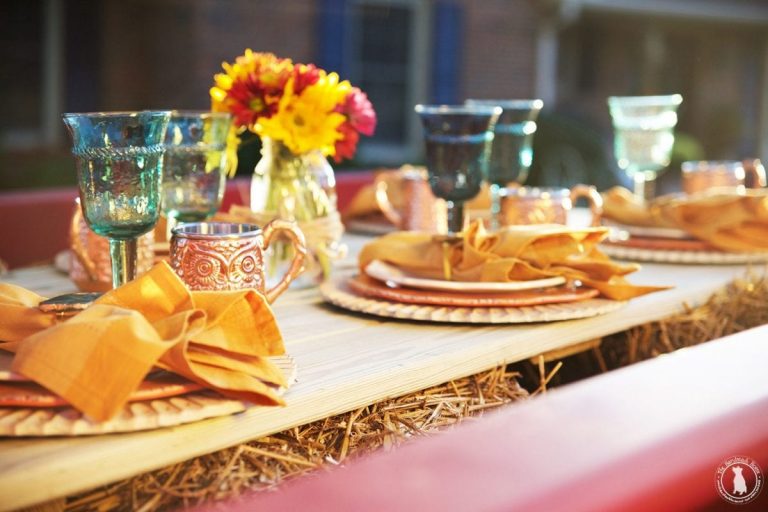
But first… let’s take a jog down memory lane, shall we? So far, we’ve taken on a fun summertime tablescape,
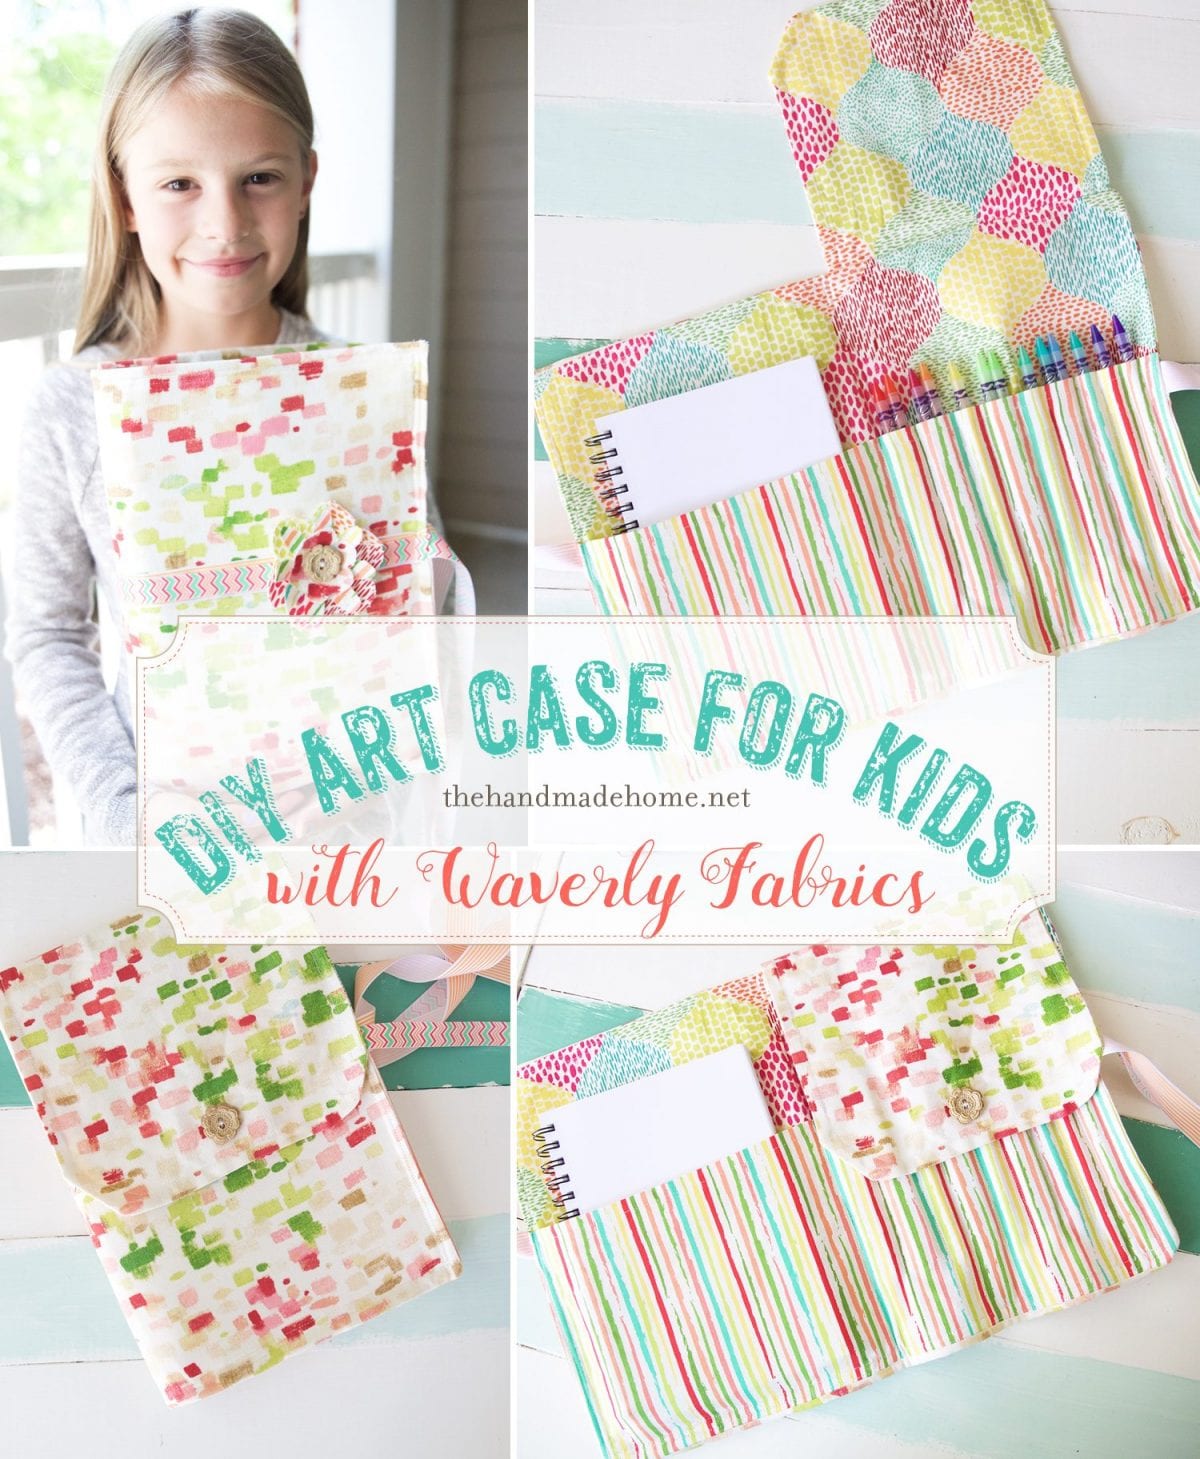
And a diy art case for back to school!
Because our last couple of posts were a bit sewing-labor-intensive, we decided it was time for a no-sew project for around the home. Easy peasy rice and cheesy.
We wanted to cook up a fun way to display some of these sweet Waverly Inspirations fabrics, without even breaking out that sewing machine. So if you’re not into the whole sewing gig, but love working with fun patterns and fabrics… this post is definitely for you.

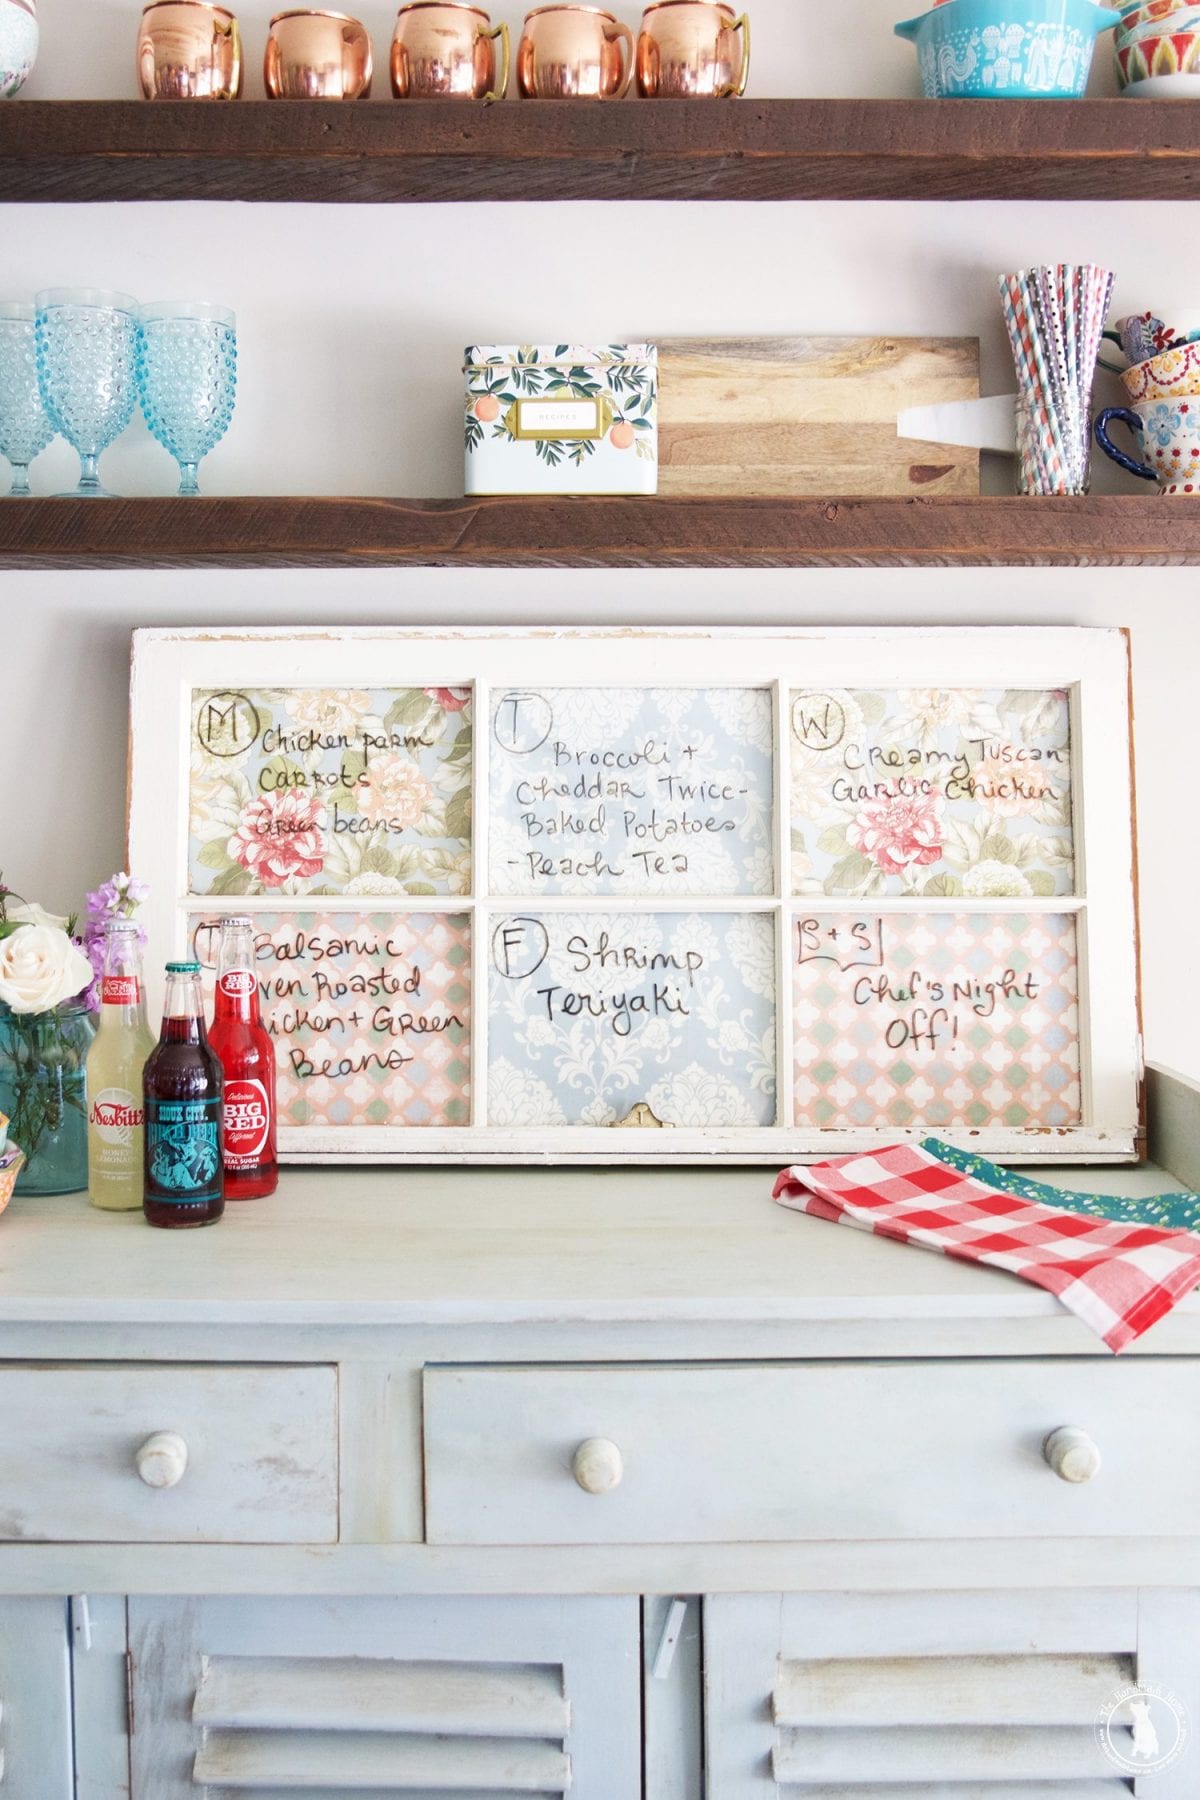
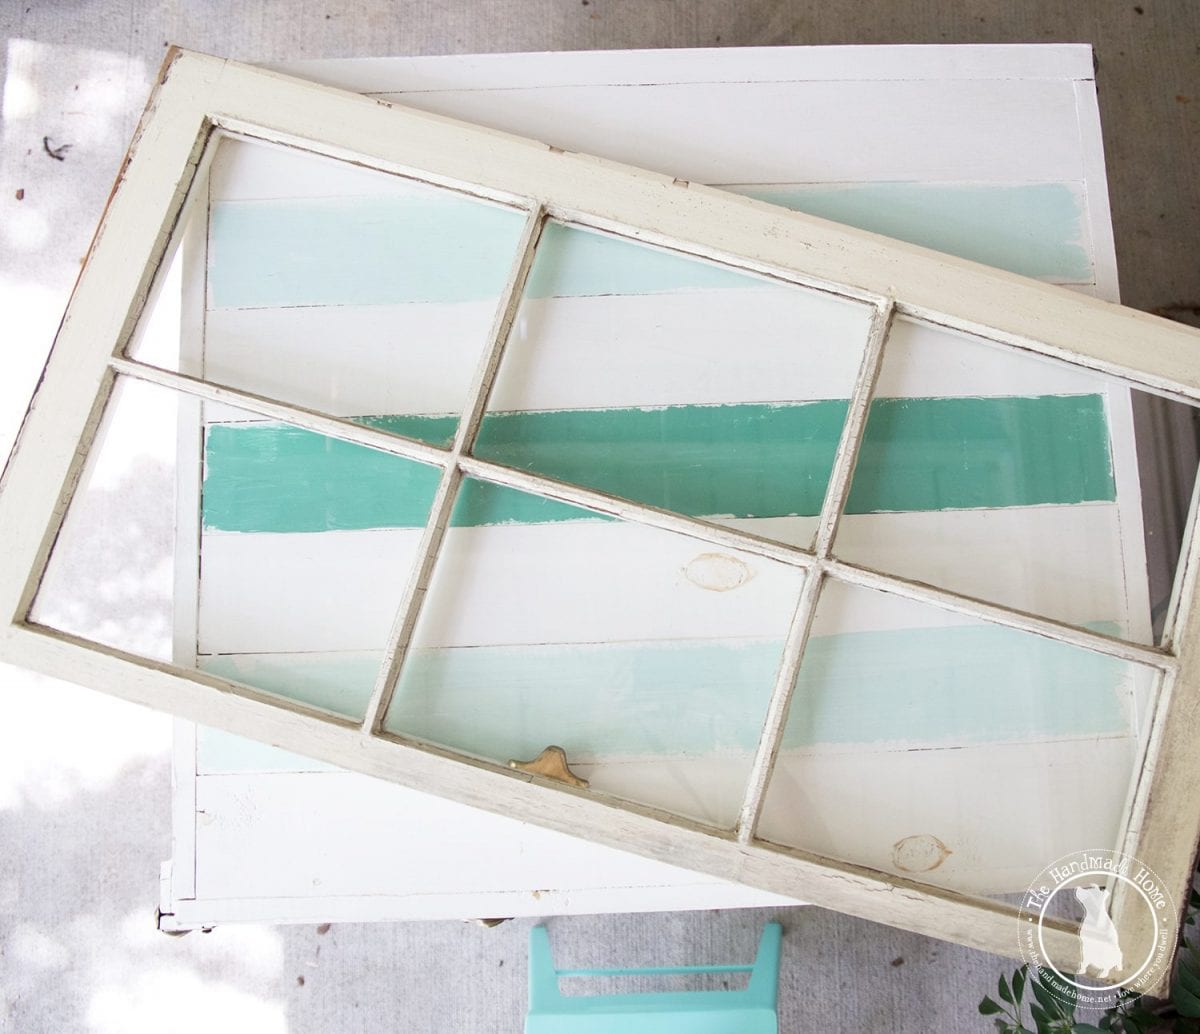
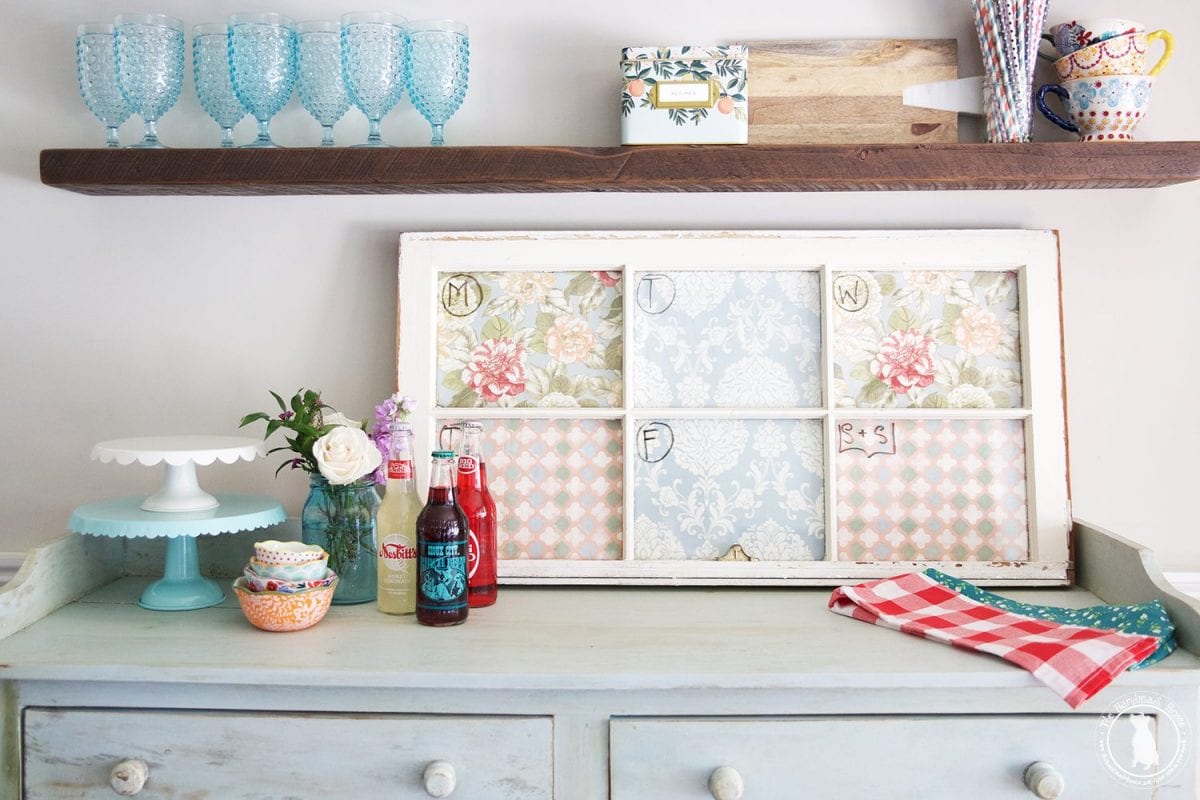
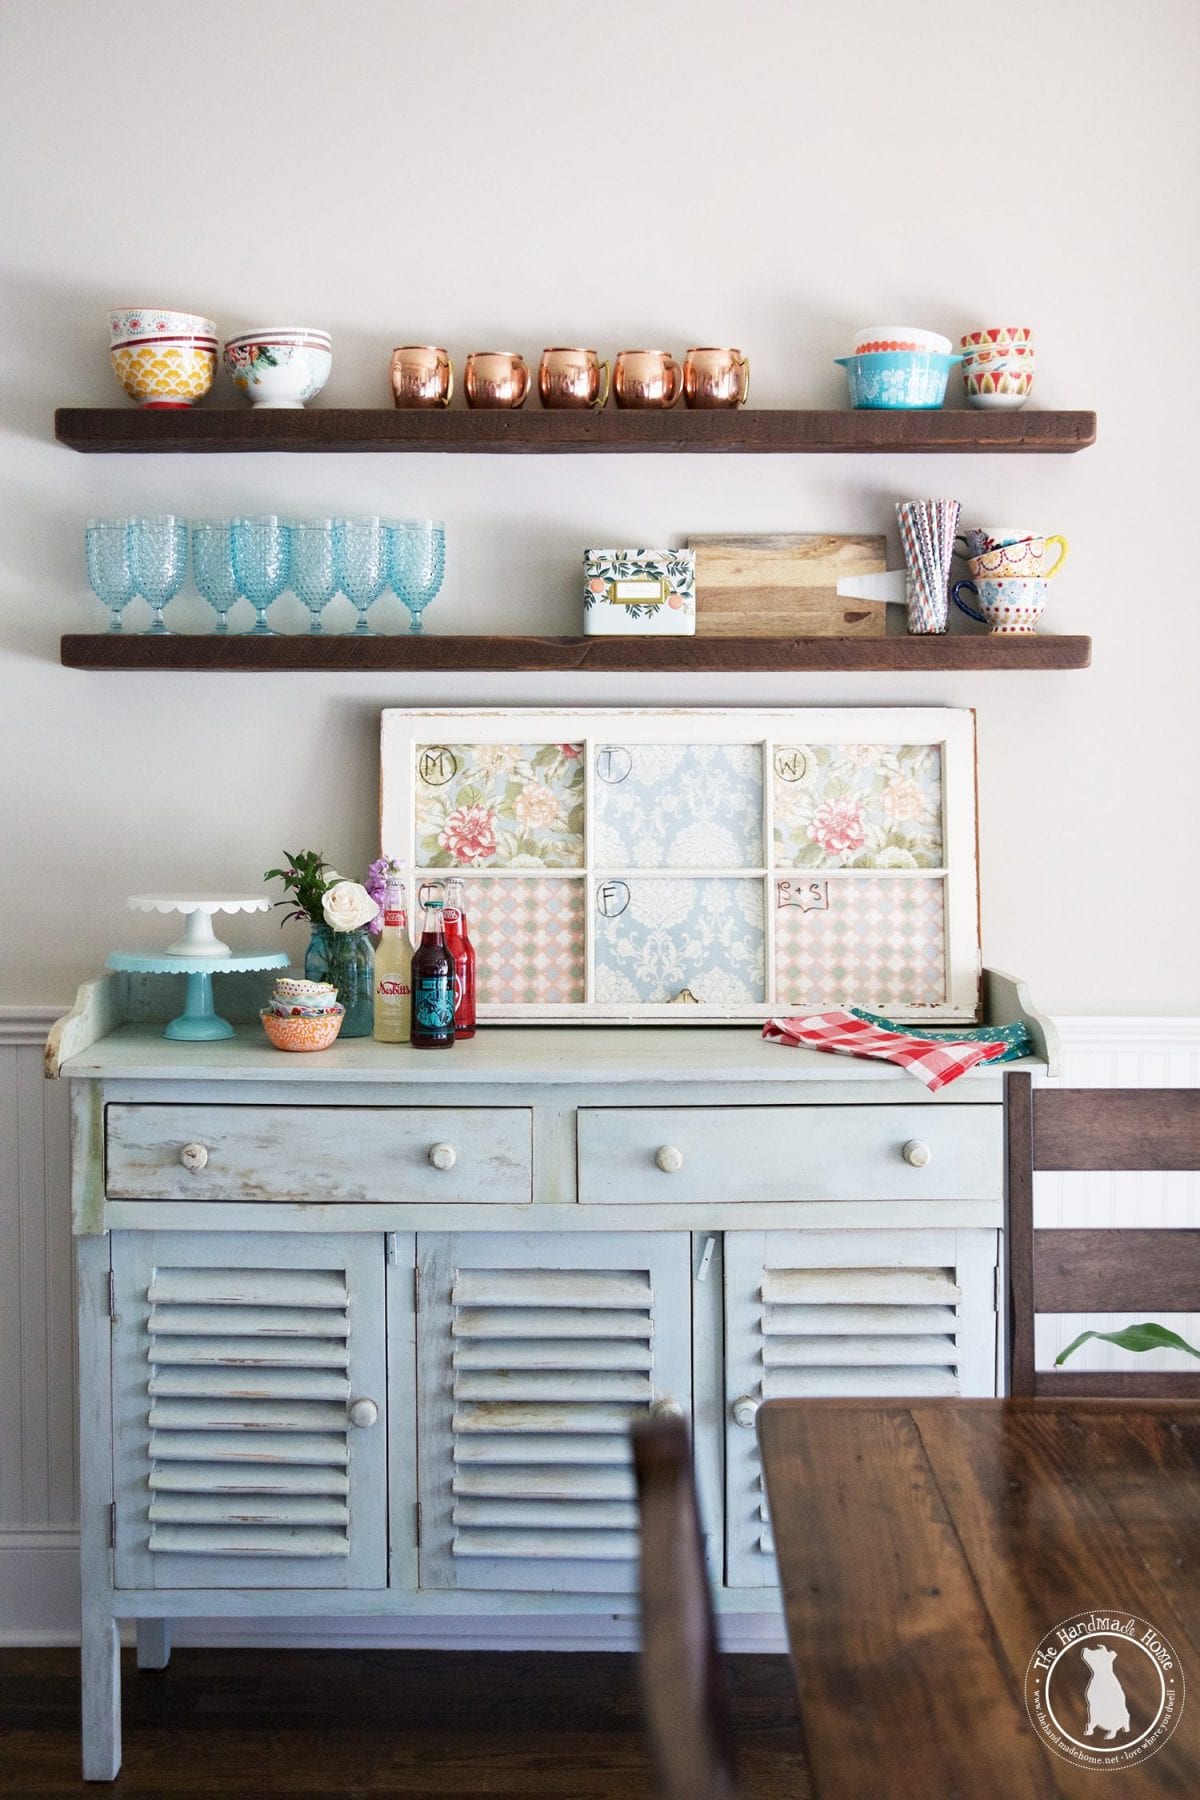
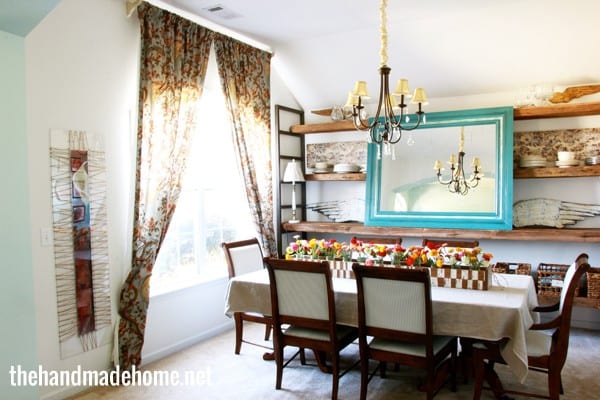
We decided to make a DIY menu board at my brother and sis-in-law’s house.
We’ve been going through a little house drama around here, so I’m currently of out of a place to display all things projects. And Cristin was looking for something special to go in their kitchen, in this very spot. And I thought… DUH. I know exactly what can go there!
I know, right? How very serendipitous of us because this window was the perfect fit.
I grabbed one of our windows from the house {we just replaced them all per our post yesterday, and I’m basically hoarding the old ones for a special project}. But found one that was just the ticket for what we needed.
And with fabrics in hand, I got to work. Here’s what we did in case you want to make one:
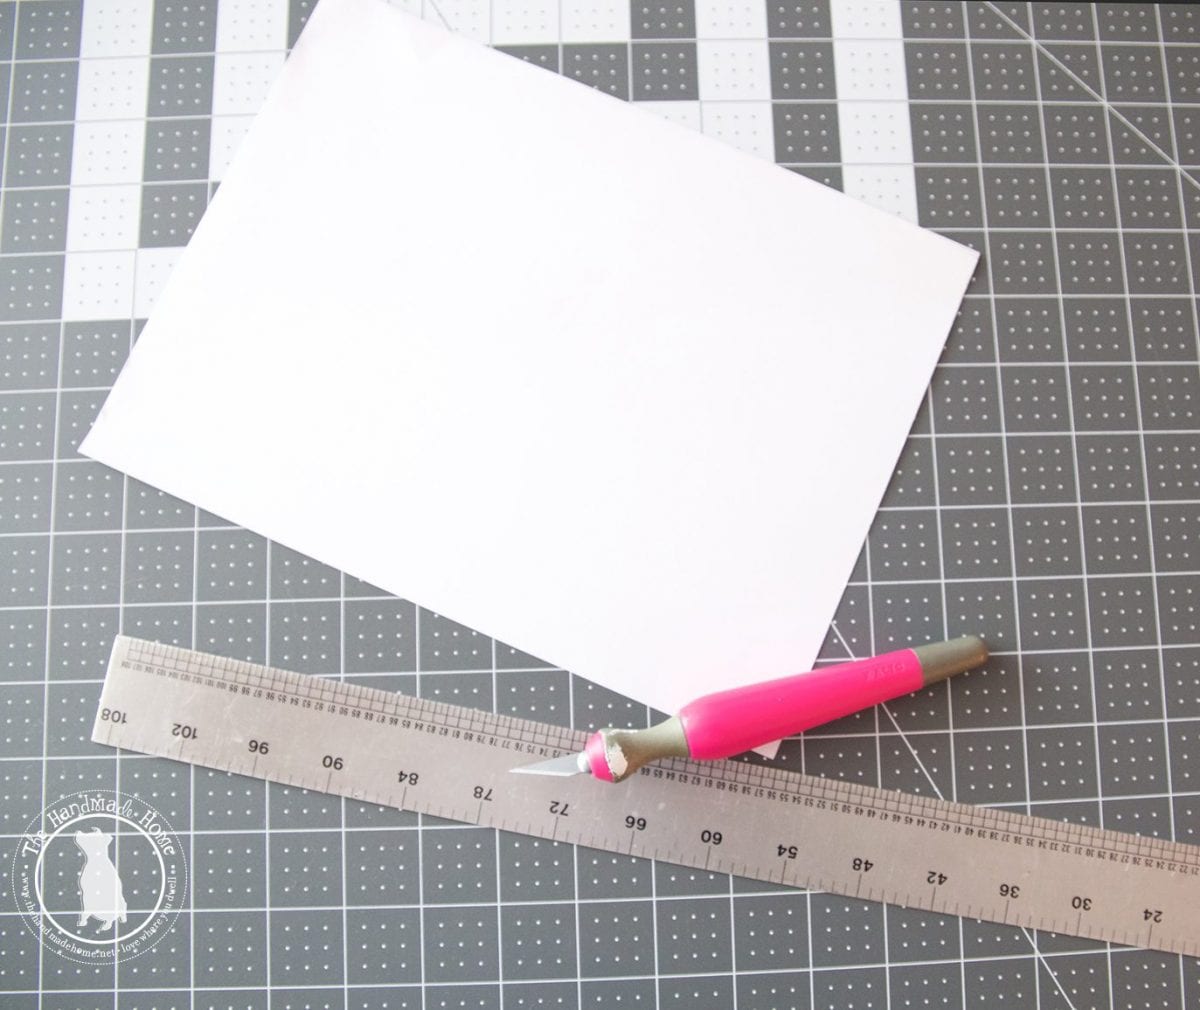
This project initially started with cardboard. And I was walking around our apartment, ready to cut up all the moving boxes for said cardboard. You know, for the greater good and stuff. That, and I’m about to go crazy staring at all of them. We have storage units, but there are quite a bit of boxes here. When I said to myself, “Self… that’s a lot of X-Acto/wrist action right now. Let’s stick with cardstock.” so I did. The lazy/clever me won, and I’m so glad she did.
Since each window will be totally different, {you can totally find one pretty easily these days at your local flea market or thrift store just waiting to be scooped up} measure your pane to size, or simply place the paper inside the pane, and fold at a crease where the wood hits the end of the glass. Then cut it along the line with a ruler and X-Acto for a straight line. Once you have one cut, use it as your template and cut the rest. {Assuming all your panes are the same size.}
Handy dandy tip: I actually doubled up on the card stock, and taped it together. So two sheets per pane was plenty of support for the fabric.
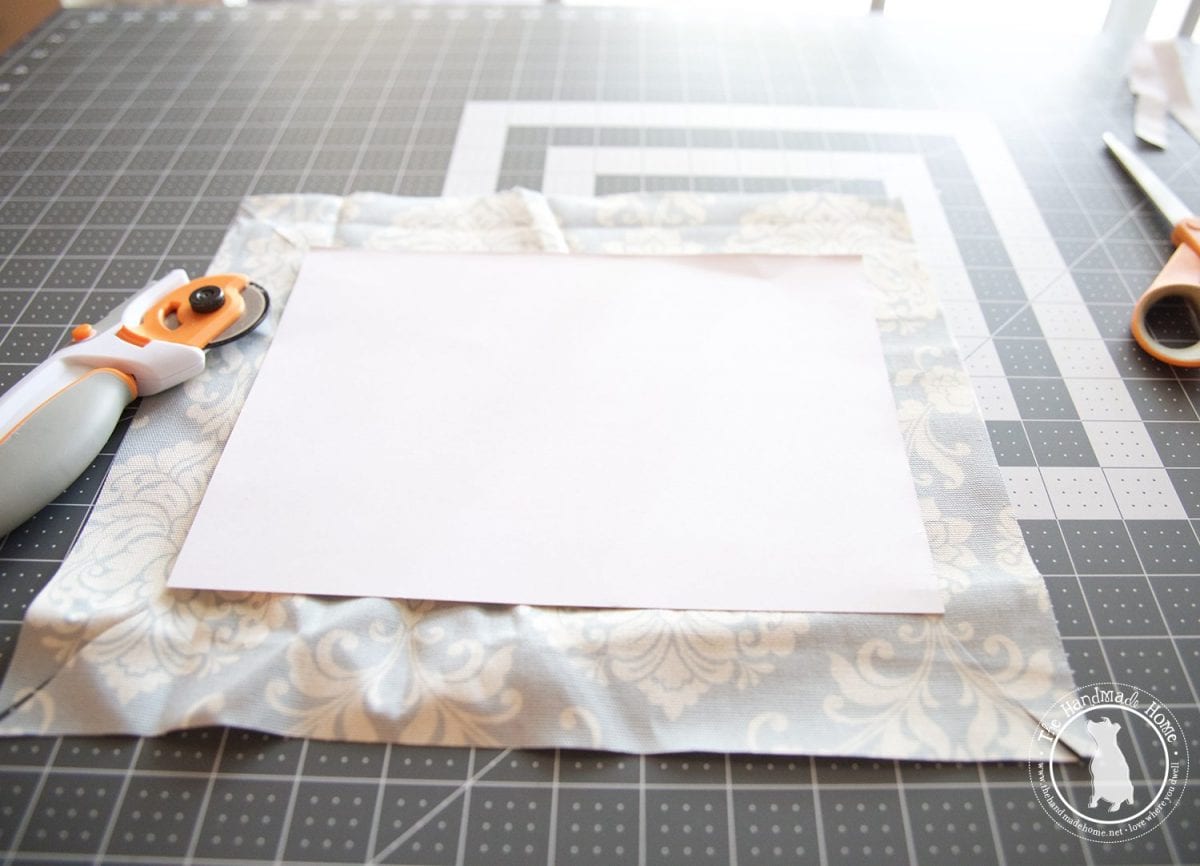
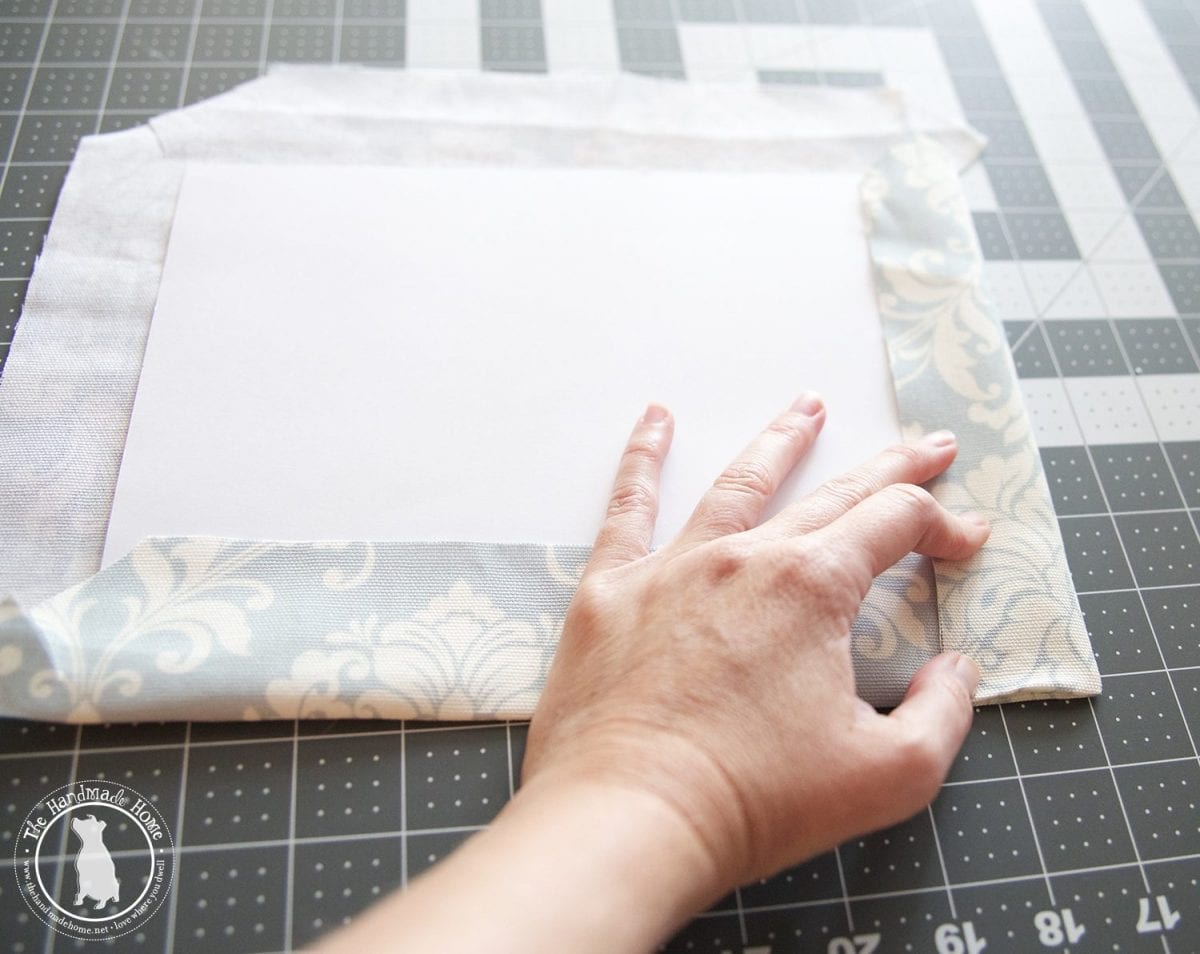
Next, lay your fabric face down, and your template paper on top. Cut around, leaving enough for a generous border.
Cut a diagonal line from the corner to the paper, as this will make the folding behind the paper smoother.
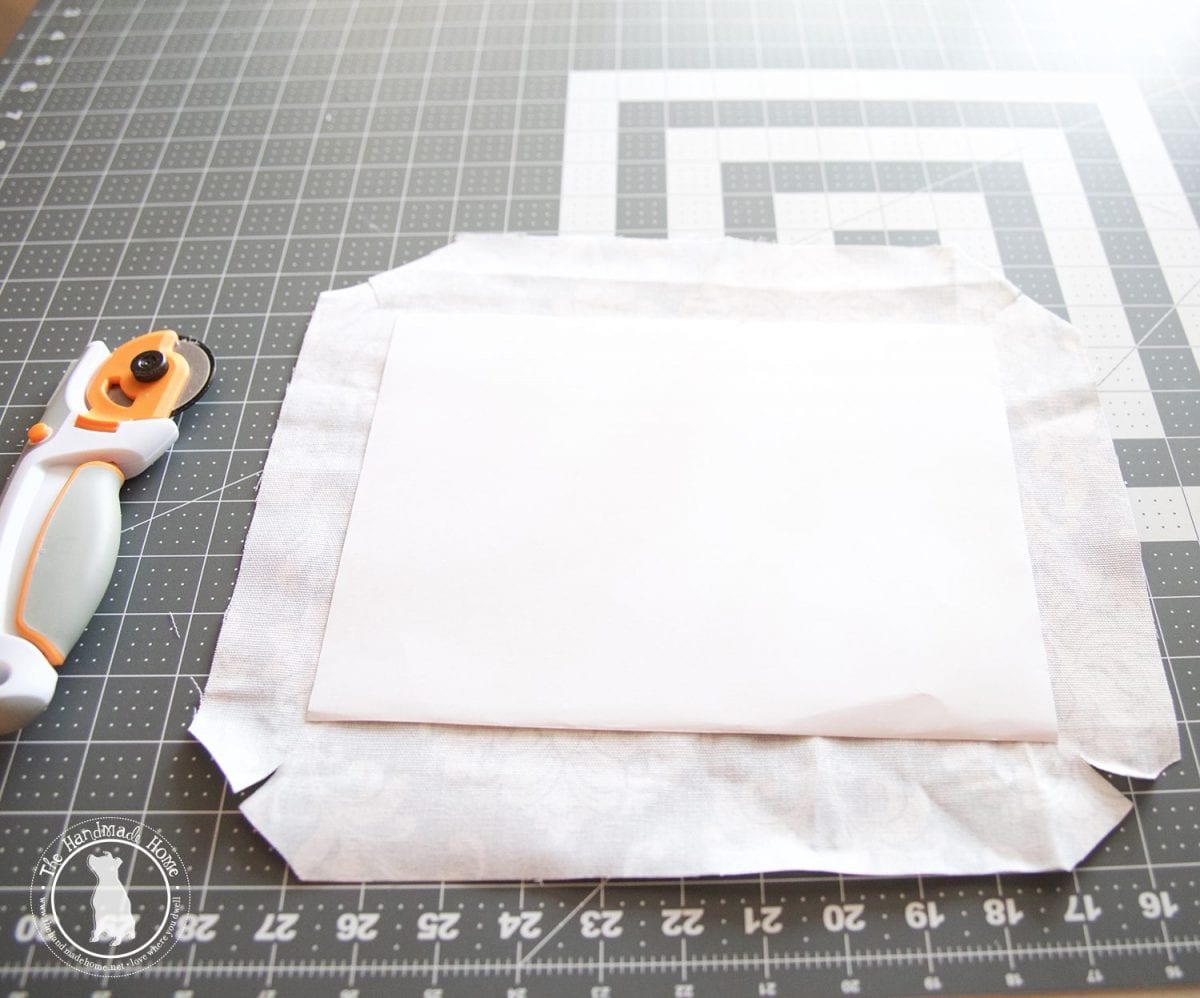
And then cut the corners off to eliminate a little excess fabric. Again, rotary cutters and cutting mats are your besties. I still can’t believe it took me so long to buy some.
Using a glue gun, apply thin strips of glue, and fold in neatly over the strips. Tuck the corners and apply more glue to secure.
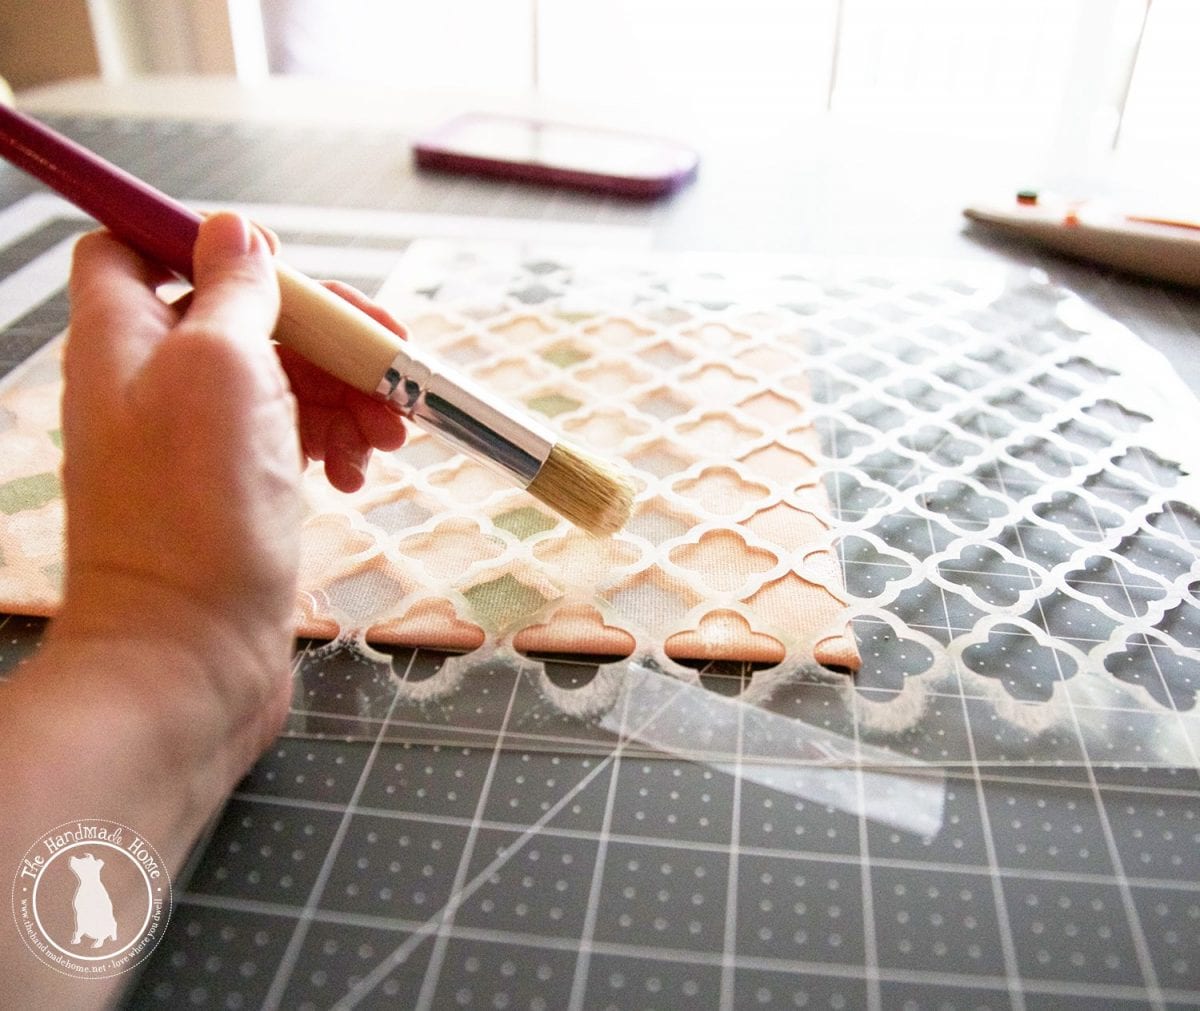
For the painted fabric:
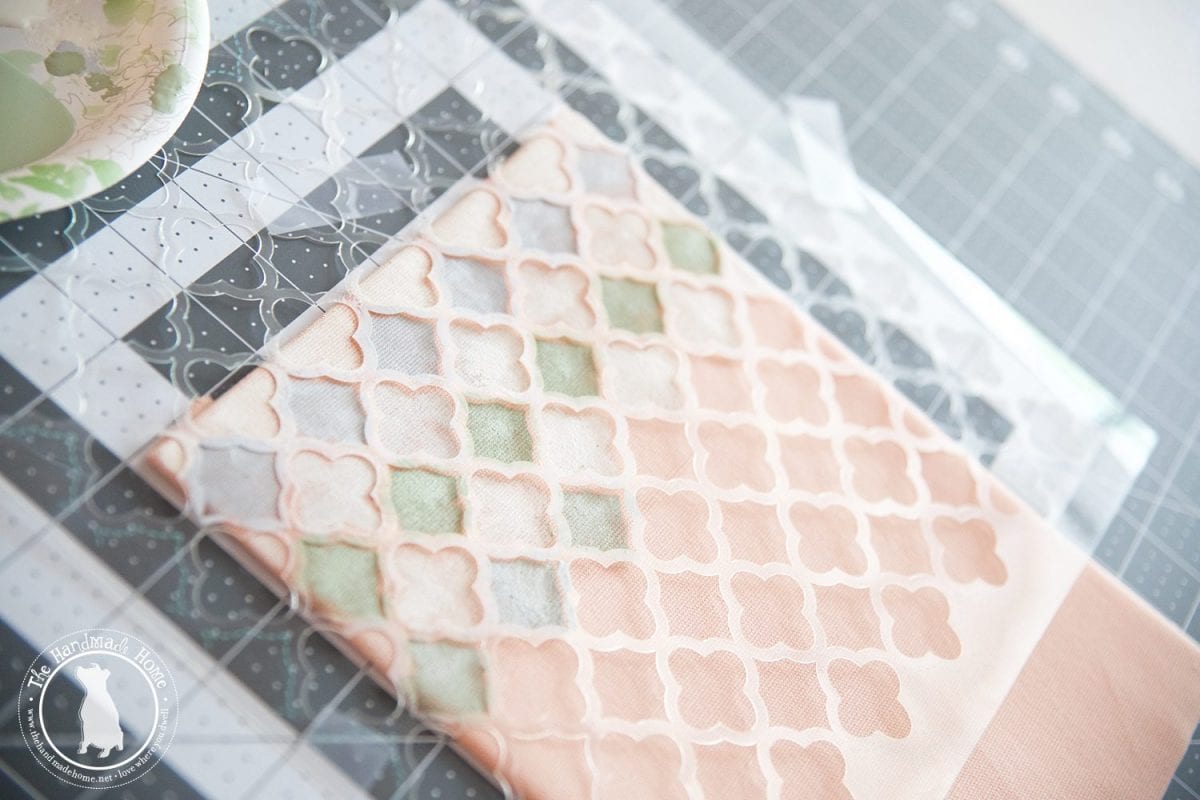
Following the last steps, I used some of the paint and brushes, and applied in rows as I went. {It was easier to see where the stencil was going with the fabric already folded over the card stock.}
And when it was dry…
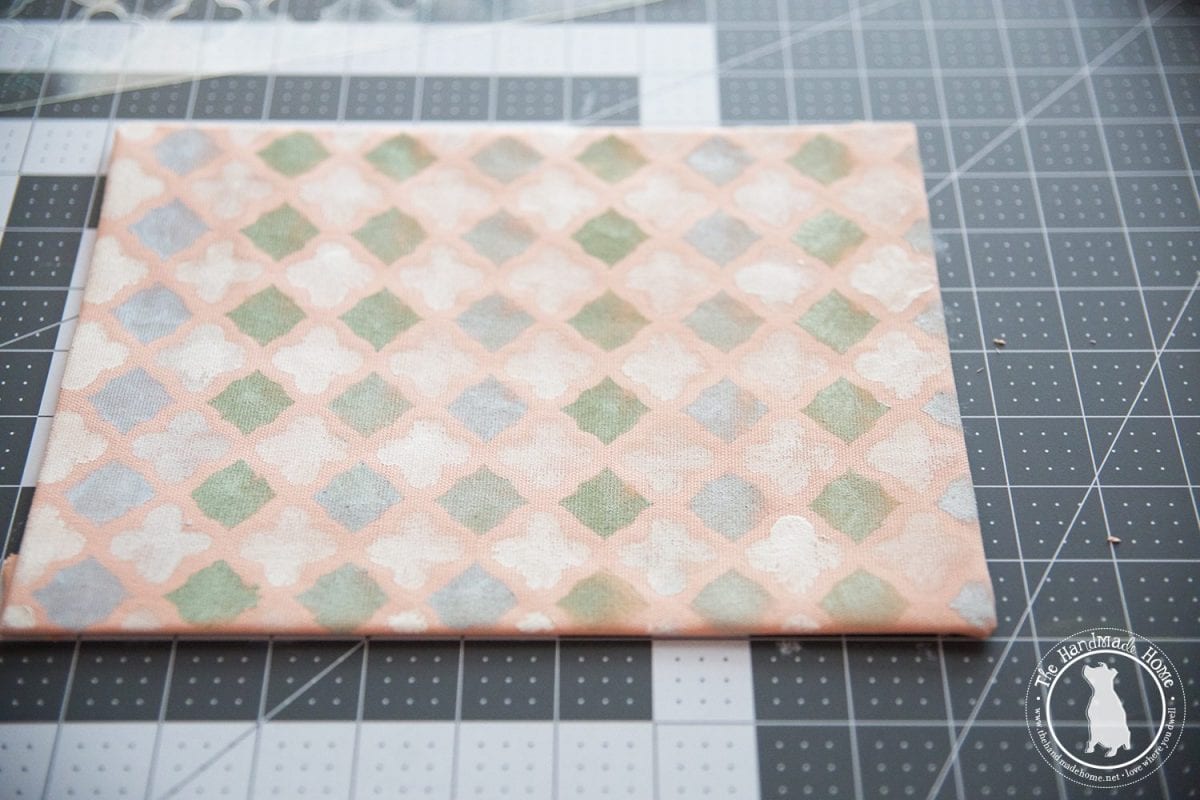
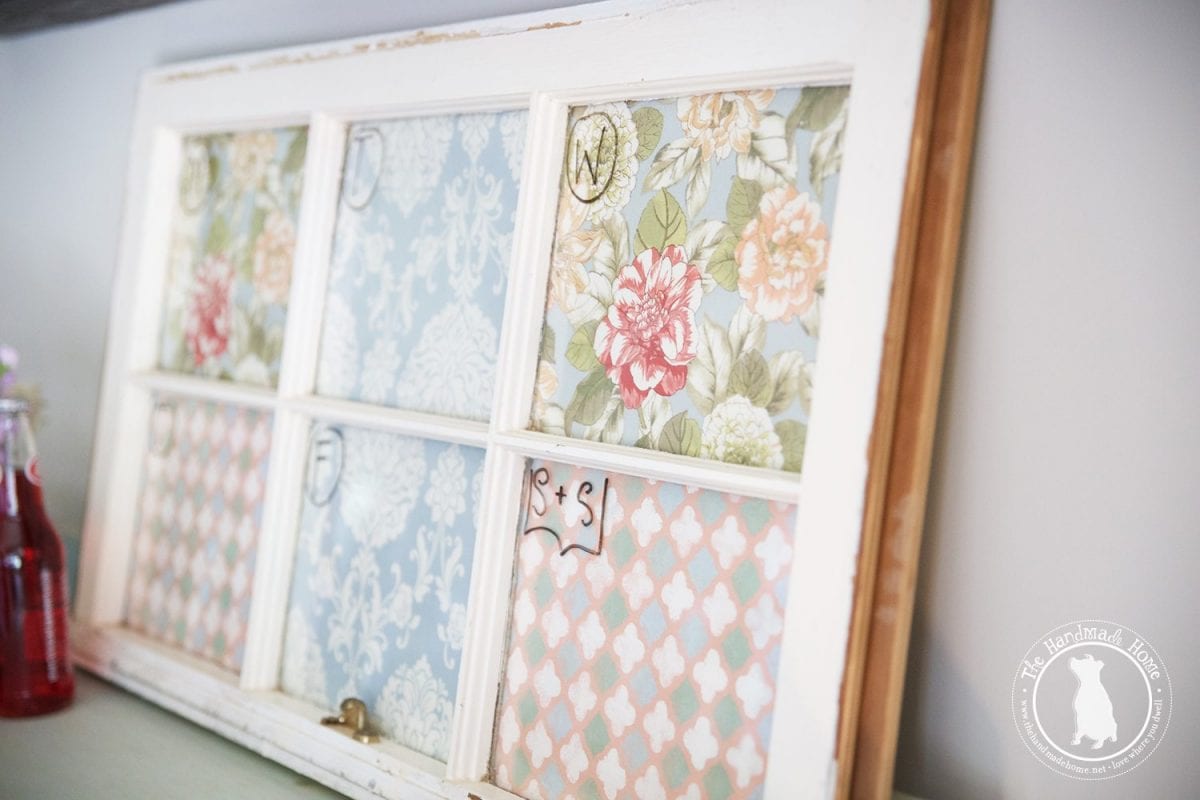
Painted stencil for a sweet little touch.
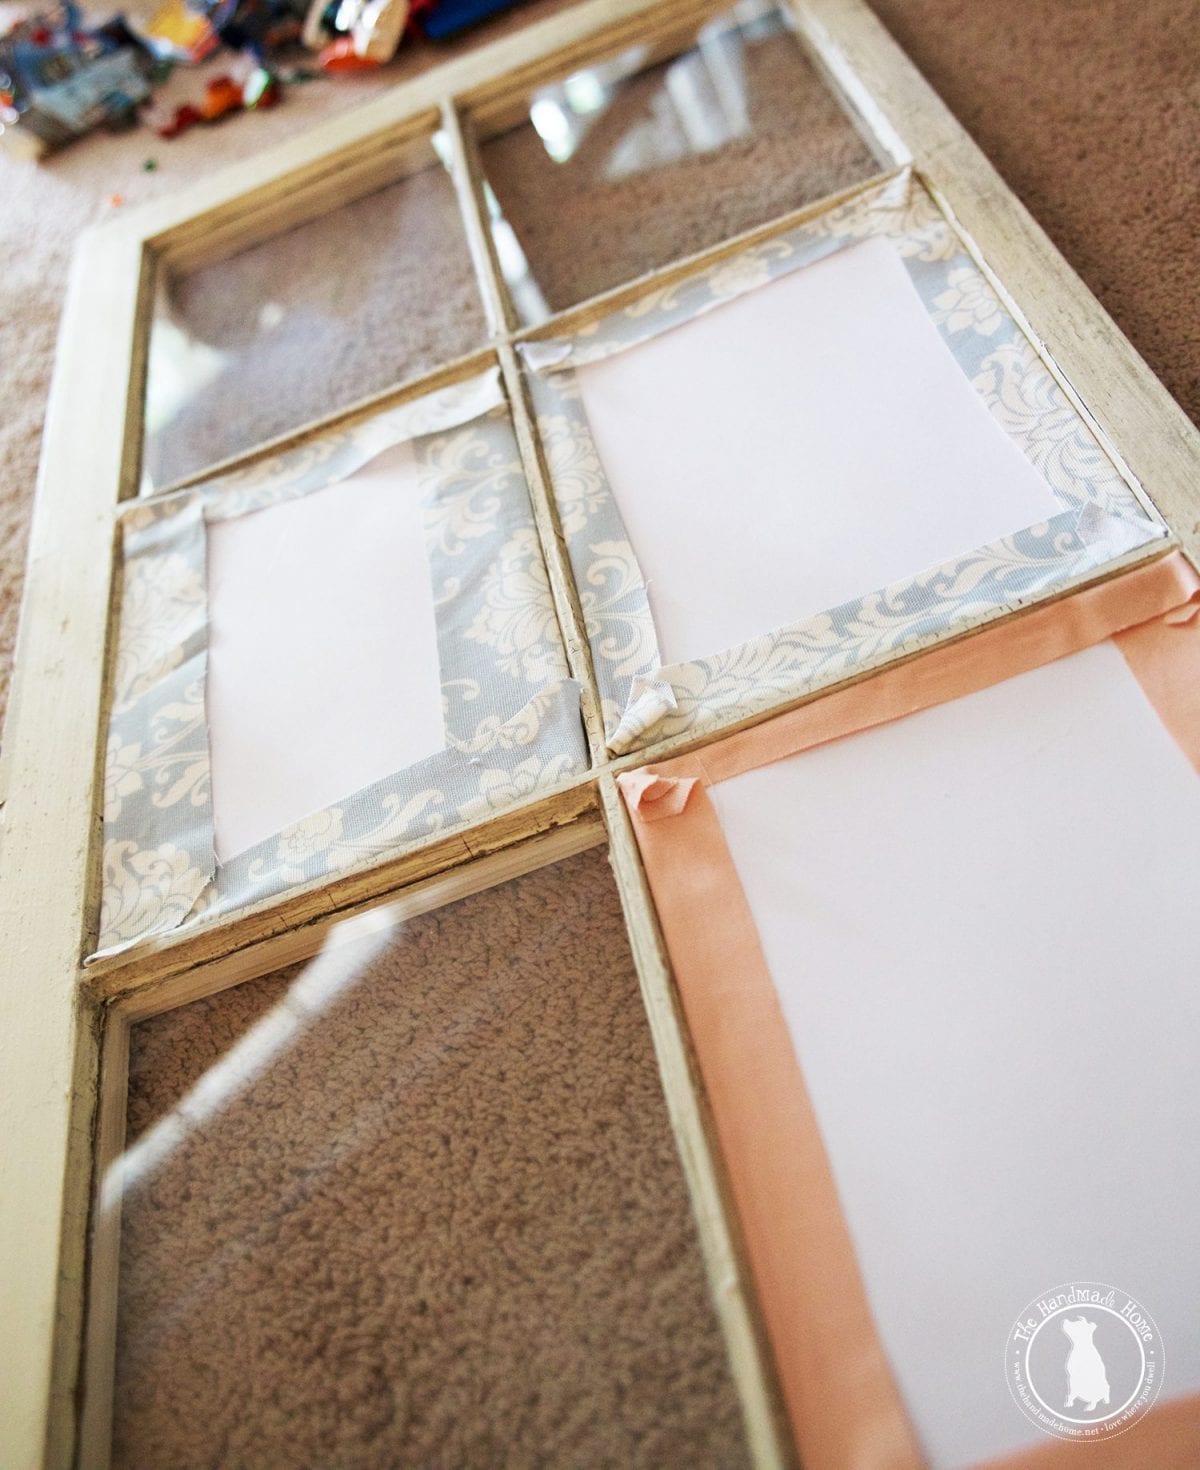
Place the little fabric rectangles face down in the glass, and I secured with tape. You could secure it with hot glue in dabs on the back if you wish, but I literally just ran pieces of tape on the edges. This is so we can change out the look in the future if we want to mix it up a bit.
Once all the pieces were placed…
Break out a dry erase marker and it’s a perpetual calendar/menu planner/lesson planner/chore chart/family command center/game scheduler. Tada!
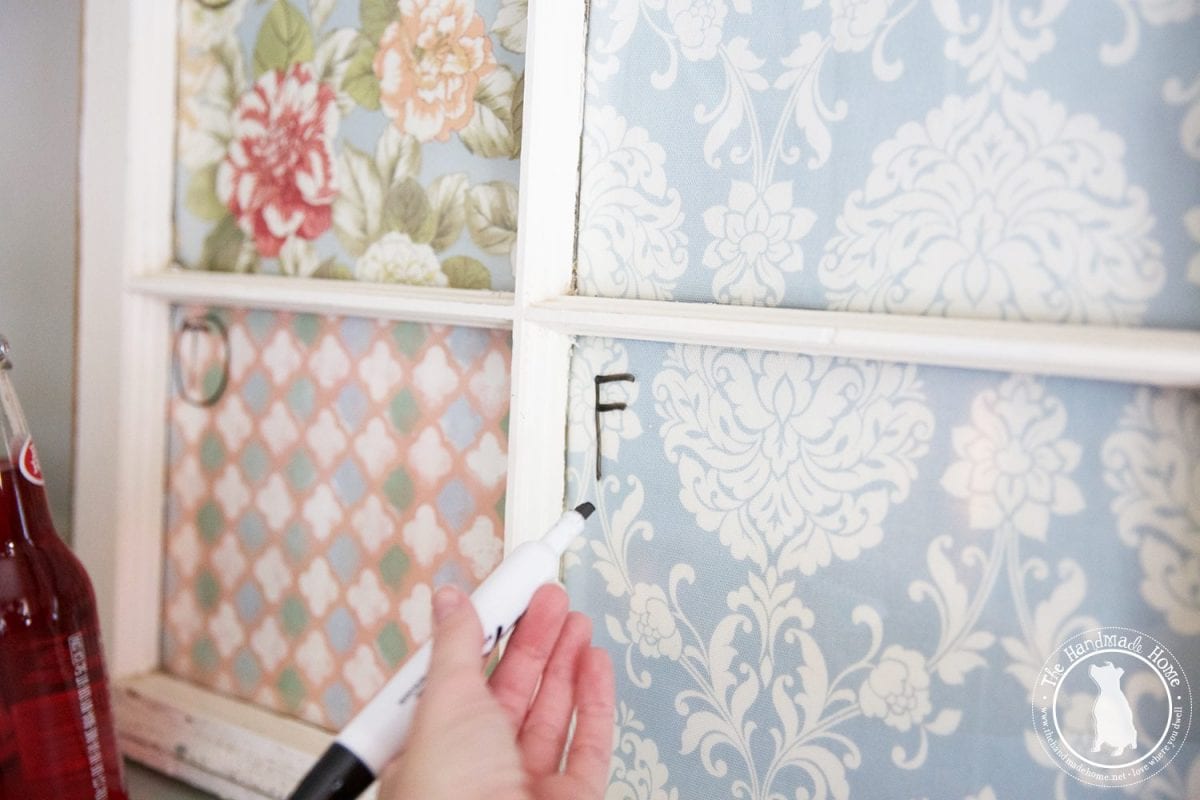
A charming way to stay organized!

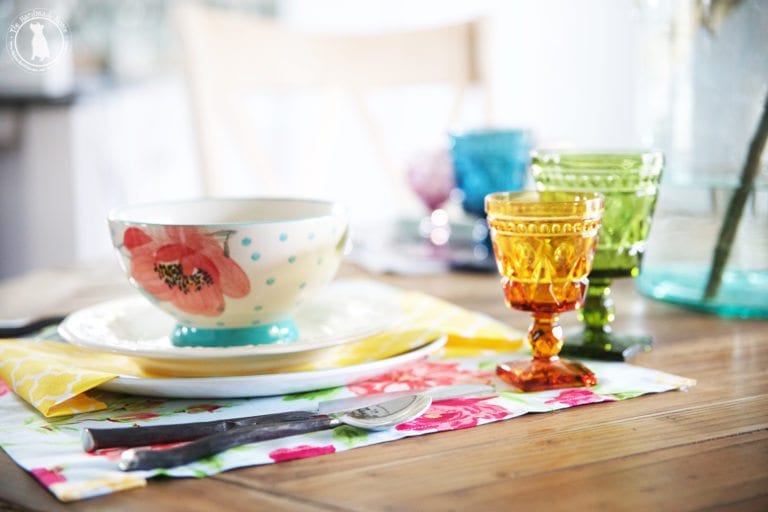
The best part? You can find the entire Waverly Inspirations line {and of course, more – i.e. see those plastic hobnail glasses?} at your local Walmart – so many charming, affordable options! Who knew? Such a great, affordable way to bring style to your home… with plenty of sew + no sew ideas!
As always, we’d love to hear if you try it.
Have an inspired day!

LOVE this clever idea! Thanks for the inspiration.
That’s lovely!
That is so sweet. What a great idea!