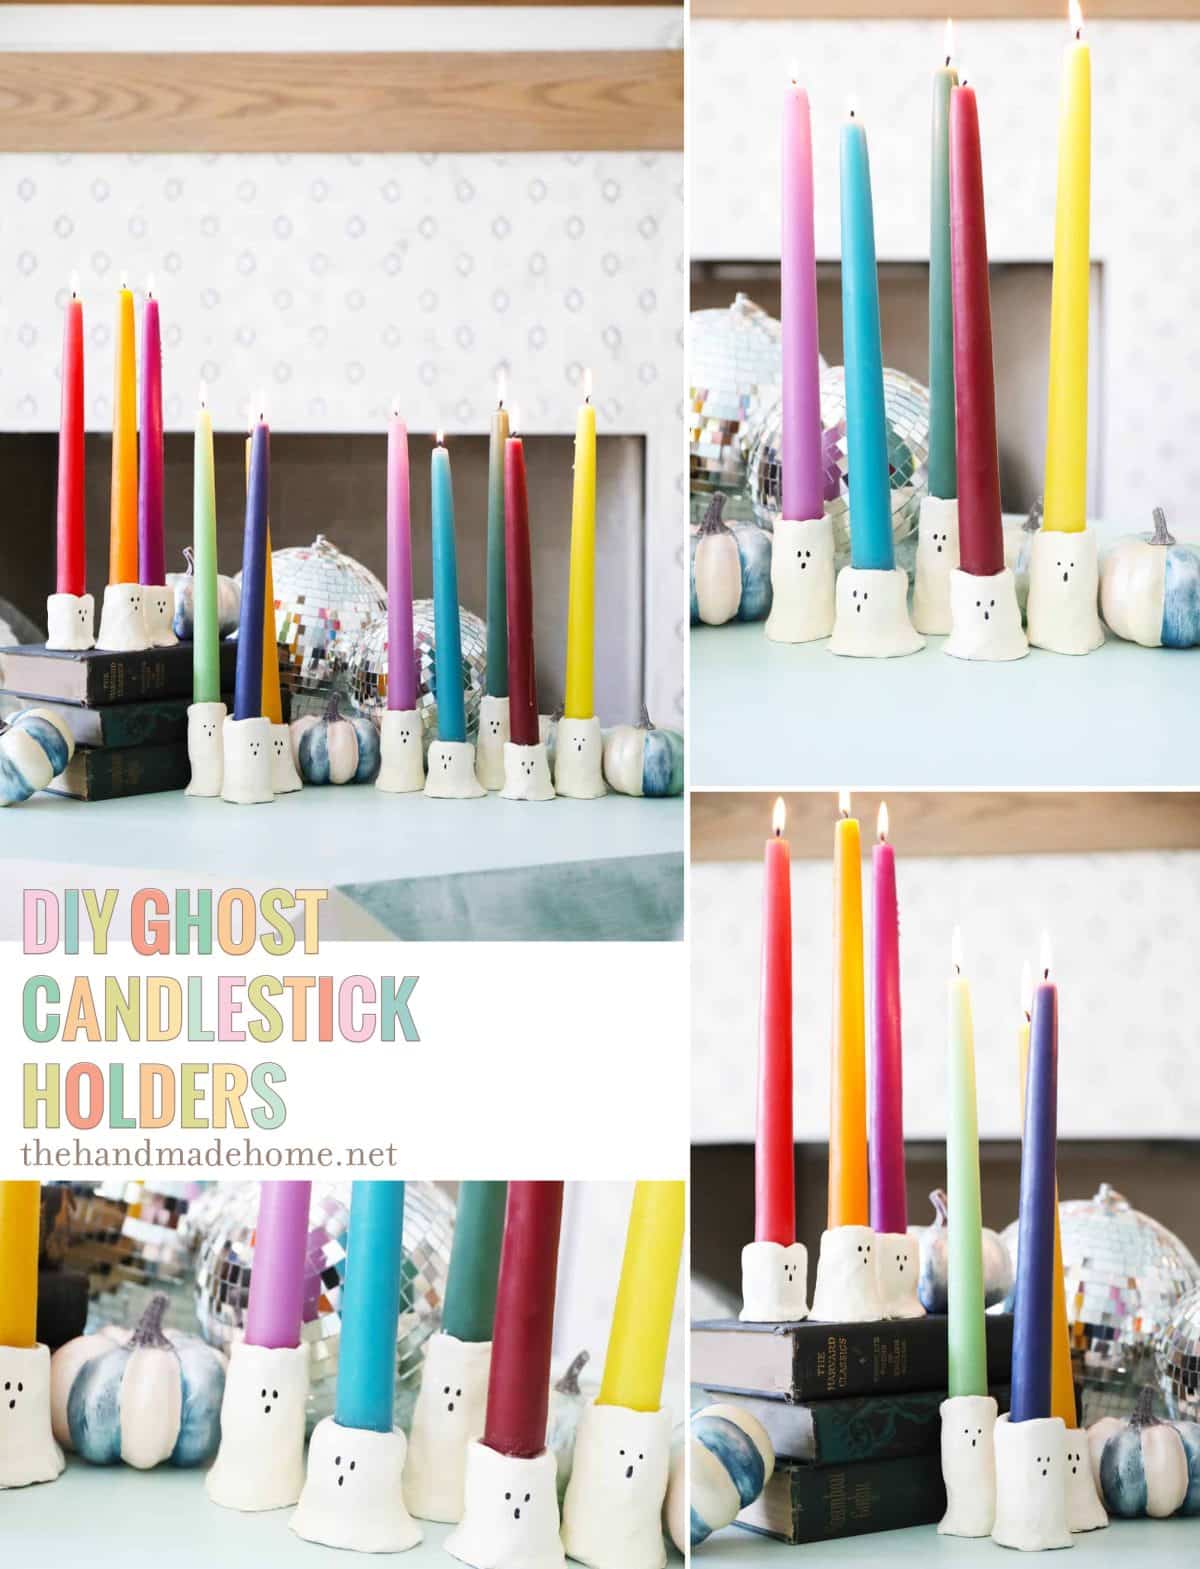
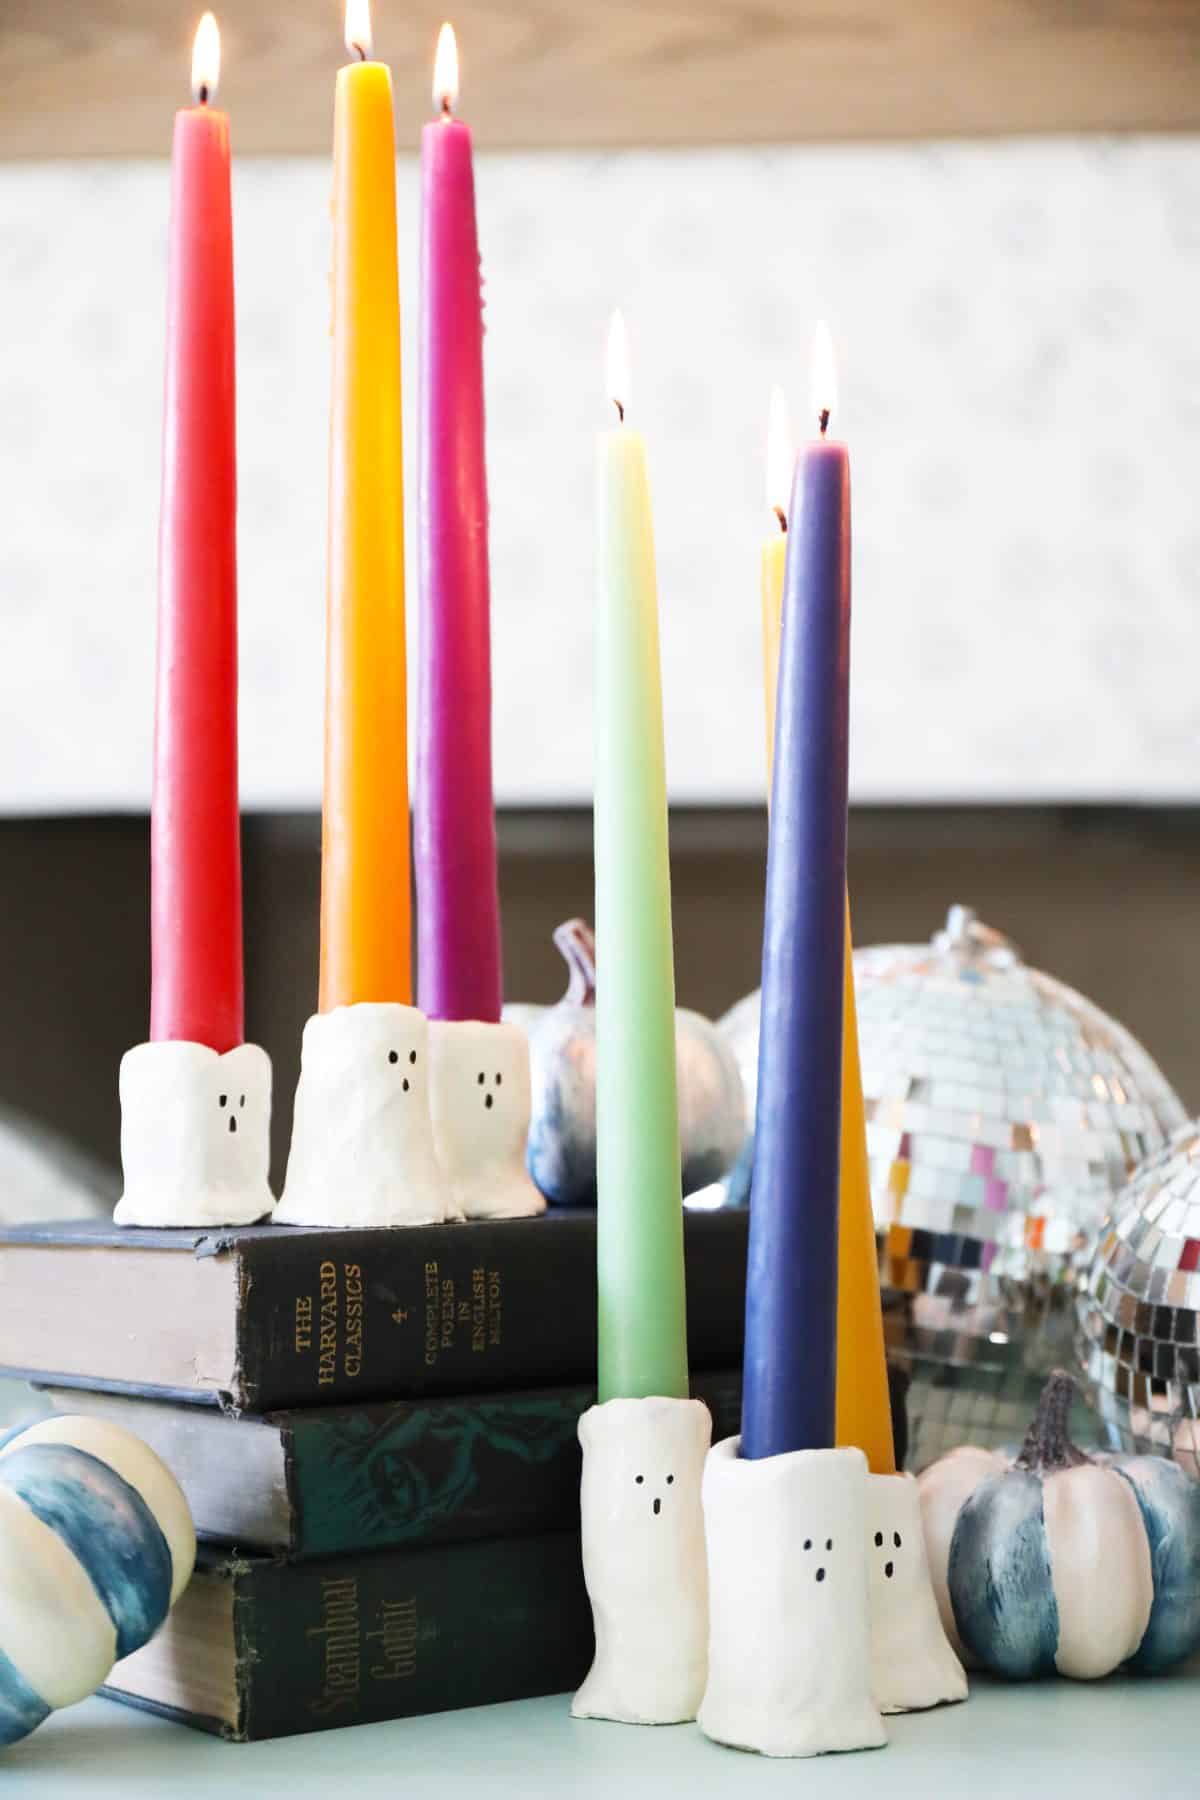
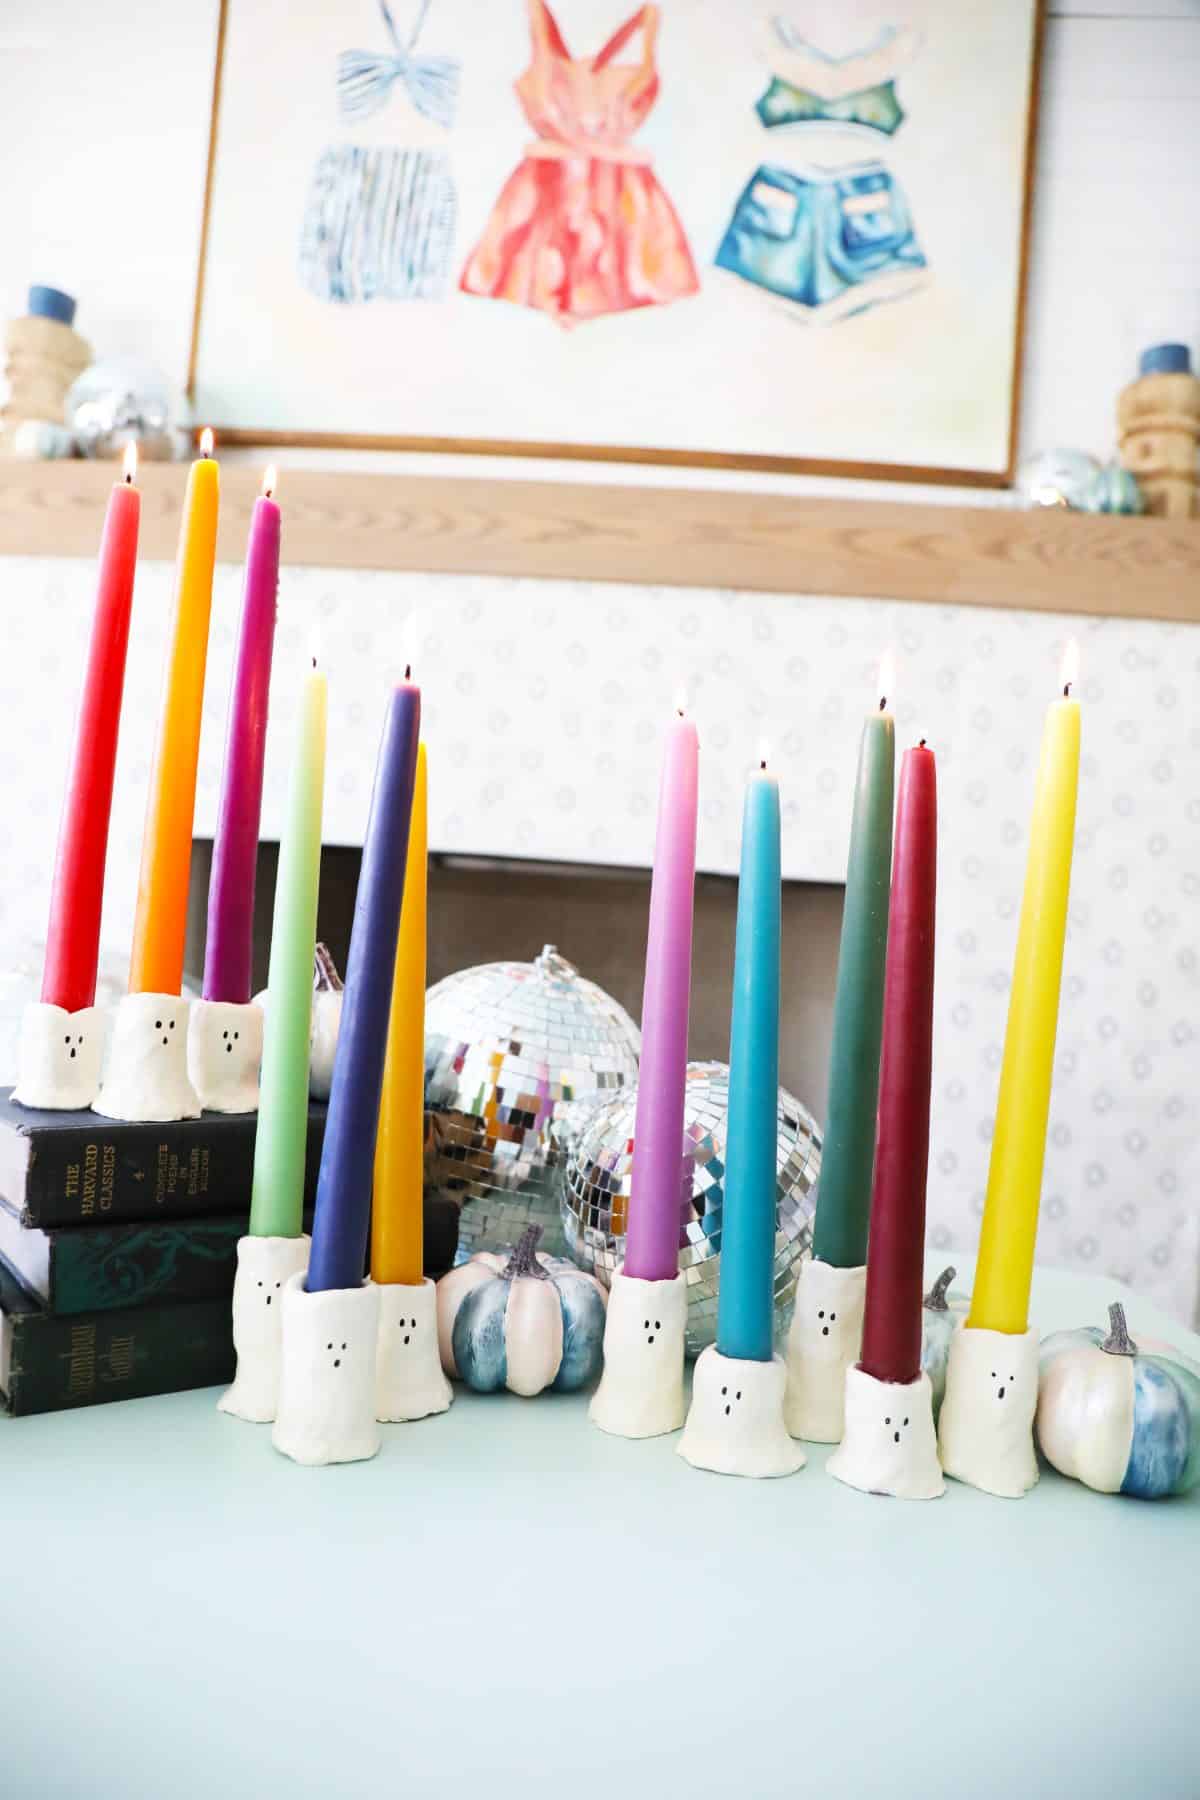
diy ghost candlestick holders
A little throwback to last year, I’d seen these happy little candlestick holders all around the interwebs. But whenever I tried to track the original source down they were either sold out, or pricey. {At least pricey for what they were and for how many I actually wanted.} So I decided to try a spooky craft of sorts, and go old school with a little DIY, making some of my own. Today, I’m sharing how to make these DIY ghost candlestick holders!

Because it was either spend 150 smackers {by my calculations} + shipping and tax… or try my hand at some with supplies I already had in my own home. I went for the latter. Sometimes it’s therapeutic in between client work to make fun things with mah hands.

I adore the way these happy little guys turned out.
Want to make some festive candlestick holders of your own? Here’s what you’ll need:
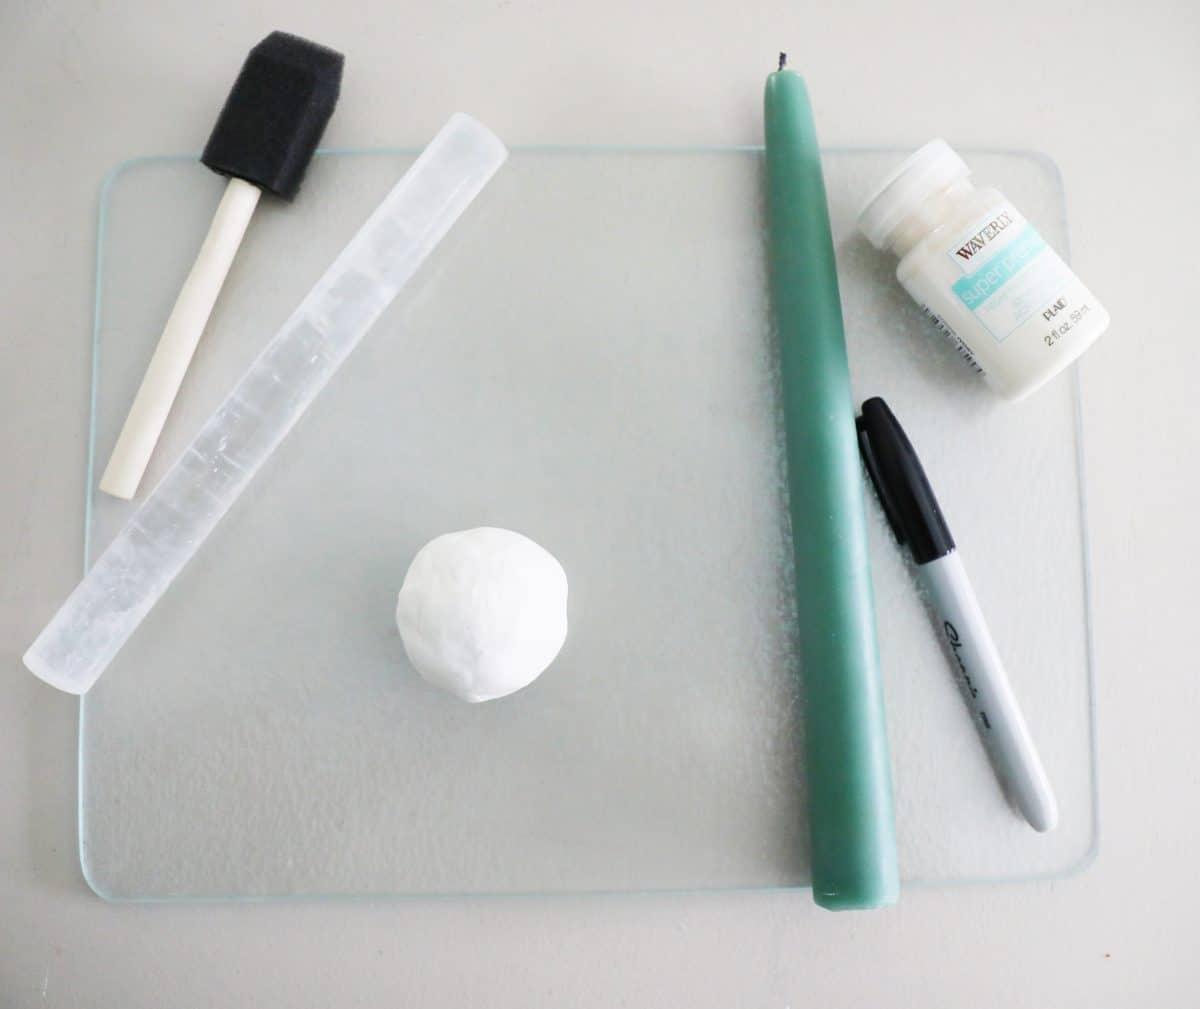
• white sculpey clay
• rolling pin of some kind {it helps loosen the clay}
• white acrylic paint {semi gloss or glossy is best} + brush
• sharpie
• candlesticks {these help for measuring + look pretty in the end}
helpful note: You’ll also need access to an oven + perhaps a glue gun – more on that below.
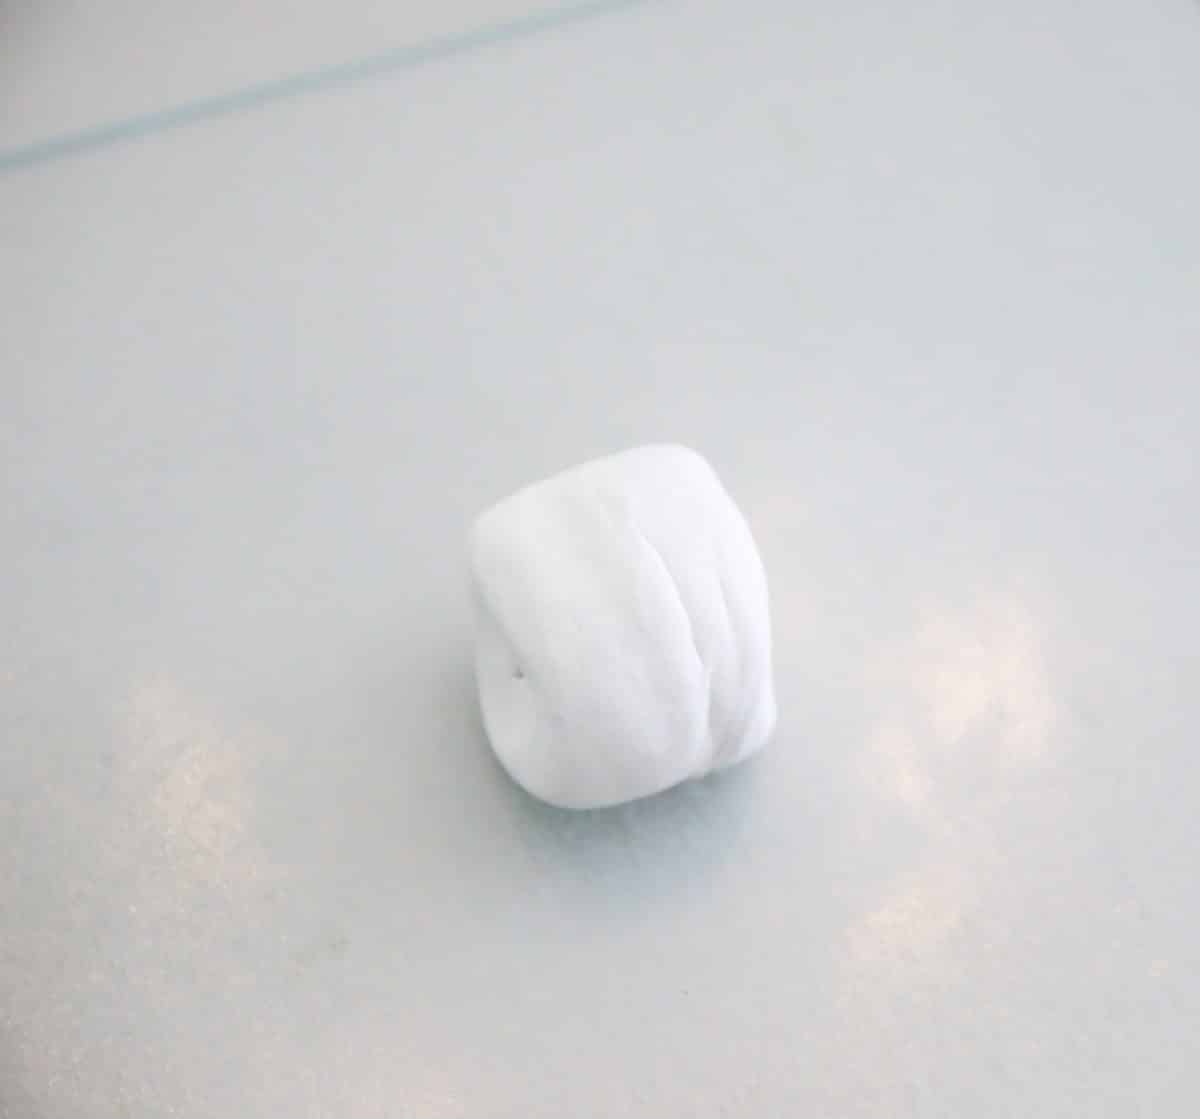
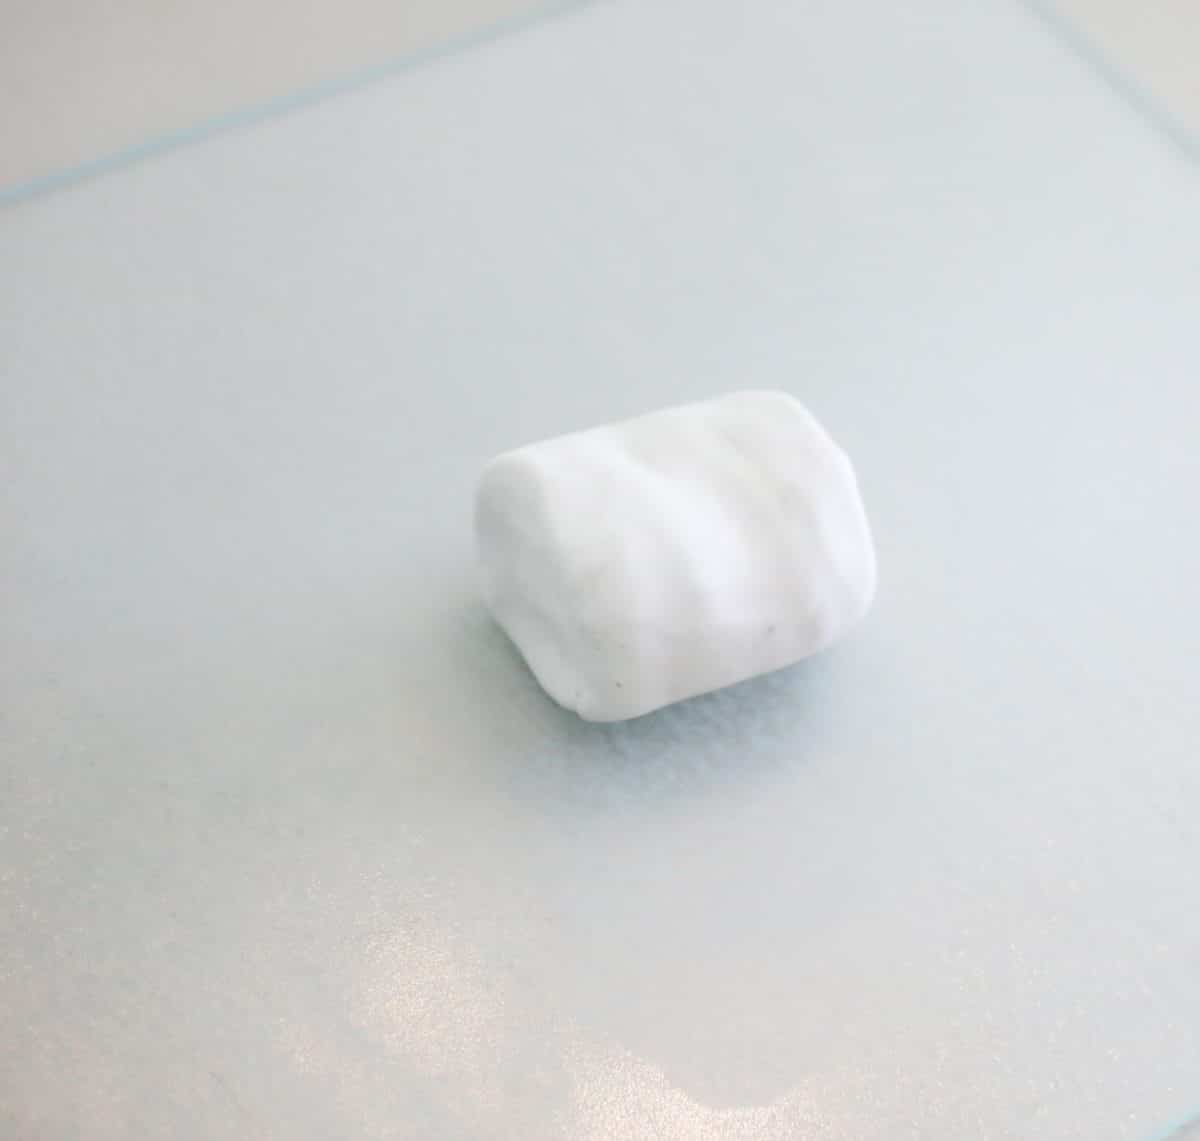
Start by warming up your clay in your hands, and rolling into a ball. Rolling pins help to smooth them out and get the clay moving. From there, start the snake shape, and tap on both ends to give it more of a marshmallow configuration. Roll it out a little more, until it looks like this, or as large as you want it.
Once you’re happy with the general size, smooth it out a little more and use your candle or the acrylic rolling pin to shape out the candle-holder part. This helps because the clay seems to want to stick to the actual candle. I used the candles I planned on letting the candle holder actually hold, so it helped for accuracy to follow up with a candle once the initial hole was made.
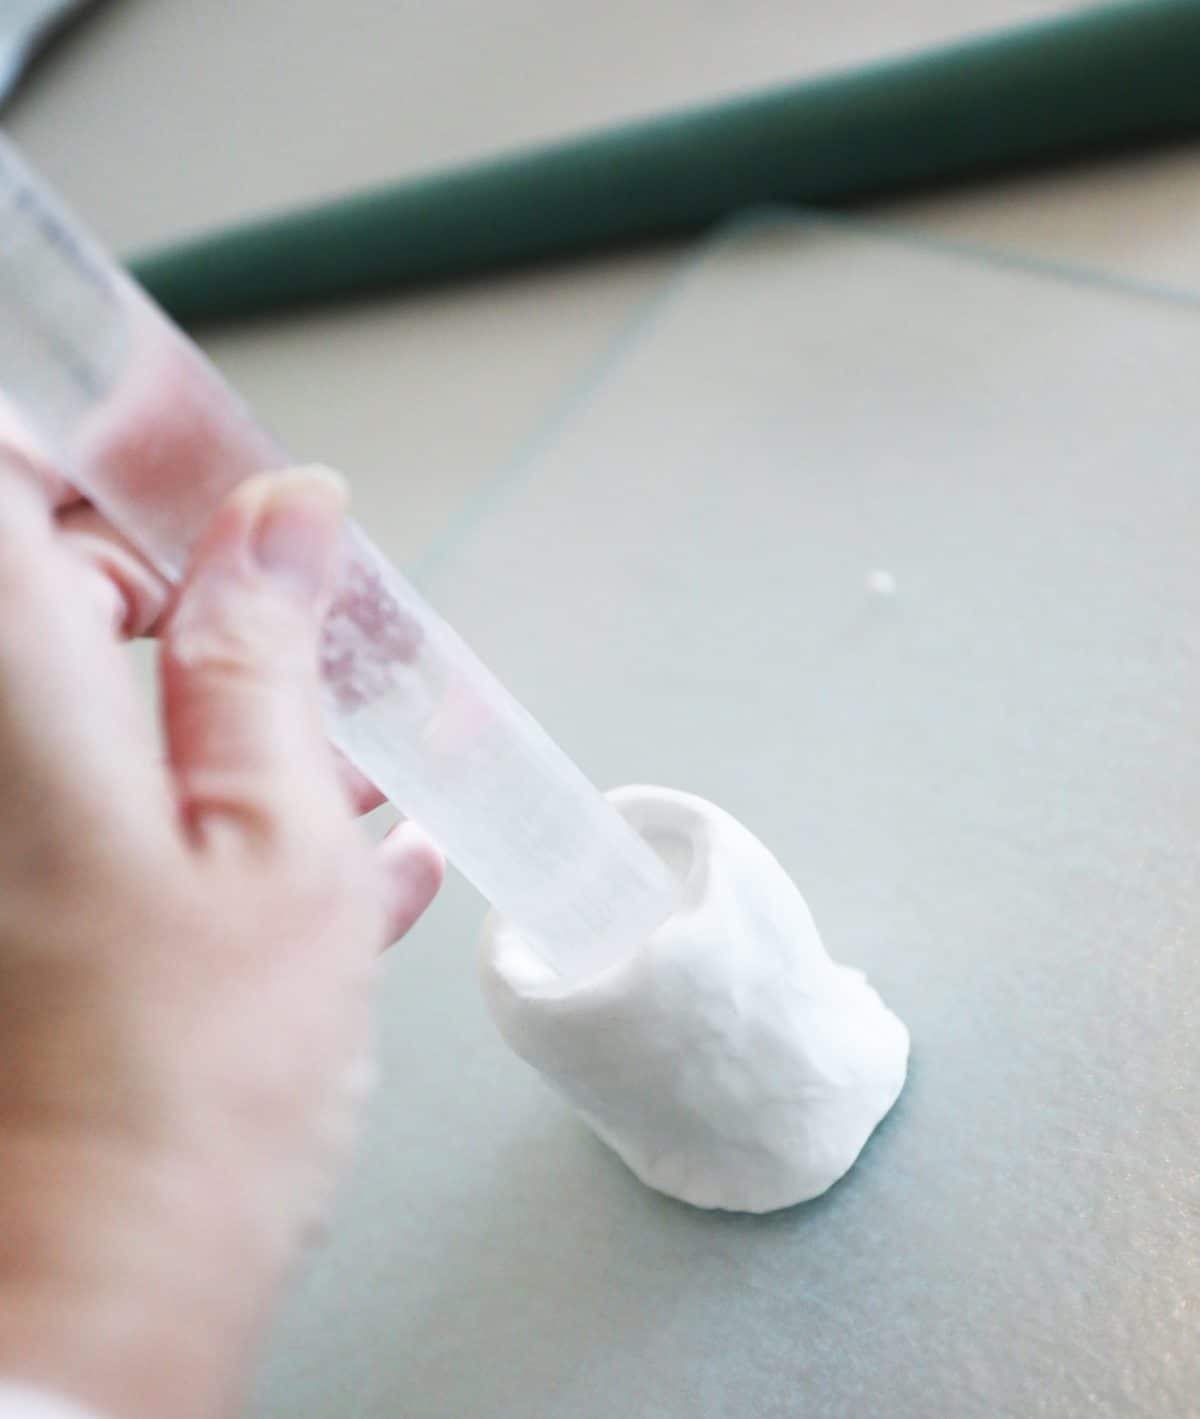
Gently press down until there’s a little indentation, and then follow up with your candle to make sure they fit. Feel free to press around the opening with your hands, to tighten up the holder part. It doesn’t have to be a perfect fit, just close.
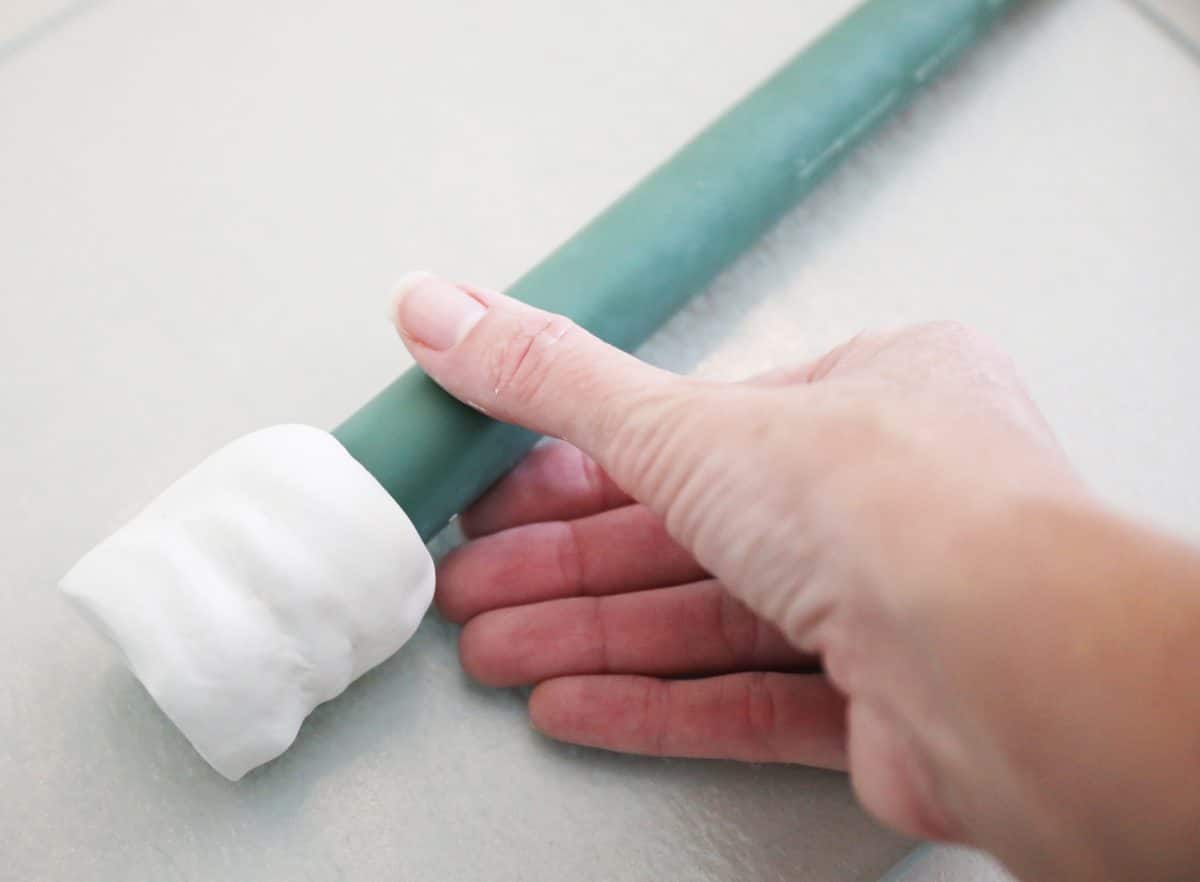
If it helps, lay the clay on its side, and keep forming it out.
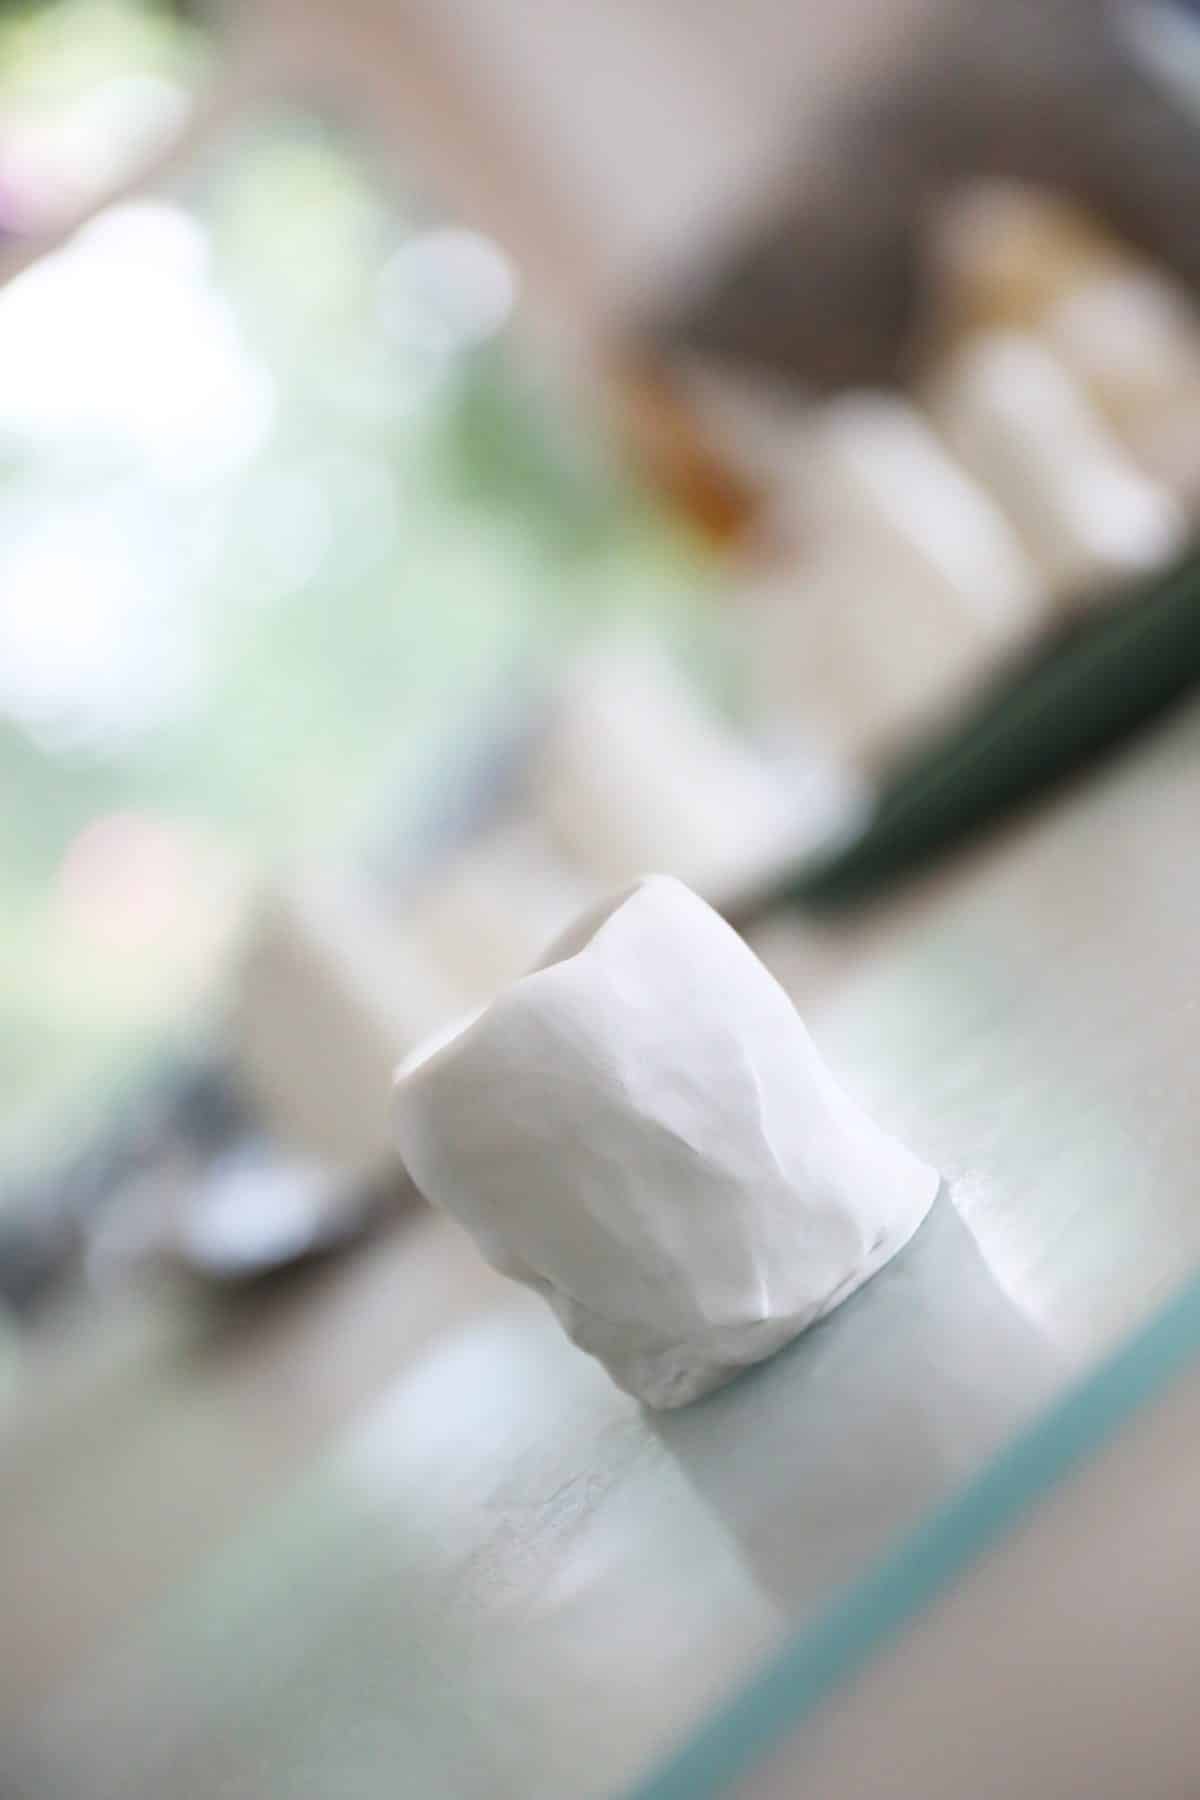
Once you’re satisfied, sit the “ghost” upright, and sculpt it more with your hands. See the little flare here? It helps to give it a secure base, and a little bit of that “ghost” shape. Simply work it with your fingers until it’s all smoothed out.
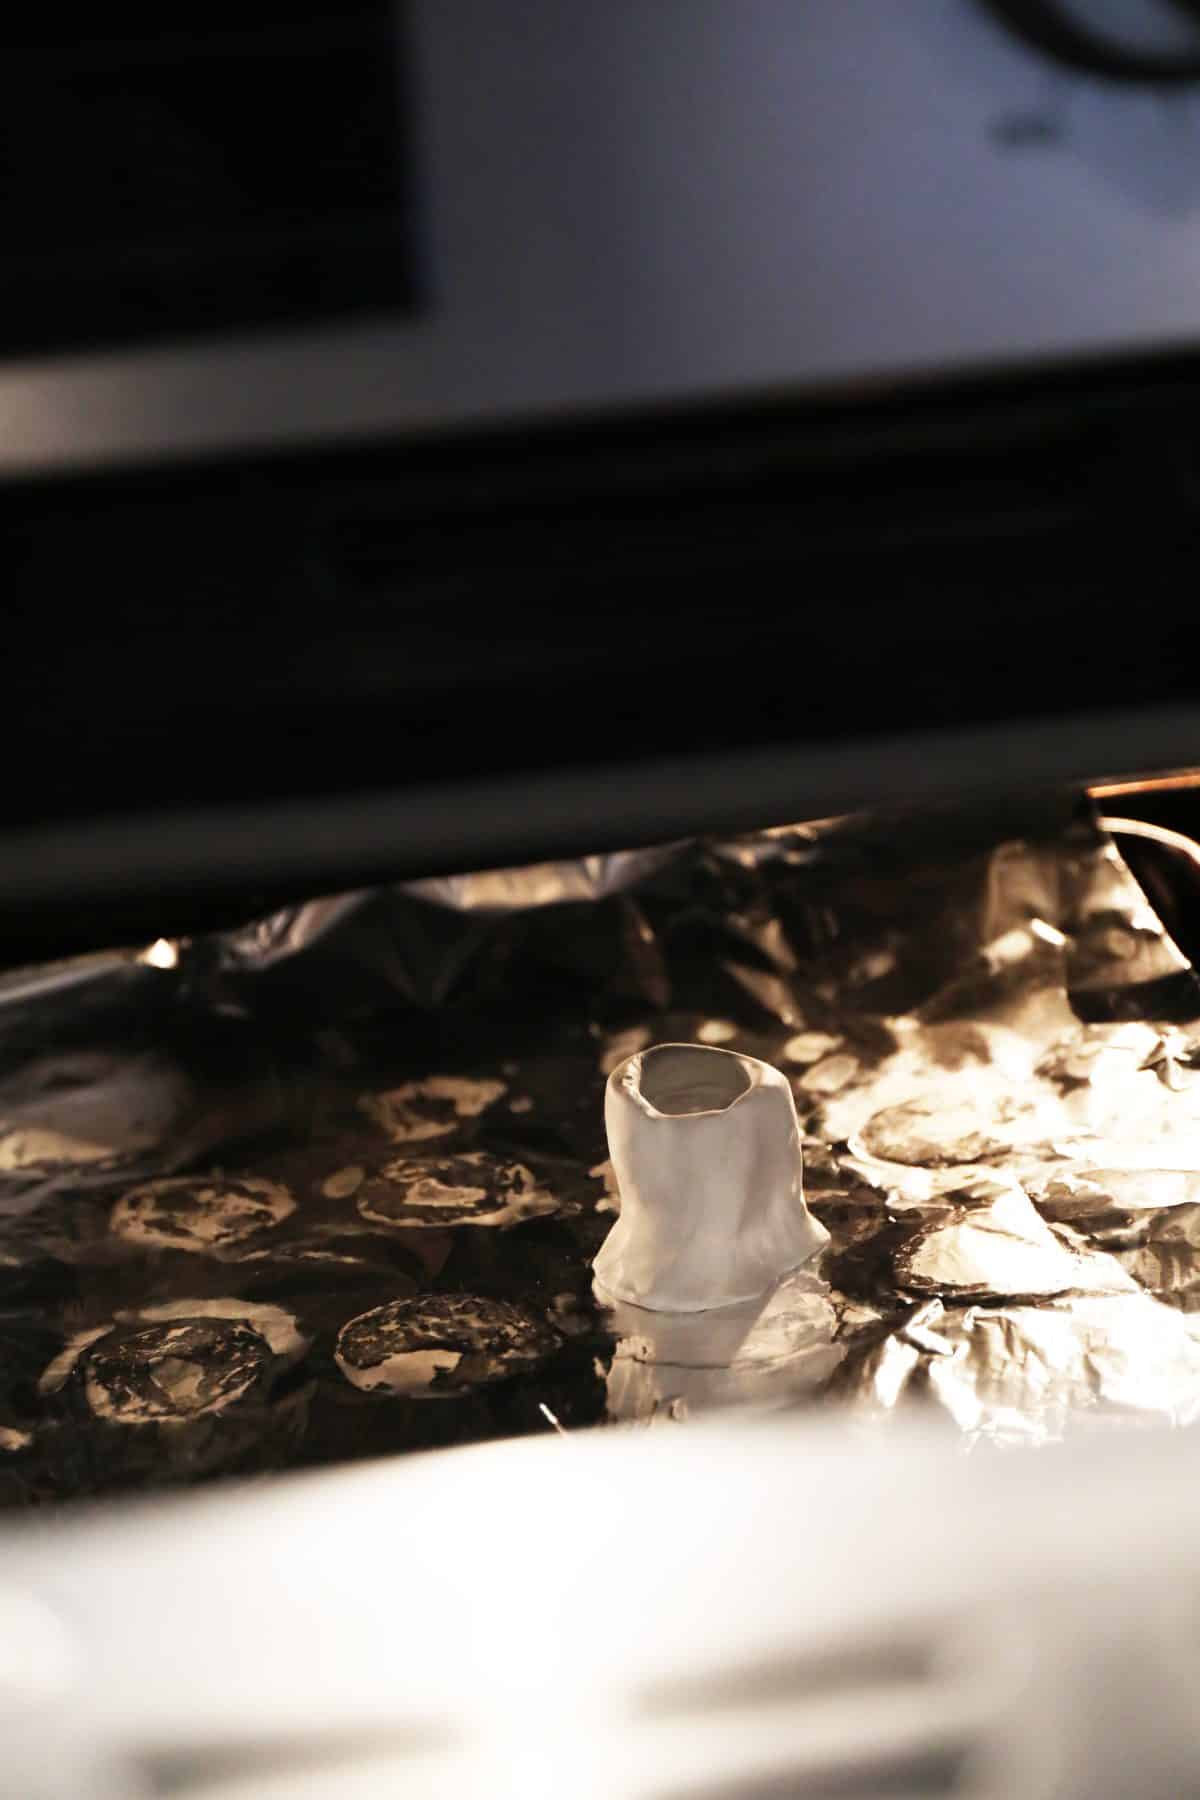
And no, they don’t have to be perfect. There’s something about the little handmade feel that makes them fun. Pop them in the oven and follow the directions on the box. I do recommend checking often, to make sure you don’t burn your clay, which I may or may not have done. An entire batch of ghosts came out looking like singed marshmallows. But that’s where the paint comes in handy.
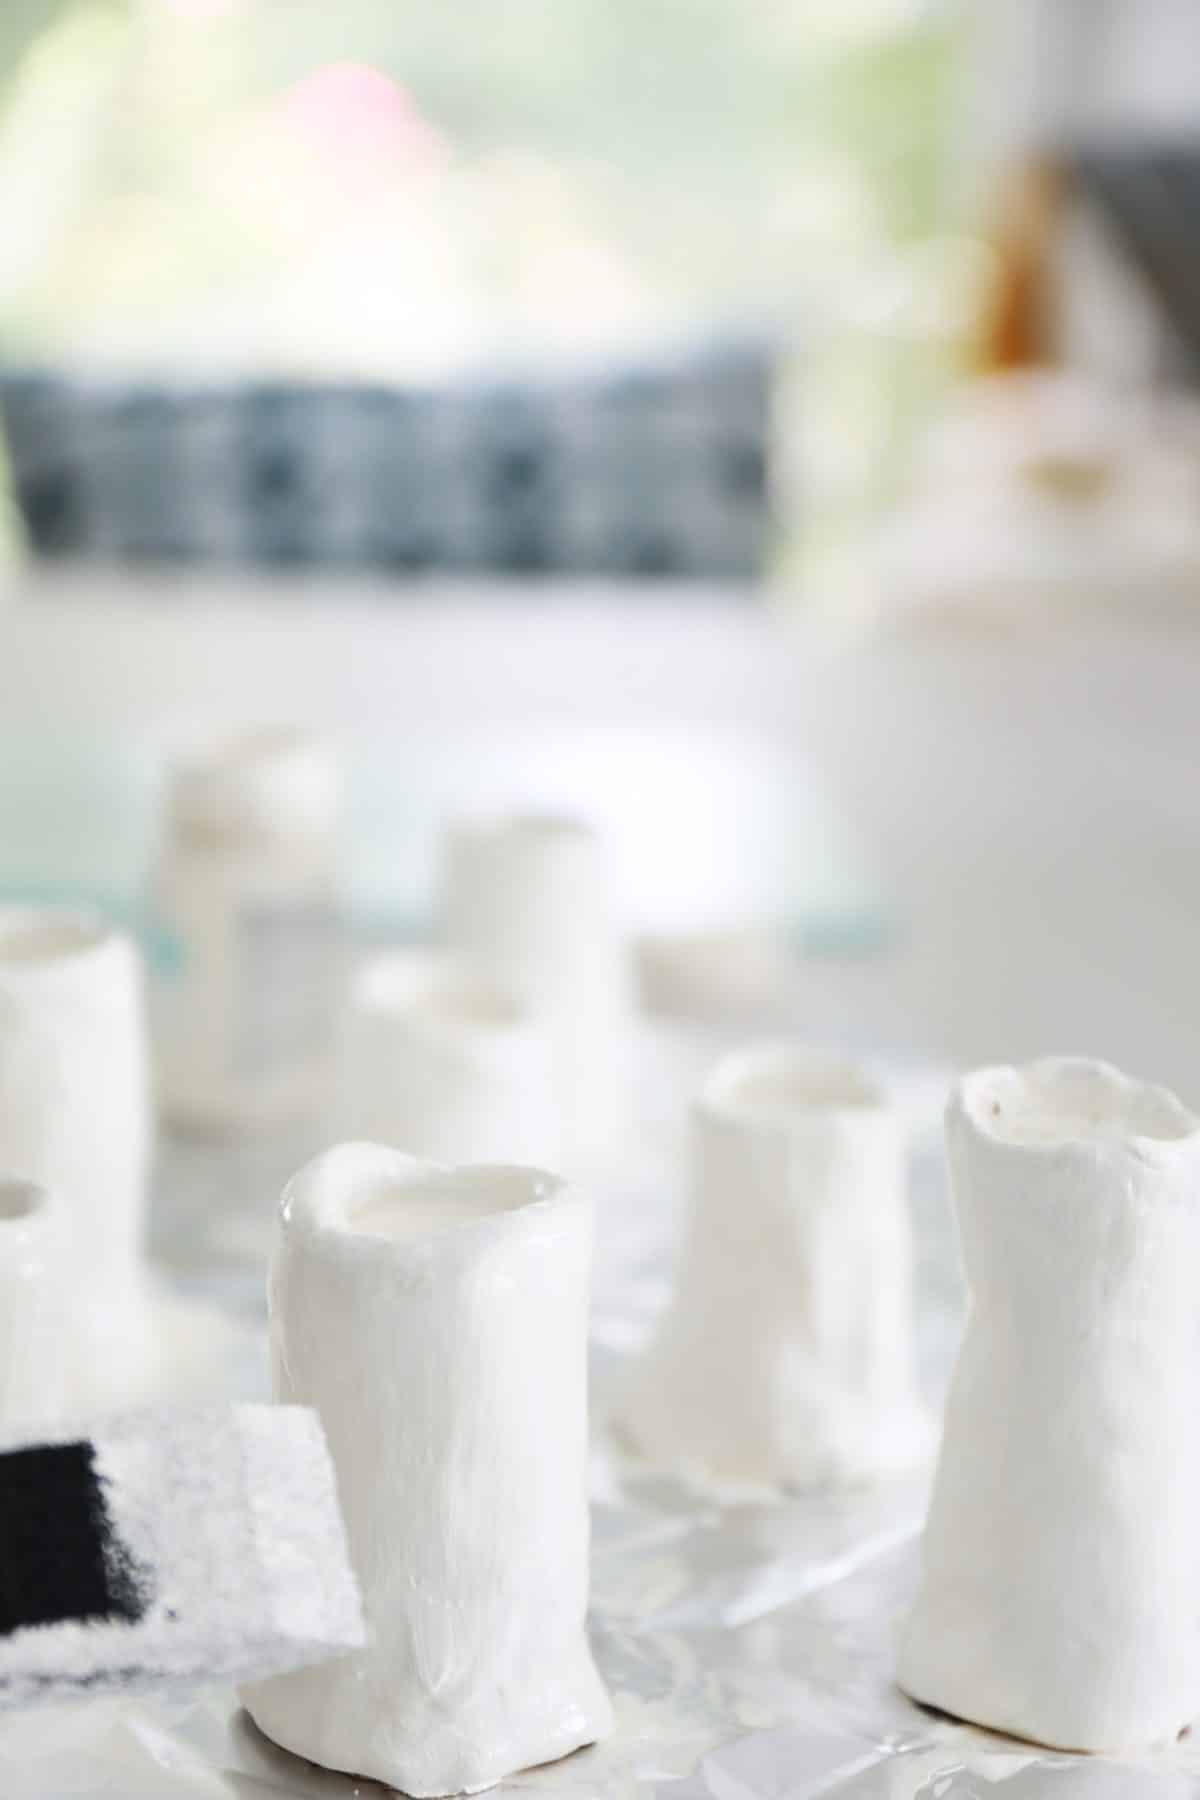
Once cooled, give them a few coats of acrylic paint. This helps to freshen up the look and give it that real ceramic feel you’re going for. The clay tends to brown a little, whether you burn it or not, upon baking. I liked keeping that hue fresh.
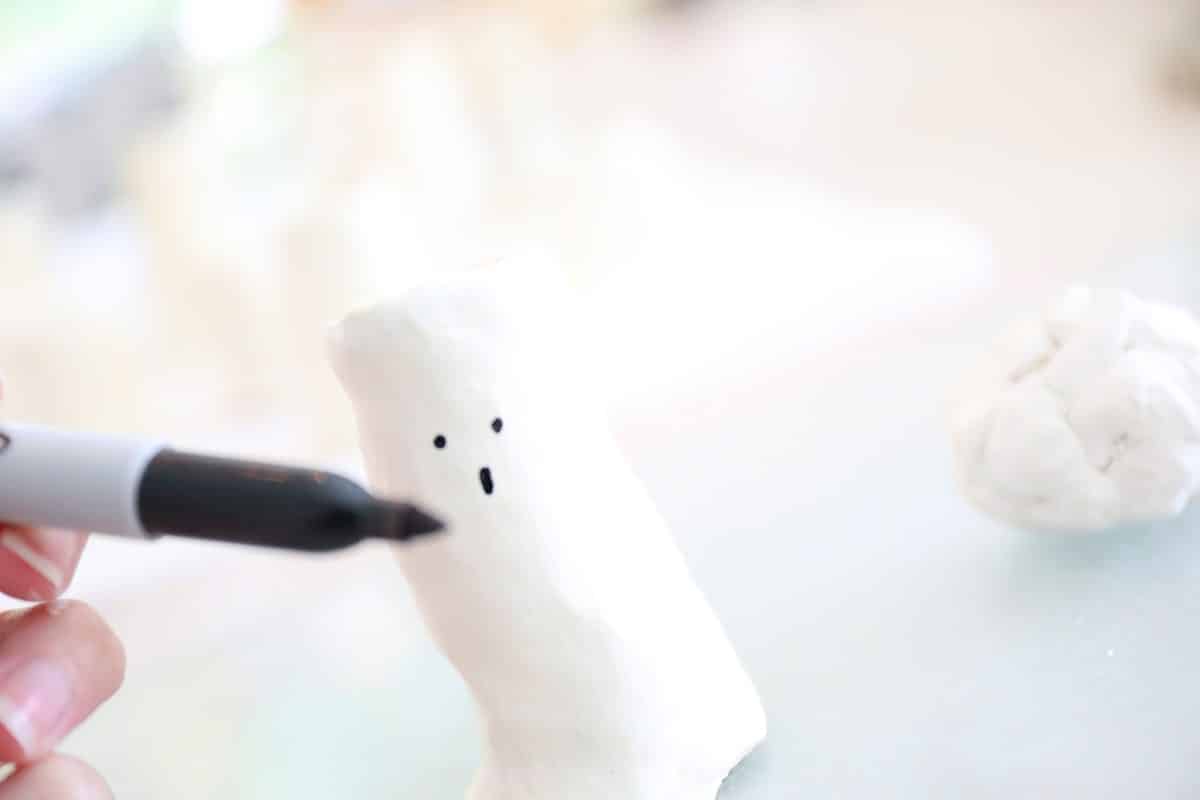
Once those multiple coats are dry, break out the Sharpie and give them faces! That’s the fun part.
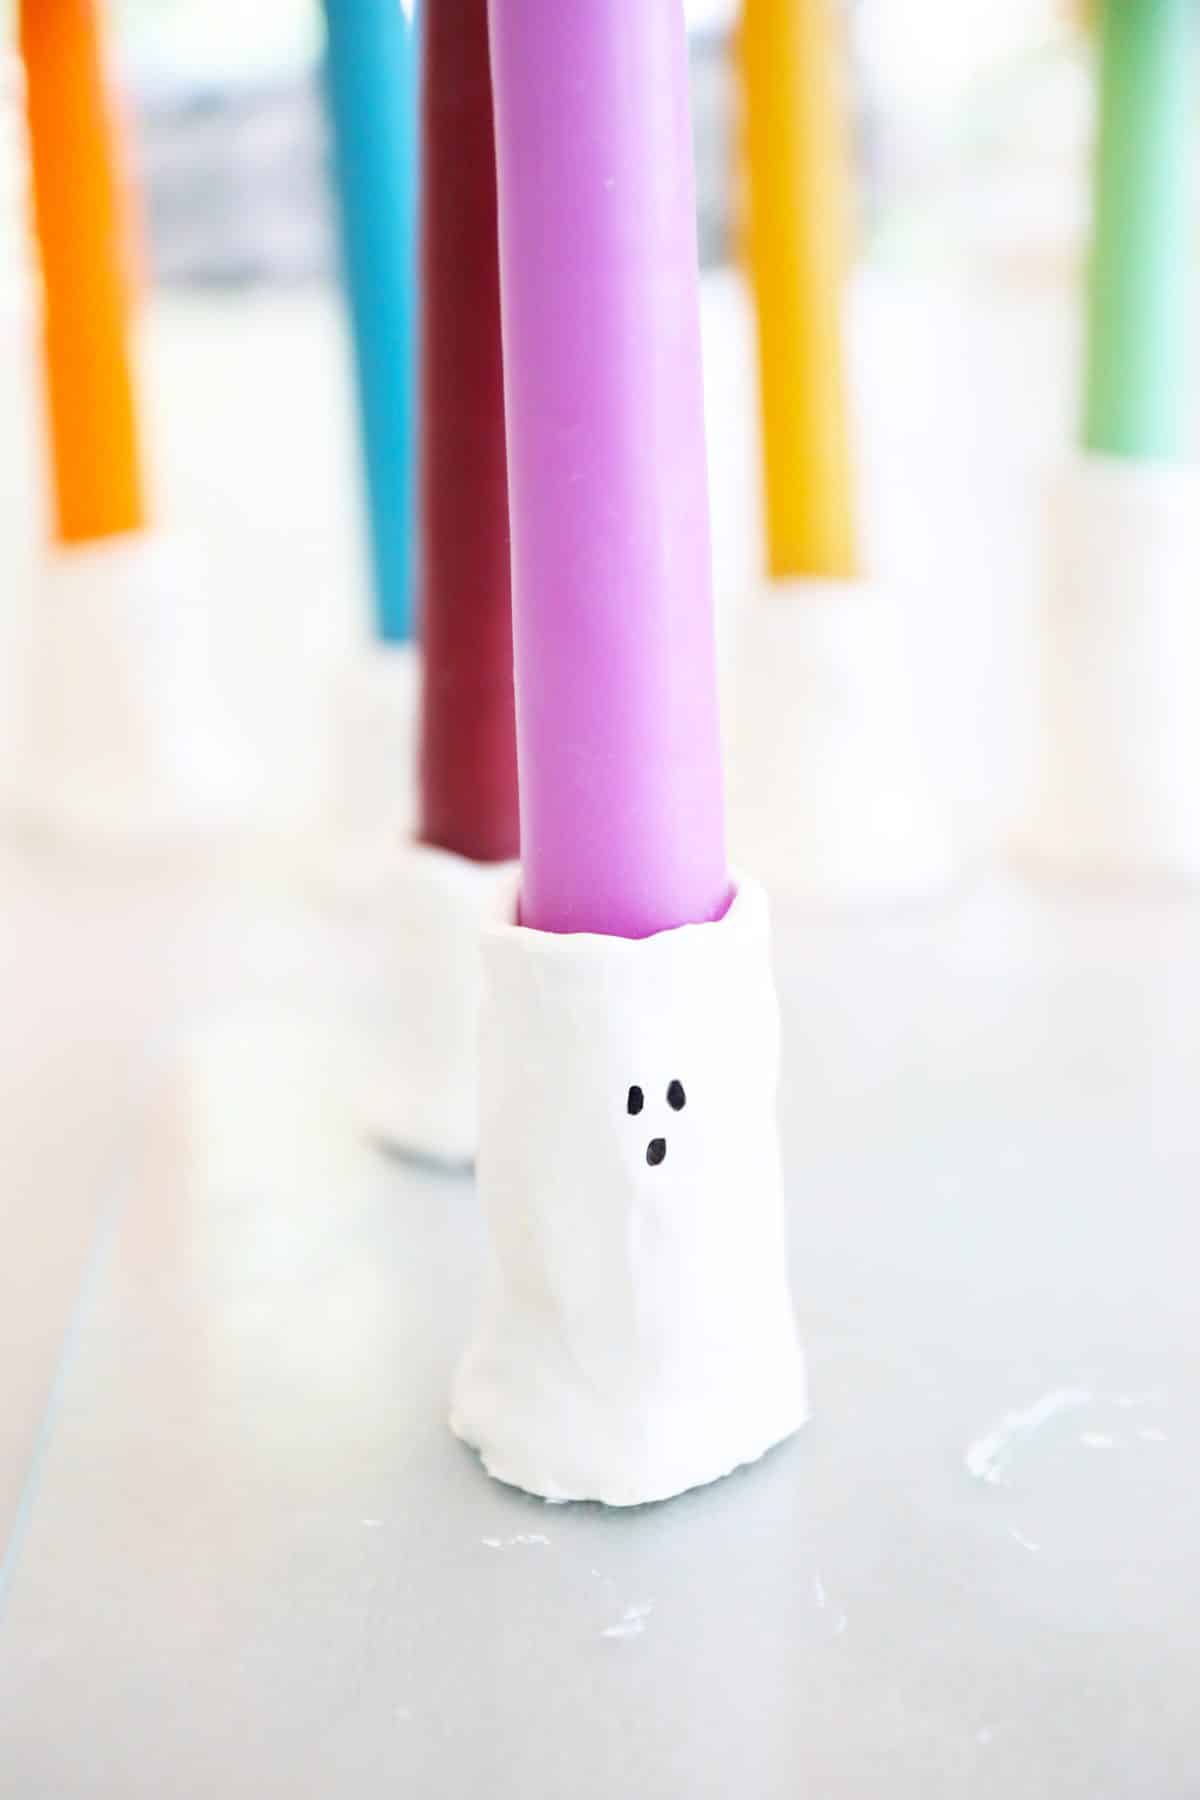
Secure candles in your holders, and you’re ready to go!
Helpful hint: never leave candles unattended, but it helped to give them a nice base with a touch of hot glue on the top of the ghost, or a bit of wax from the candle. You can easily pop them out when you no longer want them in the ghost holders.

What a fun, festive look these give! Not bad for some supplies I already had in my home. These would make adorable gifts for the season, and my kiddos love them. I think we’ll definitely be using these again for a spooky tablescape.

Happy spooky celebration, everyone! If you make them of course let us know! We’d love to hear.
Have an inspired day!