
tips and tricks for a gallery wall {in a tight space!}
What do normal people do when they’re finally in the middle of a basement rehab/overhaul for which it took them 1.3 years to obtain a permit? They figure out new drainage, lay fresh sod, and finish up their hallway gallery, all whilst demo-ing the basement… of course.

No one ever said we were normal. Or rational, for that matter. And more on the drainage issue coming your way ASAP. But unless you’re looking for drainage options, that’s honestly, kind of boring. I’m a total dork and I think so. I’d much rather look at pretty things. So we thought we’d start with covering the gallery wall, first.
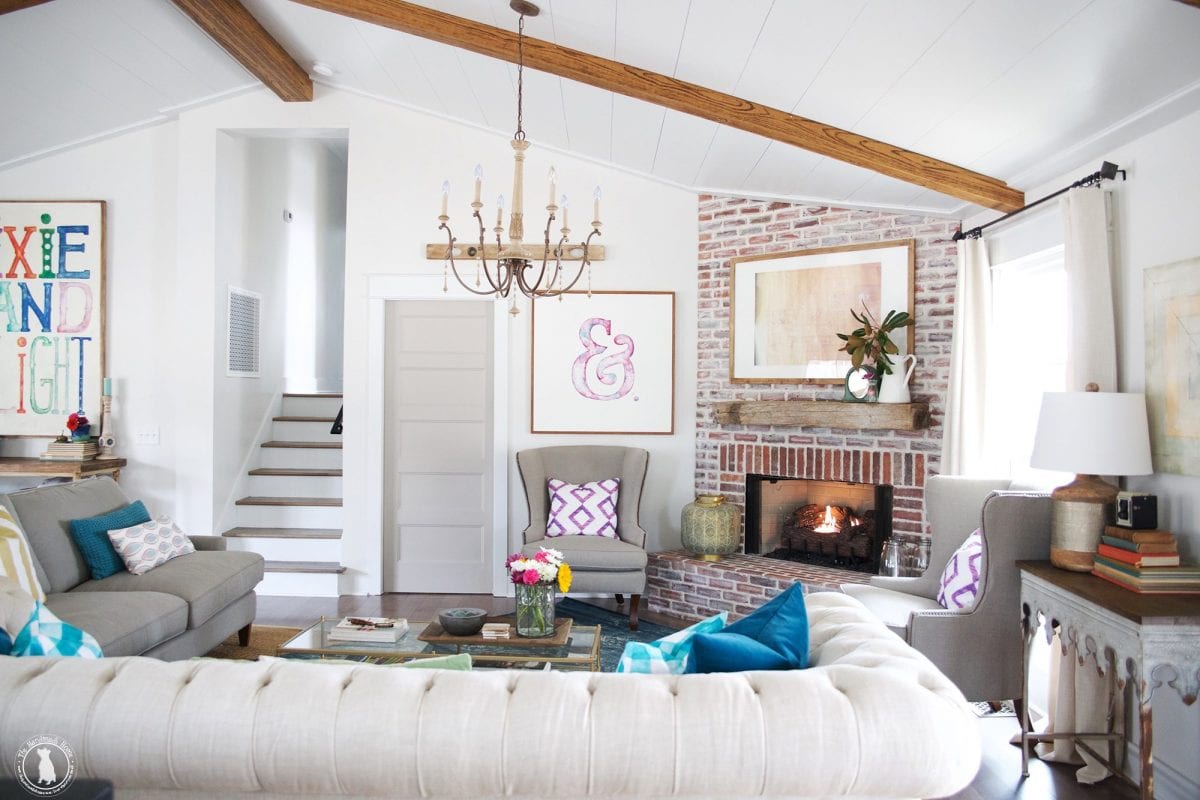
When we shared our great room reveal, we were busy behind the scenes finishing up other spaces…
and aintnobodygottimeforgallerywalls.
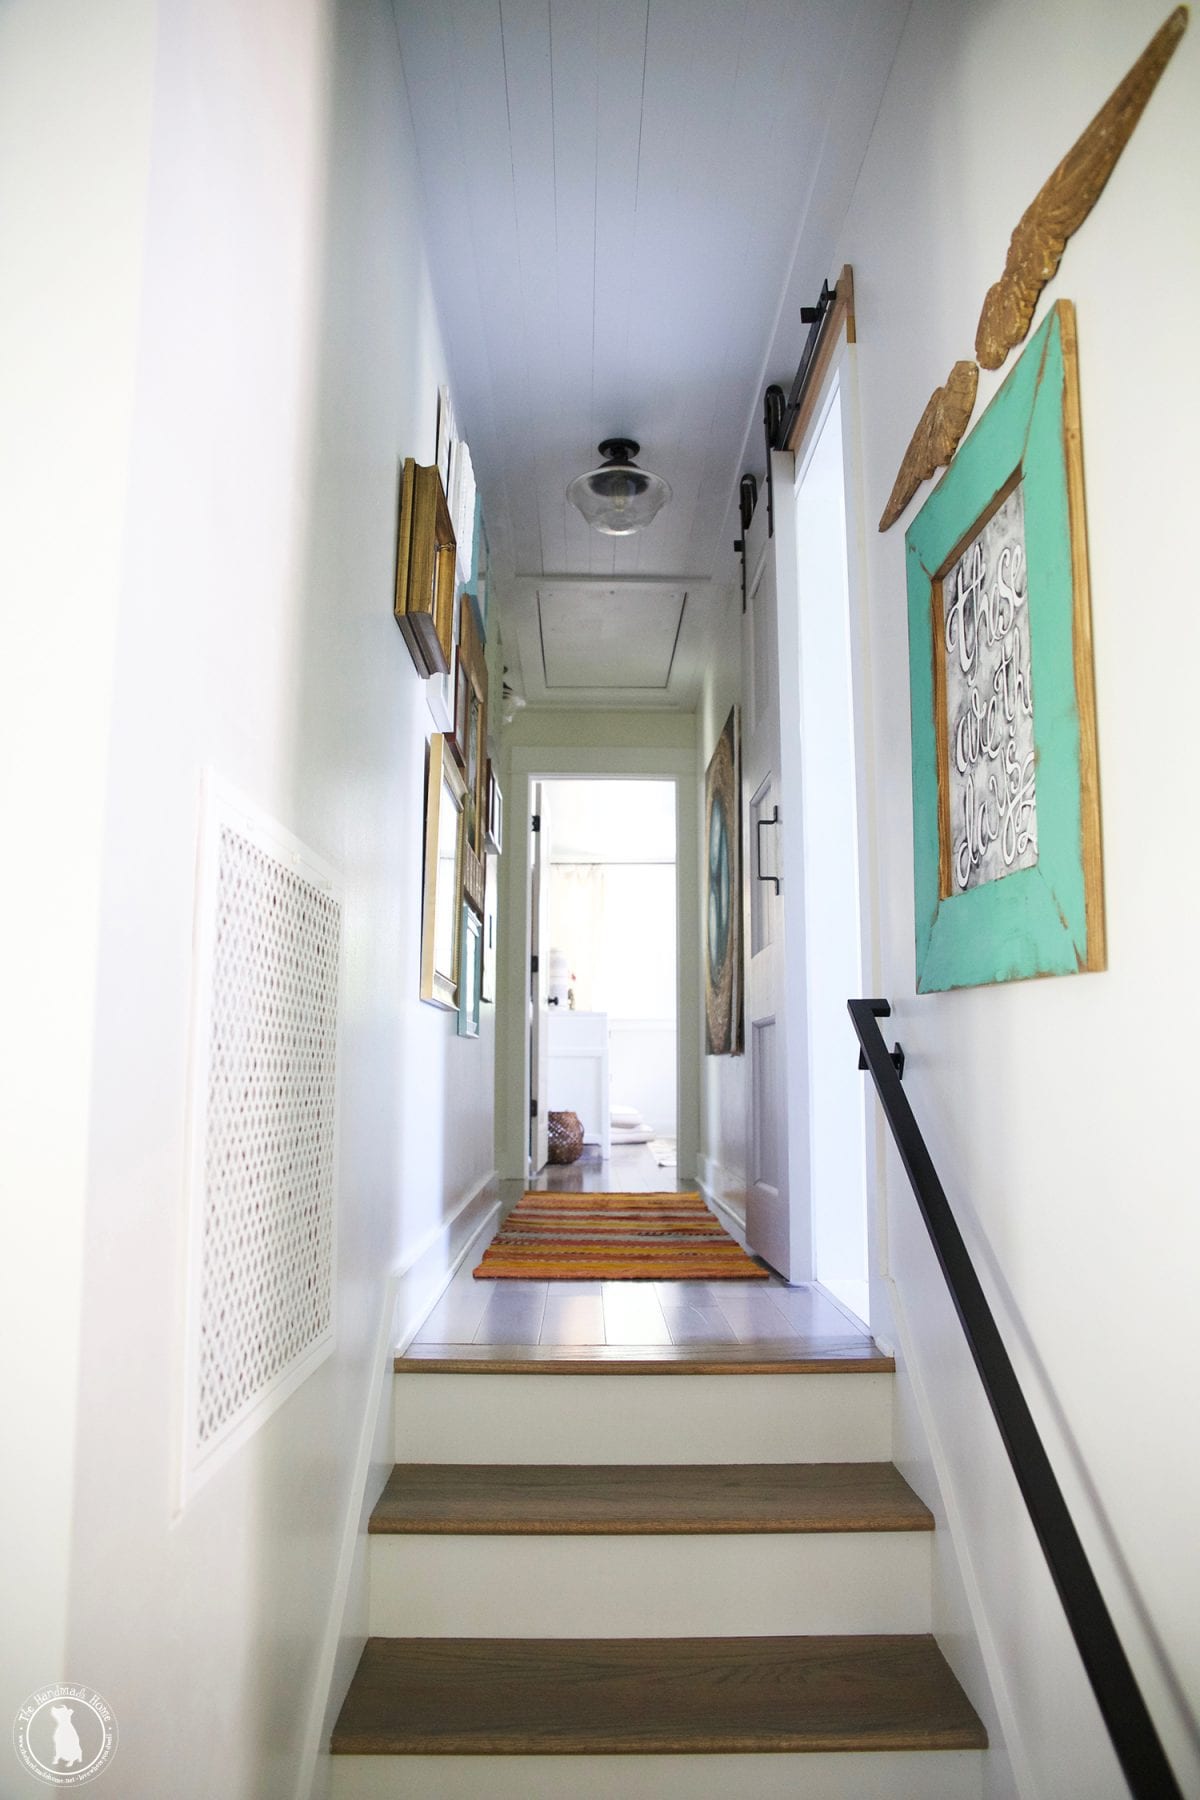
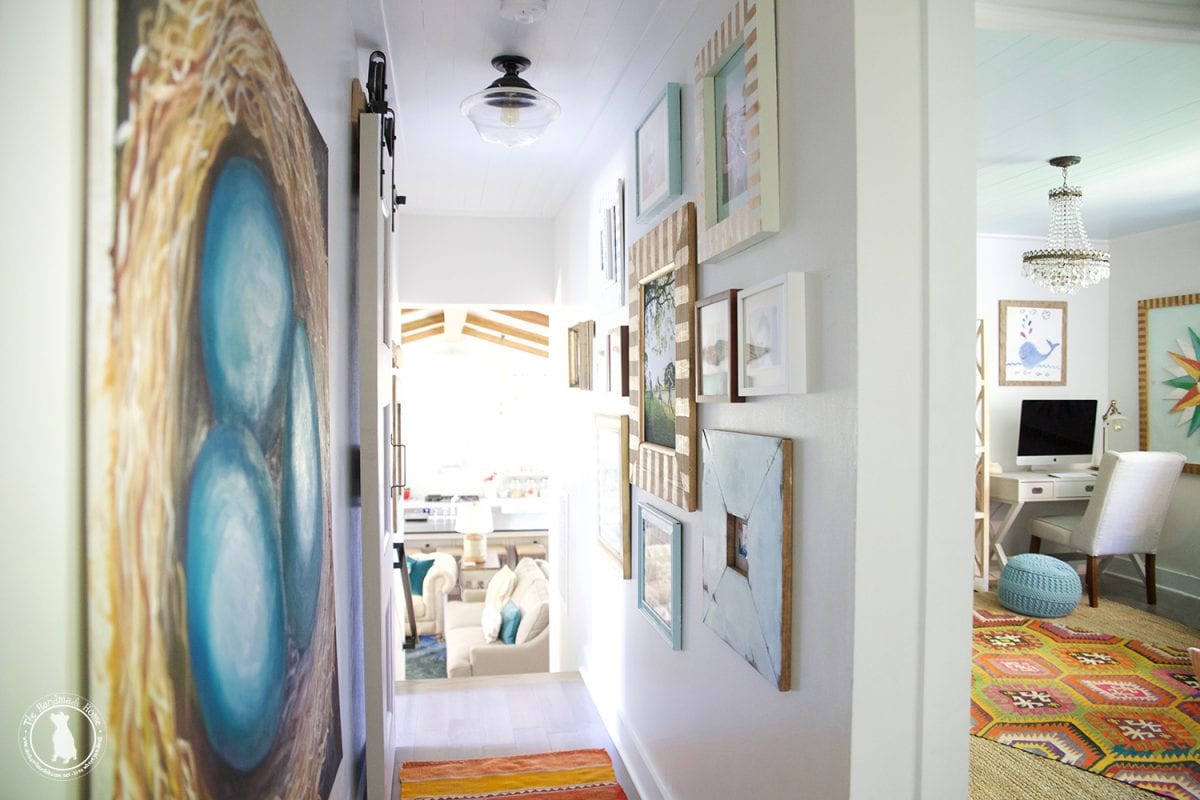
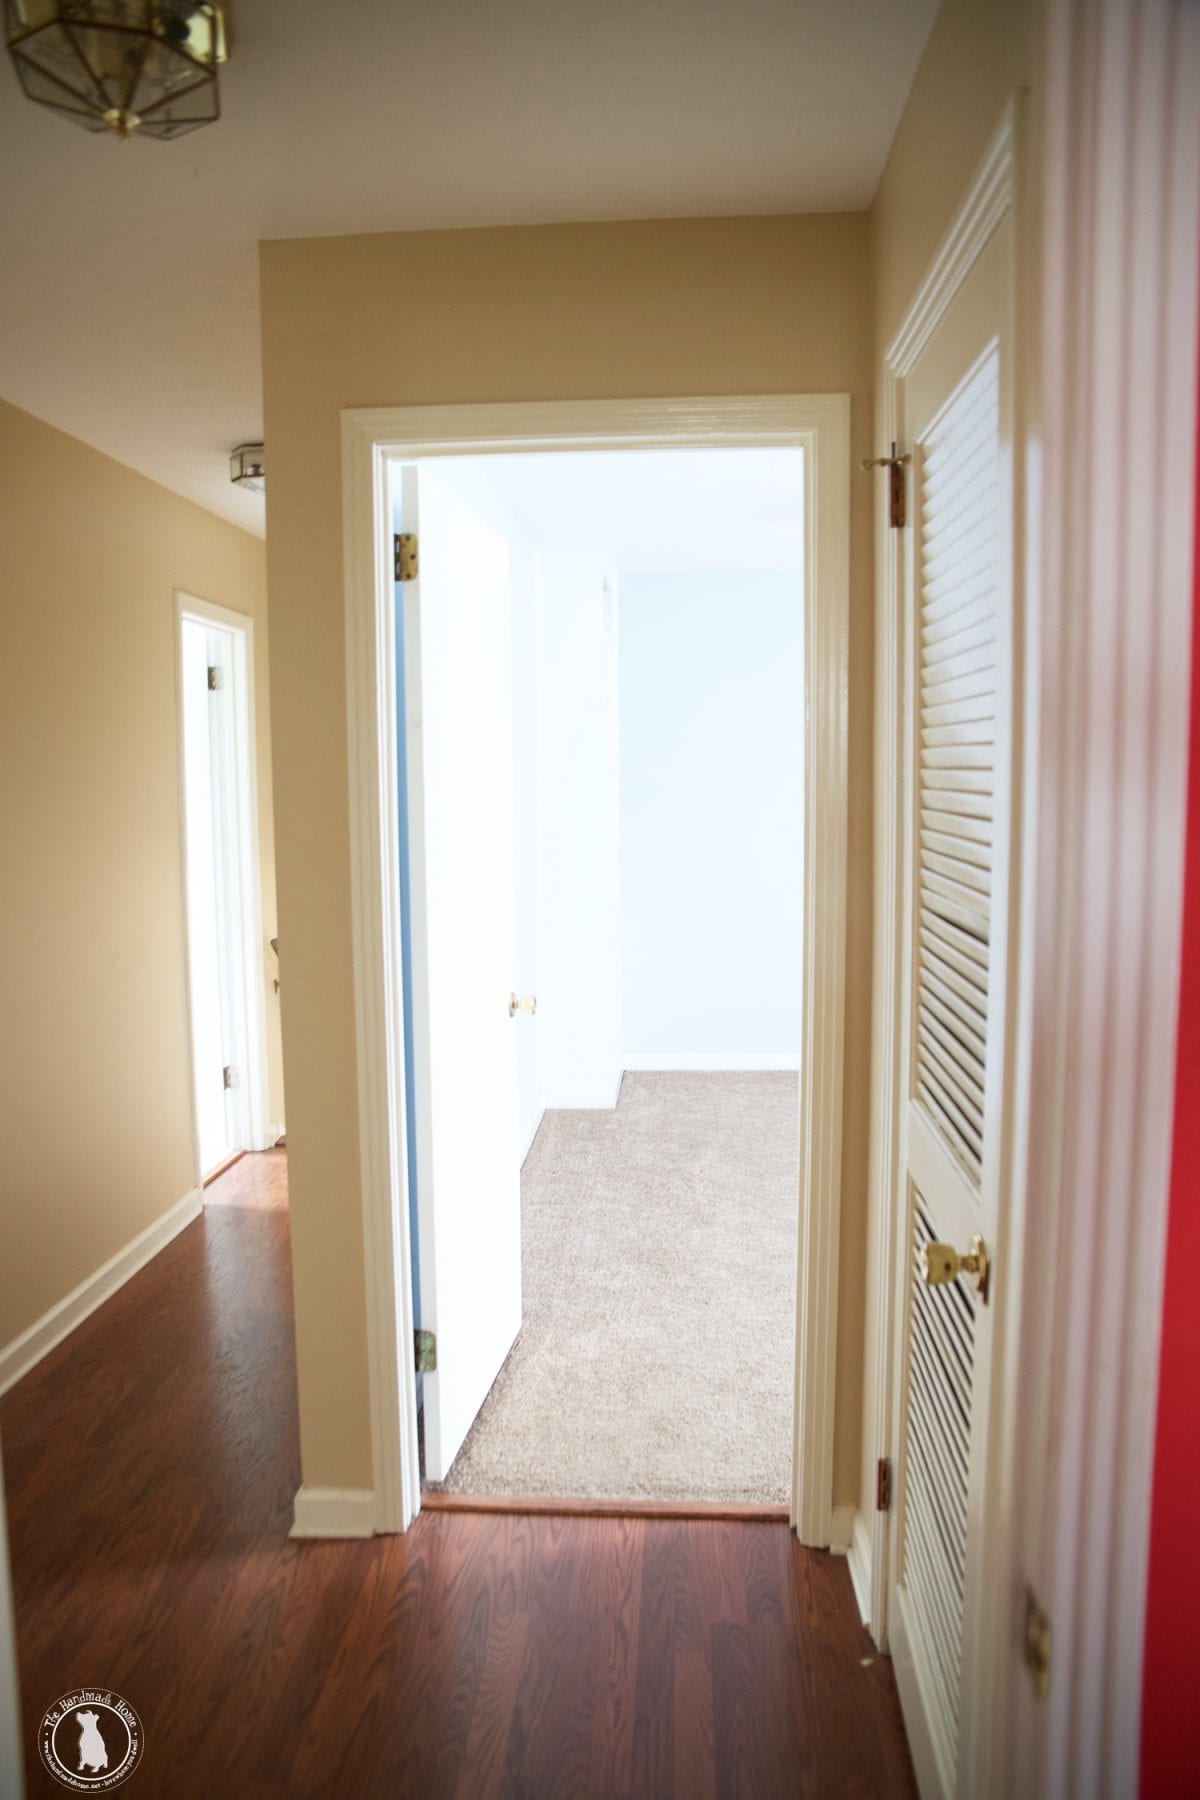
But our upstairs hallway definitely needed a little love.
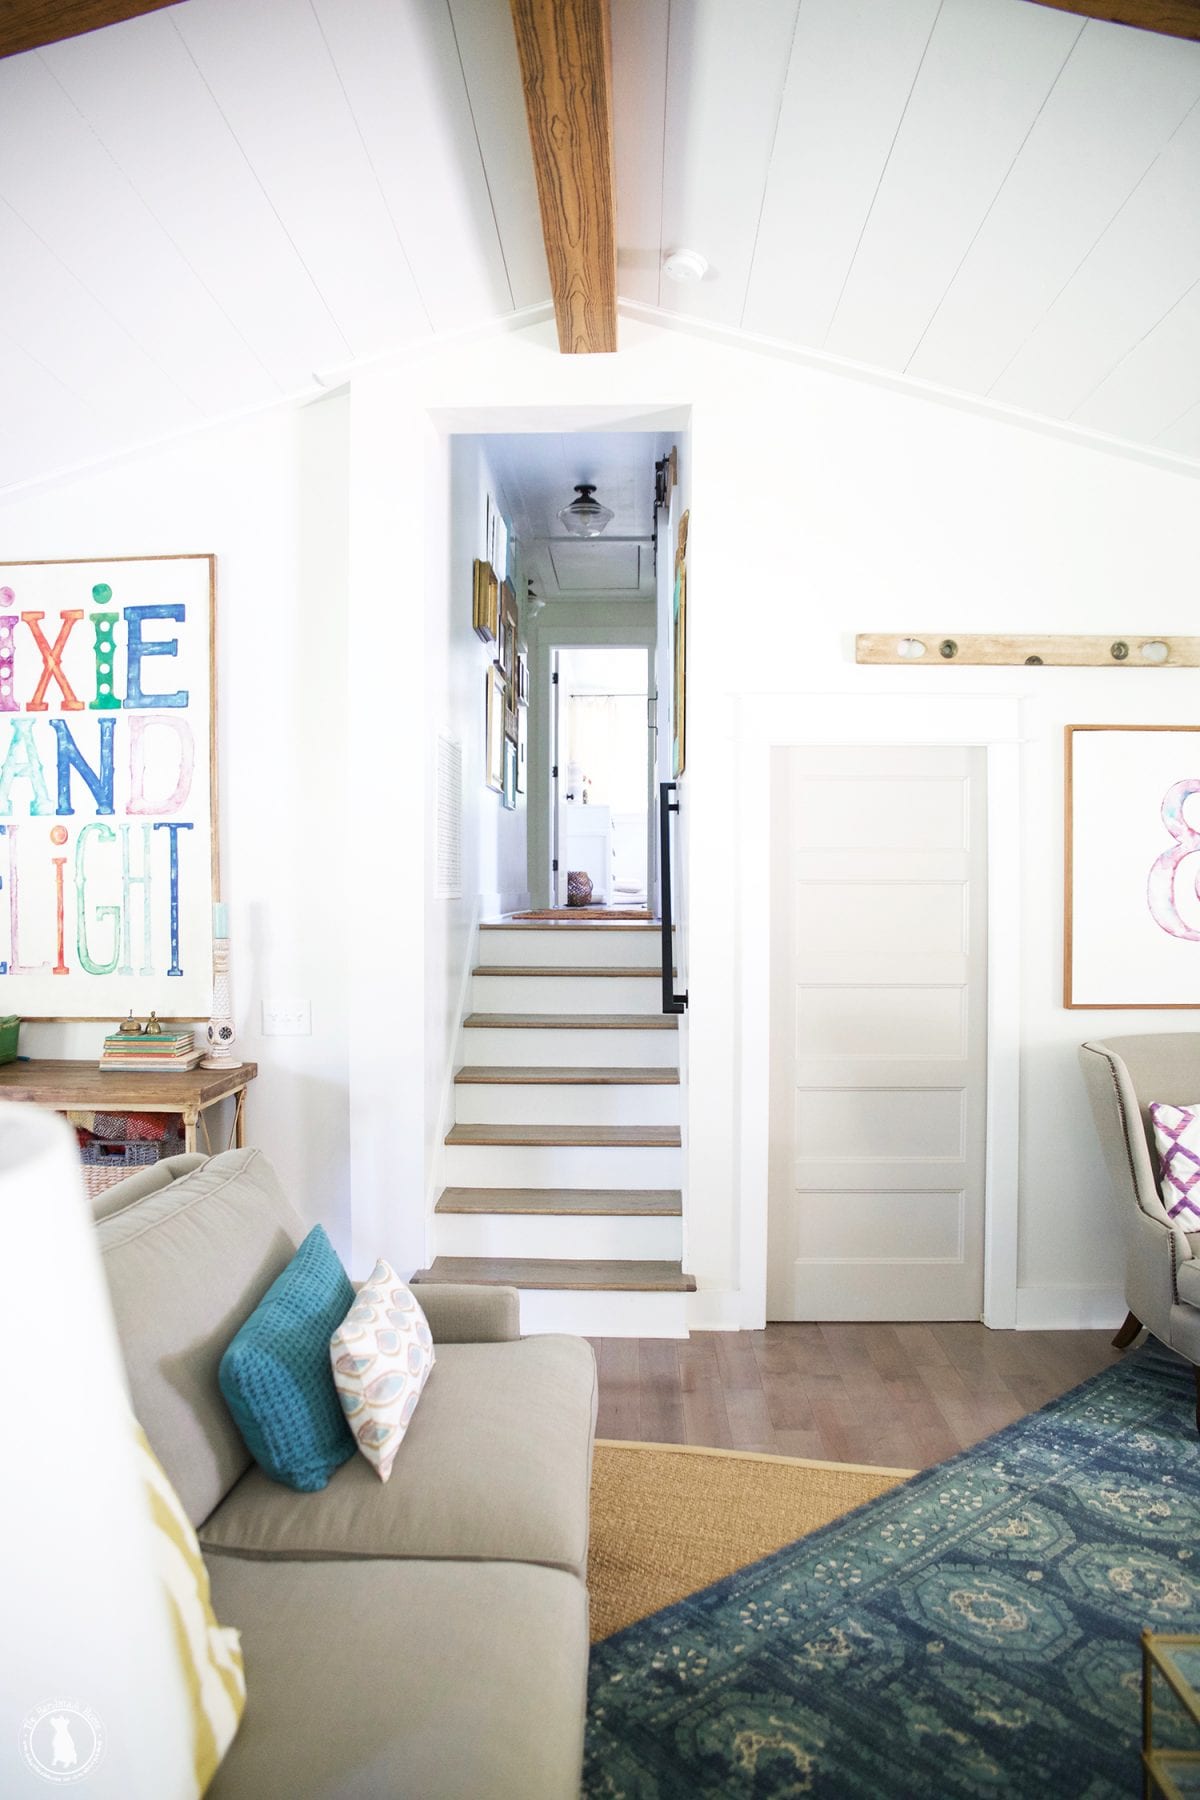
We thought about leaving it simple, but we have a lot of limited wall space in our home.
And for us, on the sentimental side of things, it’s our chance to make time stand still with some of our favorite photos.
So the challenge was to keep it clean and open, but still let it carry that fun, collected look with lots of personality. I mean, we do live here, after all.
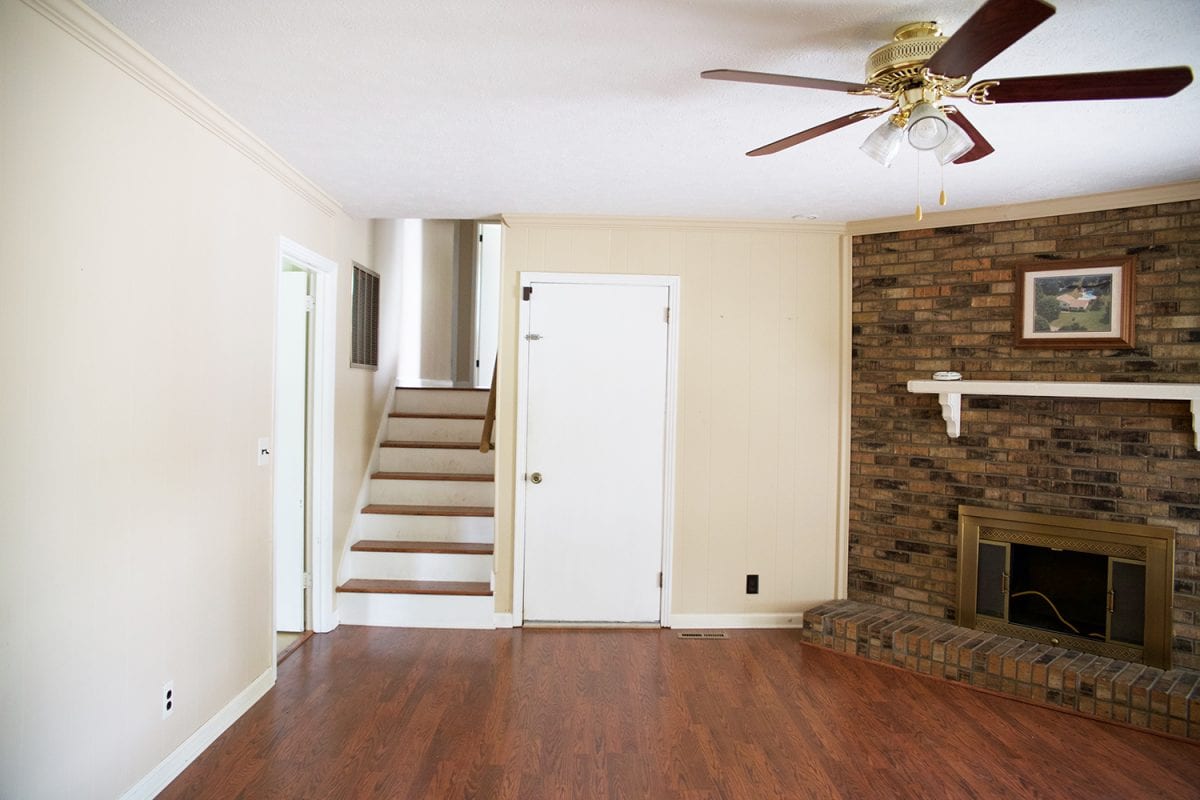
I know it sounds like we’re amazed with ourselves, it’s just that sometimes we forget how sad this house was. The photos truly don’t do it justice, and I think that is one of the reasons it sat on the market for so long. So excuse us when we say we’re so glad we jumped off the cliff, put in a little elbow grease, and decided to call this place our home. We’ve come a long way in a year. And we still have so far to go – we can’t wait to share.
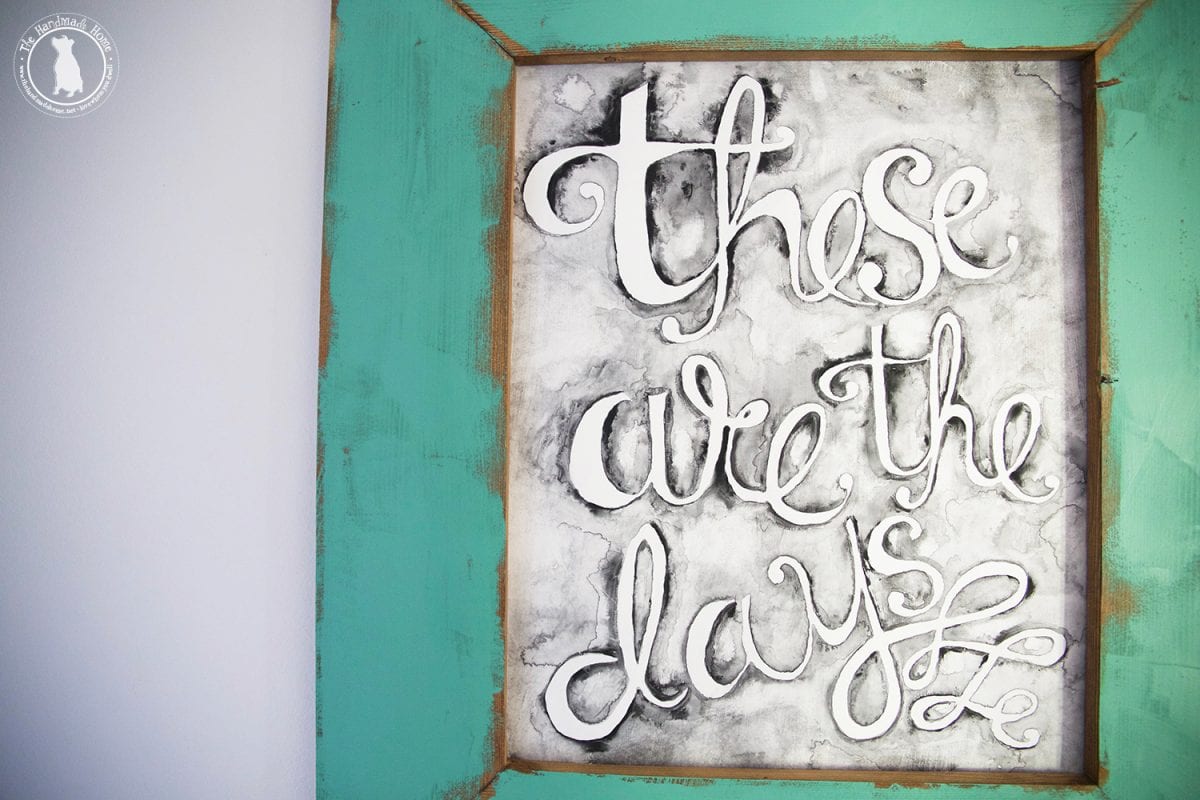
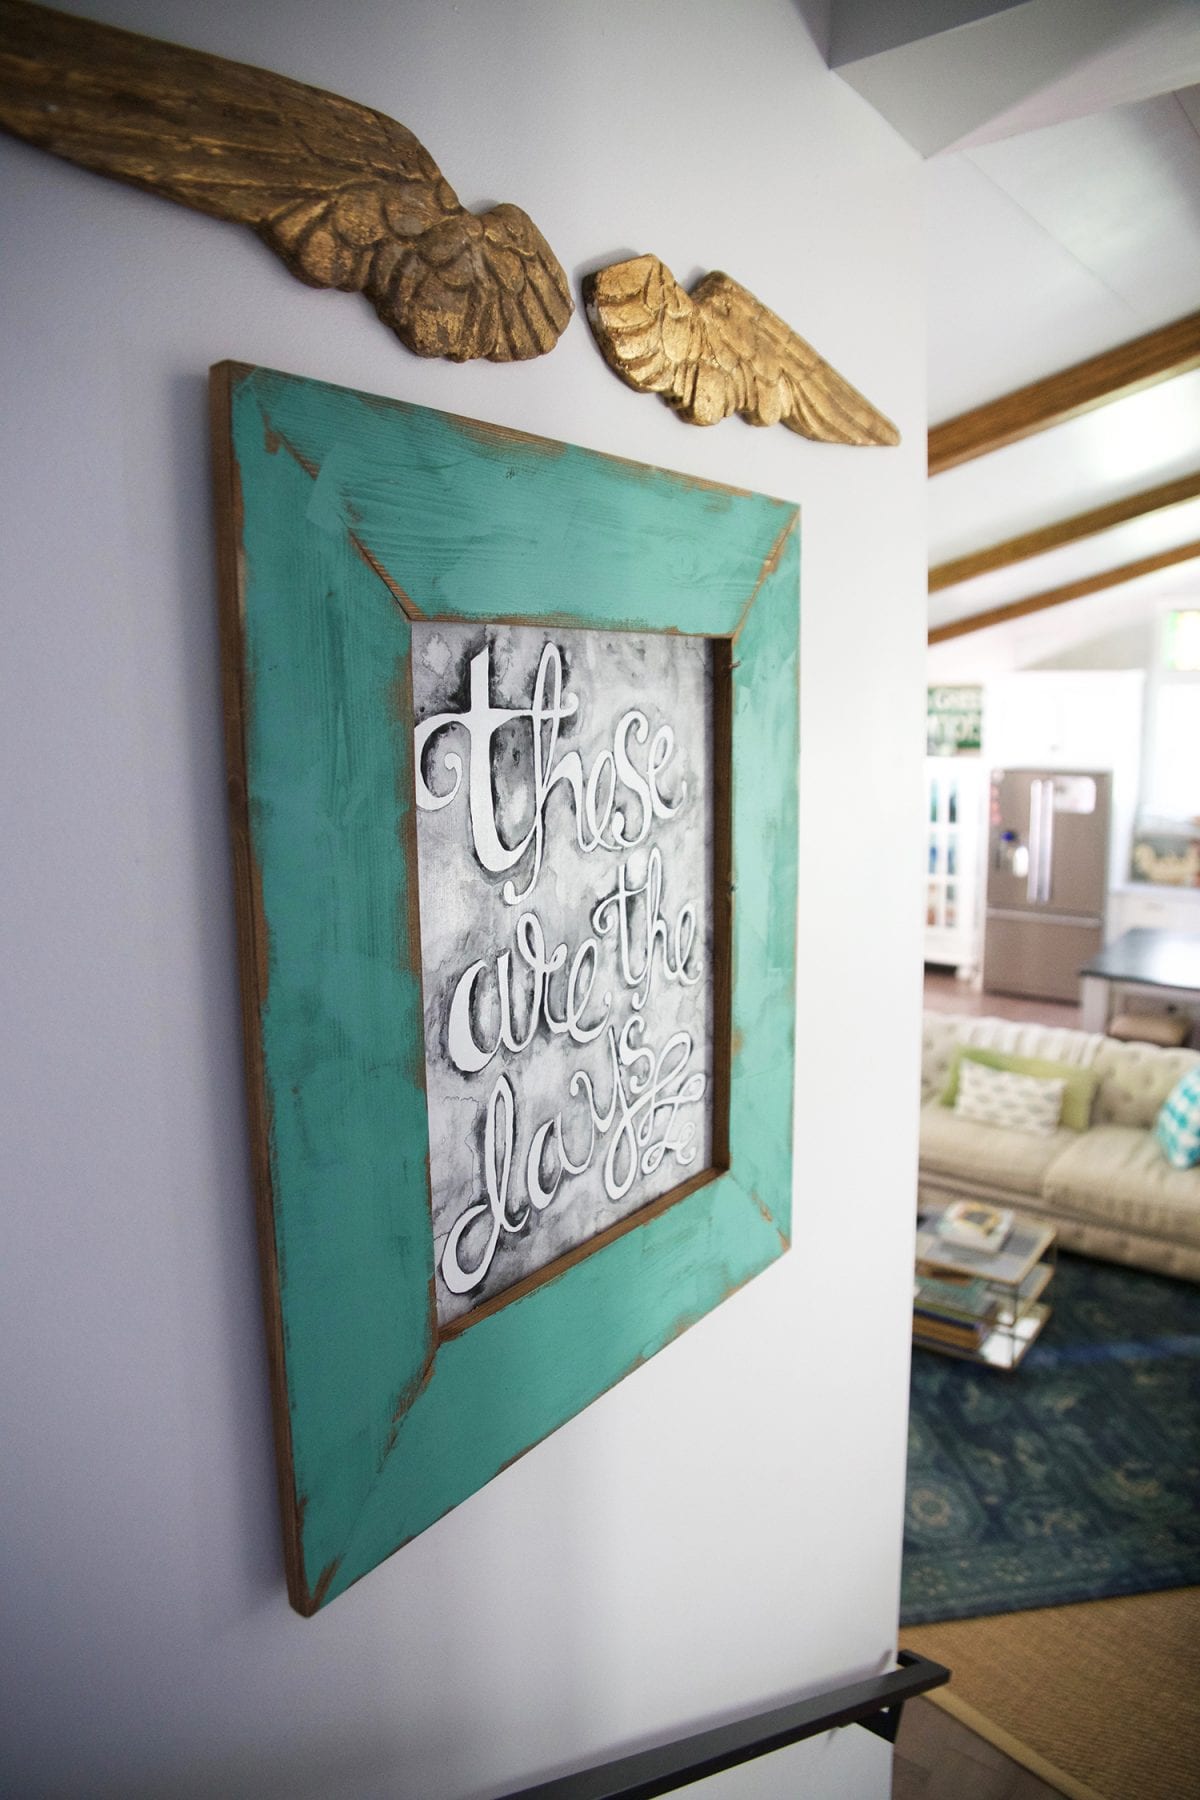
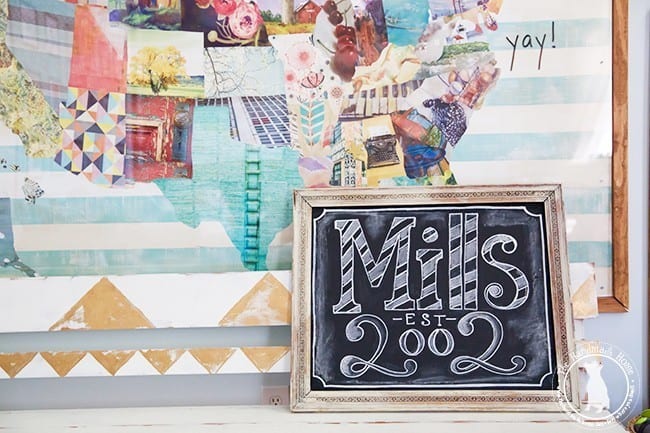
We wanted a little bit of sweet and sentimental. And I even painted this little reminder… because we’re in that sweet spot, and these really are the days.
So today, we wanted to share a few of our favorite tips and tricks for creating a gallery wall.
• Salvage What You Have
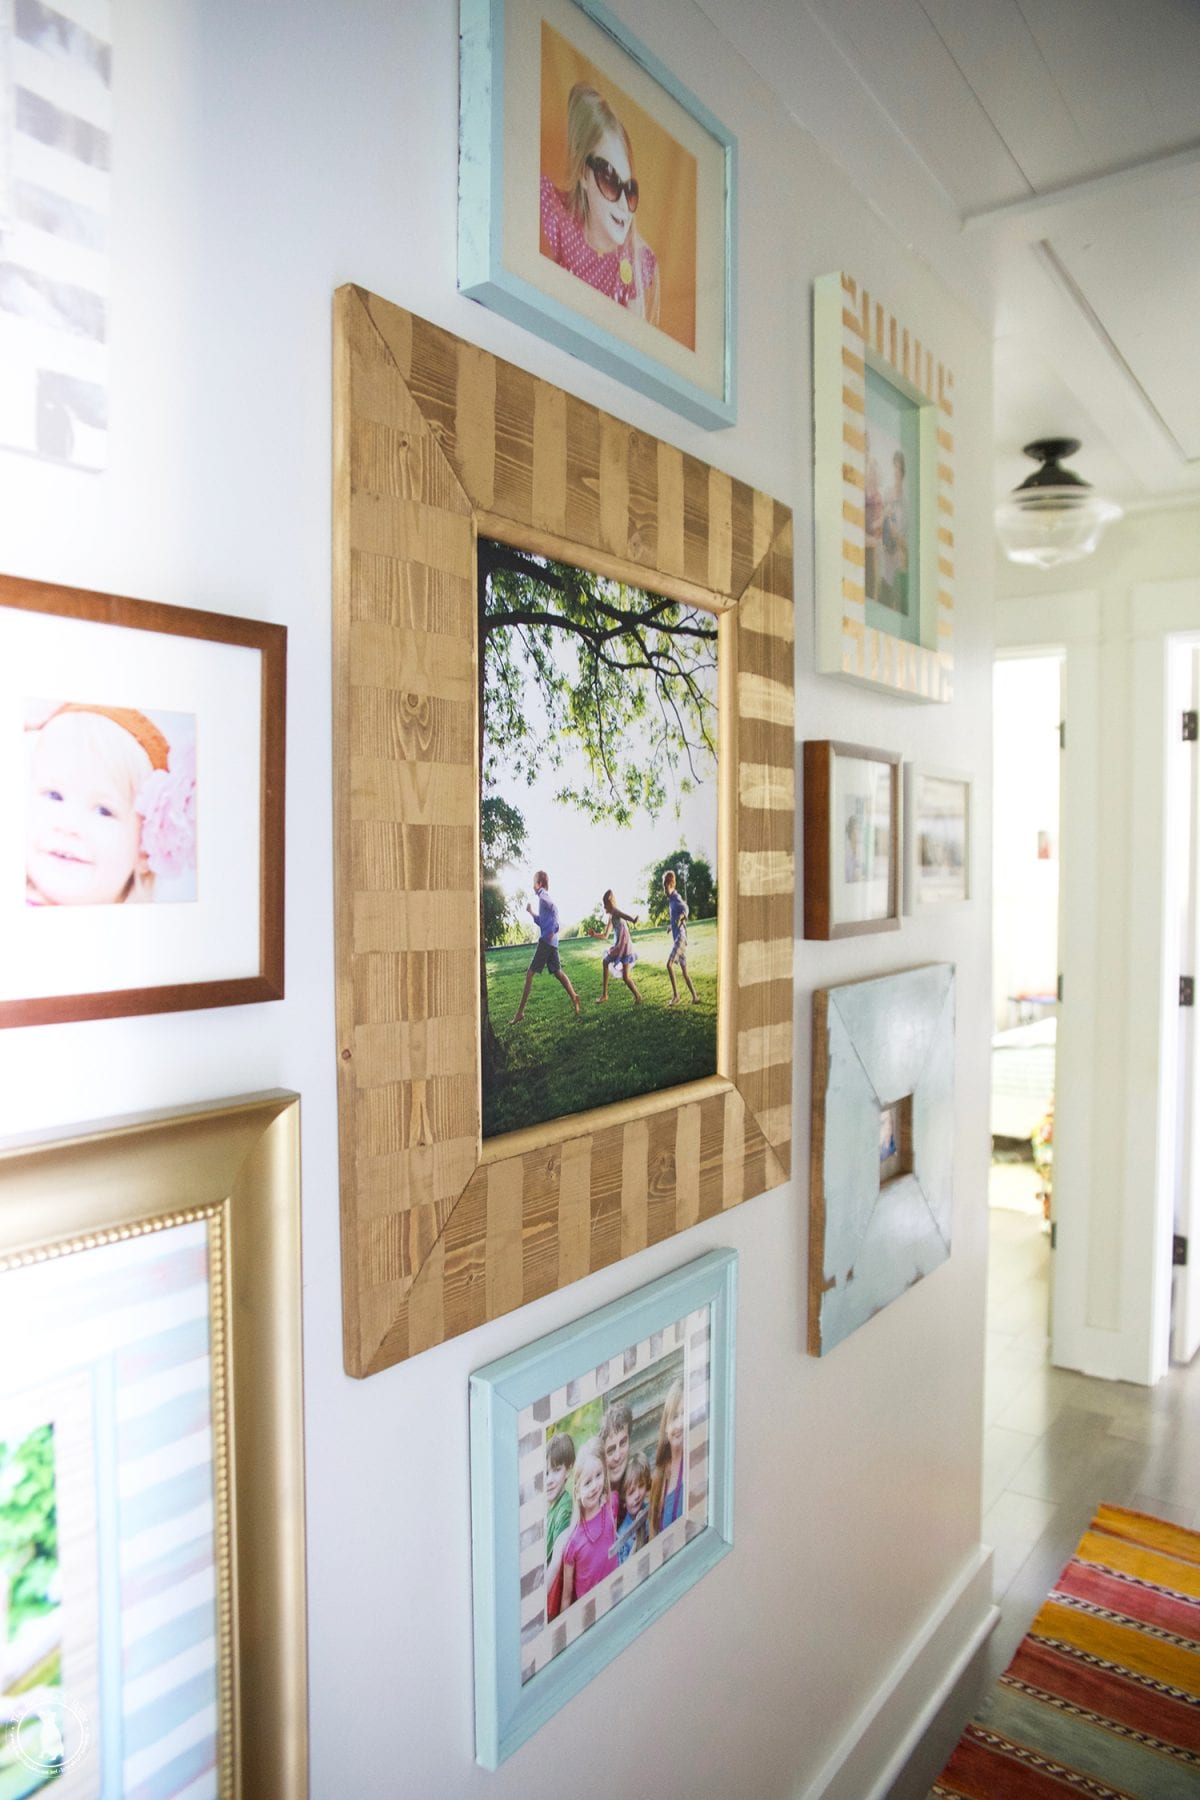
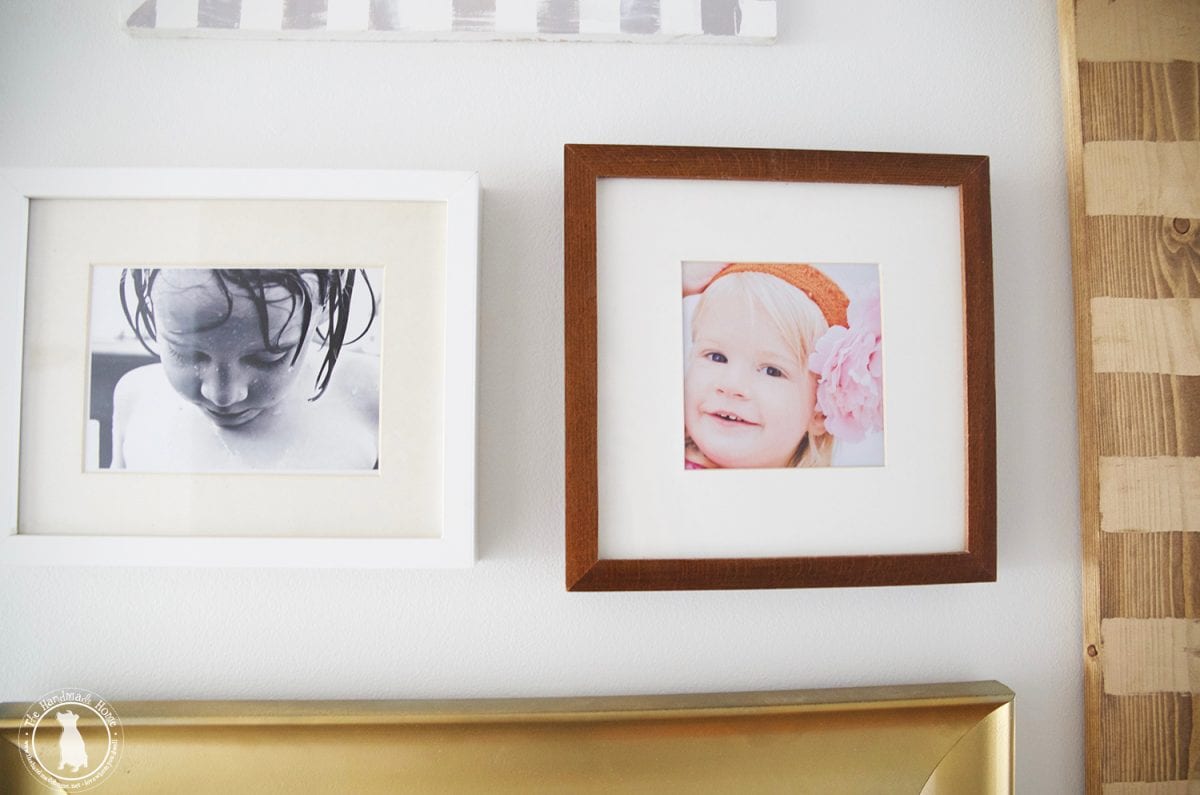
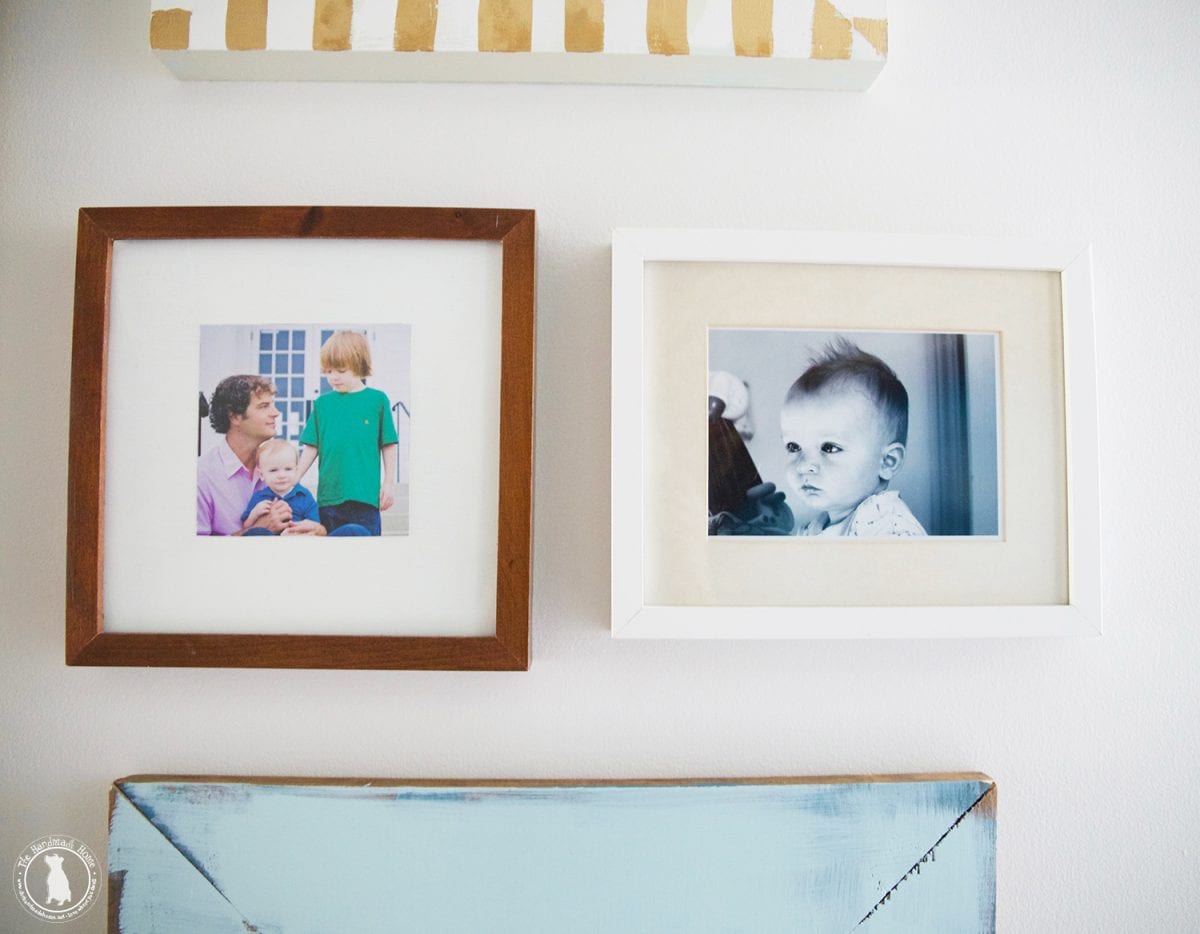
I’ve collected so many frames over the years, I spent a whopping zero dollars on the gallery wall portion.
I literally grabbed frames that I liked, along with photos that we already had printed. We donated or sold a ton when we made the move last year, but held on to our favorites. From there it was a simple issue of planning.
Ooops I lied… I printed out the running photo in the middle. But other than that, we spent zero. It’s always so fun to upcycle a few things.
Great story, you may say. I don’t have anything to salvage….
We’ve all been there. If you’re just starting out, we love looking for frames at TJ Maxx {or similar stores}, Target, Ikea, Hobby Lobby, and more. You never know what you’ll find that you can use on the sale aisle.
Also, we’ve built a lot/most of our frames.
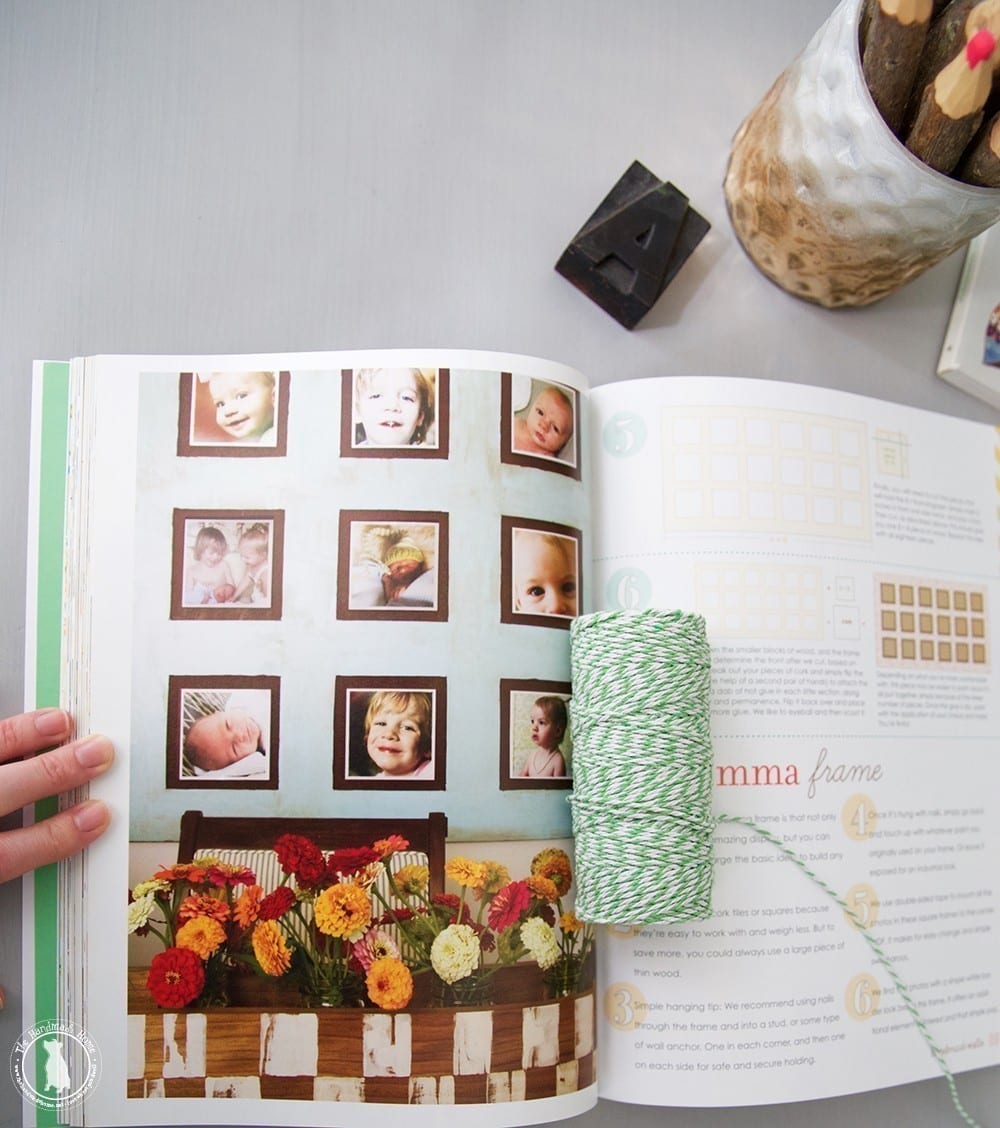
Be sure to check out the specific how-tos with some of these with our book, here or here
And more tutorials on our site available here ;}
• Plan and Measure
Gallery walls can take a little planning and a little elbow grease, if you plan it right.
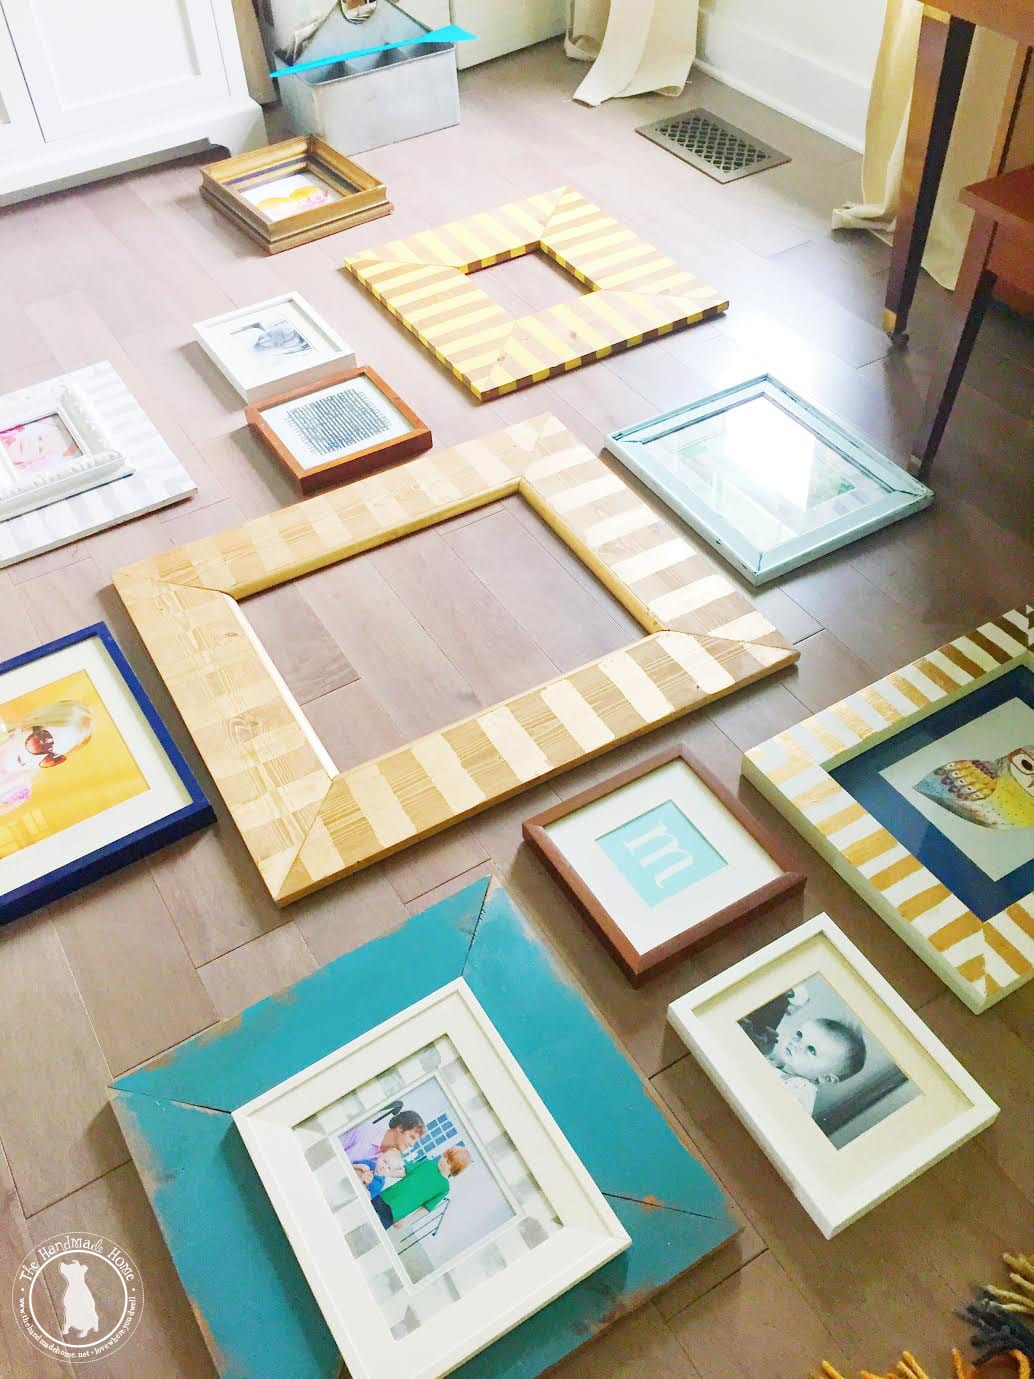
I think there’s this idea out there that gallery walls just happen. There’s no such thing. We basically measured out the length of our hallway upstairs. And then downstairs, laid out the available frames to plan out what we might like. They slowly but surely changed, as I rotated them around and decided which photos I wanted to include. If you’ve been reading for a while, you may spy a few from our old home.
Once we’d decided on a basic layout, it was time for the next step.
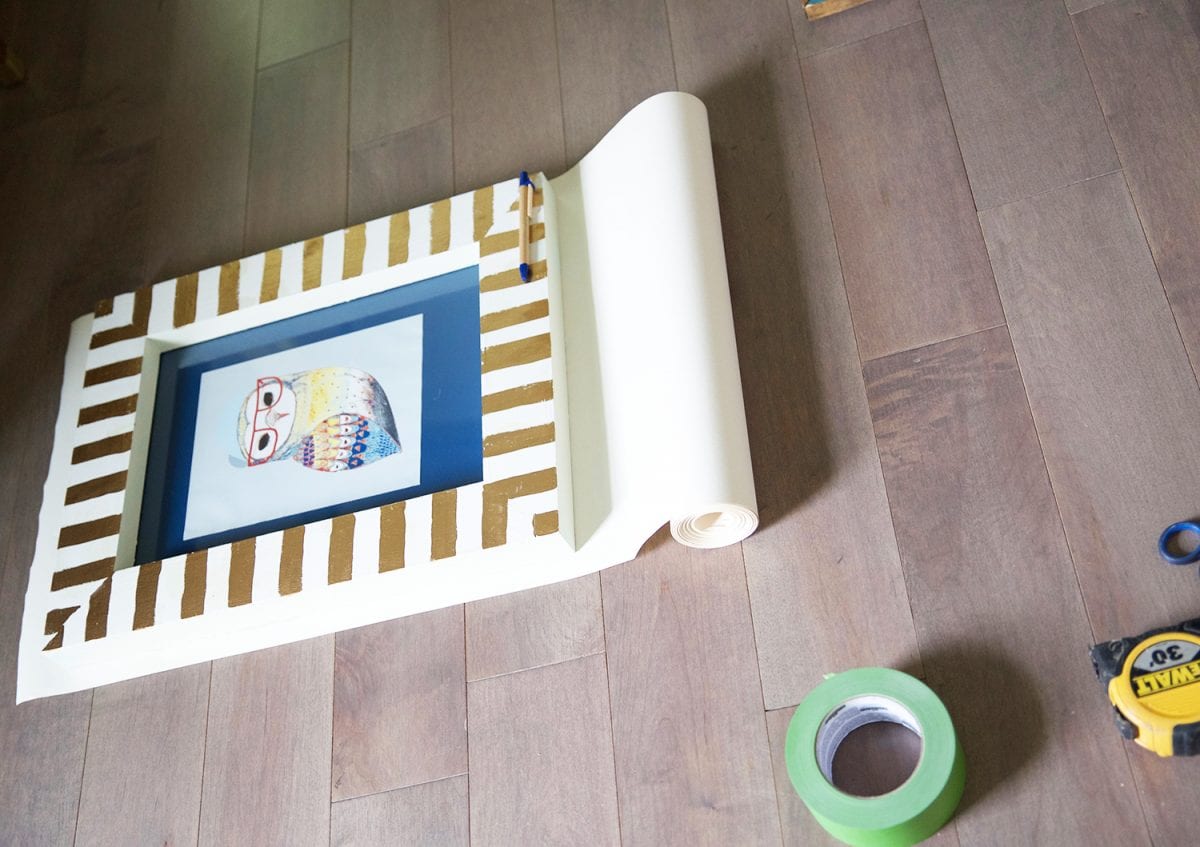
This works with newspaper too, but you can mark the size of each one off, with paper. I used a roll of the kids’ old craft paper from Ikea, and we simply placed the frame on top, traced, and cut.
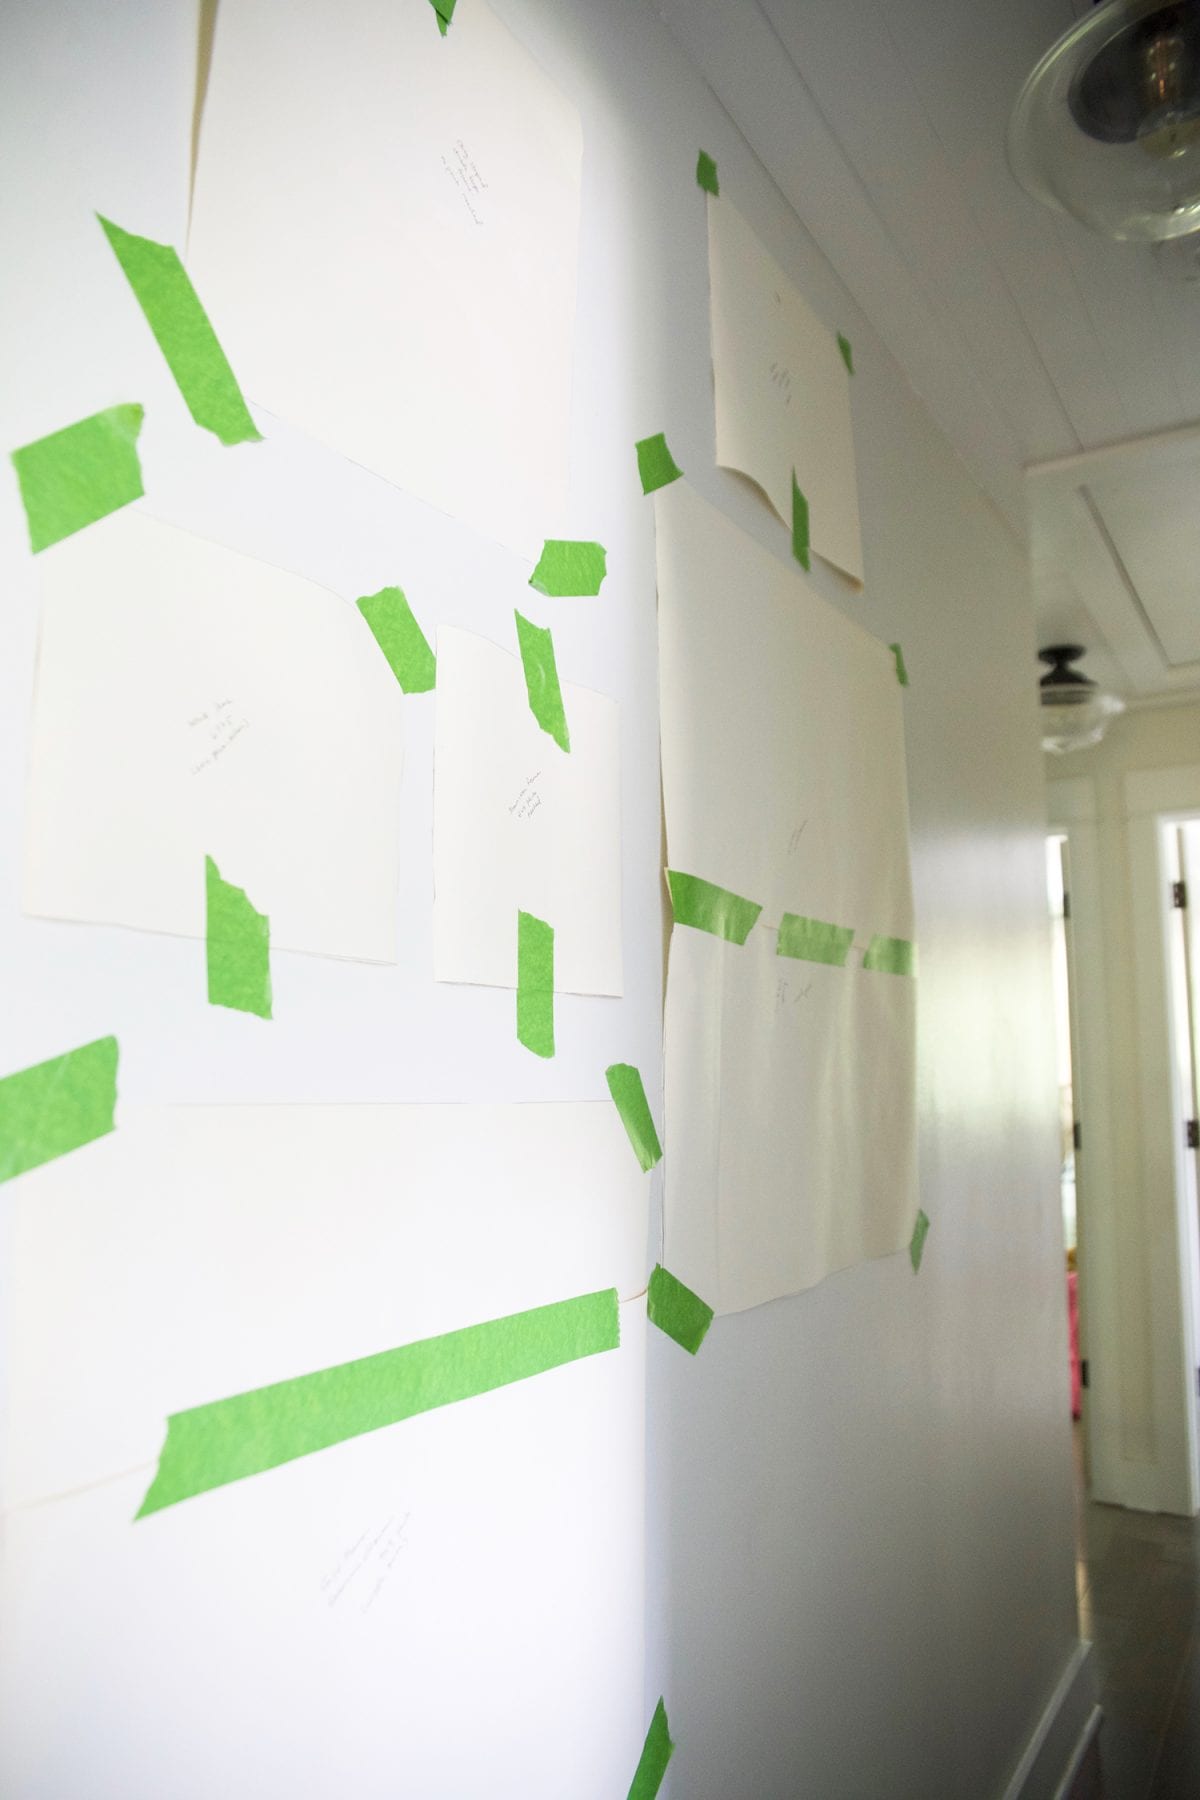
Then we placed each one on the wall, according to the order we’d placed them on the floor. This saves the drywall, y’all. Because I probably shifted these around {complete with nerdy notes to myself so I could keep up with what was what} about three time before coming to rest on a final arrangement. {Thanks, Frogtape}
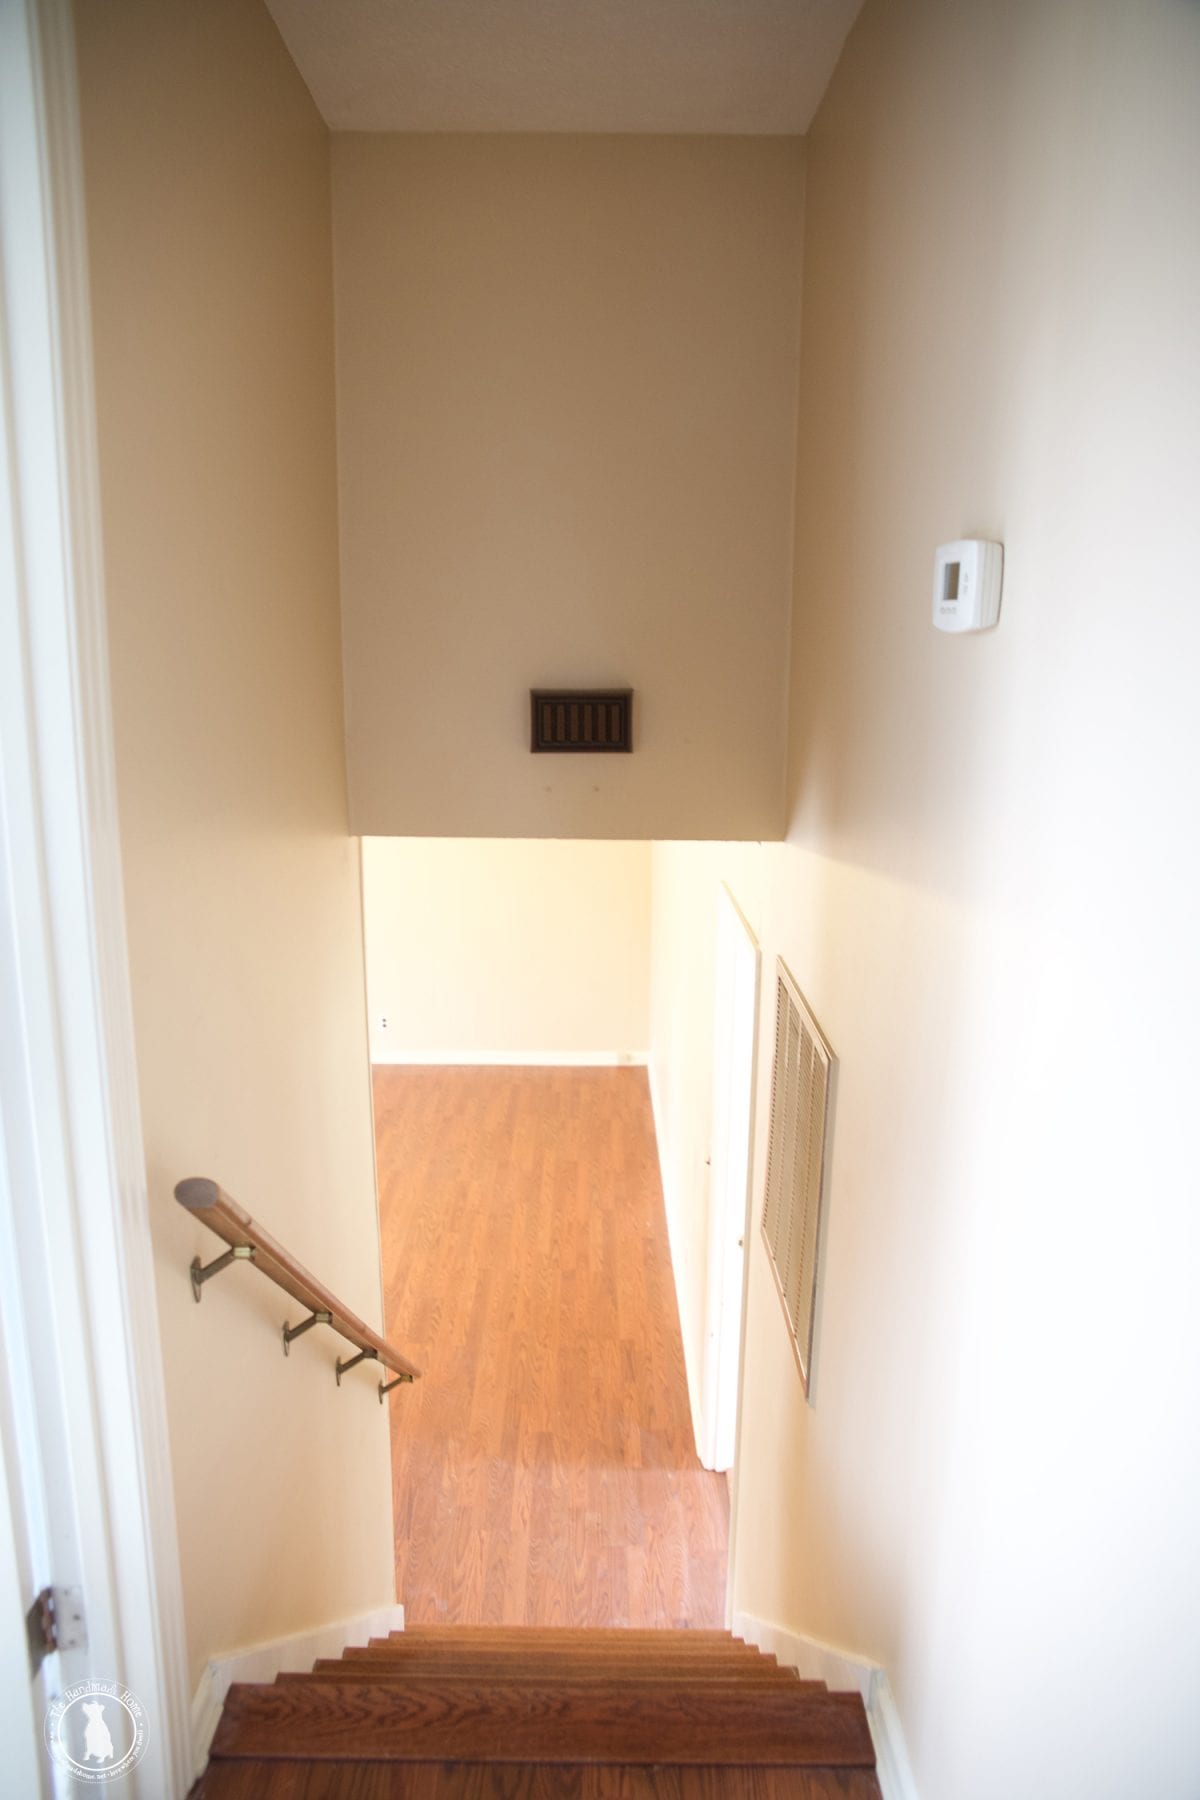
Tip: The biggest mistake we see people making with hanging items on their walls, is going too high, initially. Then, they hang items too far apart. If it helps, find one item you want to start with, and work your way out. In this case, it was our thermostat because of limited space – we didn’t want it to look too cluttered. Then we made sure that the middle frame {which was definitely the dominate piece} was front and center to work off of the others.
In this case, we definitely have things hanging high. This of course, is okay with gallery walls as long as you mind your negative space, and where your first piece goes. When in doubt, go just beyond middle-of-the-wall before adjusting.
Now we had a nice working space, without mutilating the drywall. {Also, a hole never killed anyone. So it’s also okay to make mistakes.} Which brings us to…
• Unify with Color {+ heiarchy + symmetry}
Our small hallway needed some definite direction in the way that we used our frames. I believe that the more intentional you are with your designs, the more successful they will be. So we say that these three elements will make a great configuration:
a. Color
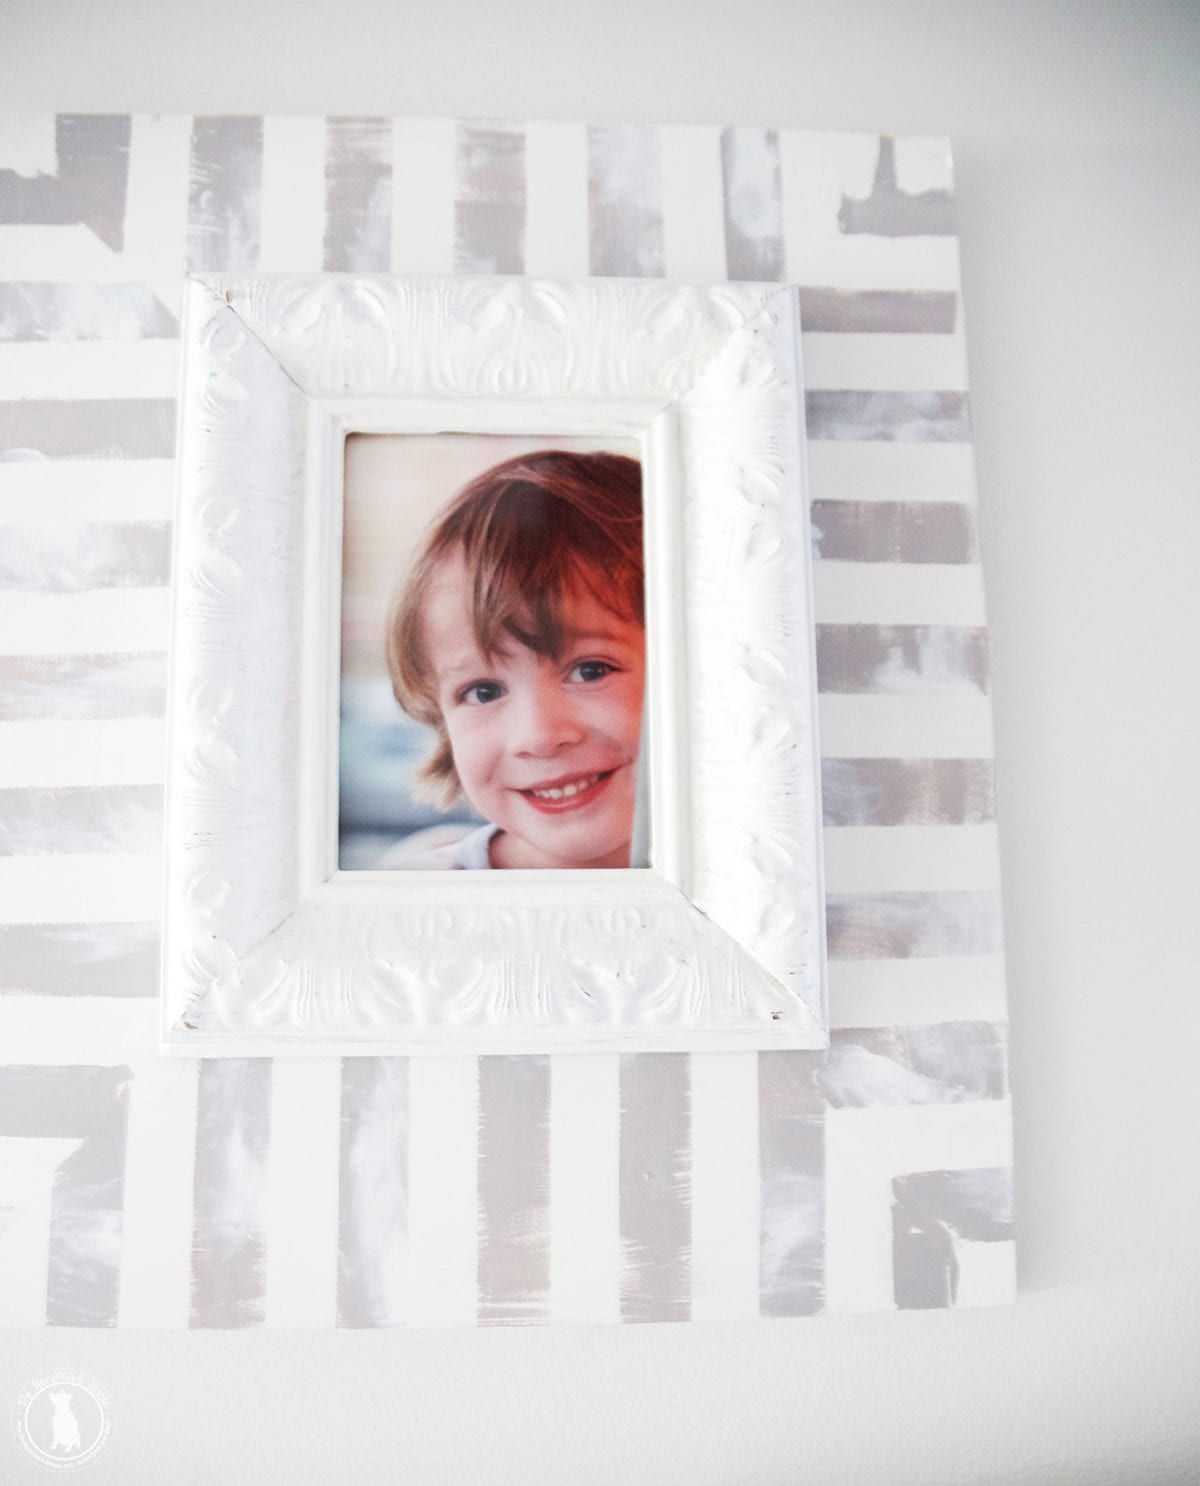
Choose a few colors, and unify your frames. We had a little bit of everything when I laid them out on the floor, but I chose to stick with four main things: aqua, gold, wood, and white. {With a dash of grey to tie them all together, too.} Some of these were salvaged, and some were repurposed accordingly. I simply broke out the paint and gave them a quick update in about an hour, one afternoon.
b. Heiarchy
We chose one main frame in the middle for the center-most element. And then decided to work from there. This really helped anchor the gallery wall in such a tight space.

c. Symmetry
Clearly, we weren’t that strict with it, but we brought in the idea of symmetry by using mirrored reflections of frames on each side, along with equally proportional frames all around to help balance it out.
This way, the wall didn’t look quite so wonky, while still maintaining a fun, lose vibe.
Tips:
• Be mindful of your negative space, and don’t place your frames too far apart from one another. {Just like we mentioned above, this is another common mistake}
• Carry the idea of balance one step further in a tight area, and if you have many things on one wall, contrast it with a single piece on the opposite wall.
It’s possible to have hallways with character and fun, without crowding yourself out.

• Choose What’s Unique to You
Okay. Okay. You’re getting really technical on me here, lady, You may say. So let me back up.
Make your gallery wall special. This is your chance to shine who you are as an individual. If your kids are important to you, do it. We chose some of our very favorite photos of them for this particular wall.
If it’s artwork, do it.
If it’s your cat’s fur ball collection shaped into various city skylines, by all means. Do it. I totally think you should open an Etsy shop. Find what makes you, you… and roll with it, yo.
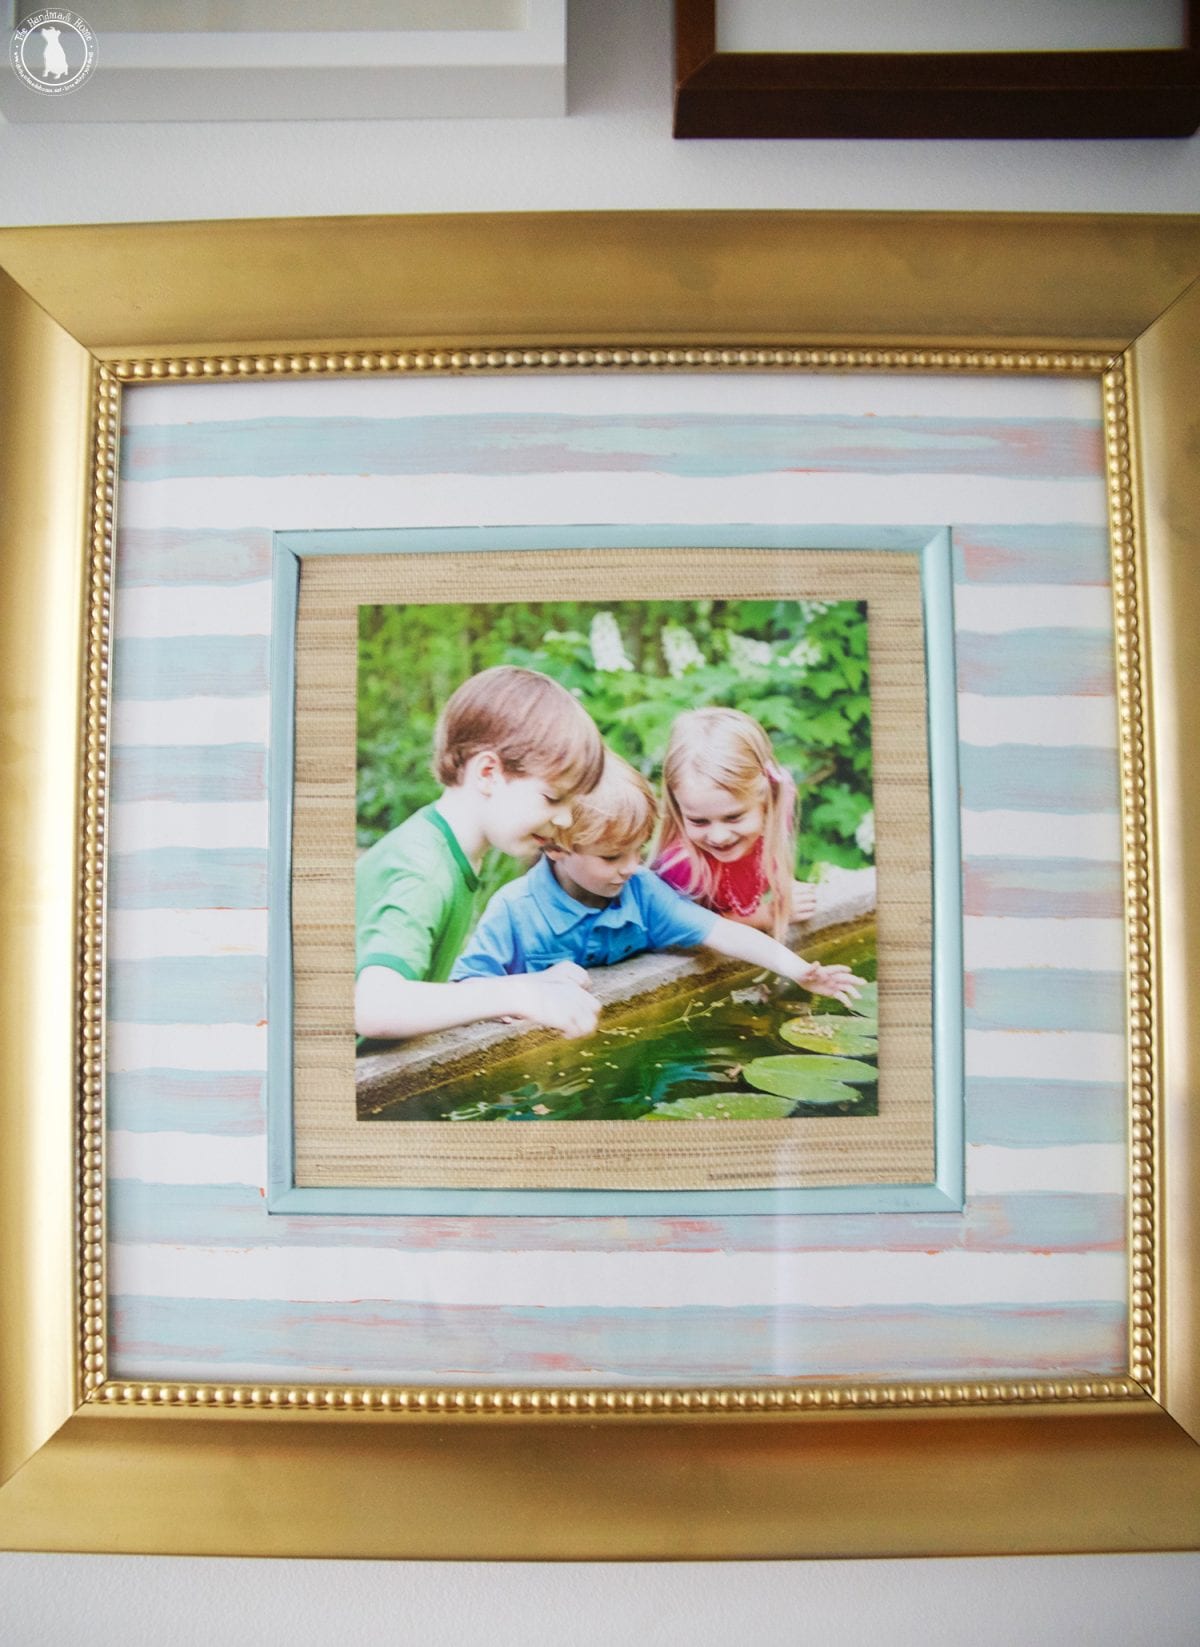
We chose things that were special moments in time for us, and even included a small reminder for what to remember.
• Embrace What You Can’t Change {and then change the rest}
Sometimes, thermostats take up valuable real estate. Along with those doorbell box thingies. For the love.
Sometimes, in the case of creating a gallery wall, it’s kind of fun to use a little humor. We’re definitely enjoying fighting over the temperature now.
I mean, we are so stylin’.
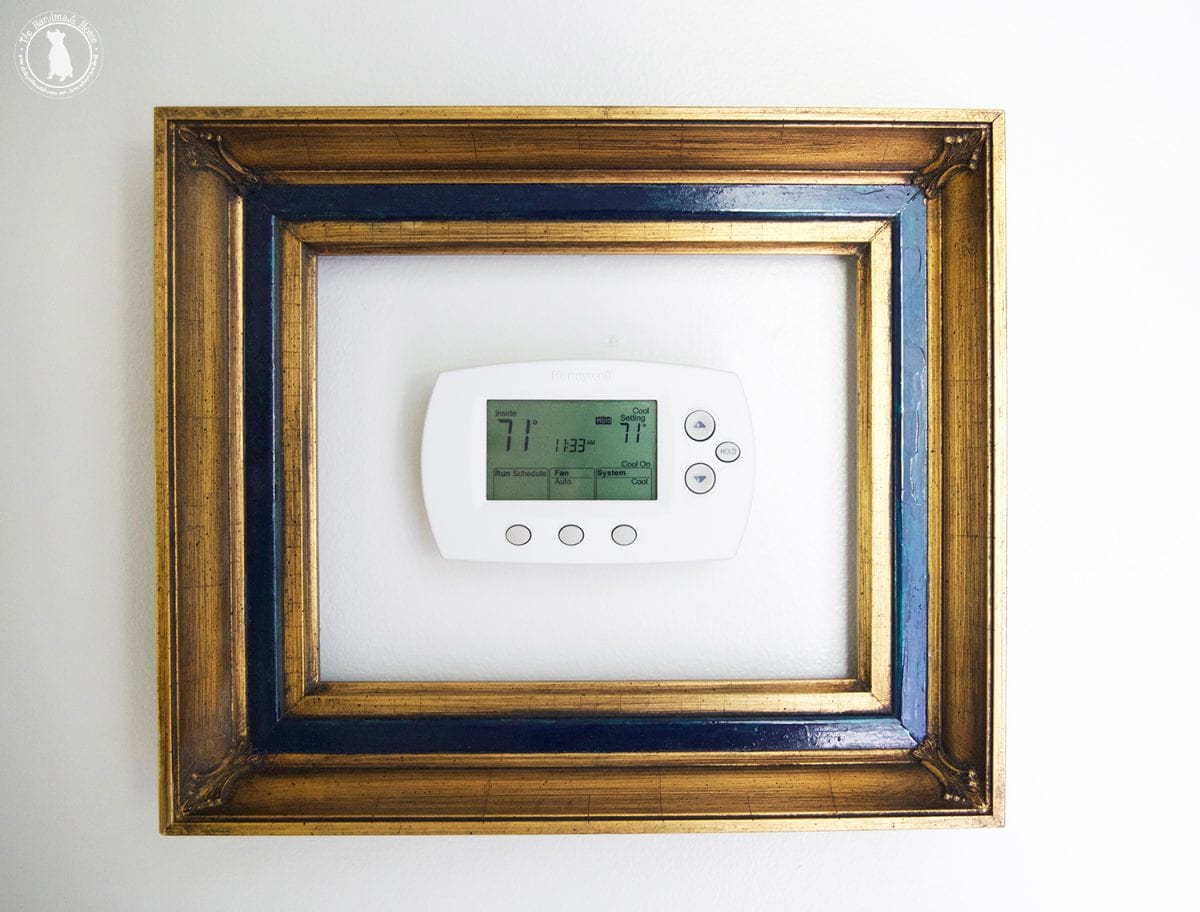
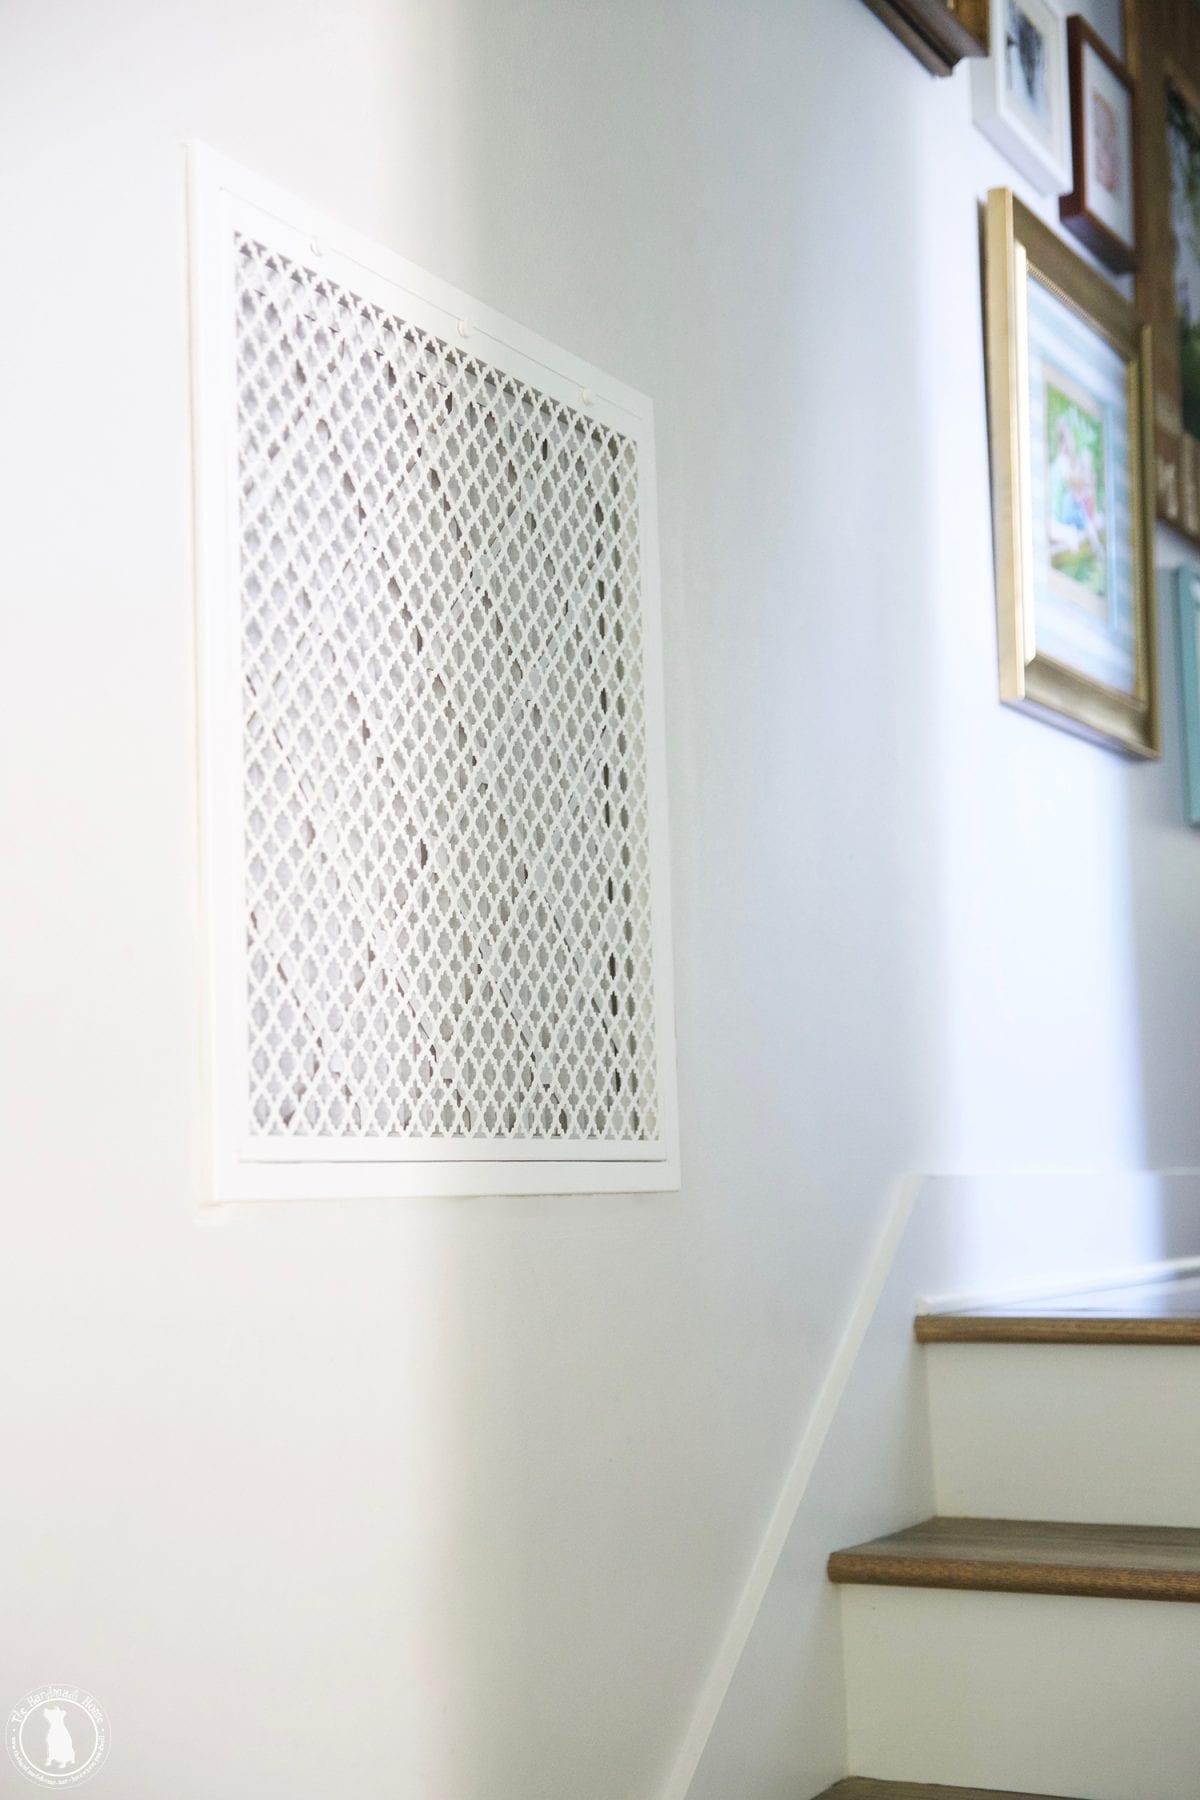
When we reconfigured everything in this house, we initially had plans to replace the wall vent, since it was front and center. We wanted to re-route it to the ceiling.
Our HVAC guys tried their best, but the roofline simply wouldn’t allow for it to work that way. I think we only lacked something ridiculous like an inch for it to be able to come around the top and drop it down. Tricky tricky.
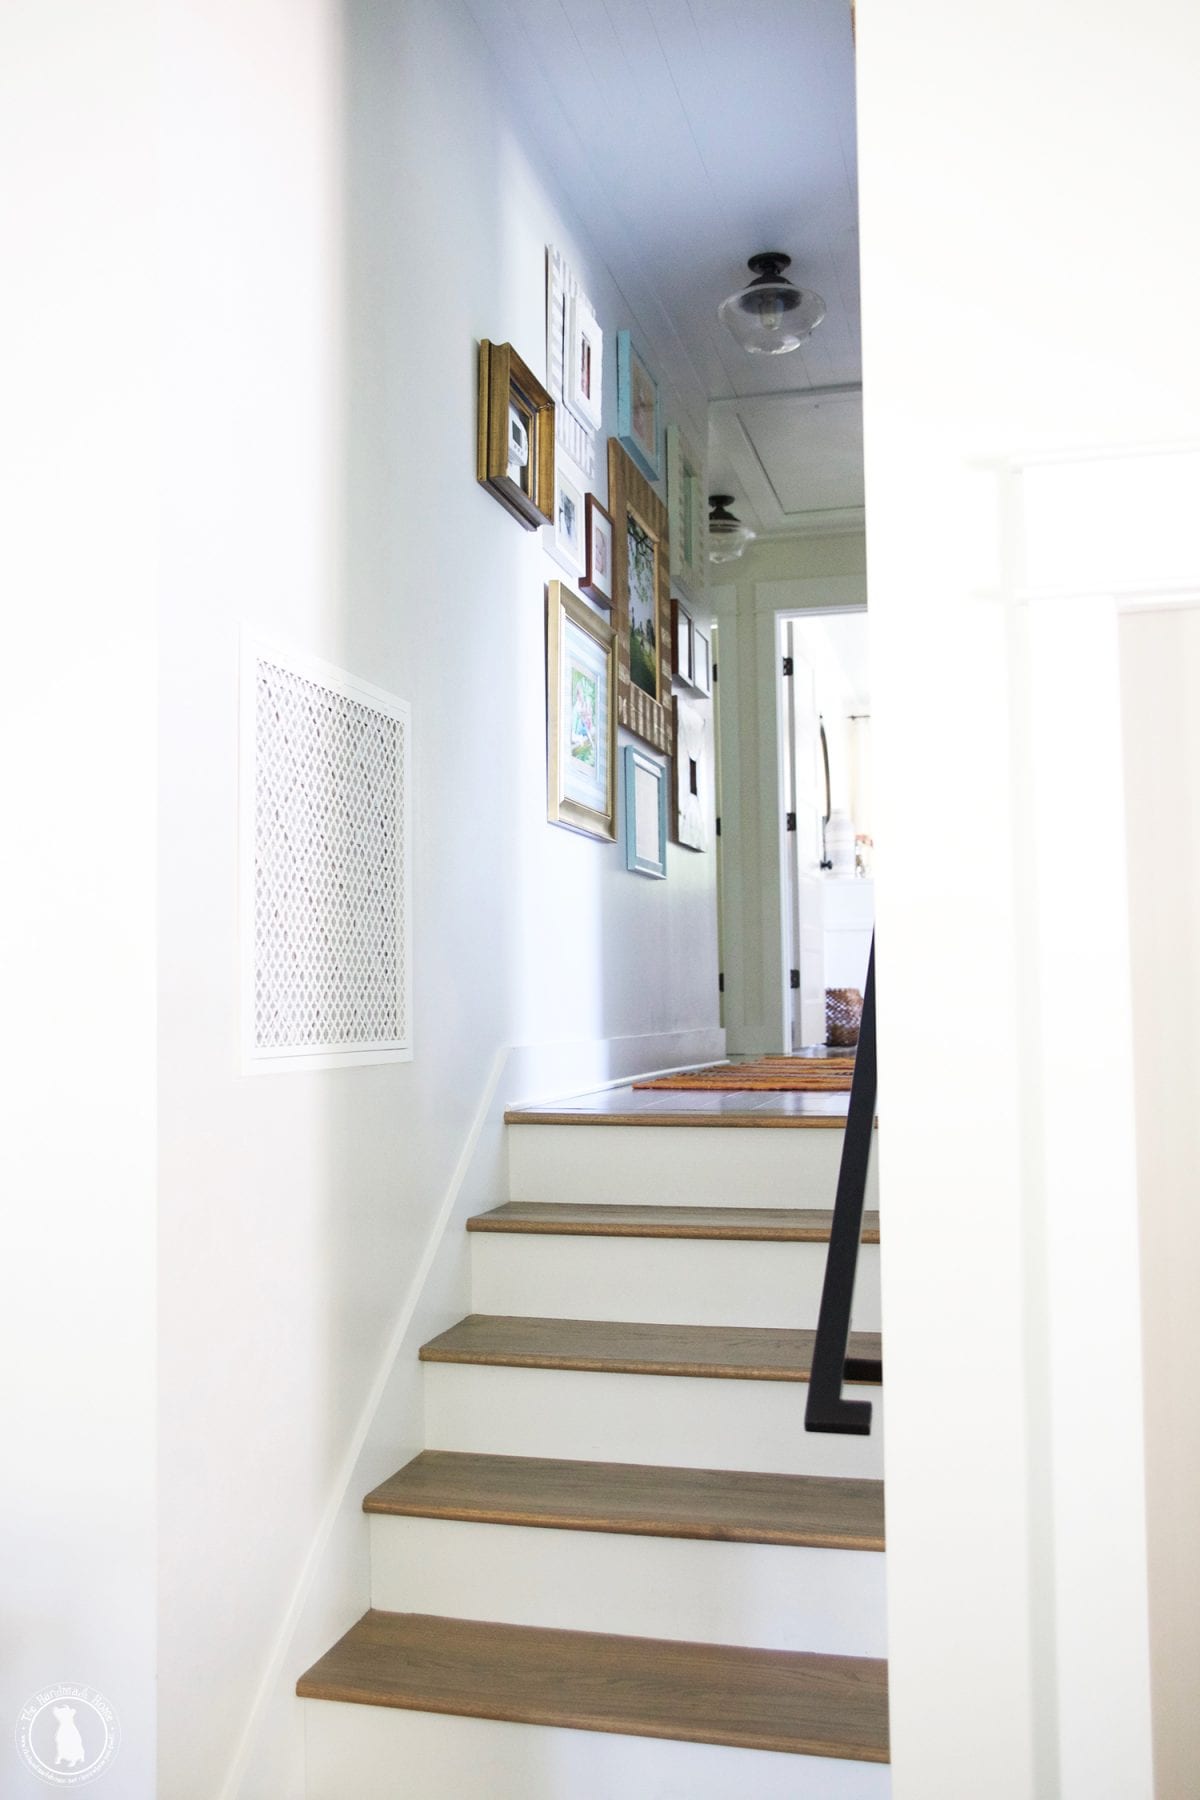
So we decided to embrace it by using gorgeous vent covers, instead.
I mean, if we’re going to have to stare at it all day…
And we have loved using them throughout the house, from the bathrooms to the great room.
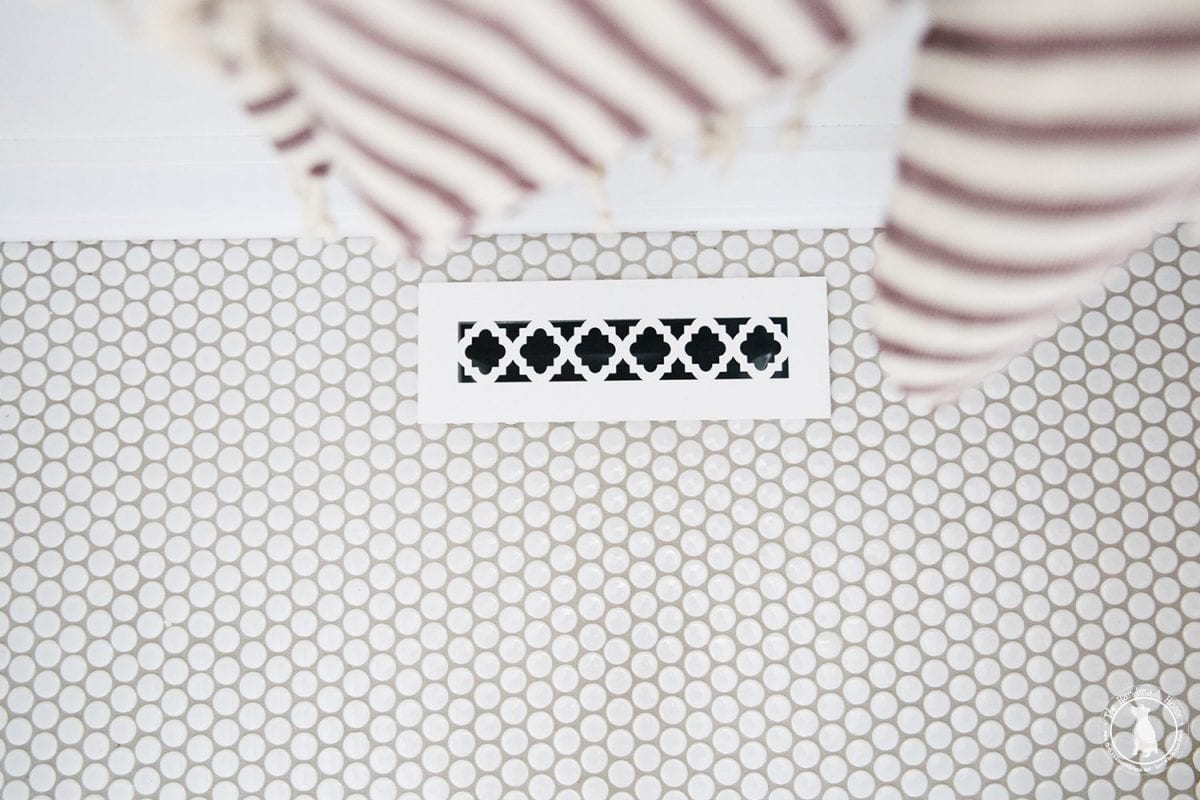
It’s all in those little details. It brought in a lot of charming character in wonderful ways.
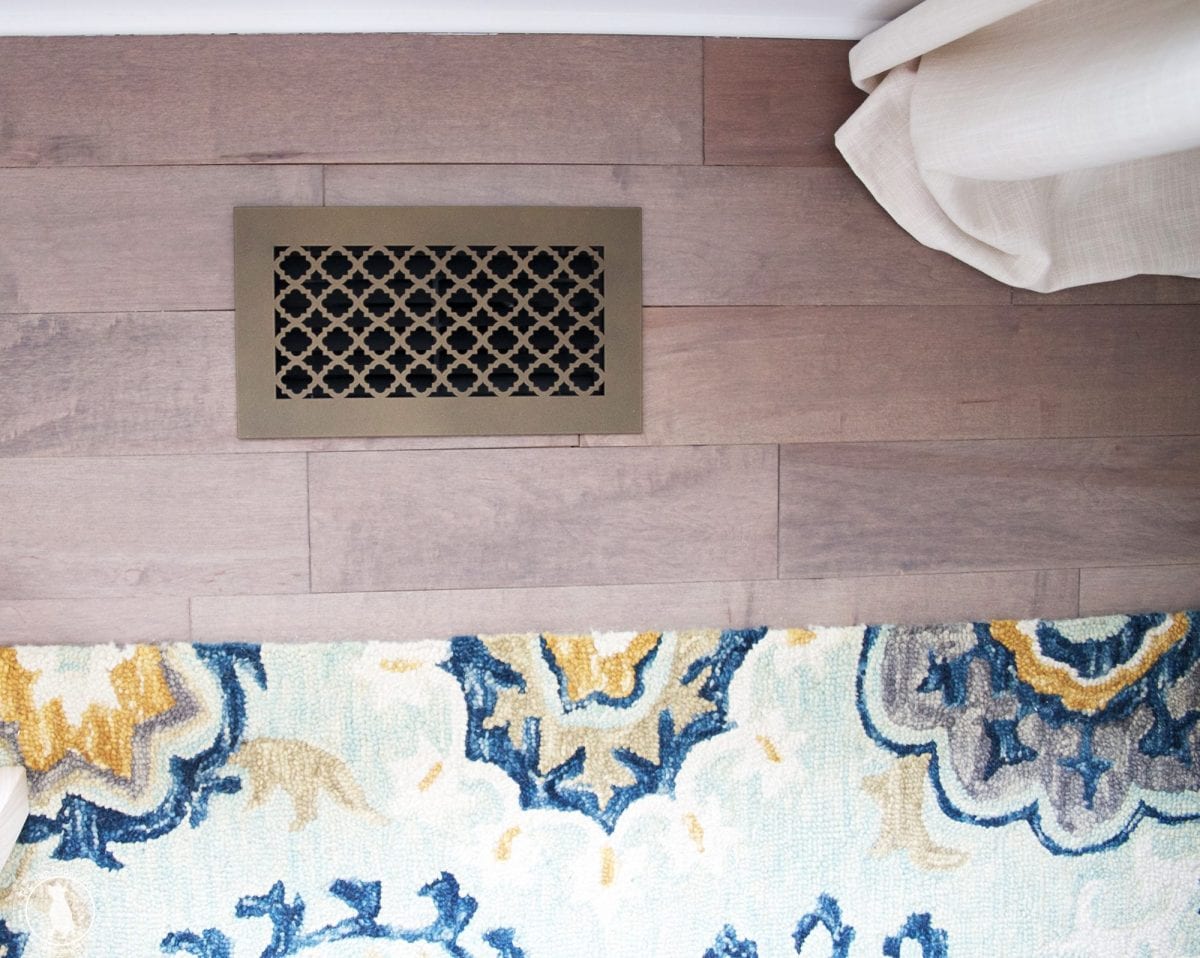
We love how the little patterns coordinate all over the house.
It definitely brings in some subtle charm that you just can’t imitate.
Be sure to check out their amazing vent covers here!
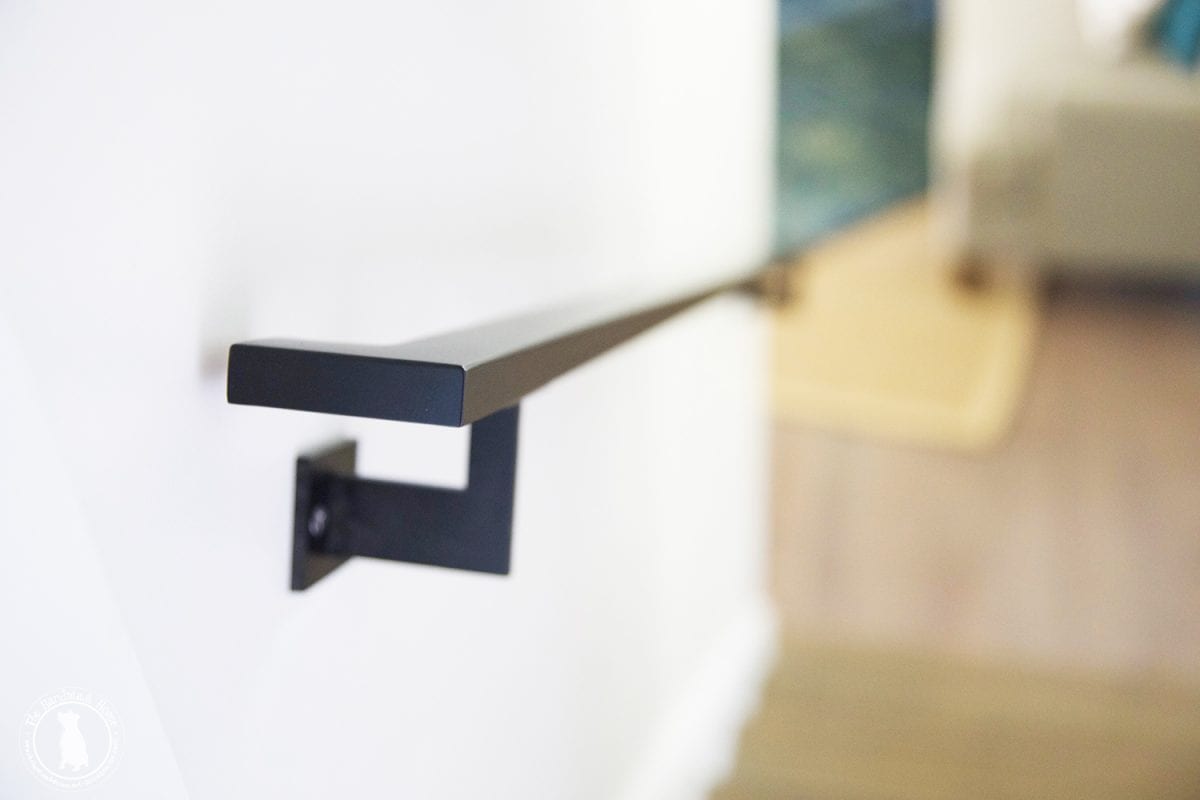
Another upside, was replacing the old, tired handrail with something simple, and modern.
We love the way it contrasts oh so beautifully with the design in the rest of our house. And it’s not something that you see every day.
Again, with the details thing.
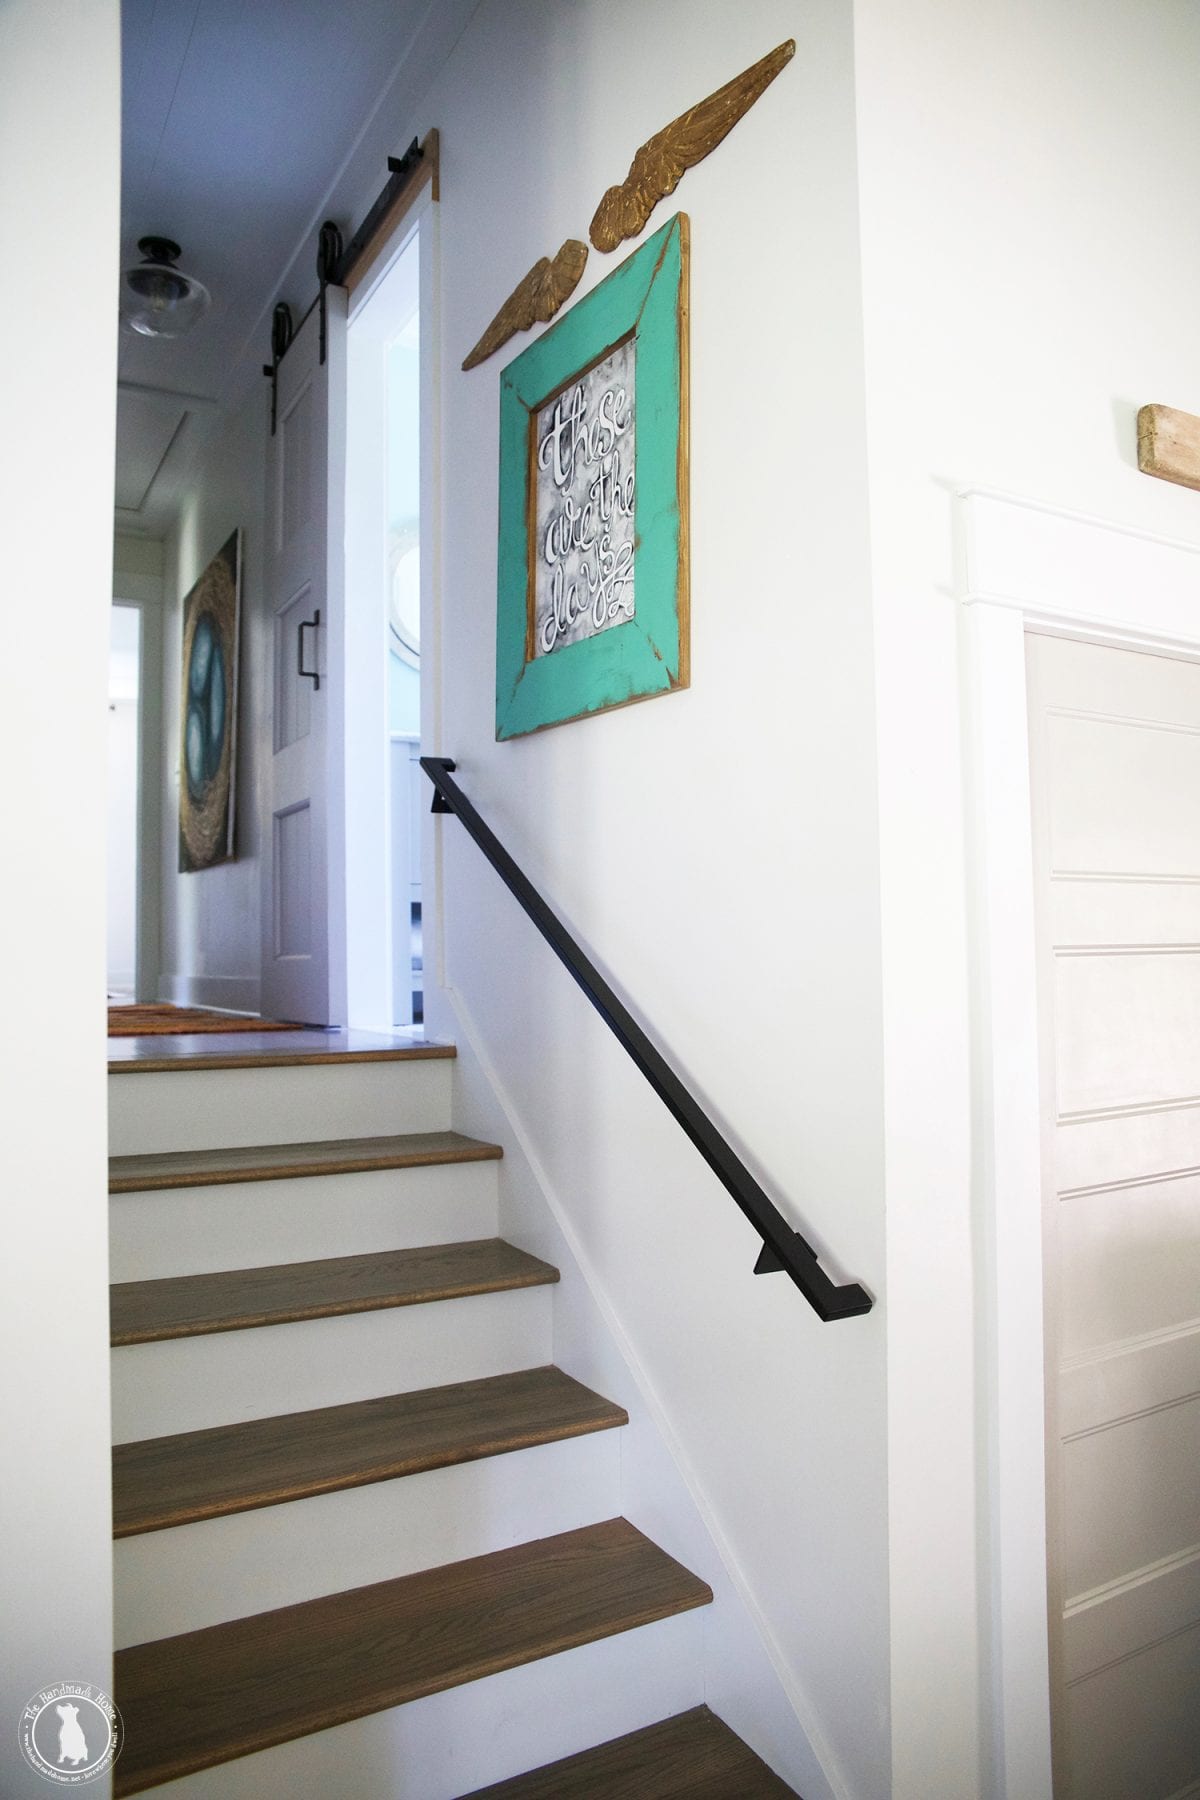
Be sure to check our their gorgeous work here, as well.
So much glorious eye candy – we’re smitten, and it’s so fun to have a piece of handmade in our home.
And there we have it. A simple configuration with lots of fun character!
Have you created a gallery wall in your home?
What are some tips you’d like to share? We’d love to hear!

As always, let us know if you have any questions. We’re so glad we added a little personality with sweet memories for the kids. They’re already taking note on how many photos they made on the wall. Who knew they’d be so technical about it? 😀
Have an inspired day!

My big question is do you guys use nails or command strips for hanging? I can’t decide if I love or hate the command strips because I have plaster walls and they aren’t always nice if you know what I mean…
I use nails. I’ve found that as soon as I use a command strip for a precious piece, the command strip or the hook fails and then I have a broken frame. 🙁 I use command strips for things like holiday decorating that I know will come down after a month or so.
They can be tricky. We tend to stick with nails ;}
I love a good gallery wall! We recently moved and I’ve installed my kitchen gallery wall which is mostly art and ephemera. I still need to hang the gallery wall of family pictures in the stairway hall. If I knew how to post pictures here, I would!
My biggest tip to share is start with the larger/focal point/oddly shaped pieces and then work outwards, progressively moving from the larger pieces to the smaller pieces. Then you can fill in with the smallest pieces. I live on the wild side though and wing it through the process without planning ahead of time. This occasionally leads to a few more nail holes than my husband would prefer. With gallery walls of photographs, I like to have a couple matching frames on the wall, but sprinkled throughout the arrangement to help your eye travel through all the pictures.