
marbleized flower pots
We shared this marbleized flower pots post last year, and since the spring fever bug of all things crafty has officially bitten around here, {yes, sometimes, I make up phrases} we thought it would be fun to share this simple how to, again – marbleized flower pots!
Have you ever tried to spell marbleized?
For some reason, it’s not how you’d think it would be spelled. That was hard.
Marbleized Flower Pots – Spring Patterns
Spring is practically screaming our name, so when they sent this batch of paint for our project, we just had to add a little pastel fun to the mix.
Squirreling out for a sec: We’re obsessed with the marbleized pattern-even our stained glass is marbleized at night. I’ve yet to capture a great photo of all the detail in those windows… it’s next on the list.
This is a super simple project that took a little bit of prep, and only a few minutes of painting. In fact, it went so fast, the kids and I were sad when it was over. I found myself wanting to paint ALL the pots. I’ve seen a lot of tutorials on various things and we’ve even tried them with different mediums ourselves on the site. This one was super fun.
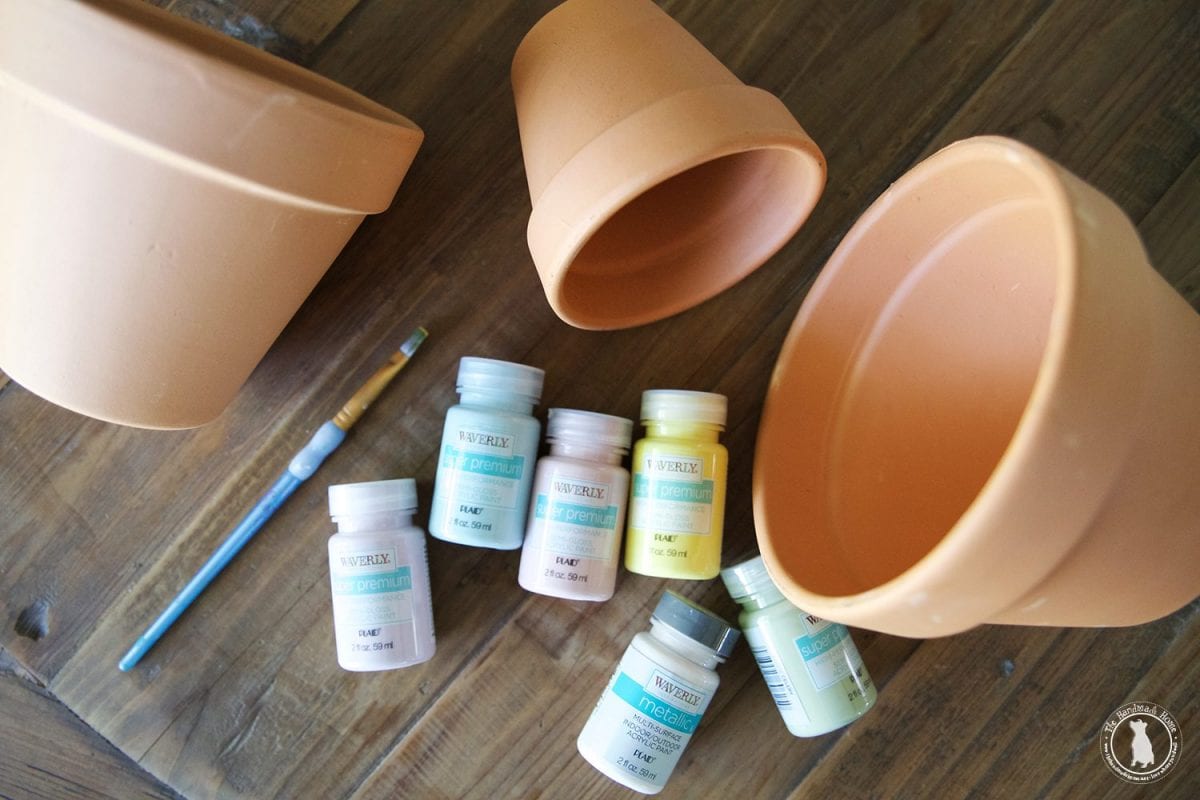
Marbleized Flower Pots – What you will need:
• an array of acrylic paints, in fun colors of your choice
• one bigger bottle of their white paint {this will be your base color}
• small paintbrush
• jar for mixing
• water
• terra cotta pots of your choice
• paint tray for dipping
• clear matte spray paint for a sealant
• drop cloth
• paper towels
Here’s how we did it:
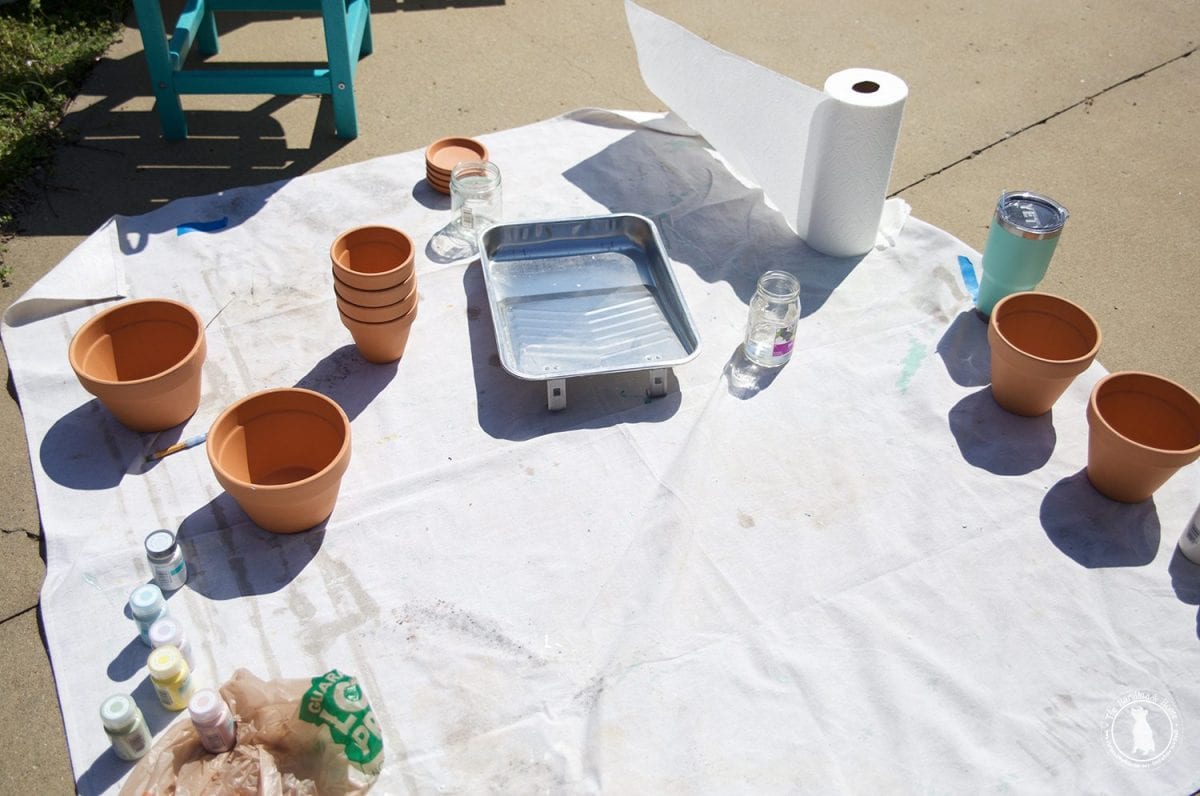
I decided since it was a sunny day, it would be fun to set up a little station by the pool. So I gathered my tray and other materials on a drop cloth.
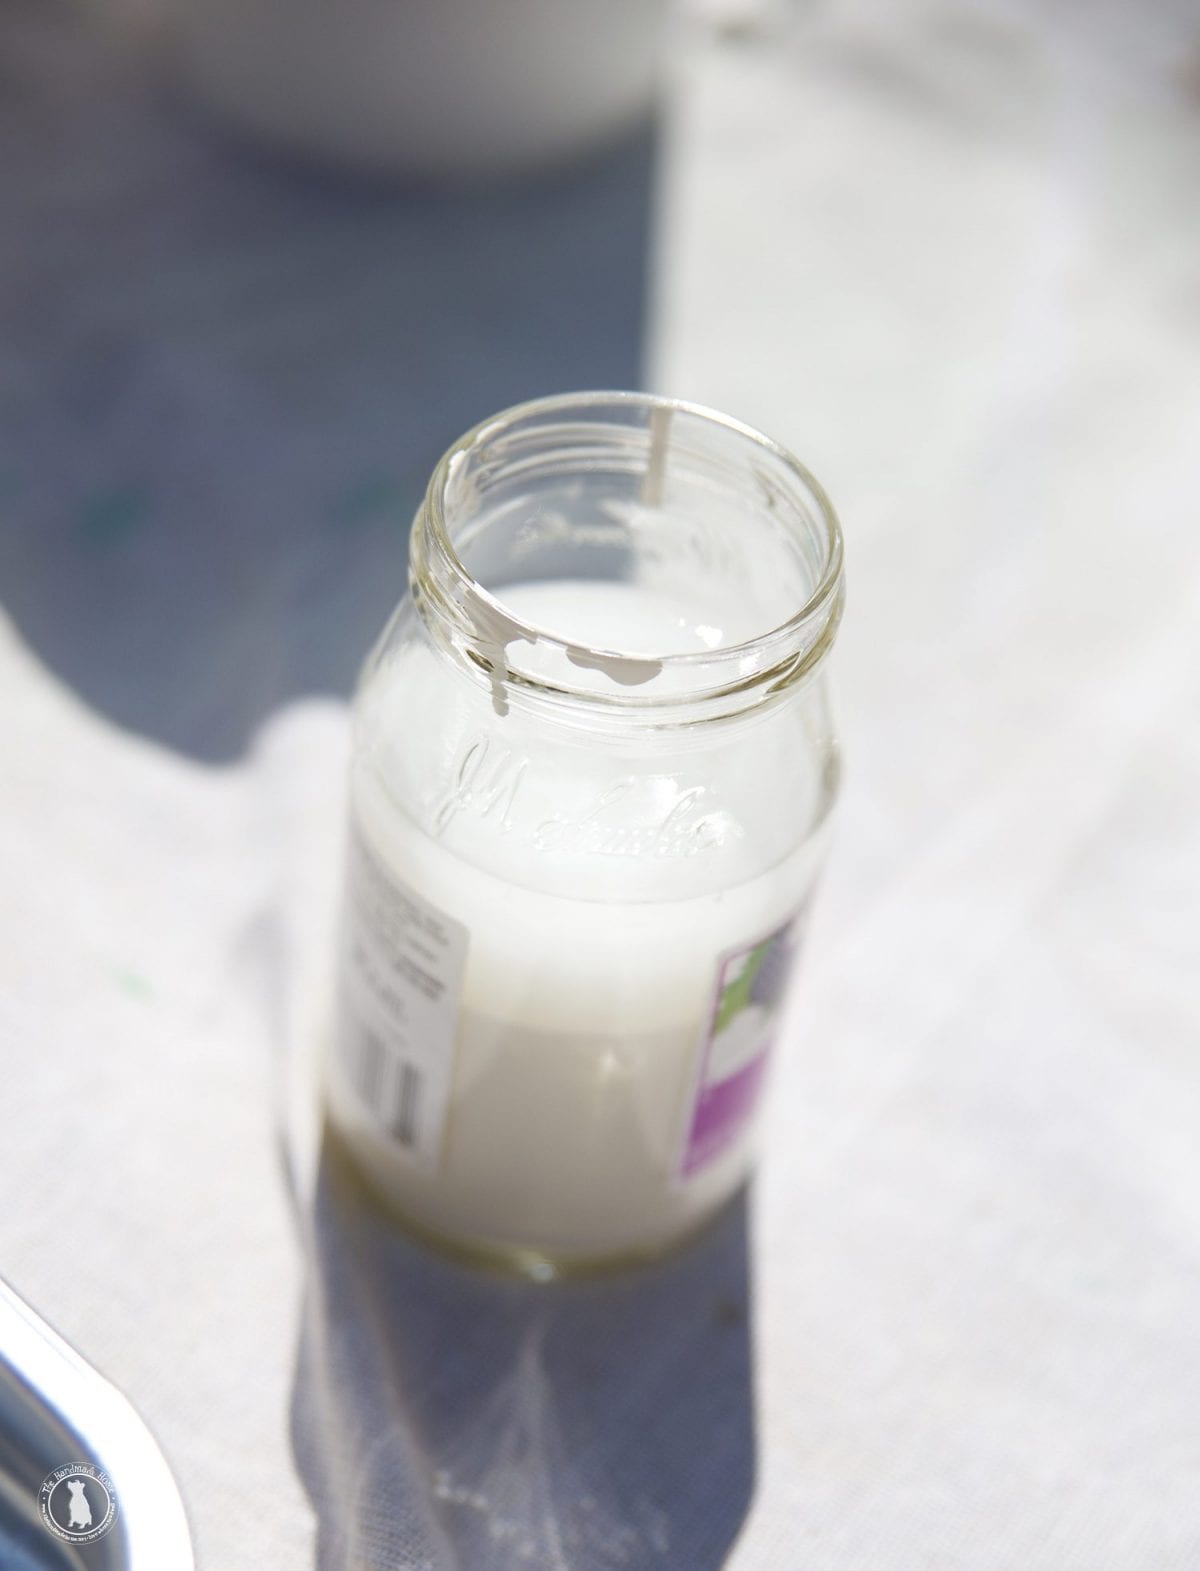
In your jar, add one part water to about four to five parts white acrylic paint. This was before I decided I needed more, and added the rest. Just eyeball it and then mix it up with your brush for a little blended action.
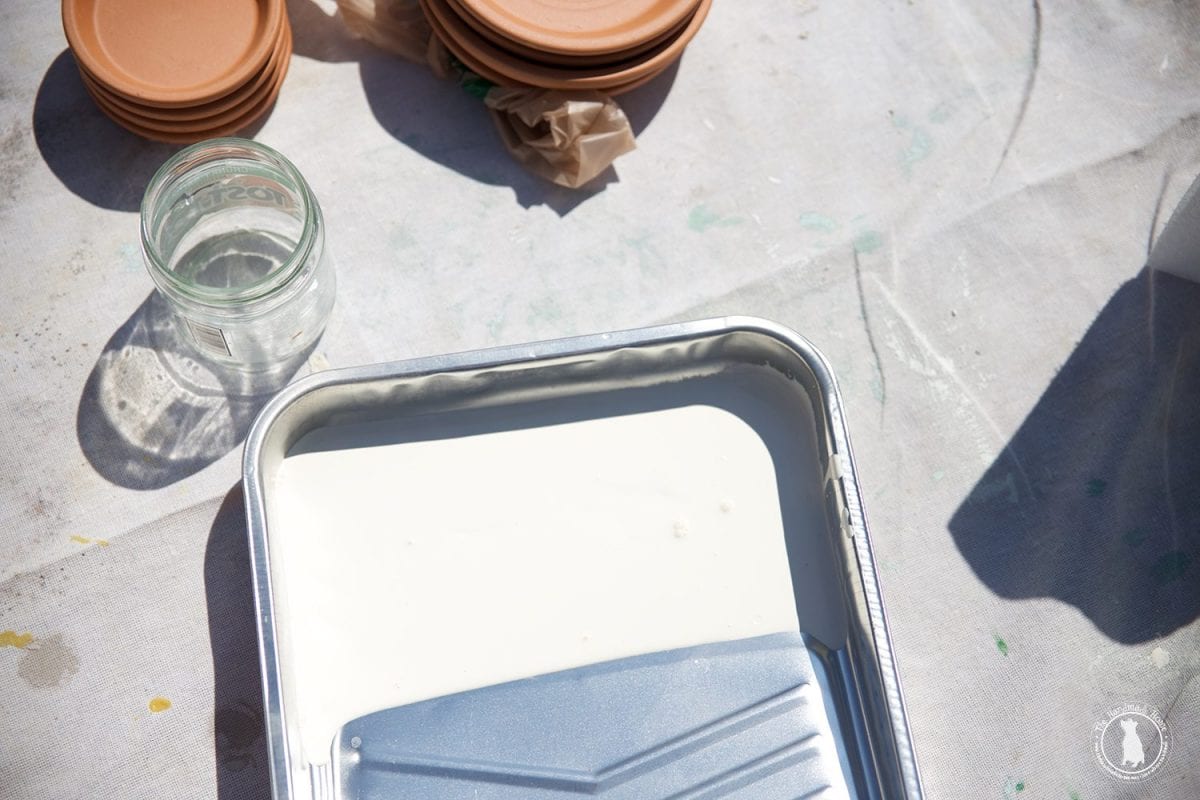
When it was mixed, I poured it into my paint tray.
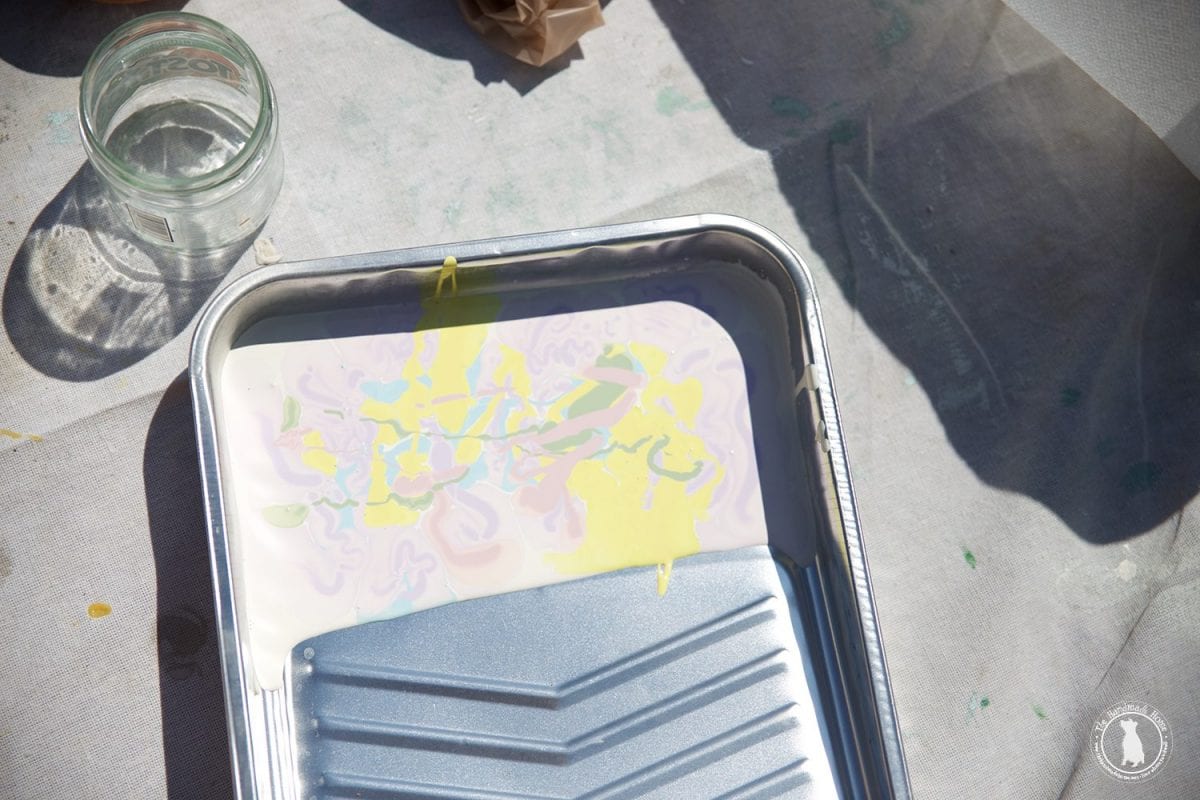
From there, add in your paint colors.
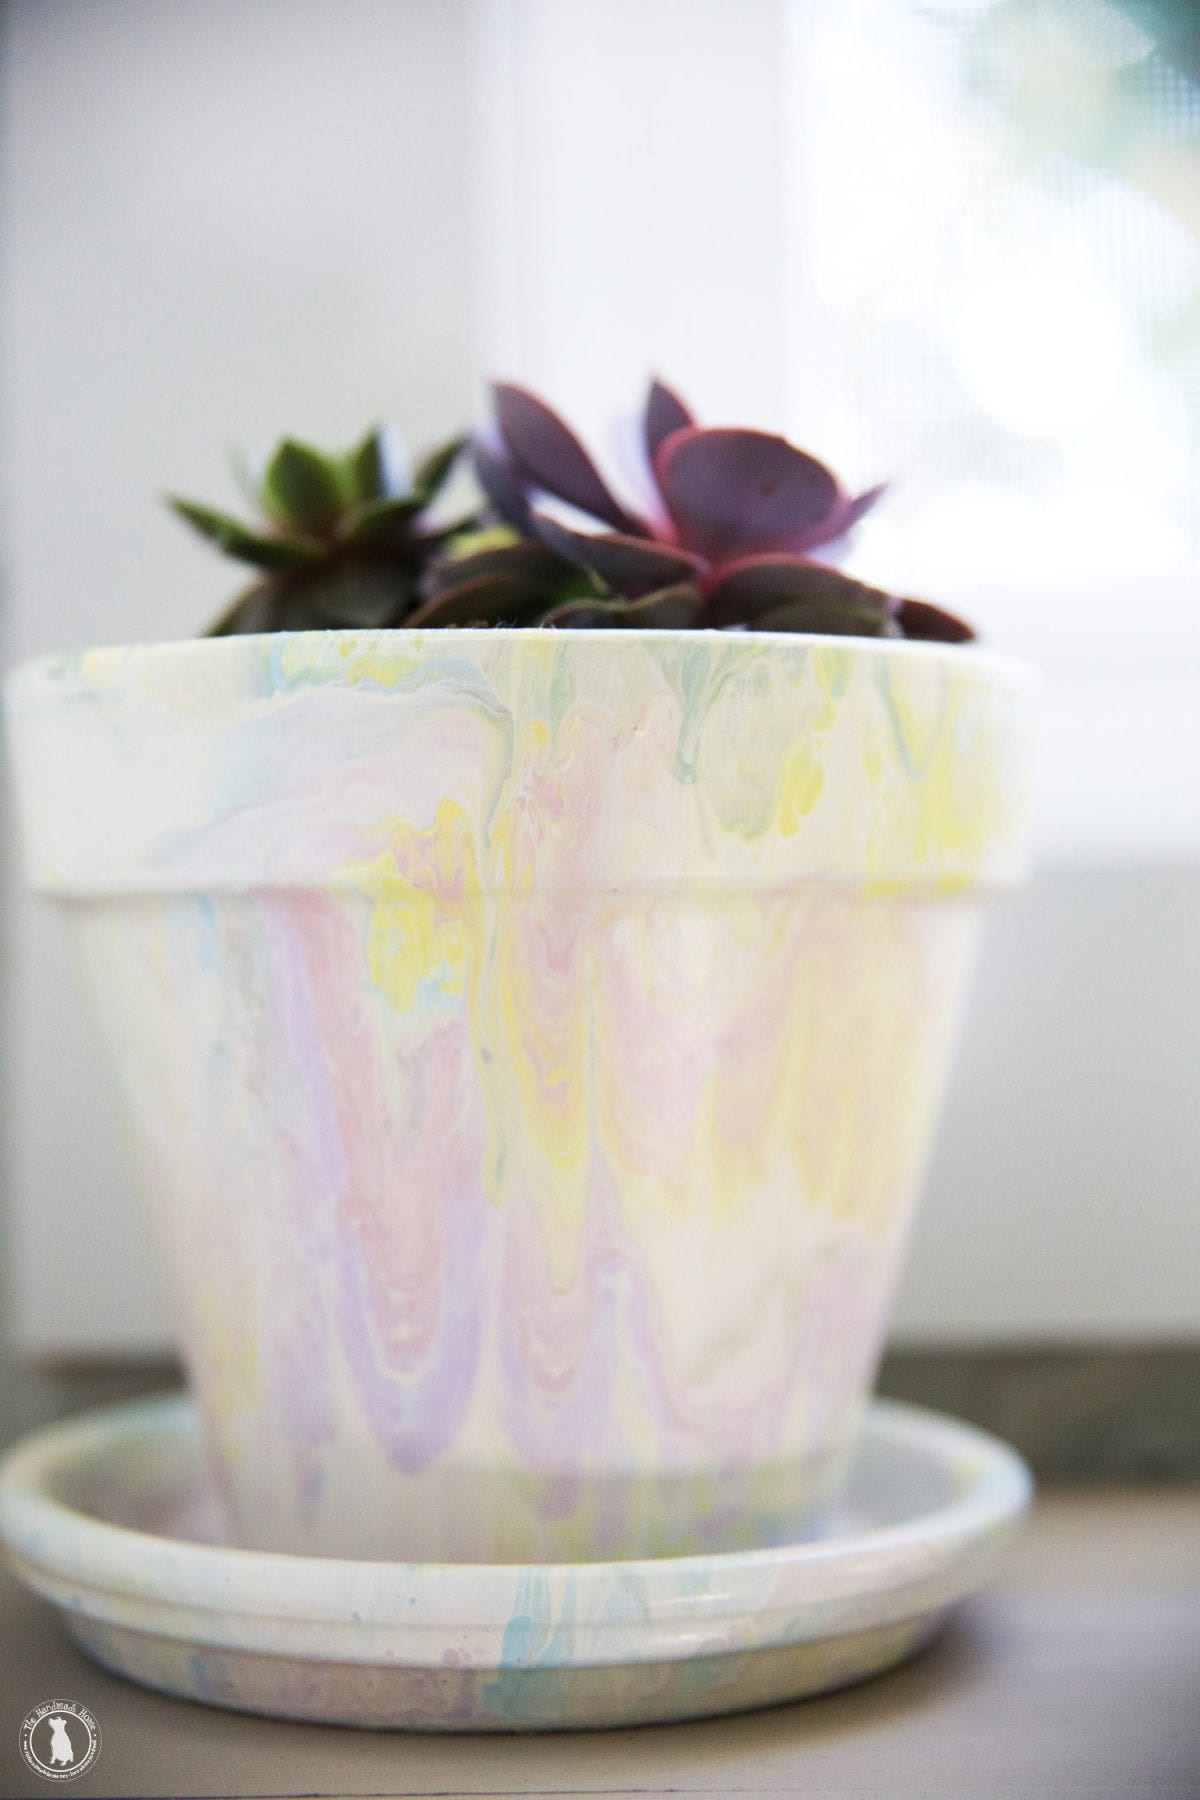
There’s a definite learning curve to this one, but we added the water to the paint to help it coat the actual material of the terra cotta. Then holding a bottle of paint over the first mixture, I lightly tipped the bottle, and in a string like motion, dripped the paint in. Color by color.
Because the first white acrylic mixture has water, the initial paint may sink a little. Thus the stringing by moving your arm back and forth as you pour it over your mixture. That way it’s lighter and stays on top as shown.
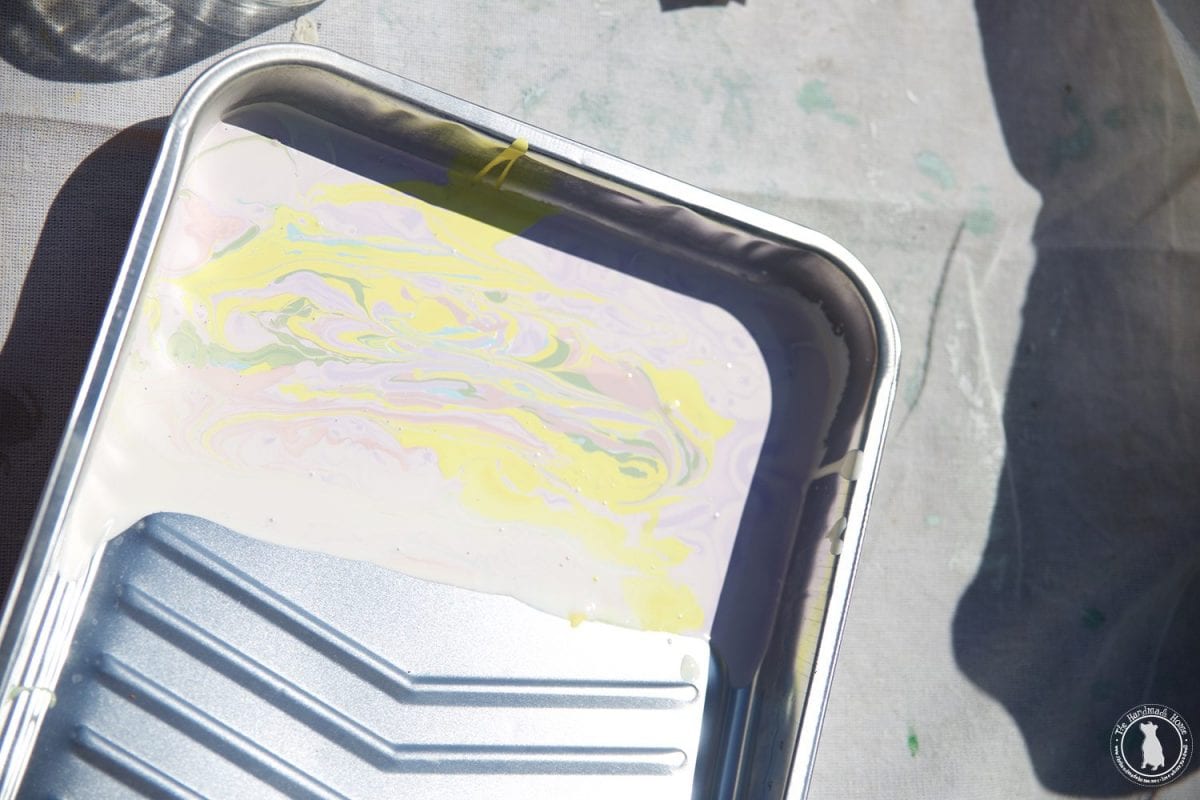
When you’ve added your color, take your brush and move it back and forth on top to spread the paint for a marbleized look.
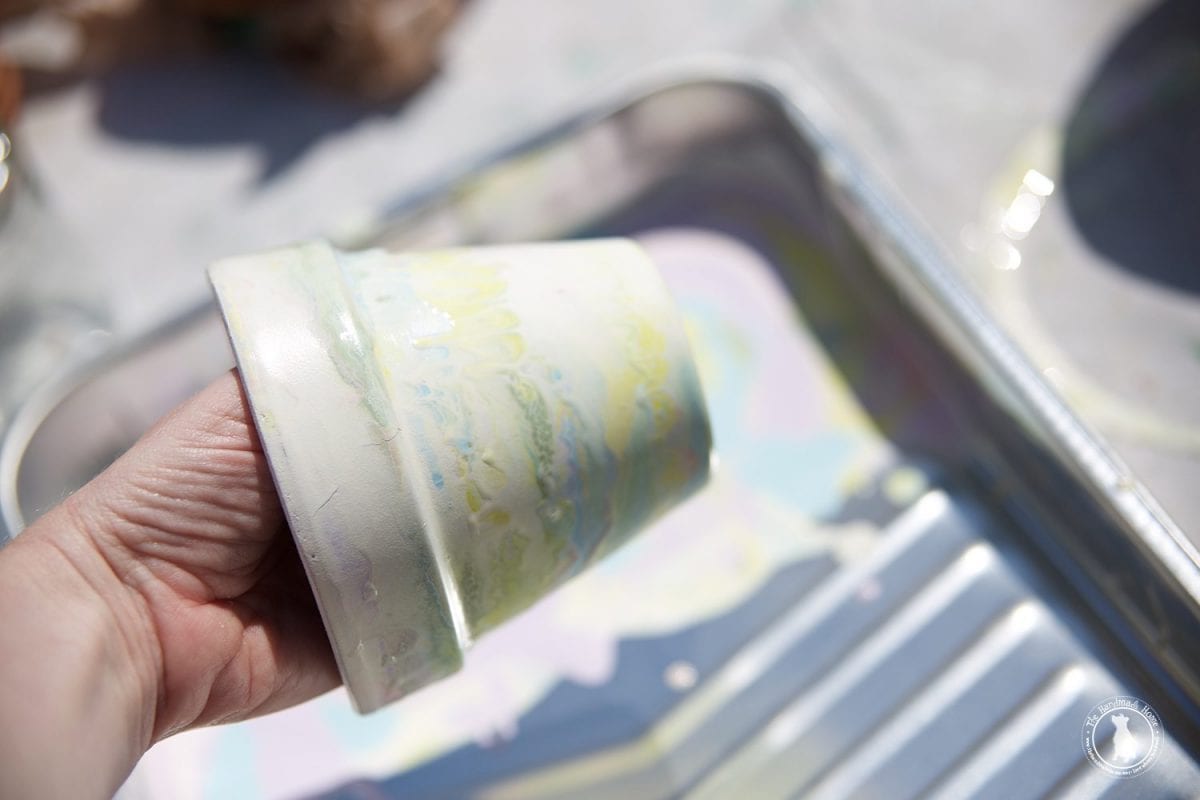
This was hard to photograph as I did it {excuse awkward raptor hand action} but taking your pot, keep it on the surface of the paint. Place one hand inside, and another hand on the very end on the outside. This way you can avoid your fingers as much as possible but be ready because it’s messy. Rotate it around, until you have a nice coating of paint on the pot.
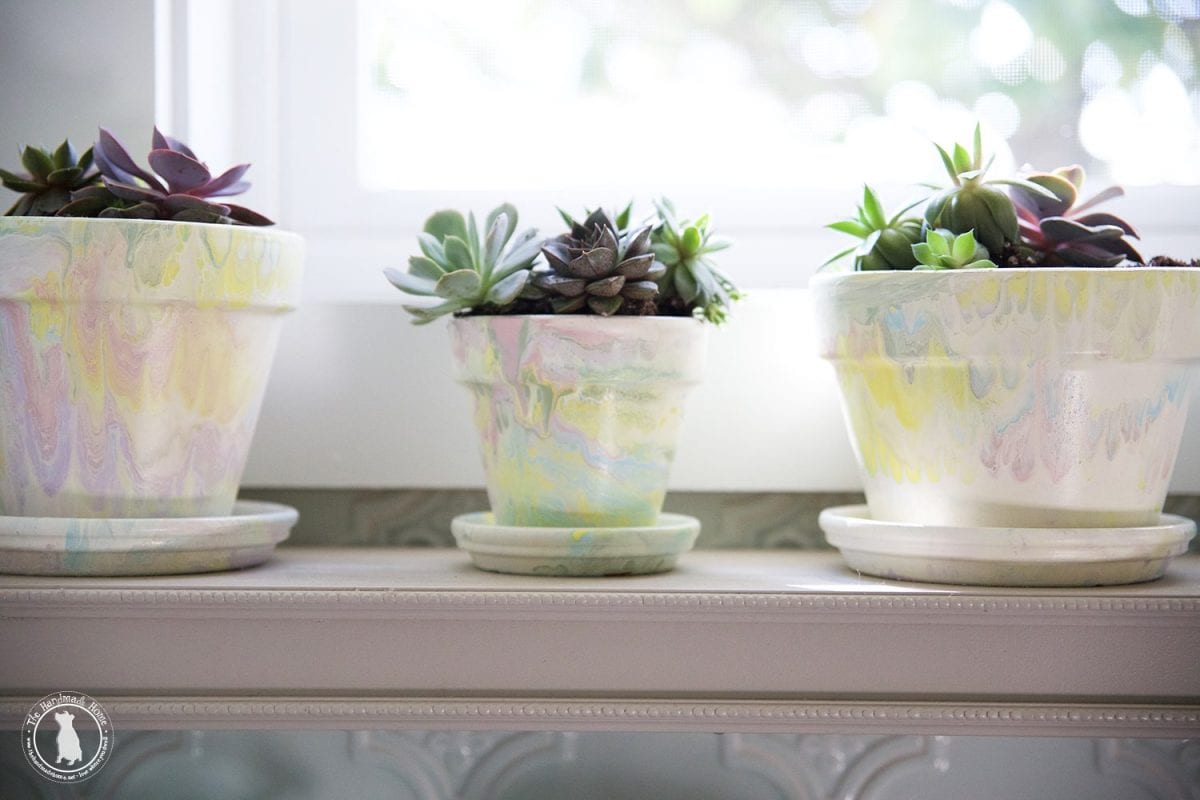
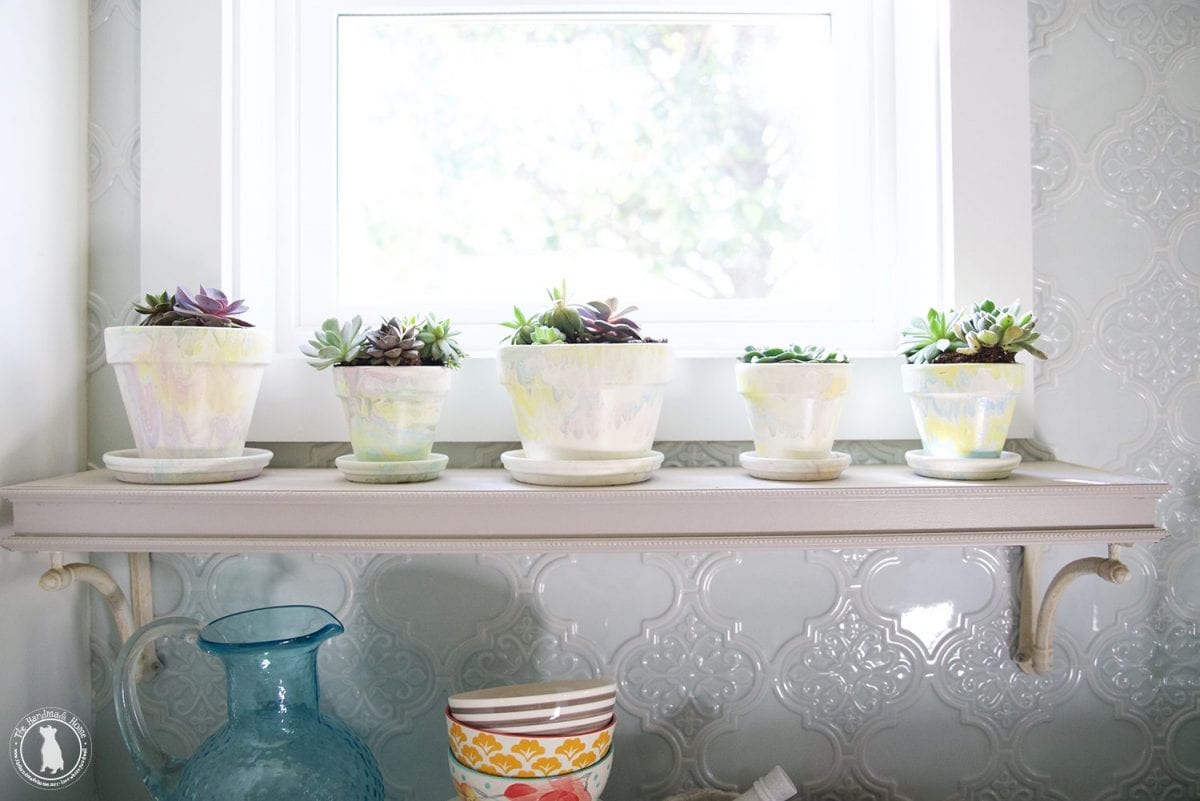
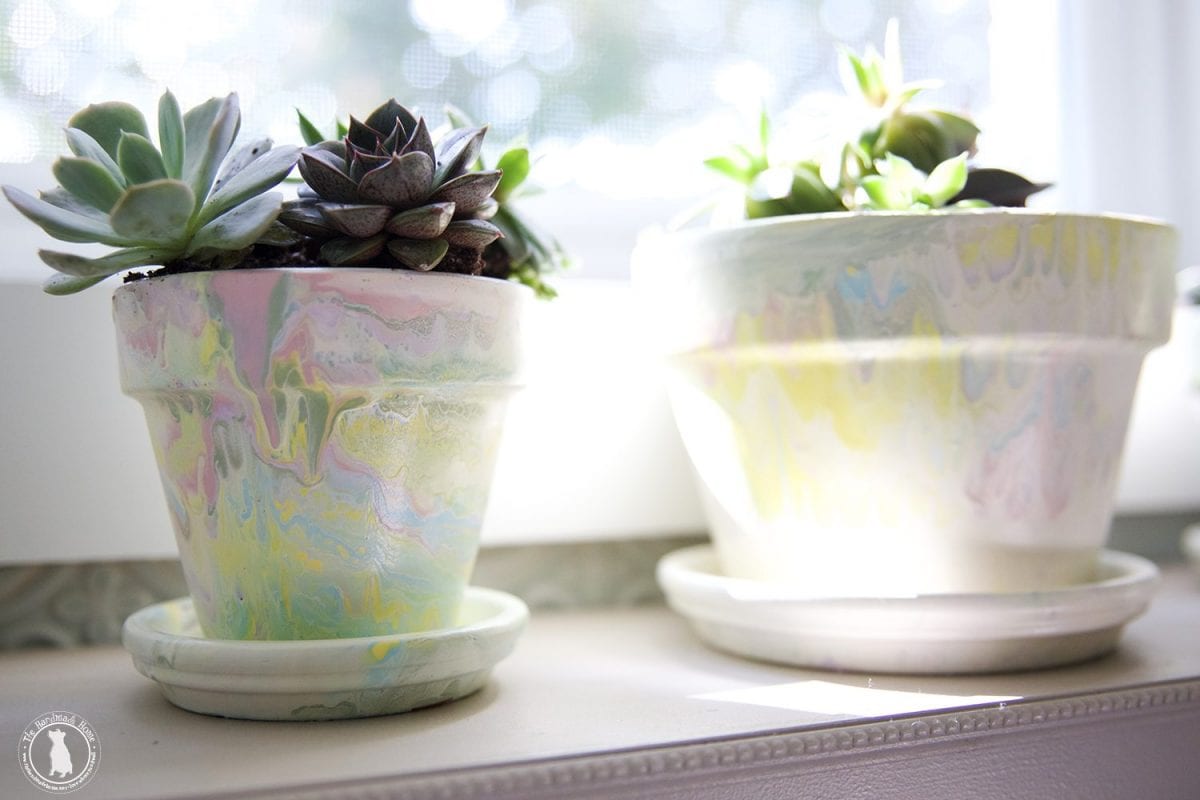
Tada! You have your marbled pattern.
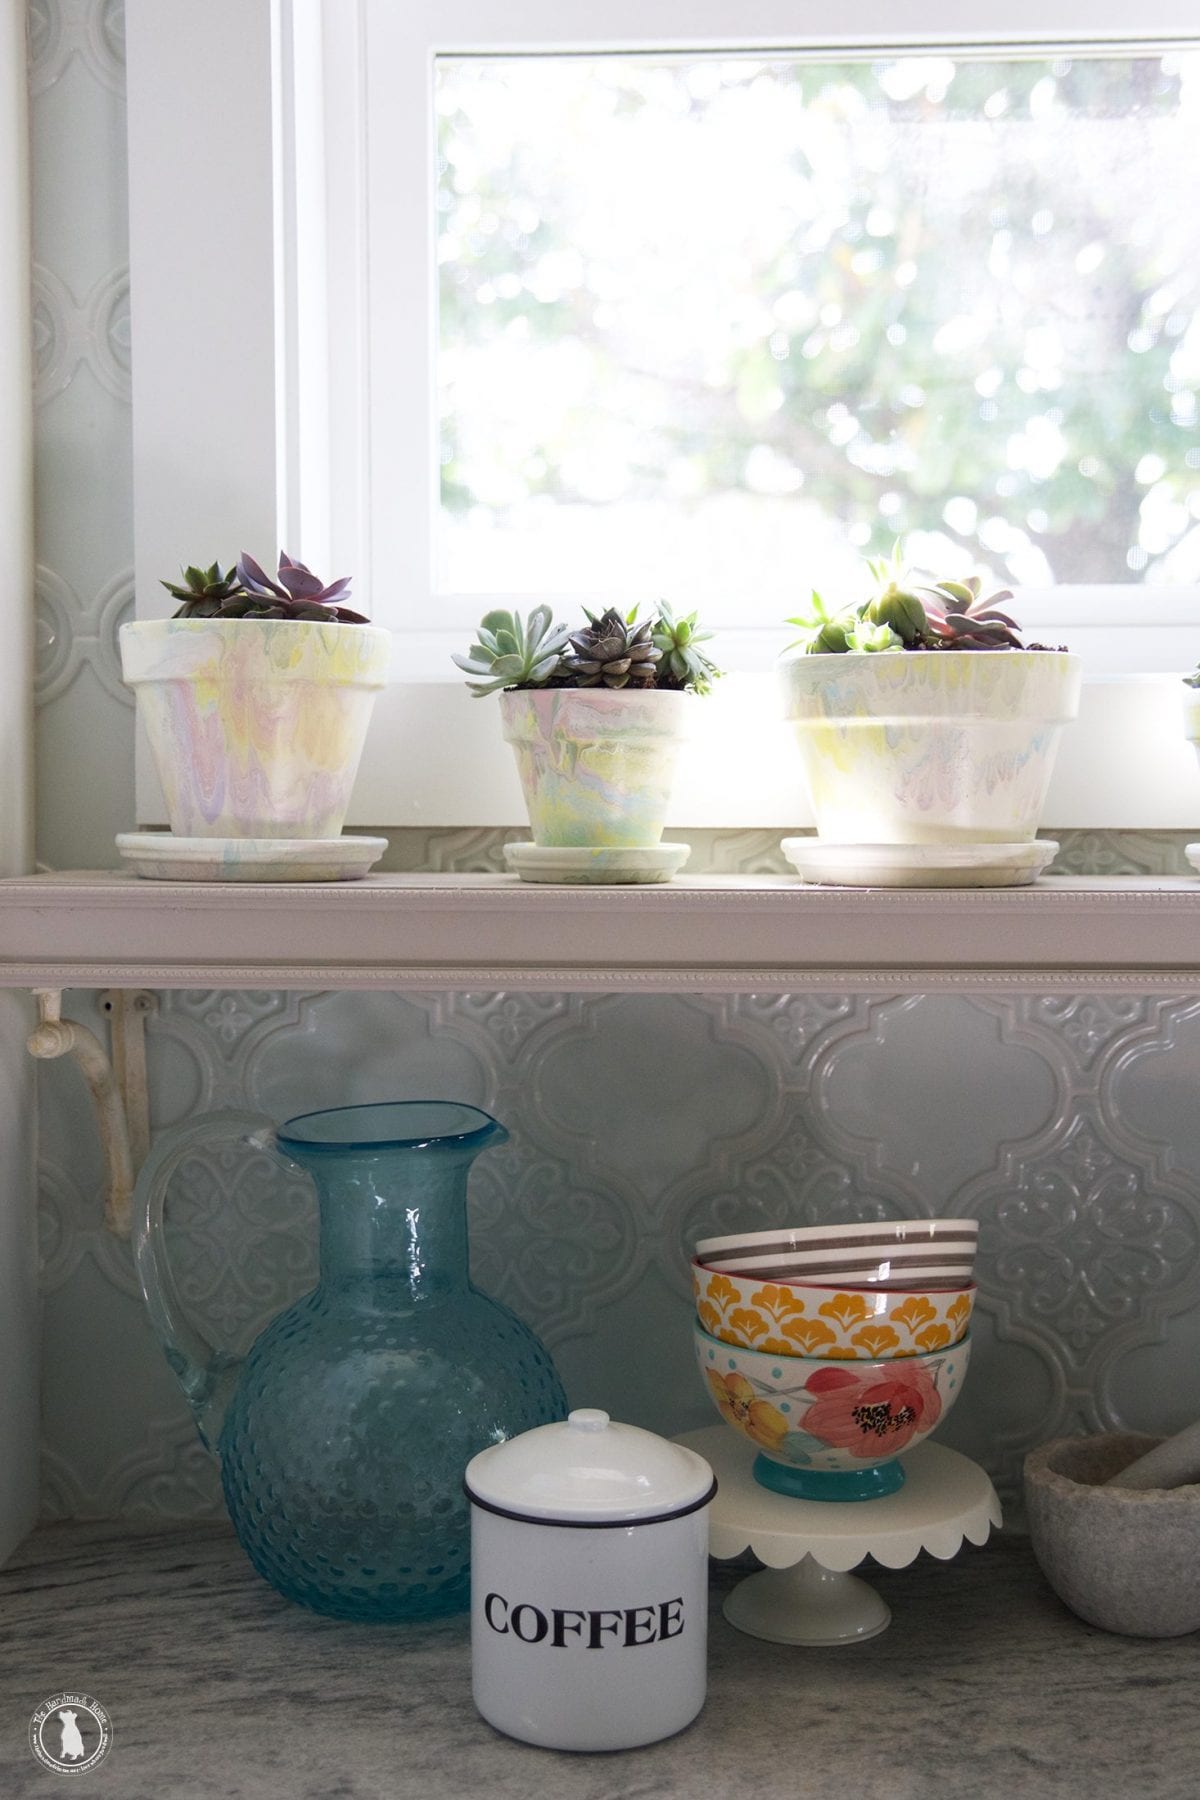
In between each one, you may find that about two pots will work, and then you can add more paint on top to give it more color again. Each one turned out differently and we love the way that it looks.
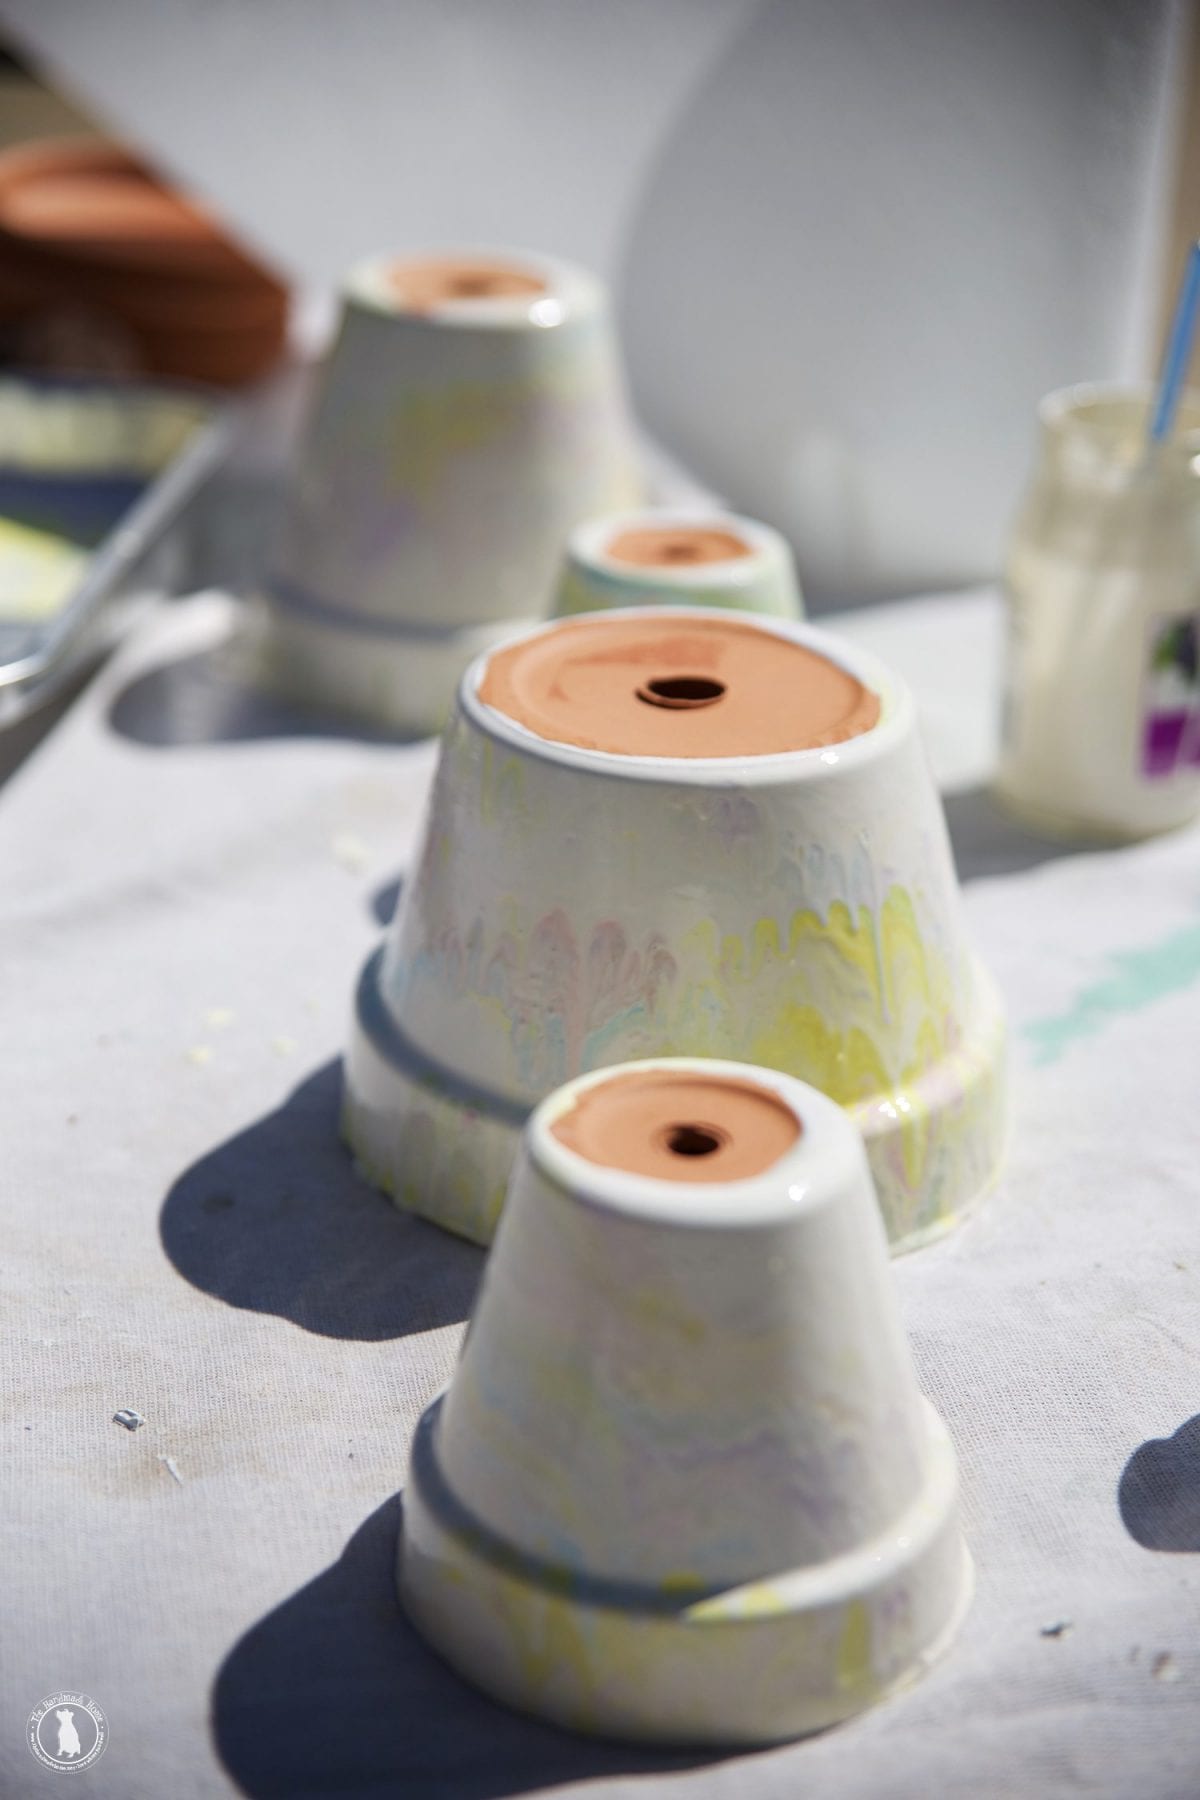
When it’s nice and coated, carefully take your pot and place it upside down on your drop cloth to dry.
After they sat for a few minutes, I rotated them in the sun, and even changed their direction so they didn’t get weird sticky patterns on the tops.
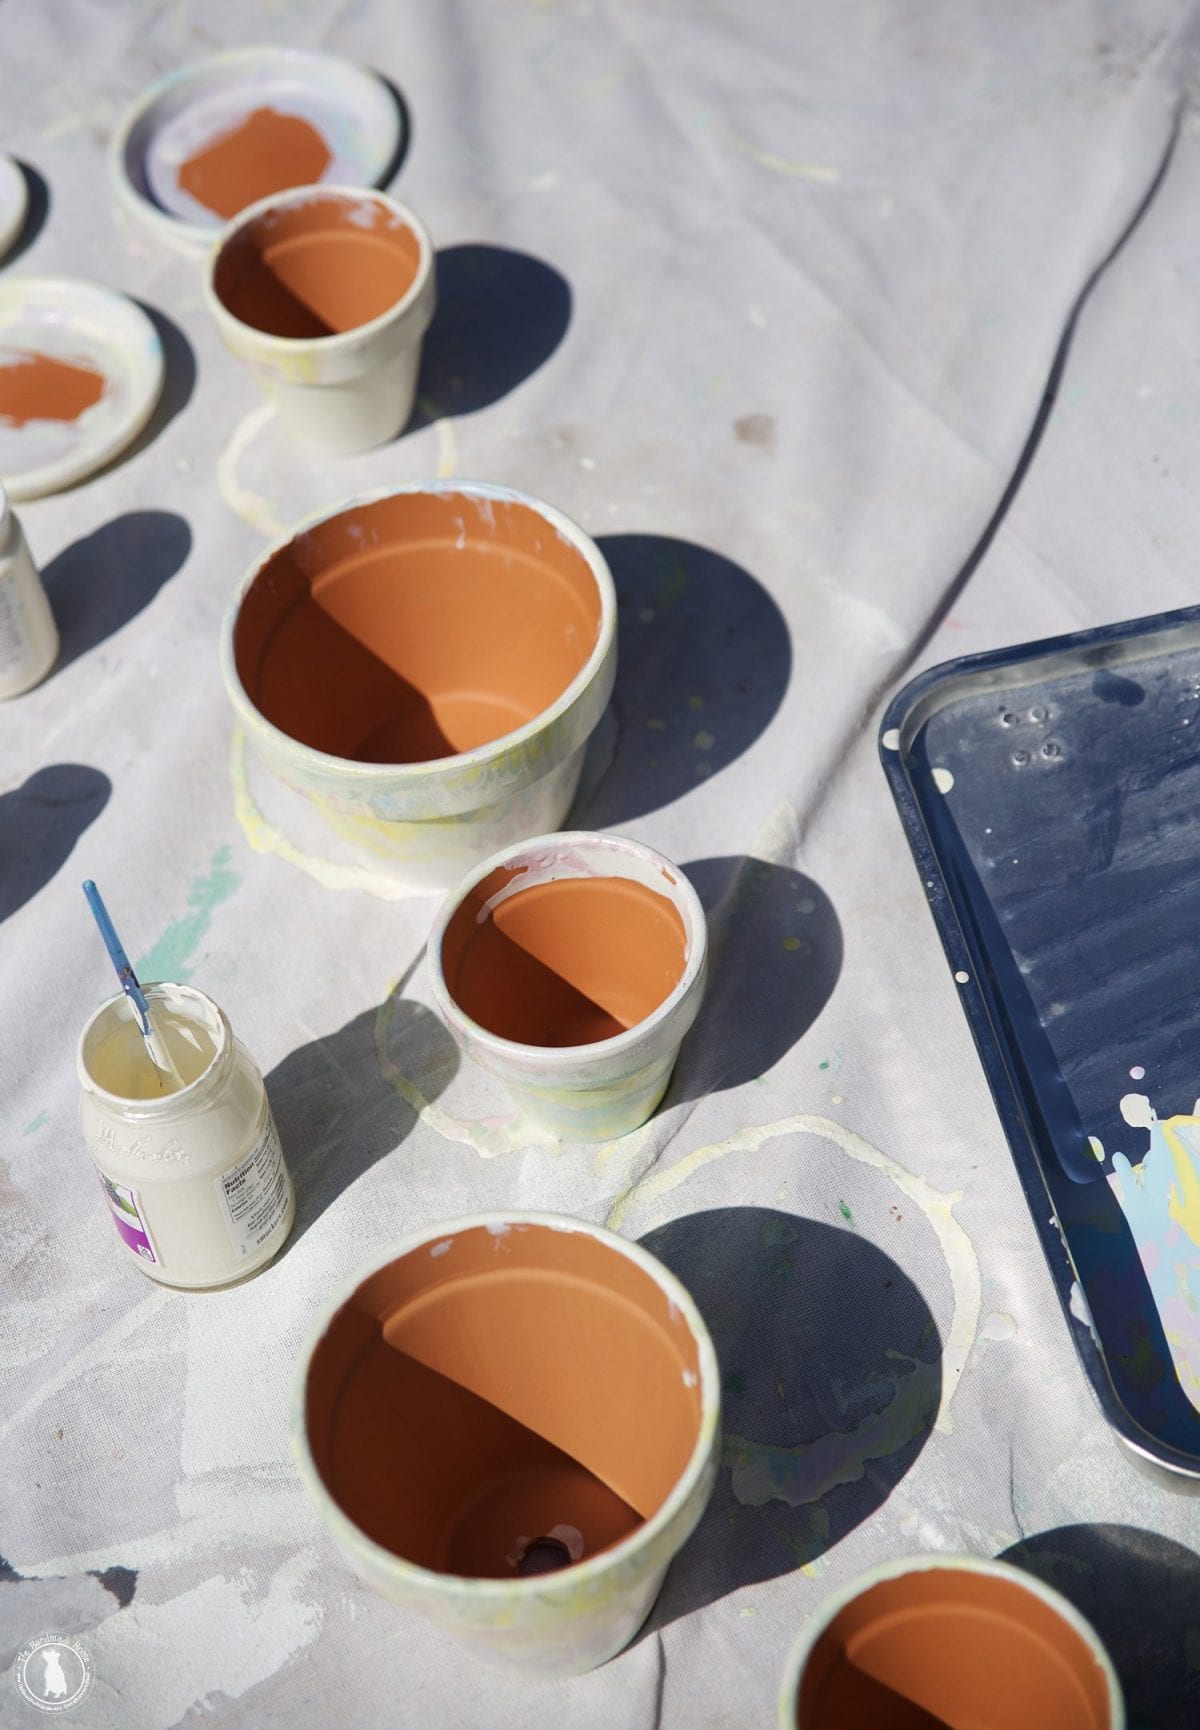
We even did the trays for underneath, and found that you could lightly smooth any large drip marks with your fingers as they all dry.
When they were completely dry {and it didn’t take long} we sealed them with the clear spray paint.
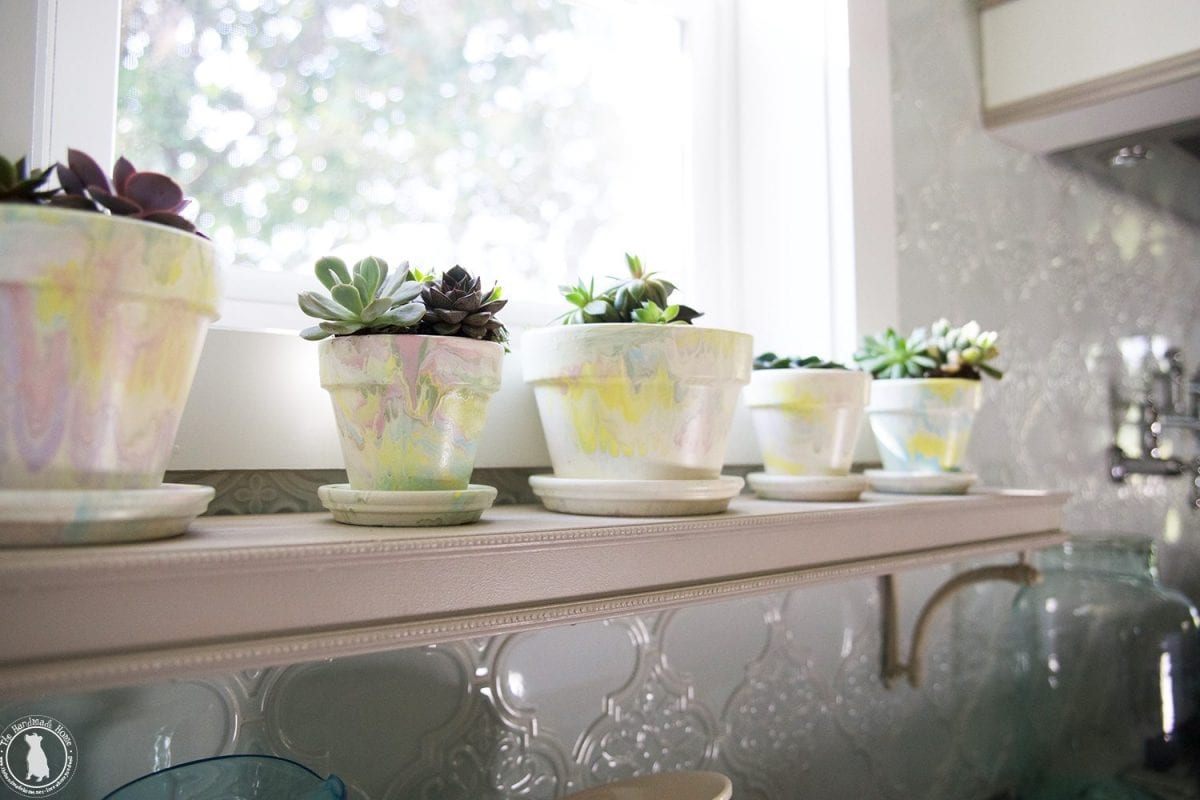
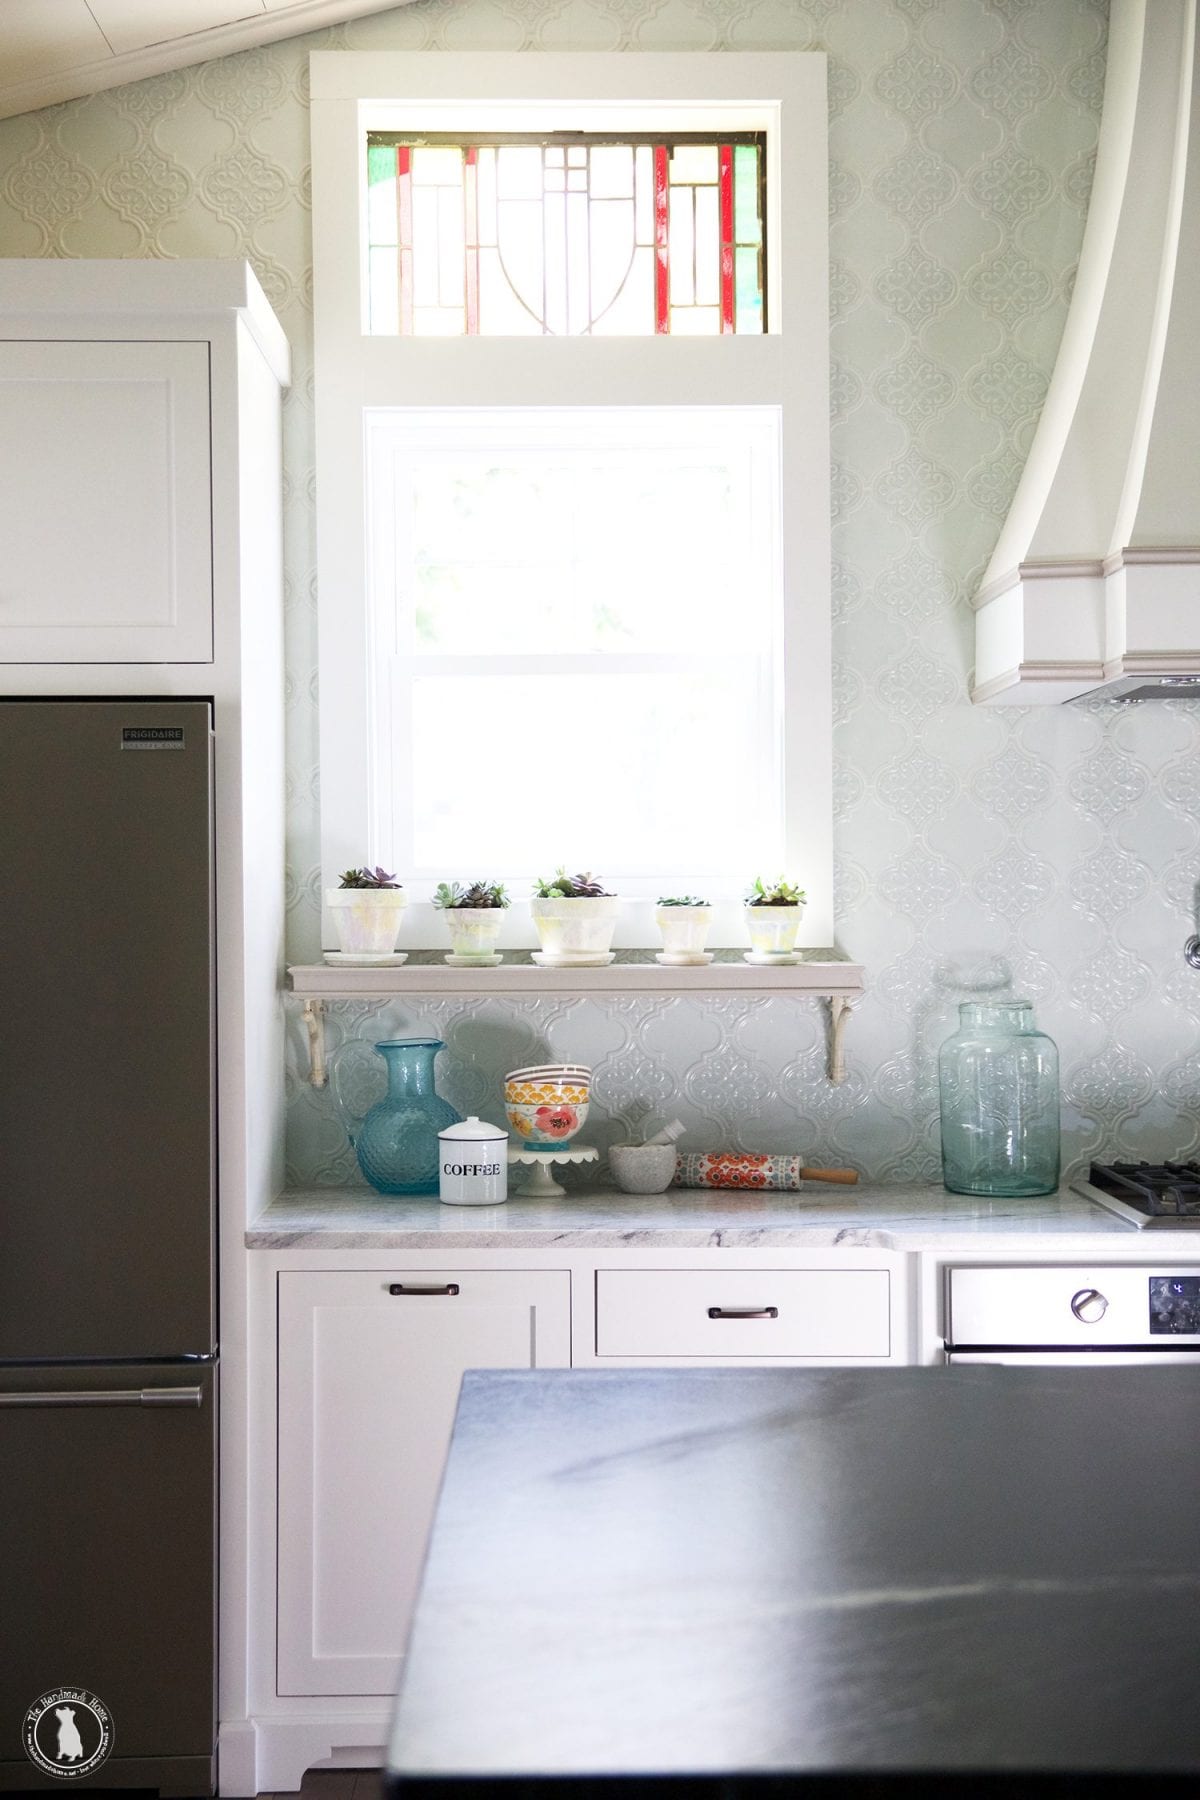
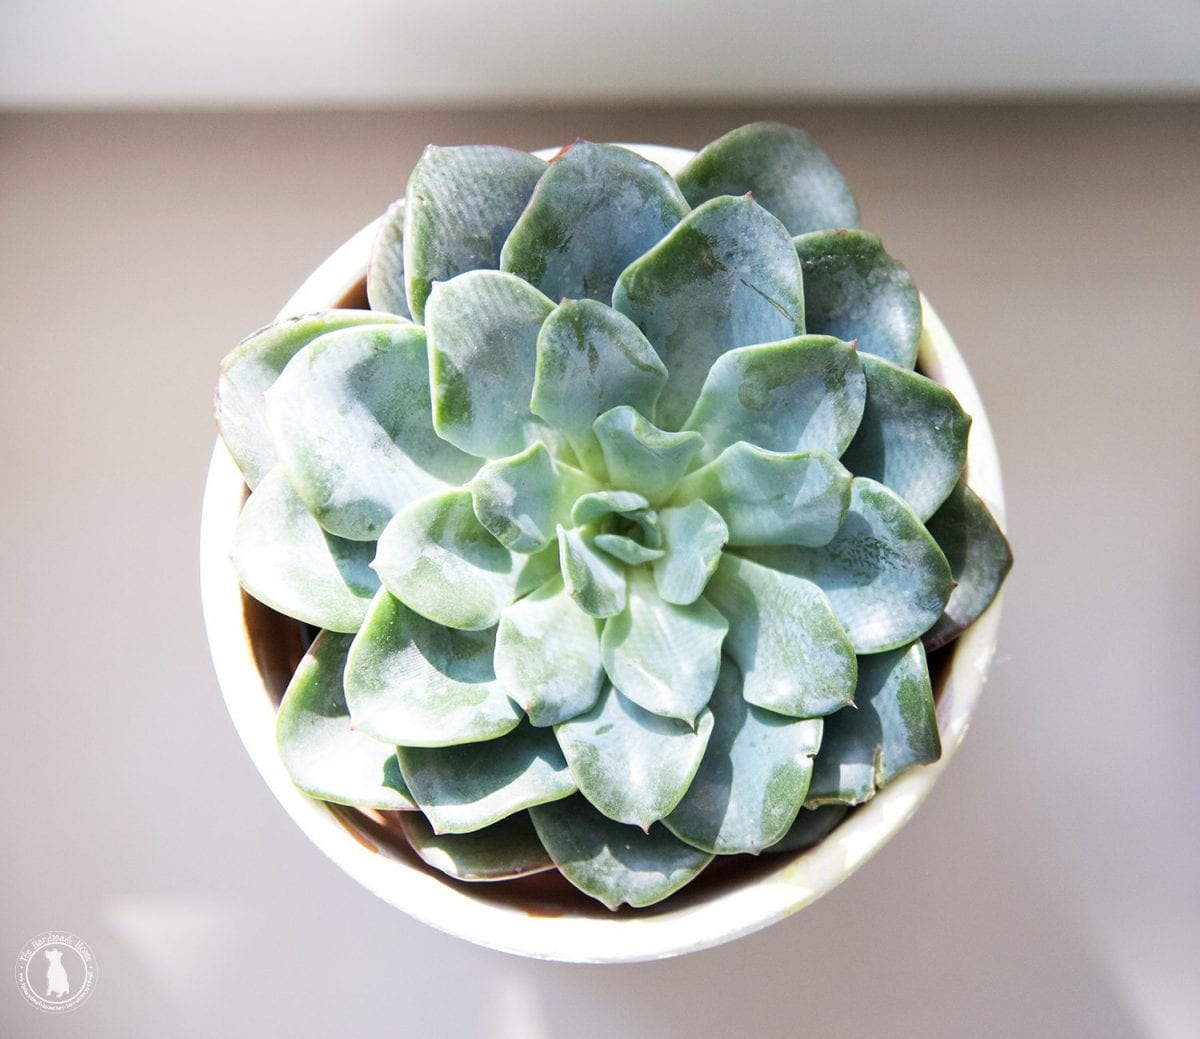
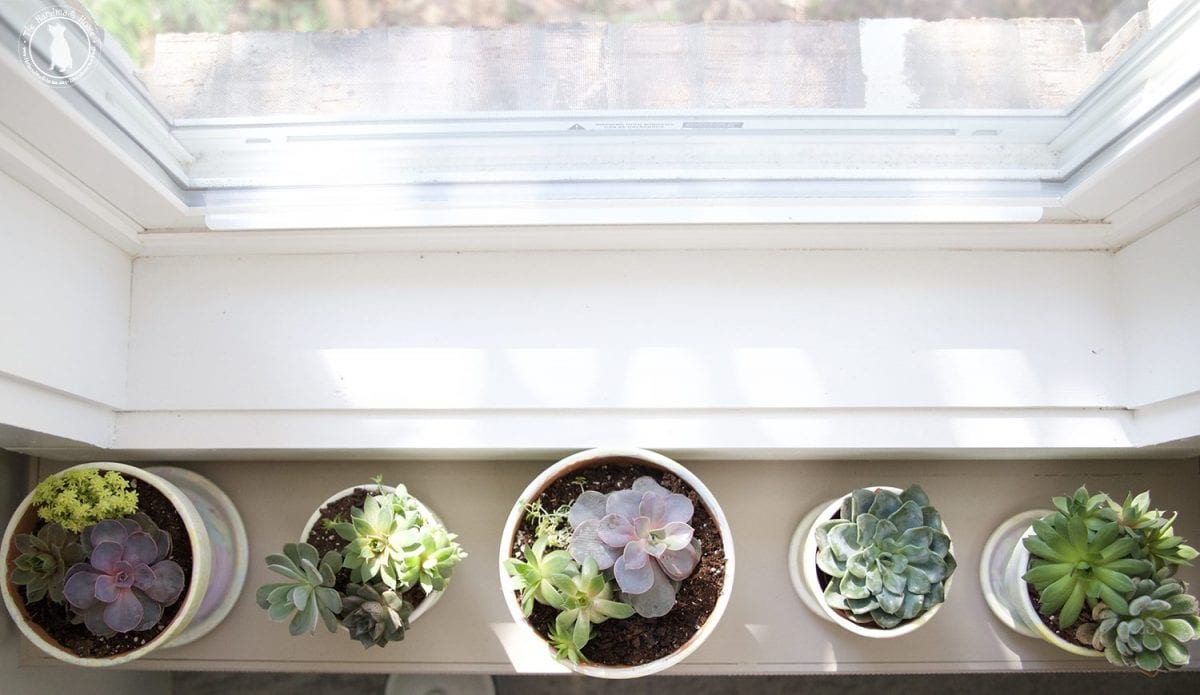
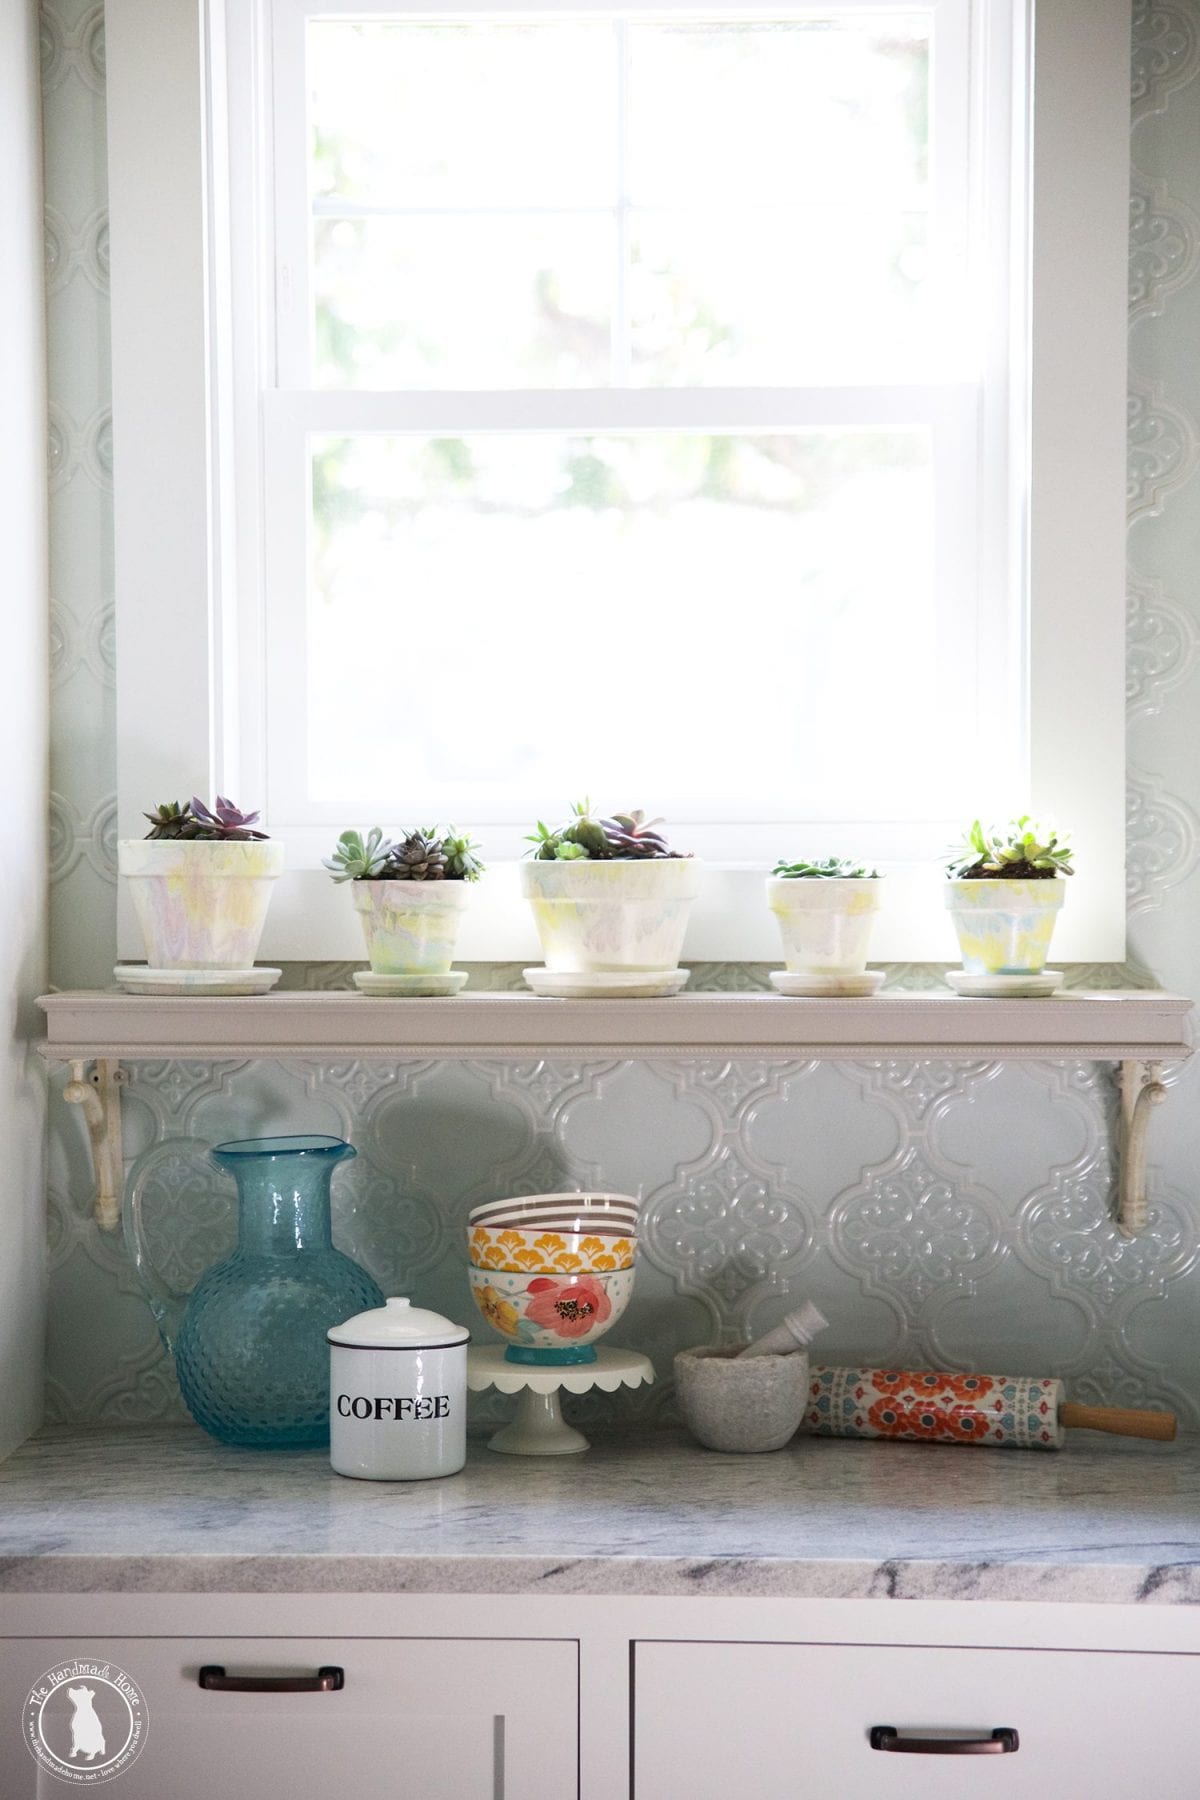
Then we added succulents, because nothing says happy spring like pretty little succulents.
That, and I can not kill them.
We love these, and they’re probably going on our back porch as soon as it’s spring-ready again. I’m all about planting all the things, and cleaning it up since the kiddos are already in the pool.
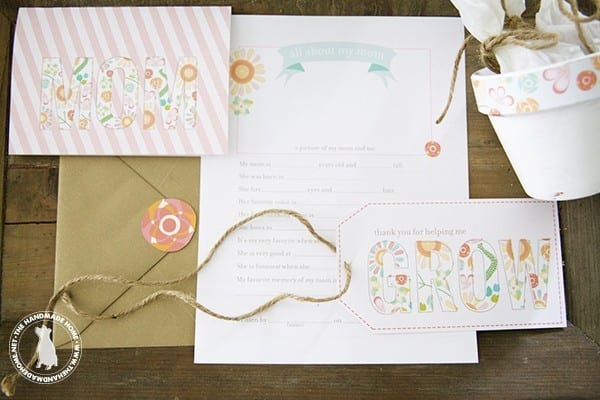
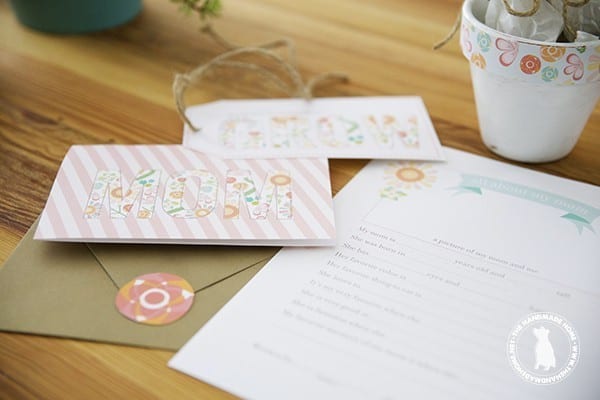
These make great little teacher’s gifts, and gifts for mother’s day!
Especially when you combine them with this project, here – our free mother’s day printables!
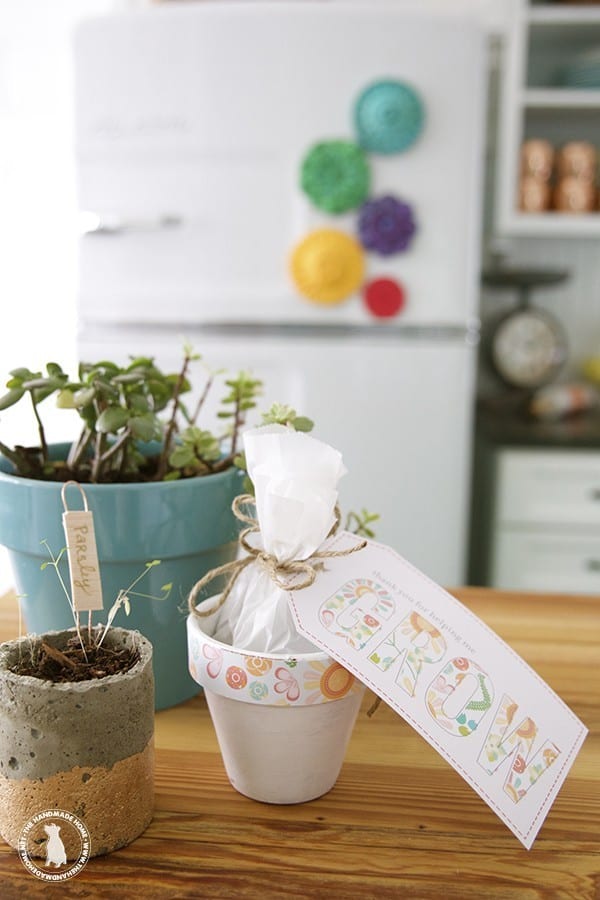
Be sure to check out the full how-to here and all the printables we have!
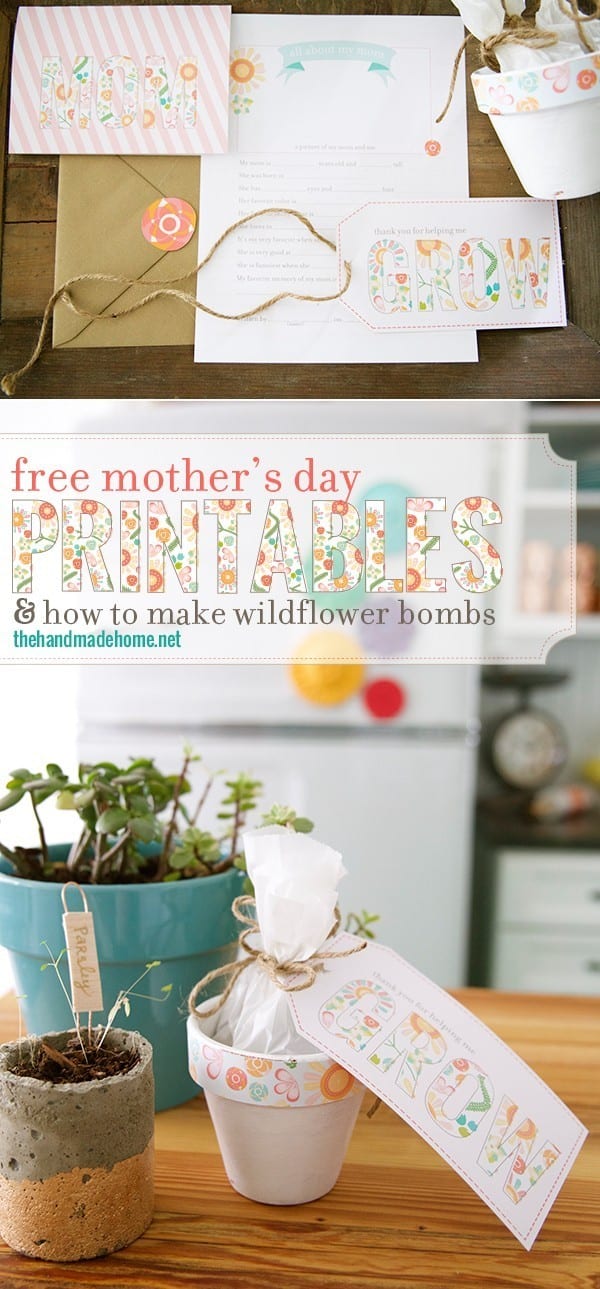
And of course, more of our favorite mother’s day gift ideas, here!

Happy gardening, everyone!
Have an inspired day!

What a great way to transform a terra cotta pot.
Brilliant! I love this idea!