
how to build a barn door
Edited to add: Read all about our additional barn doors here + adding a lock + privacy, here
Last week, we shared something pretty exciting with you. Something we worked really hard on, in the midst of our bathroom redo. We put a lot of sweat into it and we were so amazed by the response… I mean who knew you would love our dance moves as much as we do?! (In case you missed it you can see it here.)
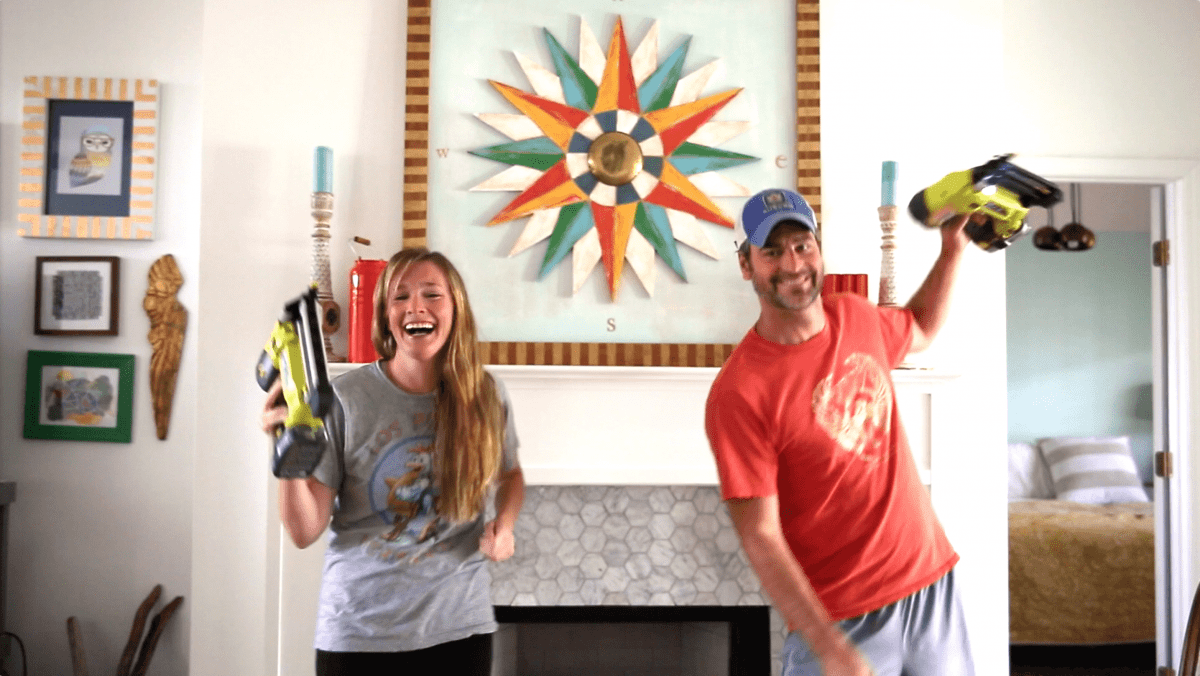
One of our friends told us that if this whole website thing doesn’t work out maybe we can give America’s Got Talent a shot. Yay.
Alas, I suppose I should stop reveling in the moment and get to the real topic of the day: How to build a barn door.
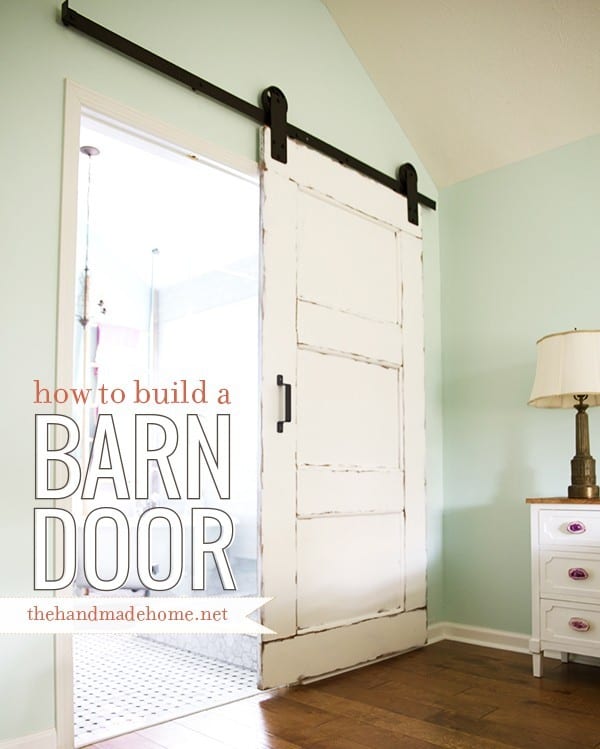
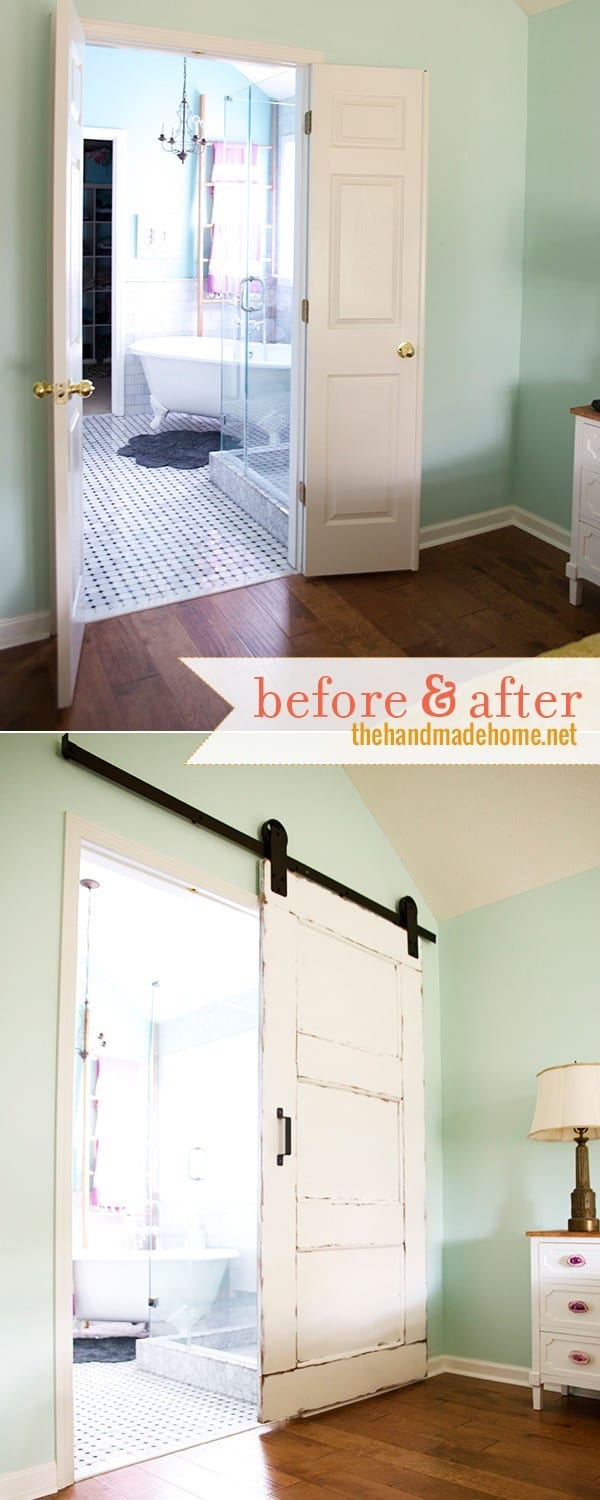
This process is incredibly easy, and the thing we love the most is that it is totally customizable for your home. So as I explain this, remember to convert everything to your own door sizes because this tutorial is for a mammoth 43 inch x 88 inch door.
Tools you’ll need:
• miter box or miter saw • skill saw • nailer with 1 1/4 inch nails or hammer and 1 1/4 finish nails • drill or hammer drill • belt sander and orbit sander.
(Side note: if you need some tools, don’t miss this giveaway from RIGID tools, they are a great brand and a part of the TTI family {RYOBI tools we love so much}. We used the RIGID tool brand in our bath redo and mantel makeover and they are amazing!)
Supplies you’ll need:
• (1) 1/2 inch 4 x 8 sheet of Oak pressed wood • (3) 1 x 8 x 8 (1) 1 x 8 x 6 • wood glue
Measuring:
To start, measure the width of your door opening from outside molding edge to outside molding edge, and add 1 inch on each side for overlap. (Our measurement came to 43 inches.)
Next, you’ll want to determine the height you want your door to be. We settled on 88 inches.
Building it:
You’ll want to start with the backing or base of your door. This would be the 4 x 8 piece of oak pressed wood.
Truly the easiest thing to do is have the guys or gals at your local lumber store cut your oak sheet down for you. If you take your measurements to them they can cut it down to size. If you can’t find a lumber store to take care of this for you, just break out your skill saw, mark your lines and cut it with your skill saw.
Once your oak sheet is cut, you will want to remeasure the width of the piece on the top and the bottom down to the 1/16th of an inch. (Chances are you or the people at the lumber yard got close, but didn’t get it exactly on target and you need to make sure of your final measurements.)
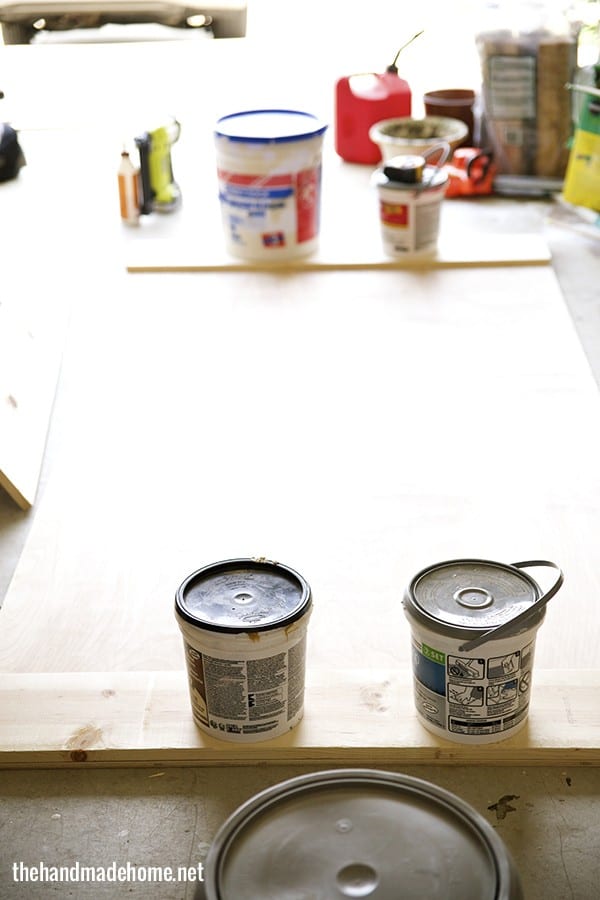
Now cut one of your 1 x 8’s down to the size you just measured, you’ll need a piece for the top and the bottom. 2 pieces total. (For us, this was 43 inches.)
Once these pieces are cut, lay them on the oak board to check their size and make any necessary adjustments. Once they fit properly glue the piece down and place a few finish nails with your nailer or hammer to help draw the boards together until the glue dries. (You can see I also set some buckets on top of them until the glue dried.)
Next, measure the distance from the inside of these two boards and cut (2) of your 1 x 8 x 8’s down to this size. (For us it was 73 inches.)
Once these pieces are cut, lay them on the oak board between the two pieces already glued down to check their size and make any necessary adjustments. Once they fit properly glue the piece down and place a few finish nails with your nailer or hammer to help draw the boards together until the glue dries.
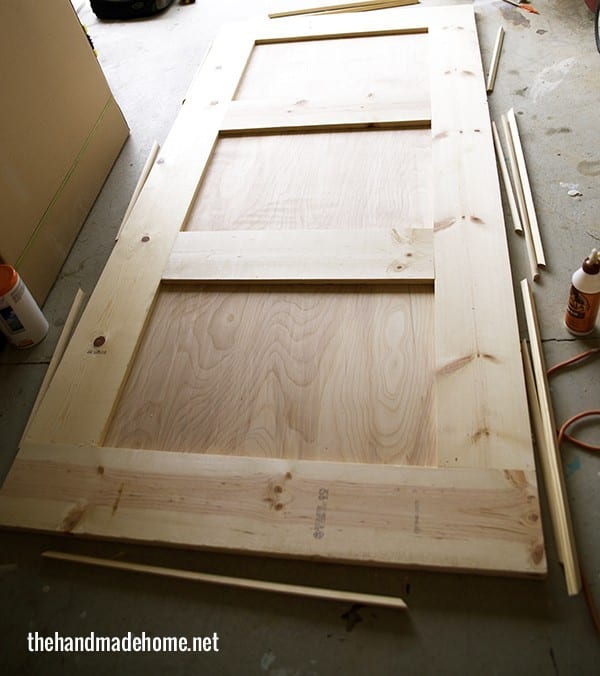
Next, measure the distance from the inside of the two boards you just glued and cut your 1 x 8 x 6’s down to this size twice. For us it was 28 inches.
Once these pieces are cut, lay them on the oak board between the two pieces already glued down to check their size and make any necessary adjustments. Once they fit properly glue the piece down and place a few finish nails with your nailer or hammer to help draw the boards together until the glue dries.
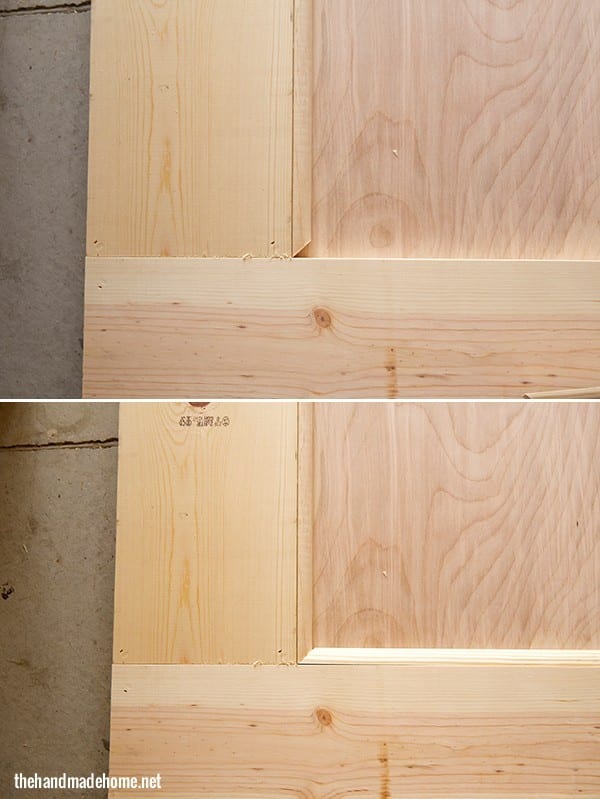
Now you will want to add your quarter round. The best way to do this is to measure and cut as you go, as you want to be exact with this process. You will make a 45 degree angle cut on both ends of the quarter round where the long edge is on the top outside edge {see picture above}. (Remember, you are measuring the top length and not the bottom shorter length.) Using a miter saw for this is easiest, but if you don’t have one you can use a miter box will work too.
Do this for all sides and simply glue the quarter round in. You may need to place a nail here or there to help secure it, but we were able to get away with just glue.
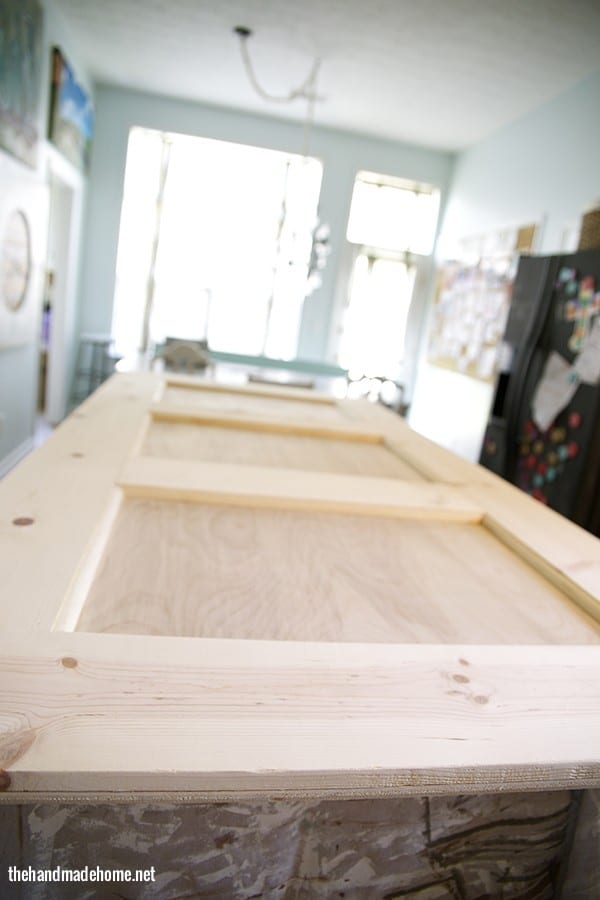
Once everything is dry you will want to sand it down a to make sure you have smooth edges all around. We sanded not only the outside edges, but also the top face to remove any dirt and to smooth the joints. Then we cleaned it with some water and a sponge.
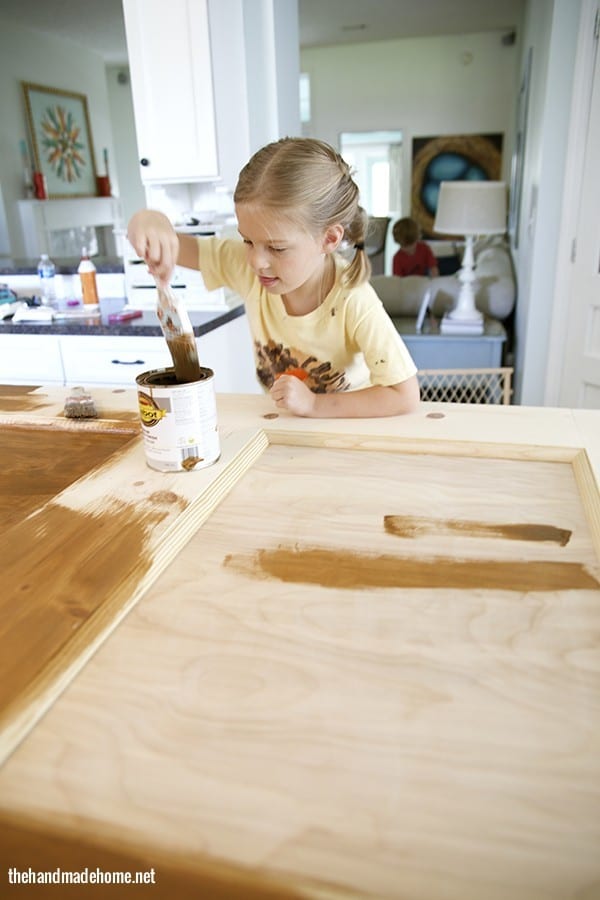
To give this door the cool aged look, we choose to stain it first with cabot cinnamon toast {cue little helpers since it didn’t have to be perfect for the undercoat}.
When the first coat was dry, we came back with paint on top to give it a worn look, and we used Benjamin Moore’s Chantilly Lace.
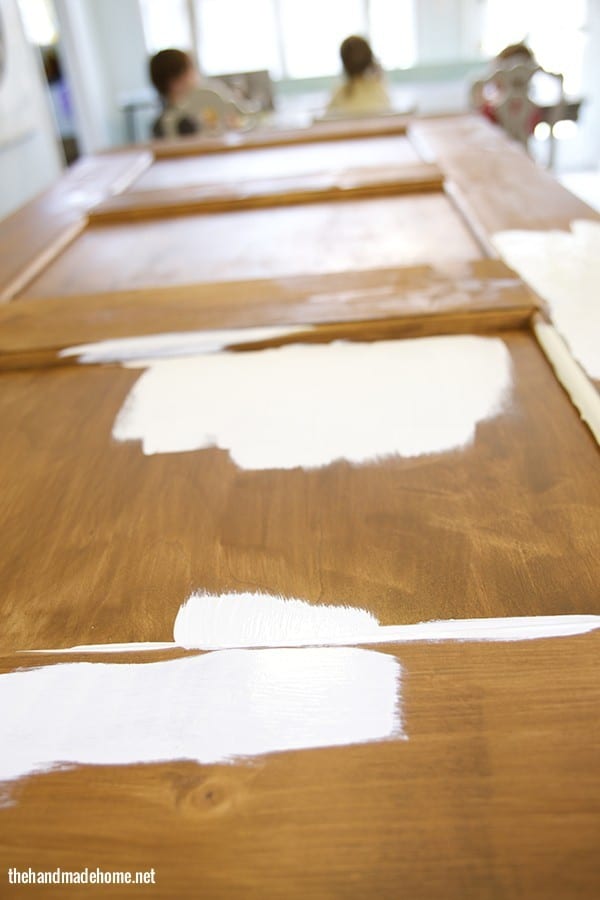
This was the fun part, because we went in various directions with the paint, to give it an old worn look. We were careful not to fill in the very edges.
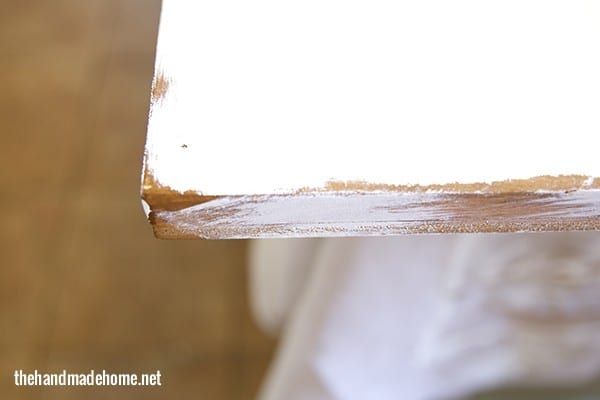 Then we went back again, for a second coat.
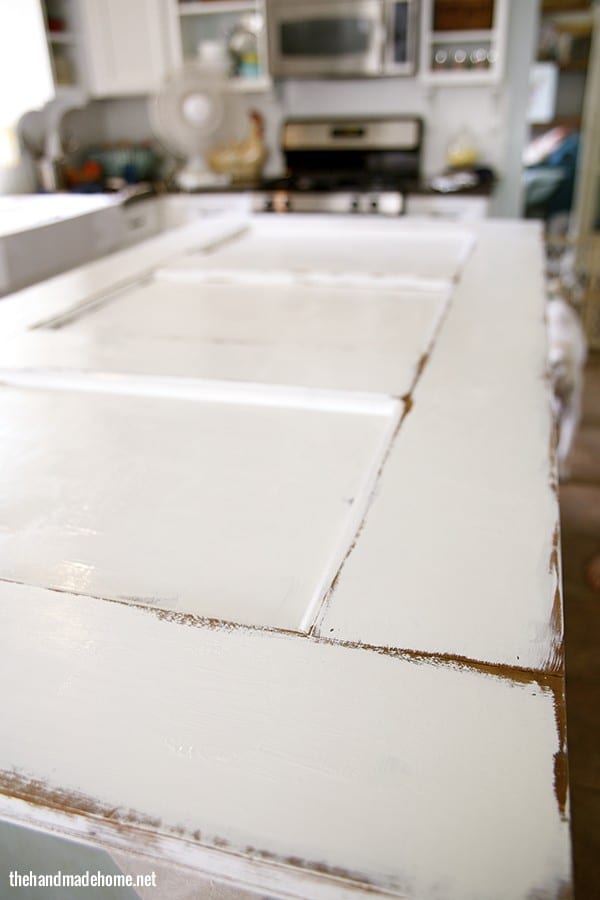
Don’t worry about making it perfect… the looser the better for this look. When it was dry {we left it for a day to make sure it wouldn’t peel when moved it} we flipped the door and did the backside.
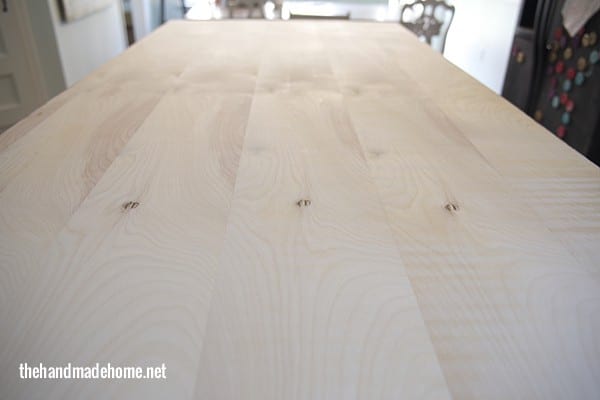
This was tricky, because we wanted the back to have a finished look when it was hanging, without adding more to the weight and bulk of the back.
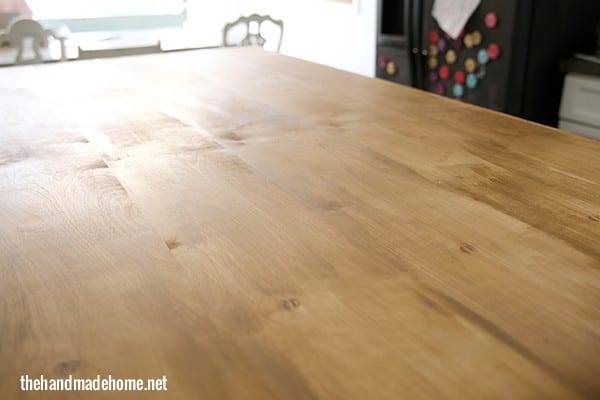 The pressed oak had this awesome planked look, so we filled it in with stain, and then did the same process as the front with the white when it was dry. Only this time, we followed those natural lines, not filling them in.
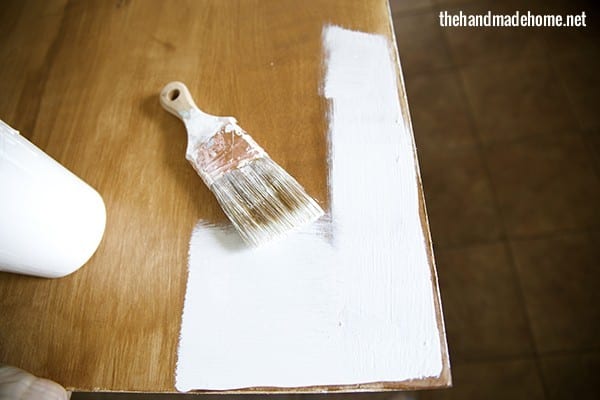
After the paint has had time to dry, you’ll need to add the hardware.
Our hardware and track system came from the amazing people at NWArtisian Hardware. We used them last year when installing the doors in the playroom and simply fell in love with them. (Psssst: They’re also offering a 10% discount right now.)
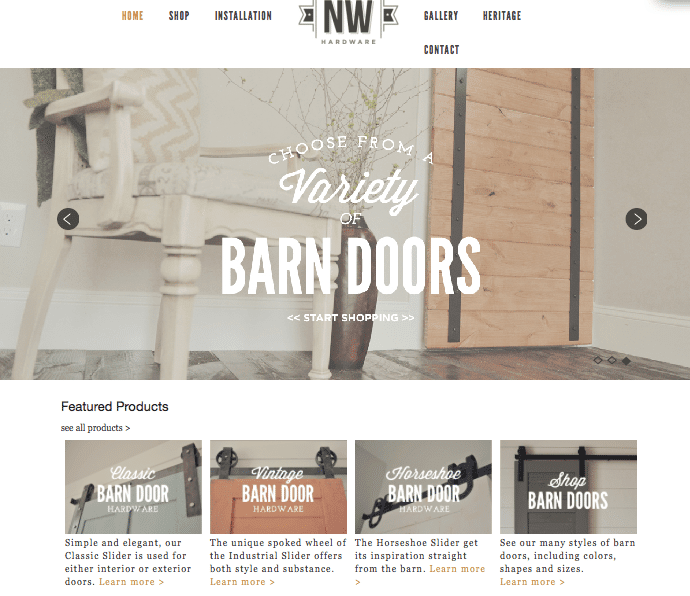
They have an amazing selection, we went with the the vintage collection on this project.
Someone asked us last week if this door was noisy in the morning, and we have to say, it’s quieter than the double doors we had going on.
Installing the track is simple, and to get the right sized track, we recommend letting the people at NWArtisian Hardware guide you. They are super helpful and full of great advice. But a simple rule of thumb is you want twice as much track as the width of your door.
To attach the hardware to the door, simply center the hardware on the vertical 1 x 8’s of the door remembering you will need about 3 inches of clearance from the top of the door to the bottom of the wheels and simply mark and drill your holes. Tighten the screws and nuts and you are ready to move on.
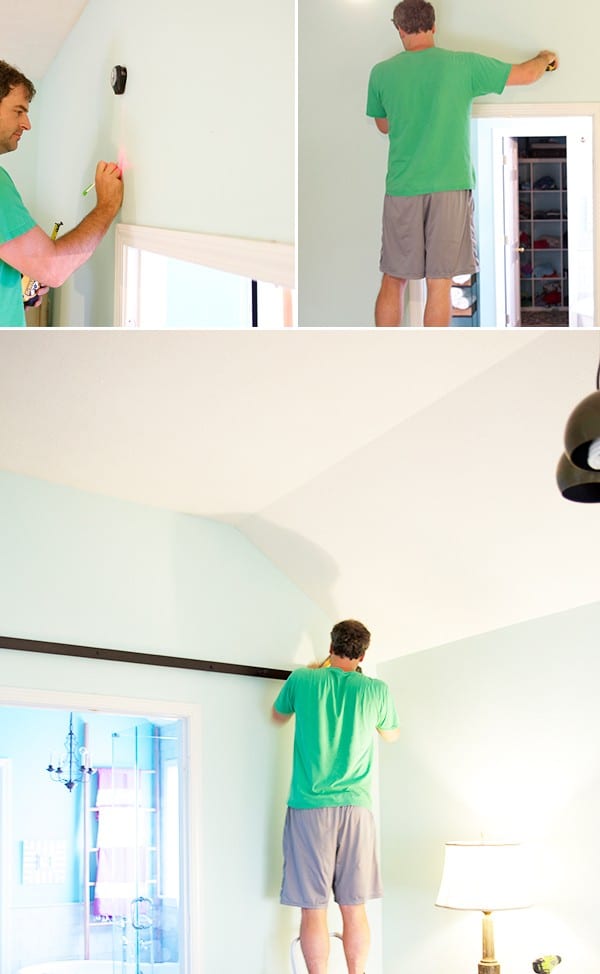
Installing the track is just as easy. First you will want to locate your studs above your door frame and mark them. Then you will want to mark where the track will begin and where it will end. Once you know these two things simple line the track up and mark on it where the studs are. (We would suggest using two people.)
Next you will want to drill through the track at these markings with the appropriate sized drill bit. I suggest using a hammer drill if you have one.
After these holes are drilled, line the track back up on the wall where it will go and make markings where the holes are. Double check that they are hitting studs. (To determine the height of your track, you will measure from the bottom of your door to the bottom of the wheels, you will also want to add 1 inch for clearance.)
After you double check your height measurements and that your marks land on studs, you will want to drill into the studs, but only about 1/2 inch in. Then using a socket wrench to screw your bolts through the track the spacers and into the studs. {Again, getting a friends help is recommended.} You’ll add you’re stops in at this point too. (All this is included in the directions from NWArtisian Hardware.)
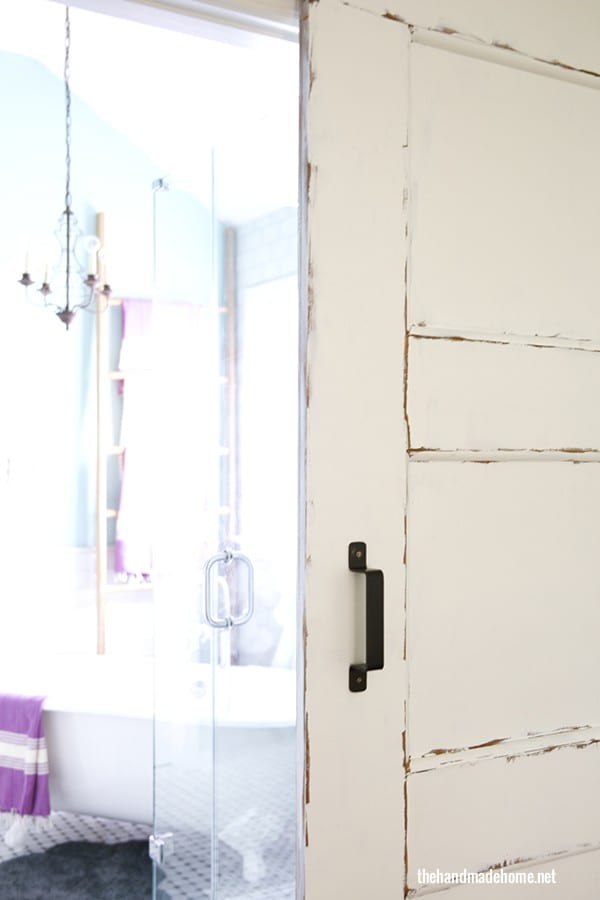
Once you have all the bolts in the studs simply lift the door wheels above the track and allow the grooves of the wheels to come to rest on the track.
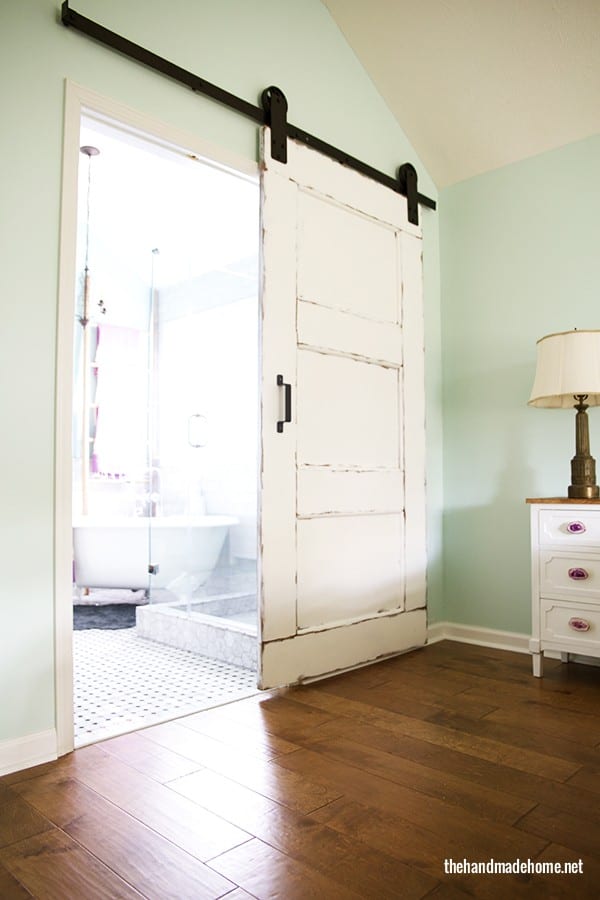
And you are ready to get your dance on, and make weird videos like us. Cue Happy music!
Happy building, and as always let us know if you try it or have any questions. We’d love to see your final project!




Very nice! I will be sharing this with my worker bee (oops, I mean Husband). But I was curious, is there a way to lock it from the inside of the bathroom? Say i want to take a nice peaceful bubble bath and my children to not have the ability to just slide the door open and walk in? I could just lock he bedroom door, but I was curious if you had a lock on this? Thanks!
Hey Christina! You could definitely add a lock to the other side, like a hook kinda thing on the door and an eye on the other, and I’m sure there are other options. We tend to lock our bedroom door when we’re in, and they’re old enough to know better… so for us, that works. ;} I hope that helps!
Thanks! 😉
Drooling with jealousy…that’s what I”m doing. You keep me entertained and enlightened…but this project takes the cake. (mmmm, cake sounds good). This is wonderfully written and will go in my “save” folder for sure. GREAT JOB. I think this is my favorite thing you’ve done so far.
I love this SOOOO Stinking much!!! I’ve been looking at my doors and walls to see if it can work on one of mine, and boo, it can’t! You guys have done amazing things to your bathroom and bedroom!
This is gorgeous guys! Just pinned 🙂
Love the door-perfect combo of rustic/chic/industrial/farmhouse/cottage…does that pretty much sum it up? 😉 and I love your paint colors on the walls of your home! Do you happen to have a list of the colors? Thanks!
Hey Jessica! Thanks so much! The paint colors are all in this post here! ;}
This is absolutely STUNNING! LOVE, LOVE, LOVE the rustic look with the dark hardware. And your gorgeous aqua walls totally set it all off! Can’t wait to share it tomorrow with my favorite things this week at http://www.makingitinthemountains.com! Wishing you a lovely weekend!
That’s amazing!!! You guys make it look so easy!
Did you list the source for the handle? We’ve recently built a barn door and bought our track from NWArtisan Hardware. But we haven’t yet bought the handles. Would love to know where yours are from. Sorry if I missed it somewhere!
Yes, Darcie we did get it from , it is also where we got the one in the playroom from. We simply love them!
Hi! I love the barn door, y’all did a great job! I noticed that you kept the trim around the doorway. How far does the barn door stick out from the wall and does it scrape your trim? I am assuming that you filled the holes where the hinges were from the old door, how did you do that?
I’m about to put one of these in and would love a little enlightenment. 🙂
Hey Holly! The hardware helps the barn door to stick out from the wall, just far enough. It’s made that way, so it works quite smoothly ;} Also, we’ve done this same process now with our laundry room and all the other doors we’ve pulled off… just fill in the palaces with wood putty, sand and paint. OR you could cut a thin piece of wood to the exact length, paint and place. I hope that helps!
Hey! This is my first visit to your blog! We are a collection of volunteers and starting a new project in a community in the same niche.
Your blog provided us useful information to work on. You have done a marvellous
job!
Thank you so much, Dianna! Hope it helped