
how to build an outdoor farmhouse table
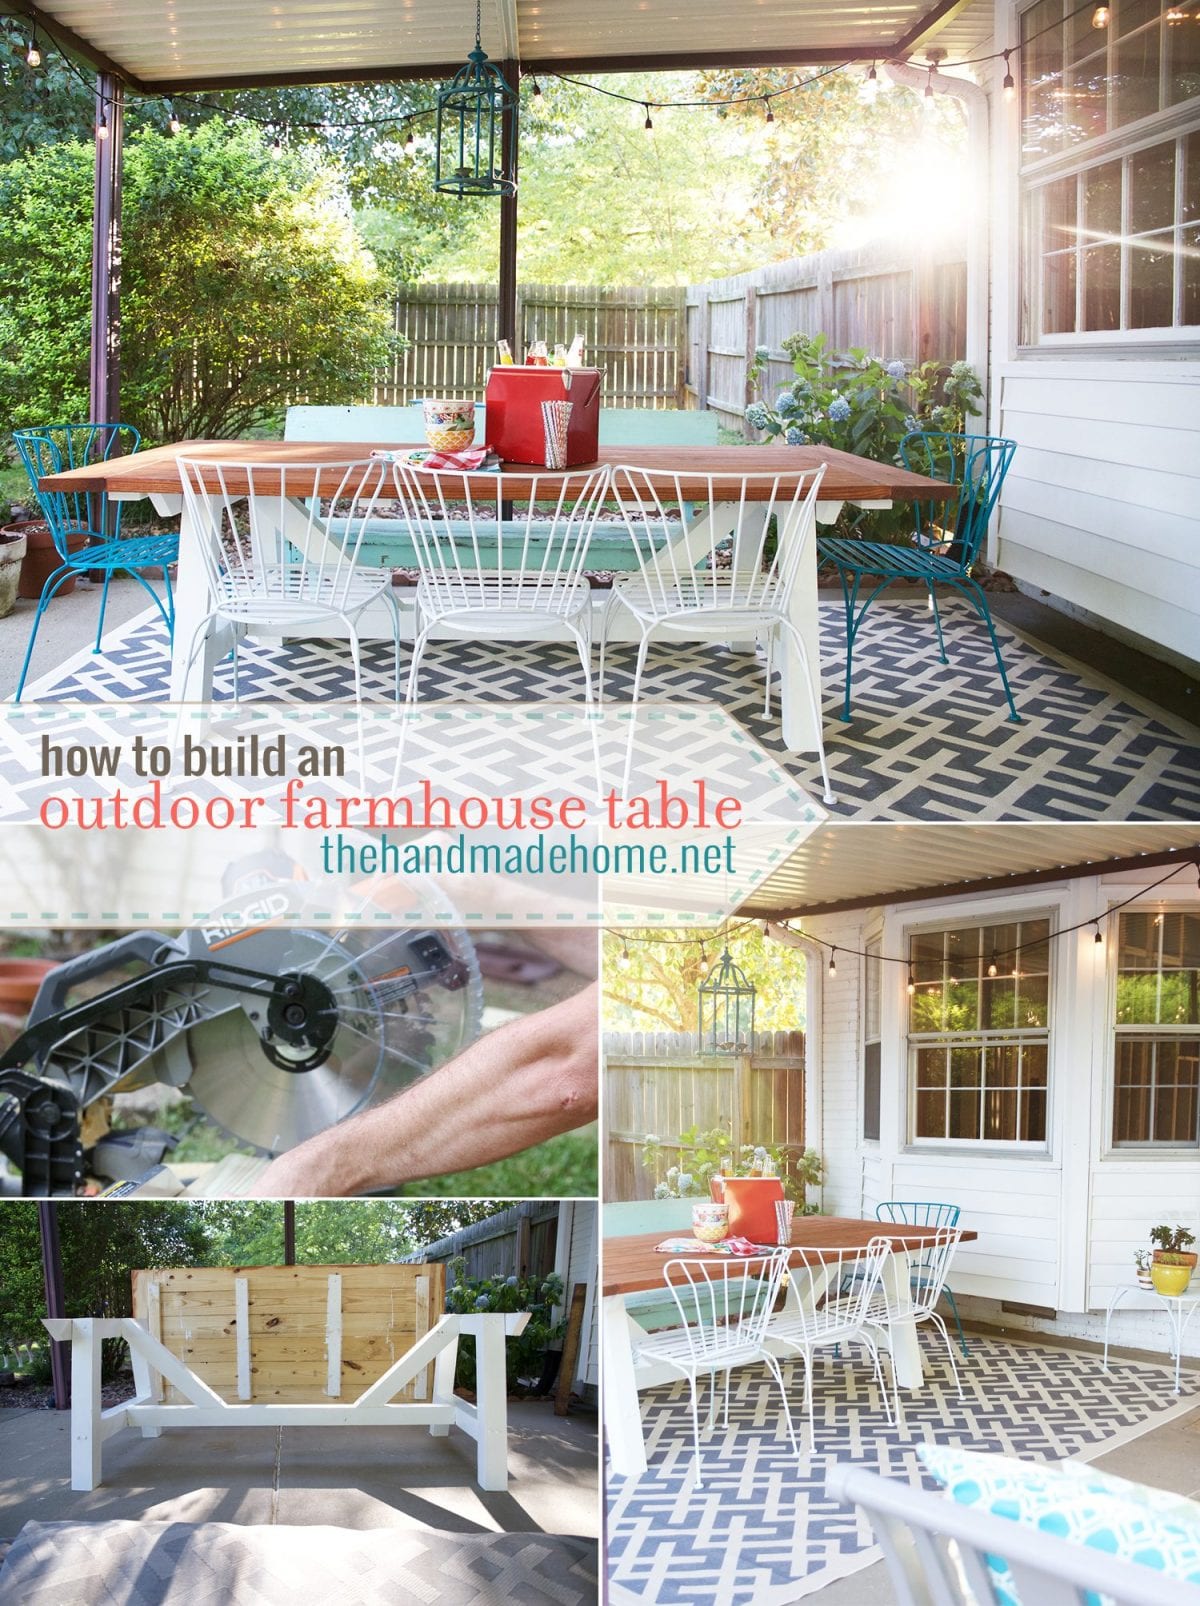
“The sun does not shine for a few trees and flowers, but for the wide world’s joy.” –Henry Ward Beecher. Here is one of our favorite backyard builds this year – How to build an outdoor farmhouse table.
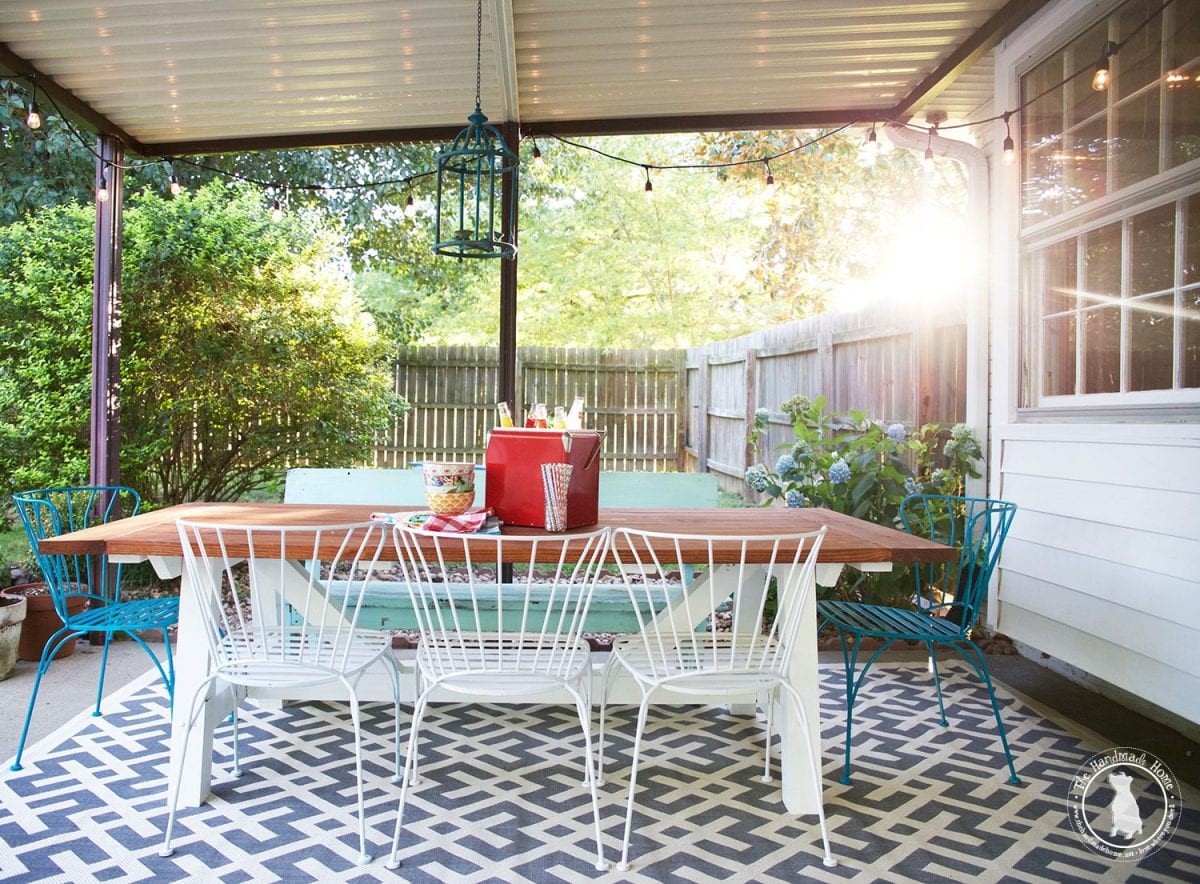
While we are in the depths of renovating our home we really wanted a place to gather, a place to be able to have friends over to enjoy the pool {that was formally known as the cess pool.} So we decided to transform the back porch area into something a little more appealing.
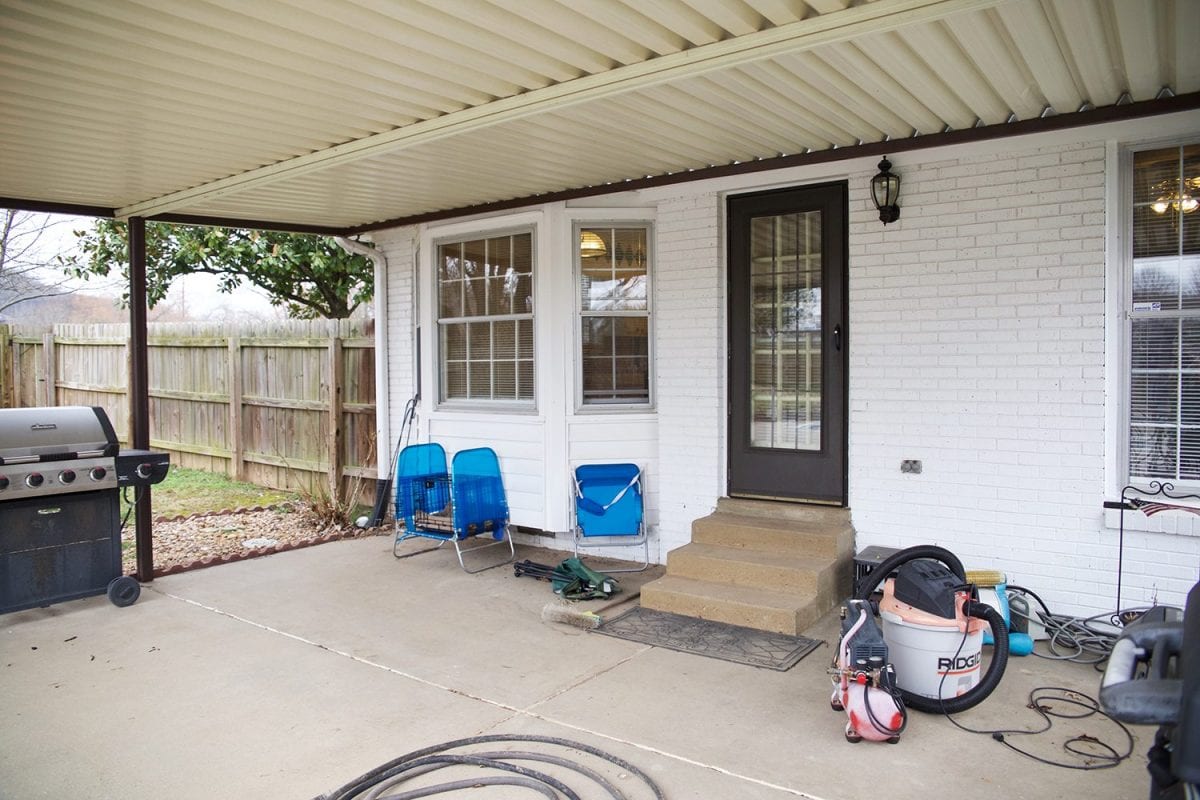
We love being outdoors. It’s one of the reasons we bought the house, an acre yard and the pool. A place for the kids to run and play and forget that iPads and video games exist.
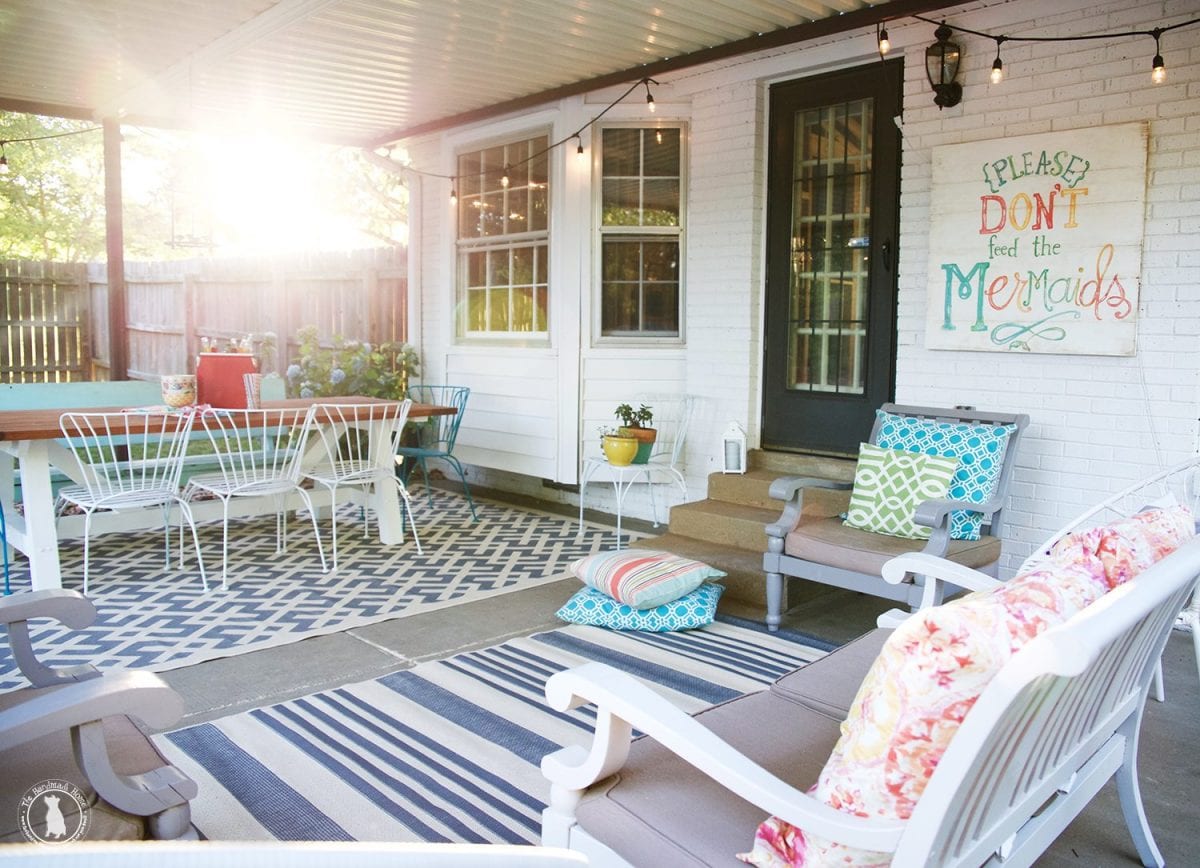
how to build an outdoor farmhouse table
As we considered what we wanted for the space, we knew we needed a table to gather around for those big summer feasts. It would need to be a large table, around 7 feet long by about 3 1/2 feet wide. We knew finding a table that size would not only be difficult, but also a little pricey. We kind of had other priorities on the inside of the house with monetary choices. So we decided to build one.
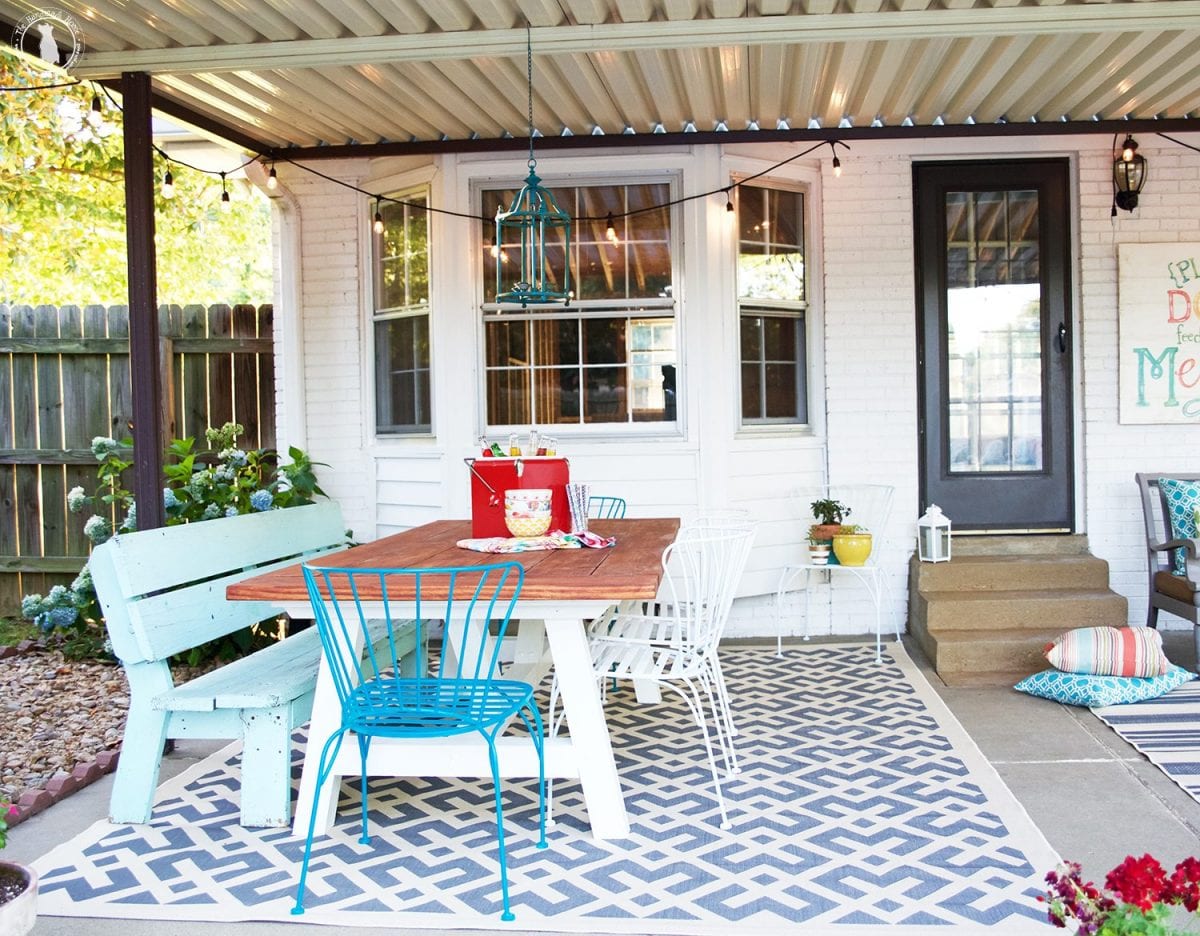
It’s really a fairly straight forward build, and a whole lot cheaper coming in at around $145.
Slightly cheaper than some of the ones coming in at over $2800 you can find online.
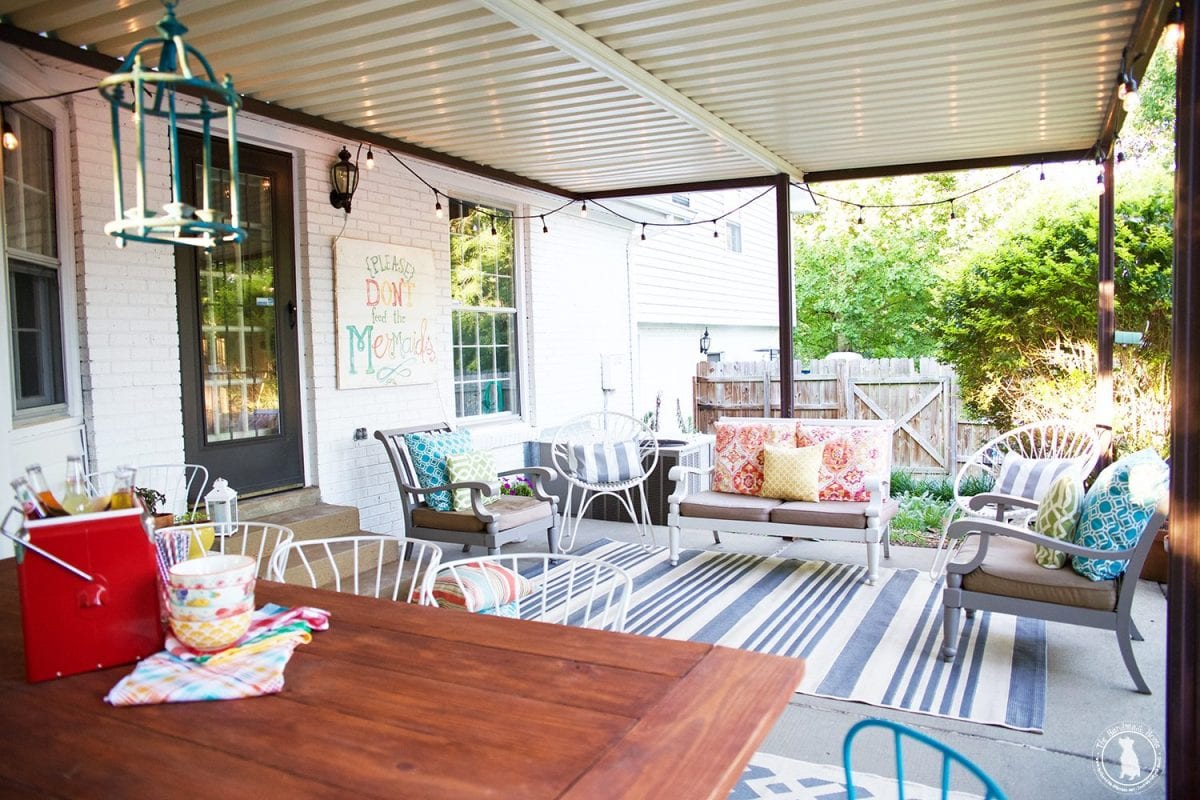
how to build an outdoor farmhouse table – supplies
Here is what you’ll need:
• (4) 4 x 4 x 8 • (3) 2 x 4 x 8 • (7) 2 x 8 x 8 • (30) 5/16 x 5 inch lag screws • box of 2 1/2 inch wood screws • Paint and stain
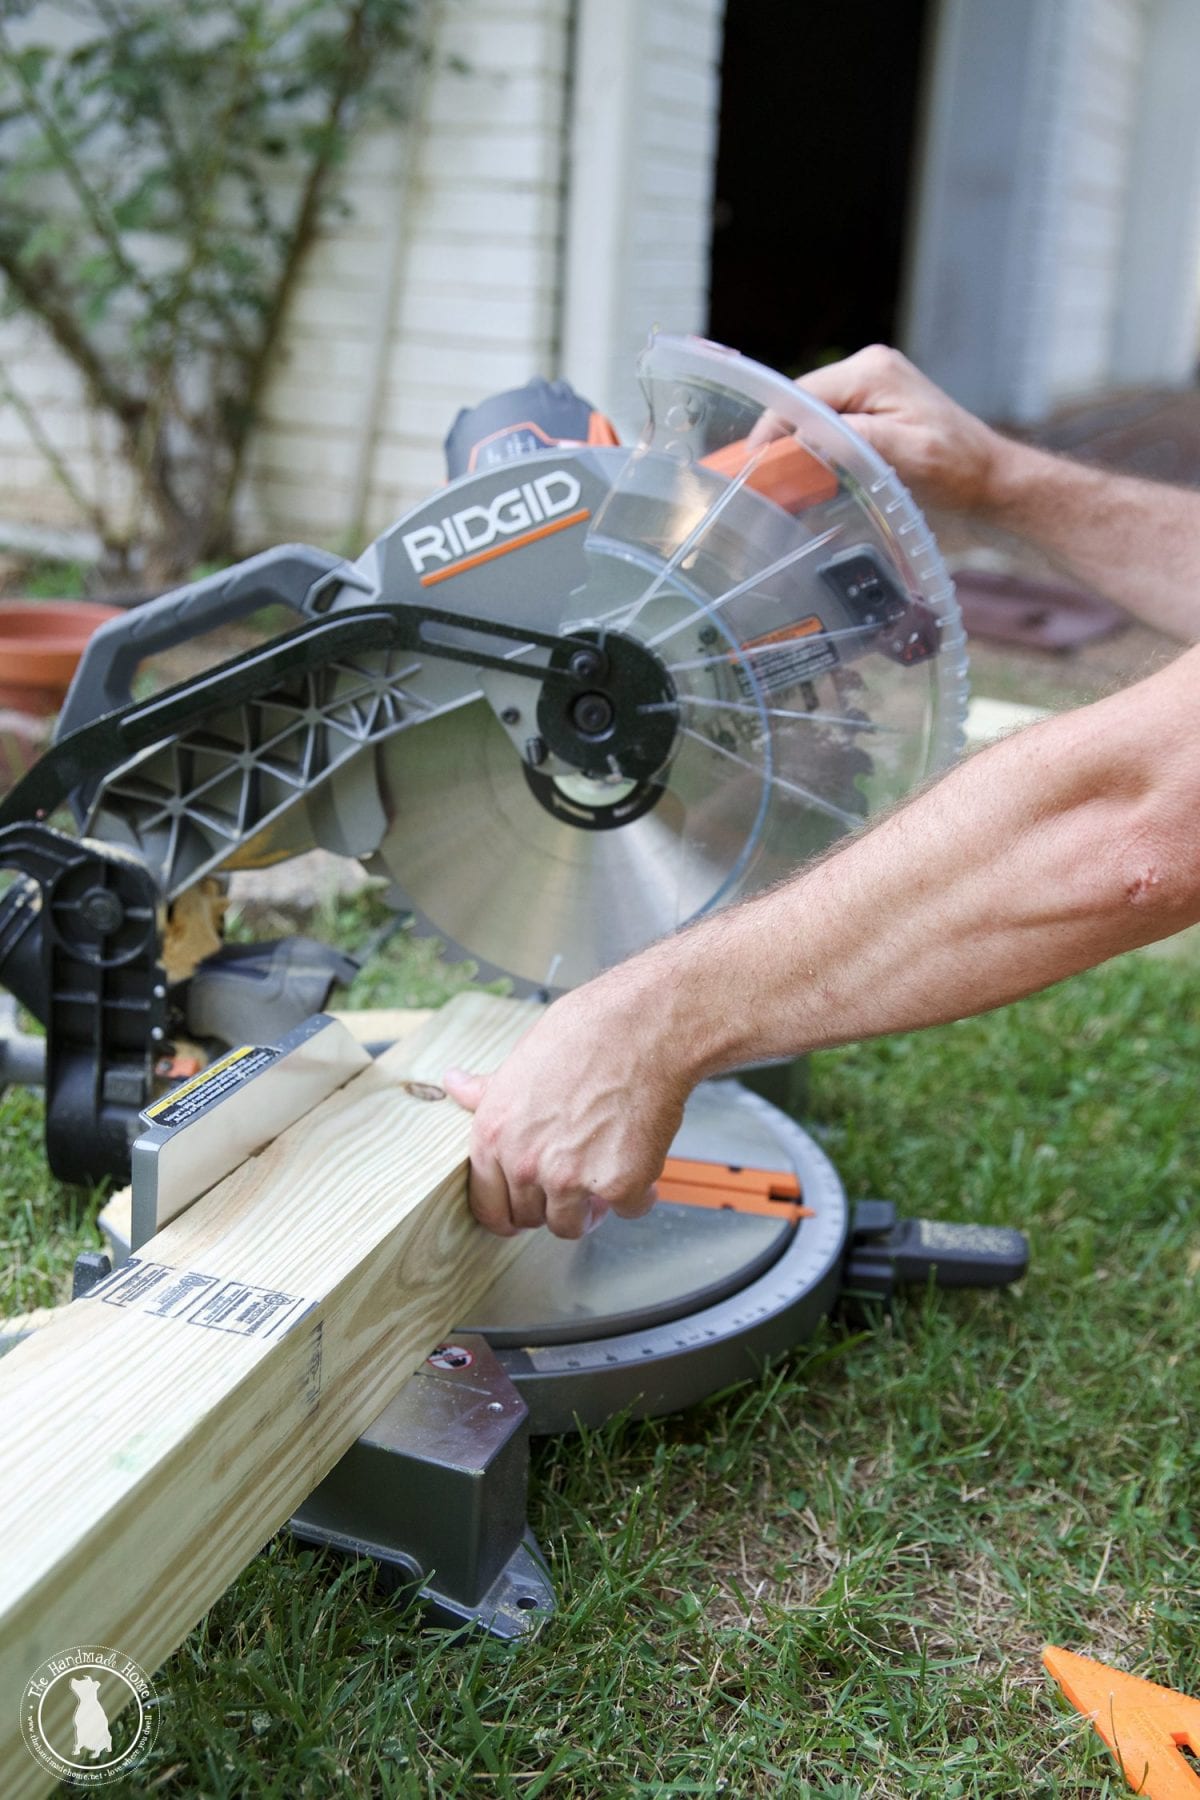
The tools we used were • RIDGID miter saw • RIDGID Impact driver • RIDGID cordless drill • RIDGID orbit sander

• First, I cut a 4 x 4’s down to (4) 30-inch pieces and then cut a 12-degree angle on both ends, but in the same direction.
{no worries, our awesome weed garden is gone now}
•Then cut another 4 x 4 down to 65 inches
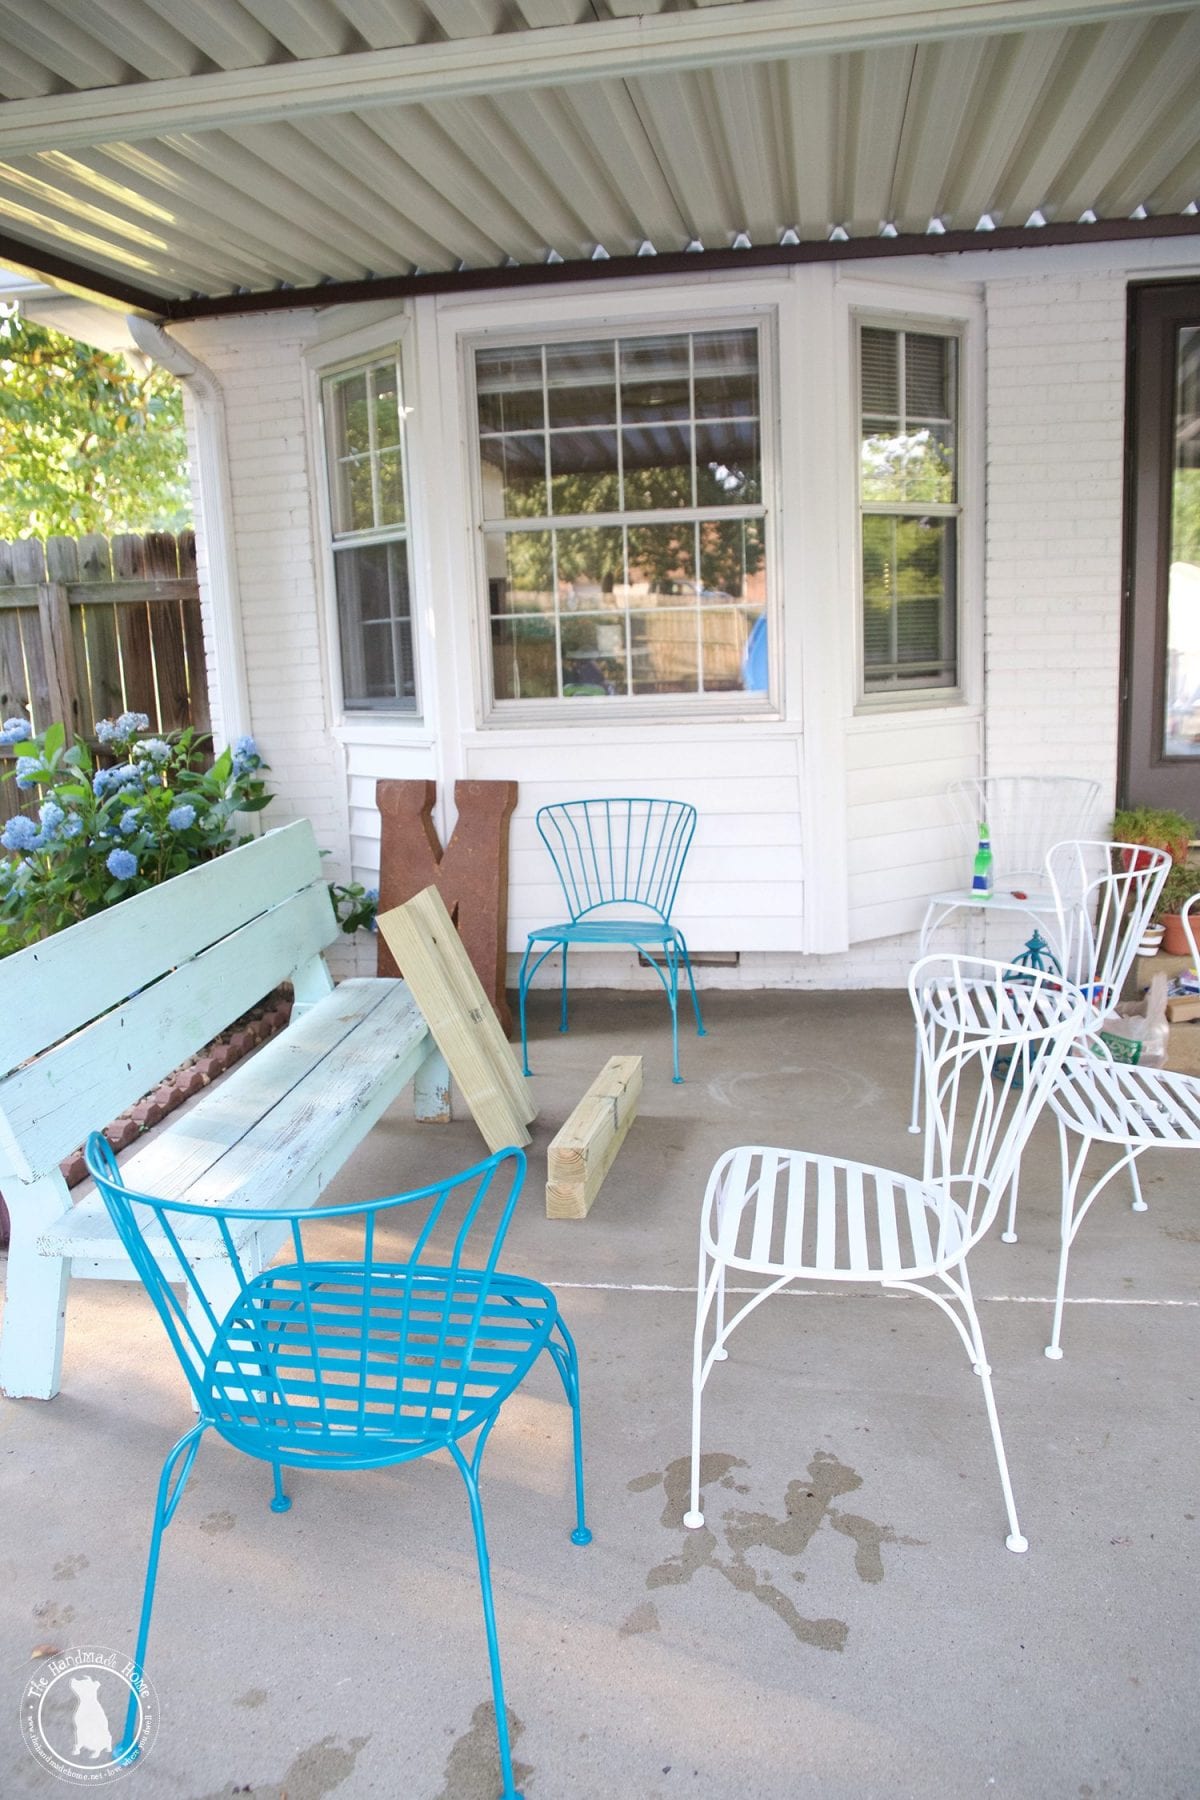
Next, I cut the braces for the legs. To do this simply cut down a 4 x 4 to (2) 28 inch pieces
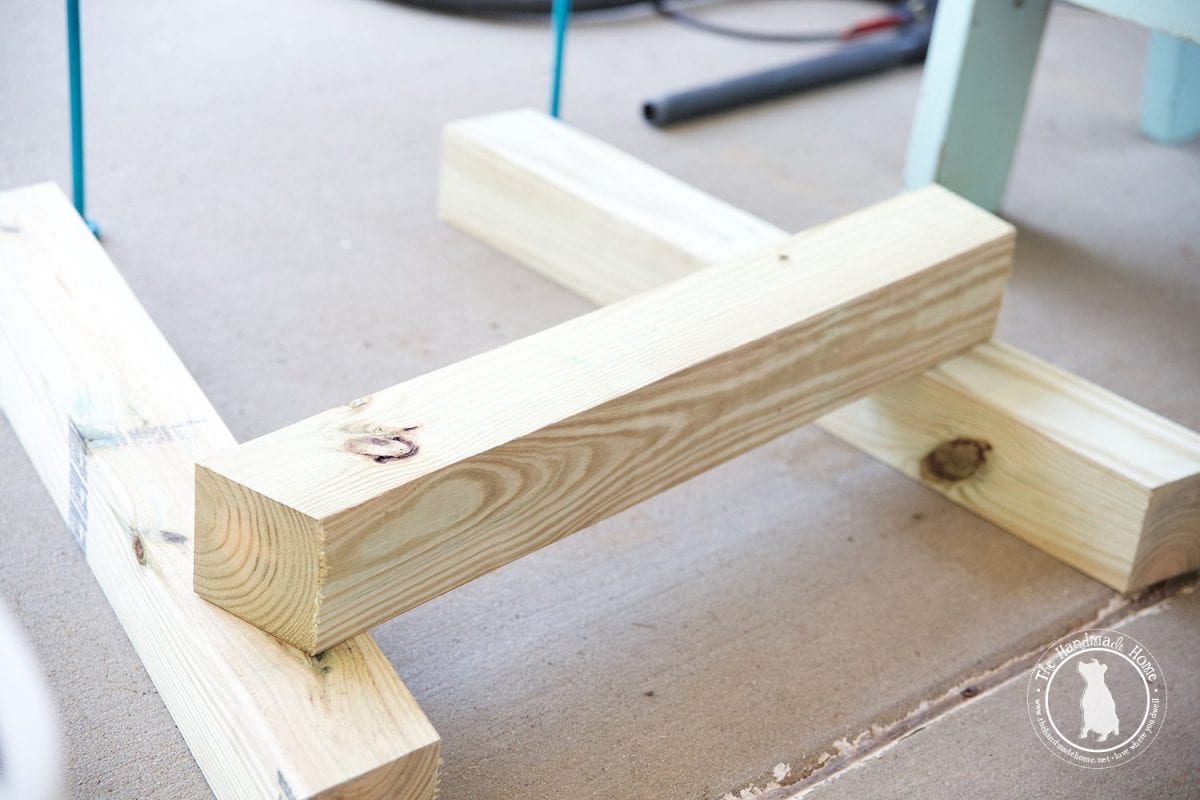
Once they’re cut, I cut a 12-degree angle on both ends, but this time the angle should be cut so that the long end is on the bottom of the brace.
Then I cut another 4 x 4 down into (2) 20 1/2 inches with a 12-degree miter cut on both ends cutting in the same direction.
how to build an outdoor farmhouse table – braces
After all your 4 x 4’s are cut, it’s time to assemble the base. Measure up 7 inches on all 4 legs and place a mark. This will be the bottom mark for your 28 inch cross brace. Lay out the two legs and the cross brace, lining it up with your mark. (Longer ends will be on the bottom).
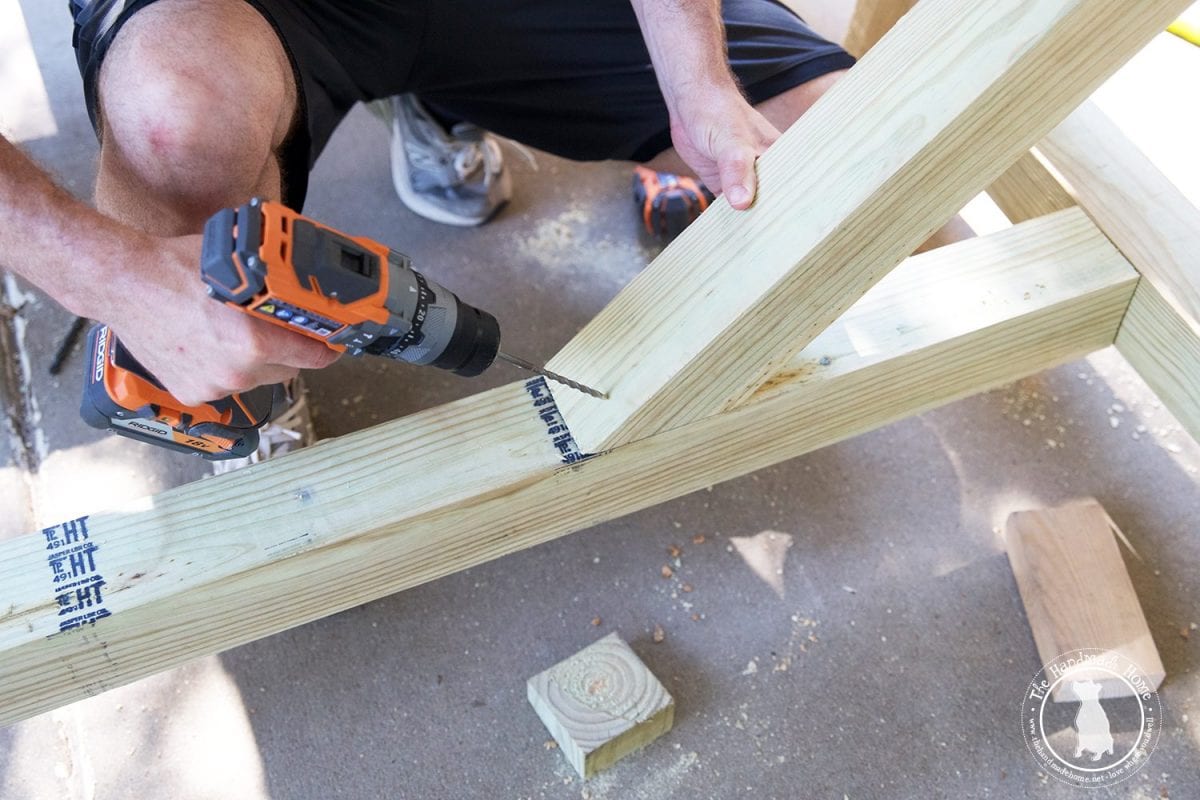
Pre-drill your hole then use the impact driver to drive the lag screw in. Remember not to over torc the impact drive, but just drive it far enough until you get heavy resistance.
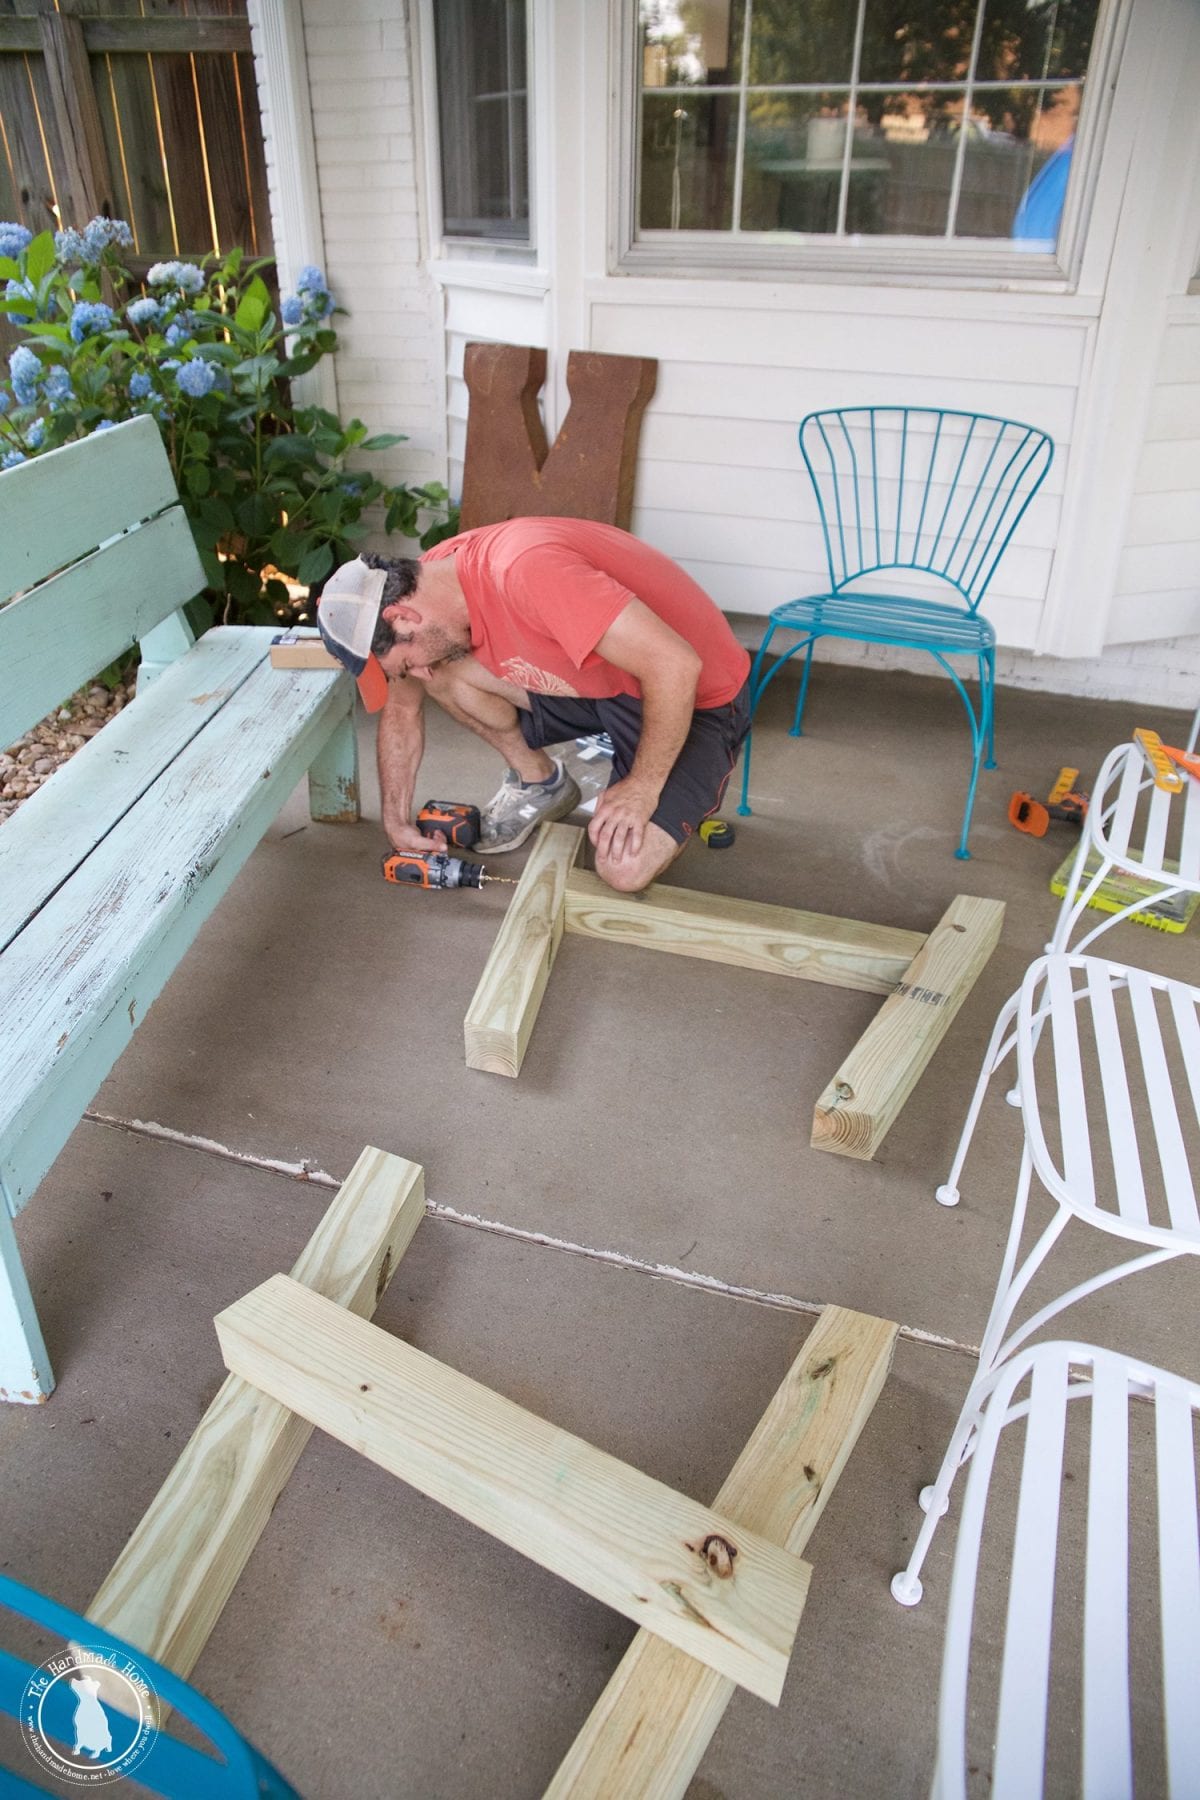
Take the (2) 4 x 4’s cut down to 20 1/2 inches and lay them between the top of the legs, making sure the longer end is on the bottom.
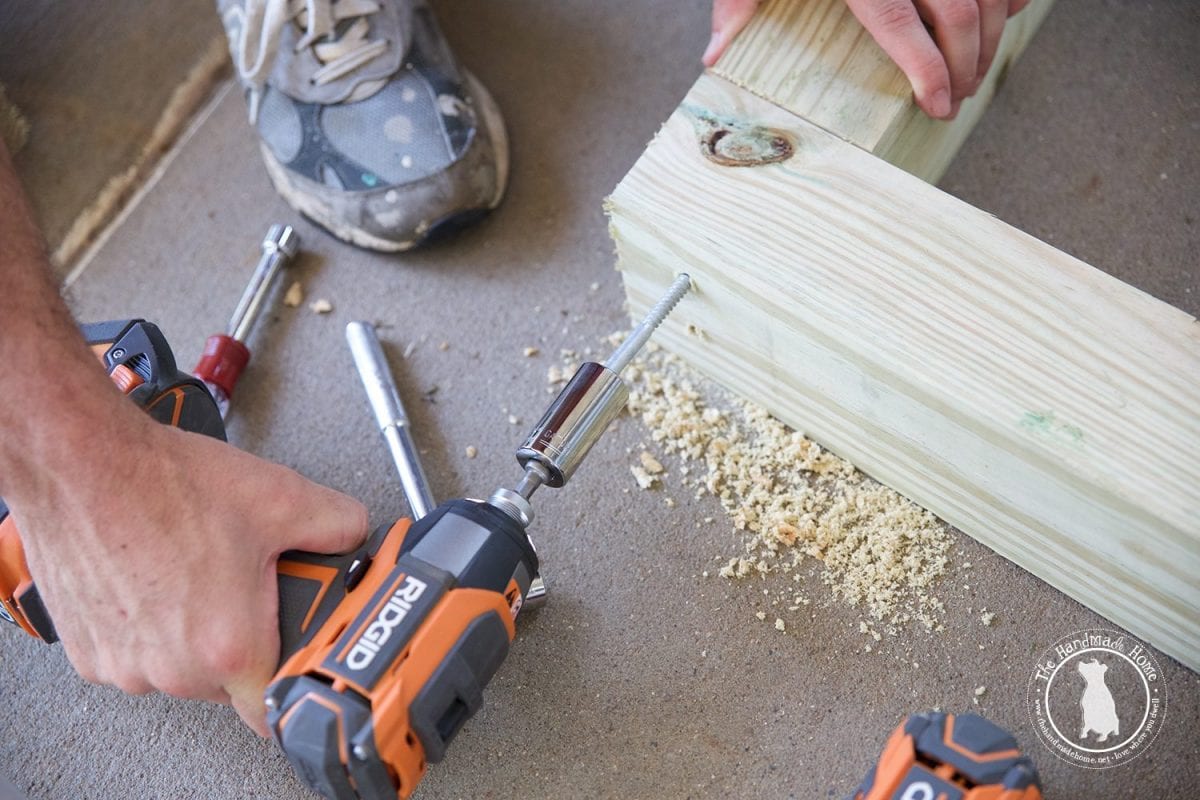
Then it is time to pre-drill and screw in your lag screws.
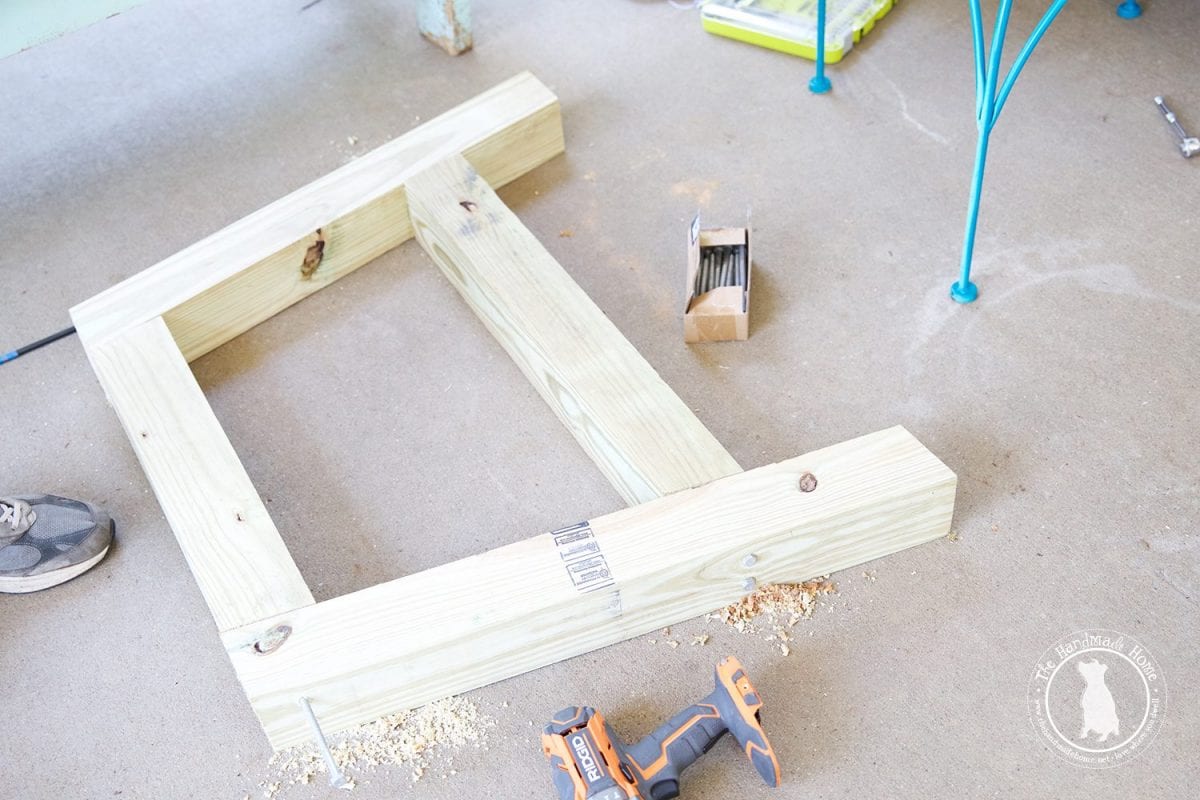
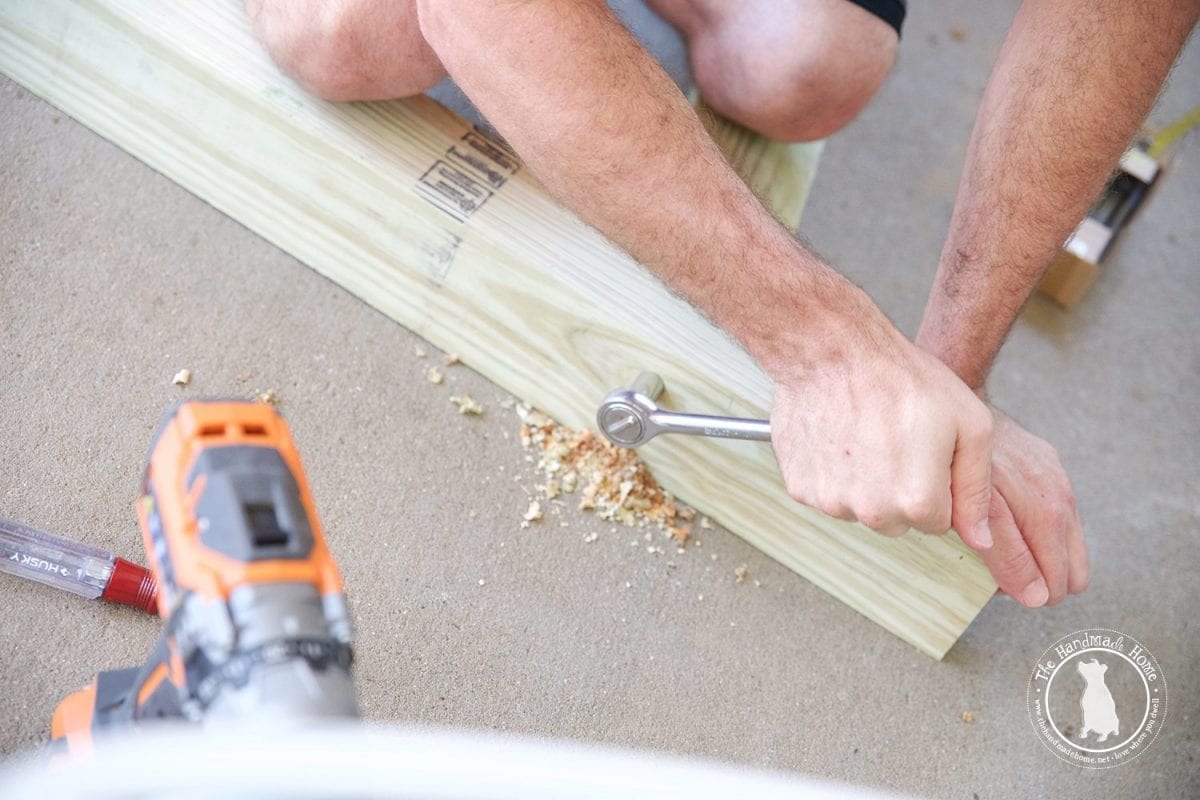
We also always use a socket wrench to tighten up the lag screw for the last bit.
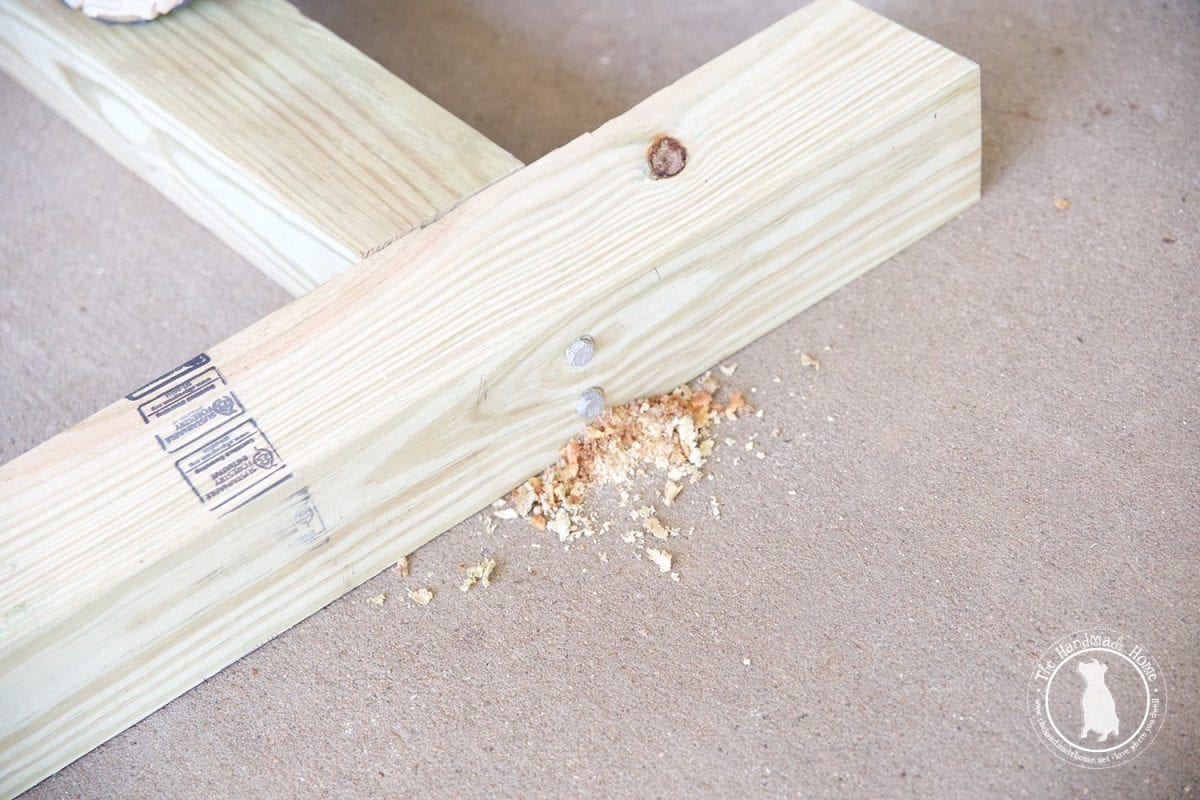
Next, attach your center brace to the cross brace on the legs. If you don’t have someone to help you with an extra set of hands, simply prop up the brace to help support it as you screw it in. Again pre-drill the holes and then use the impact driver to drive the lag screws. (Note: center is about 11 1/4 inches over from one side.)
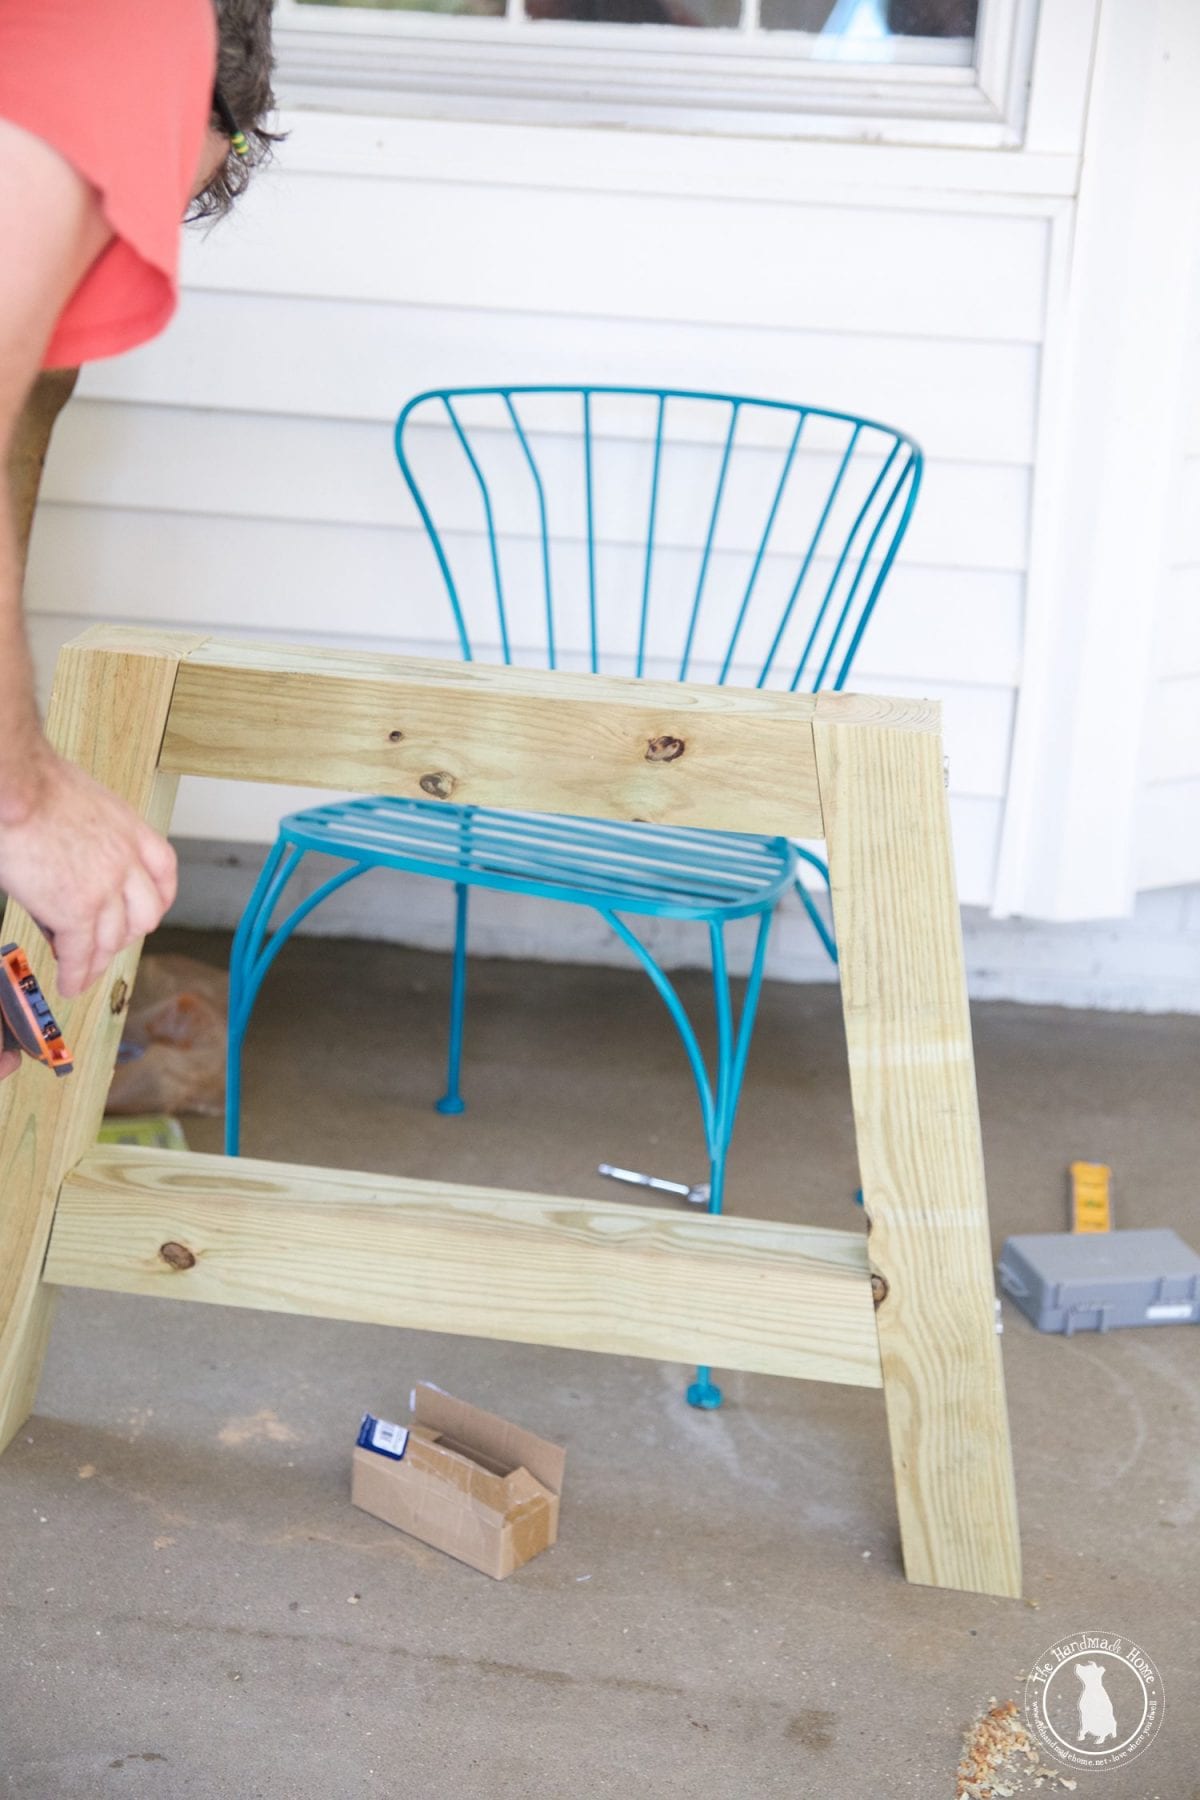
Once the center brace has been attached, it’s time to attach the center brace support. Cut a 4 x 4 down into (2) 26 1/4 inches and cut a 45 degree angle on one end and another 45 degree angle on the other end. On one end, measure down from the top of the angle 1/2 inch and cut across the first cut at a 45 degree angle. (See photo below.)
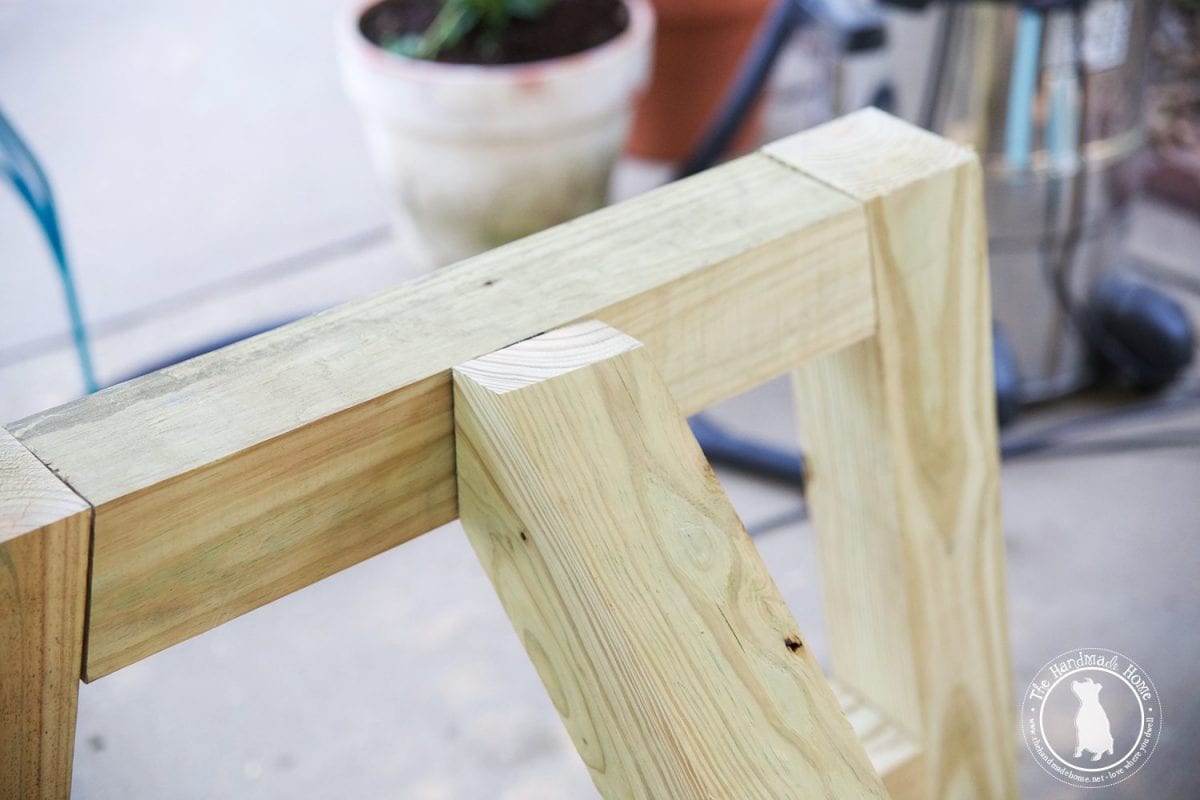
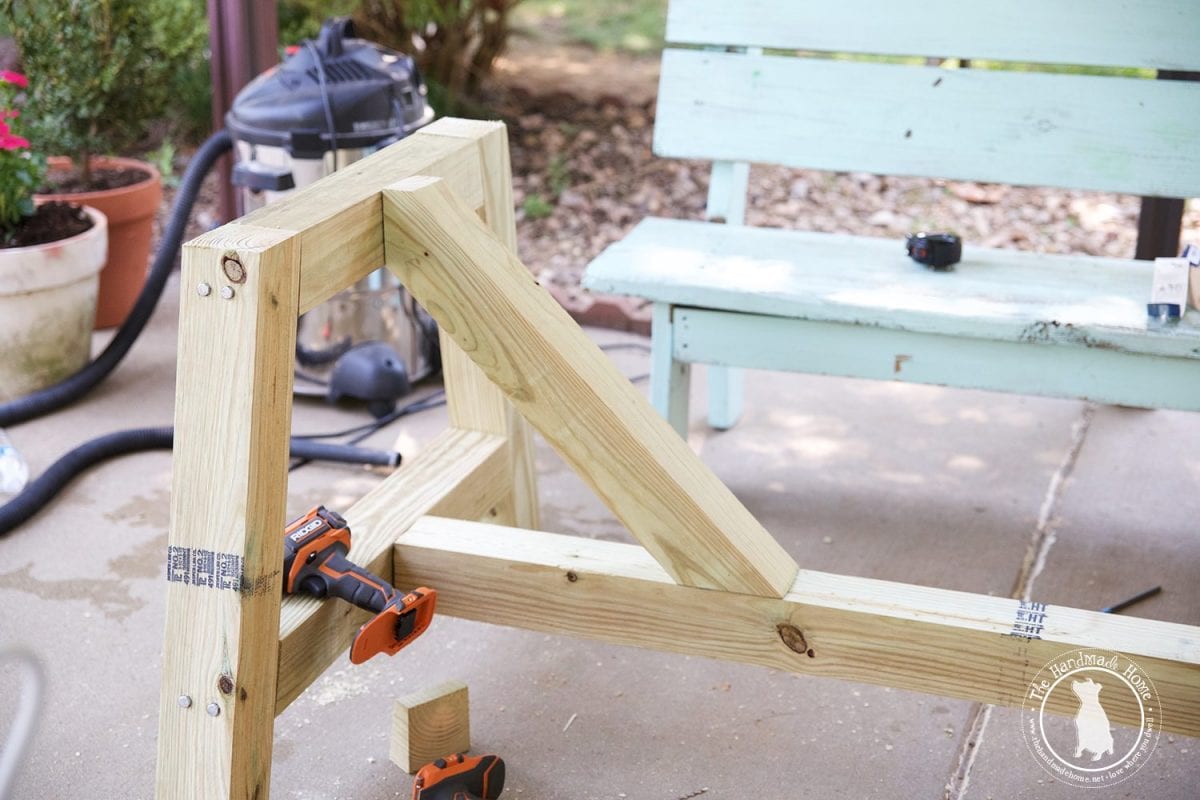
Now simply attach the brace with lag screws as before.
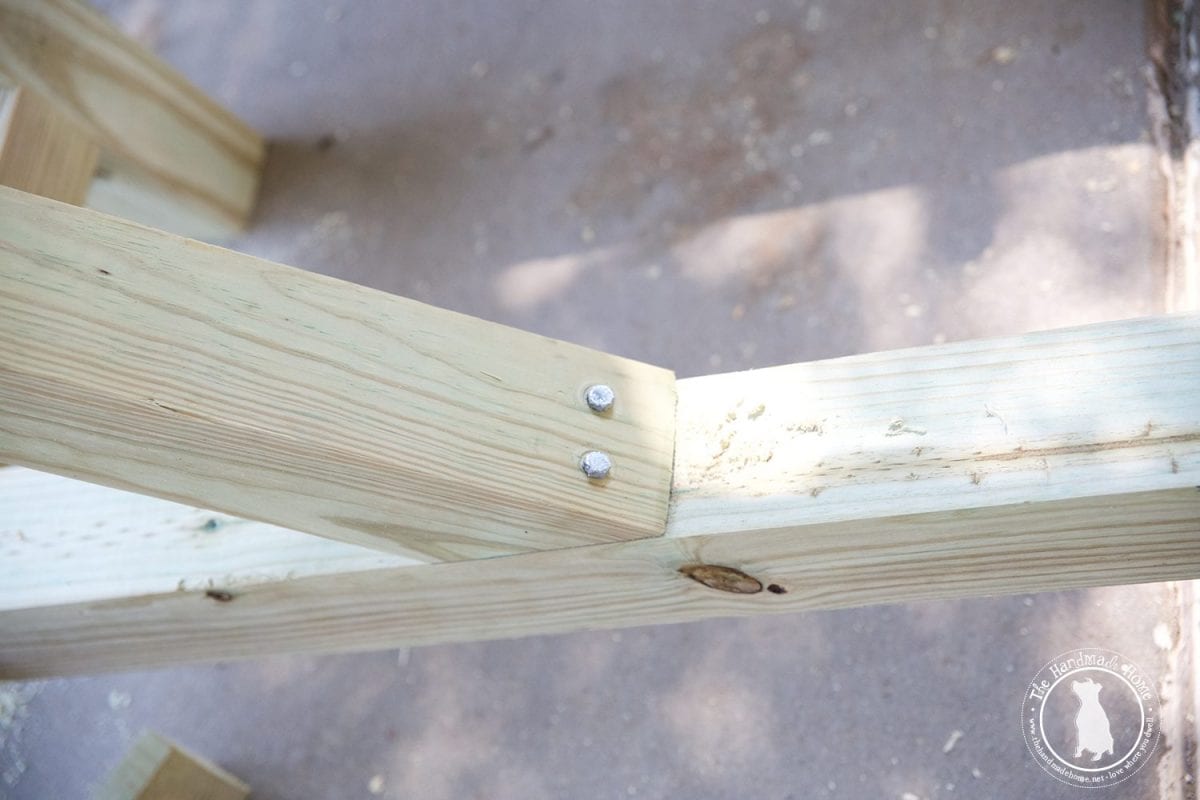
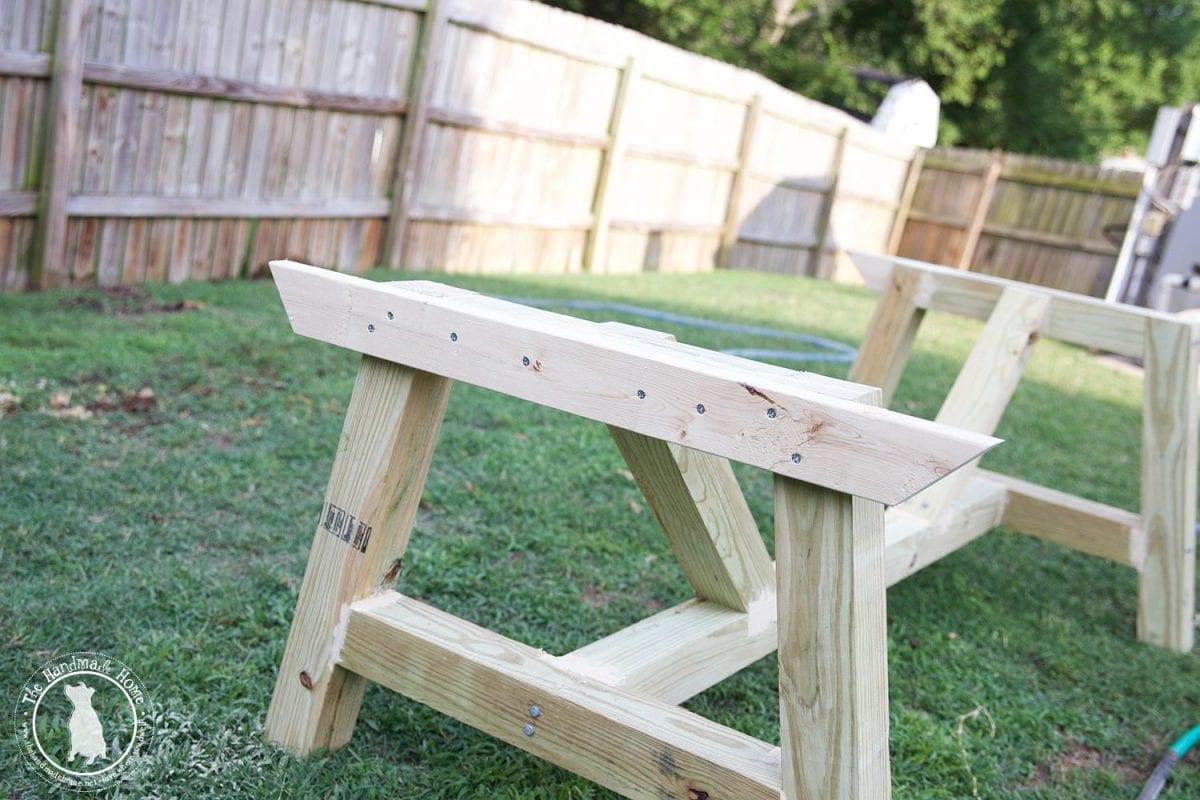
To complete the building of the base, cut a 2 x 4 down to (2) 40 inch pieces with 45 degree cuts on each end. (As always, there are more ways than one to do something… so you could also change the dimension of the legs and make the 4 x 4 shorter by 1 1/2 inch, skip the 4 x 4 top brace, and lay a 2 x 4 flat across the top of the 4 x 4.)
how to build an outdoor farmhouse table – putty the gaps
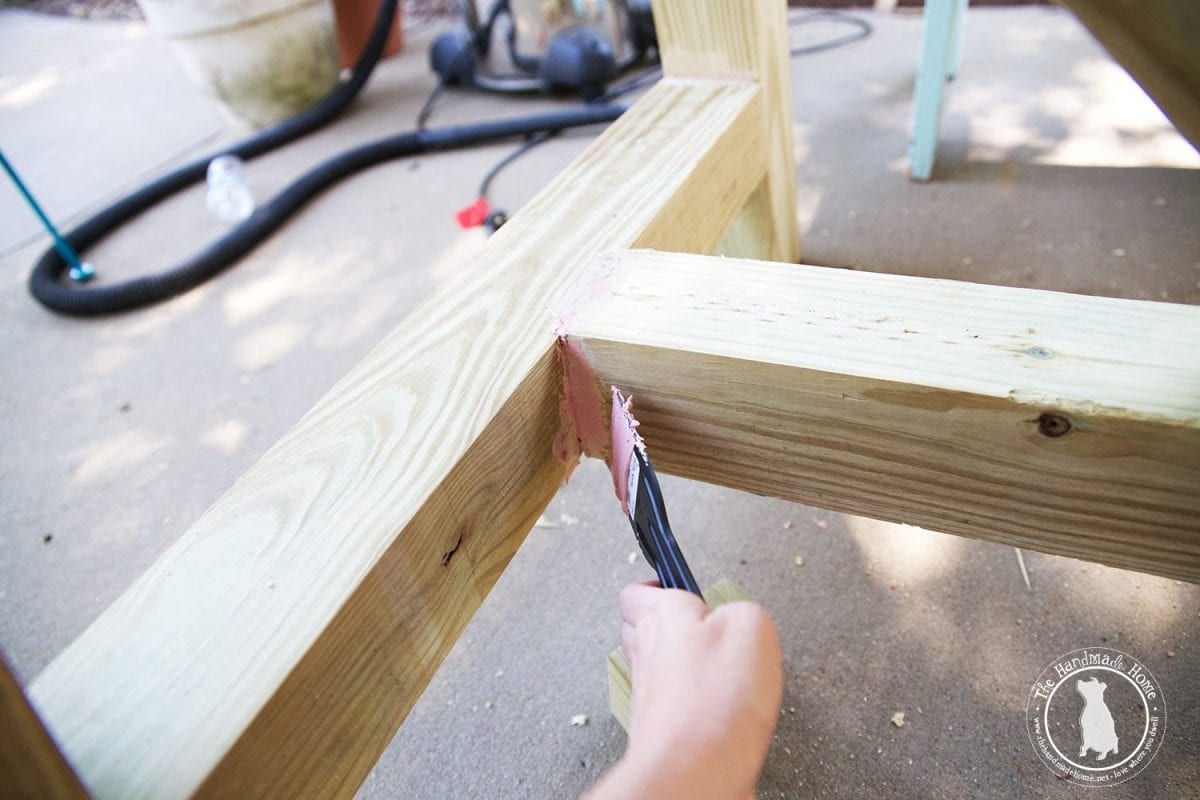
We then like to fill in any gaps with a little wood putty and sand the entire piece.
how to build an outdoor farmhouse table – table tops
To build the table top, cut the (6) 2 x 8’s down to 82 inches and (1) 2 x 8 down to (2) 43 1/2 pieces. Also cut down (2) 2 x 4’s down to (4) 40 inch pieces.
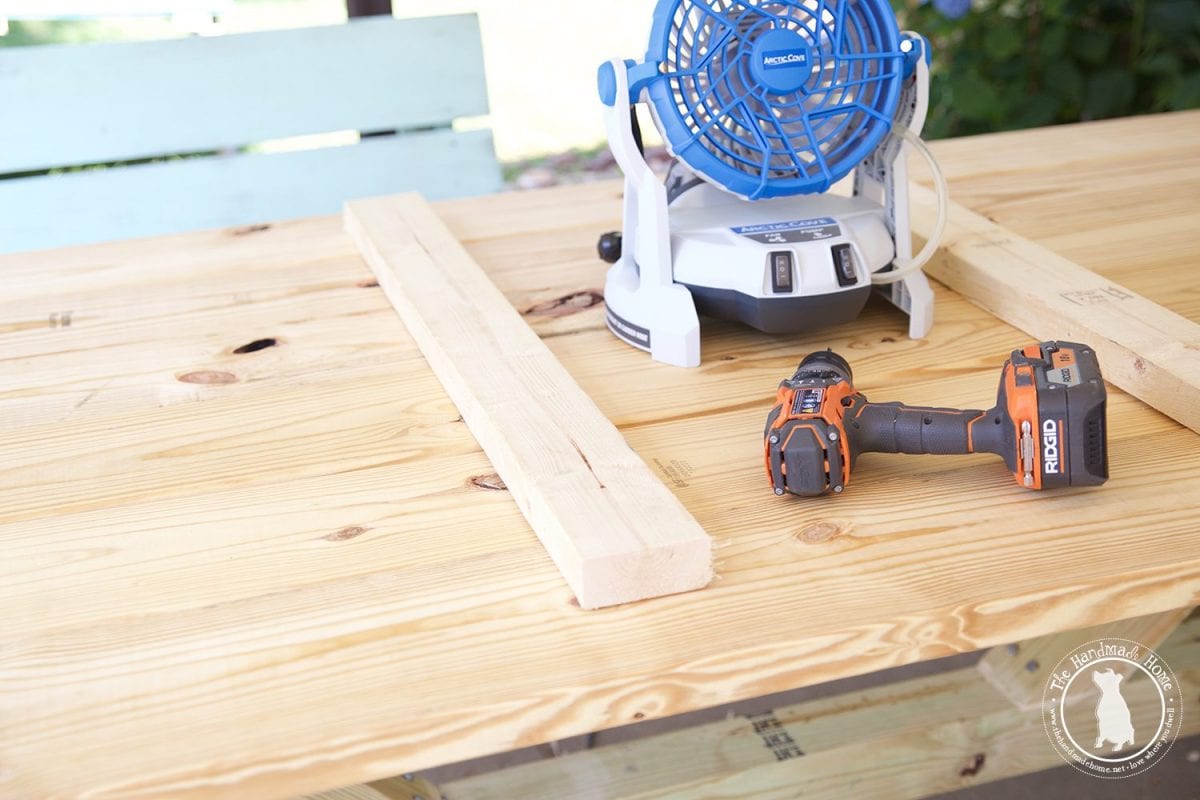
Lay the 2 x 8’s out flat, and begin attaching the 2 x 4’s on the bottom side. Make sure to pull each 2 x 8 tight to the one already screwed into the 2 x 4. You’ll want to attach them about 28 inches from each end.
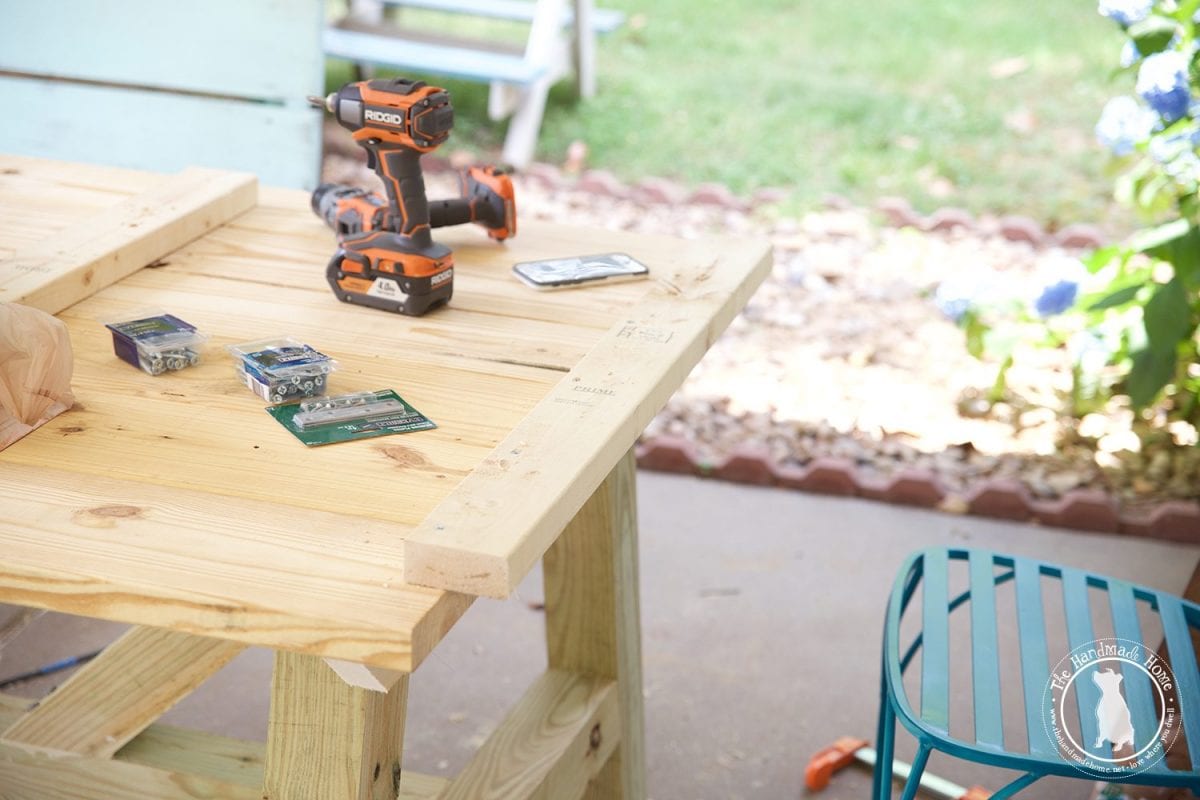
Next, take another 2 x 4 and attached it half way on the end as seen above. Then take the 43 1/2 inch 2 x 8 and attach it to the 2 x 4. (Using wood screw for this)
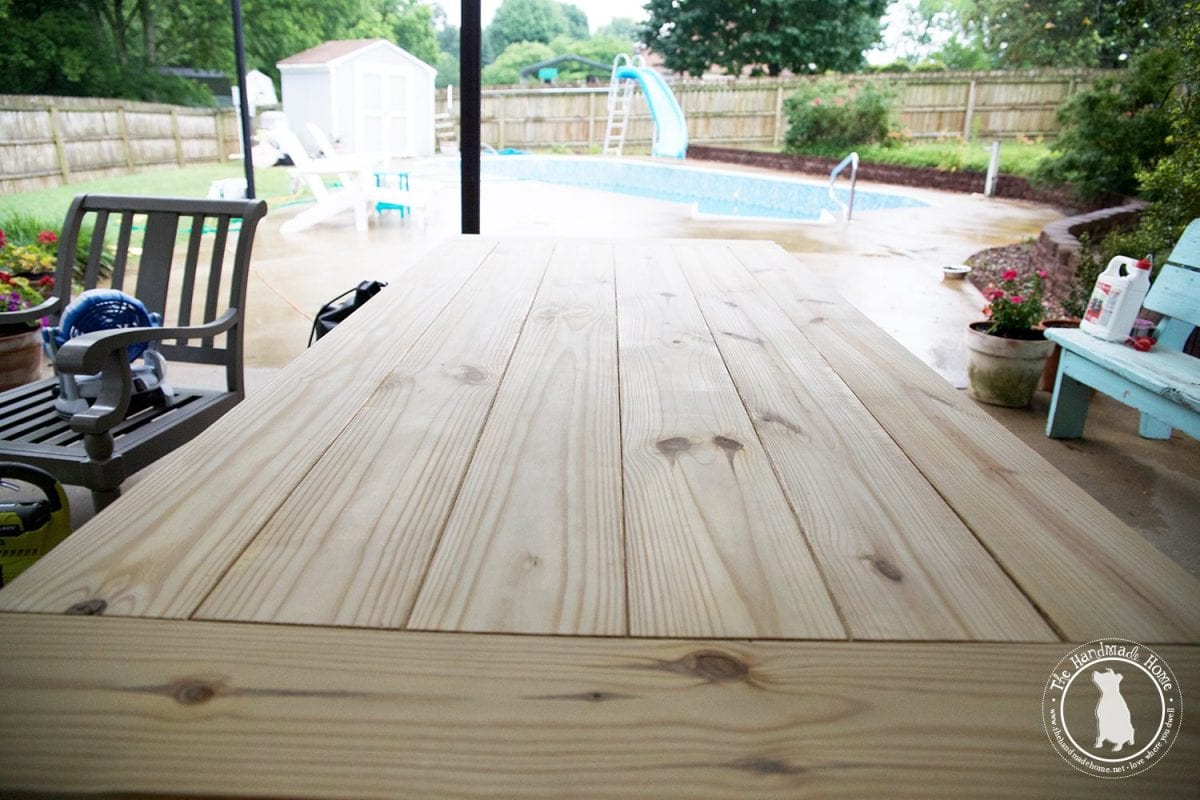
how to build an outdoor farmhouse table – staining
Sand the table top to prep it for staining.
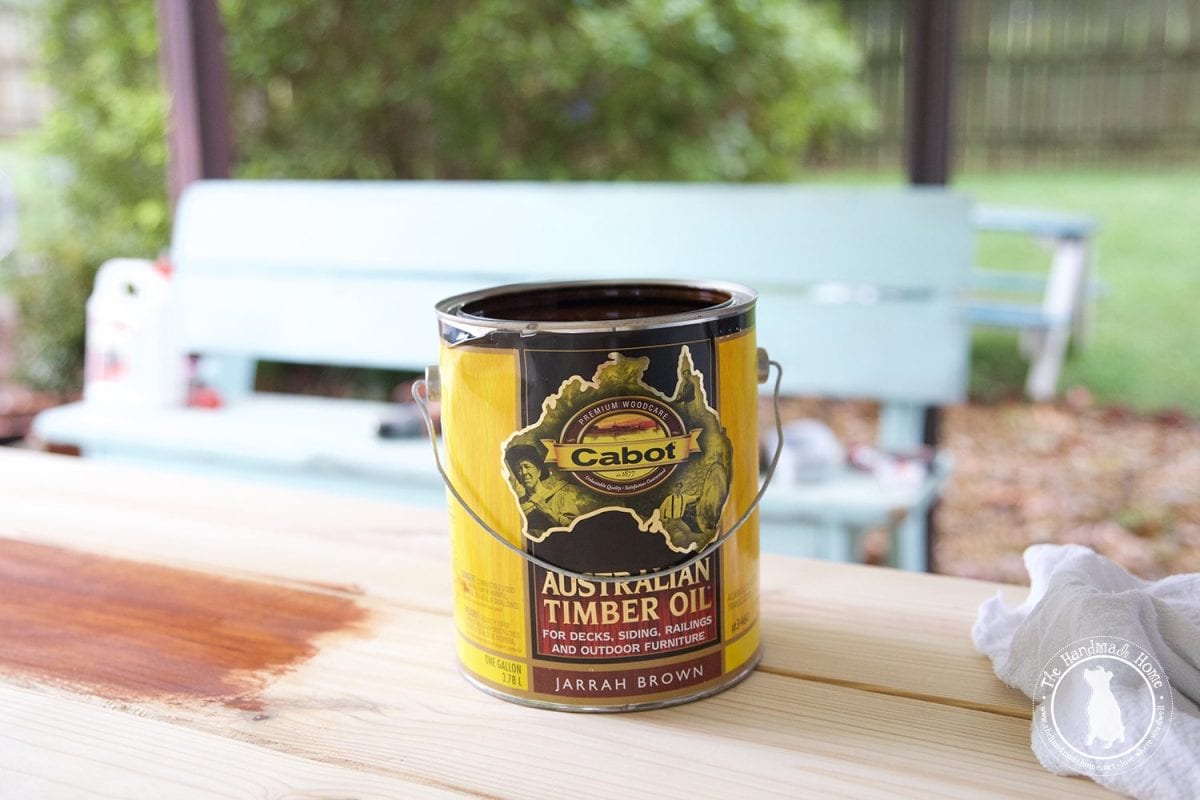
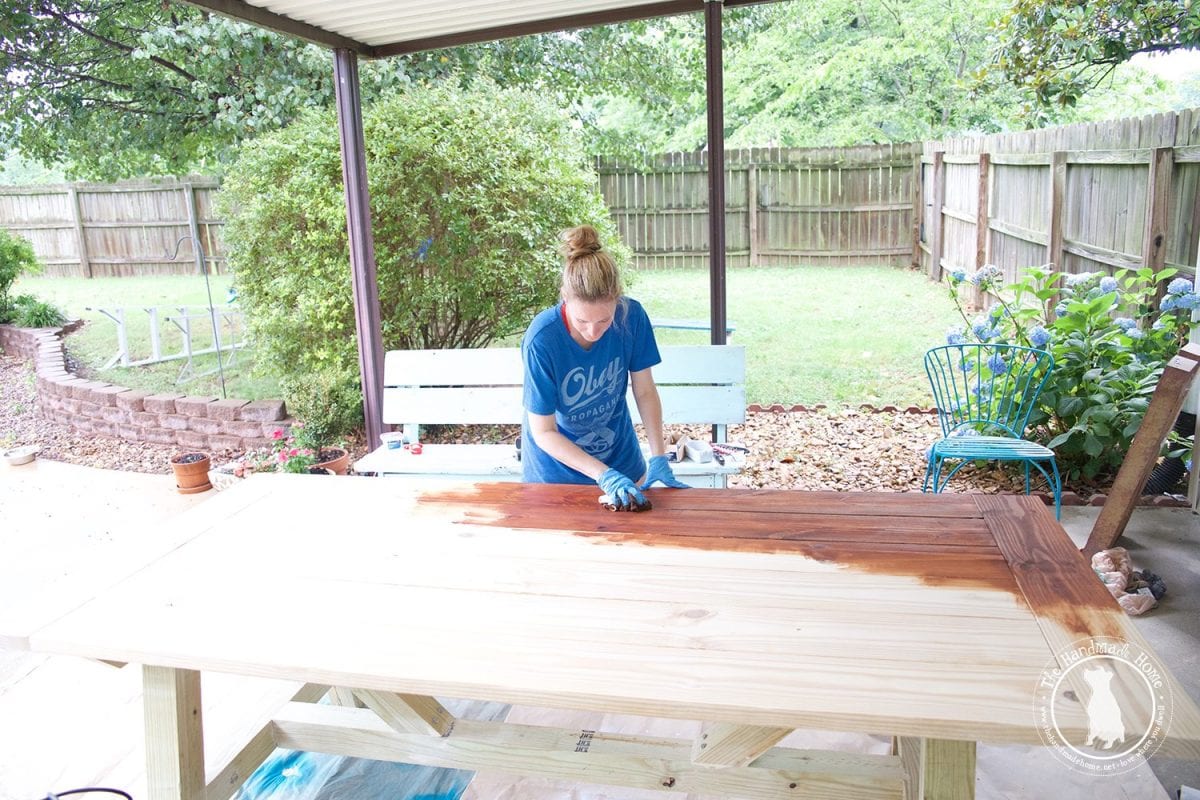
We knew we wanted the top stained, and the bottom painted for a fun contrast outside. So we chose to stain the top with Cabot’s Australian Timber Oil. Using rags and gloves, we simply went with the grain. We love this stuff. It’s actually made for decks so it’s water repellant and gives it a nice, smooth finish. We allowed it to dry fully for a few days before using it.
We also painted the bottom with an outdoor paint.
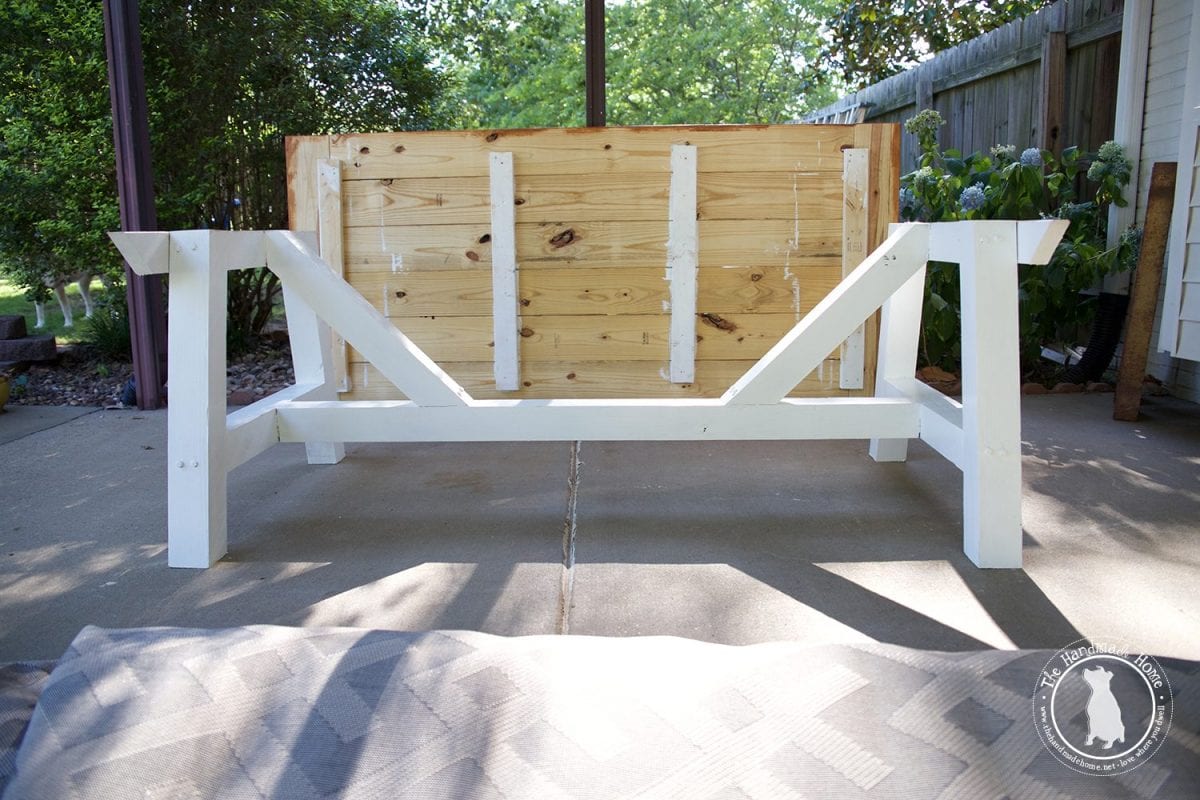
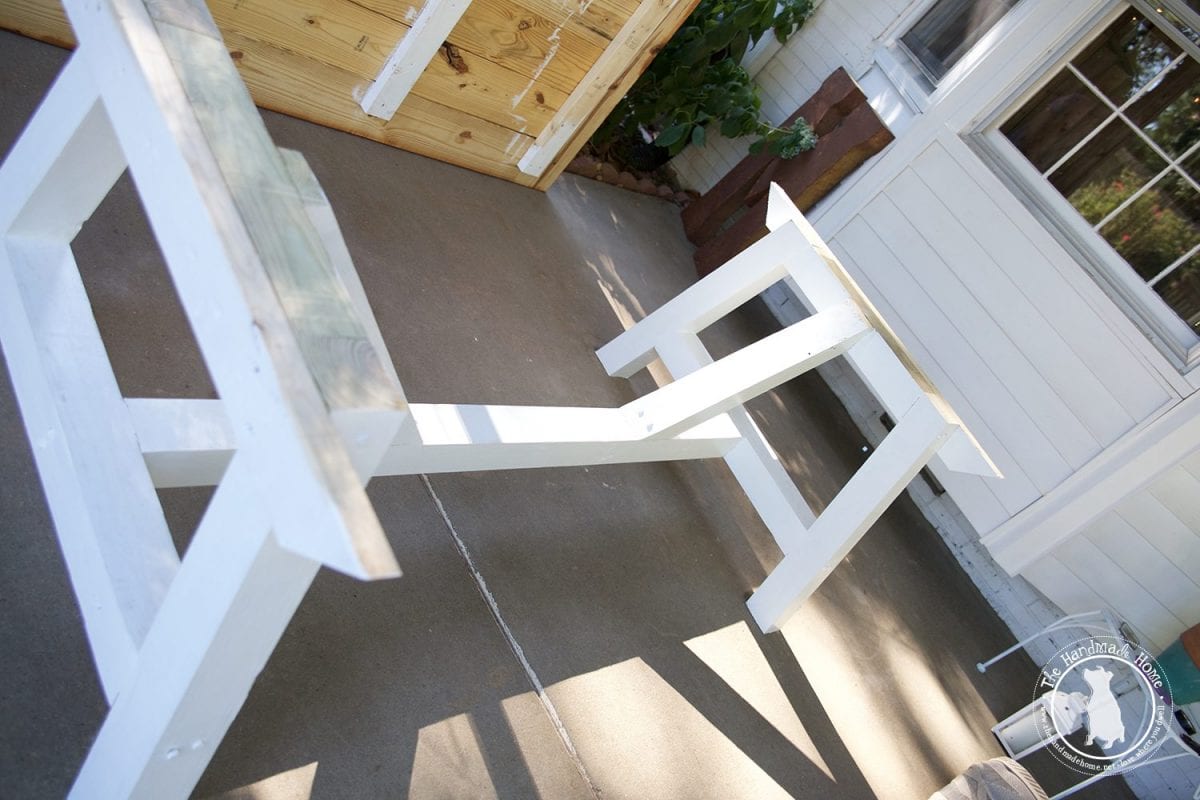
Tada! We were done. This project only took us a few afternoons of our time and we love the result in a great large outdoor dining table for entertaining!
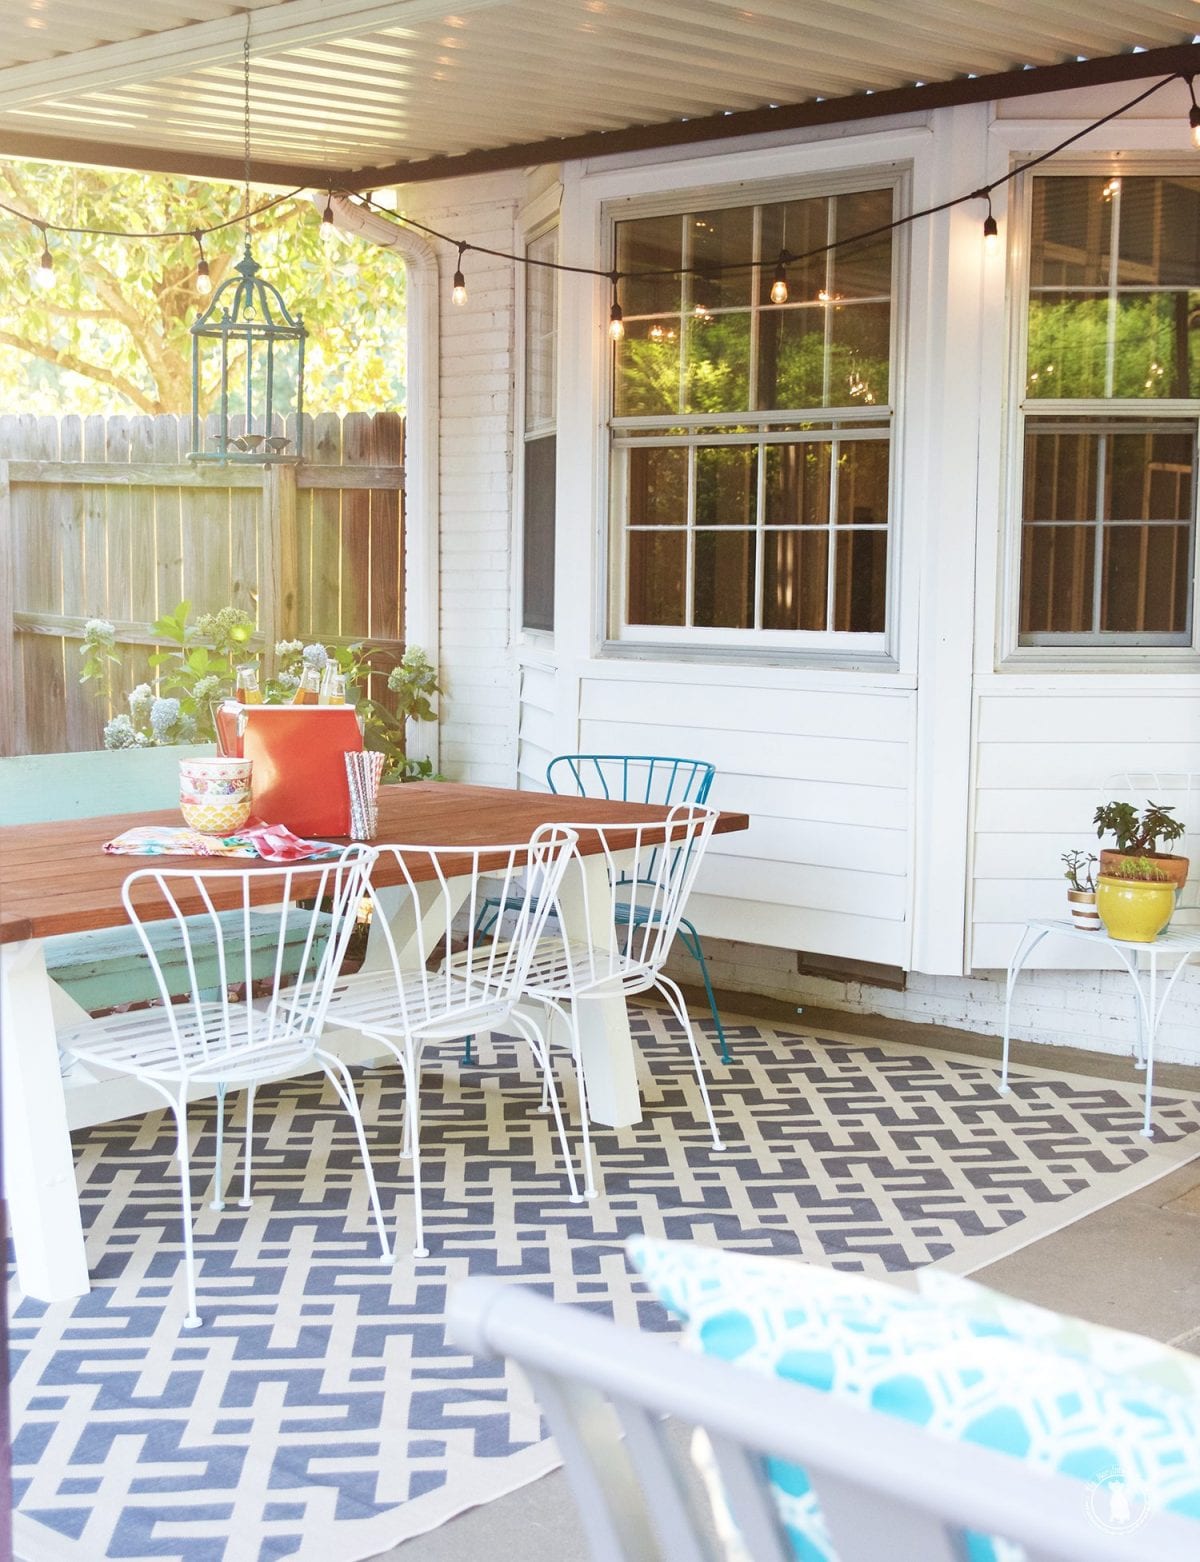
As always, let us know if you have any questions or decide to try it.. we’d love to hear!




I bet you did save a ton! We just may tackle this, this weekend! Thank you for the plans!
You two have crazy talent! Inspiring skills. I love the table.
design is simple andmonotonous. it is very suitable for outdoor. I think I should buy a set of this furniture for my garden . it looks really cute.
Backyards pictures are truly gorgeous. These farmhouse tables are so beautiful and big. I am sure it will be worthy job to make these farmhouse table on your own. Thanks for the table tutorial.
Love this! But question, do those who sit on the ends bump their shins on the cross pieces?
Also, did you build the bench? Good for grandkids. ☺
Dropping by from Thistlewood Farm to read your love story. Such tender, awkward, wonderful memories-yours to have and to hold forever!
Hey Karen! Awe thanks so much for the sweet message! ;} And no, they don’t bump their shins. The tabletop is deep enough so that it works – the bench was an old bus stop bench that I found. Refinished. Hope that helps. Happy Monday!
This is the table I’ve always wanted. Now I need to find a man to make it – I will tell him I make a killer lasagne. I have been perusing your blog to see if there is a source for the other seating on the porch: chairs and loveseat. This is what I am seeking (at least similar) for my bare patio. Is it still sold somewhere? Having lots of fun viewing your lovely Instagram pics as well. Take care!
You’re hilarious! Lasagne sounds like a great trade! The furniture is one of our first purchases from years ago, a-la target. We had it for so long, we ended up painting the furniture and refinishing the cushions. Unfortunately, it eventually rotted out… but we feel like we definitely got our money’s worth 😀 I would recommend perusing the big box stores for something similar that you can paint. ;} Hope that helps!
Okay – it was good to ask. Sometimes the big box stores have spot-on items. I’m a junker/thrifter, and have never found a good used set. Yep, lasagna sounds like a fair trade to me. It’s fun to see all your cool projects. Until next time! L
Hey! Great table, I’m going to try it this weekend. Did you use treated wood for the 4×4’s?
We did since we knew that it would have ground contact.
Good call, thanks! We finished the table yesterday. Staining and painting today. Did you wait for the treated wood to dry before painting it? Or use a specific type of paint. Thanks!
Hi ! I made this table and love it.
I was wondering if you had issues with the wood bowing as it dries? All our board were straight when we screwed them together, but now a few weeks later the gaps are pretty large. I’m a little hesitant to fill with wood putty since I’m not sure how much more they’ll move.
Thanks!
Hey, If the wood was still pretty wet when you built it, yes it could shrink a little and cause some movement and bowing. Also if it is exposed to the weather without a cover the same could happen. It is hard to know if it is done moving or not. So sorry I’m not much more help.
Hey it’s an honest answer and that’s all I can ask for. 🙂
Thanks!
What wood did you use for the table top?
Hi! It’s pressure treated {YellaWood}. Hope that helps!