
how to build a barn door
Updated because we’ve had so many questions: read all about how to add a little privacy, and a lock to the barn door, here!
When you buy or live in an older home, one of the biggest questions you try to answer is… where can I create more space in the house I love?
For us, an older house is a lot like putting a complicated puzzle back together again… and we can’t wait to share some of the fun ones we’ve implemented in our own home. But one of the ways we love to usher in space saving the most is by removing those traditional doors and bringing in some barn door love.

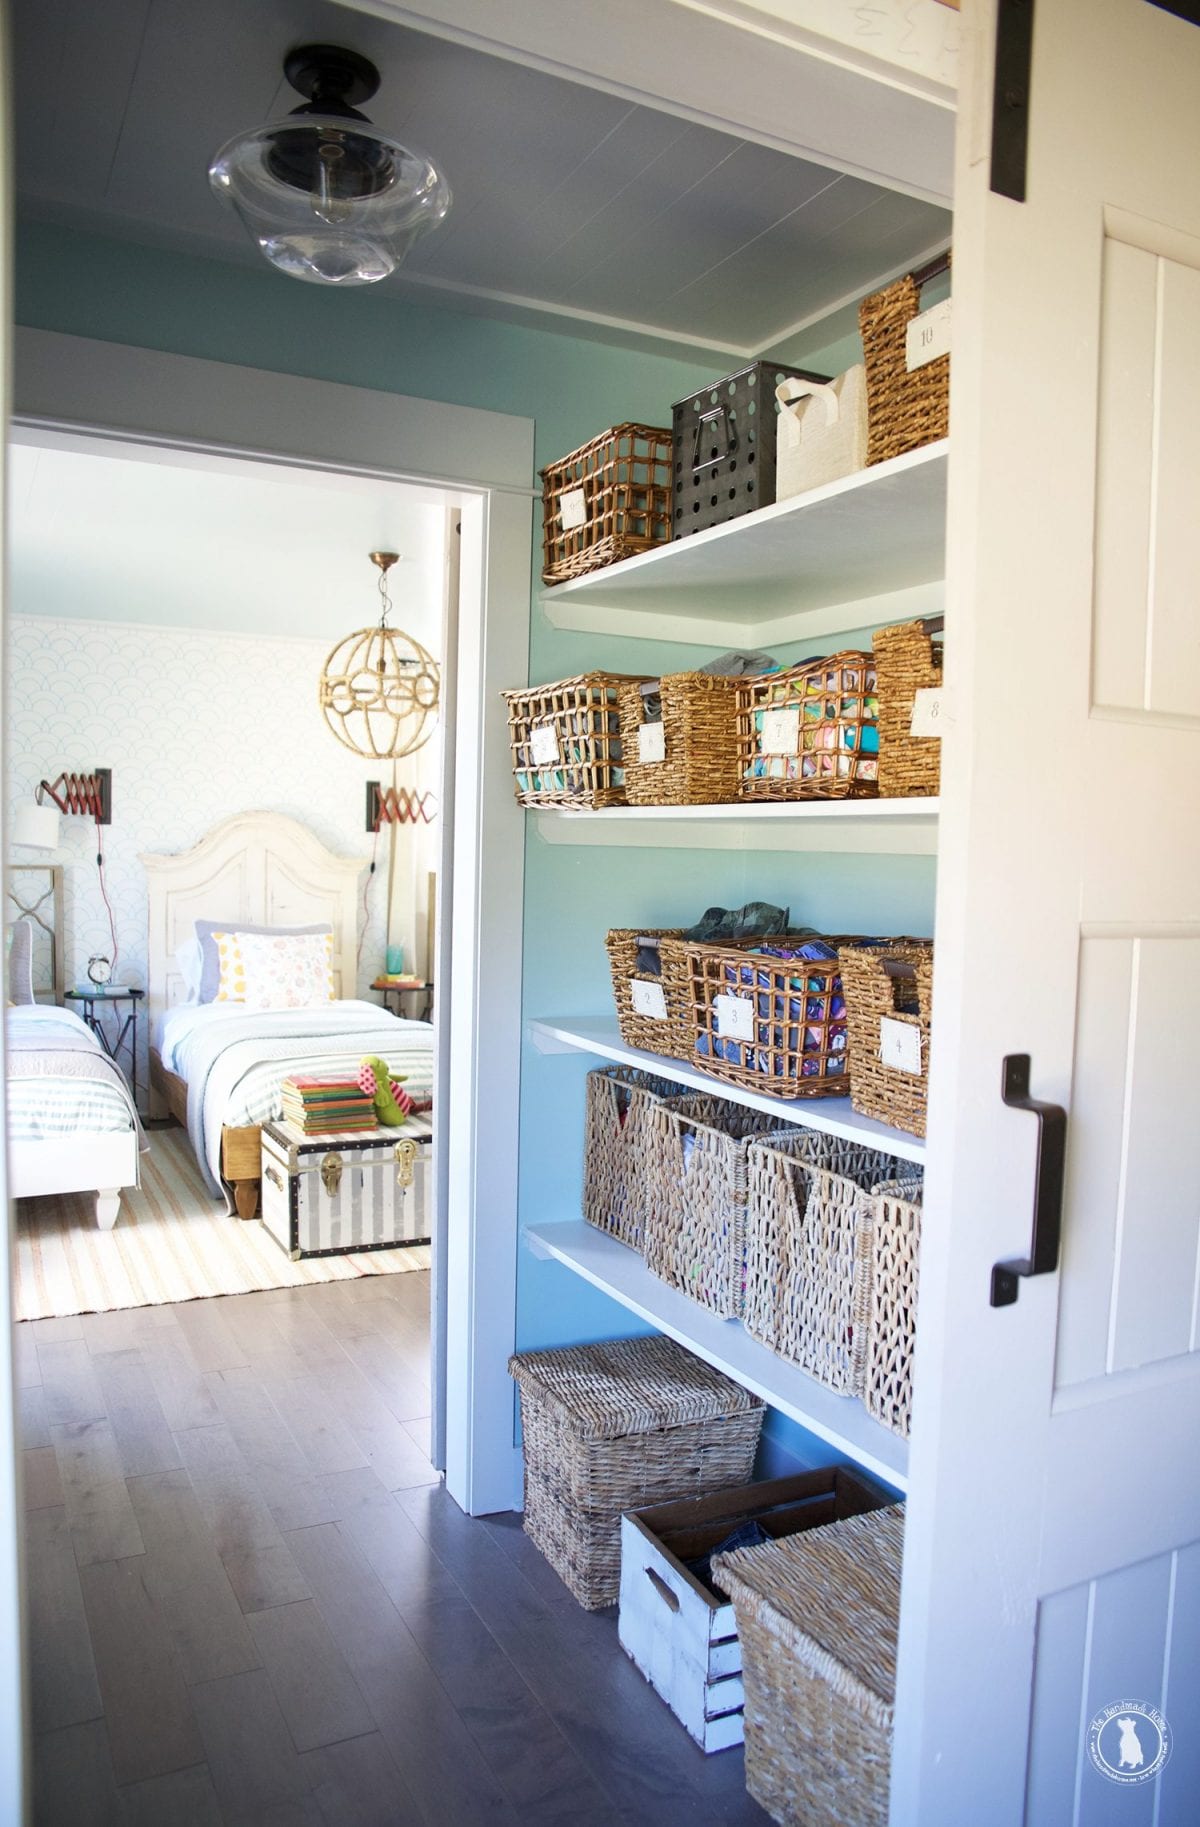
We were thrilled to knock out the dividing walls between these two rooms, and add a nice, spacious closet to combine the two. It made a huge difference for the storage available and thinking in smart ways about our home.

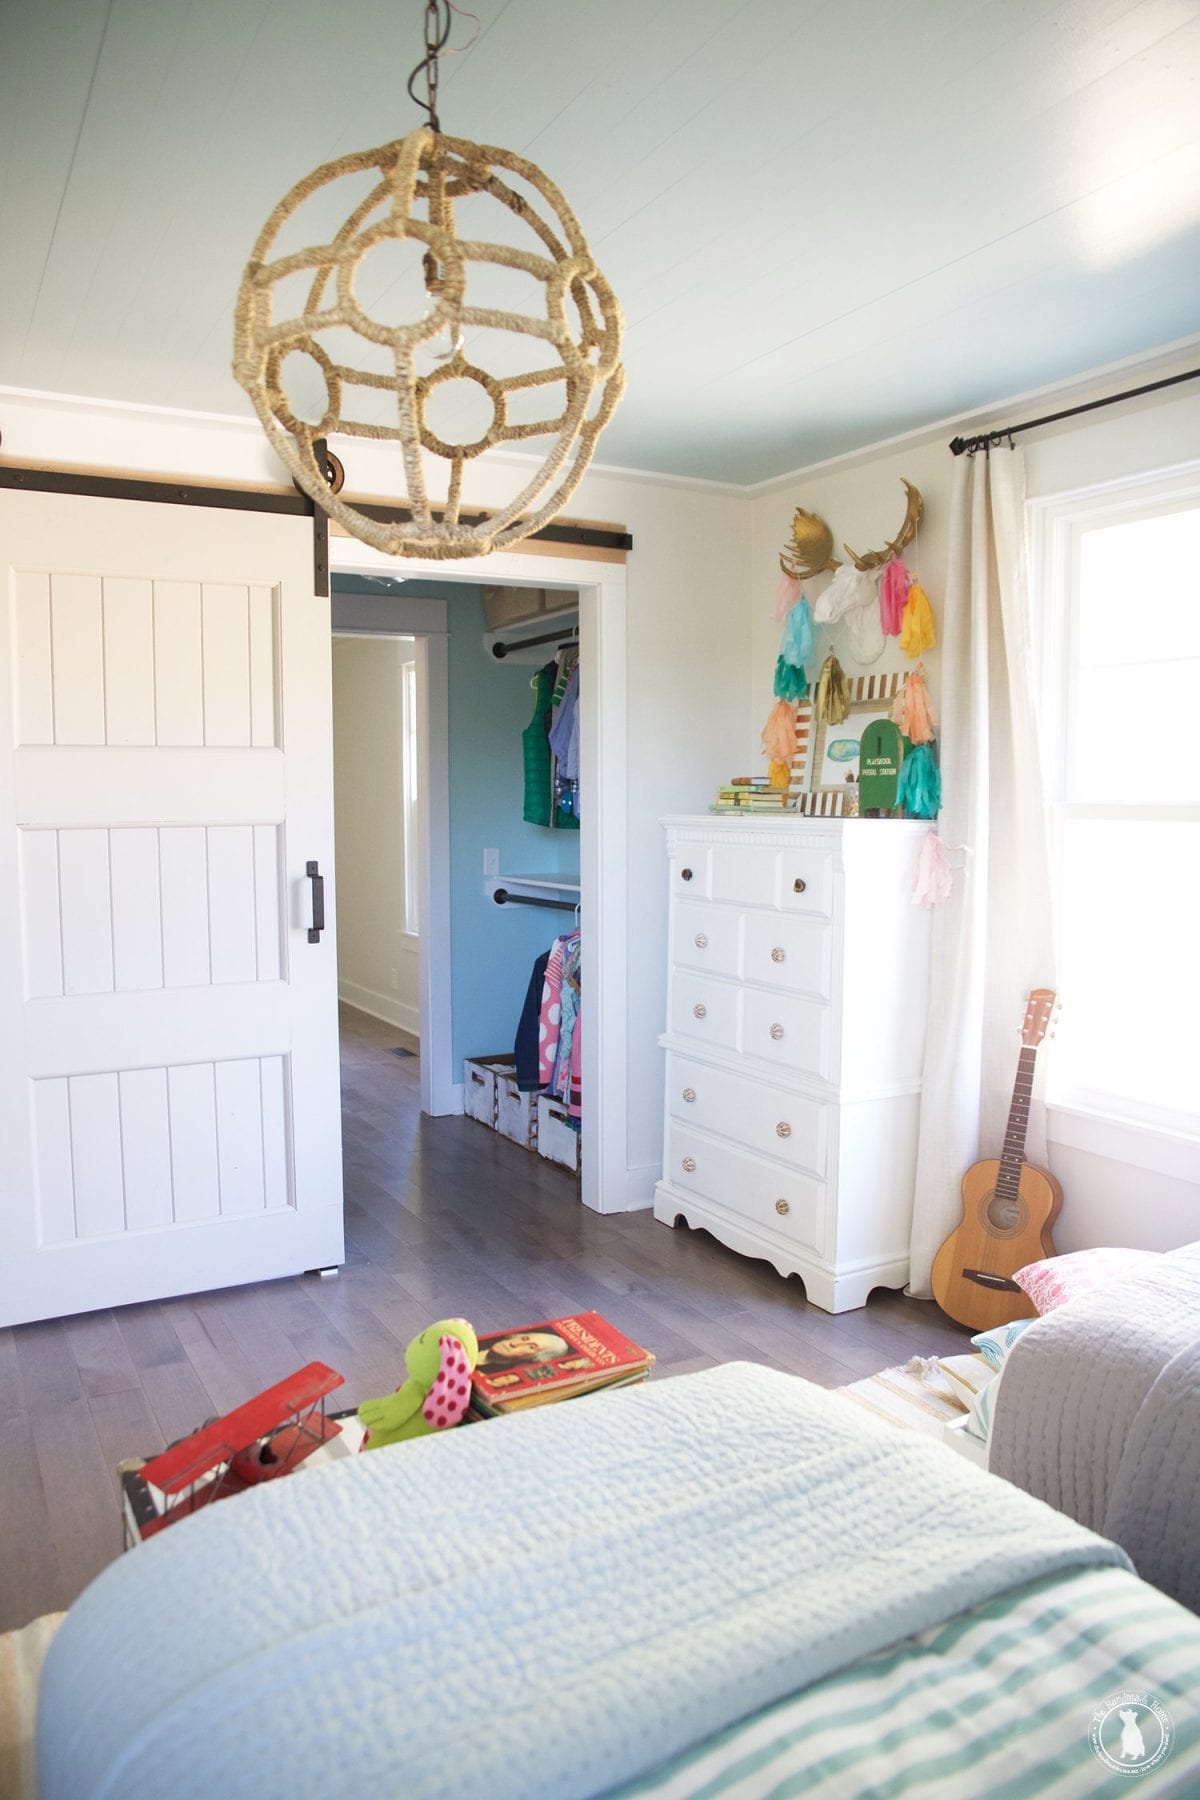
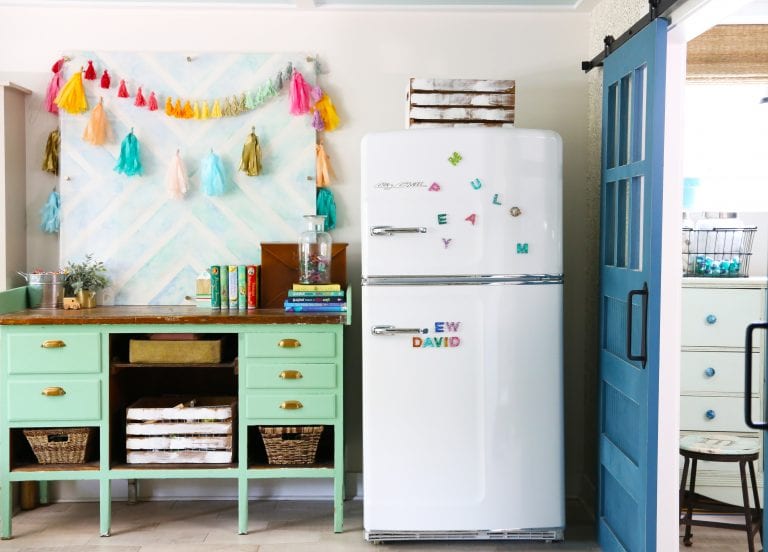
You’d be surprised what a dramatic difference a barn door can make in not only the appearance of a room, but also the functionality. It’s a great space saver sliding with the wall, instead of opening into the room.
So today we wanted to share a little about how to make this super easy change in your home.
Here is what you’ll need.
• 1 x 6 x 8 (how many, are determined by your door size – no doors in an older home are the same.) These are our vertical boards.
• 1 x 8 x 8 (how many are determined by your door size – no doors in an older home are the same.) These are our horizontal boards.
• 1 x 6 tongue and groove appearance boards. (You know what we’re going to say… how many are determined by your door size – no doors in an older home are the same.)
• Paint – we picked our color from the HGTV HOME by Sherwin-Williams Perfectly Polished Color Collection.
• quarter round (how much will be determined by your door size.)
• wood glue
• finish nails
• miter saw
• wood putty
• orbital sander
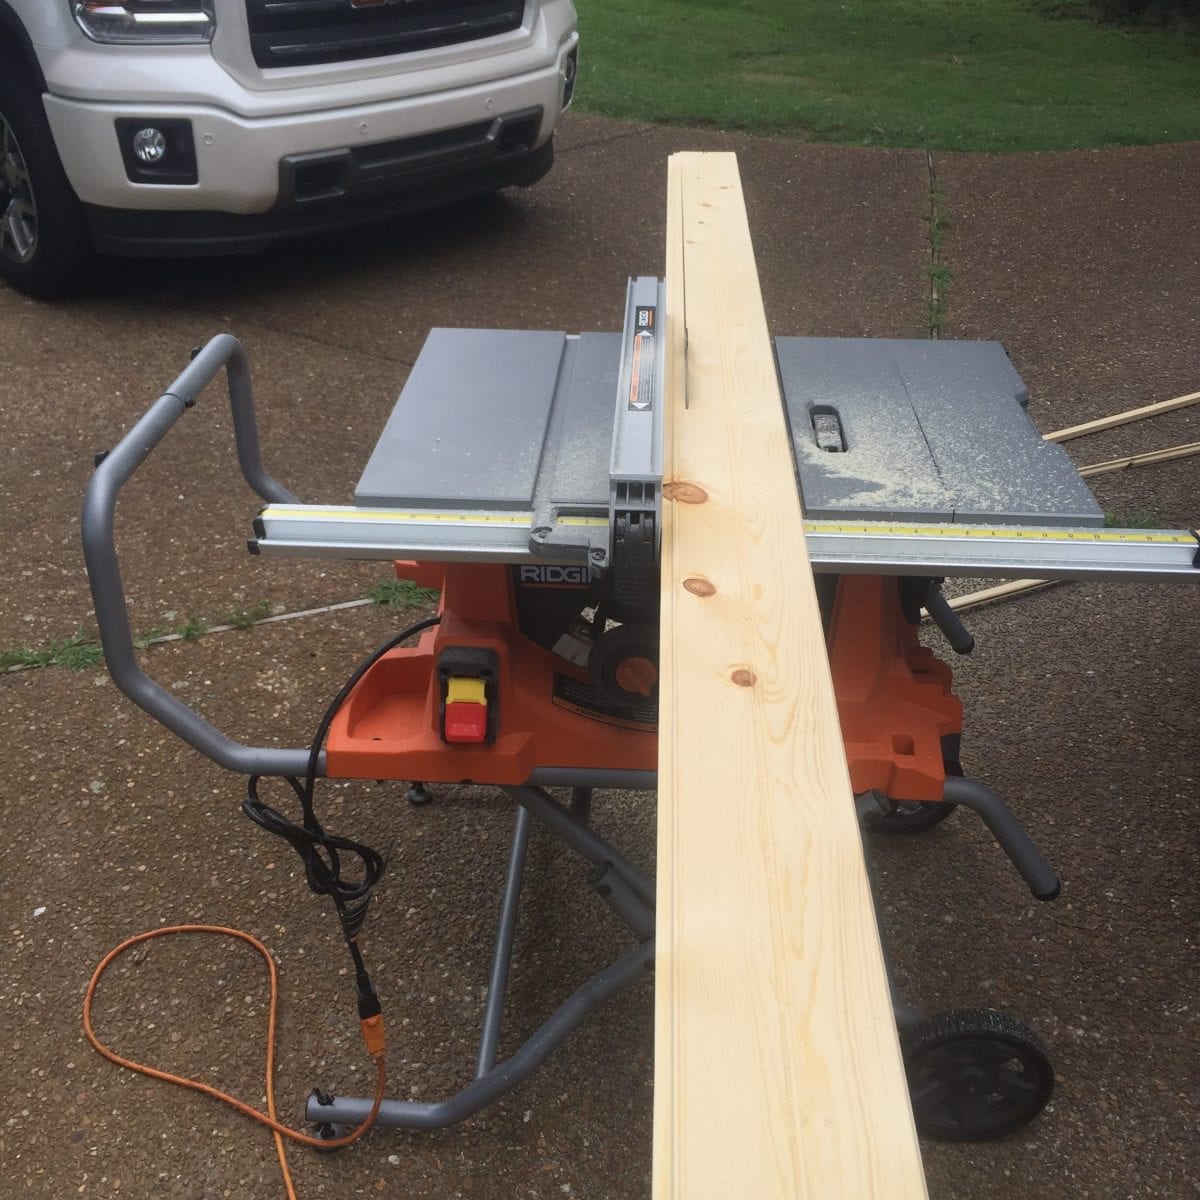
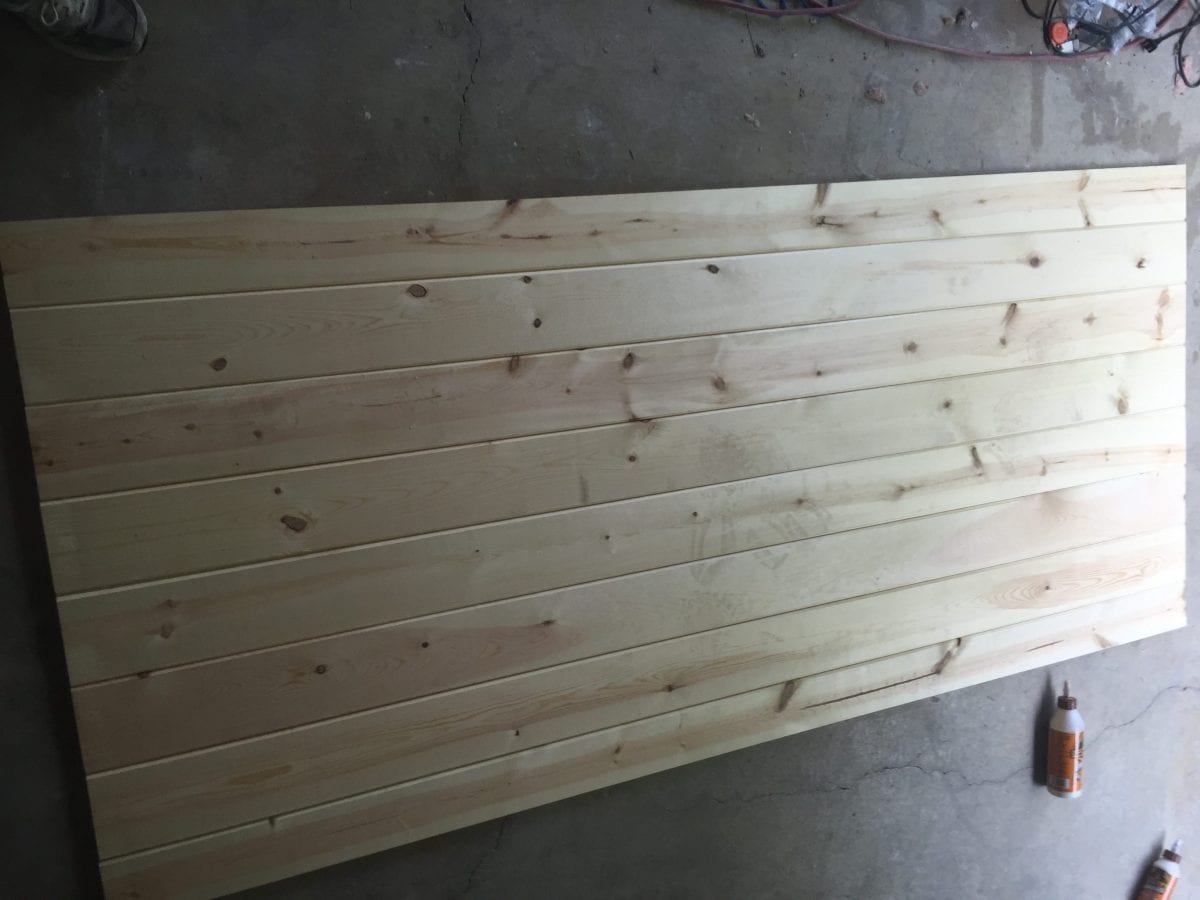
First, you’ll want to cut all your tongue and groove boards to length. To do this, decide on the height and the width you want the door to be. We have multiple sized barn doors in our home, but our door measured 38 1/2 x 84 1/2. So we cut all of our tongue and groove to 84 1 /2 inches. I also knew I’d need 8 pieces to cover my width.

To build the necessary width, we had to rip one board to a smaller size. The easiest way to do this is with a table saw.
Once those are cut to size, go ahead and interlock them together.
Once you have the appearance boards cut and aligned, you’ll want to cut your 1 x 6 boards.
We choose to keep our cuts at 90 degrees because it fit the look we wanted, but you can obviously cut them to 45 degree angles as well.
For our doors, we choose to run the boards at the top and the bottom width of the door. Then we ran one on each edge horizontally, butting up to them, and two centered between the first two vertical ones.
This would make our two vertical boards measure at 70 inches in length with two horizontal boards that would measure 27 1/2, and two horizontal boards that would measure 34 1/2.
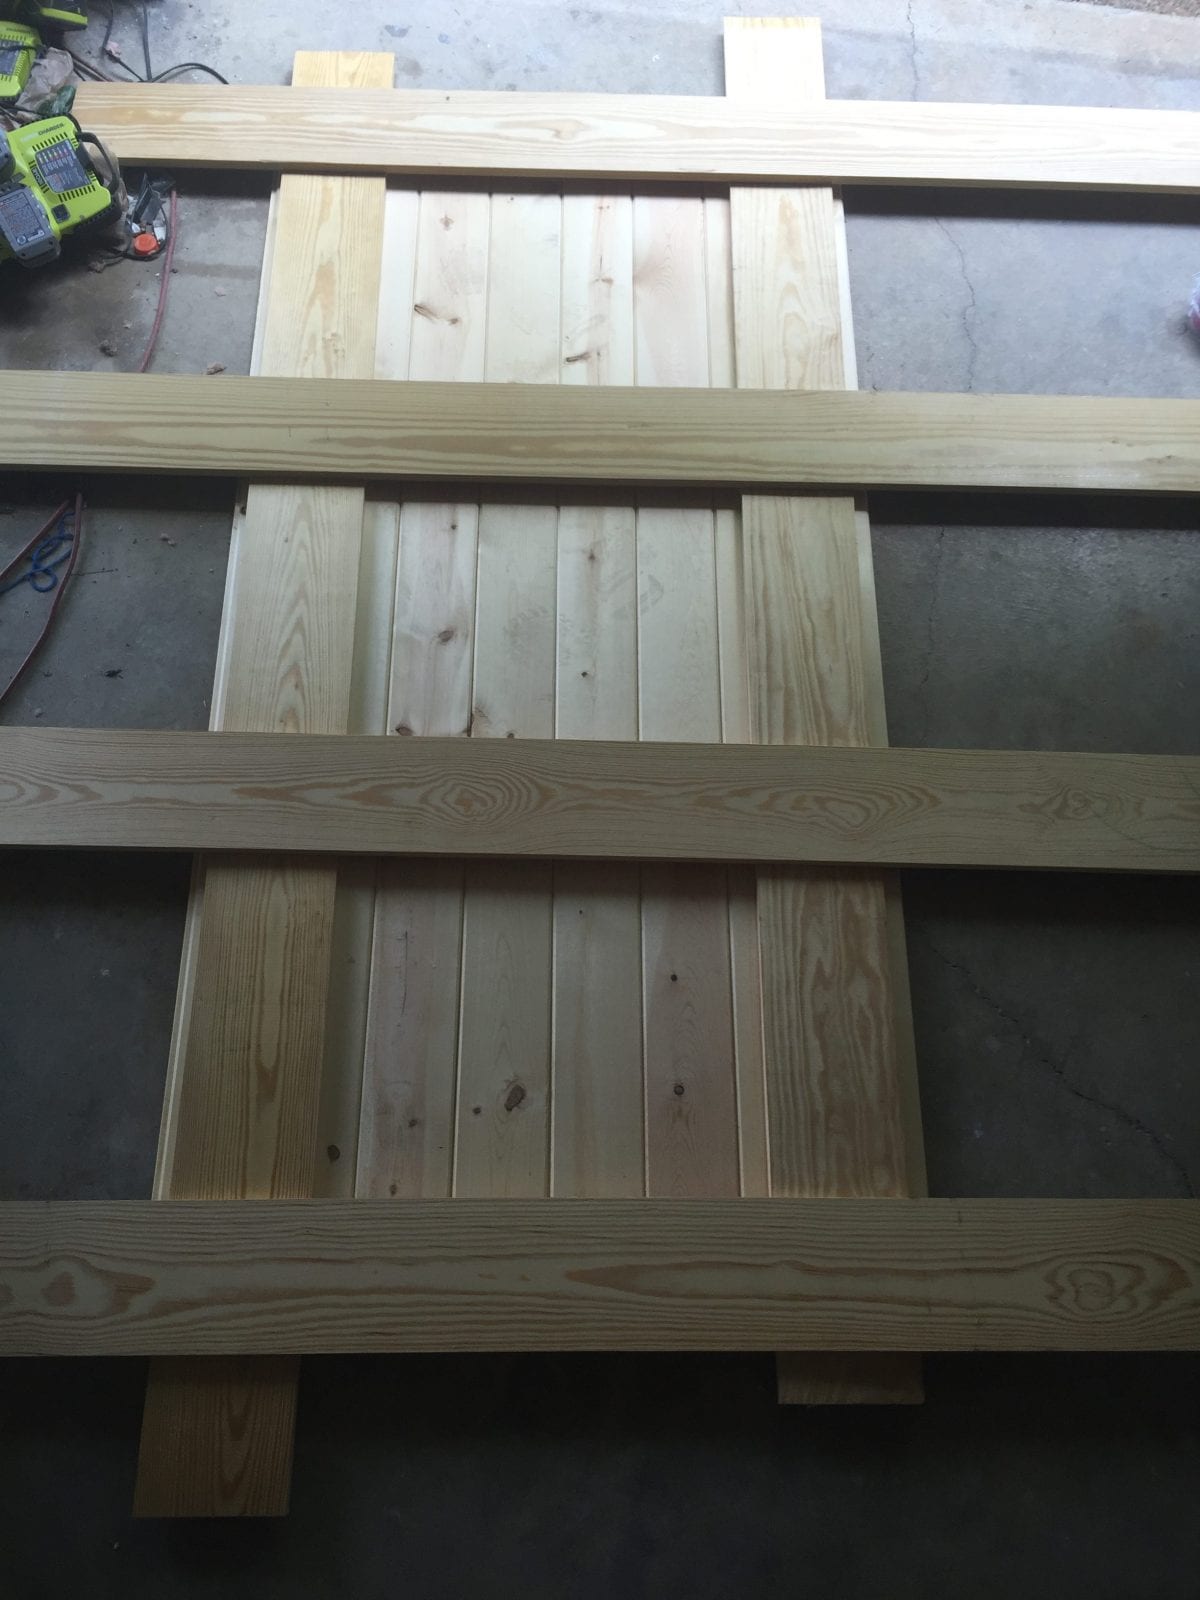
Once we had the boards measured and cut, we simply glued and nailed everything together. The easiest way to do this is to start with one of your horizontal boards on the edge. Run a few beads of glue on the side of the 1 x 8 that will attach to the appearance boards, and then nail it all into place. Start nailing on one edge pulling all the boards tight as you work your way across.

Repeat this process with the other horizontal board, then the two 1 x 6 vertical boards and finally the two center 1 x 8 horizontal boards.

We then added a quarter round on all the interior edges.
To add the quarter round, simply measure the inside edges and cut your quarter round at a 45-degree angle. Attach it with some wood glue and if necessary, a few nails. Finally, you can fill any of the holes or gaps with some wood putty.
Before you start the fun process of painting, give the door a quick once over with an orbital sander. It’ll smooth out any rough edges.
We truly love how our paints flow from room to room and wanted to continue the look with the barn doors, so we choose to paint them with Diverse Beige (HGSW3086) from HGTV HOME by Sherwin-Williams Perfectly Polished Color Collection. (You can read all about our colors here and see all the color collections here.)
Obviously one of the problems you typically run into with painting raw wood is coverage issues. We used the INFINITY line for this project for that simple reason. We also needed more durability in the paint as hands would be all over these pieces and we needed a paint that would last, another benefit of theHGTV HOME™ by Sherwin-Williams brand.
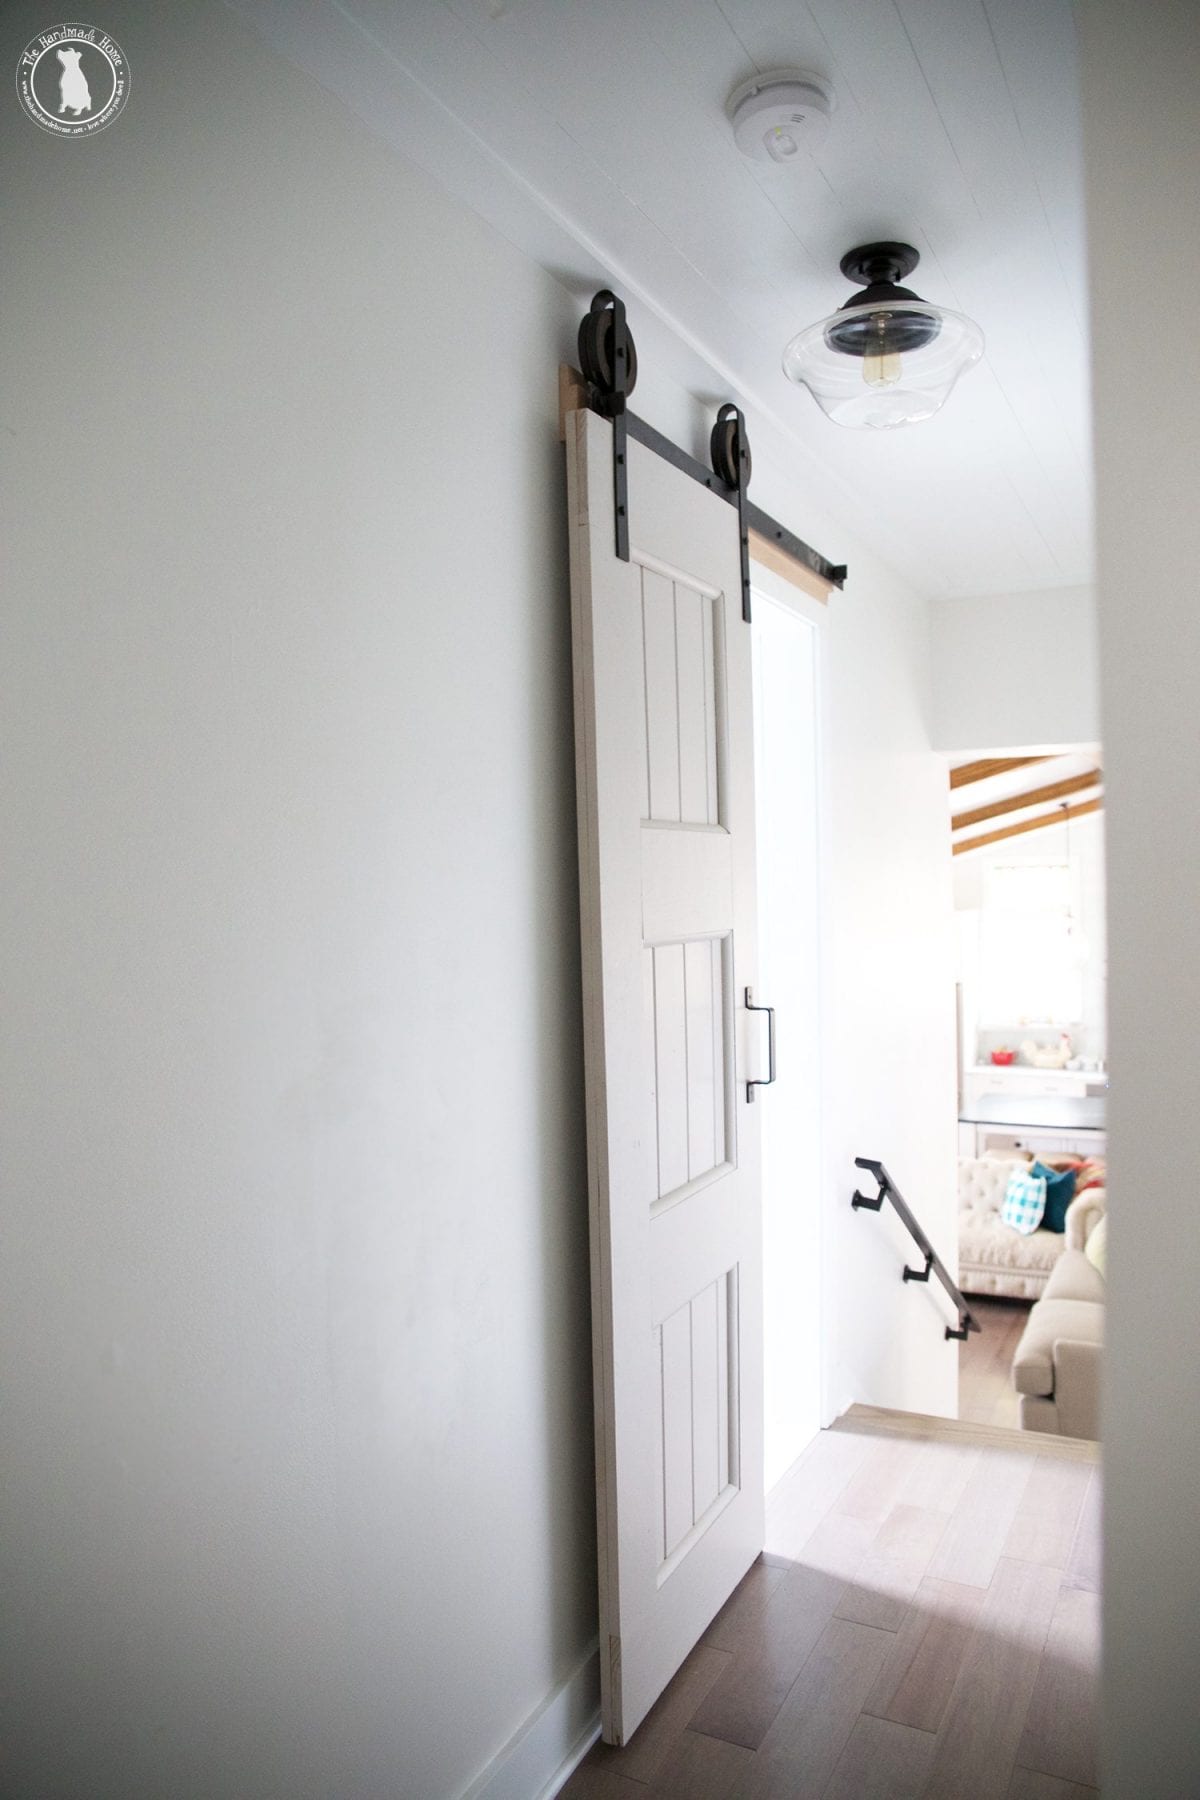
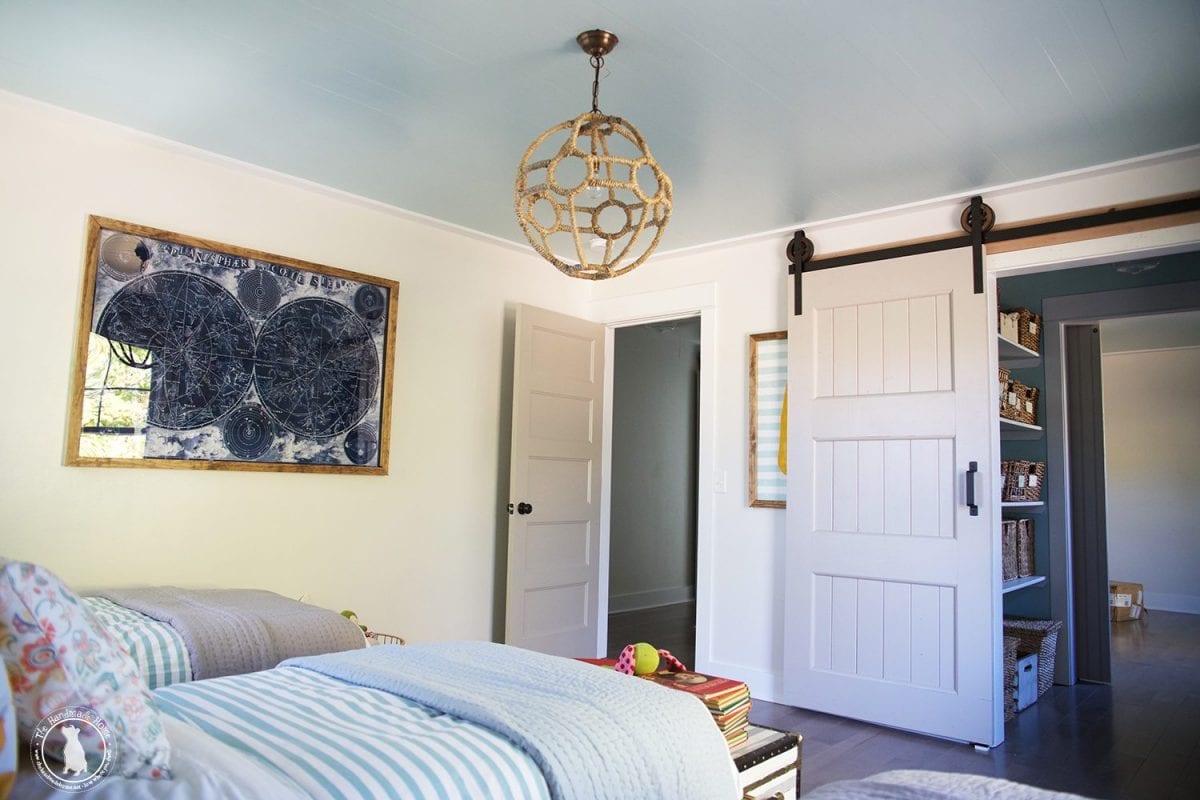
To hang the doors we used some pre-made rails and hardware. It was easy peasy.
We love the work the artisan hardware company does and have used them on numerous projects in our home and with clients – their pieces are just beautiful!
Once they’re hung, it’s truly amazing what beautiful space savers they are.
Have an inspired day!


I love barn doors! We’re contemplating putting one in our Master bedroom on the door that leads into the main bathroom ( they call this layout scenario a “cheater suite”). Do you know of any way to add some sort of a lock on a barn door?
Hey!
Absolutely! I would recommend either of these.
https://artisanhardware.com/store/barn-door-pulls/tear-drop-latch/
https://artisanhardware.com/store/barn-door-pulls/hook-eye-latch/
Both are great and both are super reasonably priced.
Thanks!
I notice that you are still able to hand things on your wall. How far does the door stick out from the wall?
Hey!
Yes, we have no issue hanging things behind the doors, it’s one of the things we love. Ours sit about 1″ off the wall and if you grab the hardware at https://artisanhardware.com they will provide spacers for you that will allow you to extend it out.
Thanks!
These came out absolutely beautiful! We have some small bedrooms upstairs in our 1899 Farmhouse. I think this would be the perfect way to combine the closets into one walk-through closet to make them more functional. It probably won’t happen for a while. I’m sure you know how lengthy a To-Do list in an old house can be… But, I think this will be great once we get to it! 😀 Beautiful work!
Thank you so much Megan! ;}
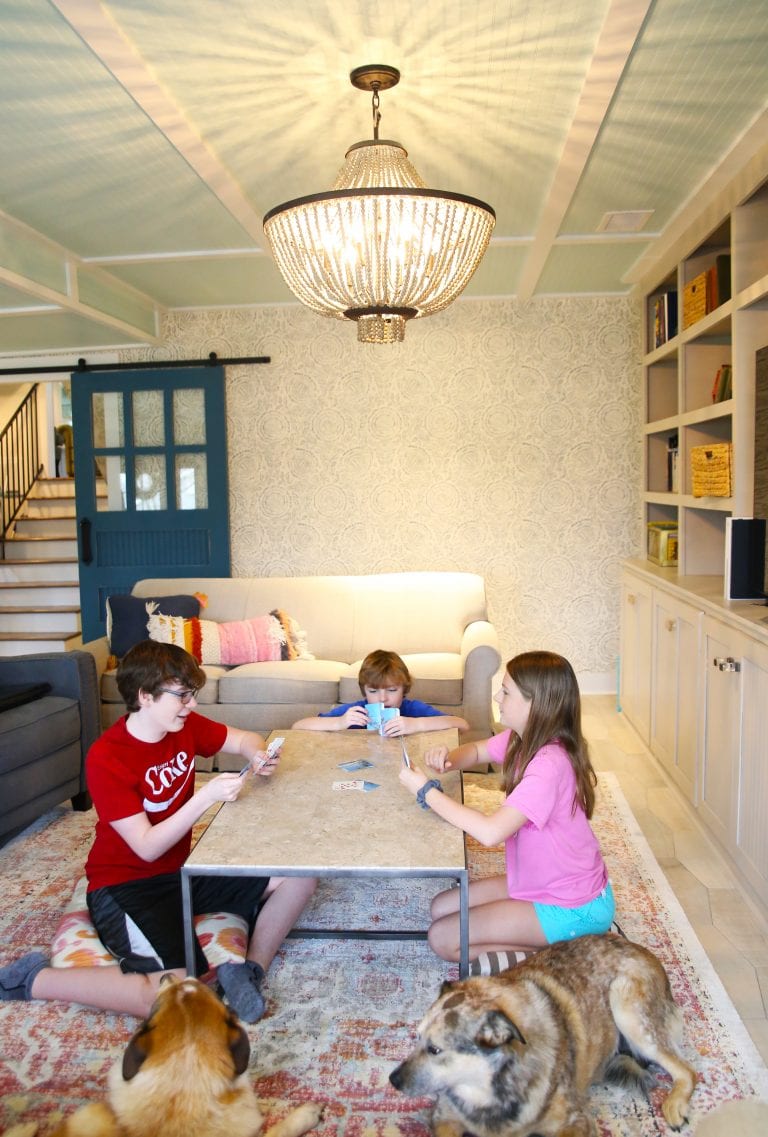
Thanks Jamin for the great tutorial. That barn door helps to make the beautiful room for your children.
Thanks, Bonnie, you’re so sweet! We love the doors and their color.
Love the doors! I have a question. Above the door where the hardware is attached, what is it attached to? Why did you leave it raw wood? Where I want to put a barn door, I want a white door, bronze hardware and my walls are golden tan. What color would you paint the raw wood piece?
Hey, Laurie.
We left it that way because we like the contrast. As far as color, it’s hard to say without seeing the entire space. Sorry we aren’t fo more help.
Love, love, love this! So helpful! We just moved into our house over the summer and we’re still mapping out things we’d like to do around here. We have an upstairs laundry room, and it has one small step up to get into the room (I guess it’s to have room for running all of the pipes and such). Would it look really weird to have a barn door hanging there? It would look really pretty in the hallway, but would it look awkward to not run along the floor? I keep second guessing it… Thanks!!
Hey, Mollie.
It’s hard to say without knowing what the space looks like. But we do believe that anything is possible!
Yay! I’ve seen a few instructions for these doors, but not this style with such details. Now I’m on the hunt for the perfect place to add these!
These are beautiful and I’m about to start making mine but I do have one question. Did you rip both edges of the door to remove the interlocking tabs to get the clean edge?
Thanks!
Yes, we did rip both edges. Best of luck building!