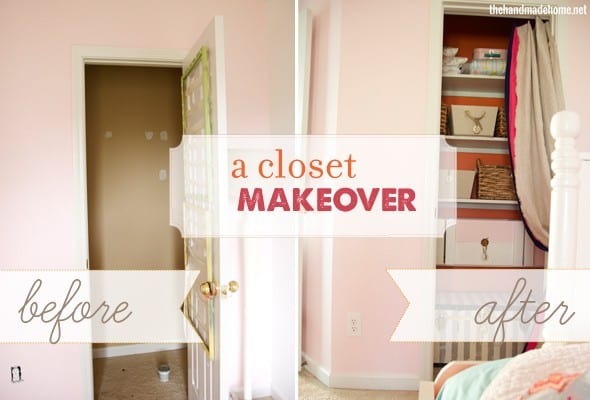
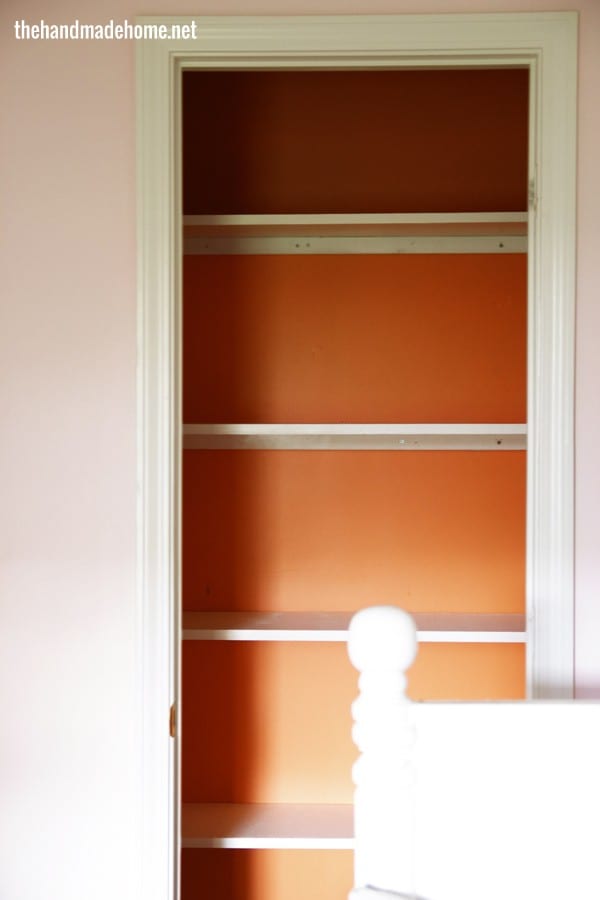
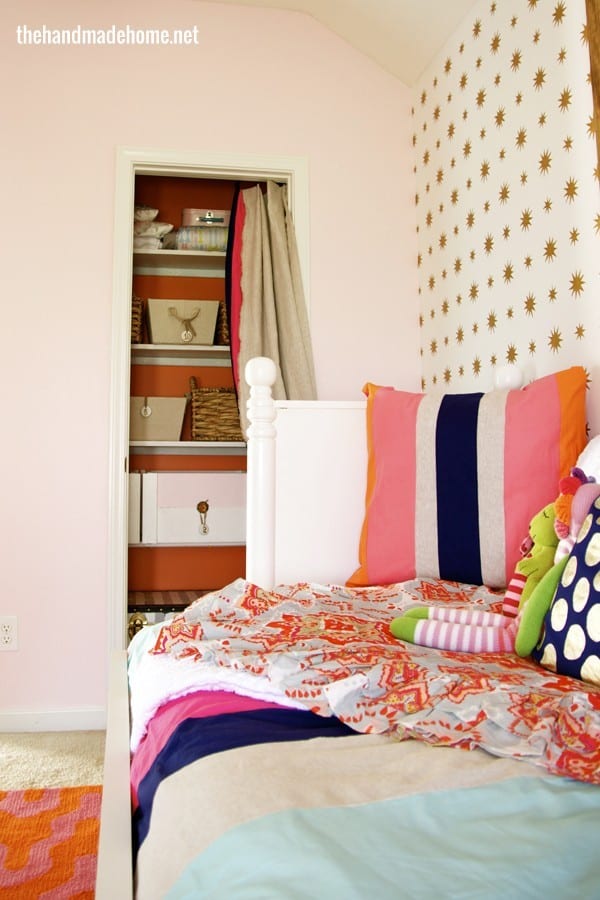
Hey guys, Jamin here again with one of our final project how-to’s for Emerson’s space – a super simple spruce up that anyone can accomplish to help amp up those closets! We took it from builder’s beige blah to super fun and organized… this is something anyone can do in no time at all. So without further ado:
Supply list: (Our closet warranted 8 foot long shelves – you can measure yours accordingly)
Per shelf (8 foot length shelves) : • (1) 1 x 12 x 8 • (1) 2 x 2 x 10 • (1) box of 2 inch wood screws • (8) L brackets
If you have a square closet or one without an interior angle, this will be super simple. If your closet is cut at an angle (see: ours) it’s still simple but it will have just a few extra measurements.
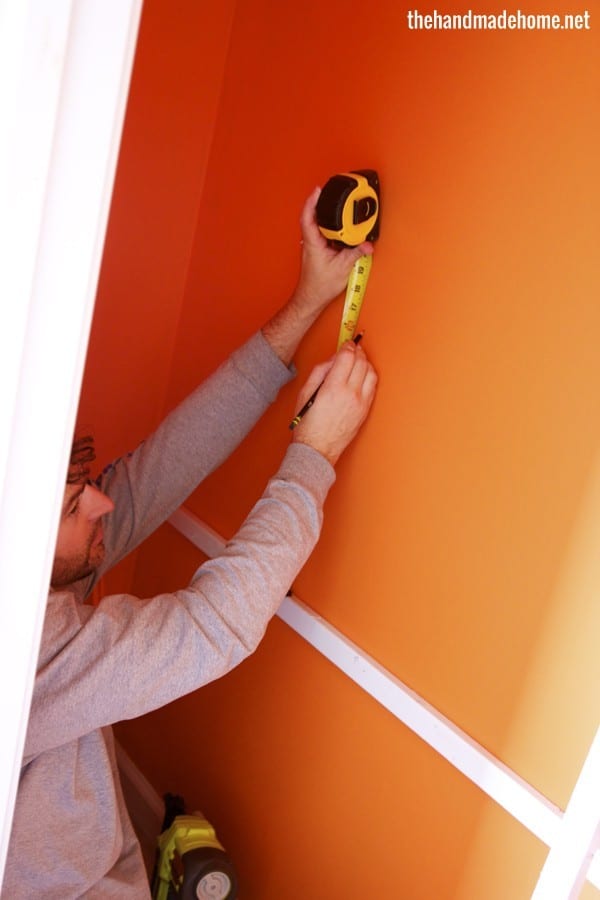
First, measure the length of the closet on the back wall. Ours is 8 feet. If you have a square closet then there is no need to measure the front. However, if your closet is cut at an angle then you need to measure out 11 1/2 inches from the back wall on the angle side and place a mark. From that mark, measure back to the other side of the closet. Our measurement here was 7 feet 2 inches.
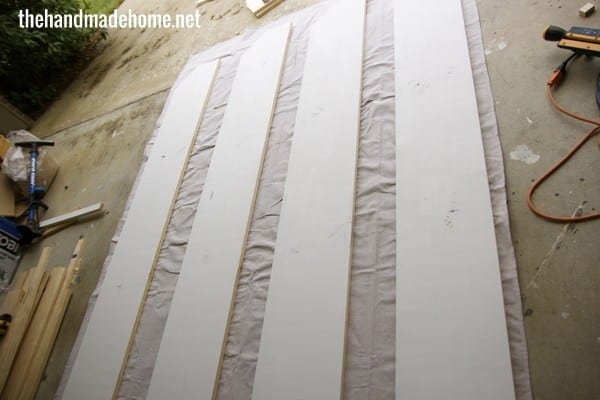
Take your 1 x 12 and cut it down to 8 feet. Next, measure on one side to 7 feet 2 inches and place a mark. (Remember to replace these numbers with your own measurements.) Use a straight edge to draw a line from this mark to the opposite side of the end of the board. Cut along this line and place the board in the closet to make sure it fits. Trim as necessary.
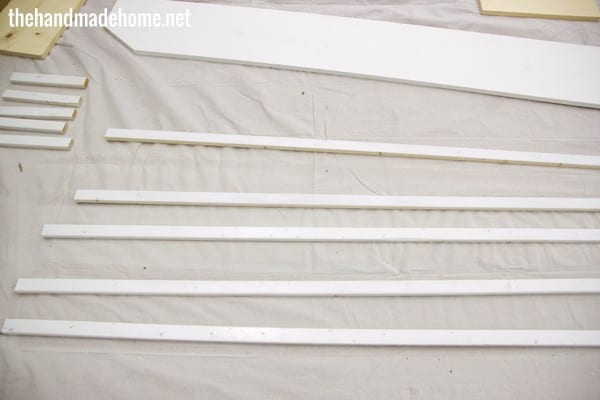
 Next, cut your 2 x 2 down to (1) 92 inch and (2) 11 1/2 inch pieces.
Paint or add finish to the 2 x 2’s and 1 x 12.
In the closet, measure up on both ends and the middle where you want the bottom of the shelf to sit. Also do this on both end walls. Draw a line across the closet to connect these points.
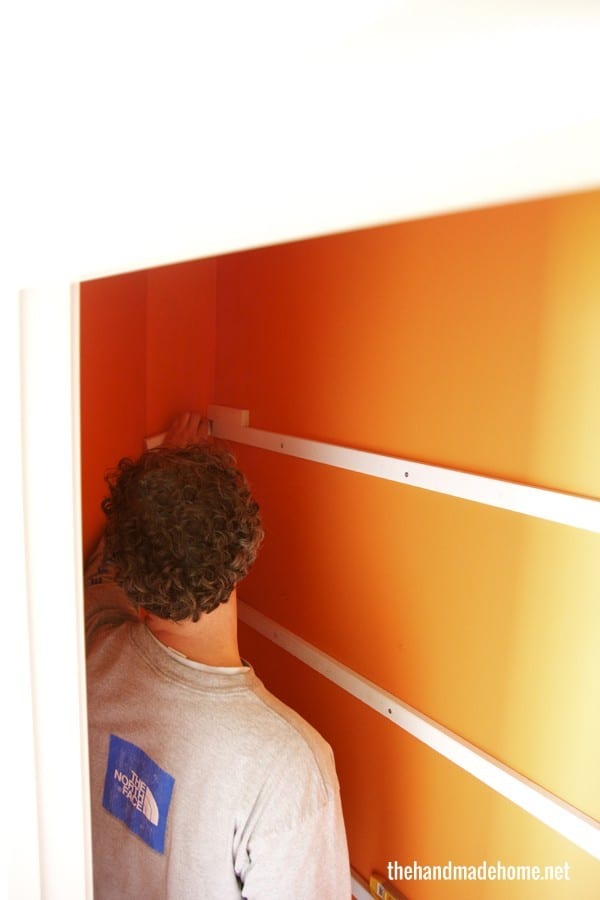
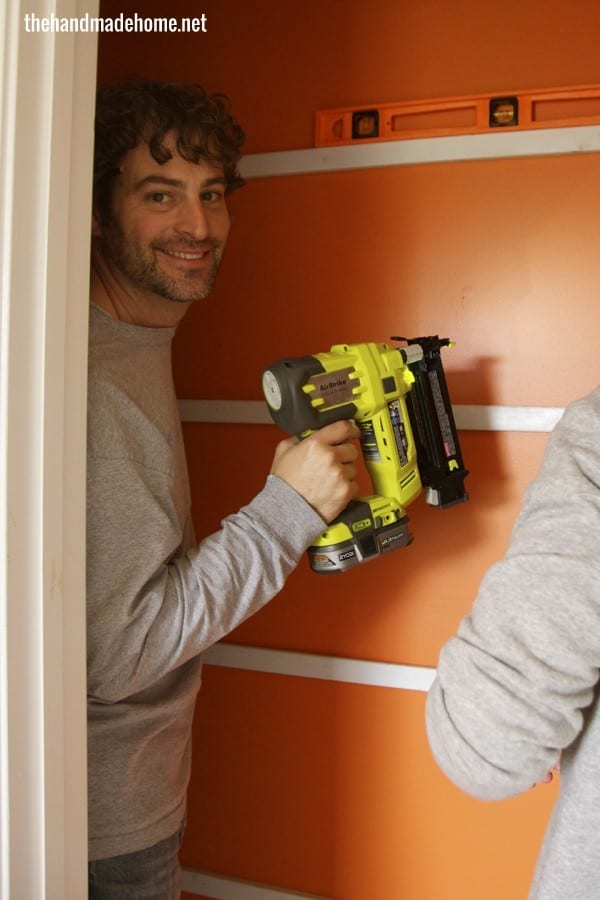
Screw the 92 inch 2 x 2 to the back line of the closet and make sure that it is 2 inches away from the wall on both ends. Next, screw the 11 1/2 inch pieces to the side walls. (We used our Airstrike gun to hold them in place until we could secure them with screws.)
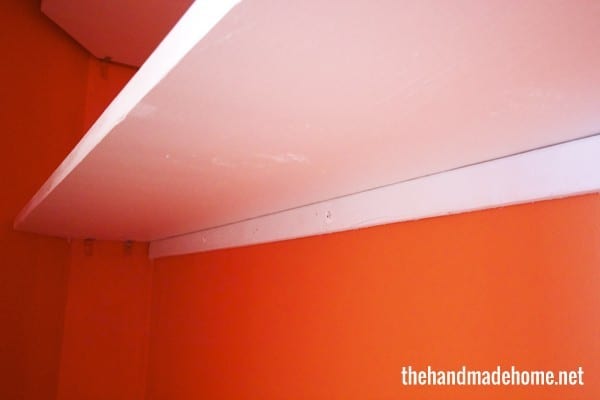
Fit the 1 x 12 on top of the 2 x 2’s.
Using the 2 inch screw through the 1 x 12 into the 2 x 2 every foot.
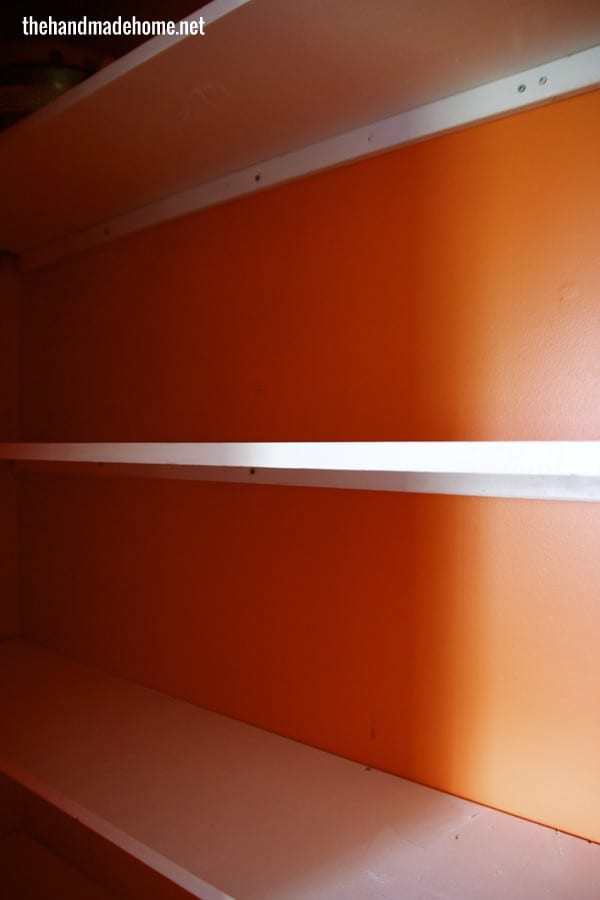
Take the “L” brackets and screw them on the underneath side of the 1 x 12 to the 2 x 2. Place one every foot. We simply camouflaged them later, with paint.
And it is that simple. Just remember to multiply your supplies by the number of shelves you are installing.
And that’s it! As always, let us know if you decide to use it, or have any questions!
Have an inspired day!


This is wonderfully gorgeous! But I do have one question: What do you do with E’s hanging clothes? I’m planning a room makeover for my girls, and I love what you guys do with your home. Thanks for all the inspiration, all the time!
Hey Samantha!
We have decided to do a family closet. It may not be “pretty” right now, but it’s working. ;} You can read all about it, here. https://www.thehandmadehome.net/2013/07/lazy-gals-guide-the-family-closet-keepin-it-real/ {It has made my life so much easier!}
Thanks Ashley! I must have missed that story over the summer. Very creative – and the good thing about a family closet: Everyone’s laundry goes in one place! Yahoo! Makes laundry day so much easier. My nemesis is not actually washing the laundry – but folding it and putting it away. It’s the worst! 😉
Oh, absolutely girl. It makes getting out of the house so much easier/faster as well! ;}
Dude. Love this! We are going to try it!
I adore how you did this!
What a great transformation! I am going to have to try out the family closet thing. Off to read that post… sounds so smart.
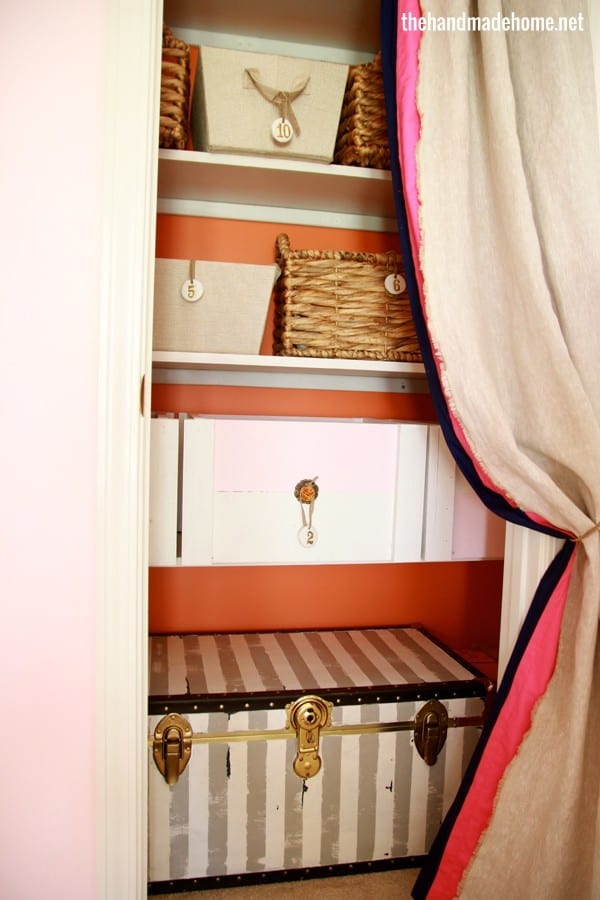
I love the colors you used. I don’t think I would have ever thought of using orange on the inside of a closet. It is very unexpected. Are you still enjoying the closet? I am doing my daughter’s room soon so all these tutorials came just in time. It is so inspiring!
Hey! Yes. It’s much easier keeping all her stuff organized and out of the way. If we can just corral the playroom, it will be a game changer for our home! It’s little things that make a big difference. ;}
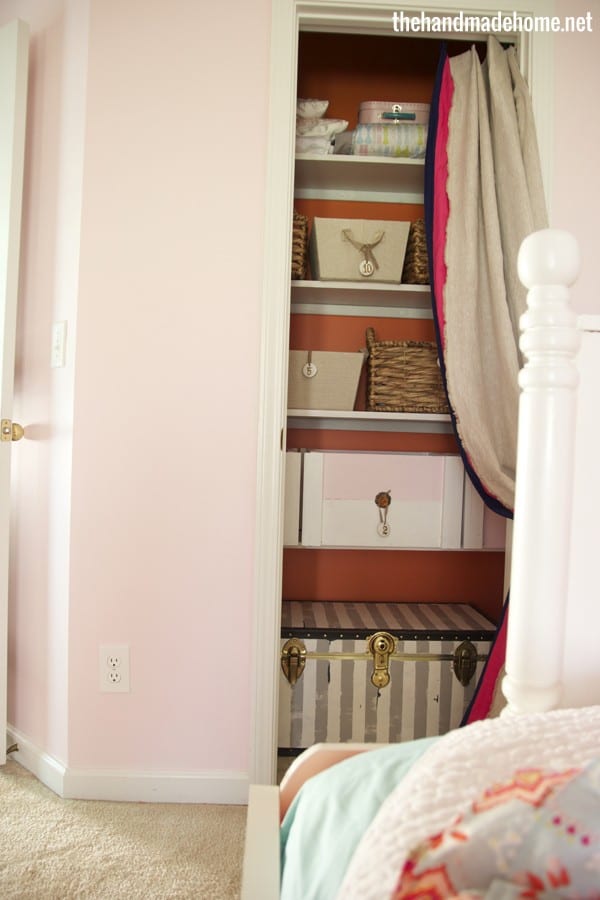
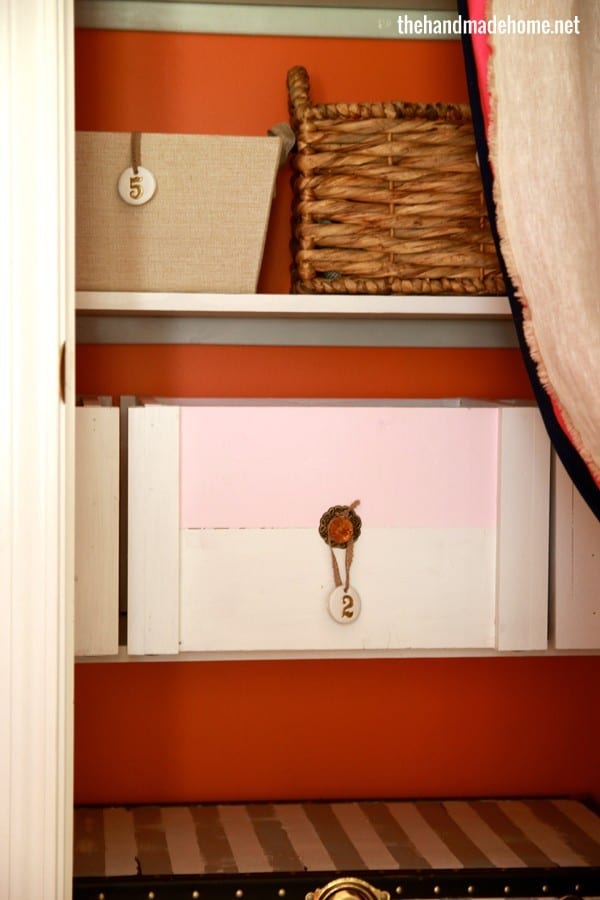
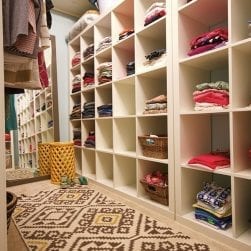
What a cute way to stay organized. I love the numbered baskets.
You guys are amazing! What a lucky little girl emerson is to have such a sweet room!
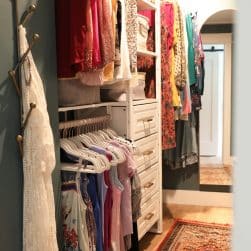
awesome! i totally love that trunk! how perfect for dress ups.
I’m trying to get brave enough to try this … I am brand new to home projects and this seems like it might be doable (my closet isn’t even angled). My only question is, don’t the shelves need to be braced somehow? It seems that being long they would start to bow over time. Thanks!
Emily, you certainly can brace it a little more if you plan to place heavy objects on it. You could also a thick melamine board which are less likely to bow. We choose not to brace this closet to give us better access and we knew that we wouldn’t be placing super heavy pieces on it. Hope that helps. (disclosure)